In this tutorial, I will explain how to delete a DFS namespace on Windows Server.
In the vast majority of cases, you won’t normally need this tutorial 😉
Although this operation is relatively simple to perform using the graphical interface, it sometimes happens that it does not go as planned, especially if you have planned to migrate from version 2000 to 2008.
Delete DFS namespace
Open the DFS Distributed File System Management console.
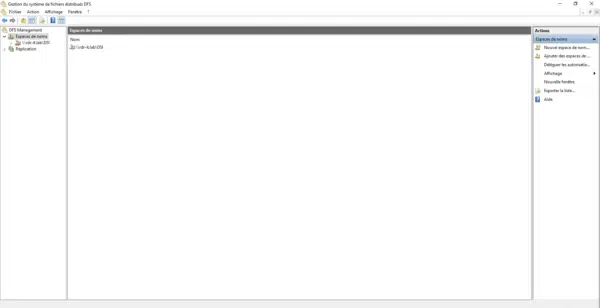
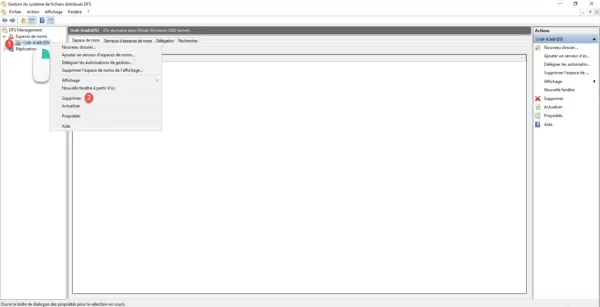
Right click on the namespace 1 to delete and click on Delete 2.
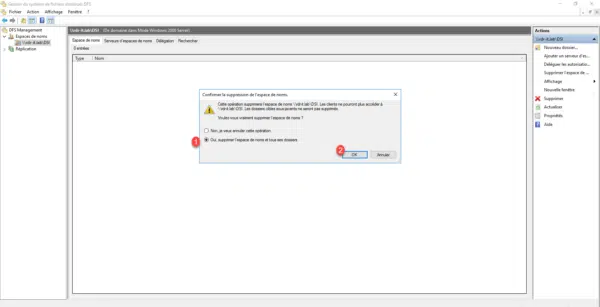
Confirm deletion by selecting Yes, delete the namespace and all its folders 1 and click OK 2.
The namespace is deleted.
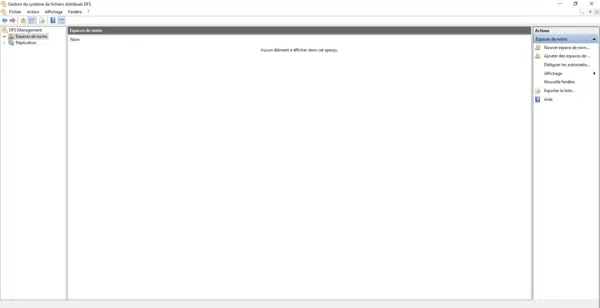
In 95% of cases, the deletion works correctly and you can stop here.
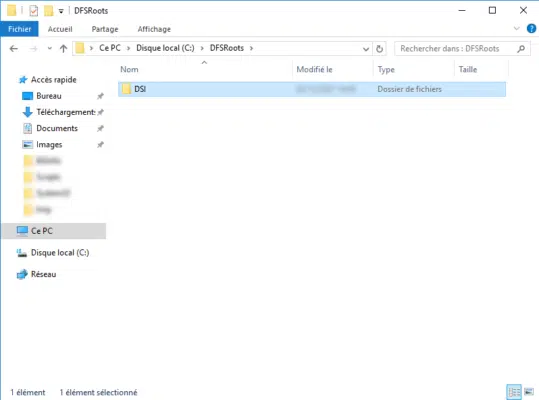
To “do it right”, you have to delete the folder that bears the namespace name in the C:\DFSRoots folder which is not deleted on all the servers that carry the namespace.
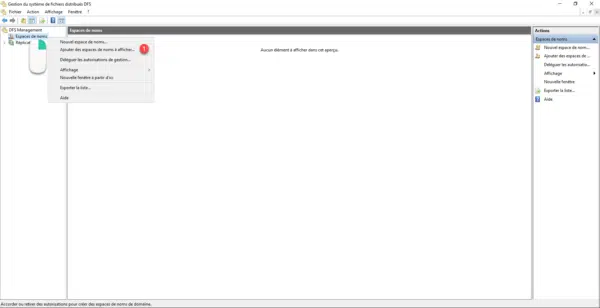
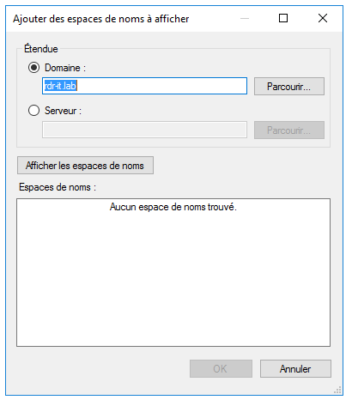
In order to verify that the namespace is correctly deleted, from the console, right-click on Namespace and click on Add namespaces to display 1.
If the namespace is not present in the list of available namespaces, the deletion has been successful.
Delete namespace in Active Directory
If the namespace is still visible, it is necessary to delete the namespace by going to delete the record using the ADSI Edit console.
Open the ADSI Edit console.
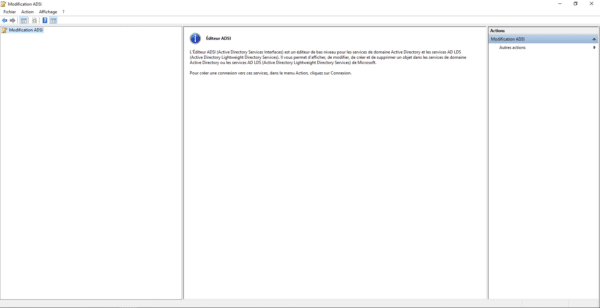
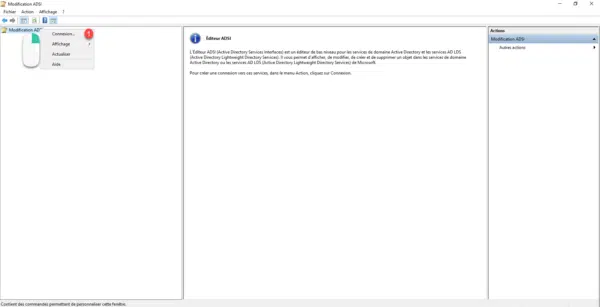
On ADSI Edit, right-click and click Connection 1.
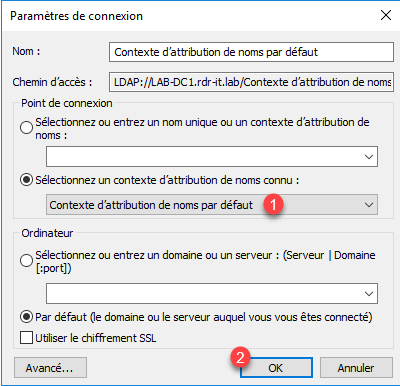
Select the default assignment context 1 and click OK 2 to connect.
Go to location DC=DOMAIN,DC=TLD / CN=System / CN=Dfs-Configuration. Within this container are the various namespaces available.
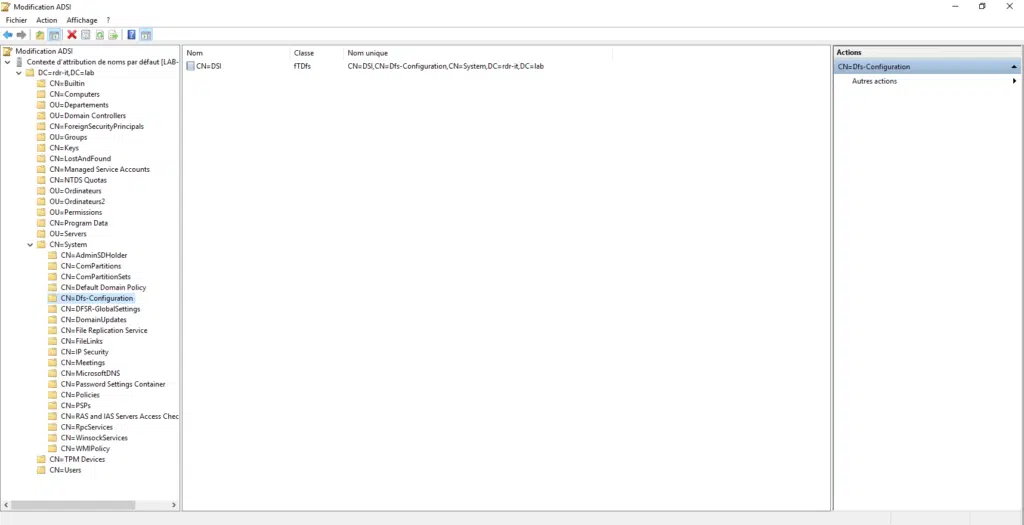
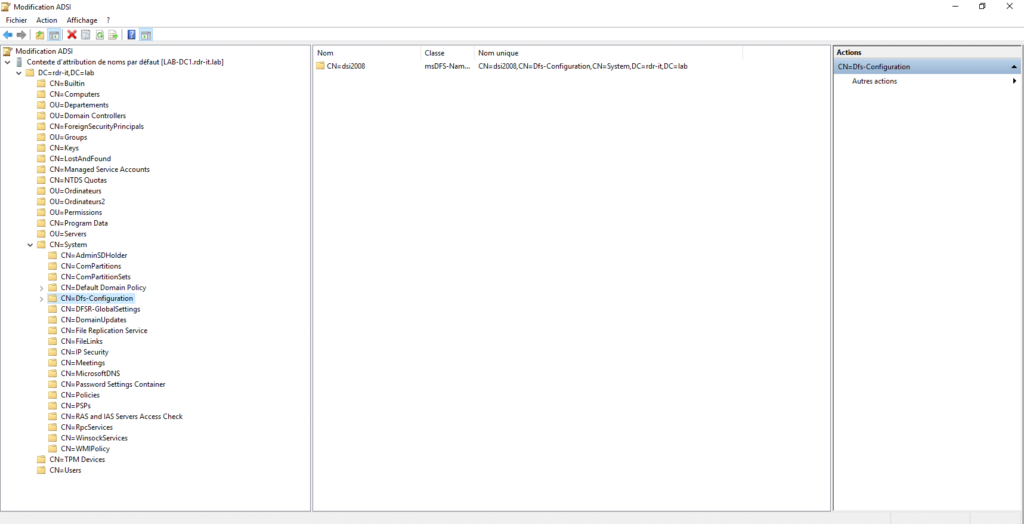
Depending on the version of the space, the recording is different.
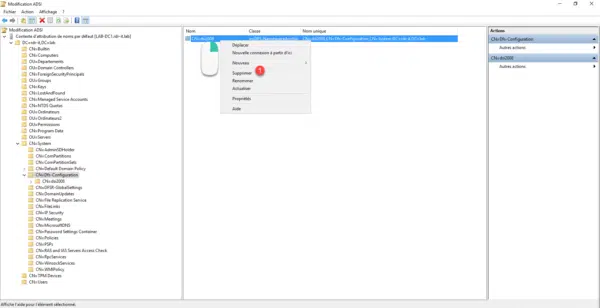
Right-click on the “deleted” namespace and click Delete 1.
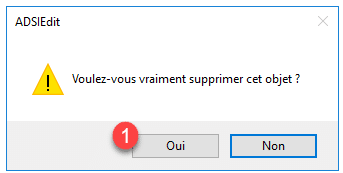
Confirm deletion by clicking Yes 1.
The namespace is now deleted.
If you have multiple domain controllers, open a command prompt and enter the command below to force synchronization.
repadmin /syncallFinally, enter the following command on all DFS servers.
dfsrdiag polladThis command retrieves the DFS configuration from the Active Directory.


