Install and configure AD FS – WAP proxy
AD FS Proxy Installation – WAP
Now that the AD FS service is installed and configured, we will install the AD FS proxy that relies on the Web Application Filtering (WAP) feature to set up pre-authentication.
It is possible to use WAP without authentication as you would with ARR.
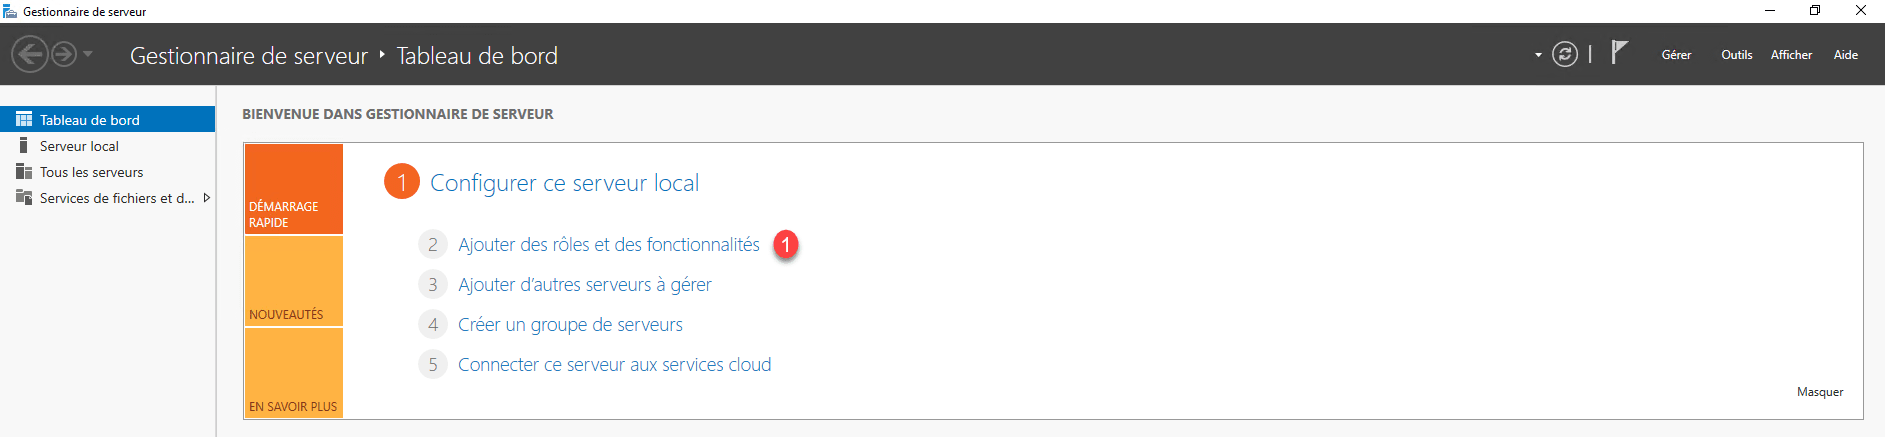
On the LAB-ADFS-PROXY server, launch the server manager and click Add 1 roles and features.
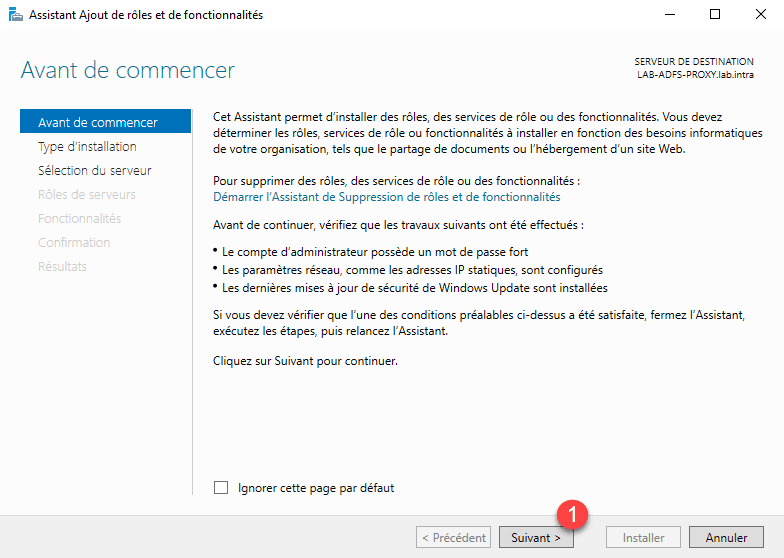
At the launch of the wizard click Next 1 .
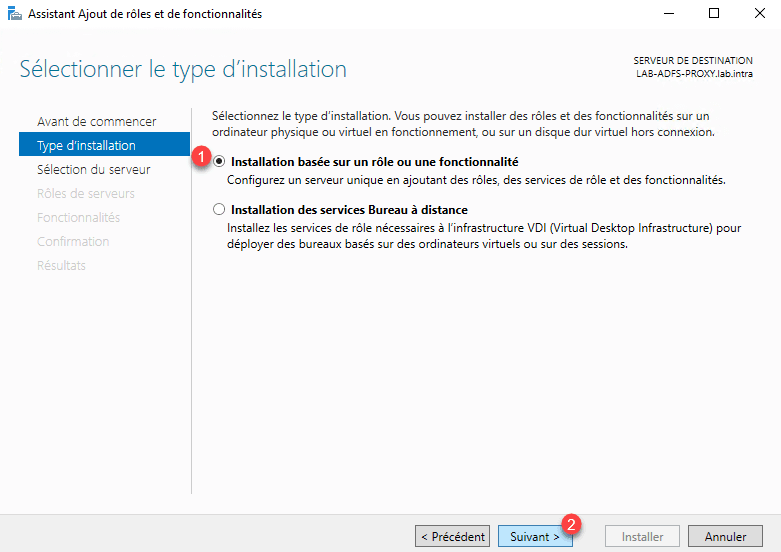
Select Role Based Installation or 1 Functionality and click Next 2 .
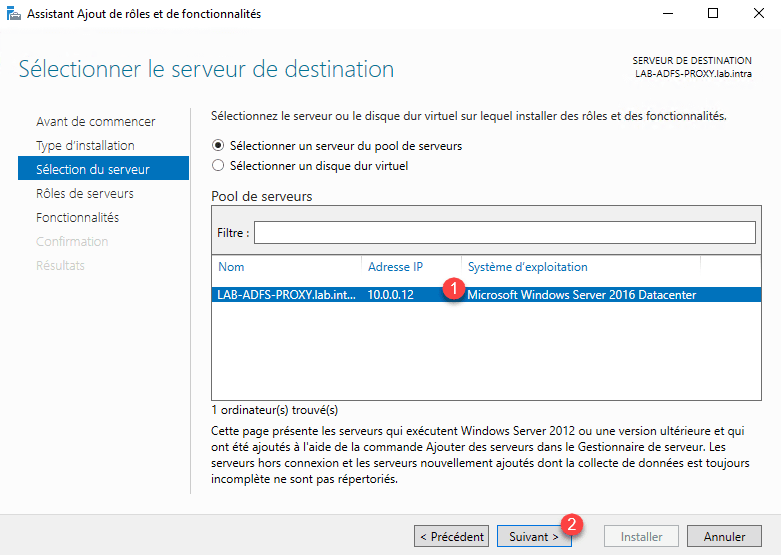
Select server 1 and click Next 2 .
In the list of roles check the box Remote access 1 and click Next 2 .

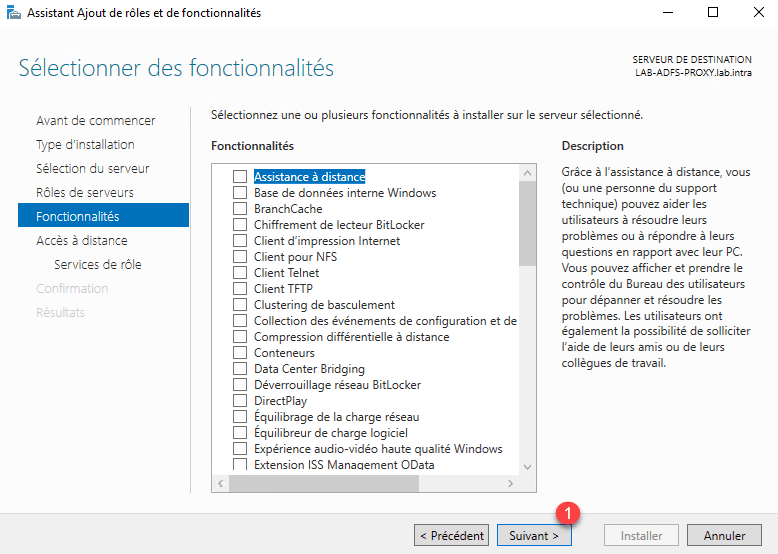
Skip the features by clicking Next 1 .
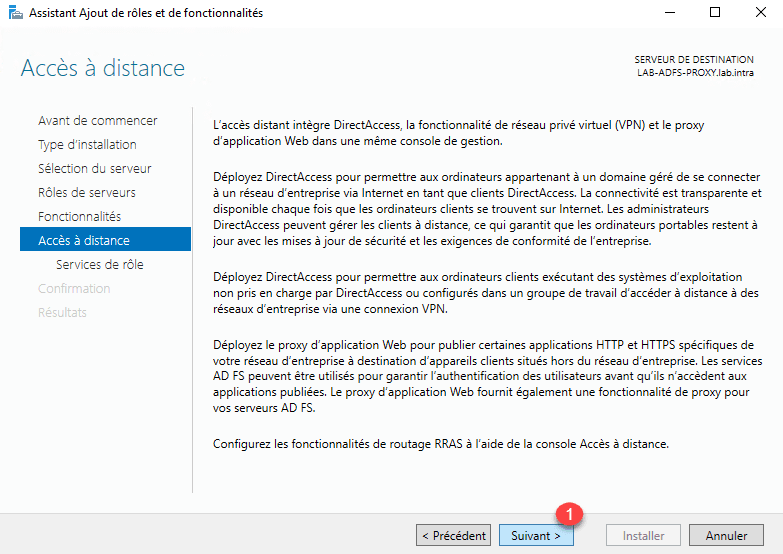
A summary of the Remote Access role is displayed, click Next 1 .
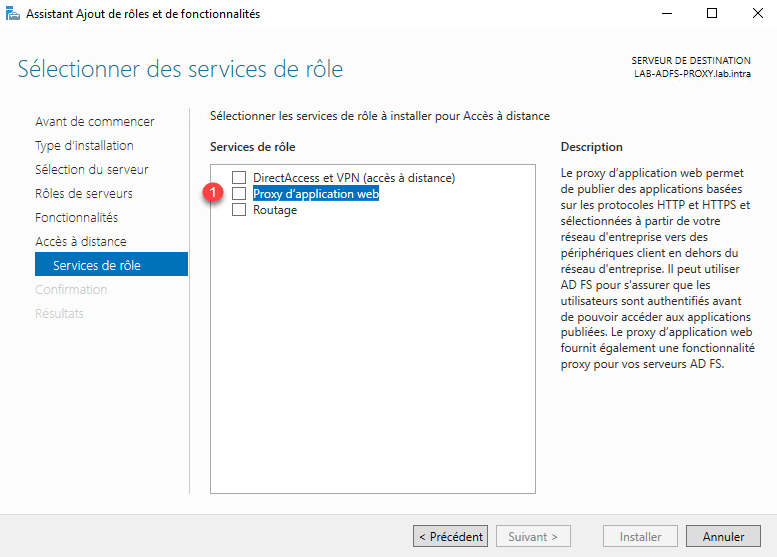
The remote access role offers 3 services, check web application proxy 1 .
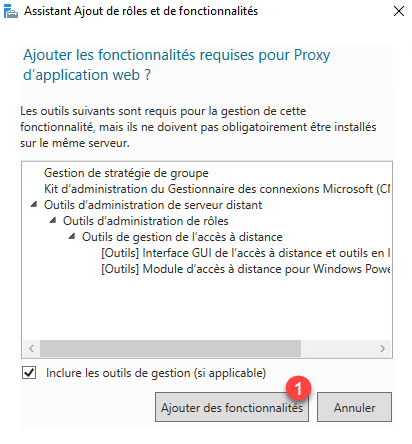
Confirm the addition of the dependencies by clicking on the Add Features 1 button.
Once the service is selected, click Next 1 .

Click on Install 1 .

Wait while installing the Remote Access role and WAP service …
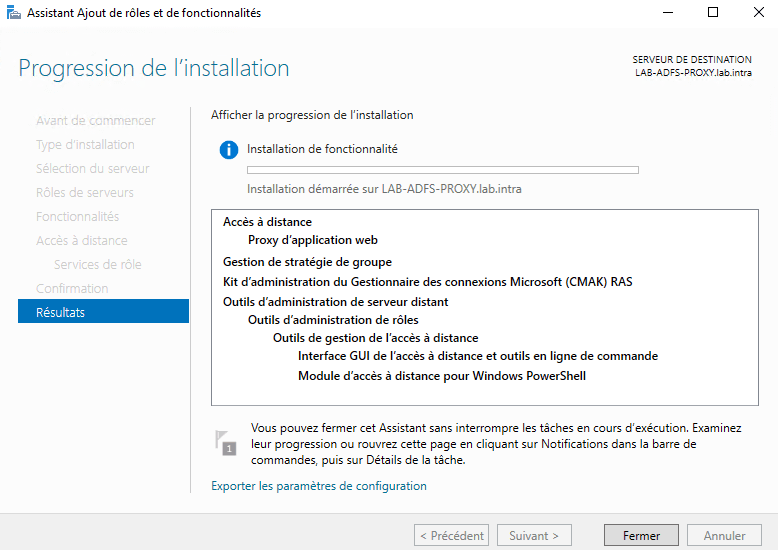
The installation completed, exit the wizard by clicking Close 1 .

WAP: post installation configuration
How for the AD FS role, the proxy (WAP) feature requires post-installation configuration.
If this is not done, install the certificate used by the Federation Service in the personal store and in the Trusted Root Certification Authority store on the server.
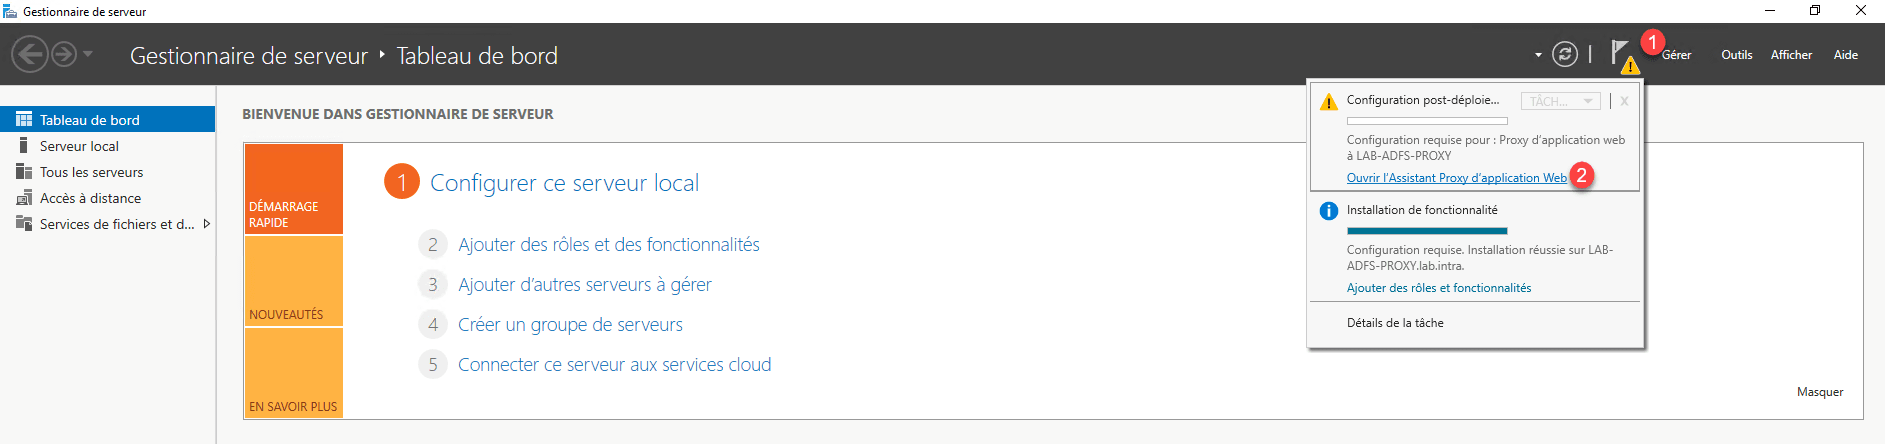
From the server manager, click on the notification icon 1 and then click Open the Web application proxy wizard 2 .
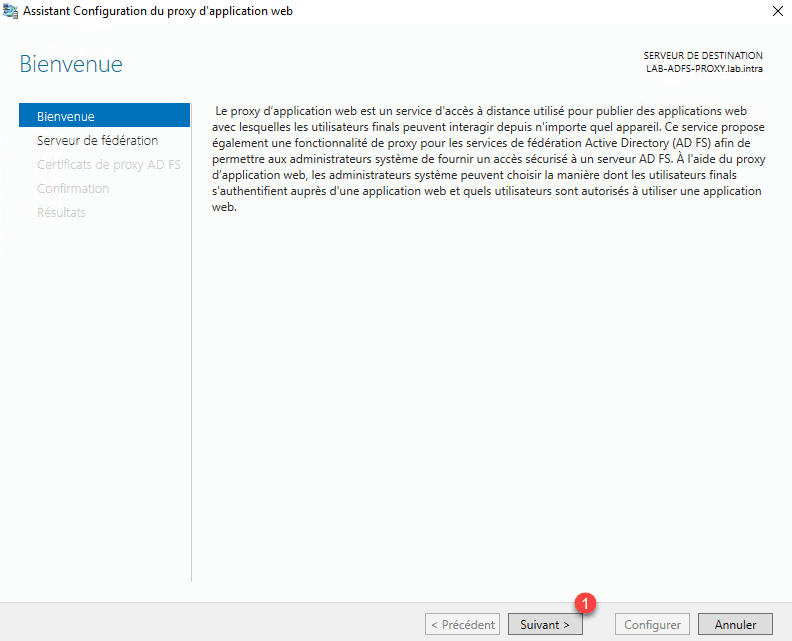
When launching the wizard, click Next 1 .
Enter the federation service name 1 and specify an account with Administrator rights 2 and click Next 3 .

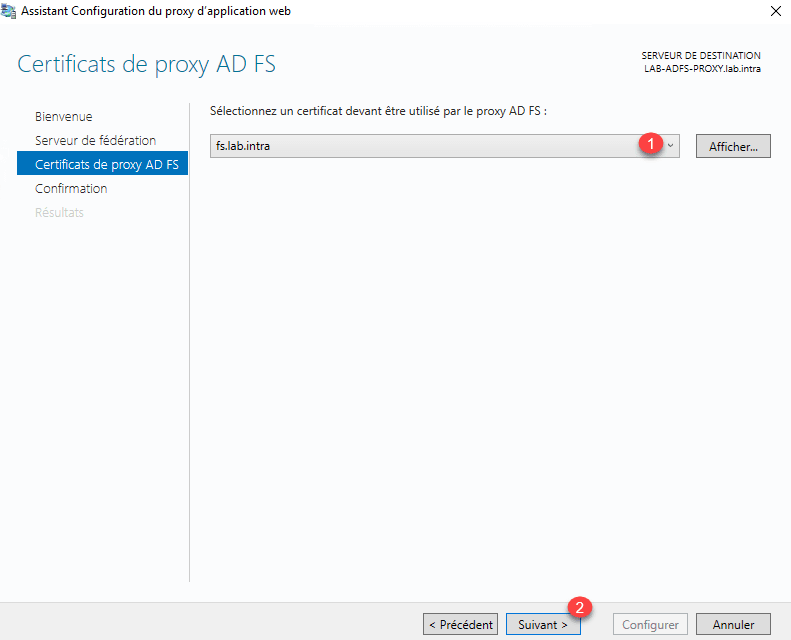
Choose certificate 1 and click Next 2 .
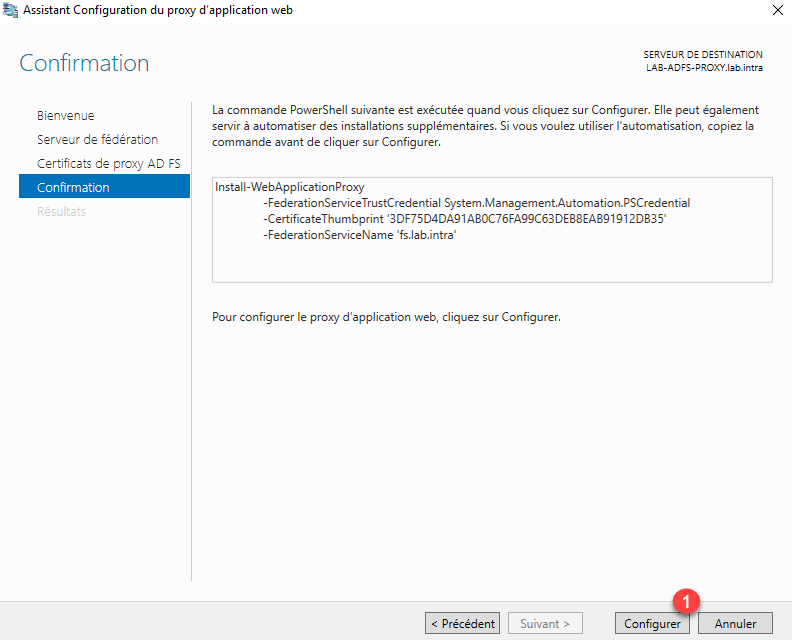
Confirm the configuration by clicking the Configure 1 button.
Wait while configuring the WAP proxy …

The proxy is now configured, exit the wizard by clicking Close 1 .
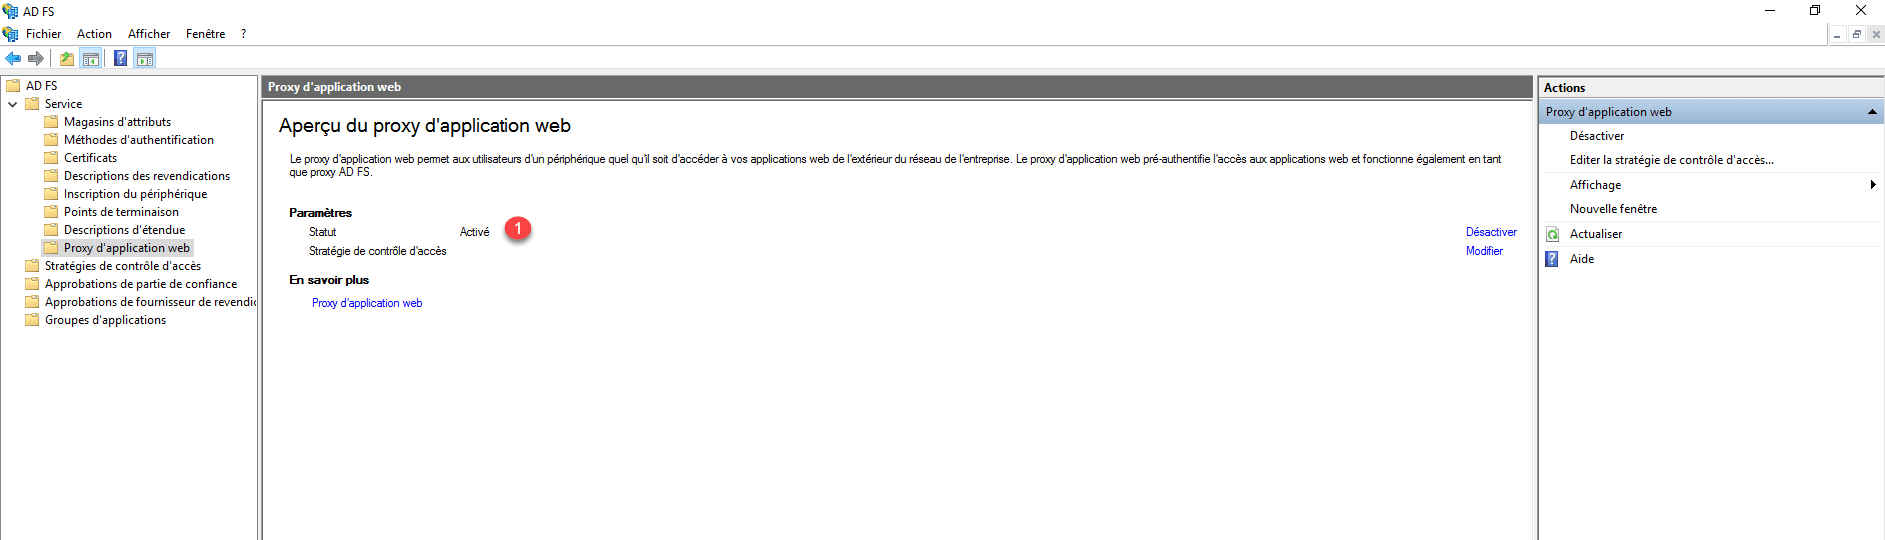
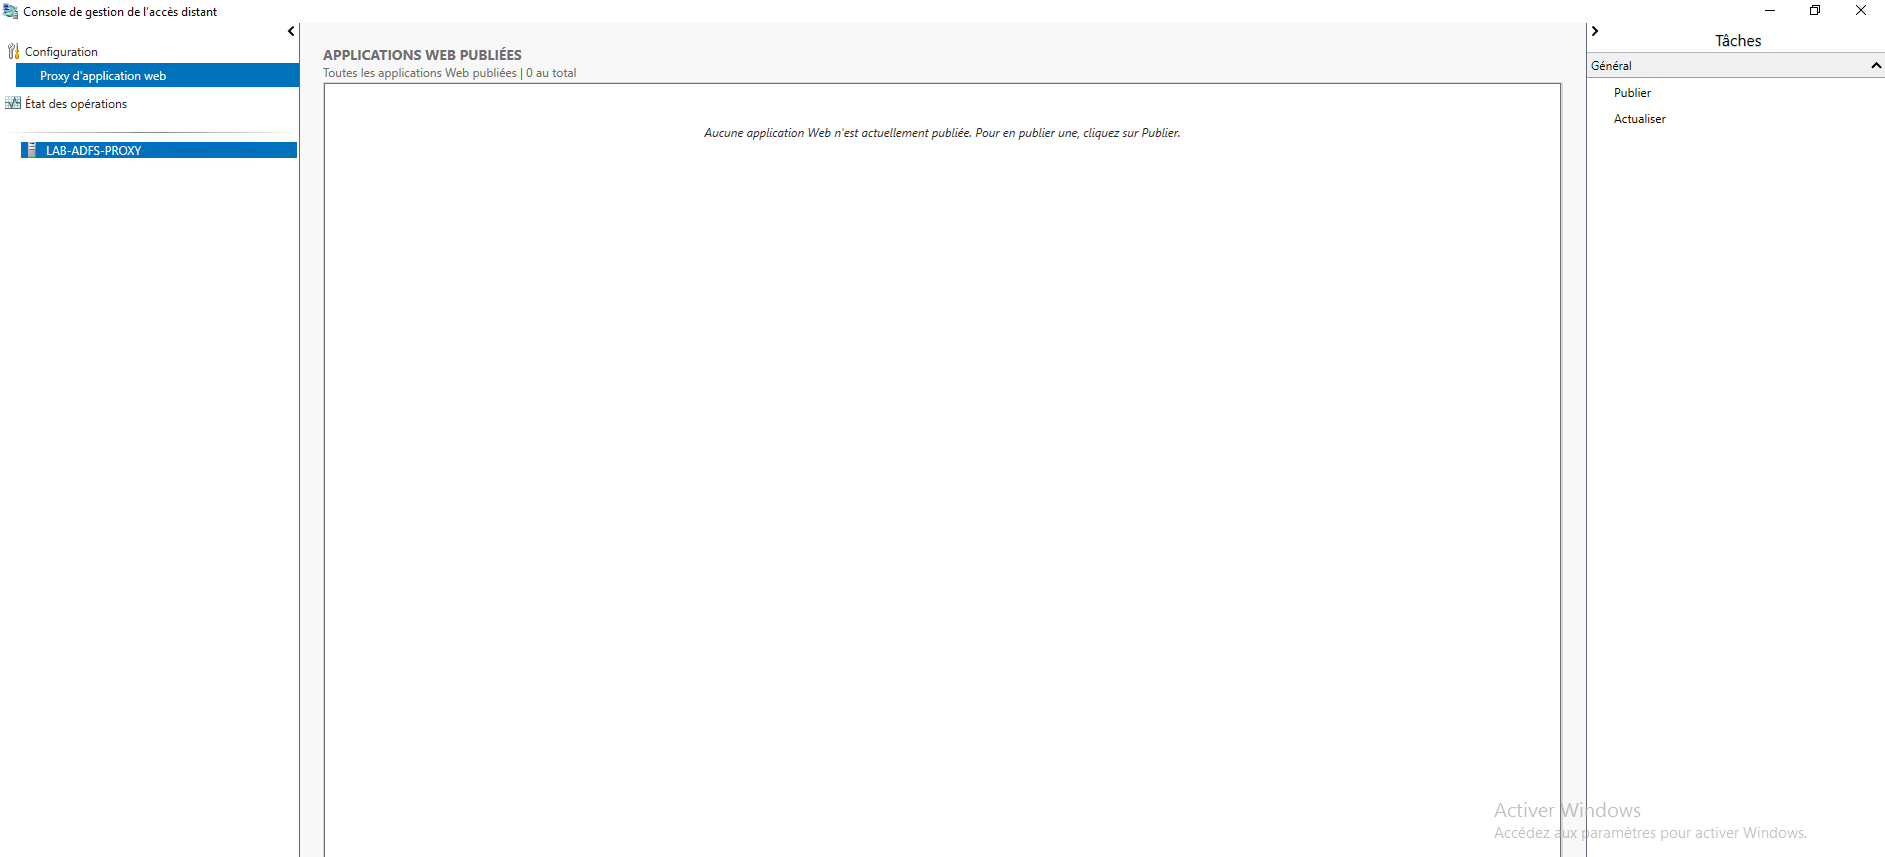
The administration console opens automatically:
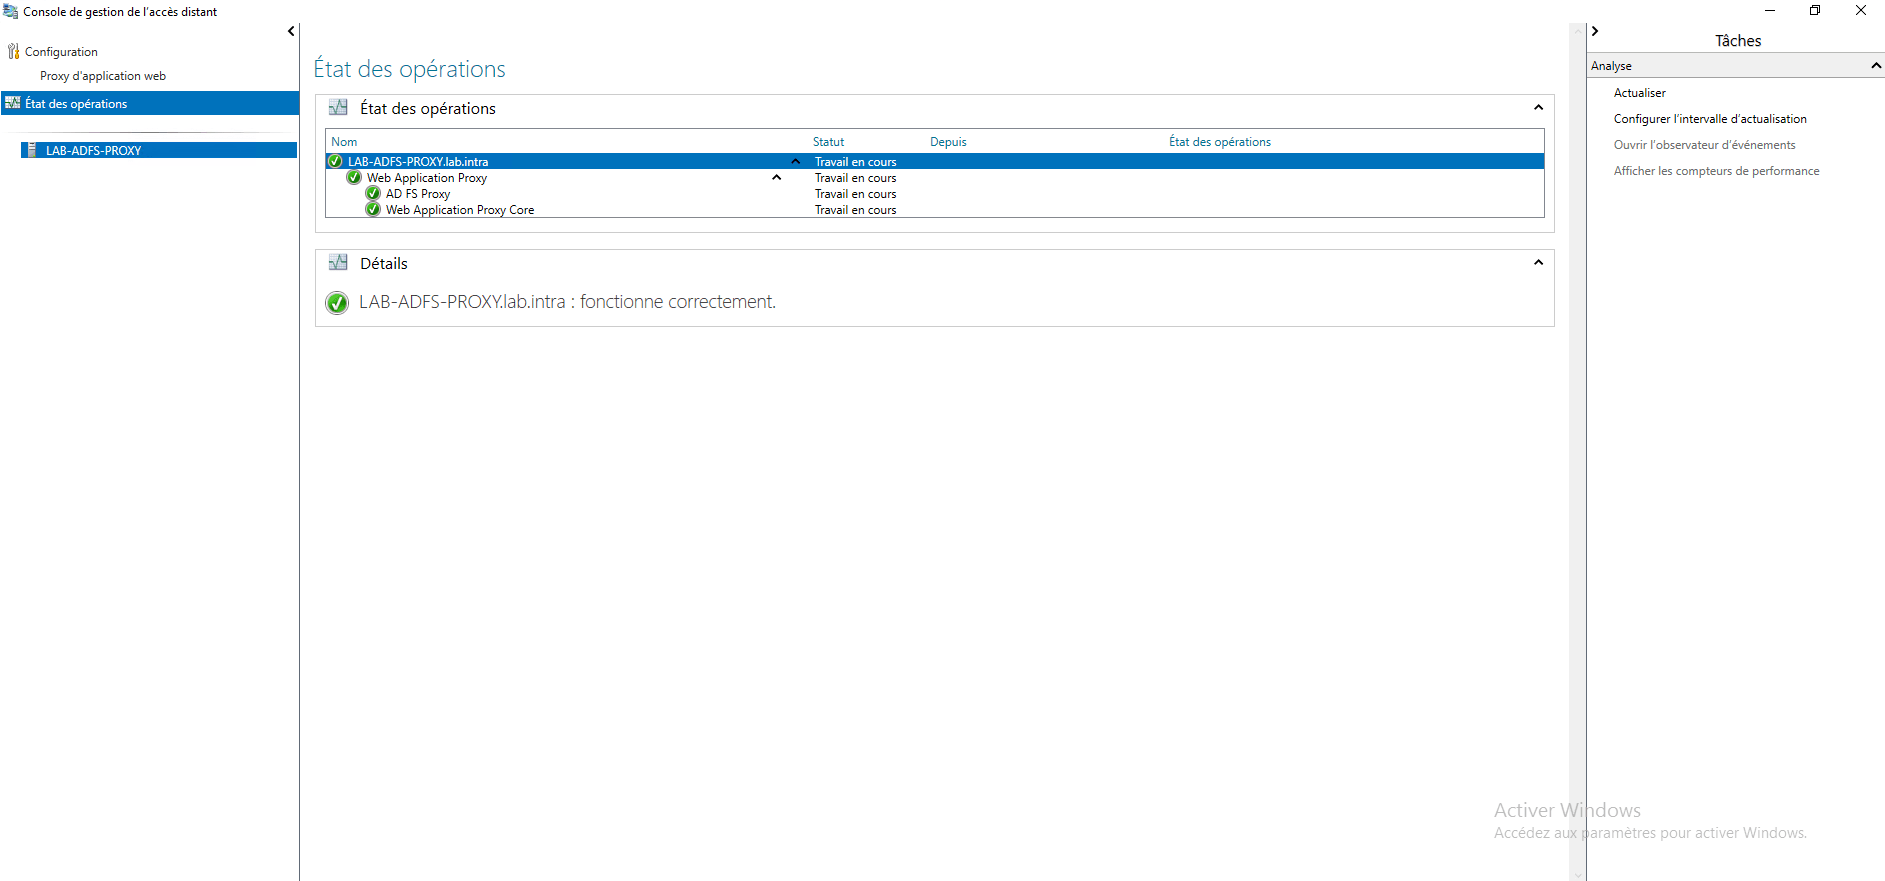
On the AD FS server, open the administration console and verify that the proxy status is enabled 1 .