Use WAP proxy
Using WAP without authentication
In this part, we will set up a WAP rule without authentication to go to the IIS site on the LAB-AD1 server.
Before that, you have to create a DNS record that will point to the proxy server, in the example, the record iis-test.lab.intra will point to the IP of the WAP server.
Configuration
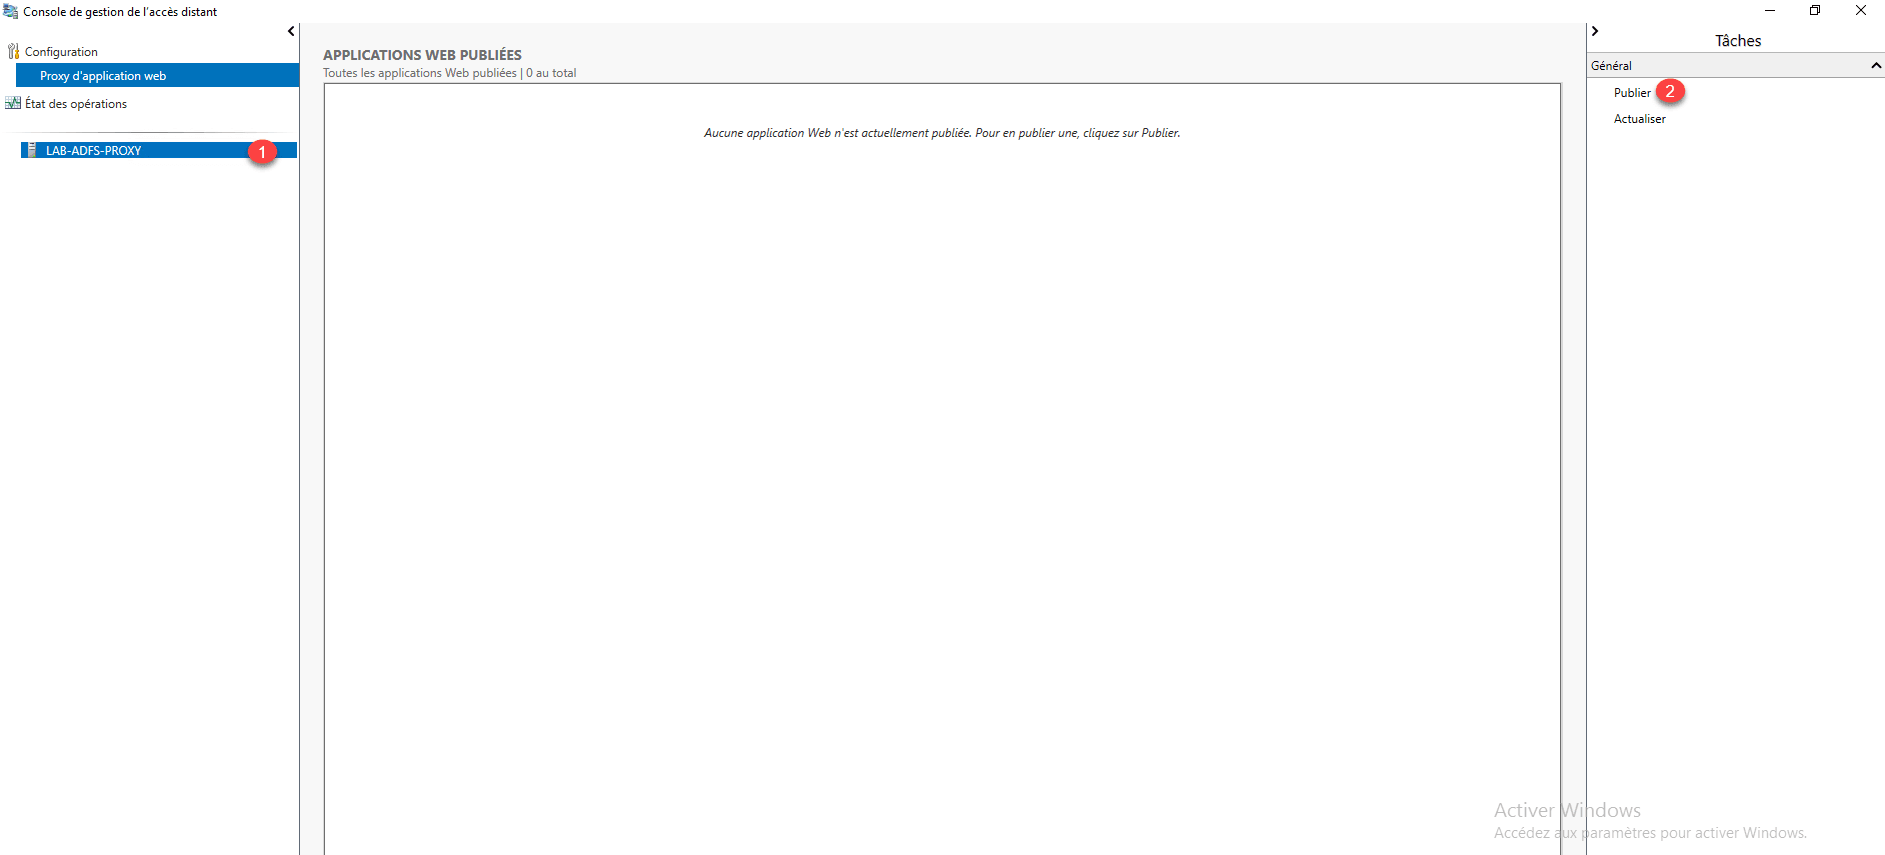
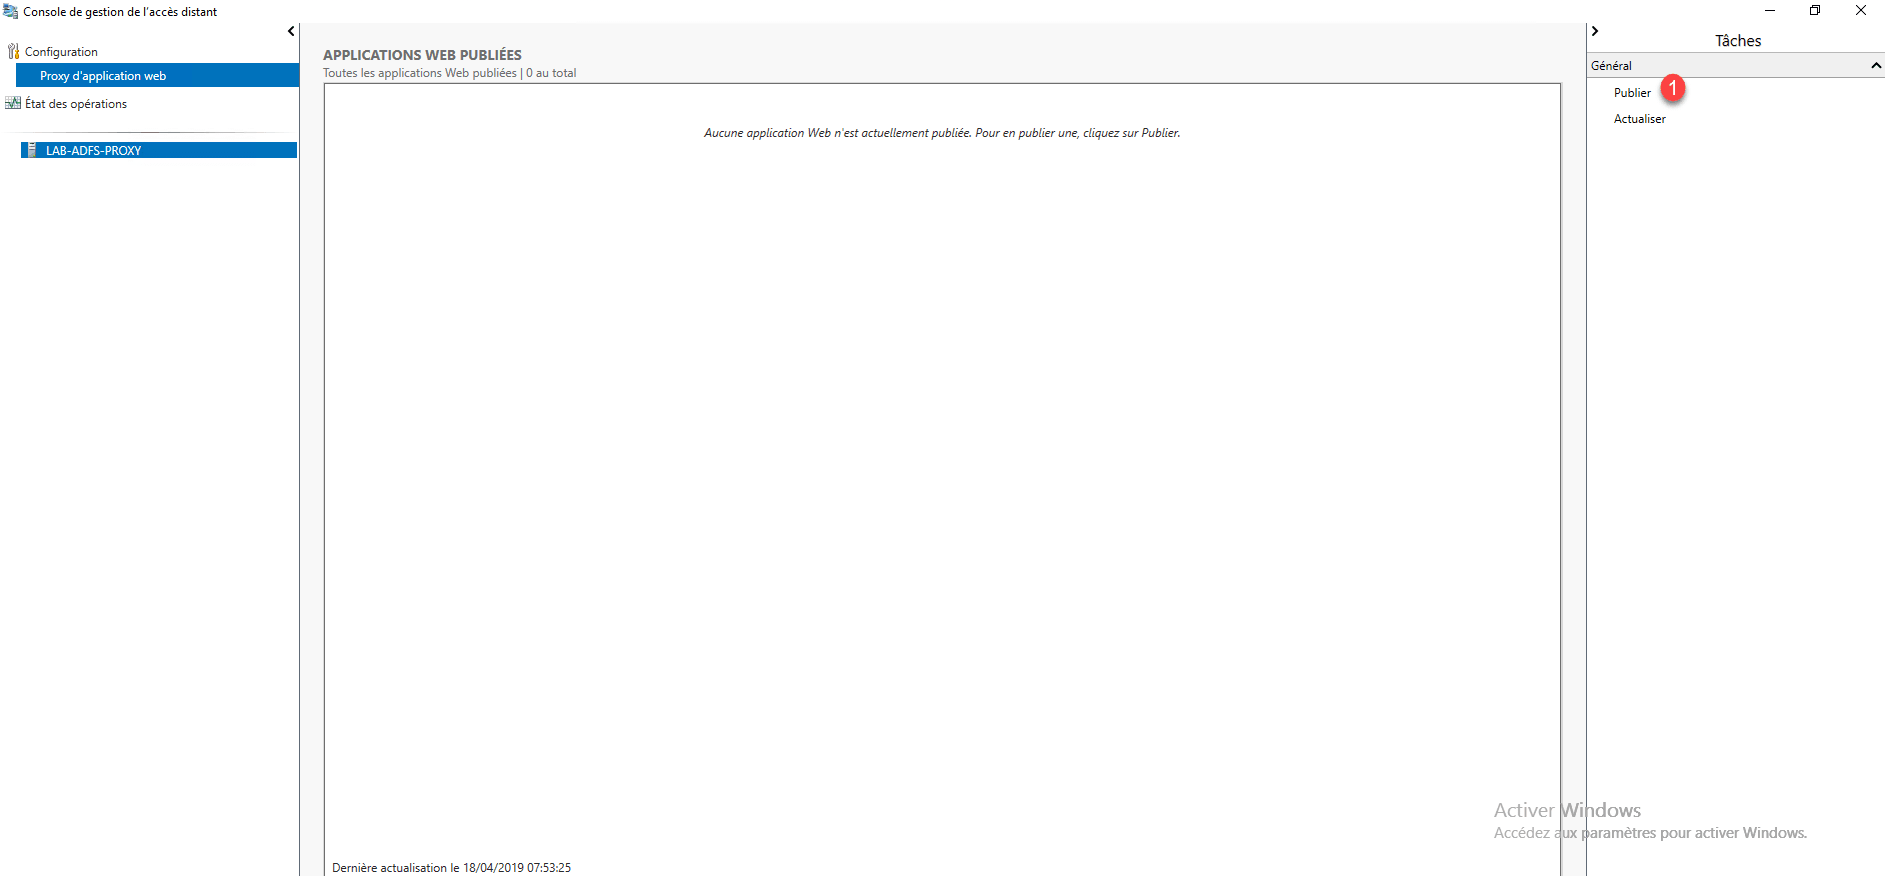
From the remote access management console, select proxy 1 and click on Publish 2 .
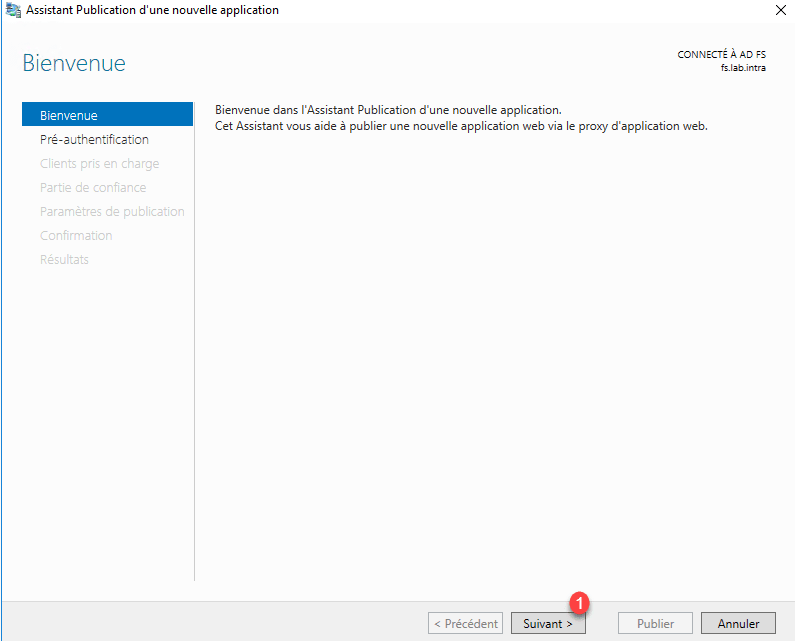
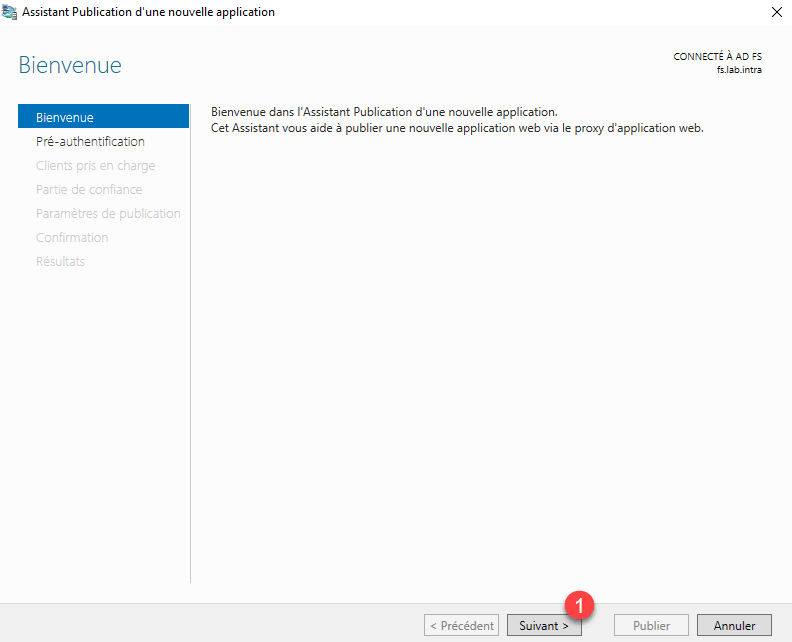
When launching the wizard, click Next 1 .
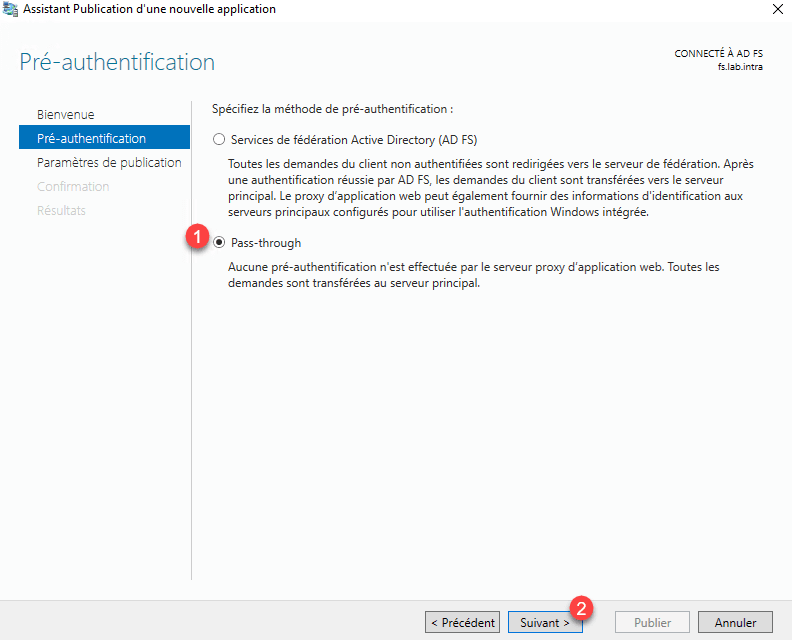
Choose Pass-through option 1 then click Next 2 .
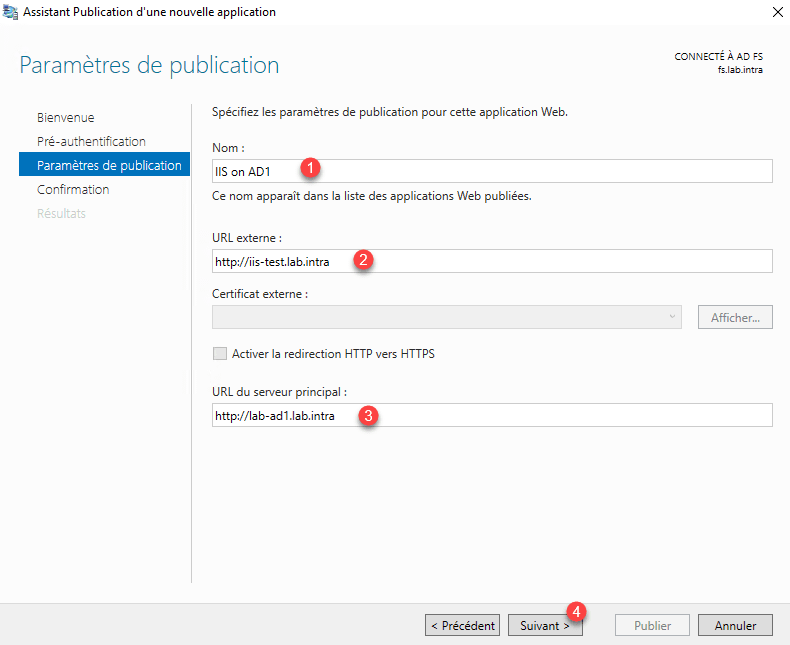
Give a name for the publication 1 , enter the external access URL 2 and the server url internally 3 then click Next 4 .
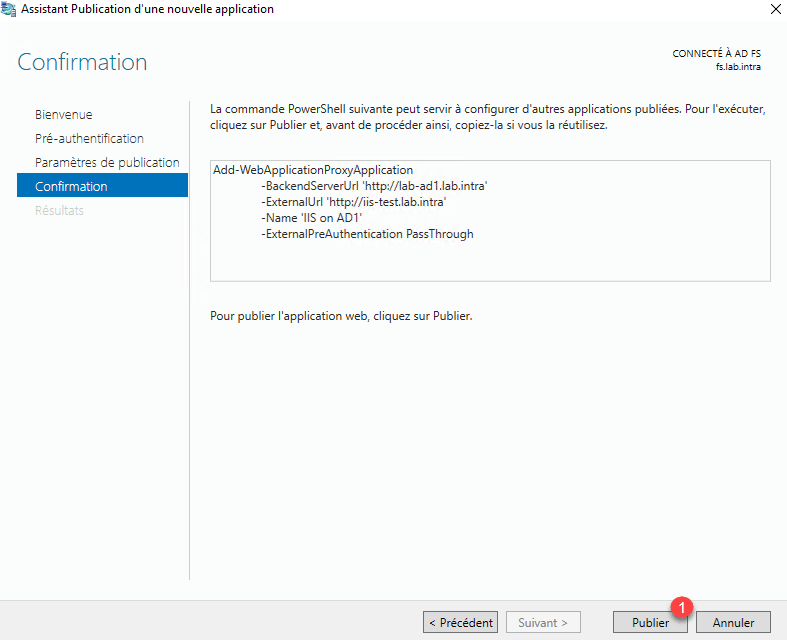
Confirm the publication by clicking Publish 1 .
When the configuration is complete, click Close 1 to exit the wizard.
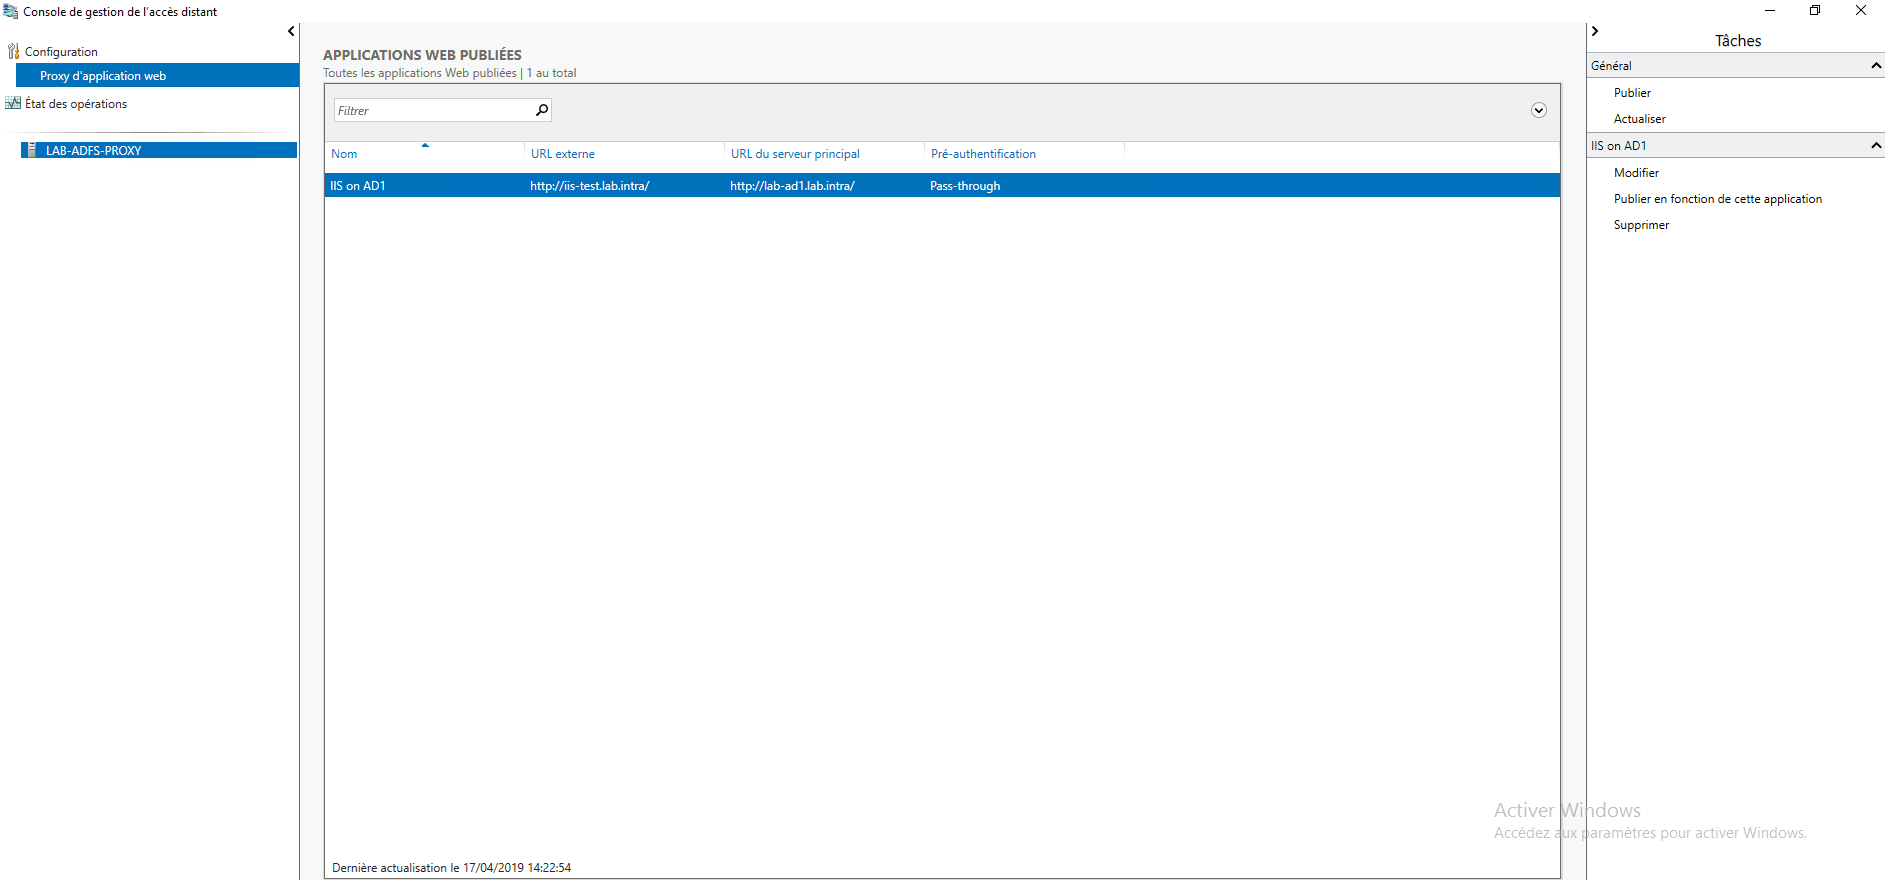
The application is available in the console.
Add a DNS record to resolve the external name internally.

Test
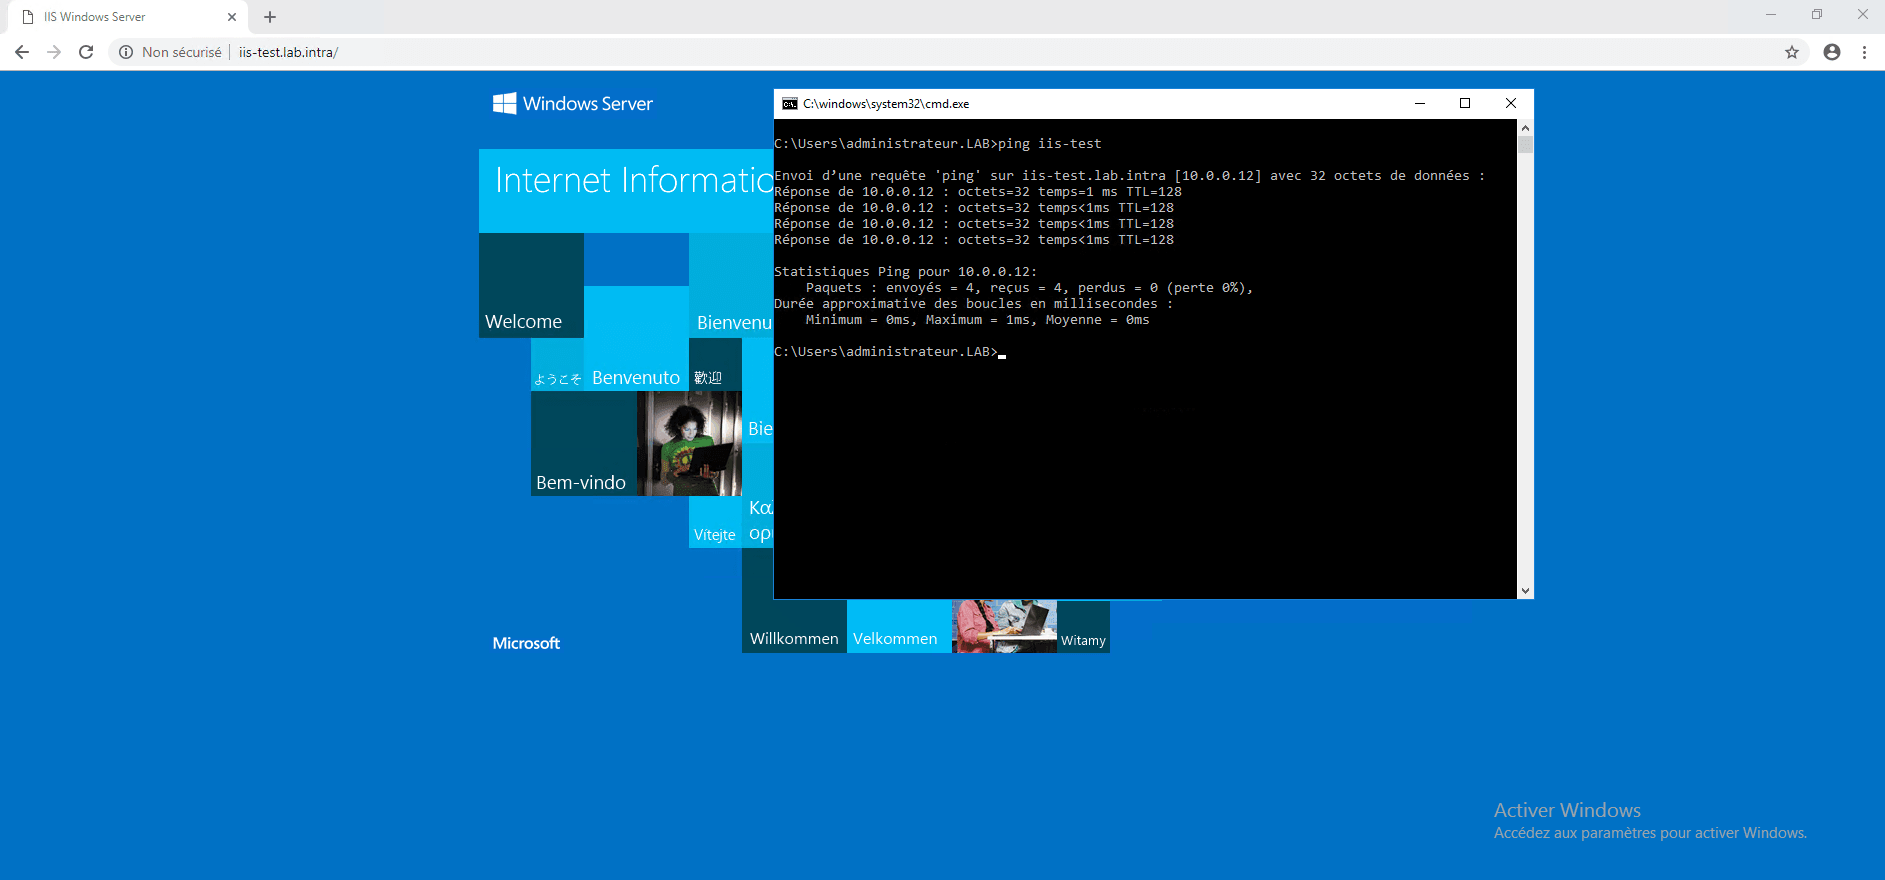
From a client computer, launch an internet browser and enter the external address of the site, the default page of IIS is displayed.
Using WAP with authentication
In this part, we’ll see how to add authentication to access the IIS server page.
In the proxy console deleted the publication. To work, the fs.lab.intra domain must also point to the proxy server, so I added a record to the host file of the test client.
For this part, I also enabled the HTTPS link on the IIS site and install the certificates to ensure proper operation.
Configuration
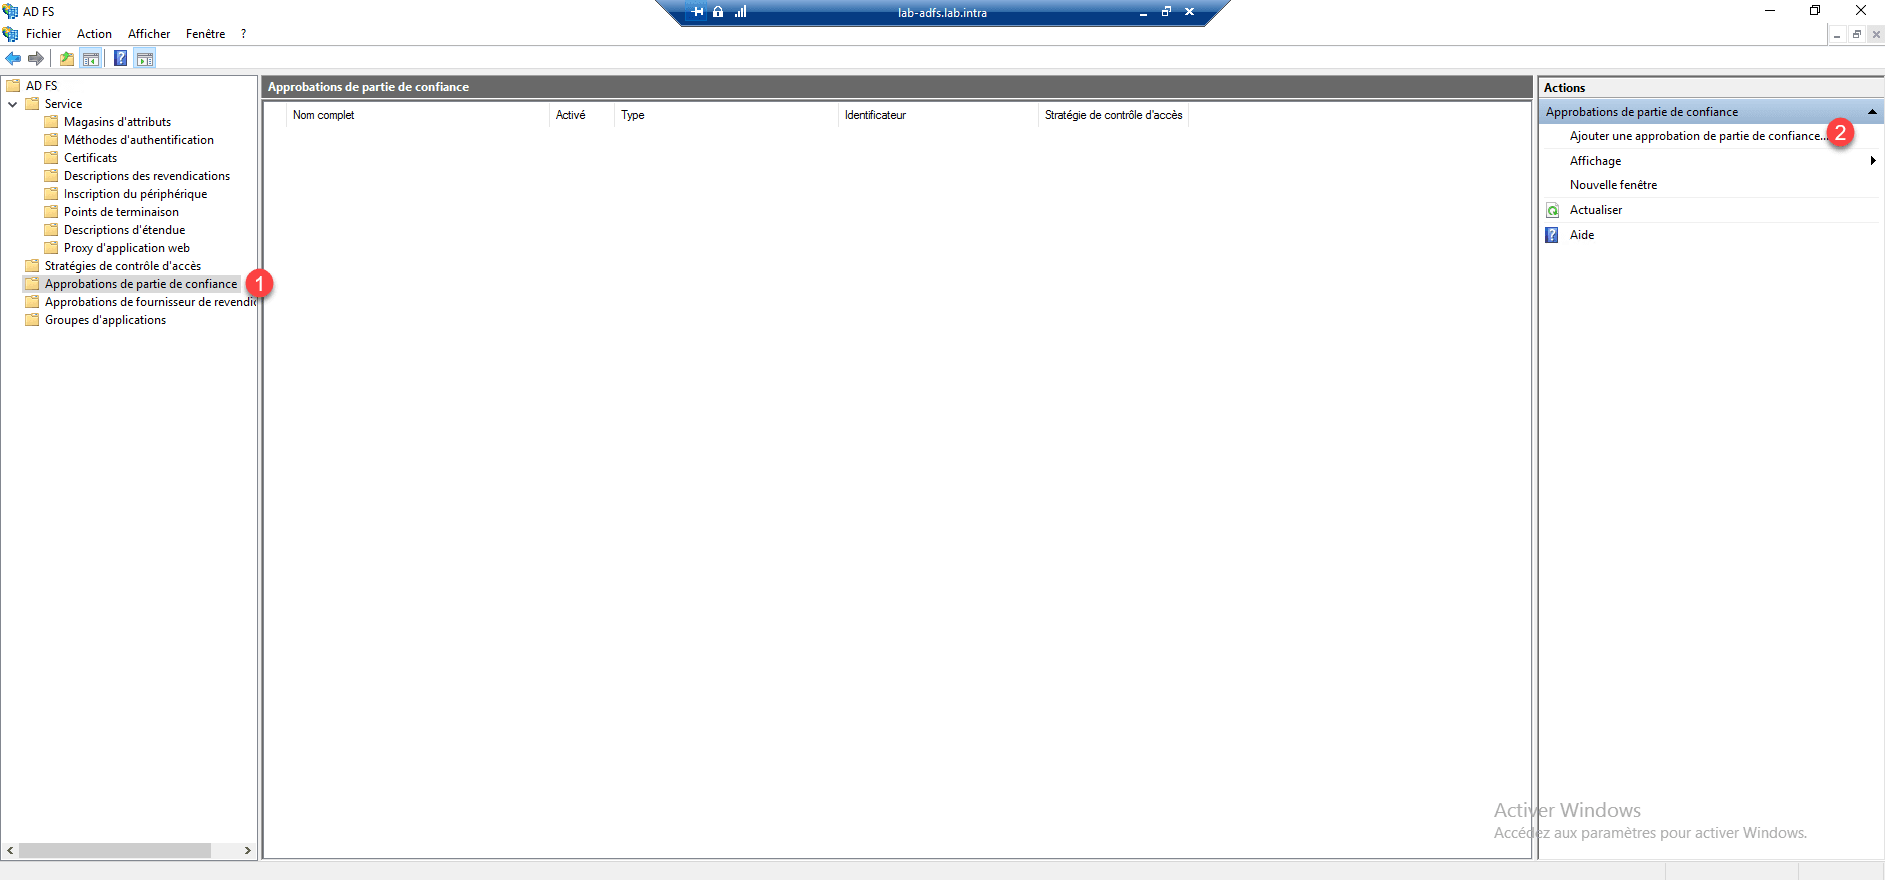
On the AD FS console, go to the Trusted Party Approval File 1 and click Add Trusted Part Approval 2 in the Actions menu.
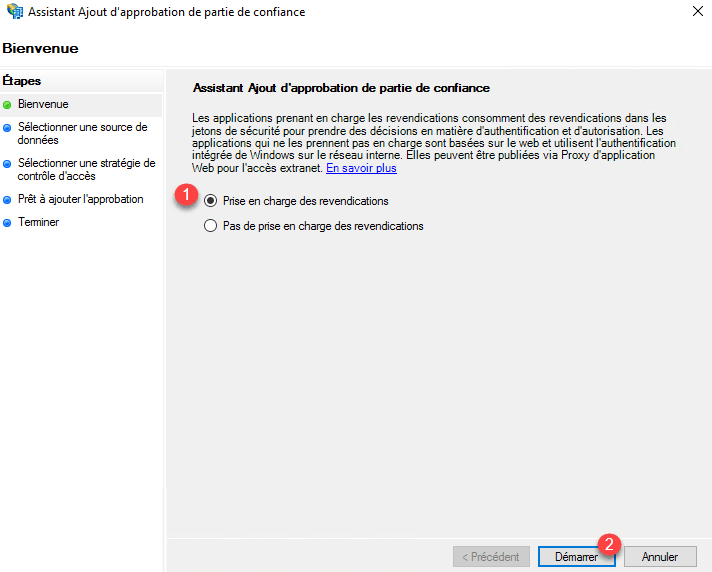
At the opening of the wizard, select the option Support claims 1 and click on Start 2 .
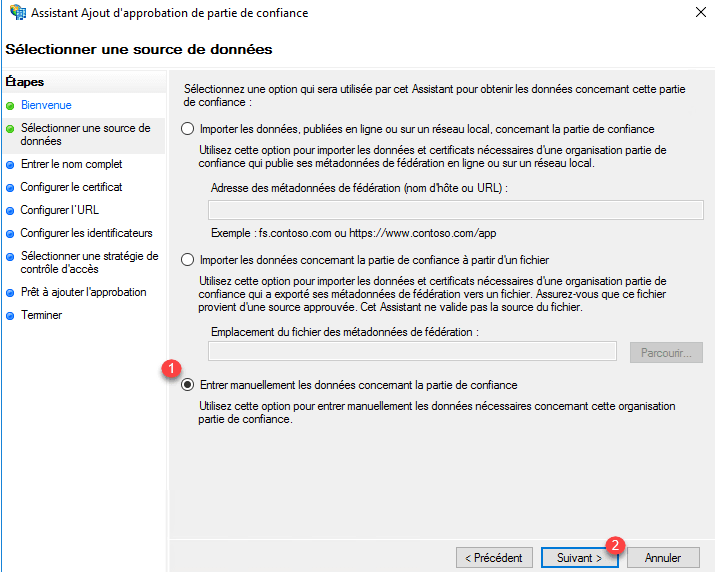
Choose the option Manually enter the data for the trusted part 1 and click Next 2 .
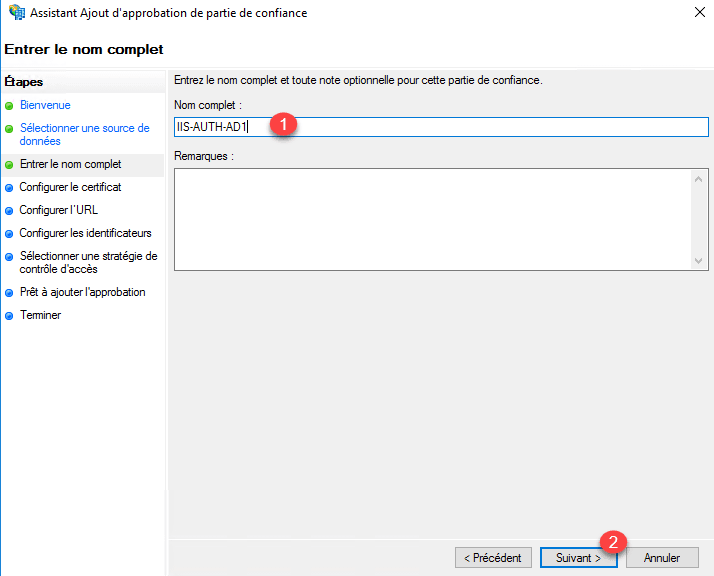
Enter the name 1 for the trusted party and click Next 2 .
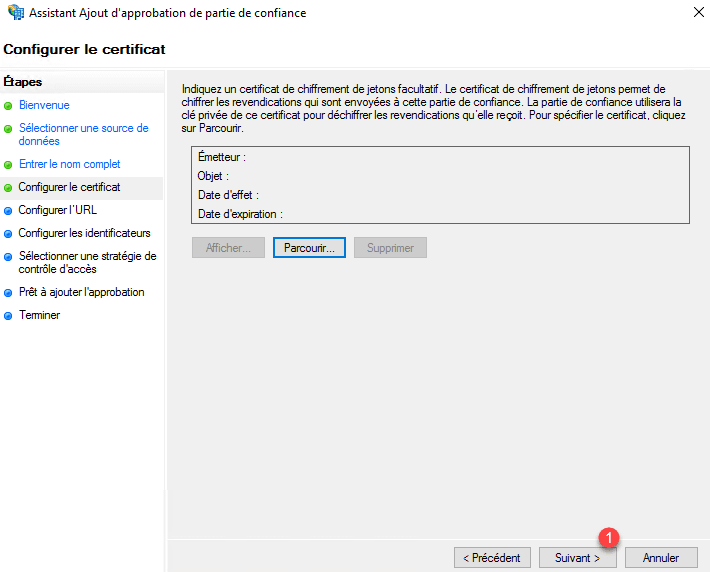
Pass the certificate portion for token encryption by clicking Next 1 .
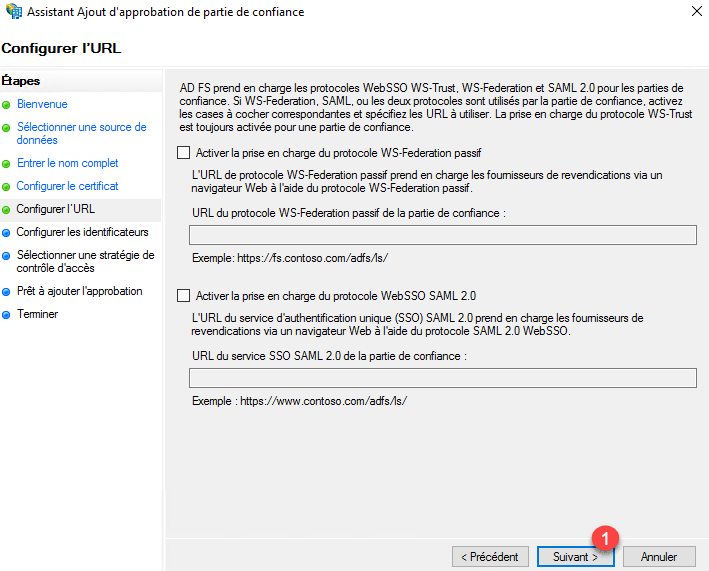
Configuring url, click Next 1 .
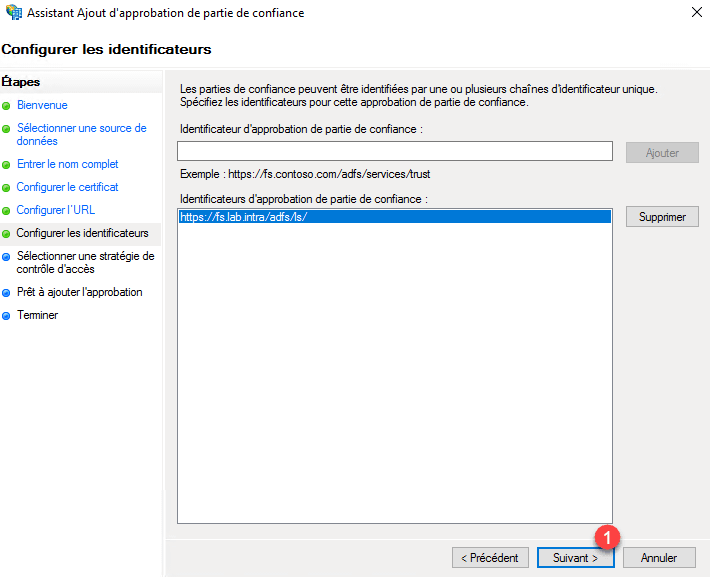
Identifier, configure the portal url https://fs.domain.com/adfs/ls/ 1 and click on Add 2 .
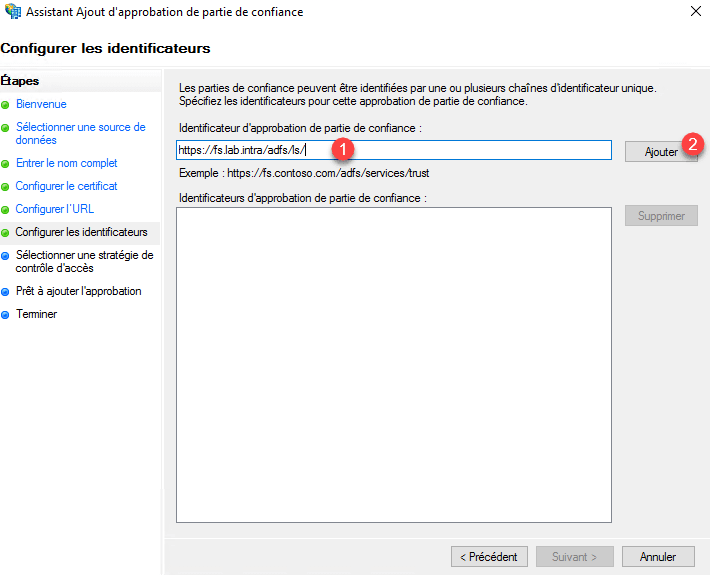
Then click Next 1 .
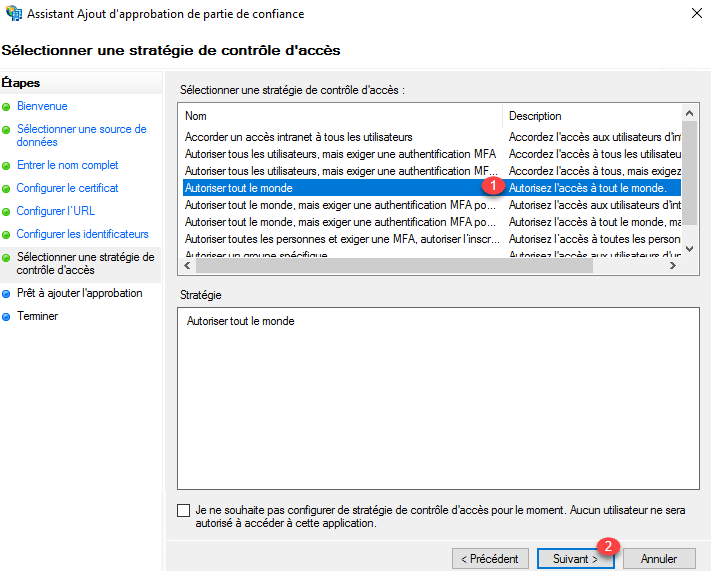
Select Allow everyone 1 and click Next 2 .
Click Next 1 .

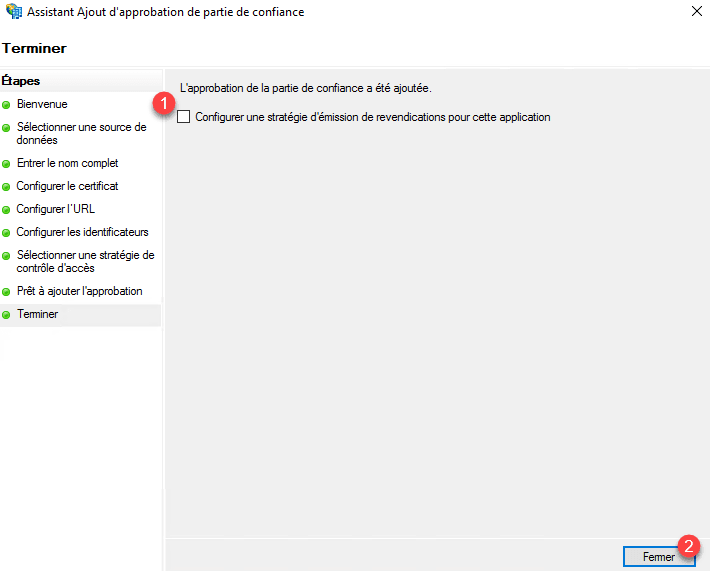
Uncheck Configure a claims policy for this 1 application and click Close 2 .
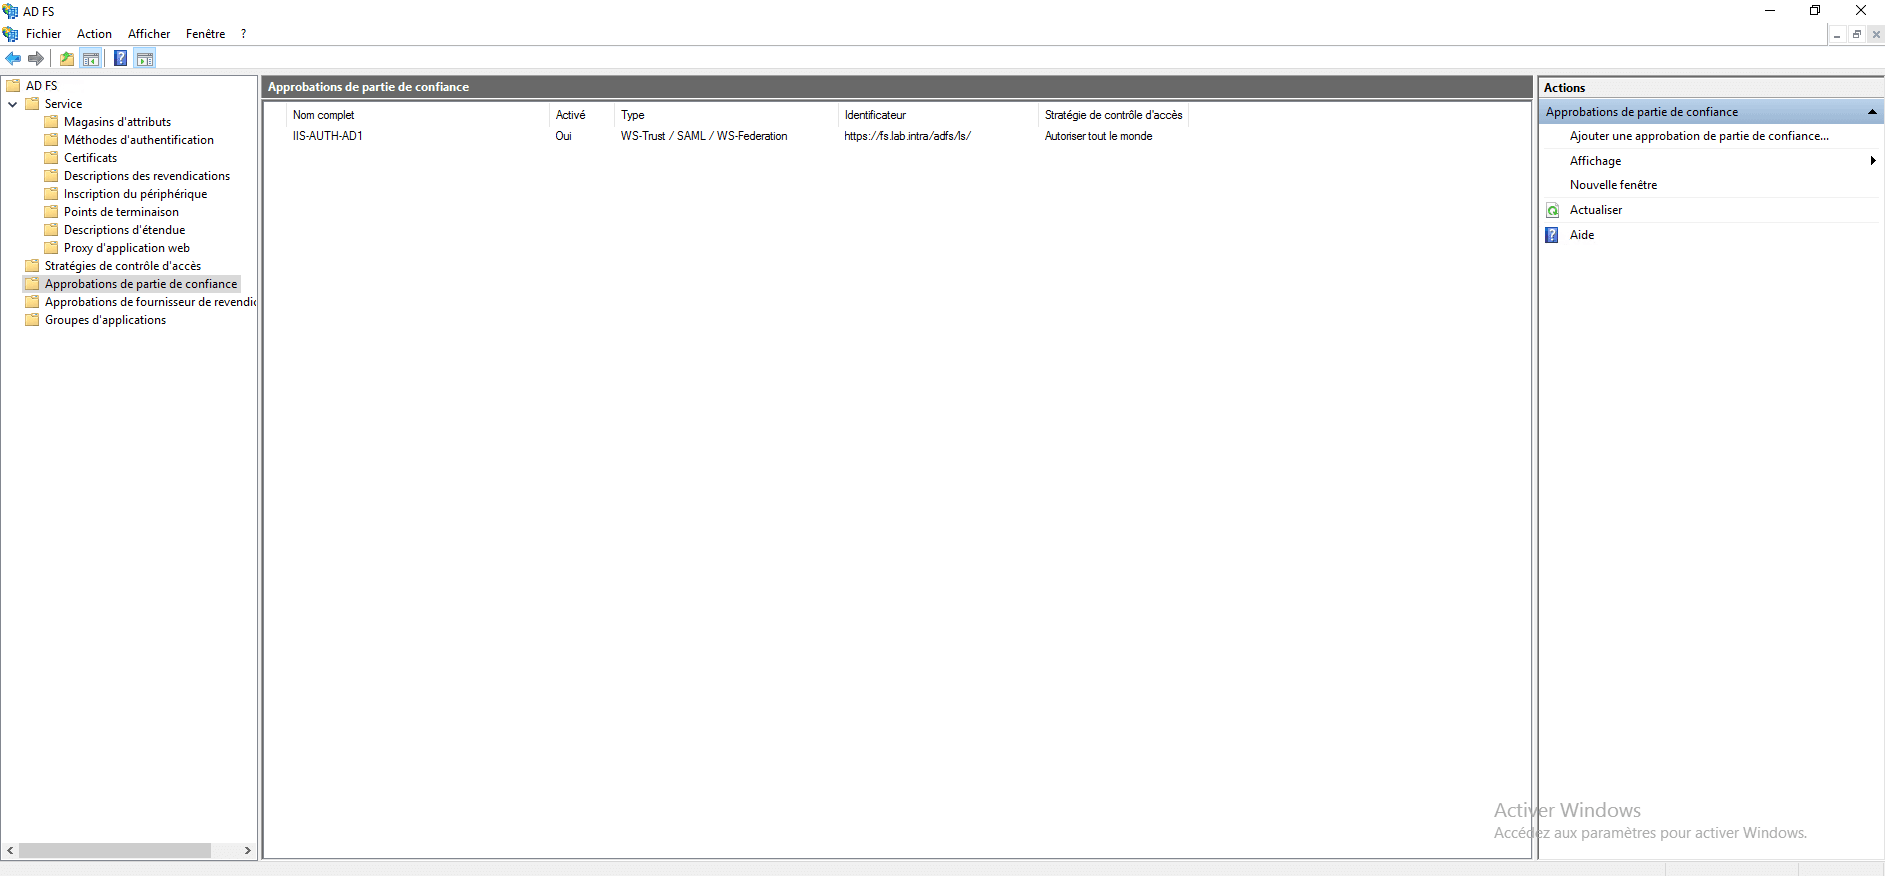
Approval is added in the AD FS console.
Now go to the proxy server, from the admin console, click Publish 1 .
At the launch of the wizard click Next 1 .
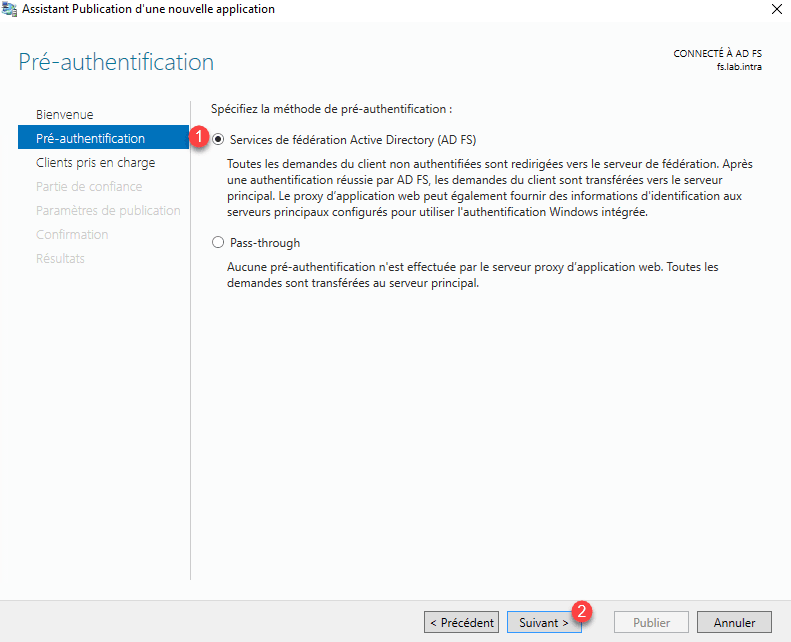
Pre-Authentication select Active Directory Federation Service (AD FS) 1 and click Next 2 .
Choose the option MFSOFBA and Web 1 and click Next 2 .

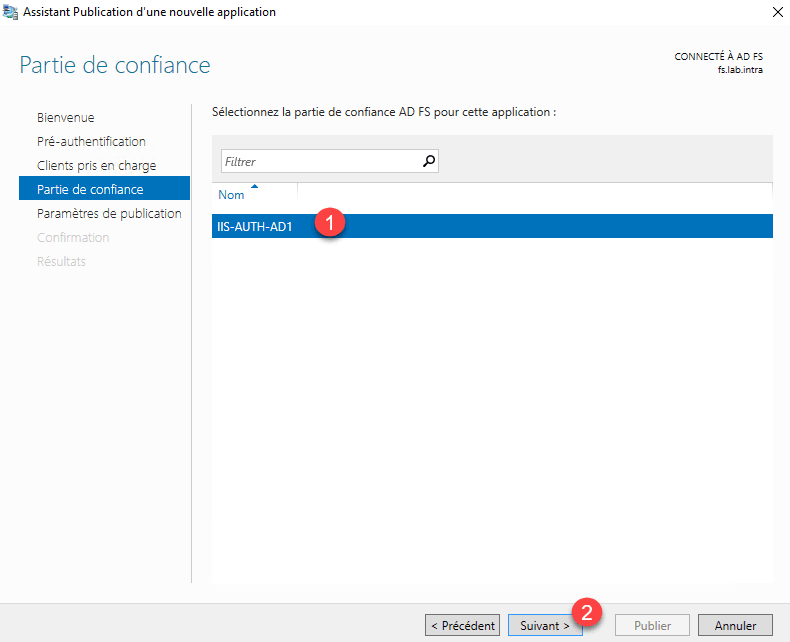
Select the trusted part created on the AD FS server 1 and click Next 2 .
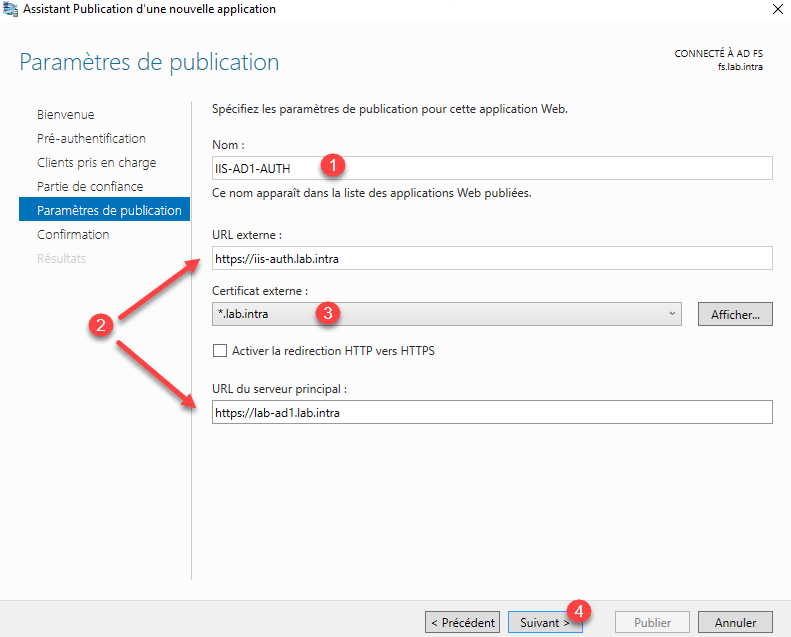
How for the non-authenticated part, name the publication 1 , configure the urls 2 , select the HTTPS certificate 3 and click Next 4 .
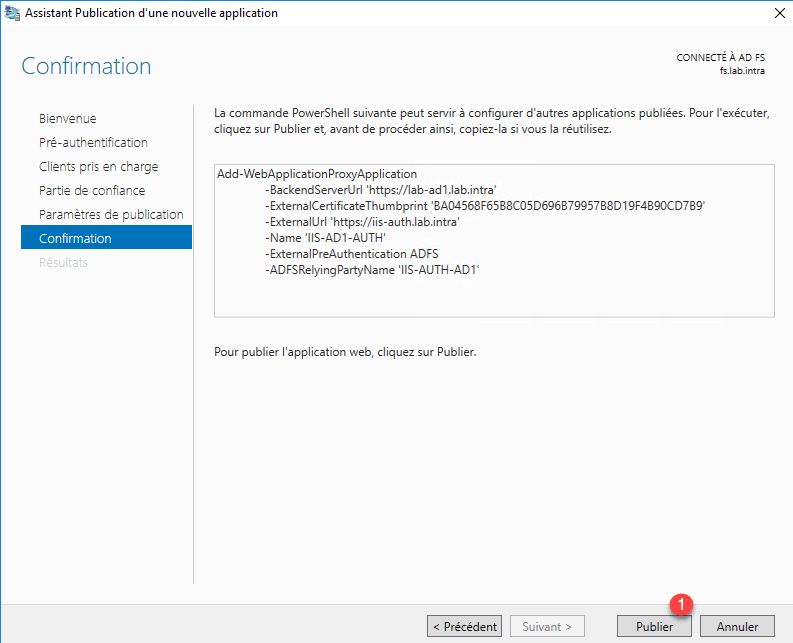
Confirm the creation by clicking Publish 1 .
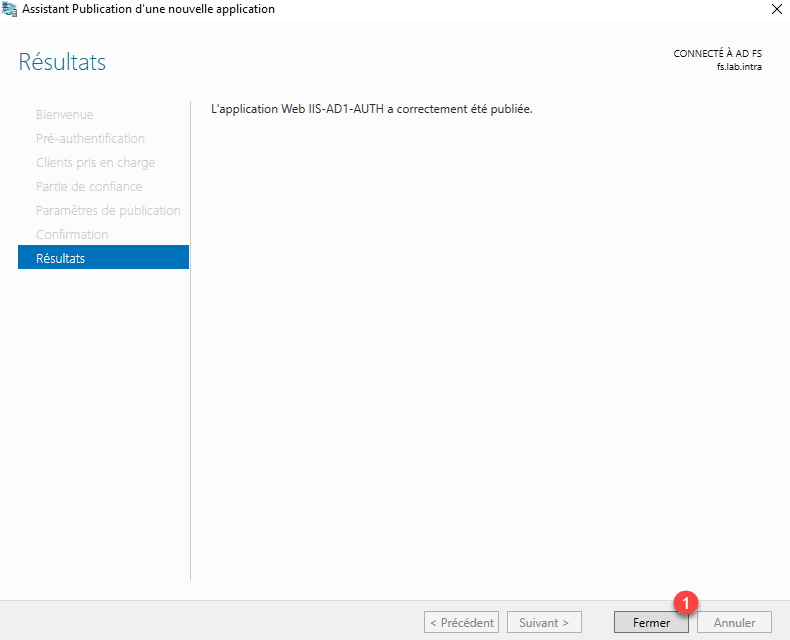
Click Close 1 to exit the wizard.
Test
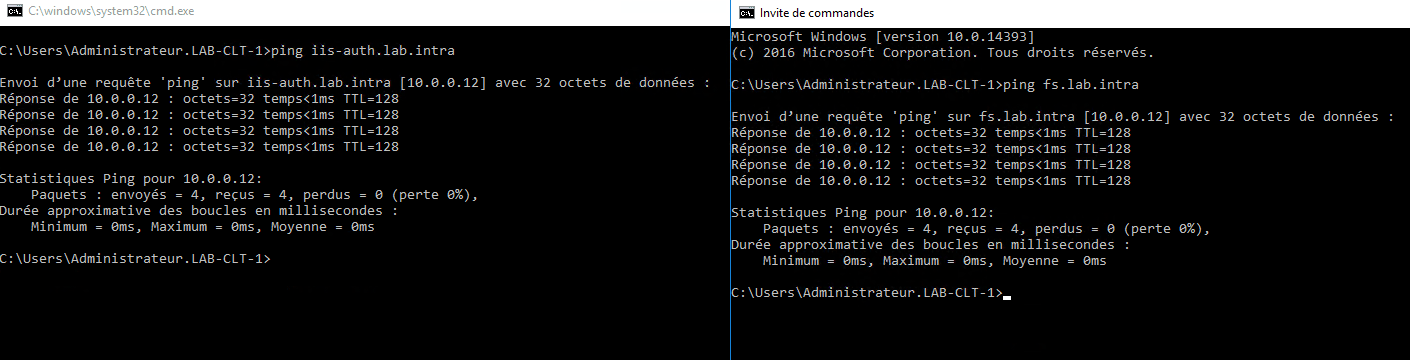
The external URL of the publication and Federation Service must point to the Proxy server.
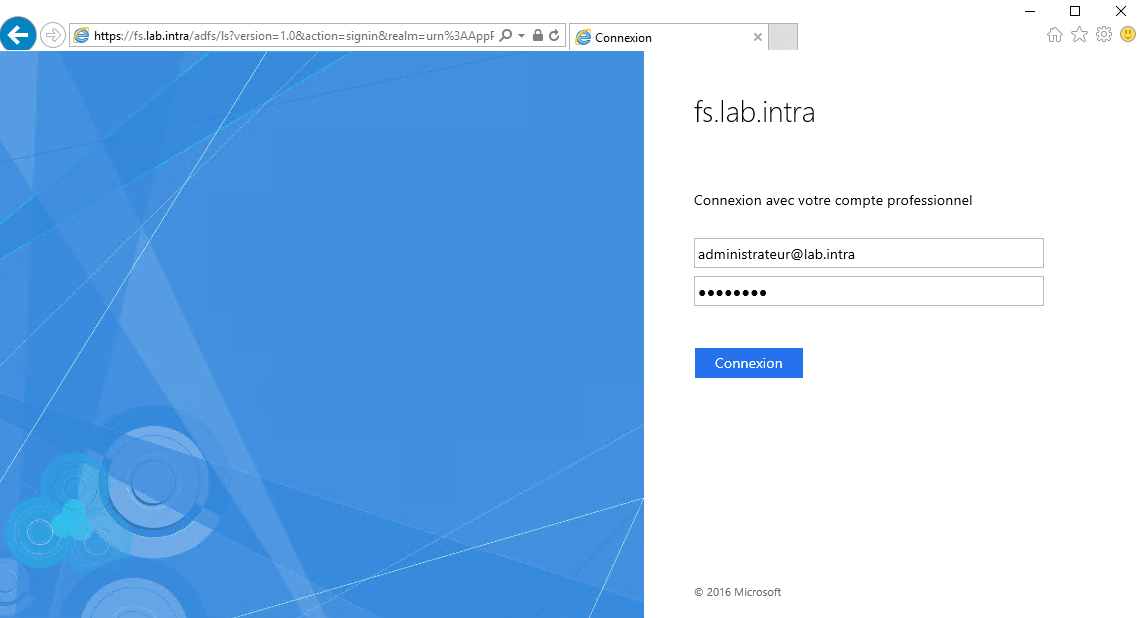
From a client, launch the internet browser and enter the external url configured on the WAP service. You will normally have to be redirected to an authentication form. Enter the information to login and click on Login.
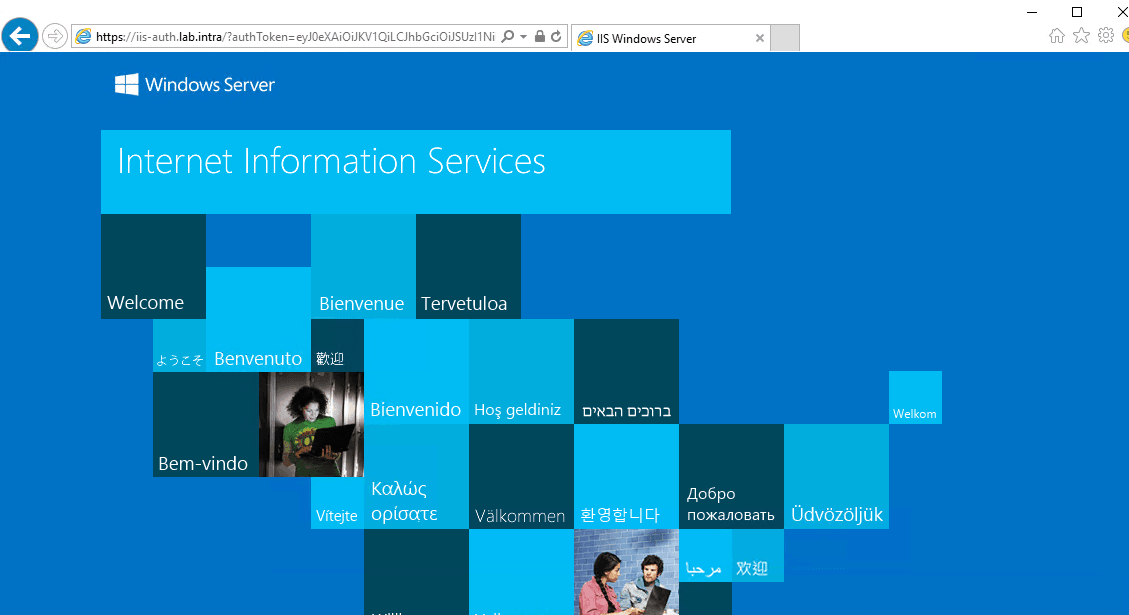
Once identified, the IIS page is displayed and you can see the authToken parameter in the URL.