In this article, I will explain how to add a domain controller to an existing domain and manage replication links.
Below, an illustration of the final architecture:
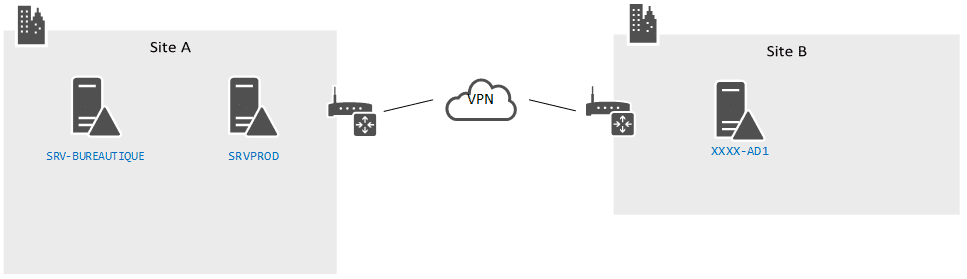
Throughout this tutorial, we will add the controller XXXX-AD1 to the existing domain, which already has two controllers on site A.
Prerequisites for XXXX-AD1:
- A version of Windows compatible with the forest and domain level
- Fixed IP
- DNS: one of the DC servers of site A
When adding the first Windows Server 2016/2019 domain controller to an existing environment, the domain must be at least at the 2008 functionality level and the user account used for promotion must be a member of the Schema Administrators and Administrators groups of enterprise, changes to the Active Directory schema are made.
Table of Contents
Installing AD DS / DNS roles
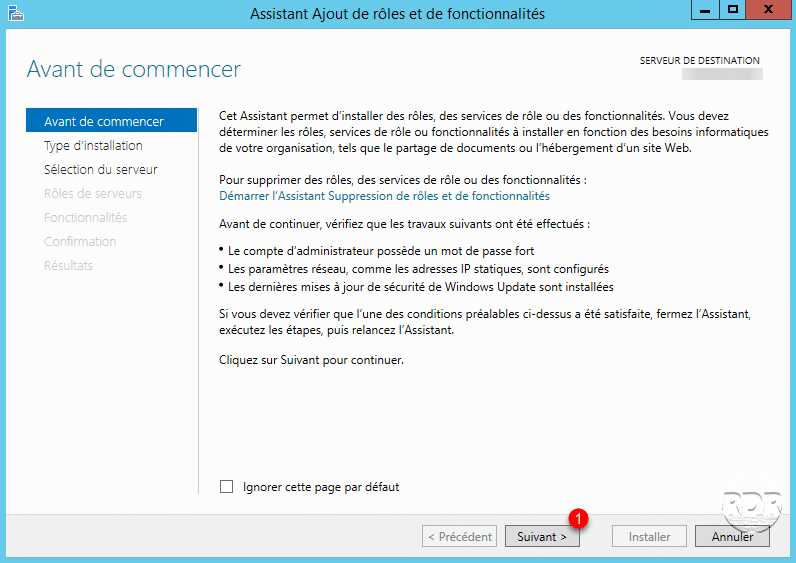
From the Server Manager, launch the wizard for adding roles and functionalities.
When launching the wizard, click on Next 1.
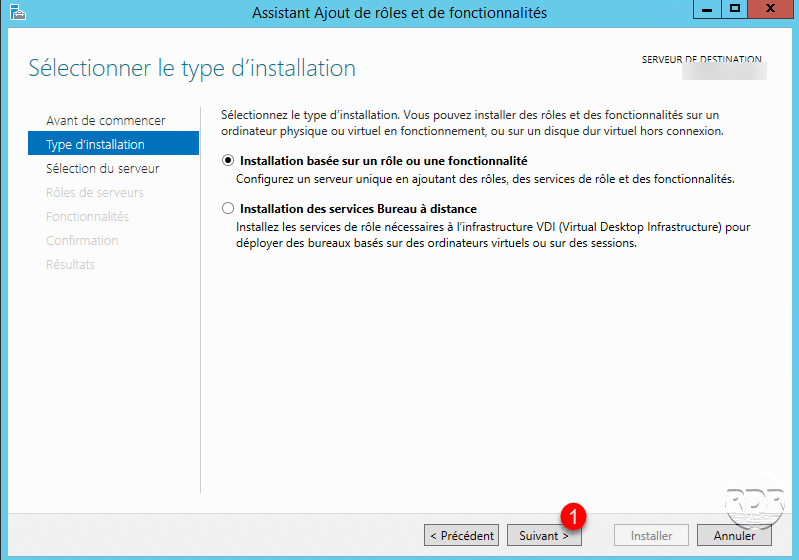
Installation type, choose Role-based or feature-based installation and click Next 1.
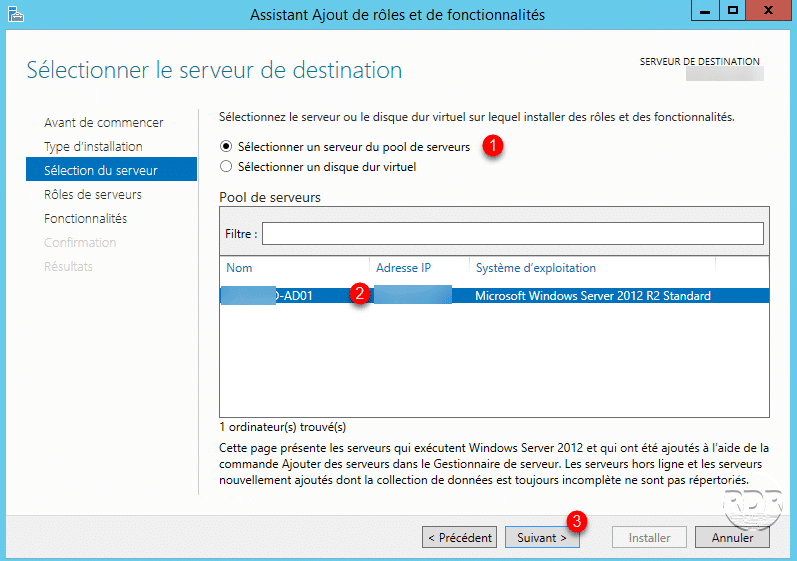
Choose the option Select a server from the server pool 1, then select the server 2 and click Next> 3.
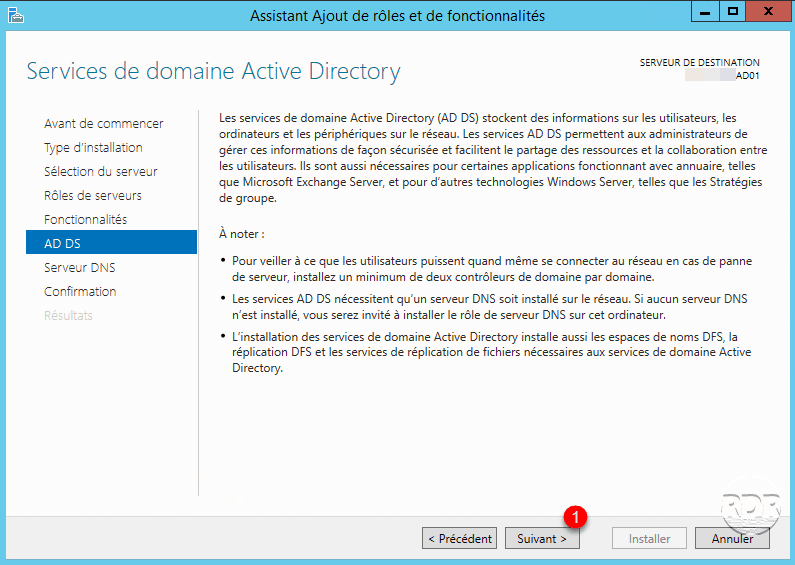
In the roles, select AD DS Services 1.
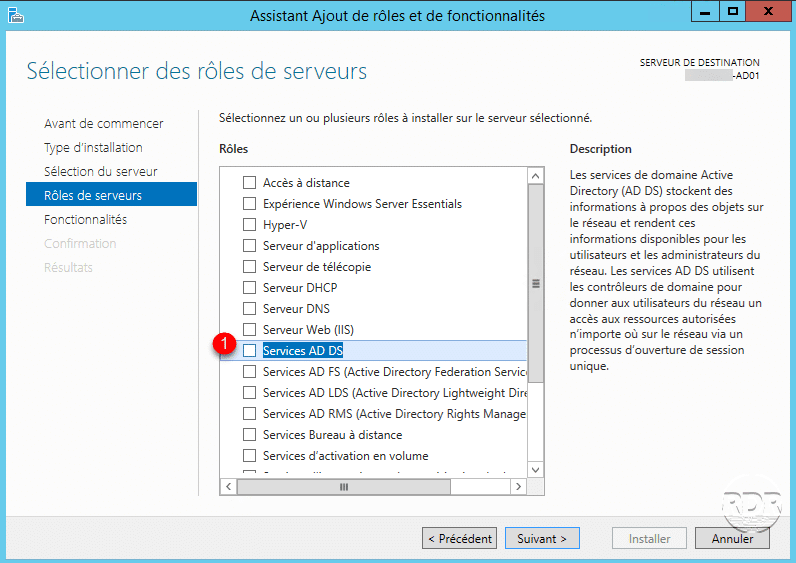
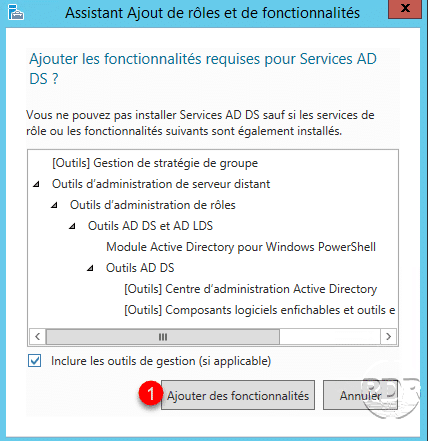
Confirm the addition of RSAT consoles by clicking on Add functionality 1.
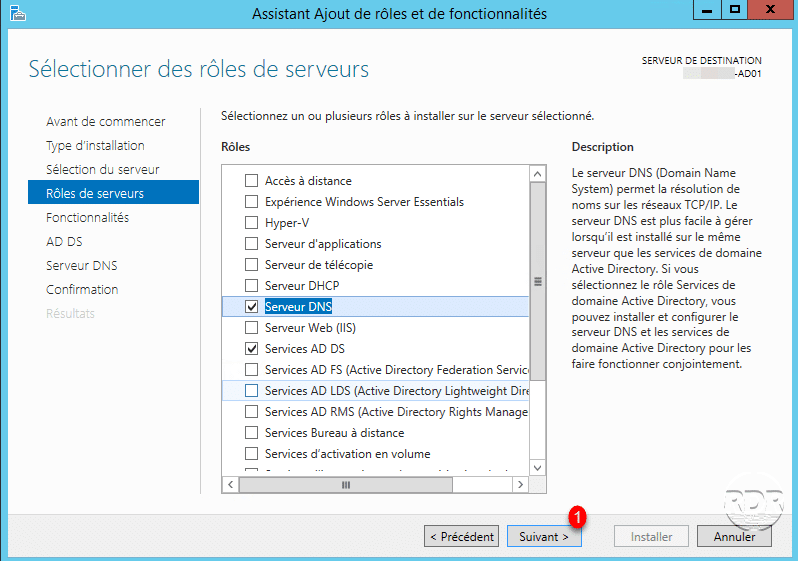
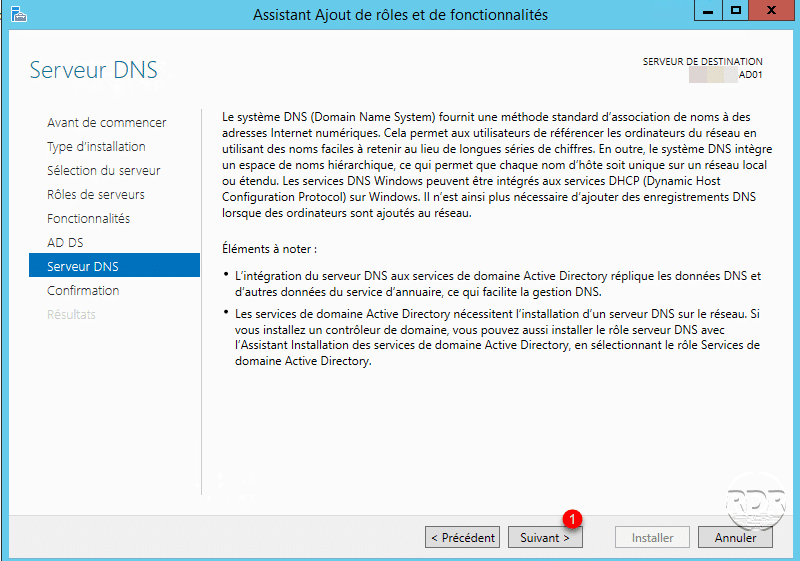
Also in the roles, select DNS Server 1.
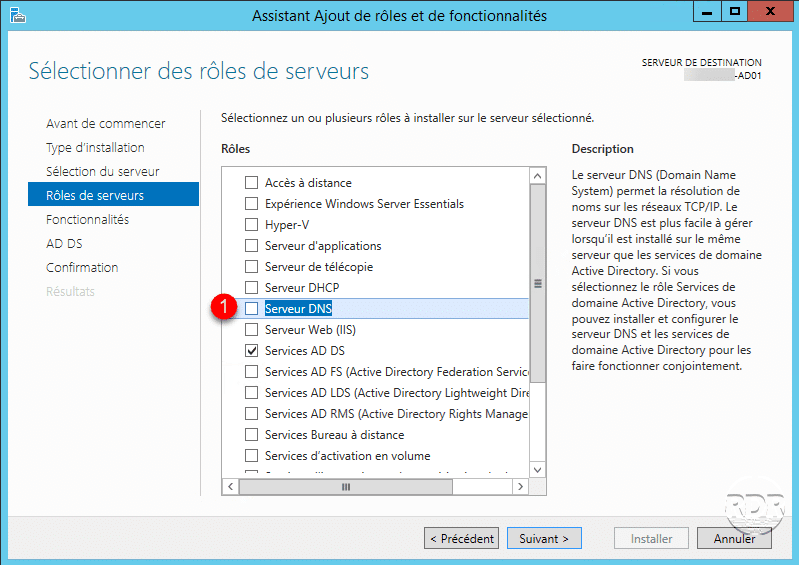
Confirm the addition of the DNS console by clicking on Add features 1.

Click on Next> 1.
Skip the list of features by clicking Next> 1.

Click on Next> 1 in the presentation of the AD DS and DNS roles.
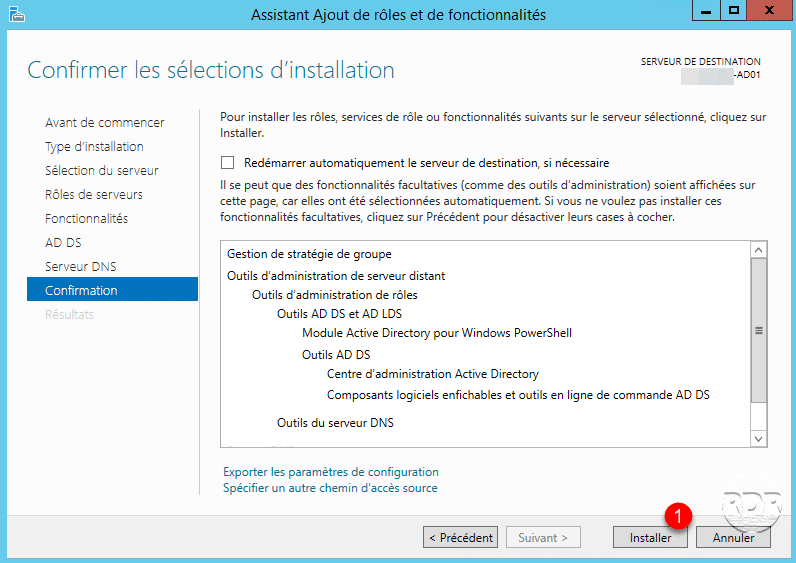
Click on Install 1.
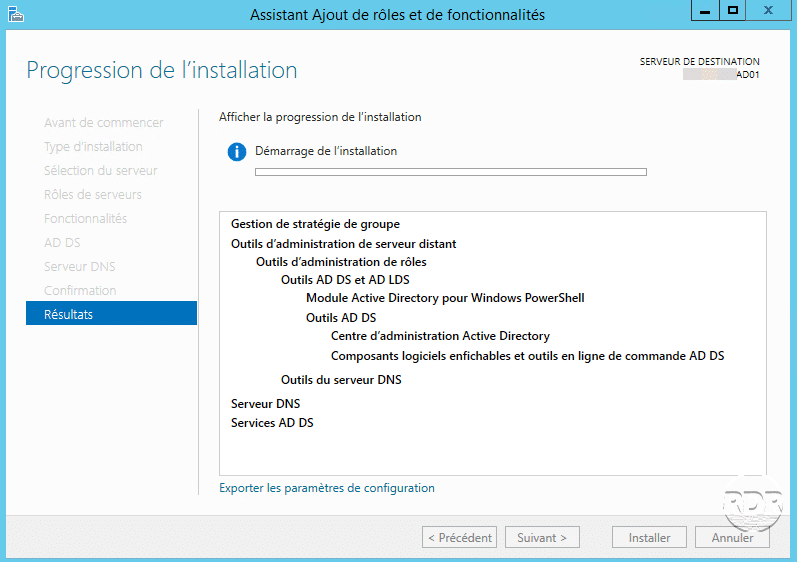
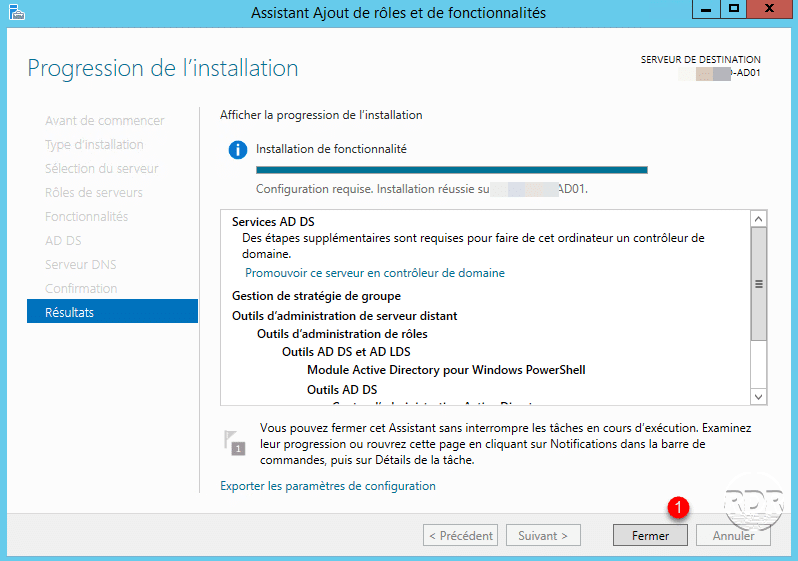
Wait while the roles are installed.
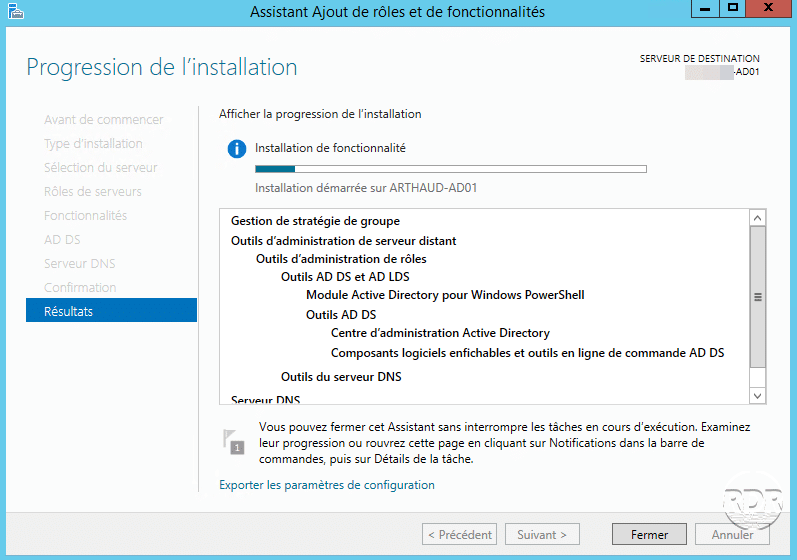
The installation is finished, exit the wizard by clicking on Close 1.
Promotion domain controller
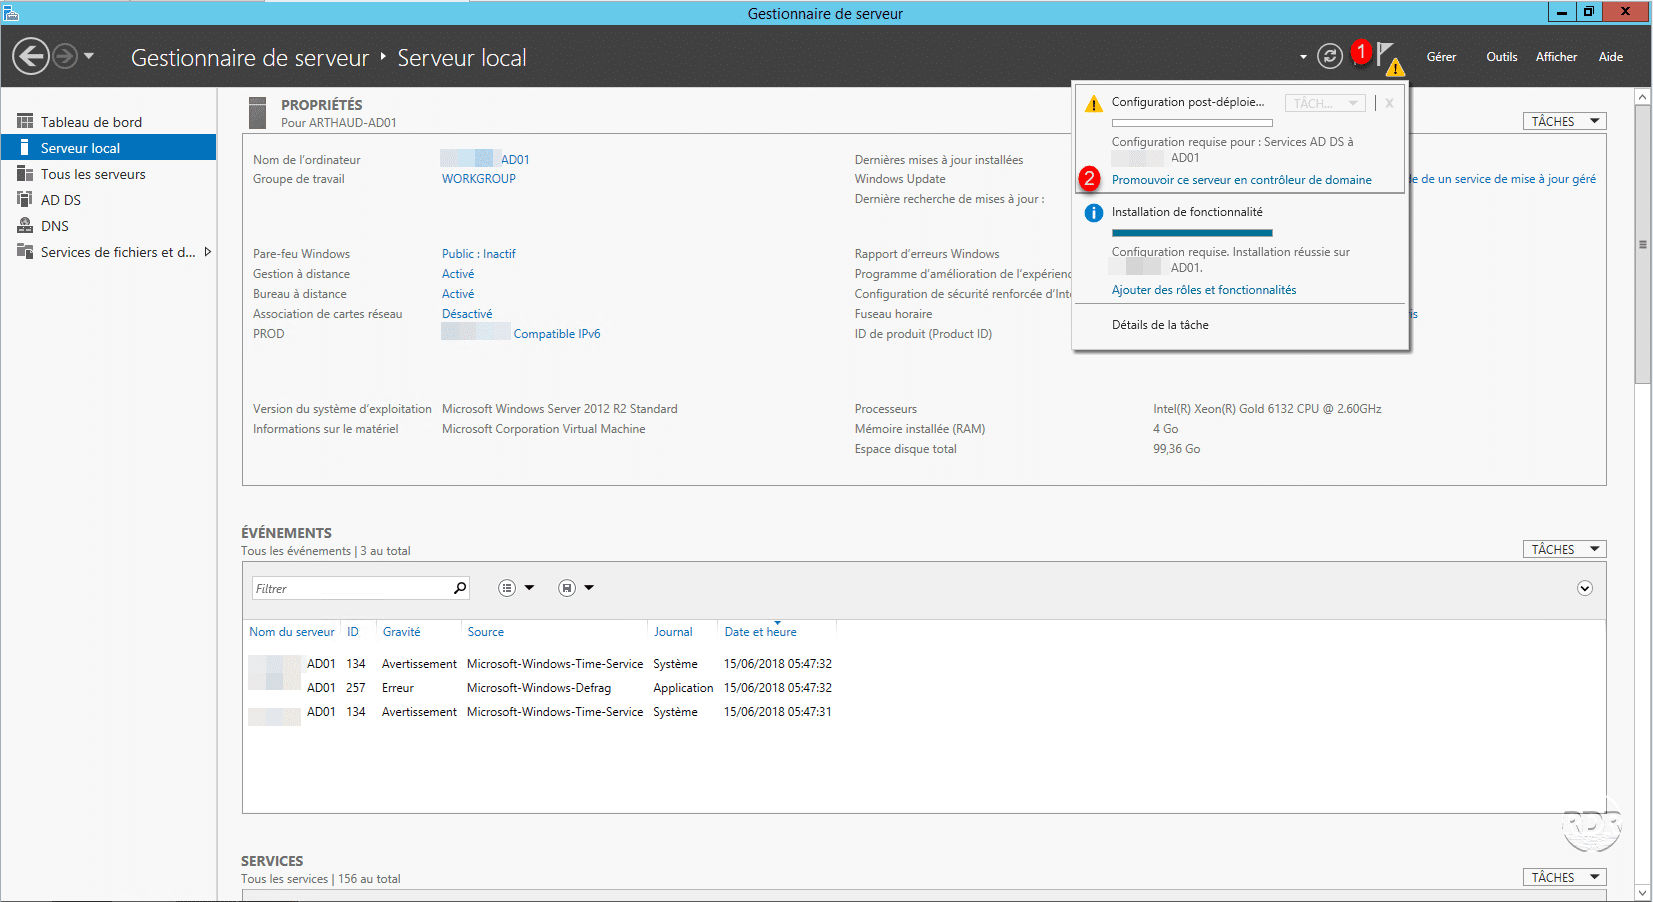
From the Server Manager, click on the “flag” 1 to display the notifications and click on Promote this server domain controller 2.
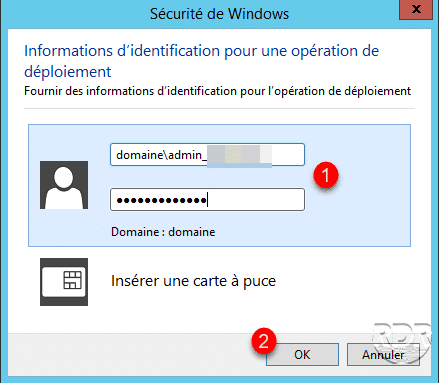
Enter the information for an account in the Domain Admins / Enterprise Administrators / Schema Administrator 1 groups and click OK 2.
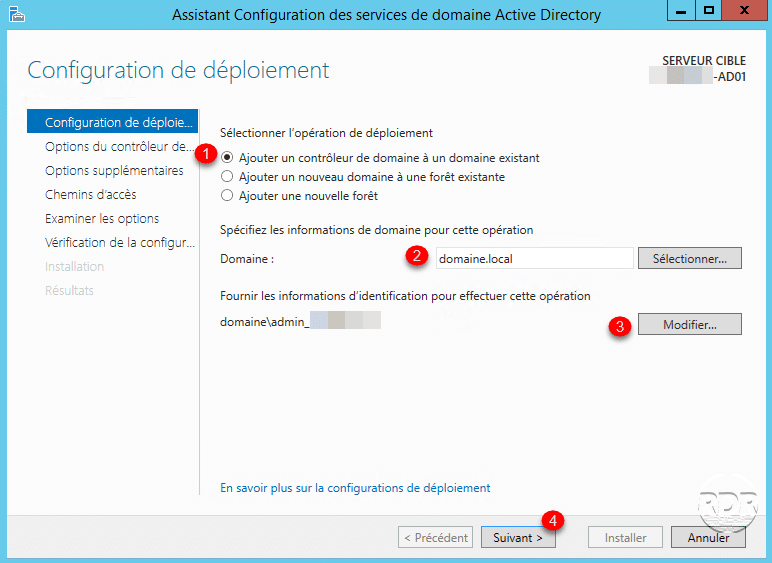
Select Add a domain controller to an existing domain 1, enter the name of the Domain 2, if necessary click on Modify 3 to edit the account given in point 2. Click on Next < <4 .
Wait while the assistant validates the information provided.
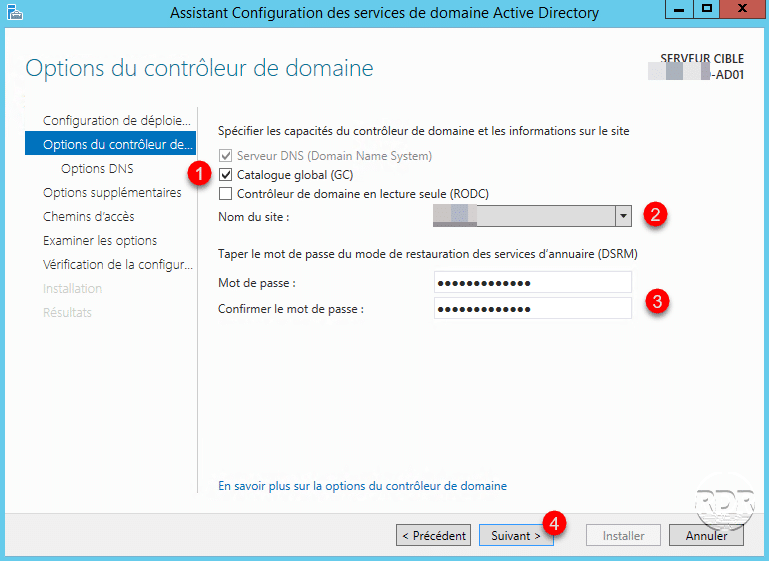
Depending on the desired configuration, select the options 1, choose a site 2, enter a password for the restore mode 3 and click on Next> 4.
DNS option, click on Next> 1.

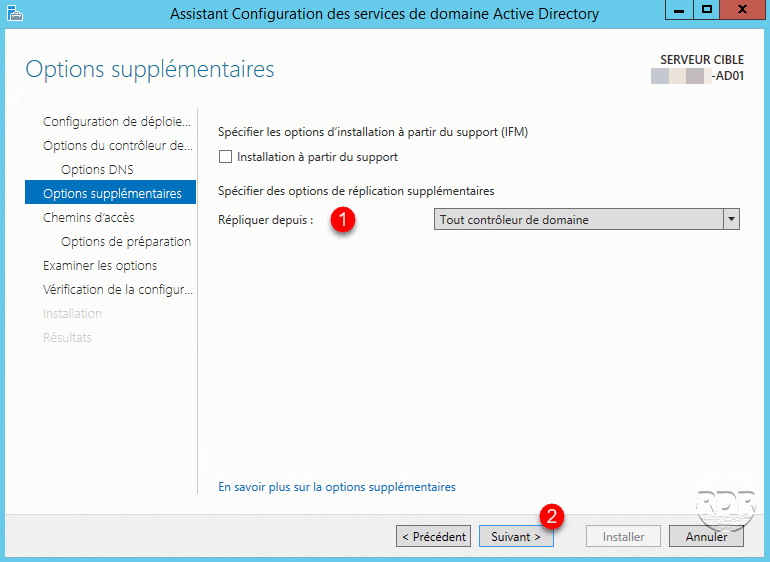
Replication option, choose Any domain controller 1 and click Next 2.
Check the location of the different AD 1 elements and click on Next 2.
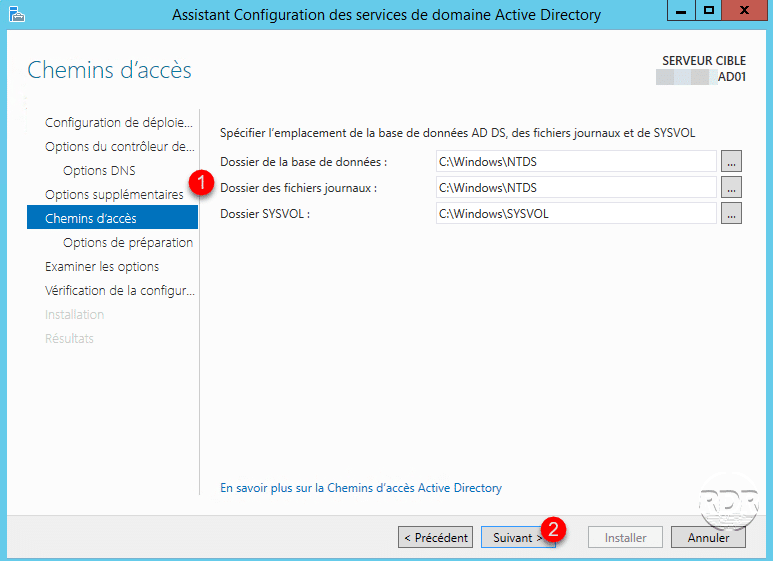
Best practices Microsoft recommends that the AD DS folders be placed on another partition.
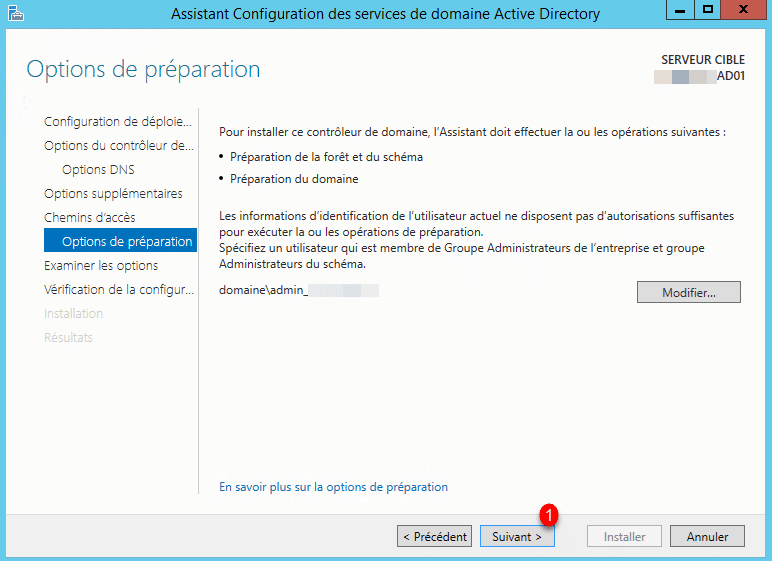
Preparation options, click Next> 1.
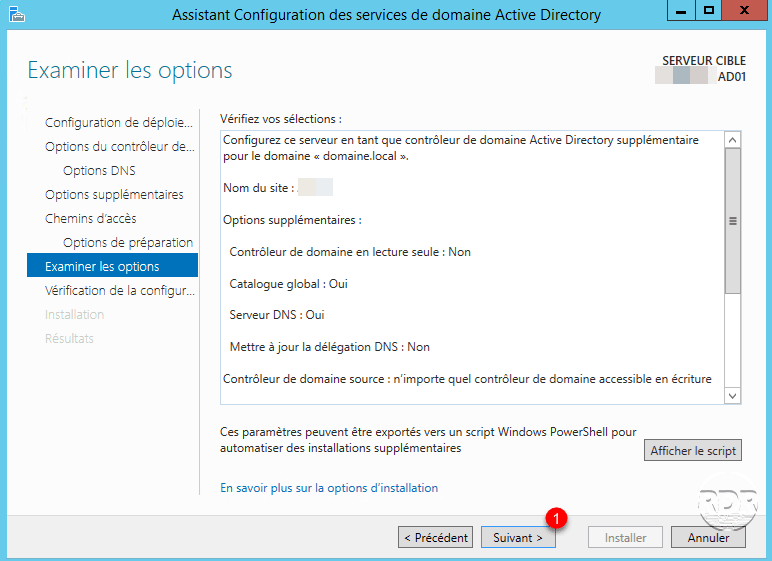
Validate the options by clicking Next 1.
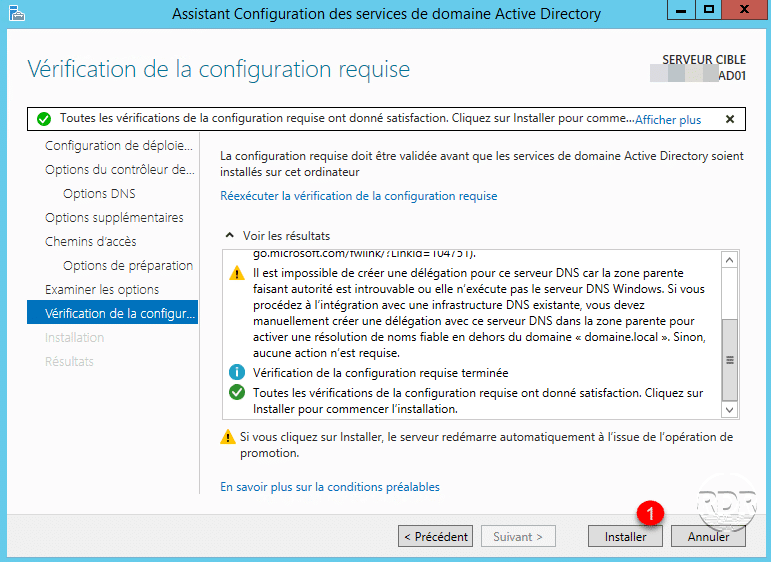
If no deployment preventing error is detected, click on Install 1. During installation the server will restart automatically.
After the server is completely restarted, the server becomes a domain controller.
To log into it, you must use an account that is a member of the Domain Admins group.
Now that the controller is added to the domain, we will now see the management of replication links.
Configuring replication links
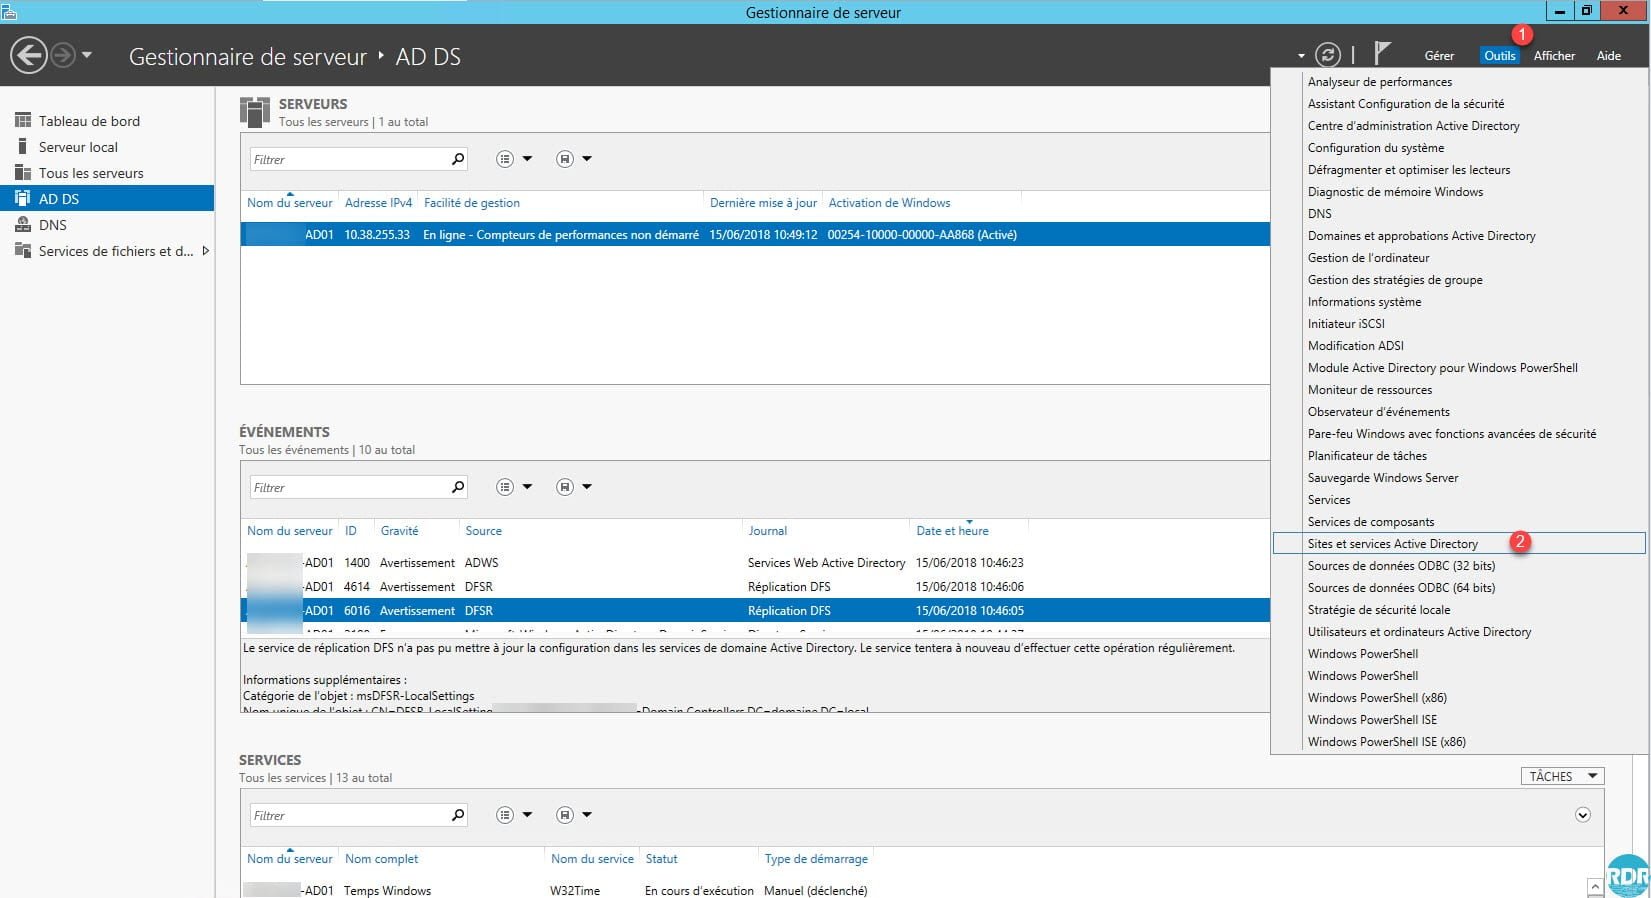
The administration of replication links is done with the console: Active Directory sites and service.
From Server Manager, click on Tools 1 / Active Directory Sites and Services 2.
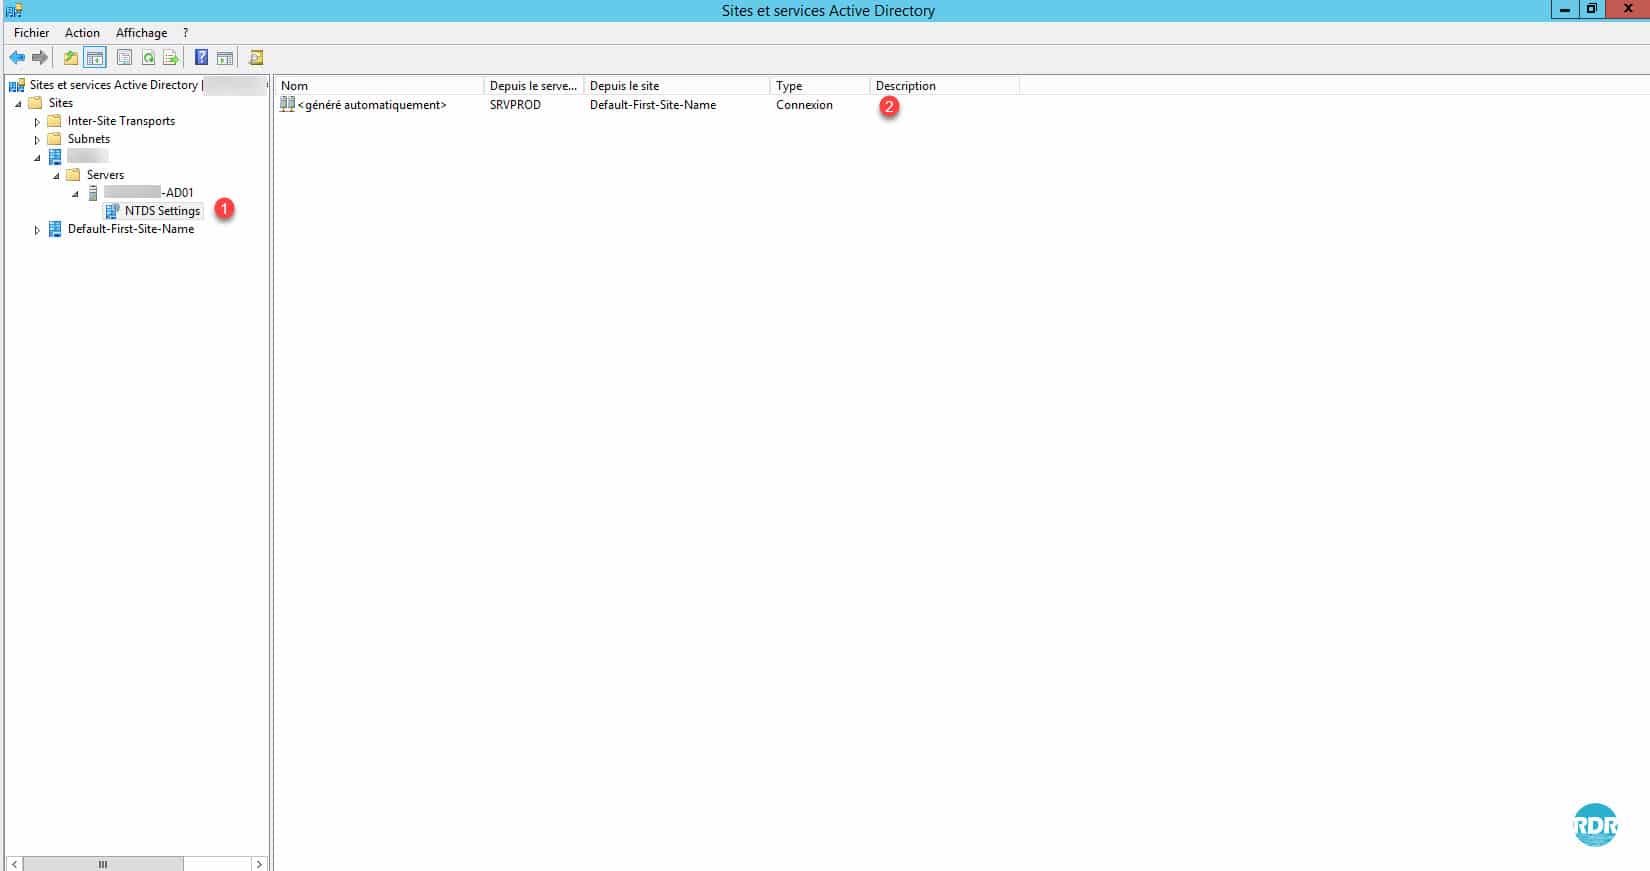
Go to the NTDS Settings 1 of the controller that has just been added. We can see that a link already exists to one of the 2 controllers.
If we look at the NTDS Settings 1 of the other DCs, we see the replication links.
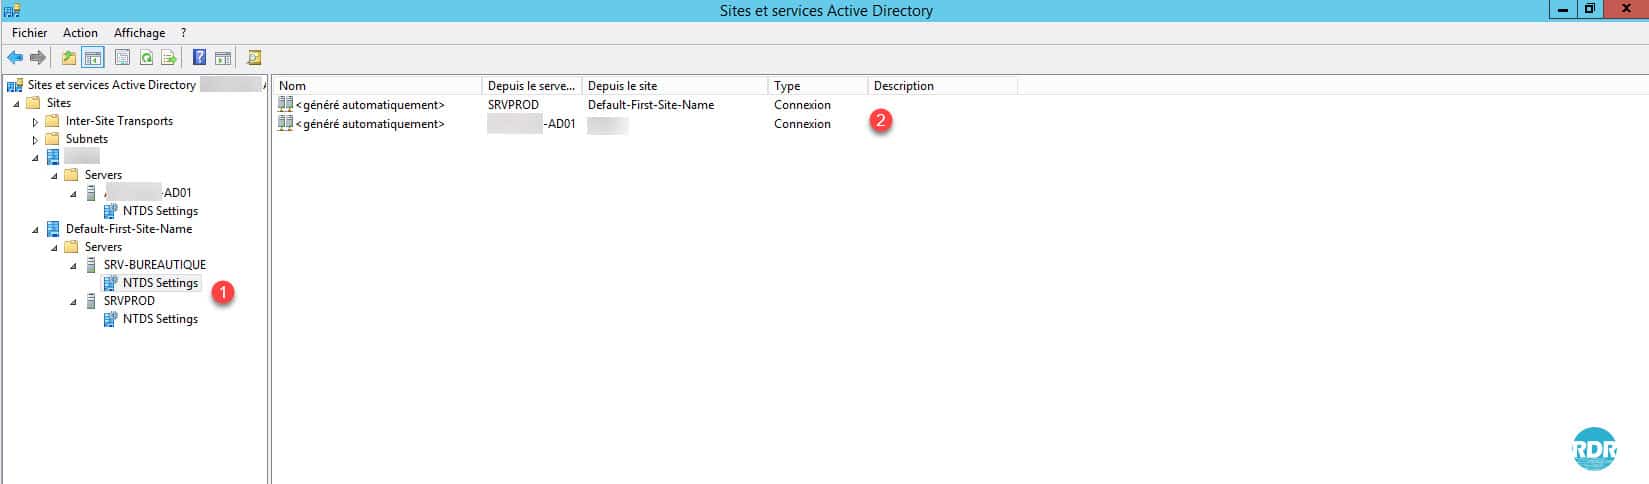
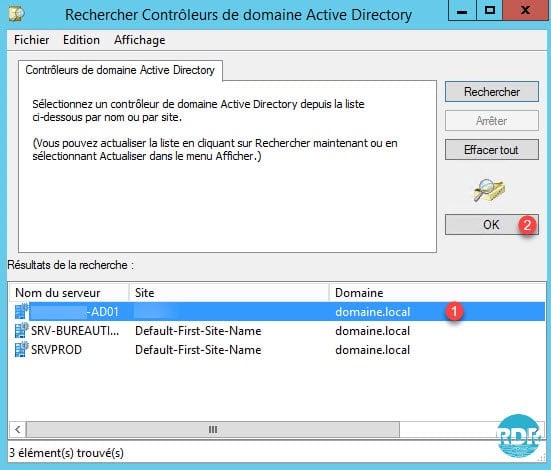
We will now add a link to the DC SRVPROD 1, which does not have a direct link with the new DC XXXX-AD1 2. Right click in the area and click on New connection to Active Directory Domain Services 3.

Select the controller to which you want to link 1 and click OK 2.
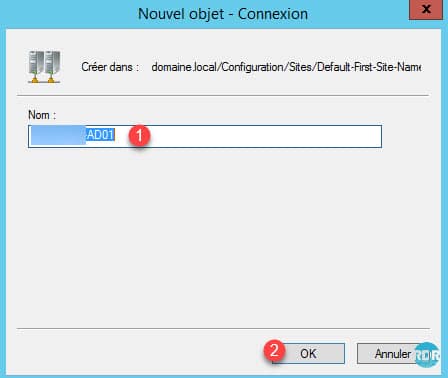
Give a name to the link 1 and click on OK 2.
The replication link is created 1, that is to say that the DC SRVPROD will receive the replication information from the controller XXXX-AD1.
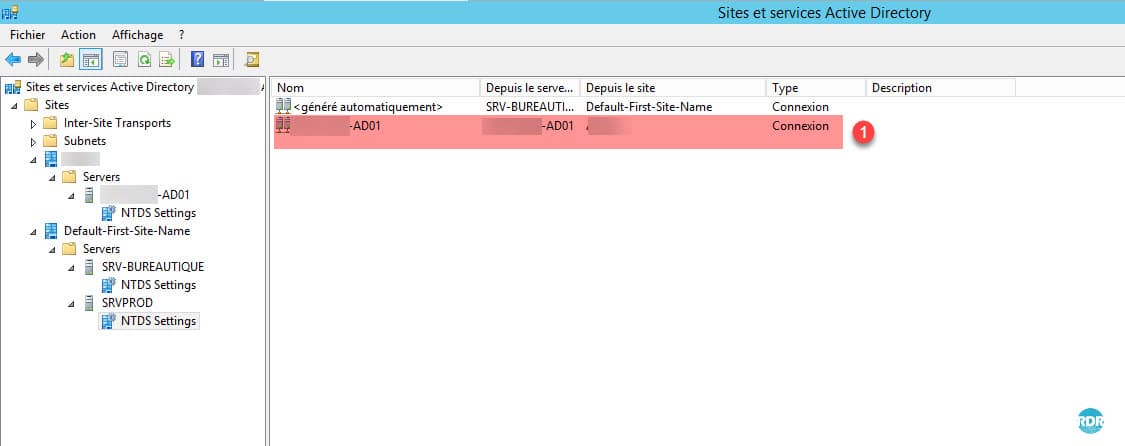
Creating a replication link to a DC does not automatically generate the reverse.
The tutorial: Active Directory: multi-site configuration, sub-network and replication explains in more detail the multi-site configuration and replication topology.
