Table of Contents
Introduction
In this article, we are going to have how to set up a read-only domain controller (RODC).
This type of controller, as the name suggests, is read-only, so it can not change user attributes or even add objects.
There are several implementation scenarios for this type of domain controller, here are two that I have already used:
- On remote sites to optimize the process while keeping some security.
- In DMZ for services requiring authentication.
In addition to the Active Directory, DNS services are installed read-only.
Another advantage of the RODC controller is that it retains its local user base (SAM) which makes it possible to put a user of a remote site Administrator on the server in case it is necessary to intervene on the machine.
Prerequisites
- Be in an Active Directory domain with a domain and drill functional level in 2003 or later.
- Configure the Active Directory site if necessary.
- Configure a fixed IP to the server and tell it in DNS an existing domain controller
- Configure the ports of the software and hardware firewalls to ensure communication between the RODC controller and other DCs.
Role installation
The role installation is identical to a standard domain controller, the read-only option is made at the time of its configuration.
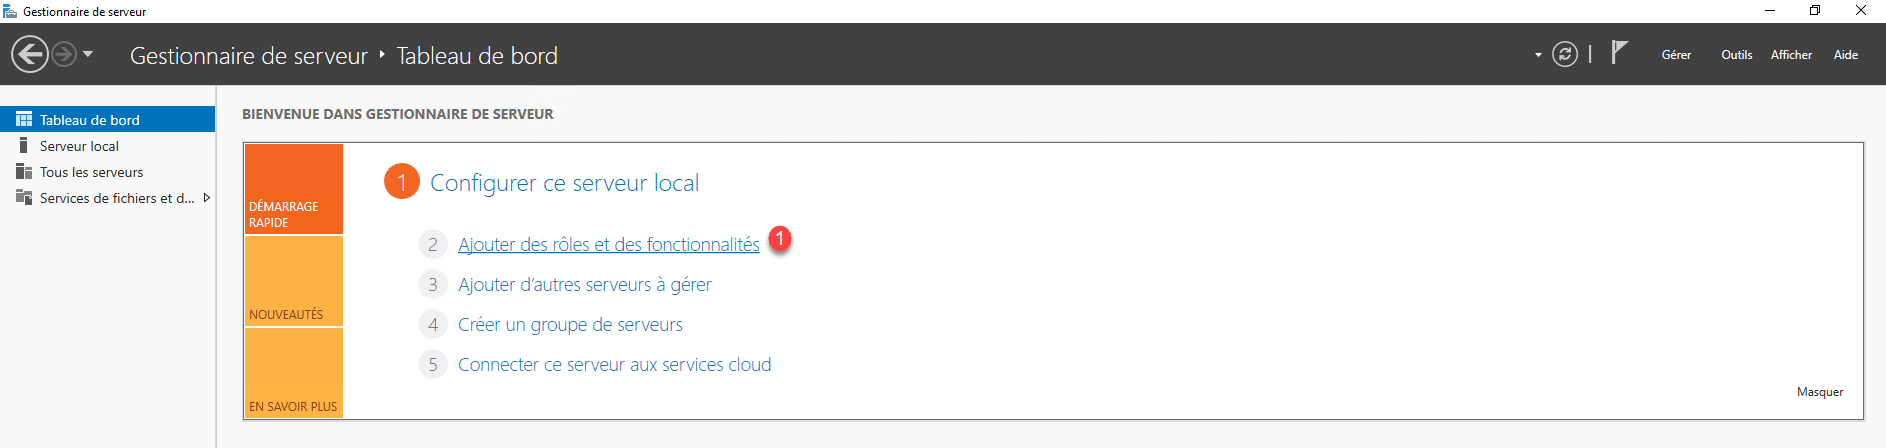
On the servers where the role will be installed, open the server manager and click Add Roles and Features 1 .
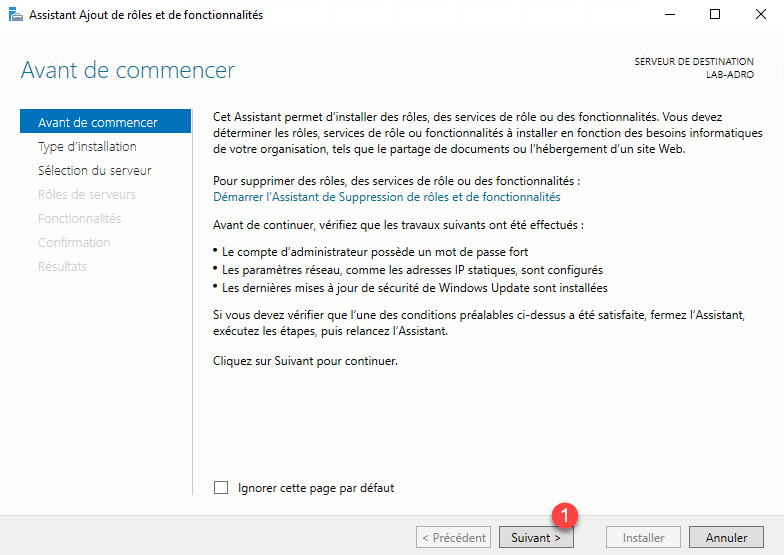
When launching the wizard, click Next 1 .
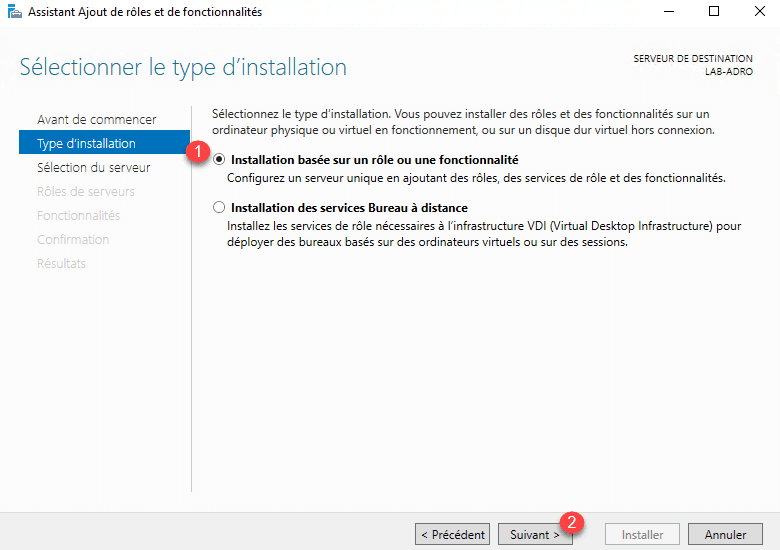
Select Role Based Installation or 1 Feature and click Next 2 .
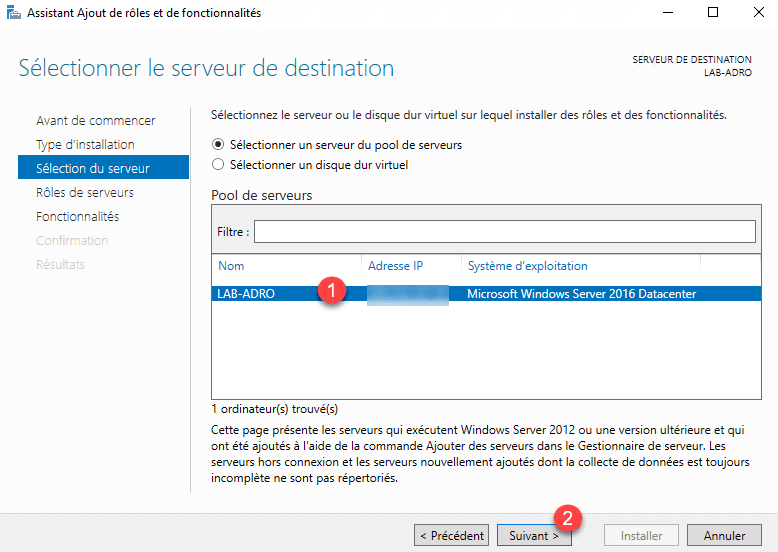
Choose the server where the AD DS role will be installed 1 and click Next 2 .
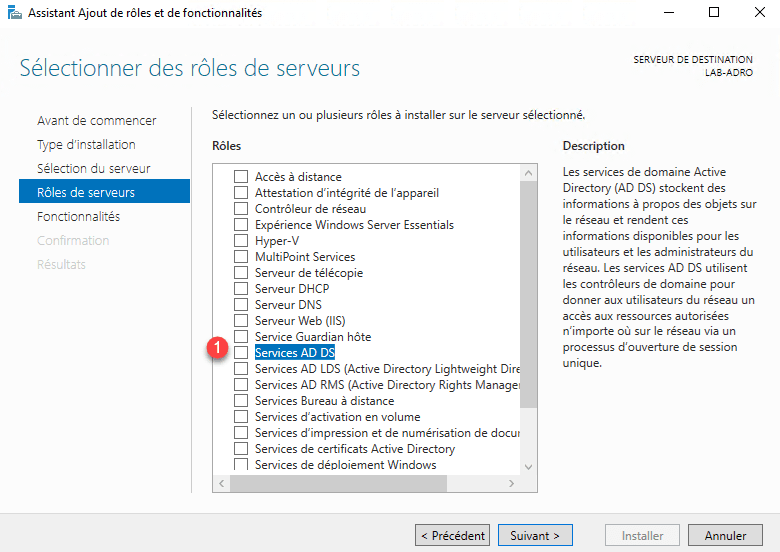
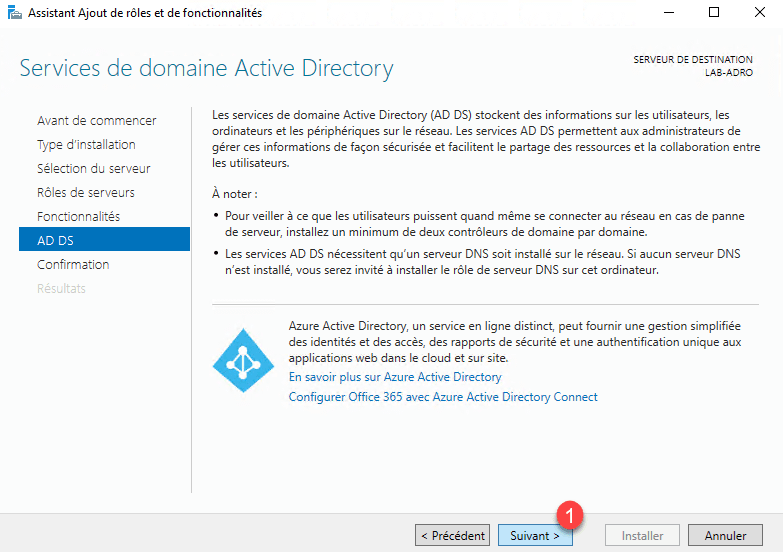
In the list of roles, check the Service AD DS 1 box.
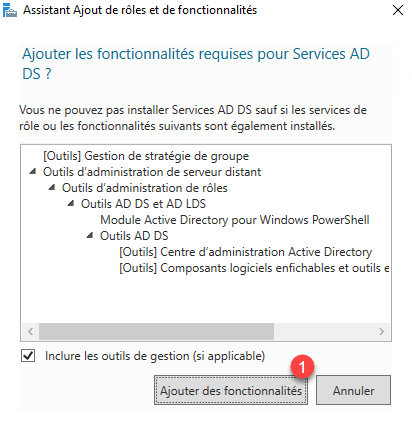
Click Add Features 1 .
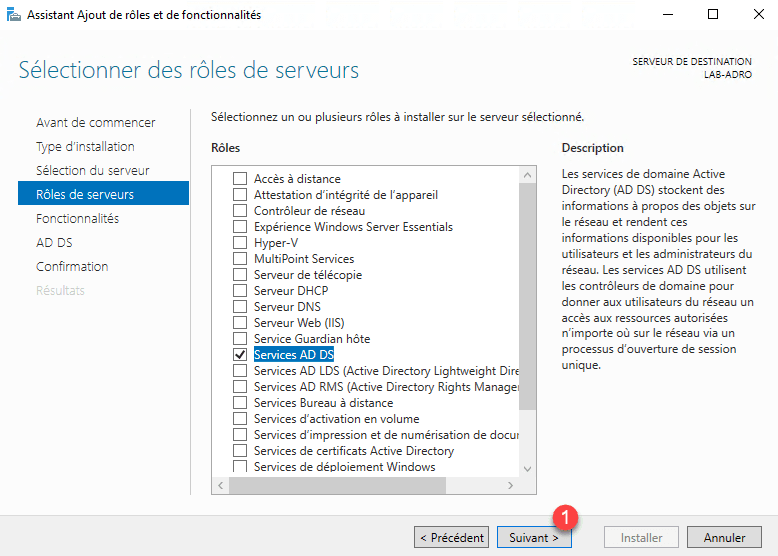
Now that the AD DS service is selected, click Next 1 .
Skip the list of features by clicking Next 1 .

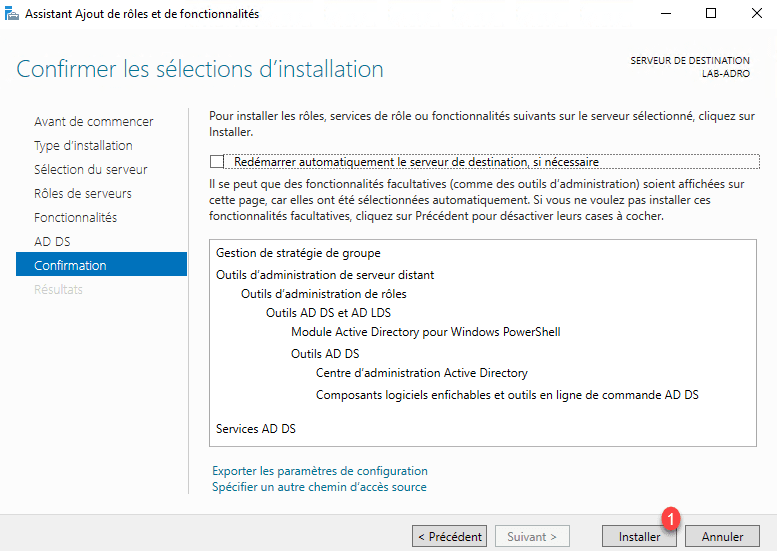
A summary of the AD DS role is displayed, click Next 1 .
Confirm the installation by clicking Install 1 .
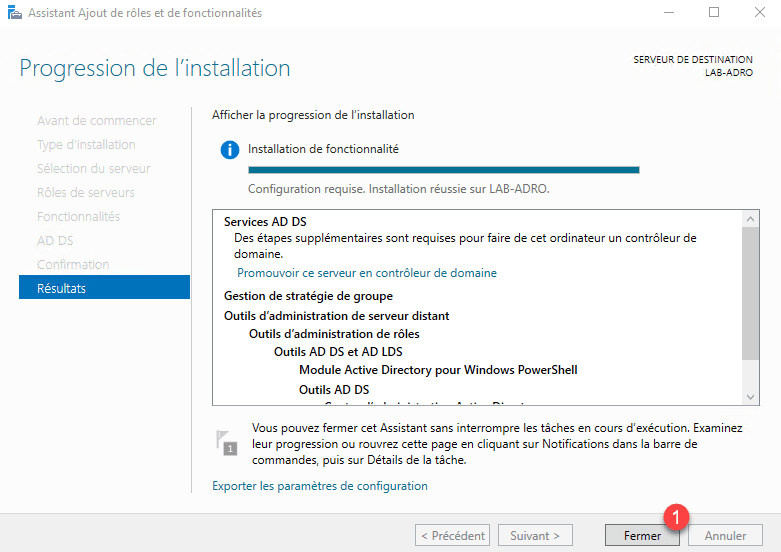
Wait while installing the AD DS role …

The installation completed, exit the wizard by clicking Close 1 .
Configuring the read-only domain controller (RODC)
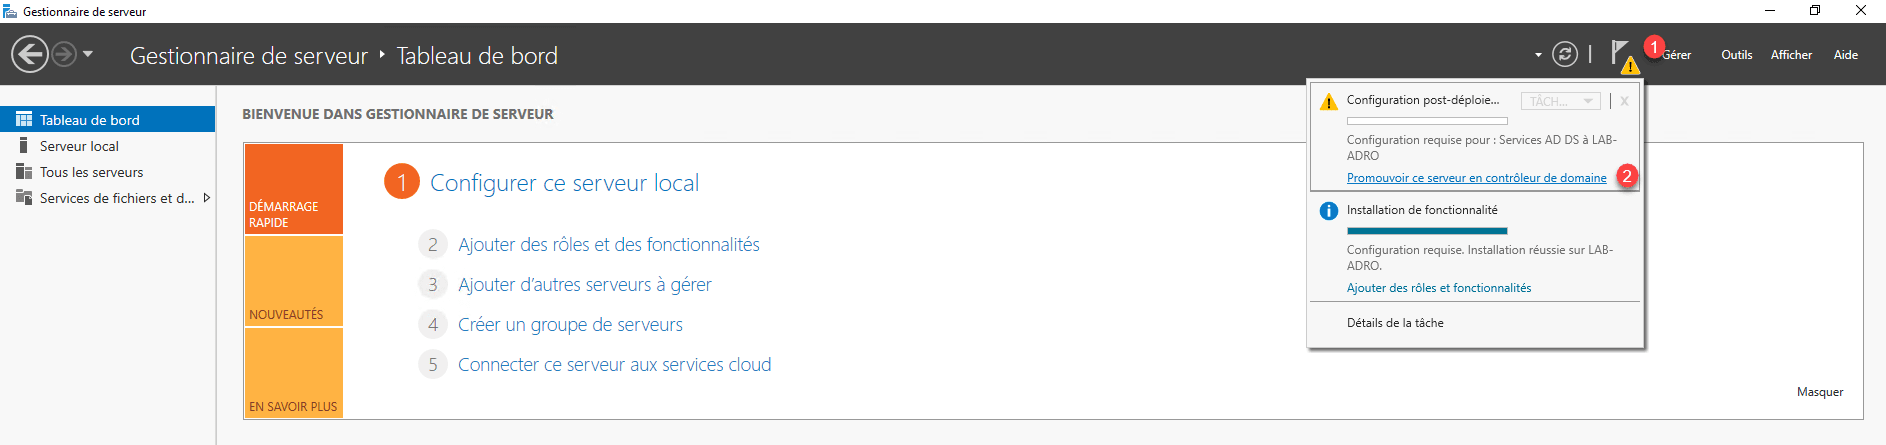
Now the domain controller role is installed on the server, it must be promoted domain controller, it is in this part that we will indicate that it is RODC.
From the server manager, click on the 1 notification icon and click Promote this server to 2 domain controller.
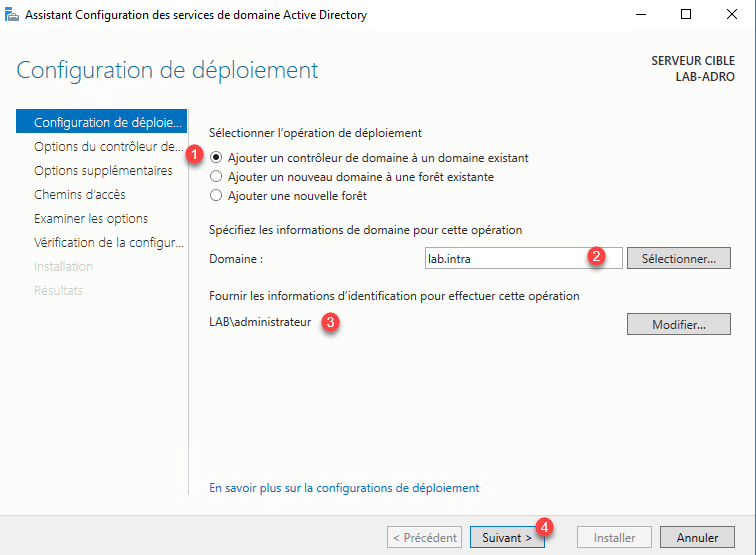
Select the Add a domain controller to an existing domain 1 option, enter the domain name 2 , specify a domain members group member account 3 and click Next 4.
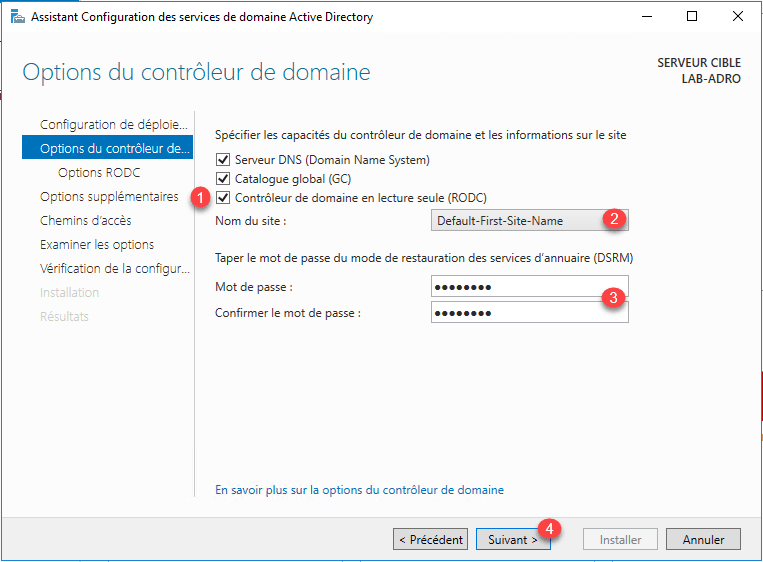
Check the box labeled RODC 1 , specify the site where server 2 is installed, enter a recovery password 3 and click Next 4.
At this time of the configuration, it is necessary to indicate the elements whose passwords are replicated on this controller, by default a group to name “Group of replication whose password RODC is authorized” is created in which one will put the users that we want to replicate the password. In this lab, I left this group. In production if you have several remote sites and therefore several RODC controllers, you will have to create one group per site. There is no need to replicate the passwords of users of site B on site C for example. It is also possible to specify objects (users or groups) that we do not want to replicate the password, such as administrator accounts, this increases the security in case the RODC controller is compromised.
Click Next 1 to validate the options.

Skip additional options by clicking Next 1 .

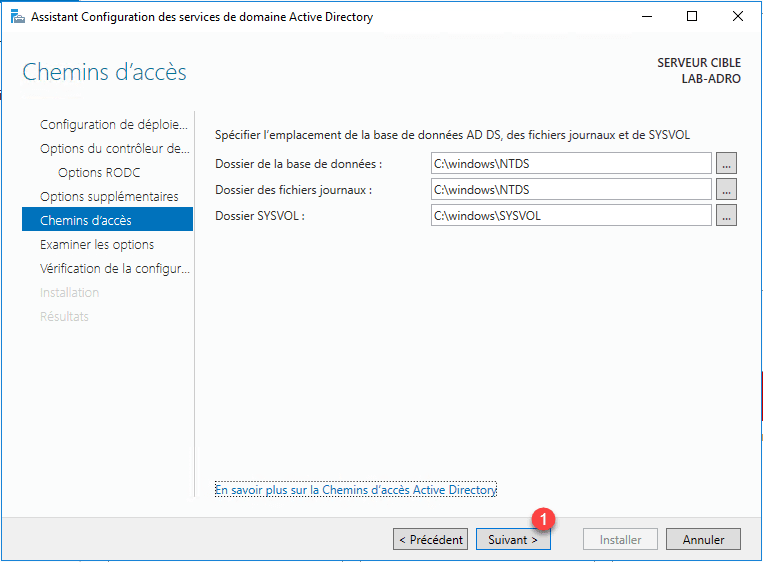
If you wish to change the location of the folders, otherwise click Next 1 .
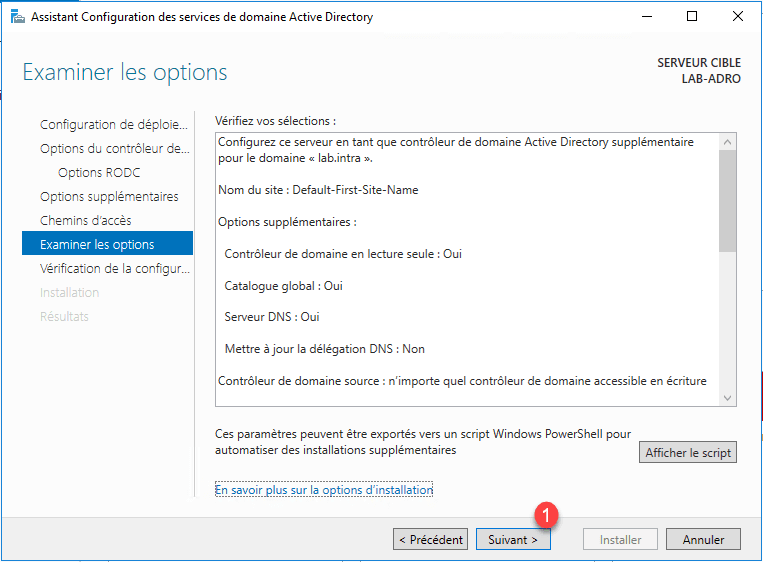
Validate the options by clicking Next 1 .
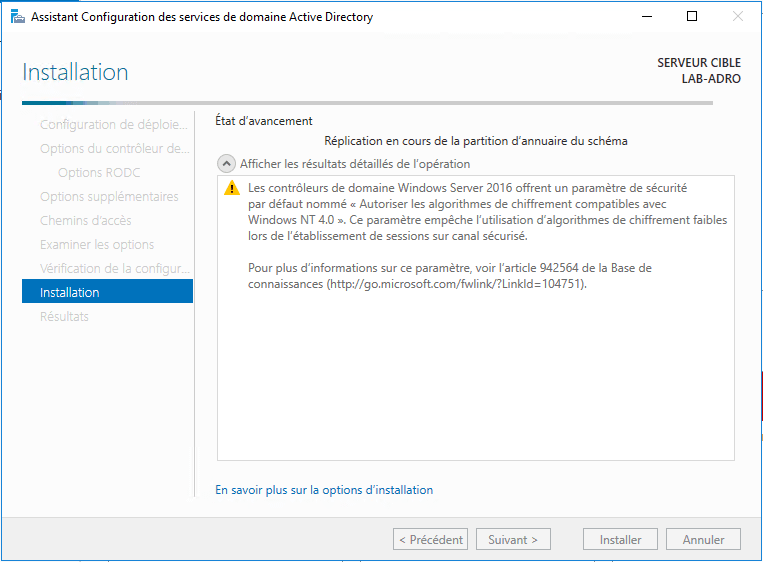
Validated tests, click on Install 1 .

Wait during the installation, during this phase the server will restart. After he will be member of the domain as well as controller.
After rebooting, the server is domain controller.
Domain Controller Administration (RODC)
In this part, we will see how to administrate the RODC controller.
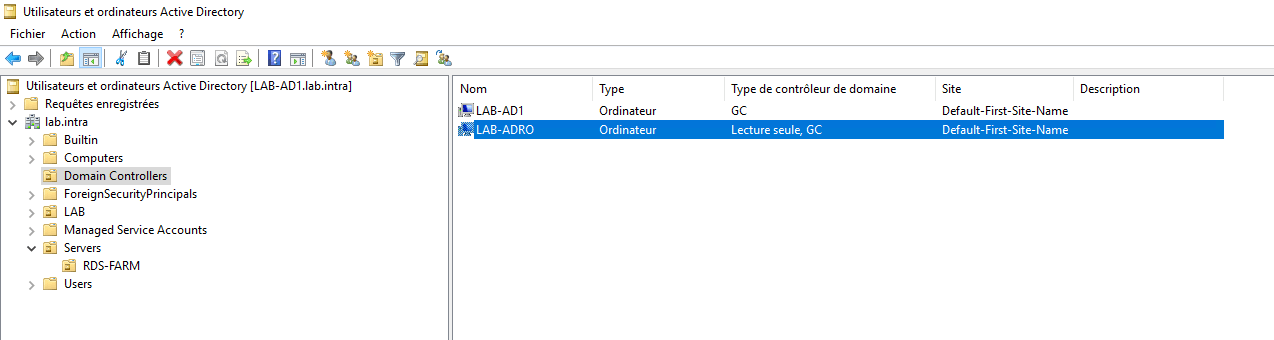
On a “normal” controller, open the Active Directory User and Computer console, go to the OU Domain Controllers, and open the RODC controller properties.
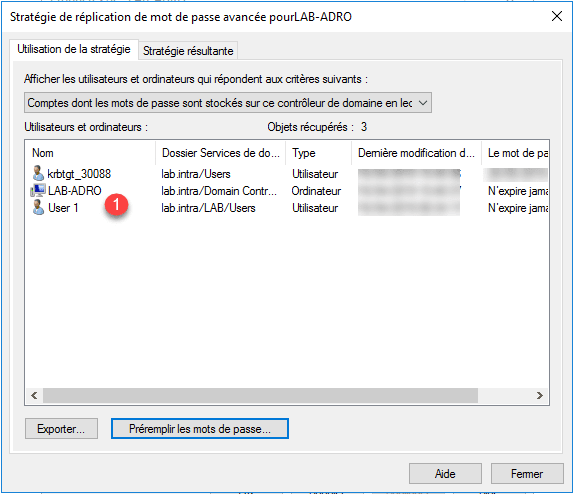
In the properties go to the Password Replication Policy tab 1 . From this part, we can see the groups Allowed and Refused. Click the Advanced button 2 .
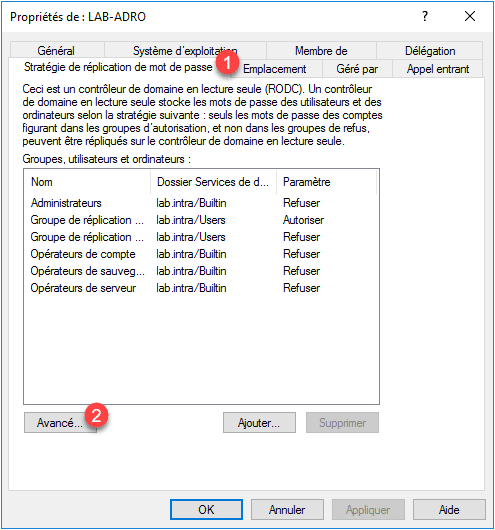
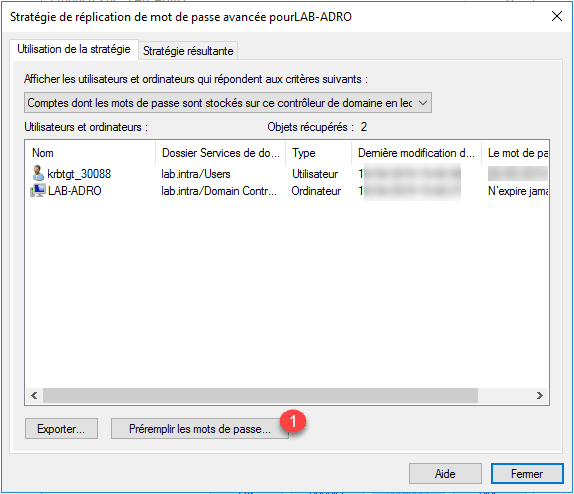
On this window, it is possible to see the objects whose password is replicated and also the users having an open session on the controller by changing the selector.


Now we’ll see how to add a user to the group allowed to replicate passwords and pre-pop it. Add a user to the group “Replication group whose RODC password is allowed”.

Go back to the advanced properties of the RODC controller and click on Pre-fill passwords 1 .
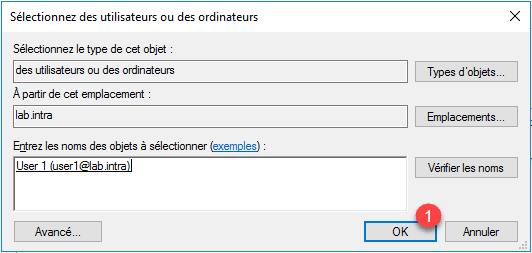
Select the user just added to the group and click OK 1 .
Confirm the action by clicking Yes 1 .

Close the confirmation message by clicking OK 1 .
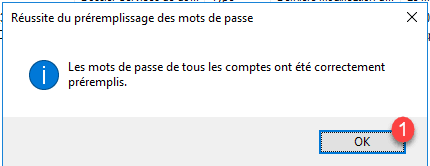
User 1 is added to accounts that have the replicate password.