
In this tutorial, we will see how to install the IIS role, which allows you to deploy Microsoft’s web server on Windows Server 2025.
IIS web server is used in many Microsoft products like:
- WSUS
- Exchange Serveur
- SharePoint
- …
But also third-party products like Veeam which rely on this web server.
Before starting the installation of IIS, you should know that it is still in version 10 (IIS10) on Windows Server 2025, this version of IIS was released with Windows Server 2019, which means that the IIS role has not undergone a major update for 6 years.
In itself this is not really problematic, because the product works very well and if we compare to competitors like Apache or Nginx, there has not been a big revolution on their side either.
I take advantage of this tutorial to remind you that Microsoft Web Platform Installer (WebPI) is no longer functional since 12/31/2022, even if as you will see, there is still an access link in Windows Server 2025.
Table of contents
Install IIS on Windows Server 2025
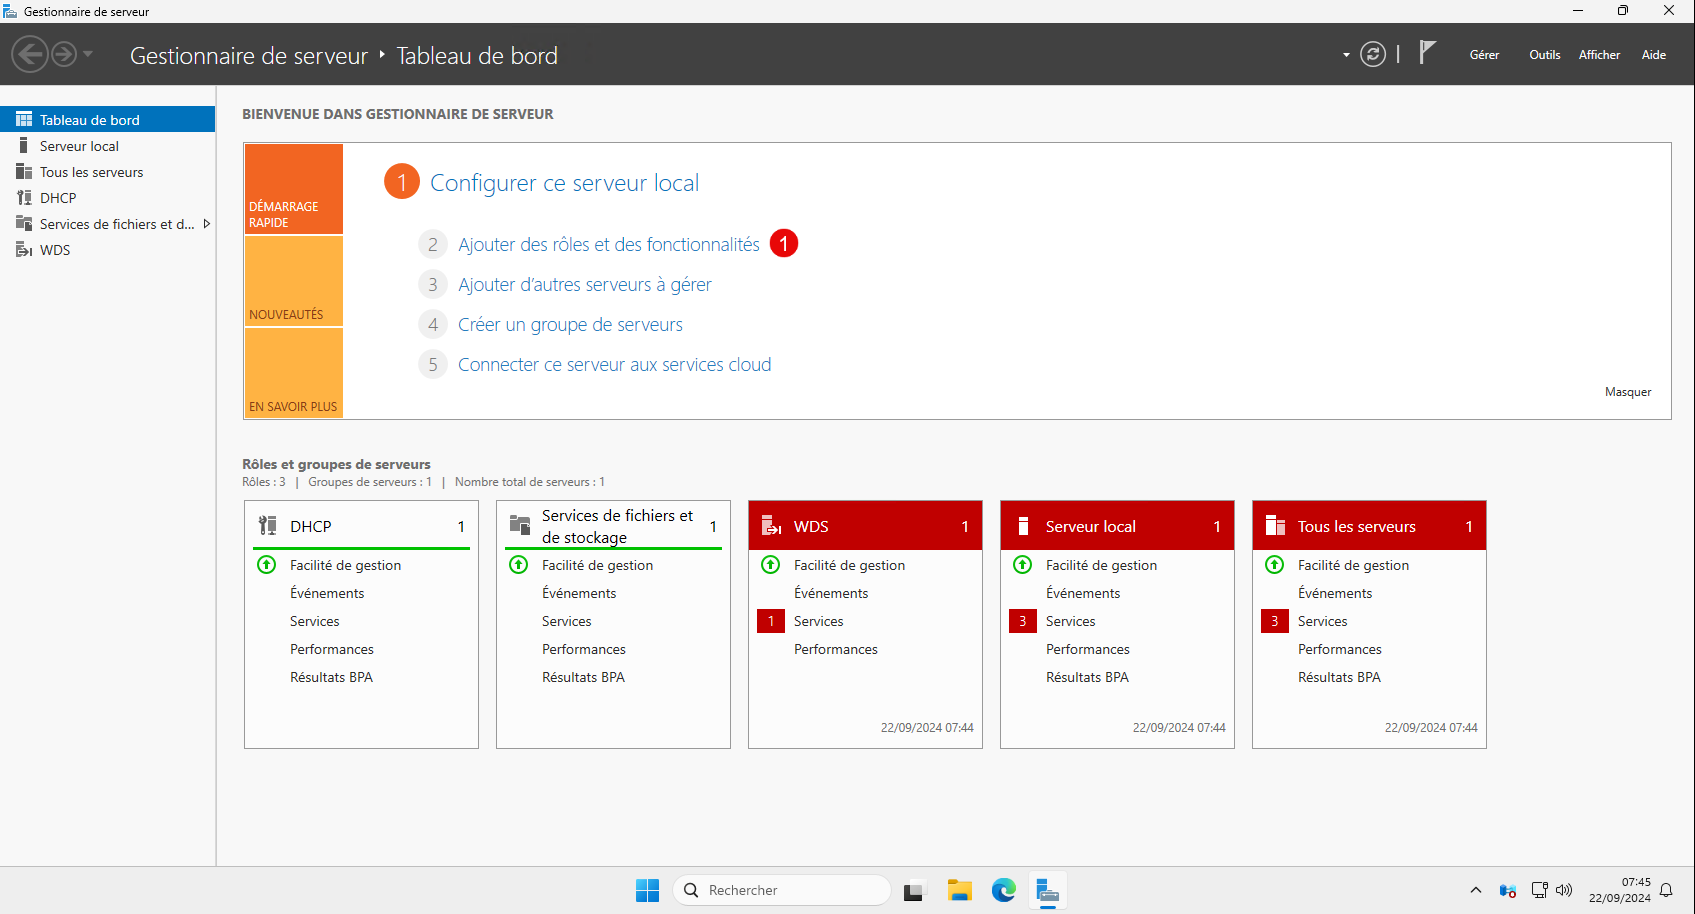
As with any installation, from Server Manager, click on Add roles and features 1.
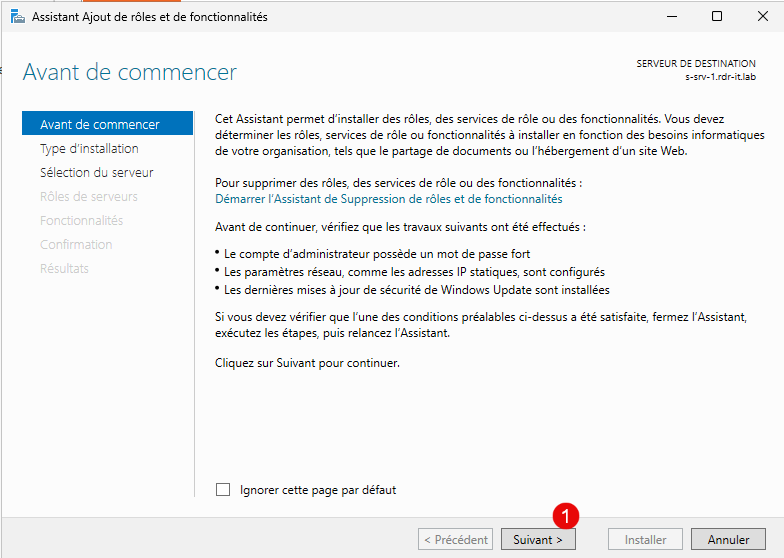
When the wizard starts, click Next 1.
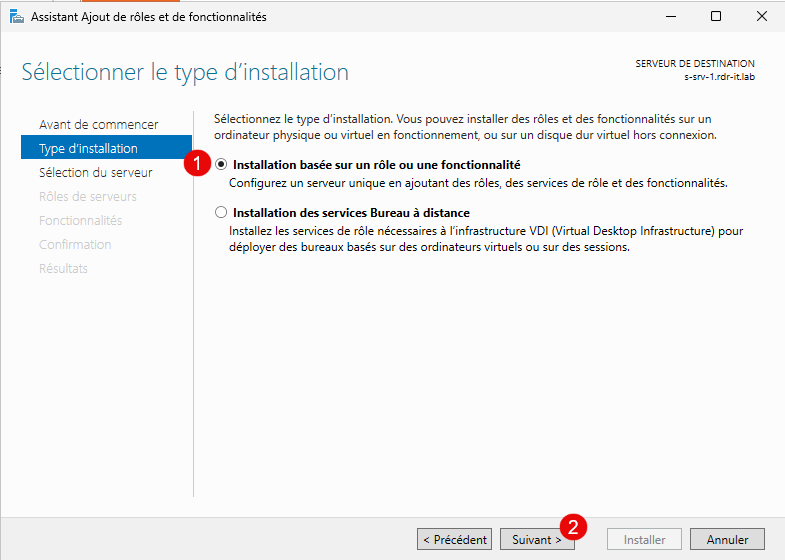
Choose an installation type: Role-based or feature-based installation 1 and click the Next button 2.
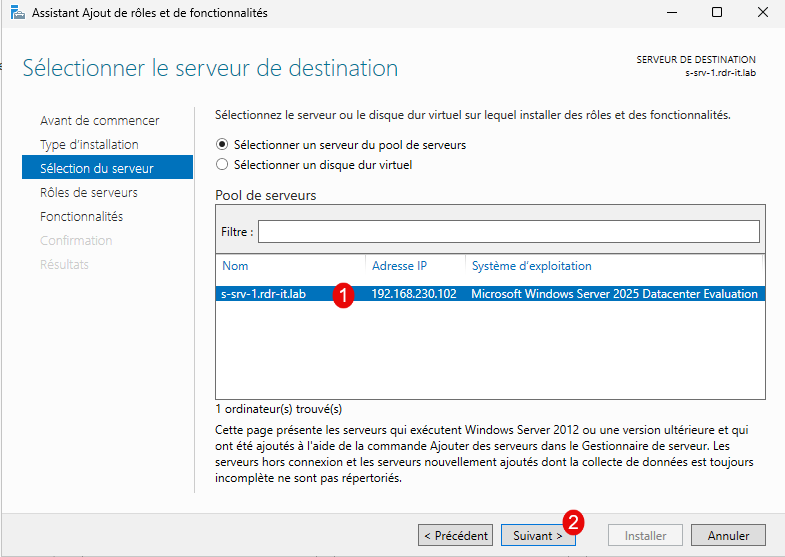
Select the server 1 where the IIS web server will be installed, then click Next 2.
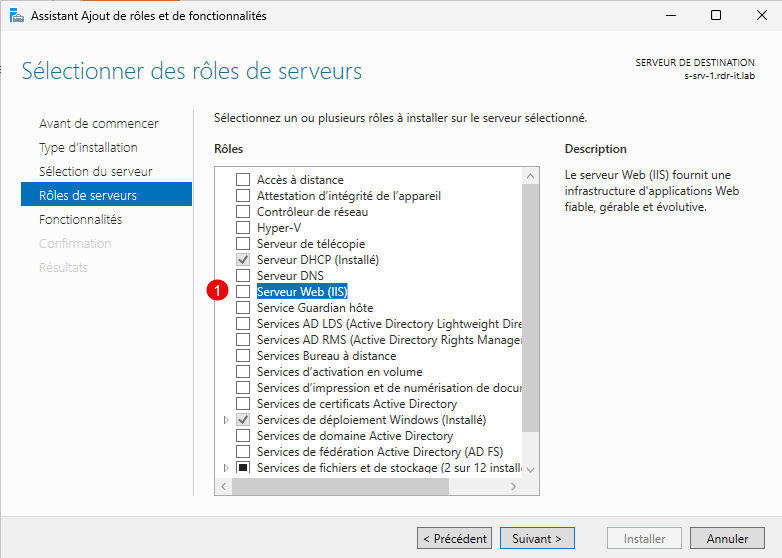
Check the Web Server (IIS) 1 box.
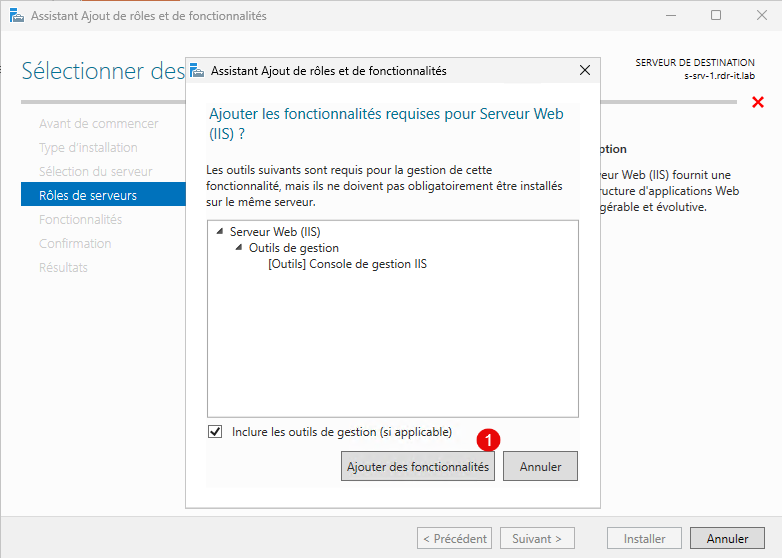
Click the Add Features 1 button on the news that opened.
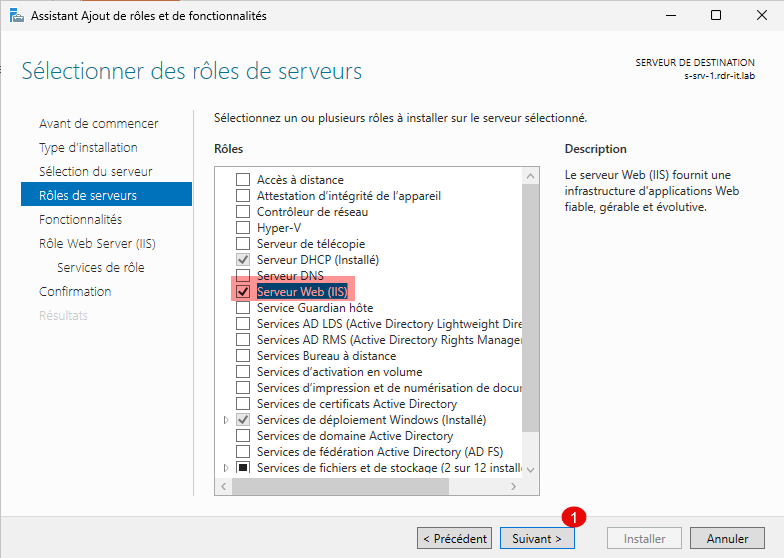
The Web Server (IIS) role is selected, click the Next button 1.
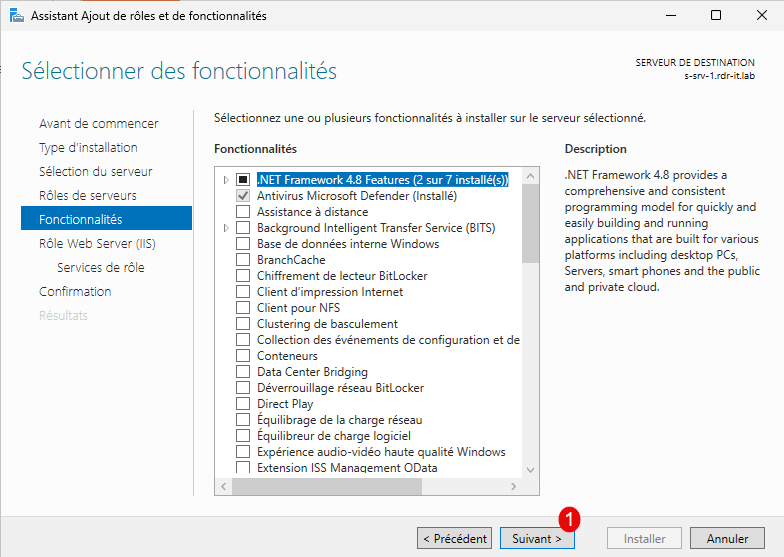
Skip the list of features, click Next 1.
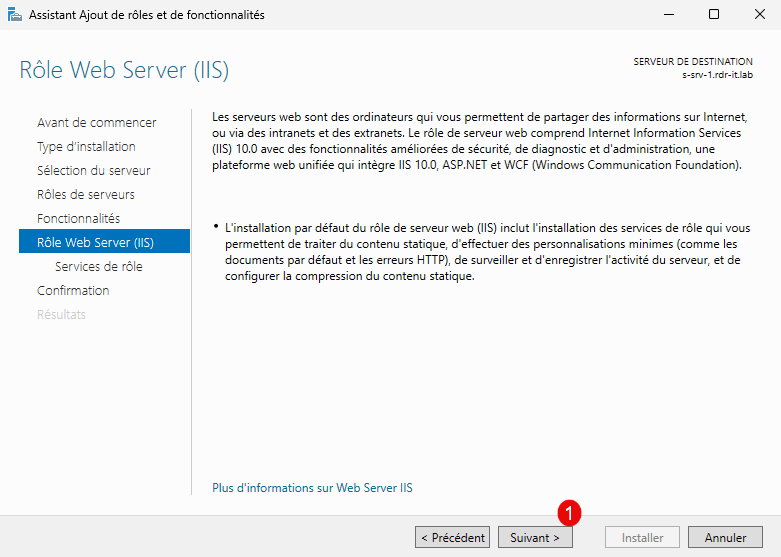
The presentation of the Web Server Role (IIS) summarizes its functionalities, click on Next 1.
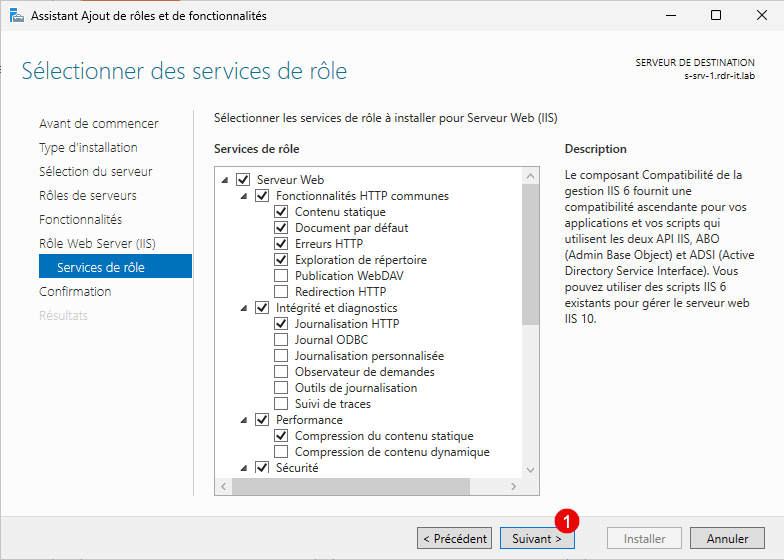
The Web Server (IIS) role has several features that can be added, if you plan to put PHP for example, check the CGI feature, it is possible to add them after, click on Next 1.
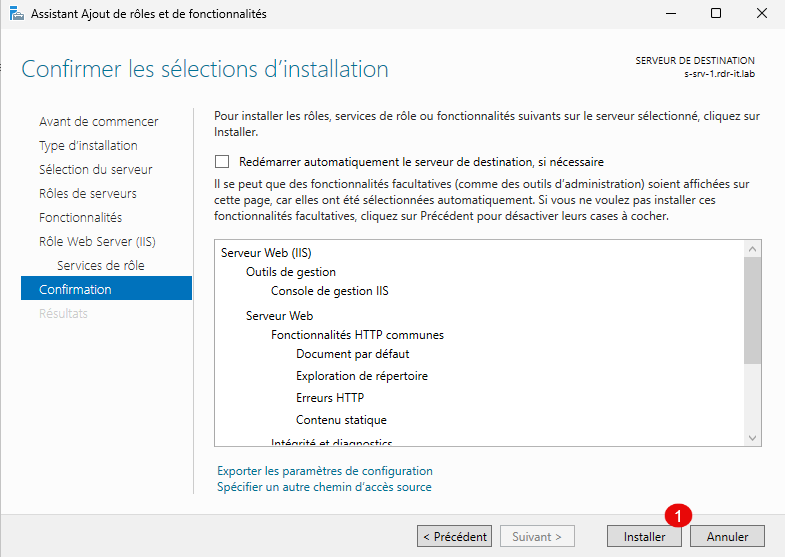
Confirm the installation by clicking the Install button 1.
Please wait while installing…
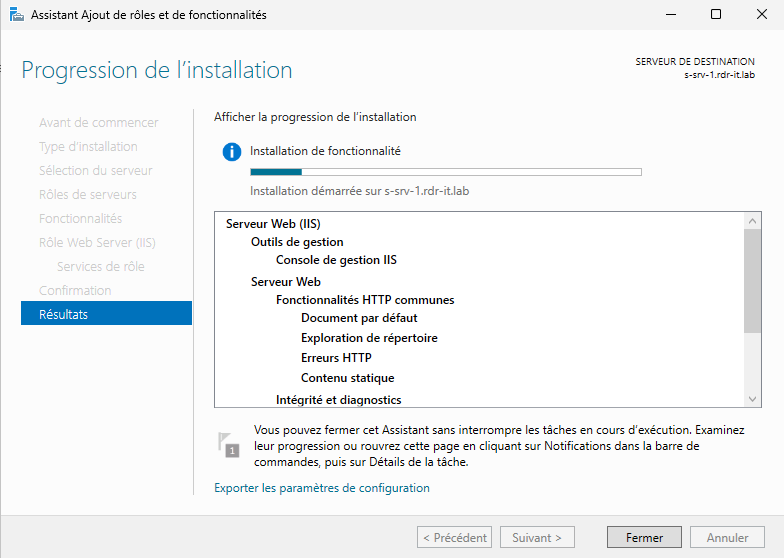
Once the installation is complete, exit the wizard by clicking Close 1.
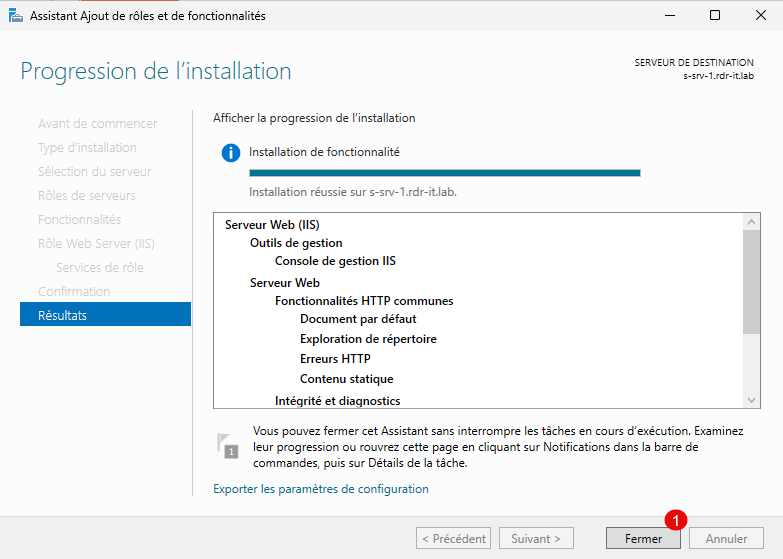
The Web Server (IIS) role is installed.
Administer IIS Web Server on Windows Server 2025
Now I will show you how to access the IIS console and how to create a Site which is the equivalent of a virtualhost on Apache.
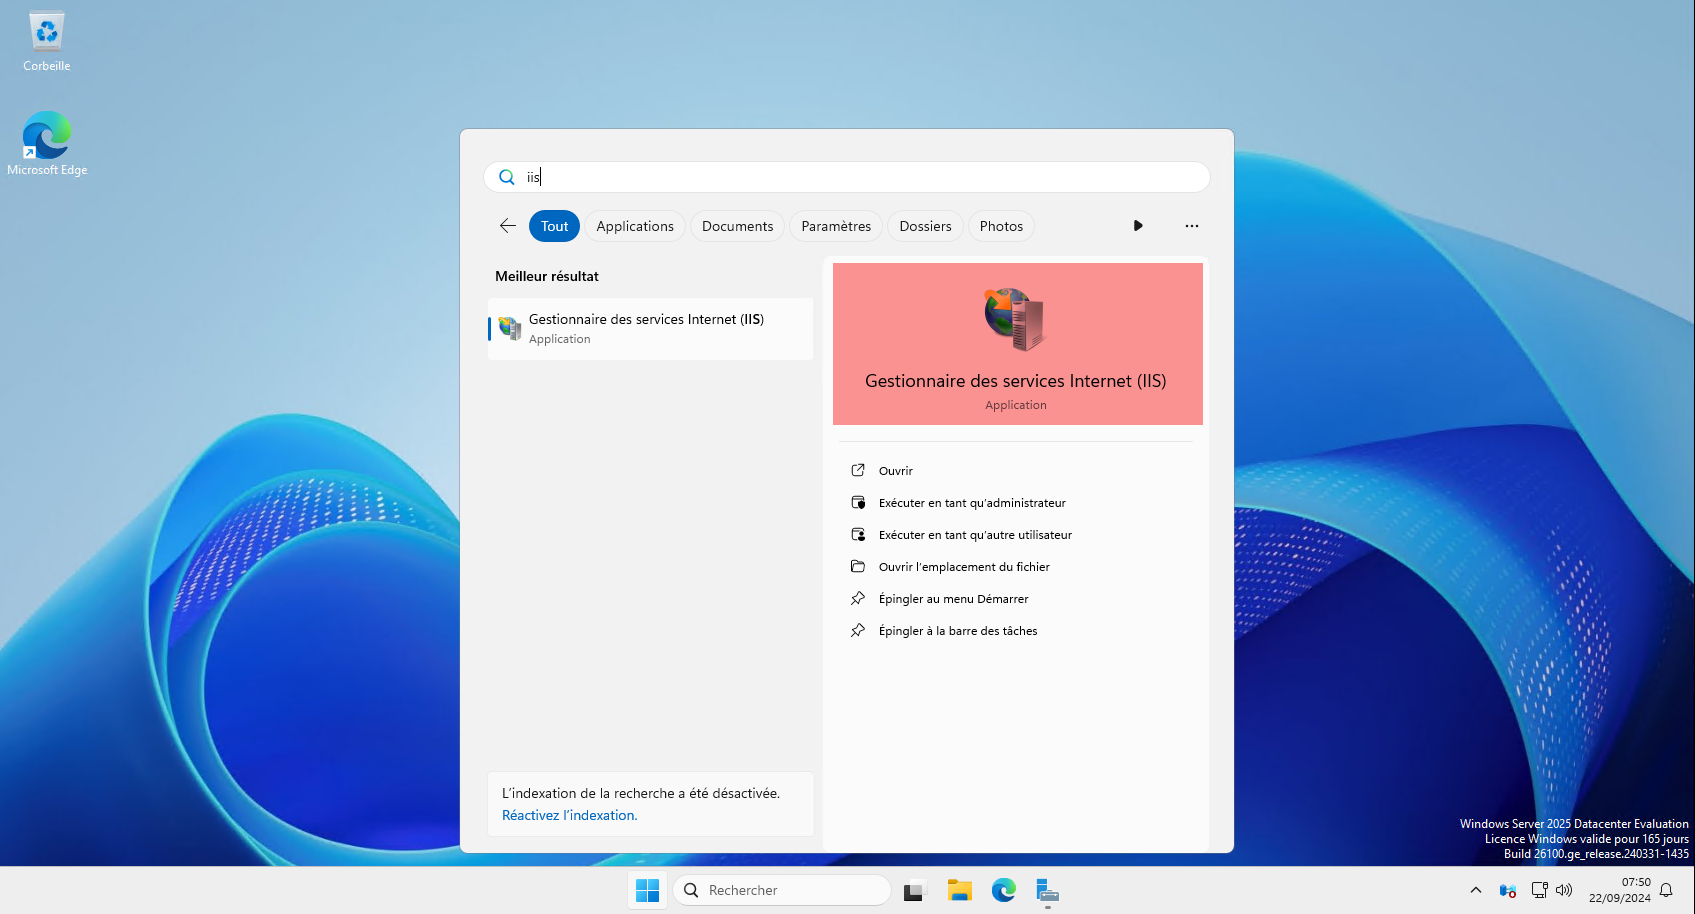
Depuis le menu Démarrer, rechercher IIS puis cliquer sur Gestionnaire des services Internet (IIS).
This is what the IIS console looks like:
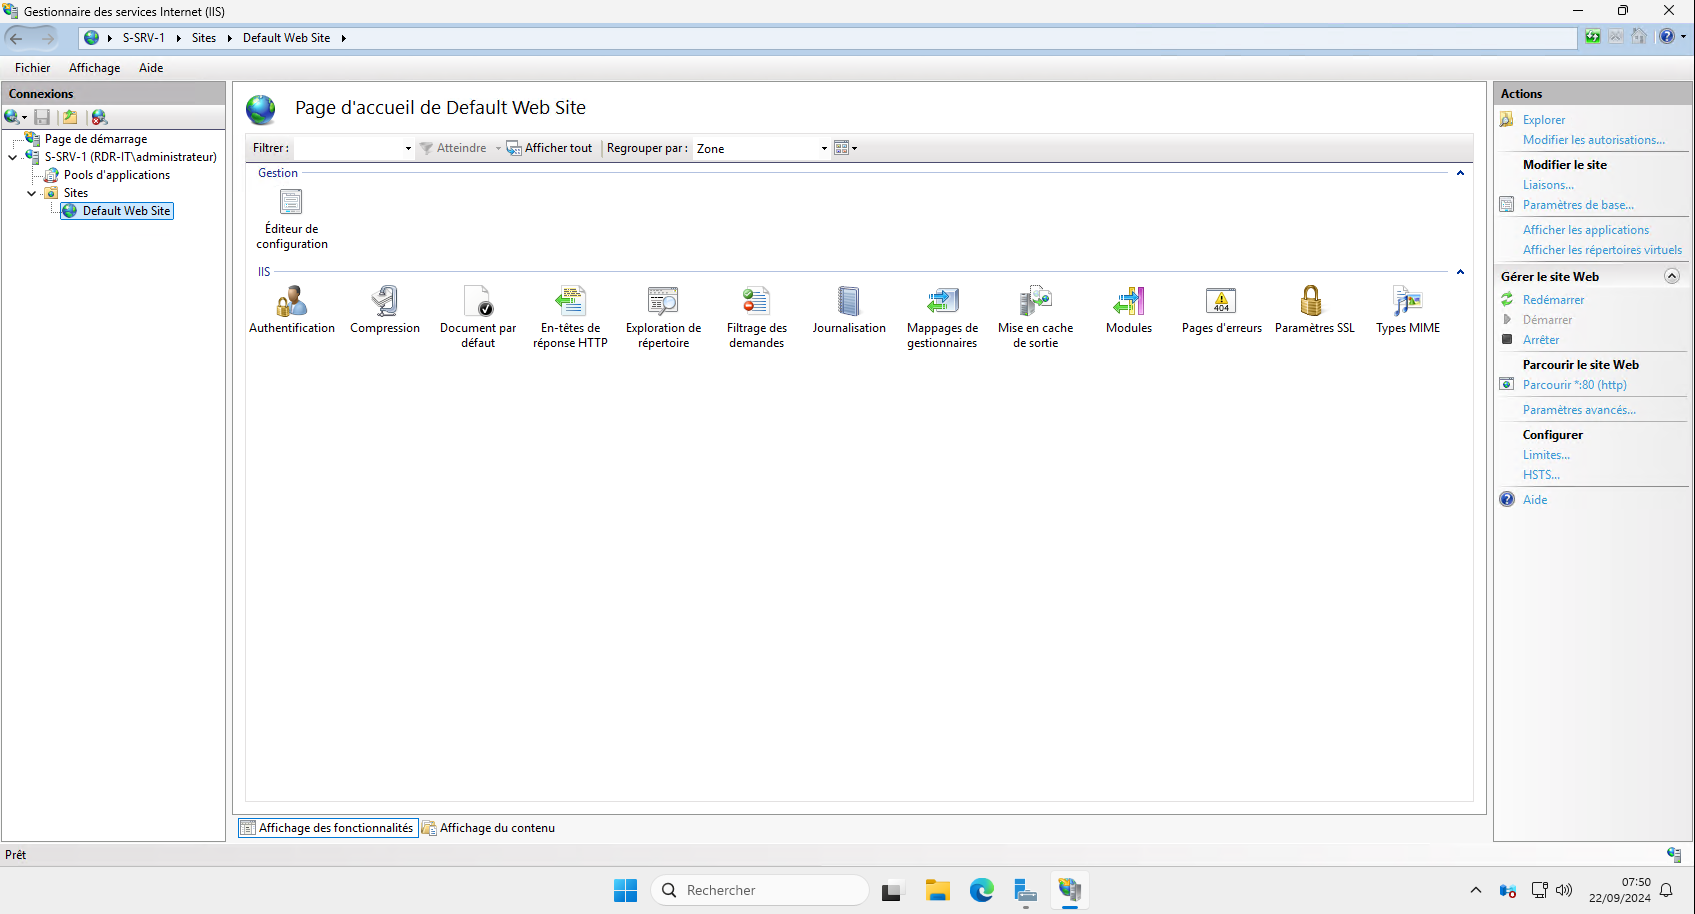
The left part allows you to navigate through the different sites and applications on the server, the central part allows you to access the different configuration parameters, then the right part is an action panel.
Configuration items are hierarchical and inherit from lower level items on IIS, when you configure a setting at server level it is applied to all sites hosted on IIS, unless a different configuration of the same setting is configured at site/application level…
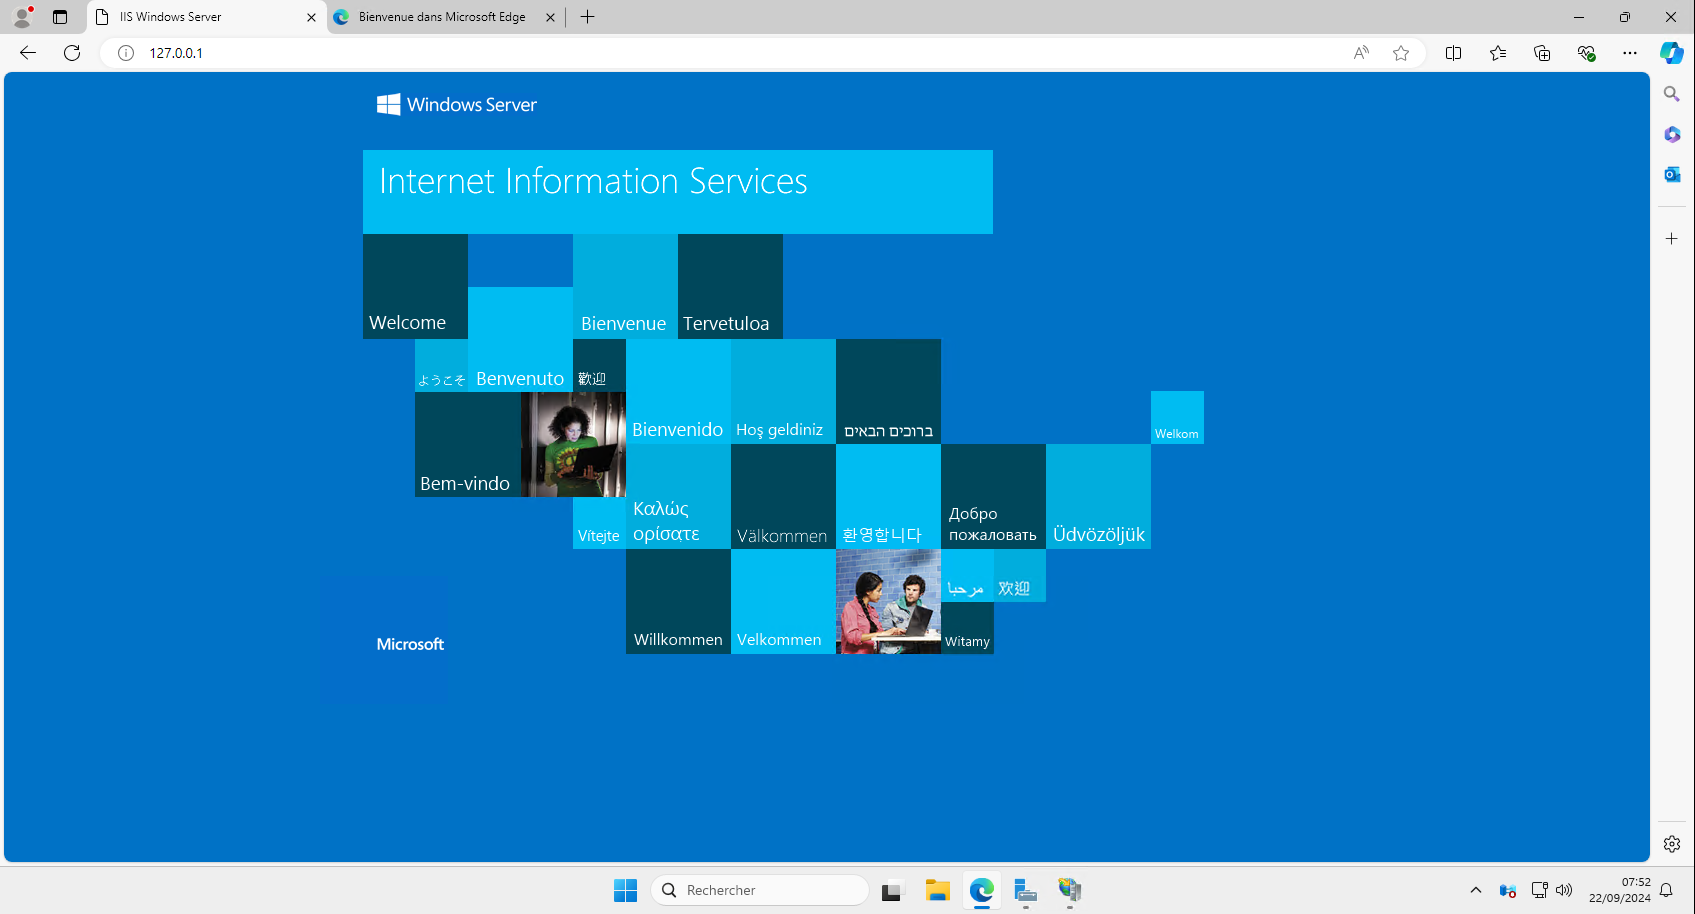
Start by testing the web server, on the server launch an internet browser and go to the address 127.0.0.1, you should have this page:
The default site content is located in the following folder: C:\intpub\wwwroot.

Create a new site on IIS
If you are used to handling web servers like Nginx / Apache, a site on IIS is the equivalent of a virtualhost. For people who are less familiar, here is some information to help you understand:
A virtualhost, a logical “container” on a web server which will allow hosting to operate, can be differentiated by several elements:
- The port: by default the web ports are 80 and 443, we could create a site on port 21080, to access the site, we must enter the following url: http://ip-web-server-iis:21080, this solution is not often used because it is not easy for users to have to enter the port each time and does not remain the standard, since in companies web browsing is filtered the site will not be accessible.
- The IP address: if the web server has several IP addresses, it is possible to create a Site by indicating that the traffic arriving on port 80/443 on such an IP address corresponds to this website, this solution can be used quite easily in the company’s internal network but on hosts it is impossible, this would imply that each website has its own IPv4
- DNS name: this is the most used method, we will use the DNS name of the HTTP request to direct the requests to the right site, this solution allows you to use a single IP address and ports 80/443 to host several websites on the same machine.
Here is the default site configuration on IIS:
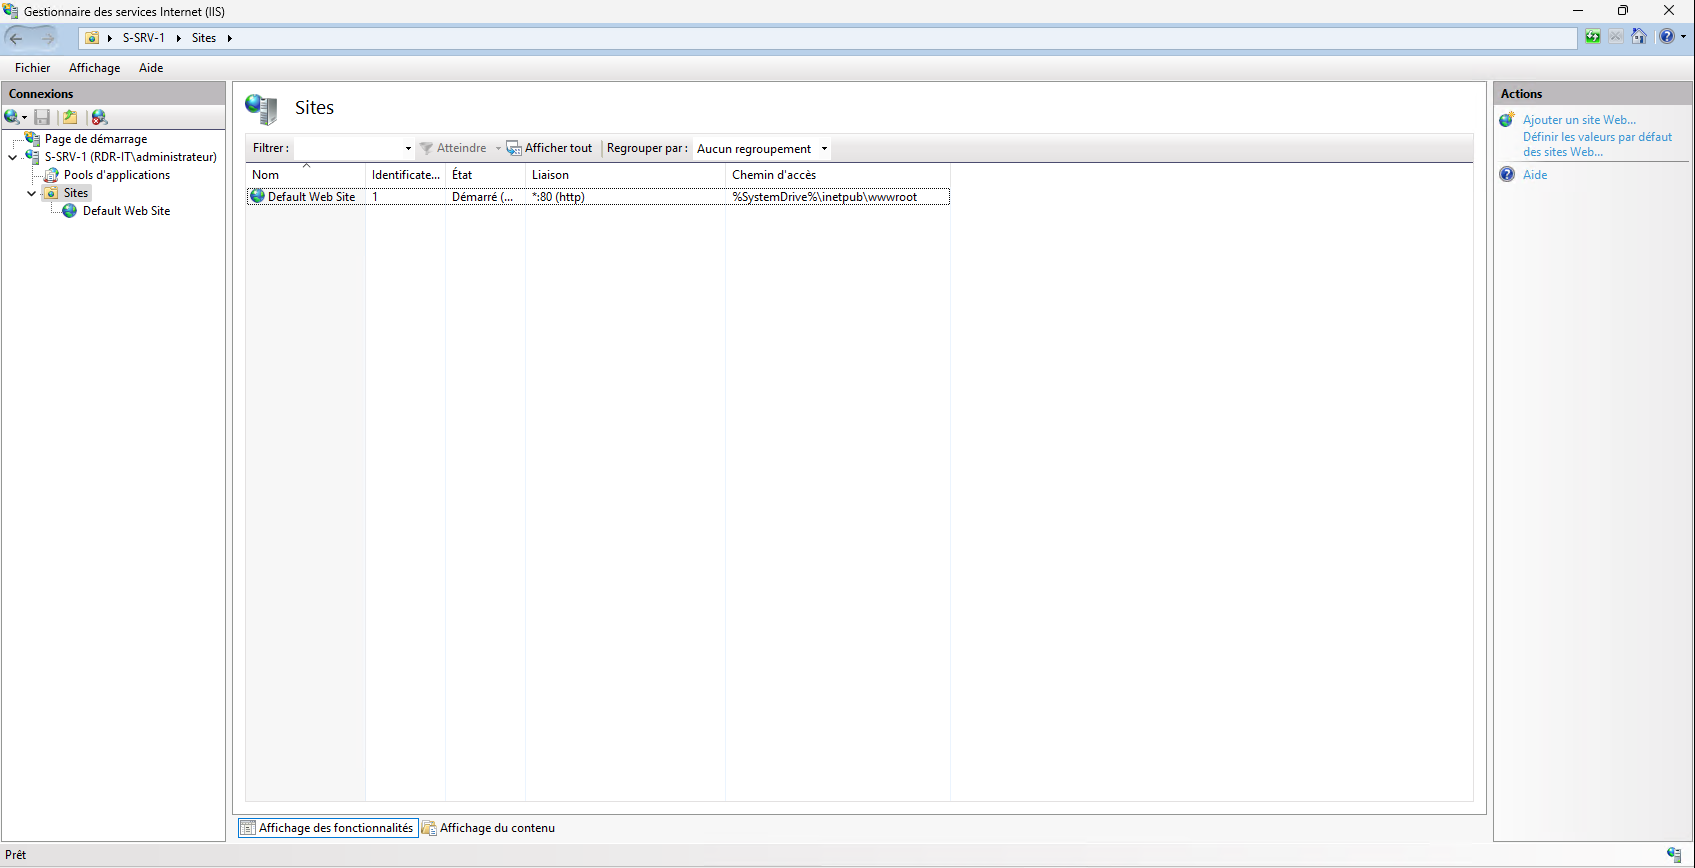
The default site listens on all DNS names and IPs * on port 80, which gives *:80 and then we can see its location on the server.
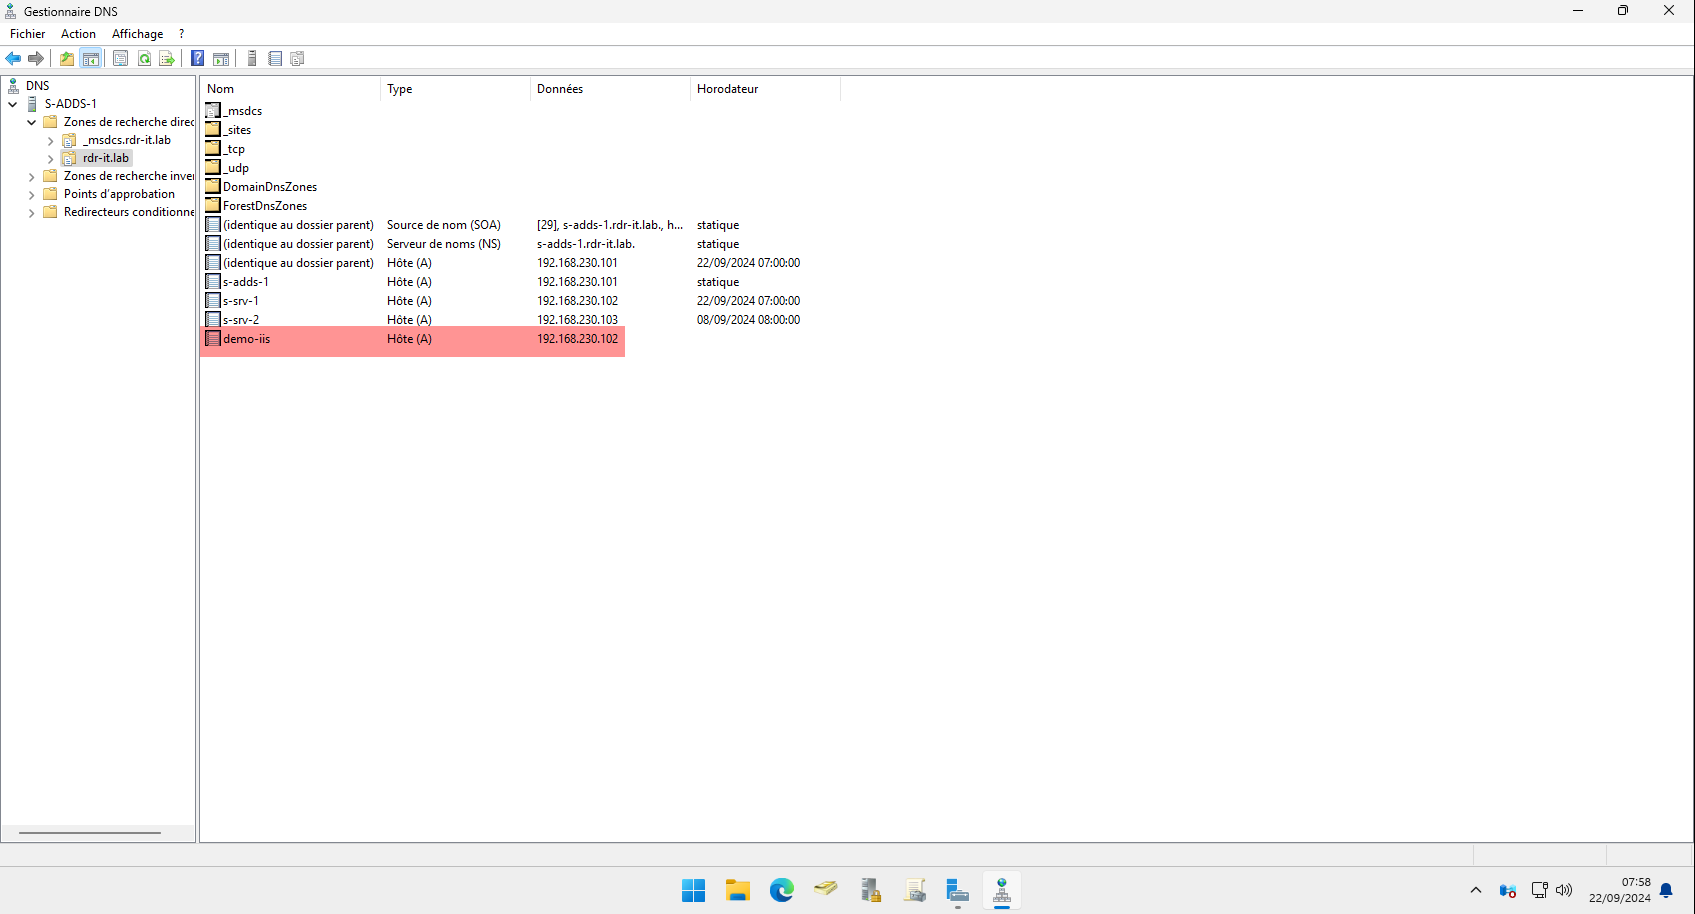
In this tutorial we will create a Site based on DNS name, the first thing will be to create a DNS record of type A or CNAME so that it can be resolved with the IP address of the IIS web server.
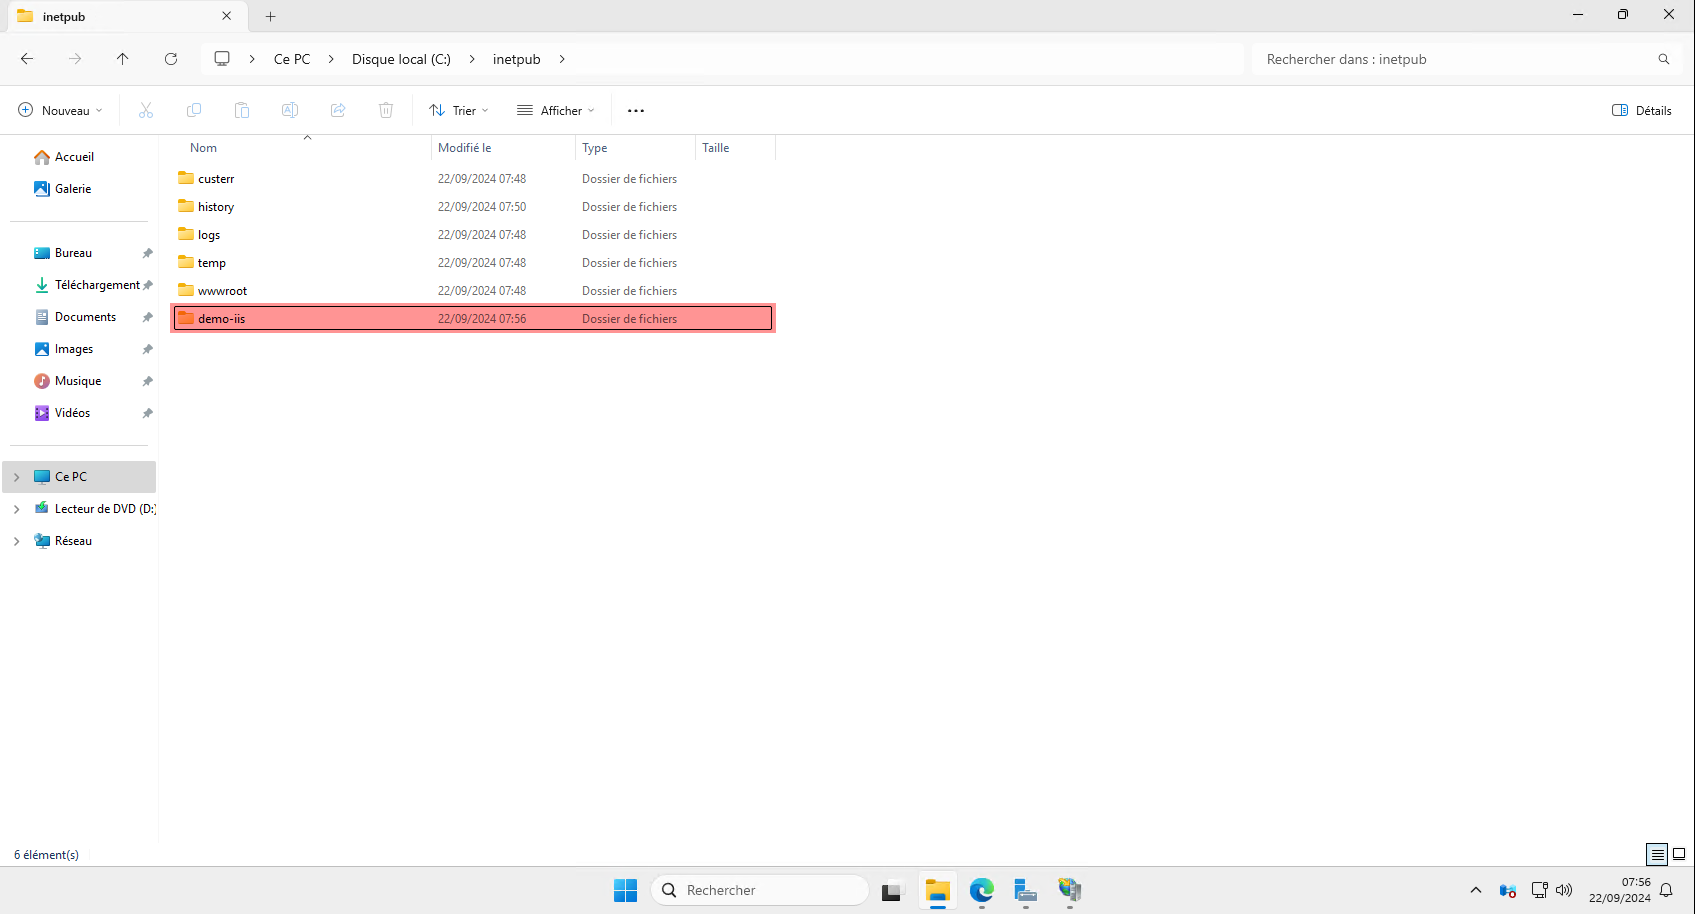
Also create on the server the folder where you will store the content (pages) of the site.
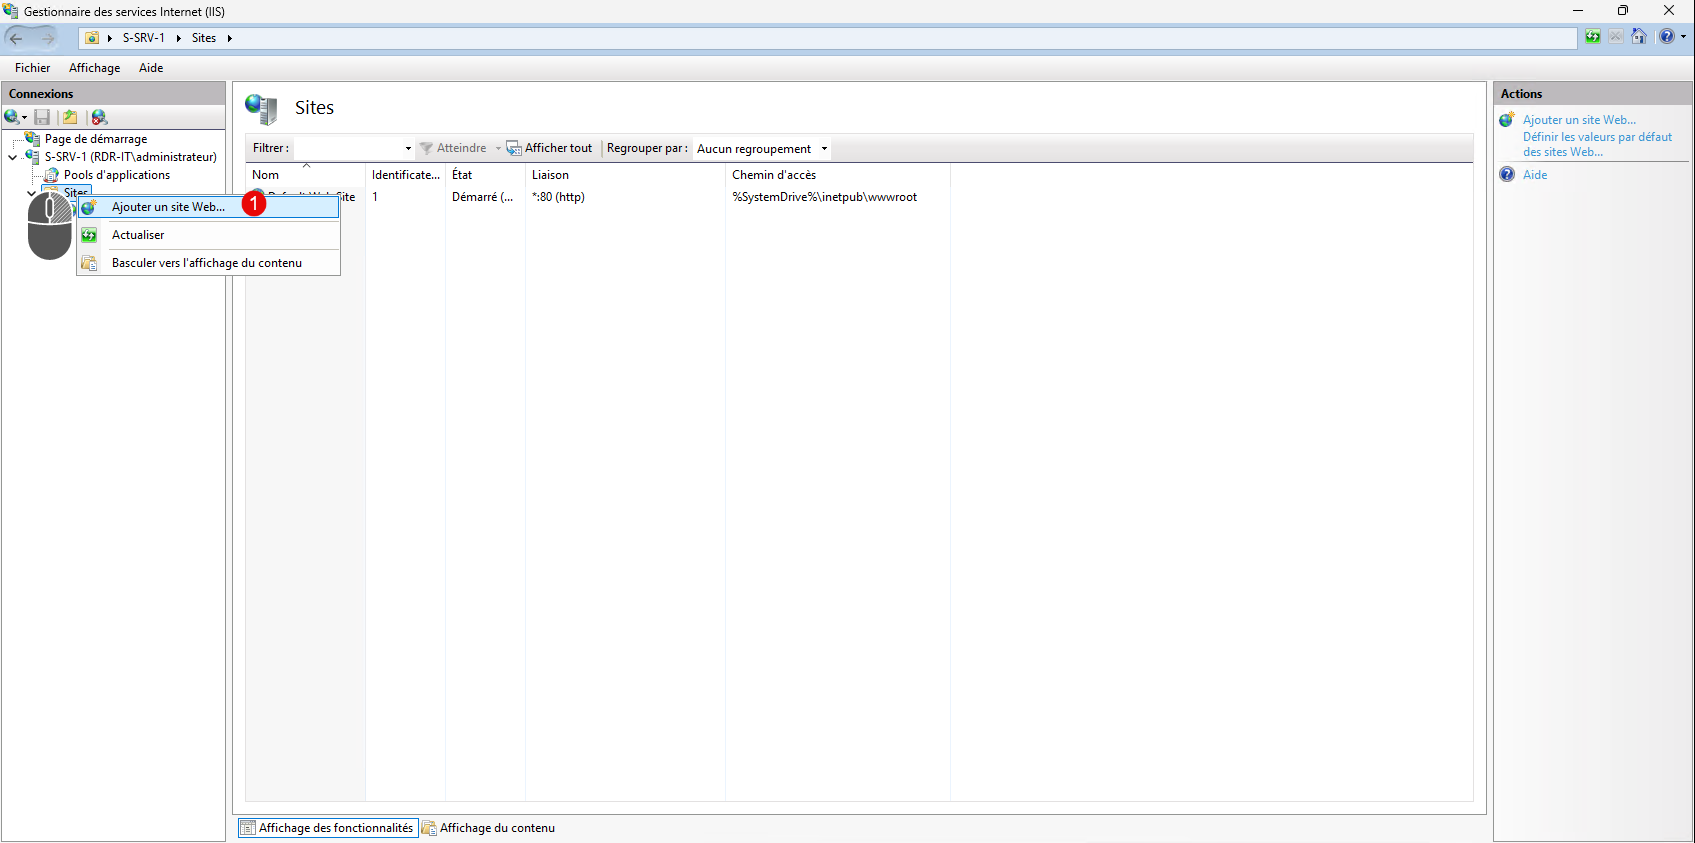
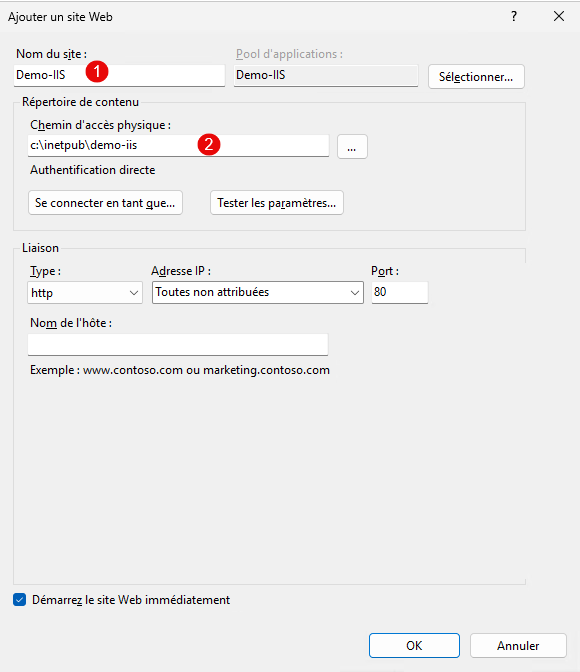
To create the site in the IIS console, right-click Sites, then click Add Web Site 1.
Start by naming the site 1 then indicate the physical access path 2.
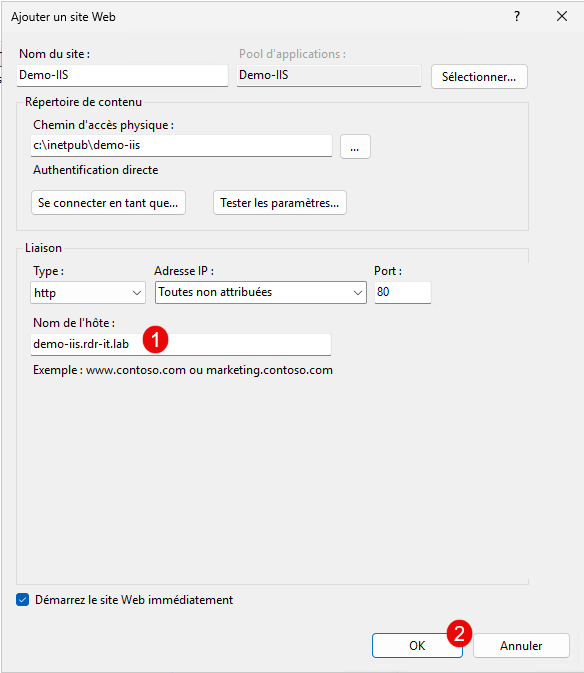
Enter the DNS name in the Host Name field 1 and then click OK 2.
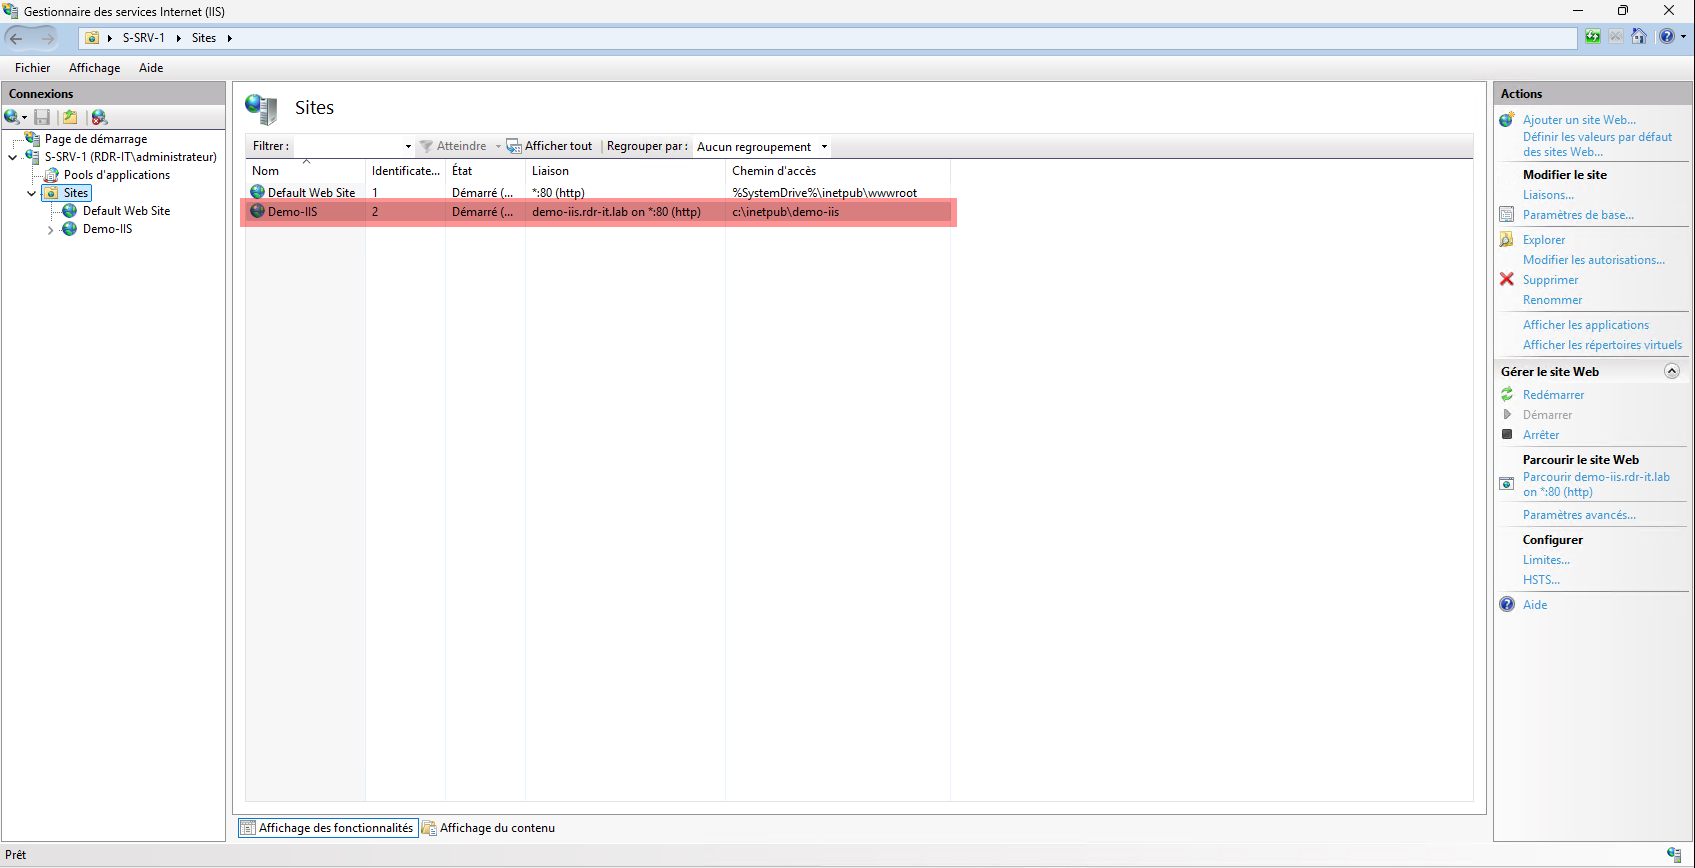
The Site is created. (I’ll let you compare the link differences for yourself).
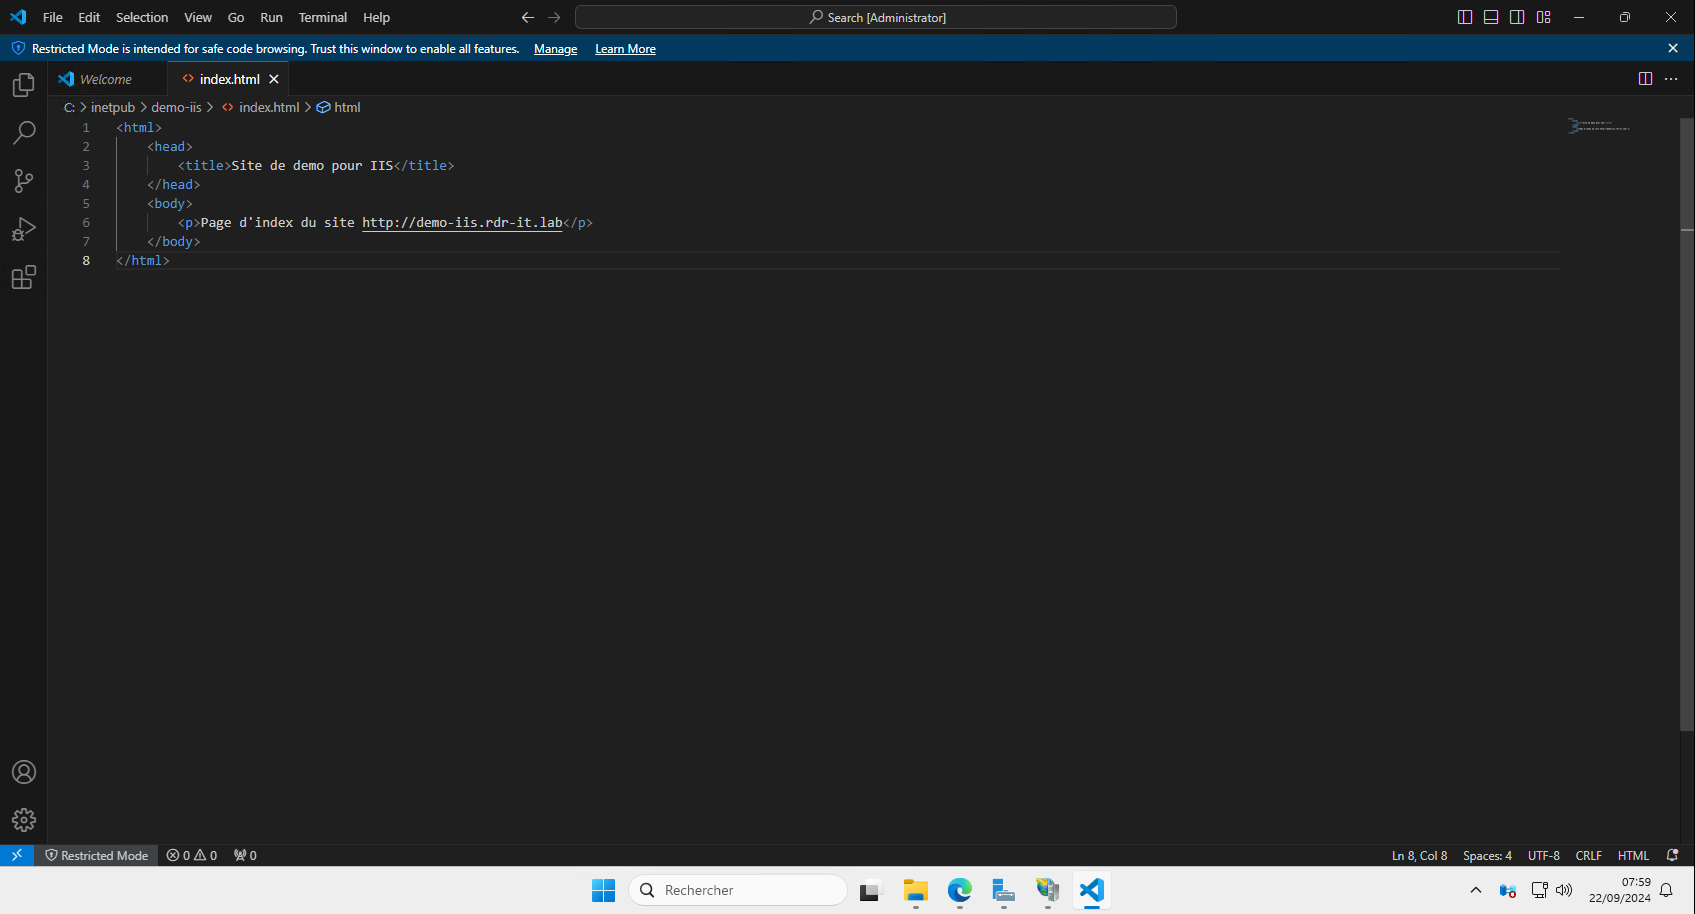
We will now test the site, in the physical folder, create an index.htlm folder.

Here is the code of the HTML page:
This time, from an internet browser, enter the URL (DNS name) of the site that you created:
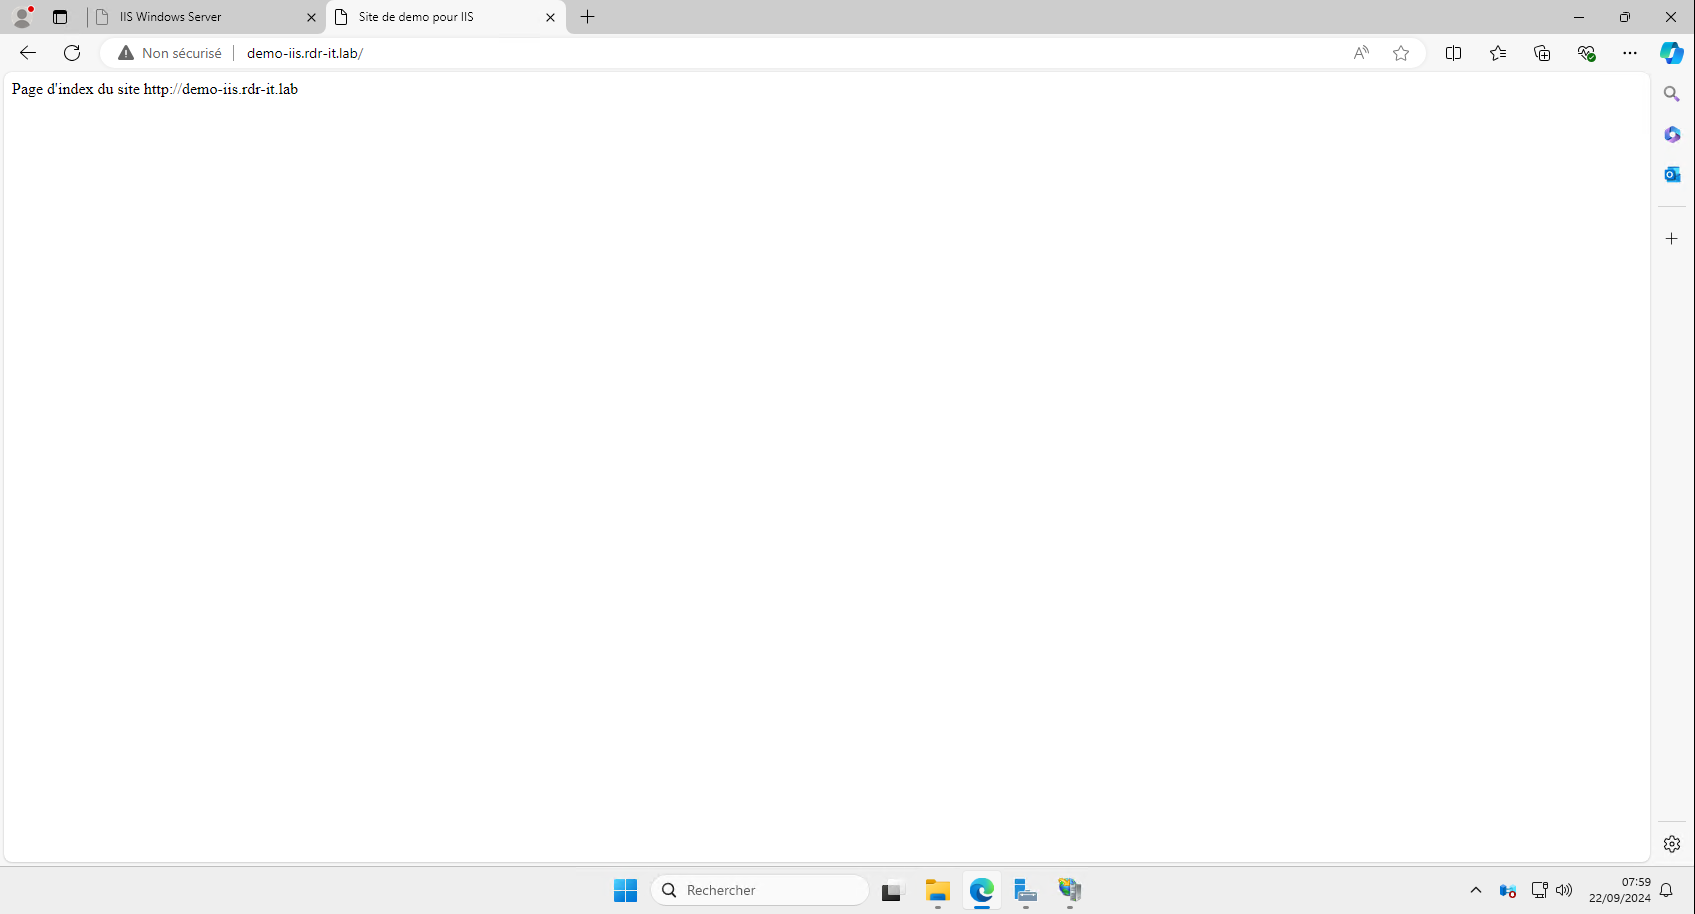
We have the content of the HTML page that we created.
Access site logs
By default the logs are stored in the following location: C:\inetpub\logs\LogFiles, as can be seen below, there is a subfolder per Sites.
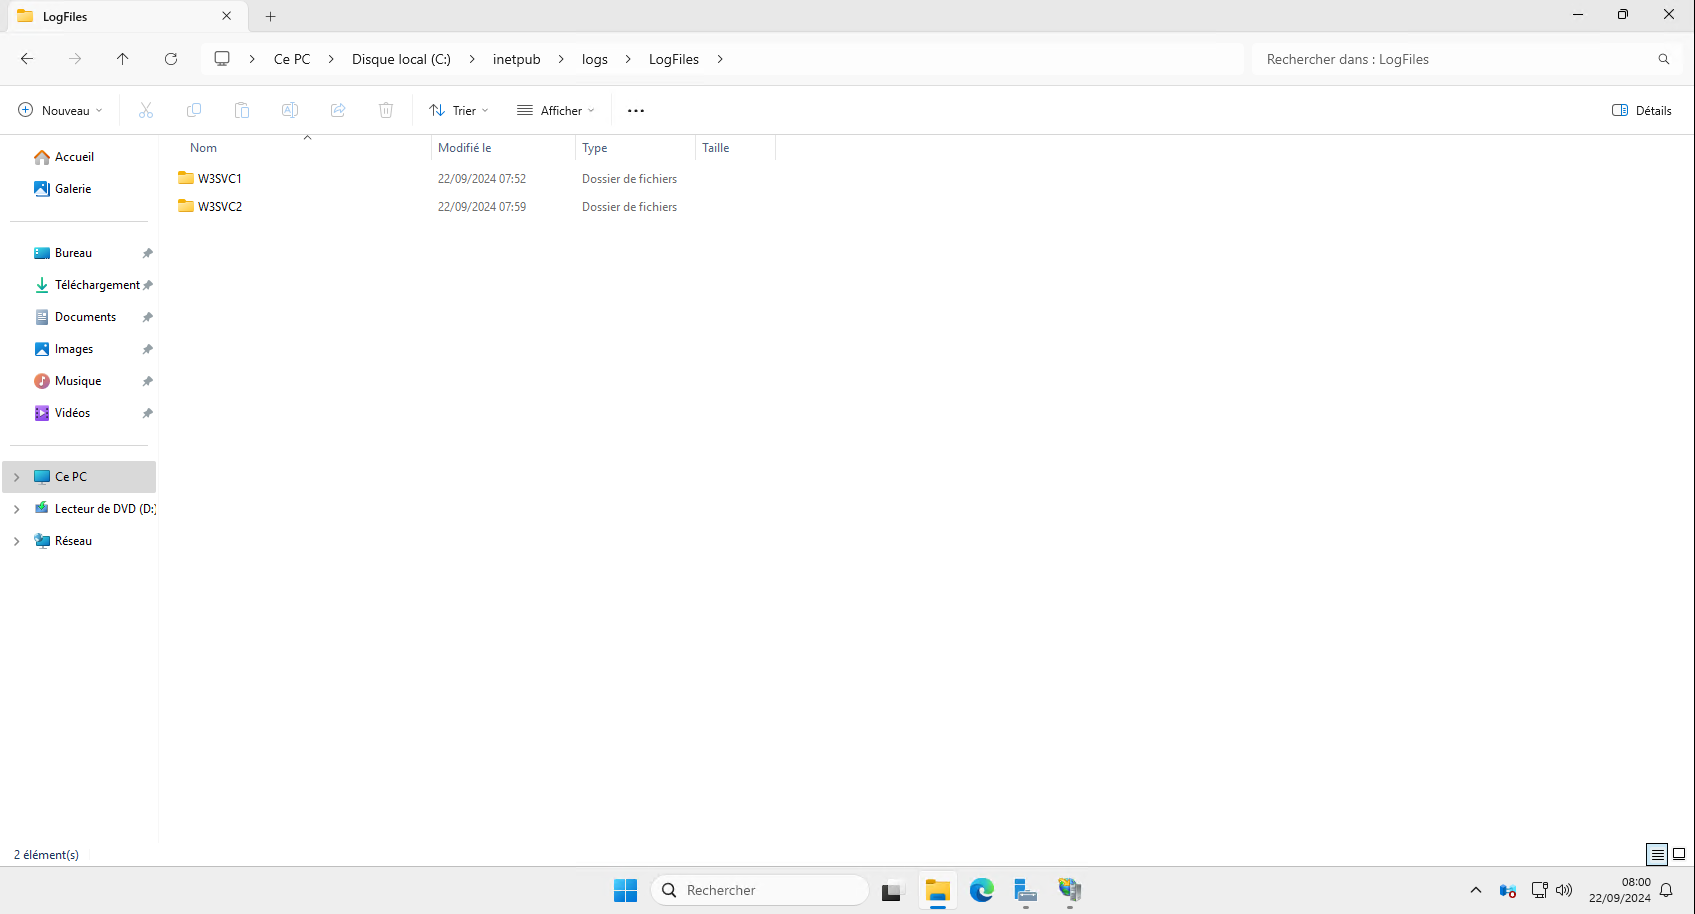
To identify the site number, you need to look at the Identifier column in the IIS console, the site you created has identifier 2.

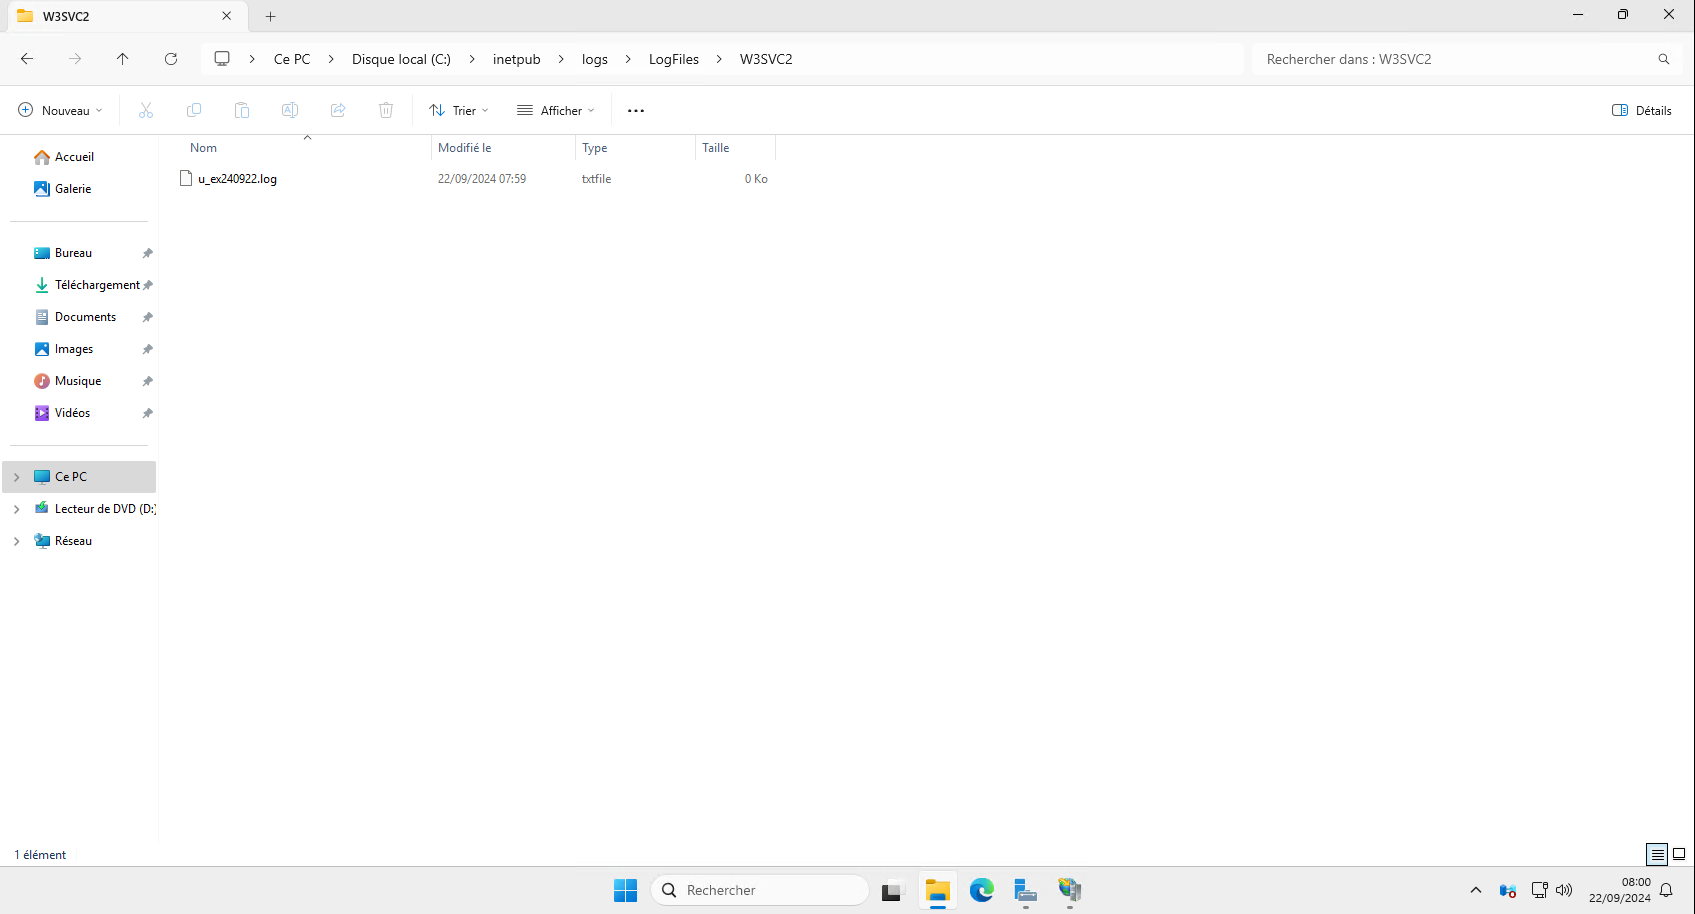
Go to the folder that contains the site logs, in this folder we will find one file per day that contains all the logs.
By opening the file, you have access to the logs and we find the lines which correspond to the navigation tests which we carried out.
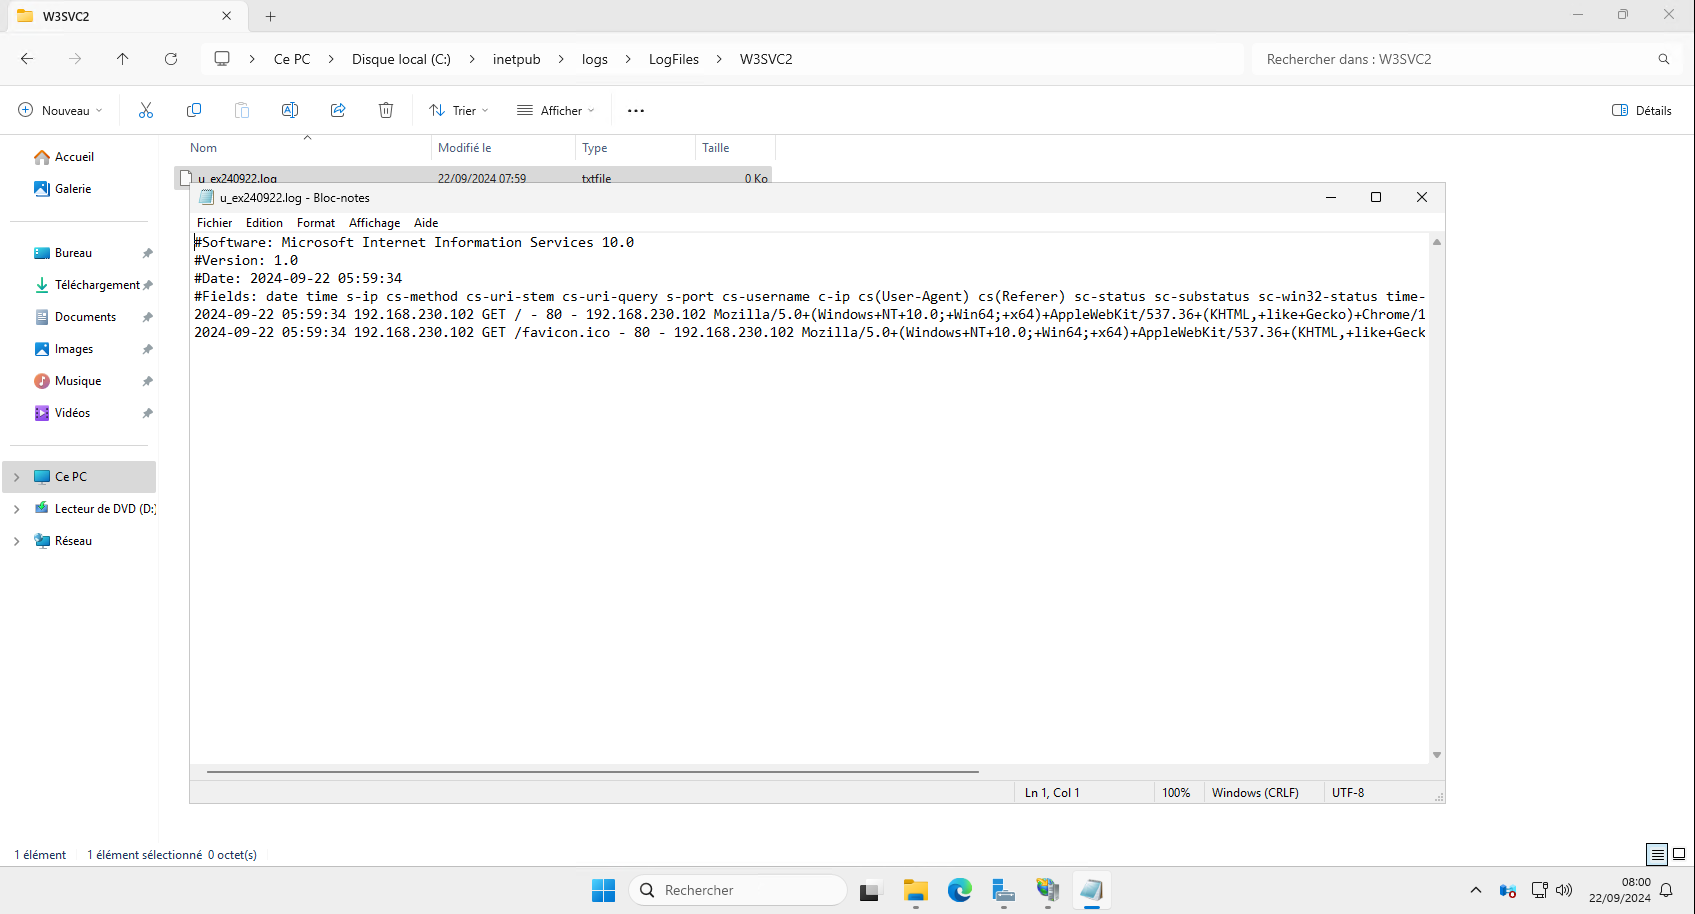
IIS does not manage log rotation unlike web servers on Linux.
In this tutorial, we saw how to install the Web Server (IIS) role on Windows Server 2025 and the creation of a Site.
You will find several tutorials dedicated to IIS on the site.
