In this tutorial dedicated to Windows Server 2025, I suggest you see or review how to install the DHCP Server role in order to provide automatic IP configuration to the computers on your network.
If you are familiar with the DHCP service in Windows Server, the implementation in Windows Server is identical.
Before getting into practice, I suggest you see what a DHCP server is used for.
DHCP is the acronym for Dynamic Host Configuration Protocol, the purpose of DHCP server is to provide network configuration to devices that request it such as computers, telephones, printing devices…
Basically, the DHCP server will provide the following elements which are found for example on internet boxes:
- IPv4 address with subnet mask
- One or more DNS servers for name resolution
- The default gateway (router) which will allow navigation to other networks and the Internet
In business, we will also use the DHCP server to deliver the following information:
- One or more DNS names to perform name resolutions, typically the Active Directory domain name
- WINS server for “old” systems
- Disabling features like NETBIOS lookup
- PXE Server and Boot Image for PXE Boot Using Network Card as Boot Device
- …
To put it simply, here is how a DHCP request from a computer on a network works, it is broken down into 4 steps:
- DHCPDISCOVER: the client (computer that needs an address) sends a message to all the computers on the network (broadcast) where it is connected, requesting a configuration in order to be able to communicate on the network
- DHCPOFFER: the DHCP server responds to the client by giving it the first configuration parameters
- DHCPREQUEST: the client responds to the server indicating that it accepts what was sent to it
- DHCPACK: response from the DHCP server that sends the rest of the network configuration and at the same time the server records the lease
This is a simplified summary of how a DHCP request works, which can be more complex when there are multiple DHCP servers on the same network.
Now that you have the basics of how DHCP server works, let’s move on to installing it on Windows Server 2025.
Install DHCP Server Role on Windows Server 2025
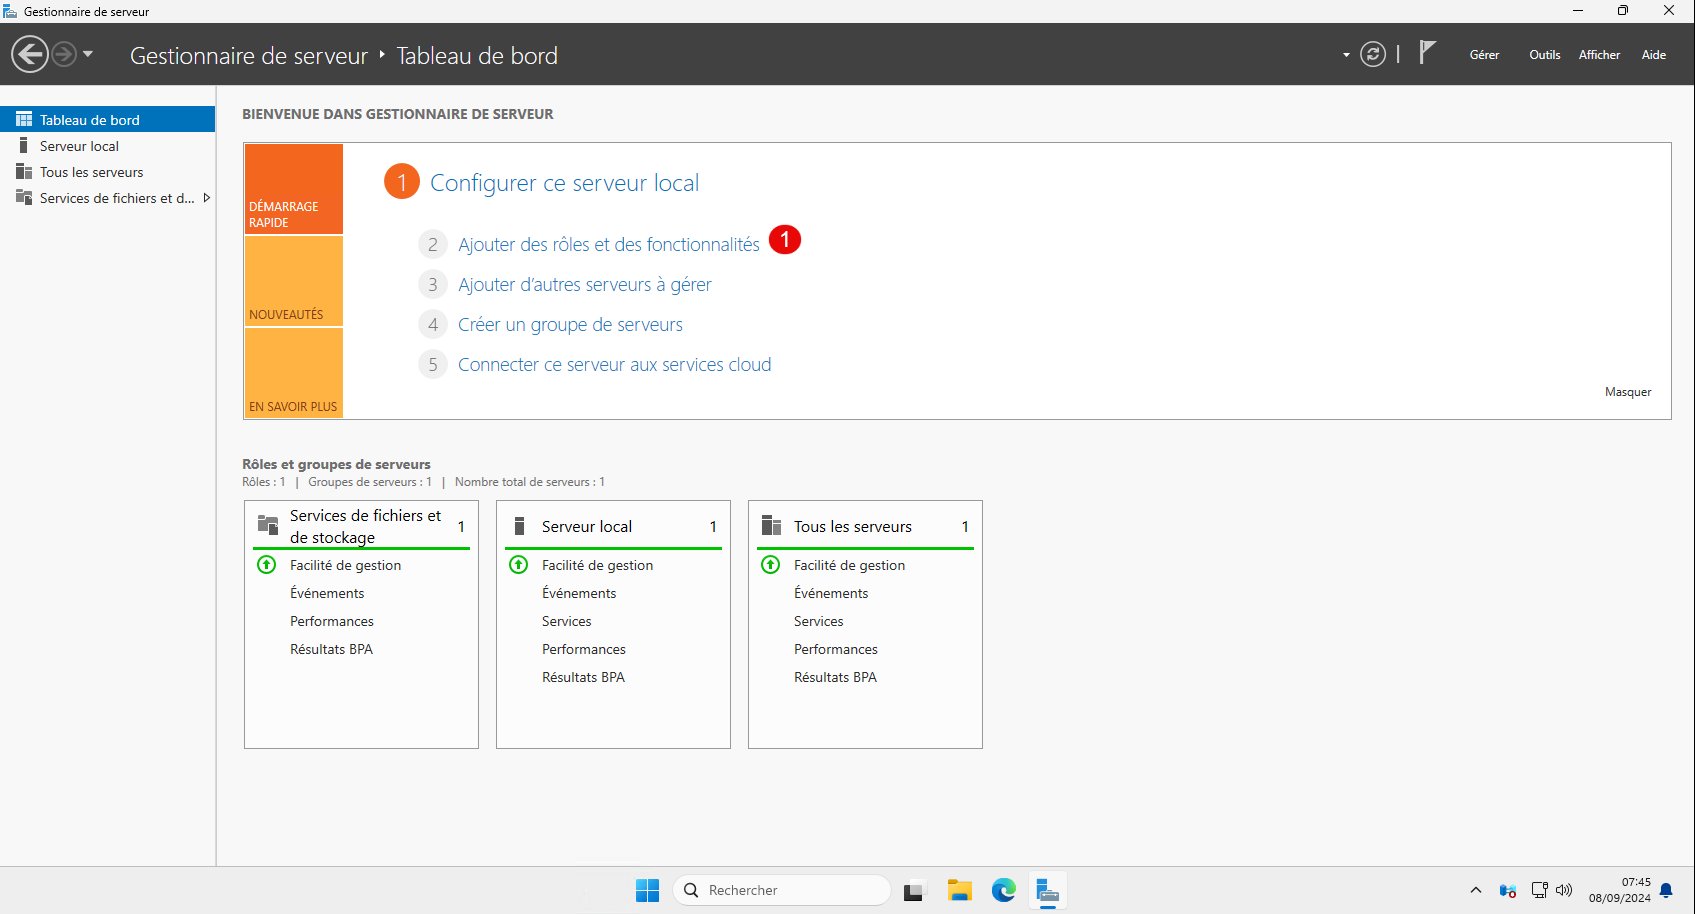
From Server Manager, click Add Roles and Features 1.
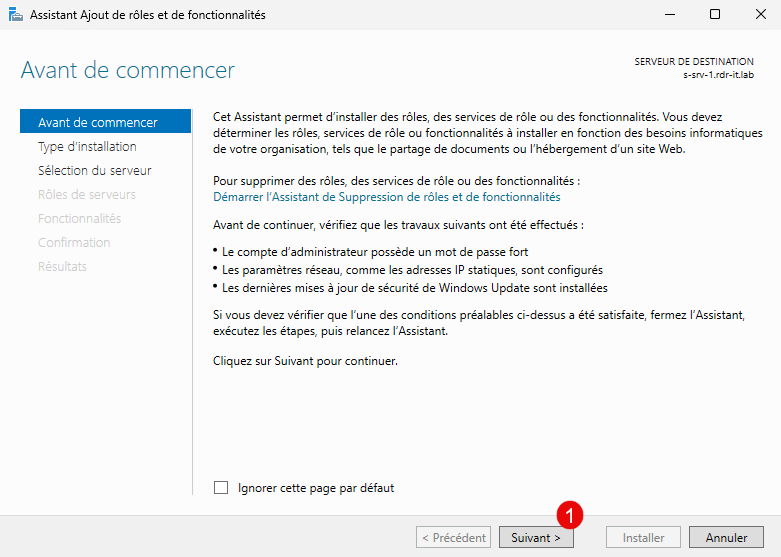
When launching the wizard, click on the Next button 1.
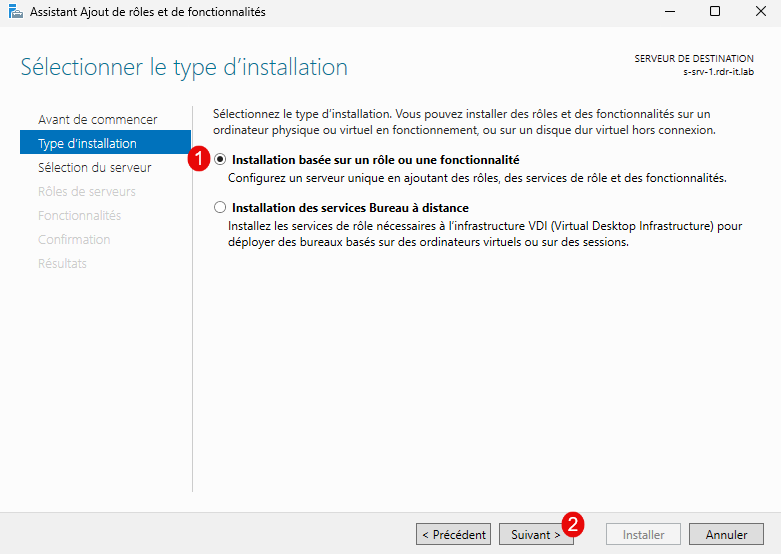
Select: Role or Feature Based Installation 1 and then click the Next button 2.
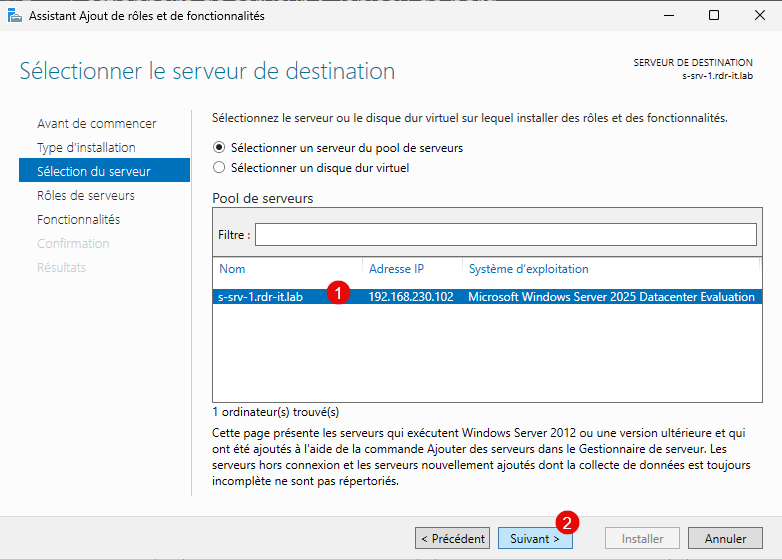
Select the server 1 where the DHCP Server role will be installed and then click Next 2.
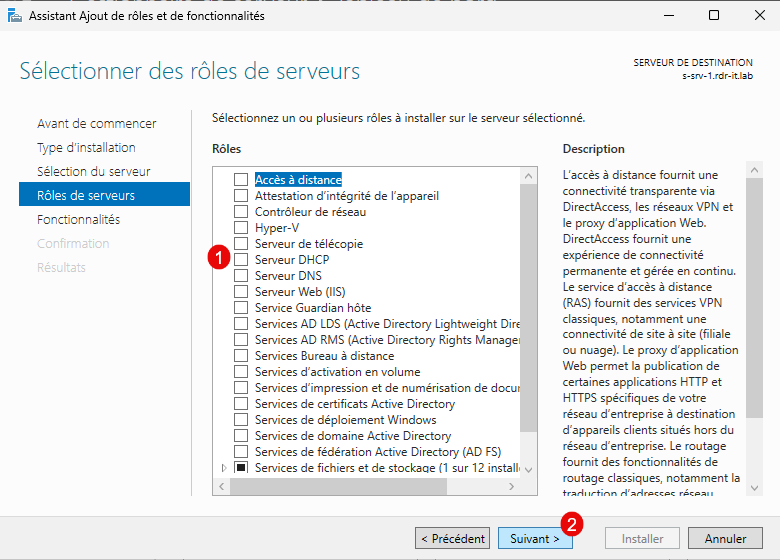
In the list of roles, check the DHCP Server 1 box.
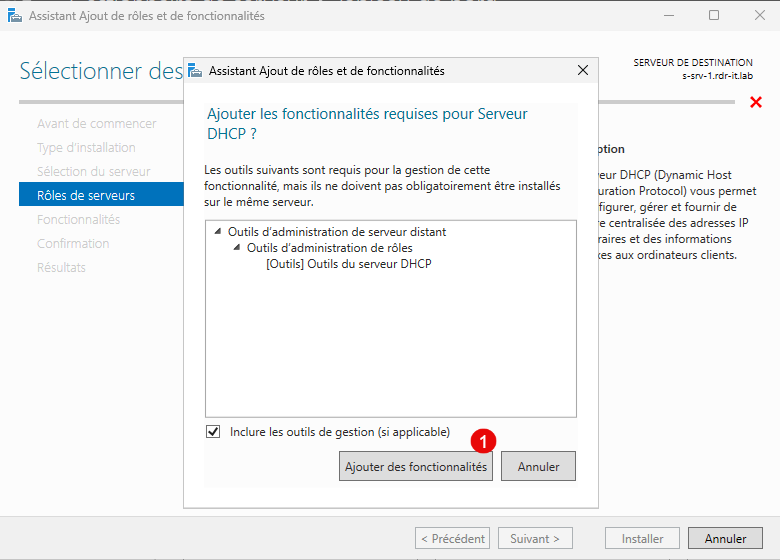
When you check the DHCP Server box, a new window opens for adding the required features for the DHCP server, click on the Add Features 1 button.
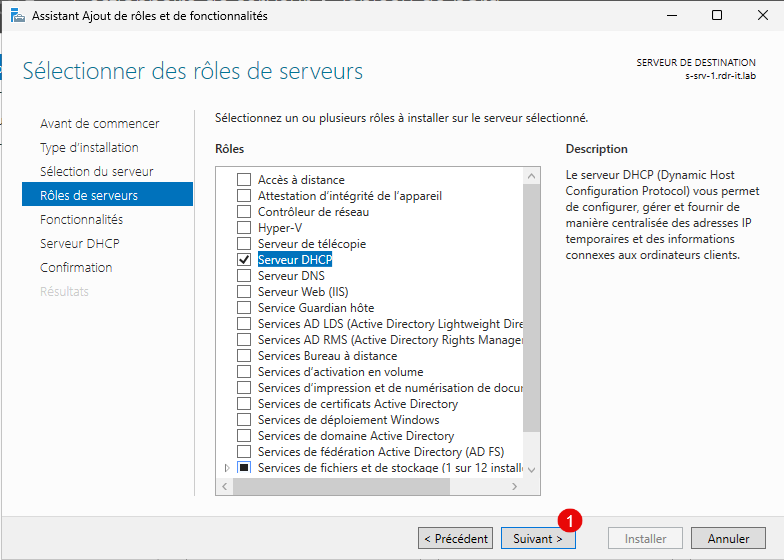
The DHCP server is selected, click on the Next button 1.
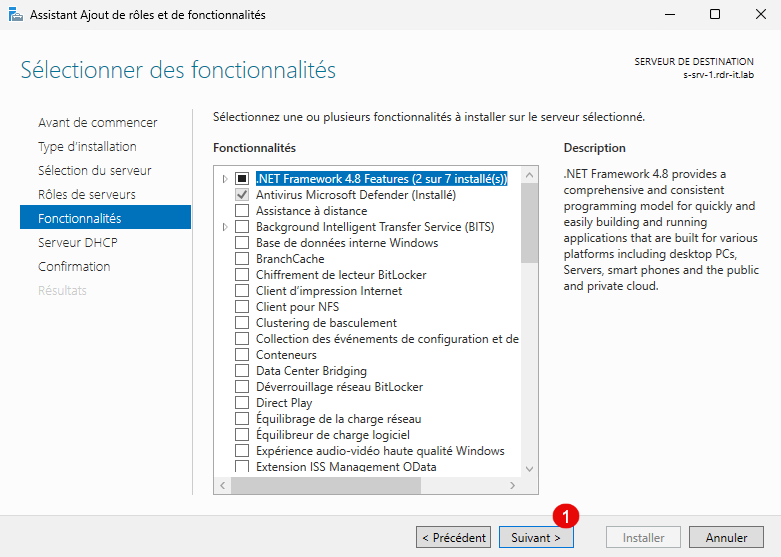
To go through the features available on Windows Server 2025, click the Next button 1.
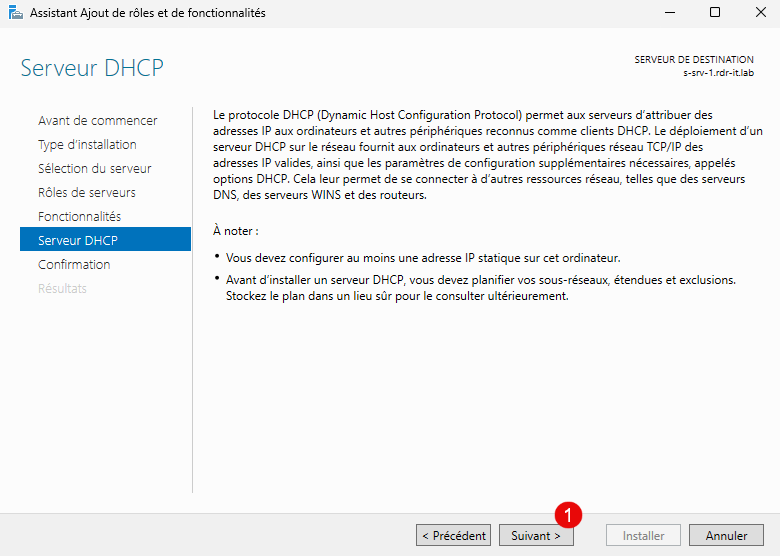
A description of the DHCP role is displayed, click the Next button 1.
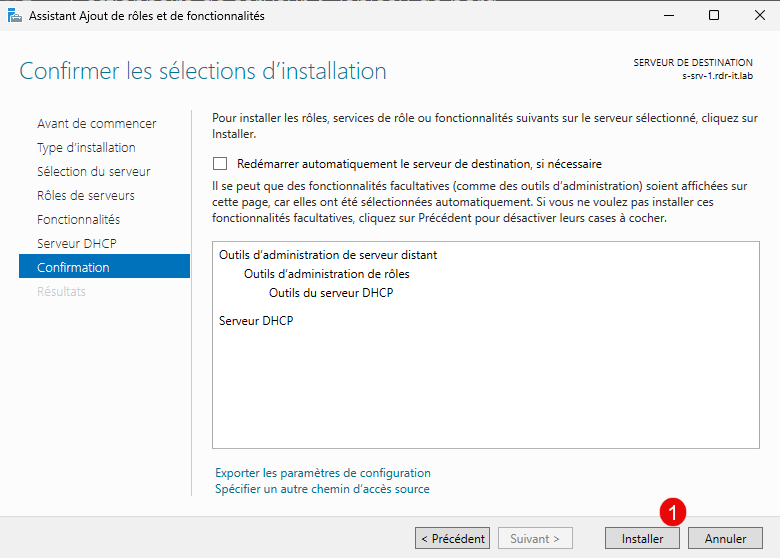
To start the DHCP role installation on the server, click Install 1.
Please wait while installing…
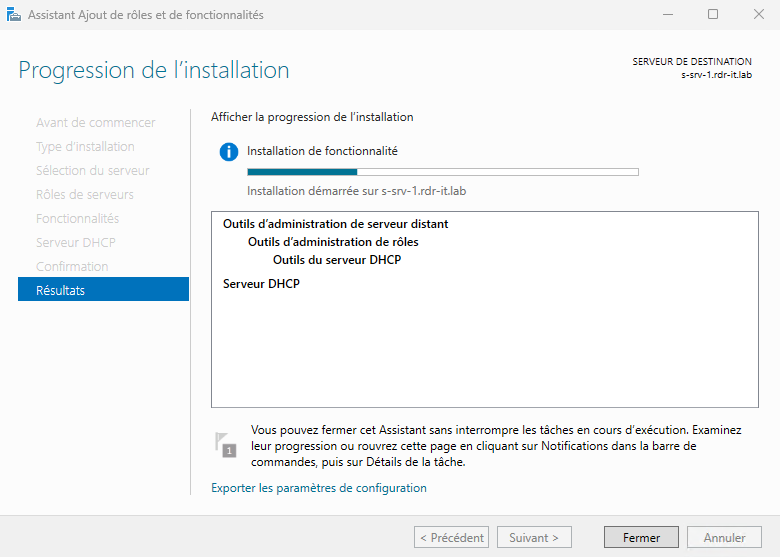
Once the installation is complete, exit the Add Role and Feature Wizard by clicking the Close button 1.
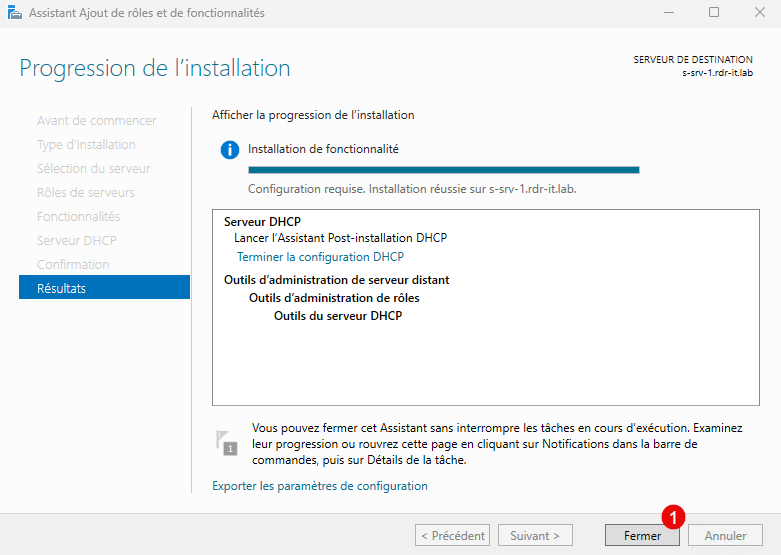
The DHCP Server role is installed on your Windows Server 2025 server, we will now see its configuration.
Authorize DHCP server in Active Directory
In the case of a server that is a member of an Active Directory domain, the DHCP server must be authorized in the Active Directory.
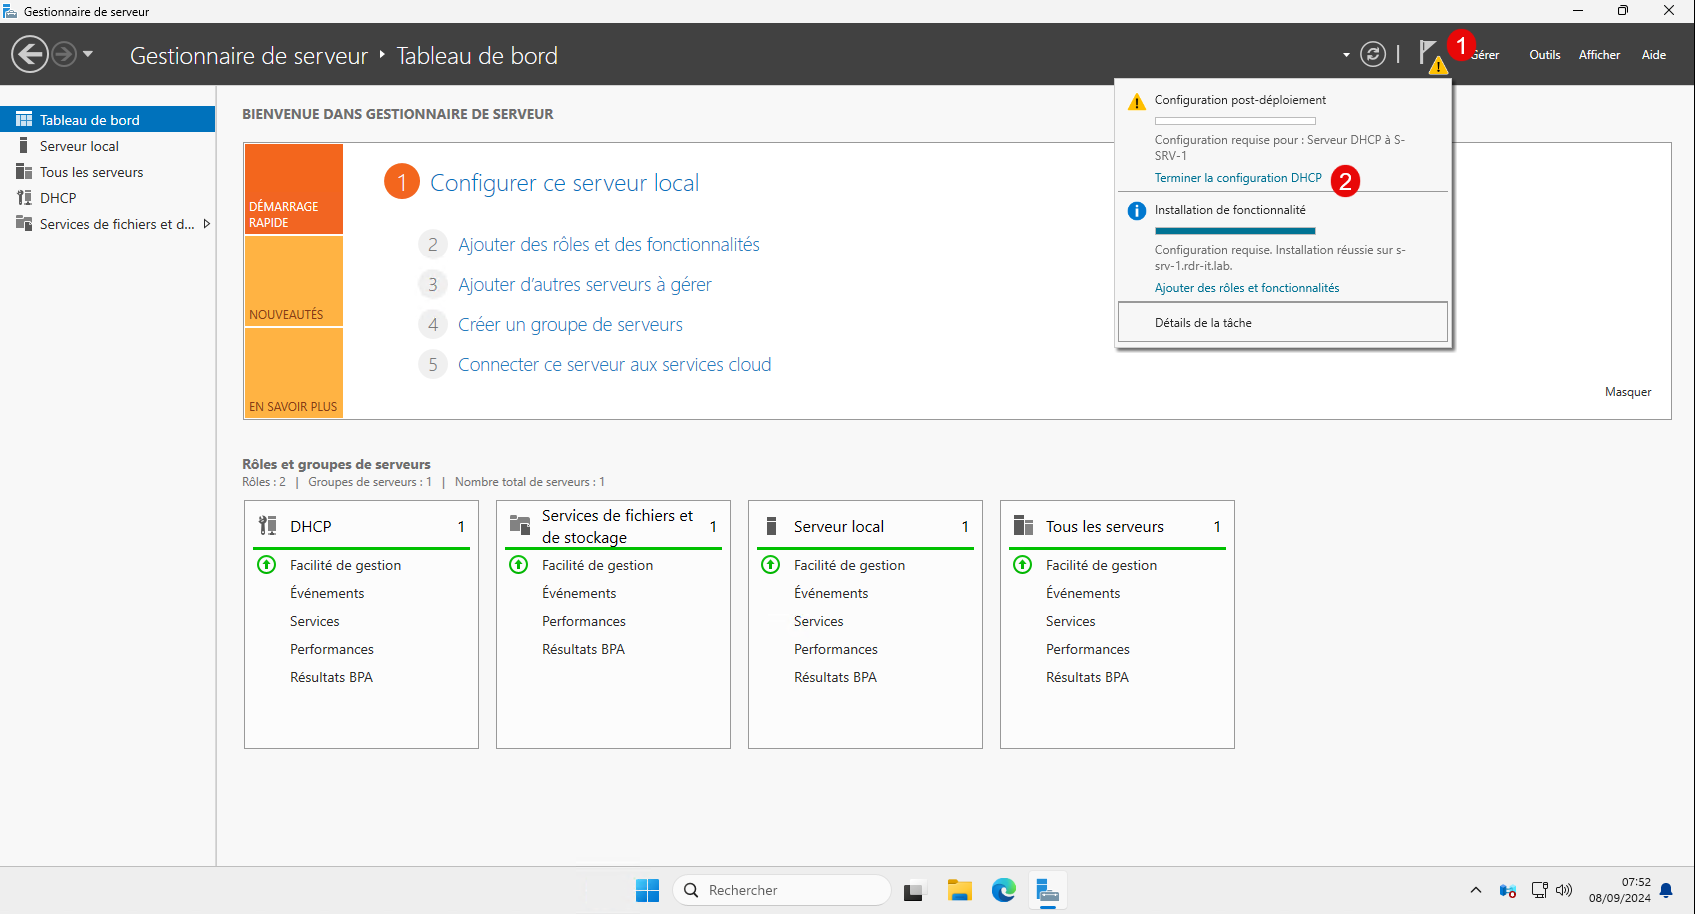
On Server Manager you should have a notification, click on the flag 1 then on Complete DHCP Configuration 2.
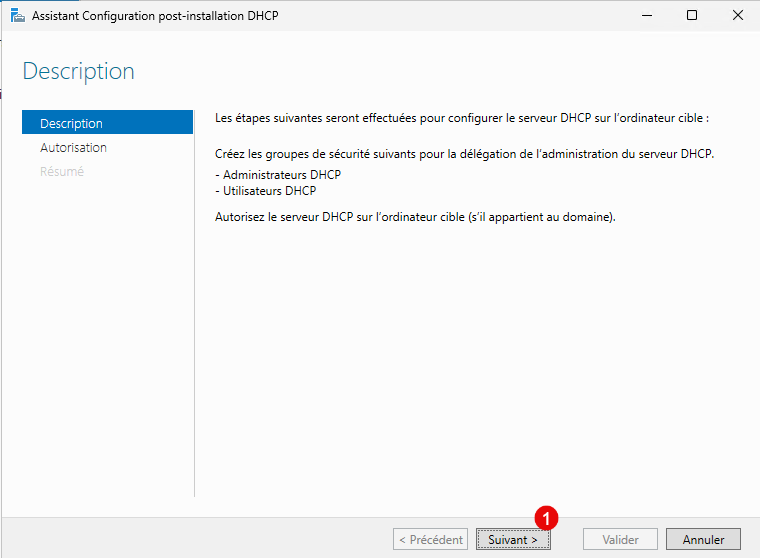
The DHCP post-installation configuration wizard opens, click Next 1 to skip the description.
If you are using an account that has enough privileges you can directly click on Validate 1.
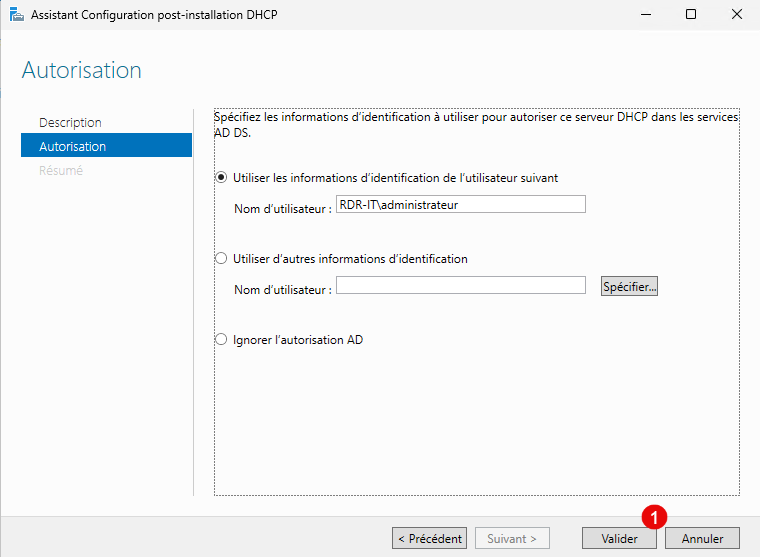
Since you are rigorous and use good security practices, you should certainly go for the second solution, which will be to indicate the identifiers of a domain administrator account to perform this operation.
In this lab for practical reasons I use the Domain Administrator account, something you should not do in a company and which is normally not possible if you use a tier system.
Once validated, close the wizard, this step is actually optional, this authorization does not prevent the DHCP server.
Create a scope on the DHCP server
To finish this tutorial, I will show you how to create your first scope on your DHCP server which is installed on Windows Server 2025.
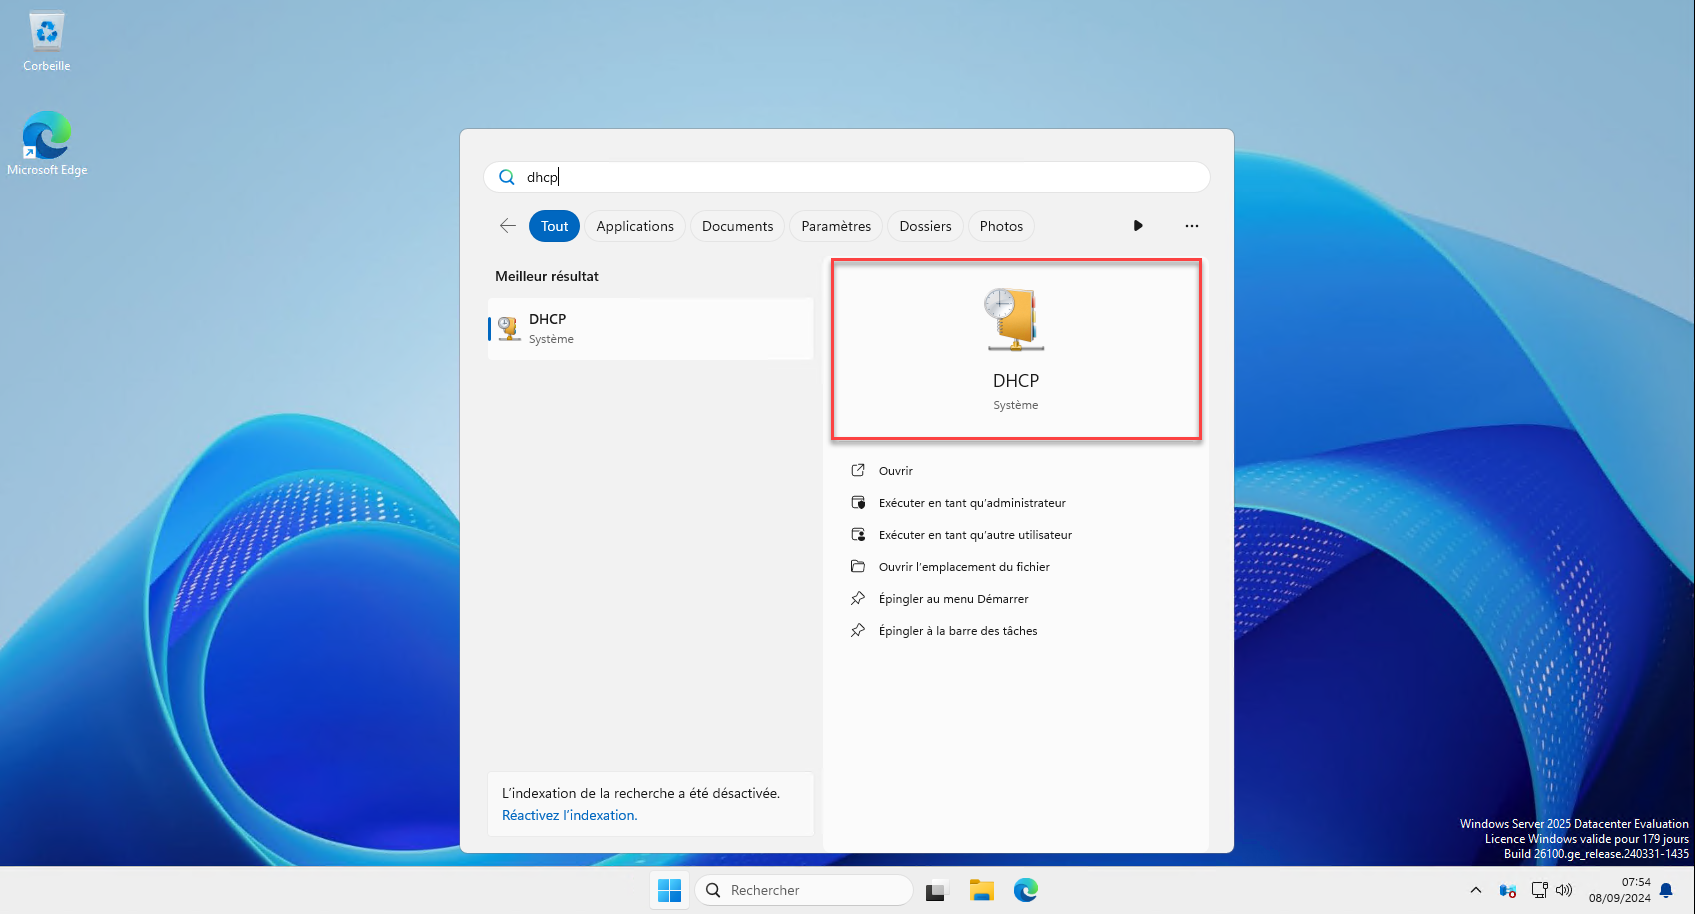
From the Start menu, search for DHCP and launch the console.
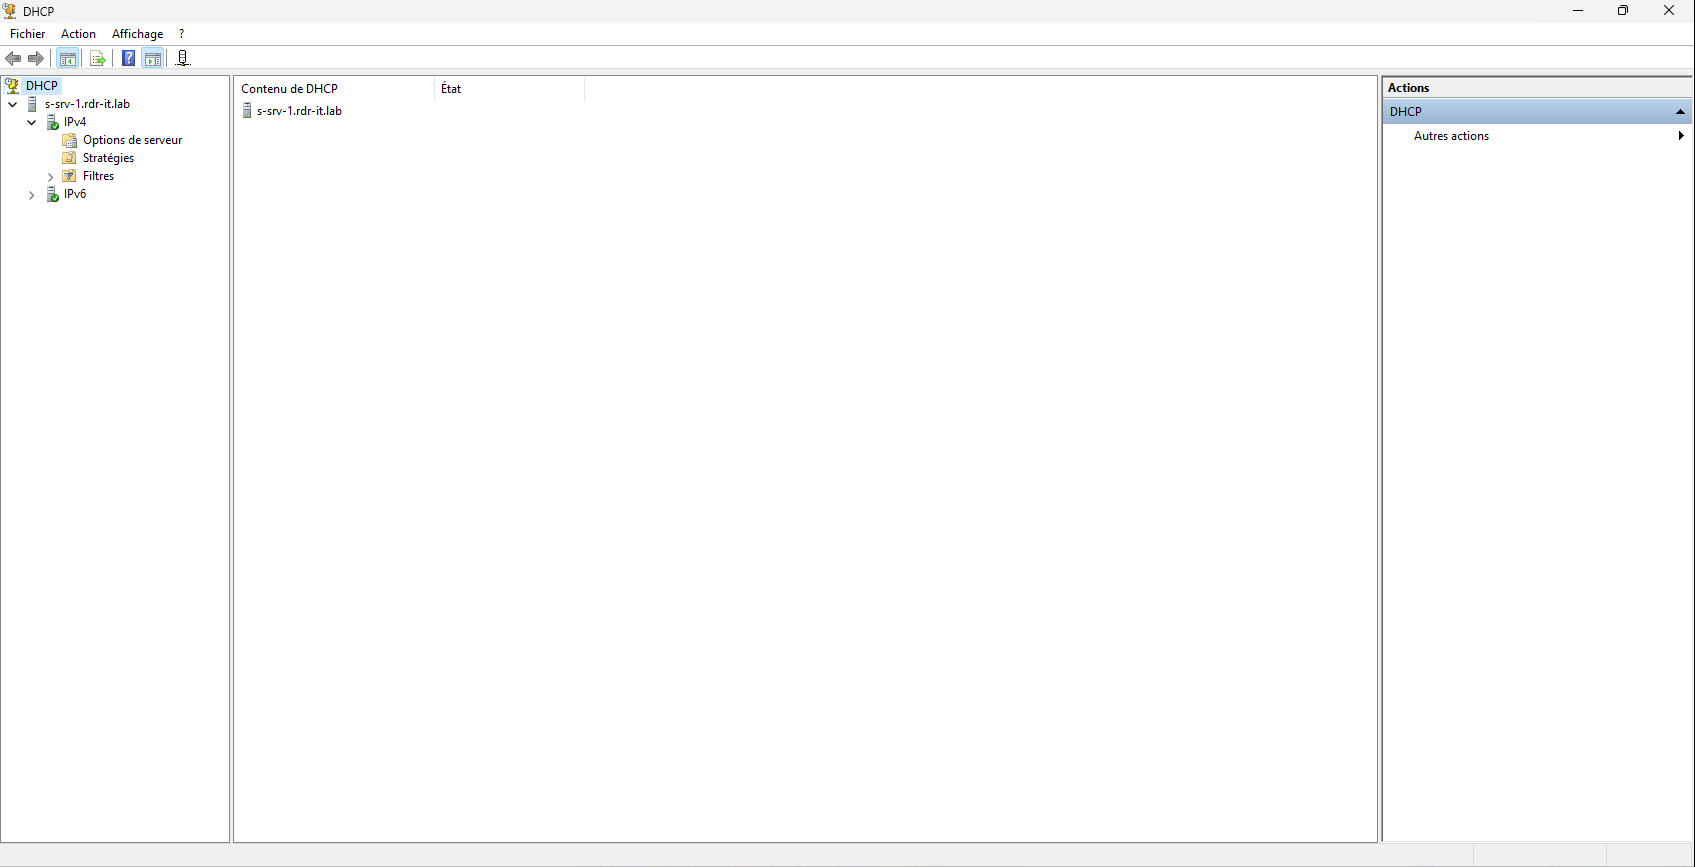
In the DHCP console, expand the server information.
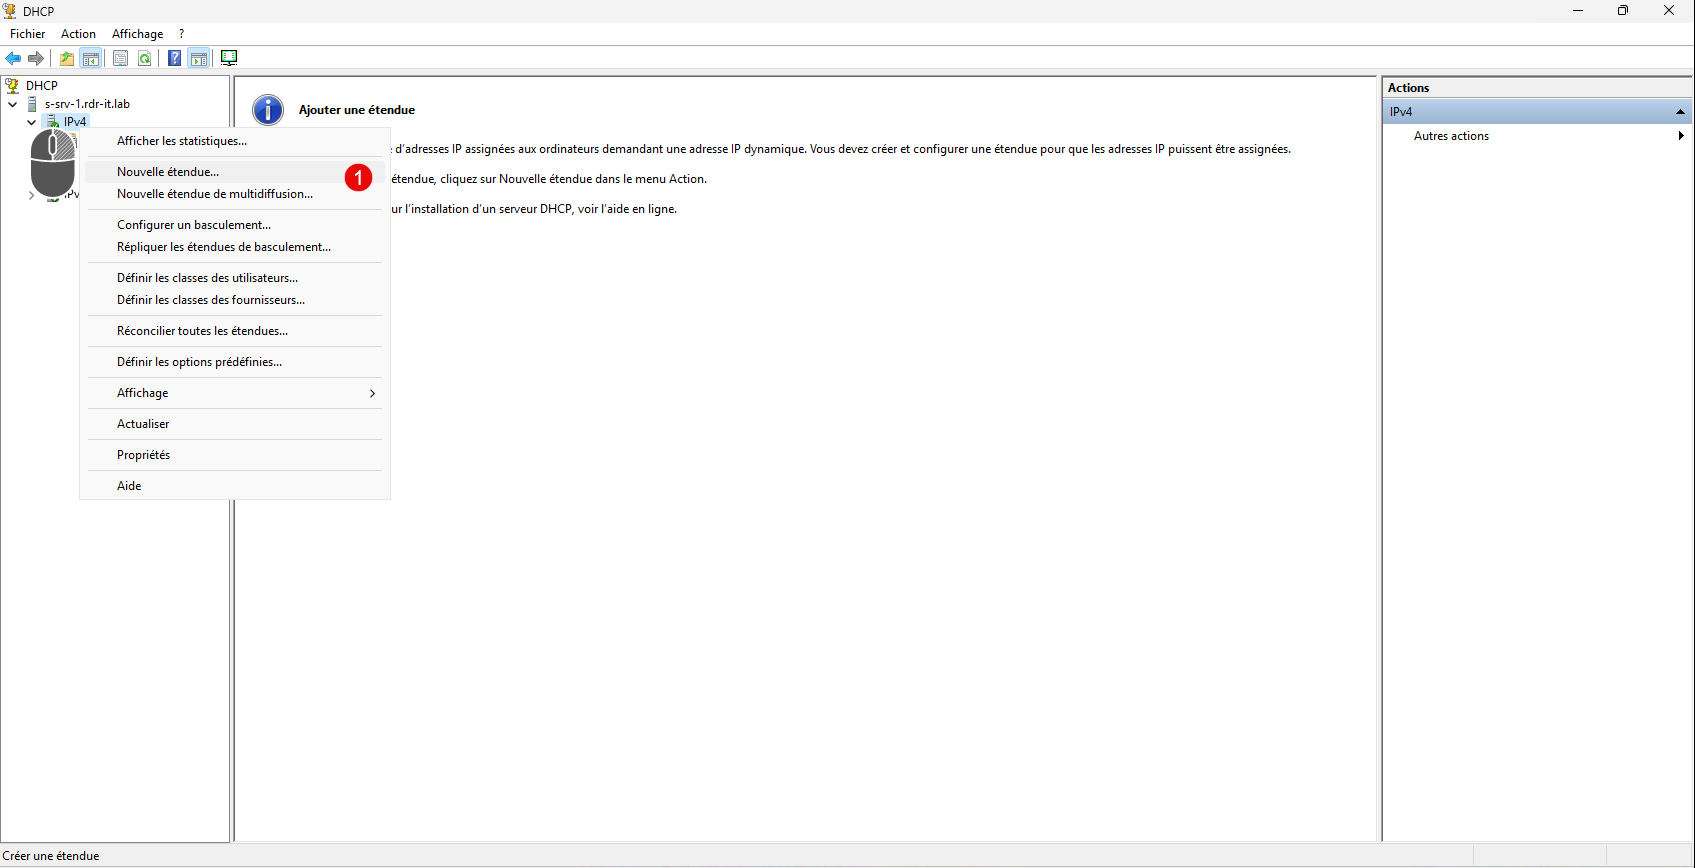
Right click on IPv4 and then click on New Scope 1.
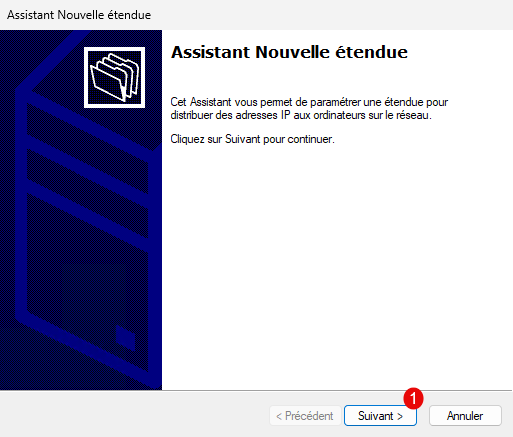
The Add New Scope wizard starts, click Next 1.
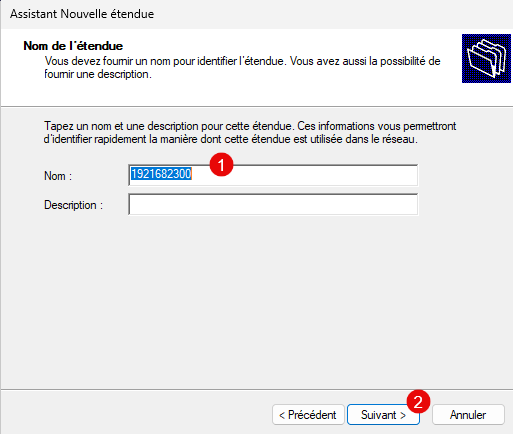
Name the scope 1 then click the Next button 2.
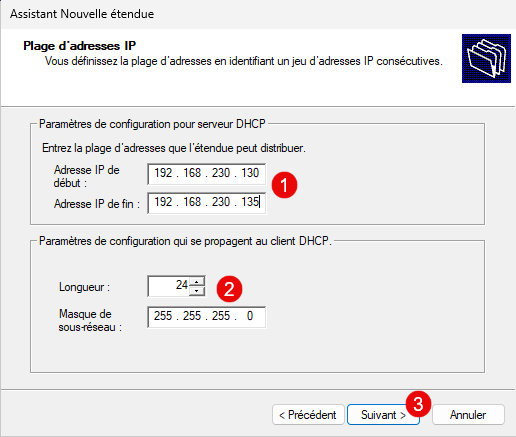
Enter the first and last address 1 that the DHCP server will distribute, indicate the subnet mask 2 and click Next 3.
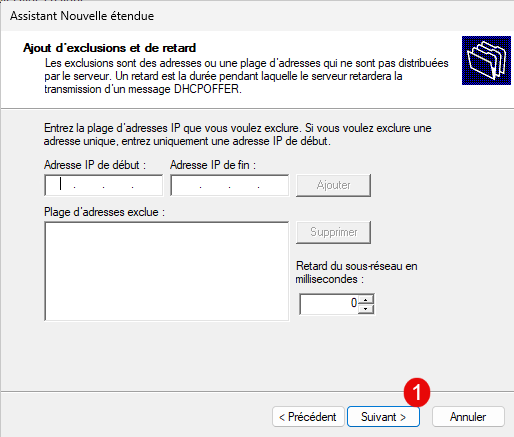
If you want to exclude addresses from the distribution of the range configured previously, you must do it here, in the majority you just have to skip this step by clicking on Next 1.
Configure the DHCP lease duration 1, i.e. the time for which the address is assigned to a device and click Next 2.
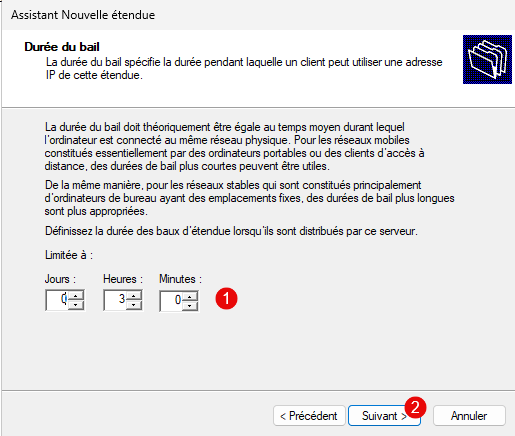
The lease duration must be configured according to the type of network, for the main network or vlan where you will have the computers of the collaborators’ domain, we can for example put a duration of 5 days, for a guest Wifi network, we can put 8 hours. The shorter the lease, the more DHCP requests there will be on the network which will have the consequence of increasing the broadcast.
Select the option: Yes, I want to configure these options now 1 then click the Next button 2.

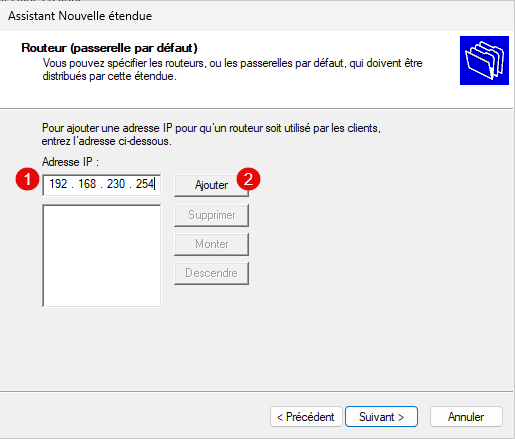
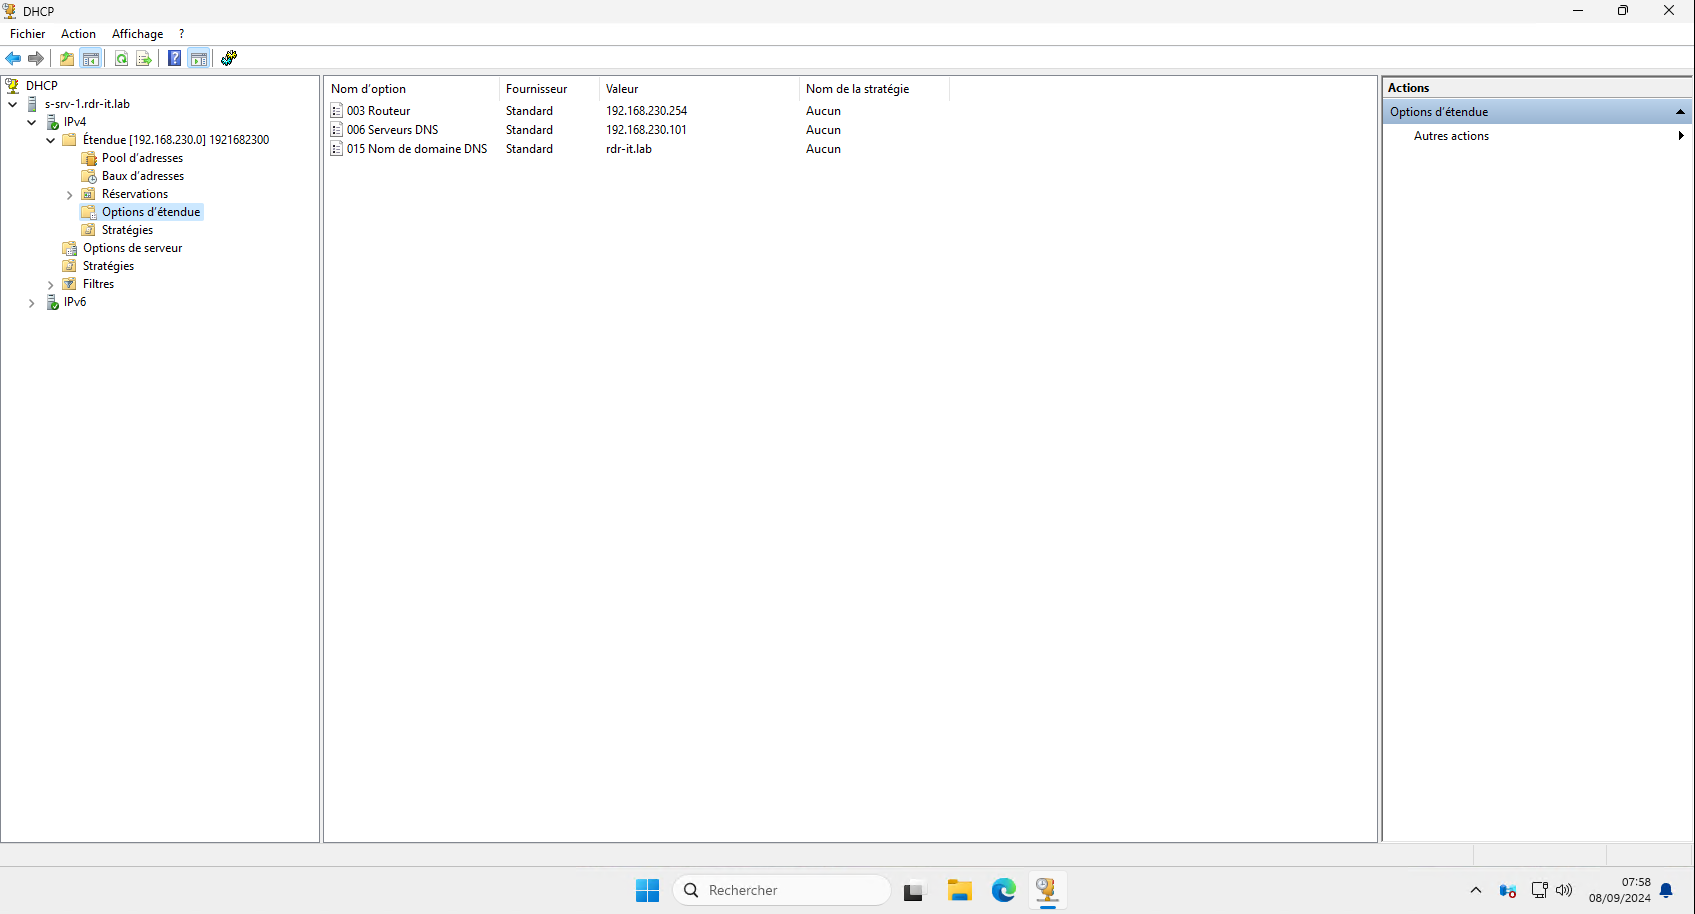
The first option to configure is the router, generally in companies we will indicate here the IP address of the firewall or a device in the heart of the network that is in charge of routing. Enter the IP address 1 and click on the Add button 2.
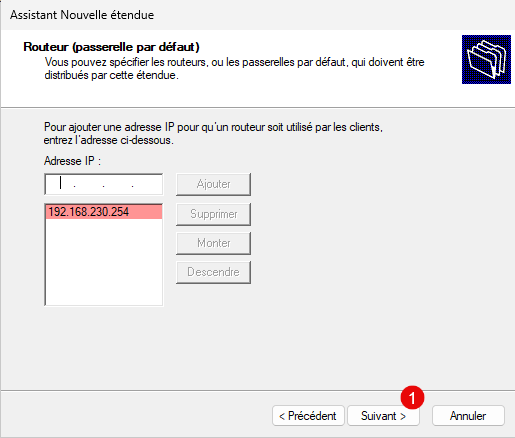
The router is added, click Next 1.
If you are in an Active Directory domain, enter the domain name 1 then indicate one or more DNS servers 2 as we did for the router and clicking on the Next button 3.

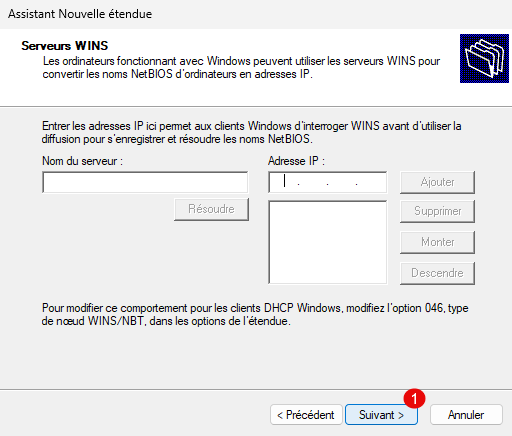
If a WINS server is present, add it in the same way as the router, otherwise click Next 1.
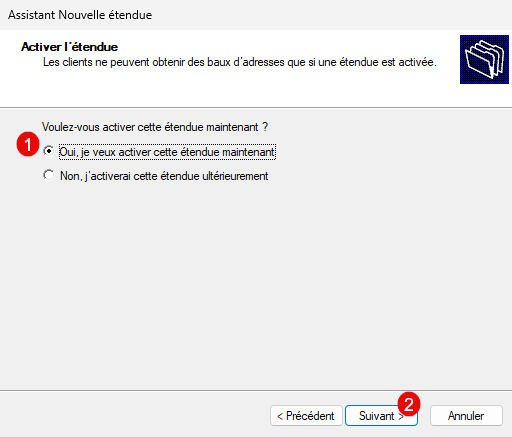
Select the option: Yes, I want to activate this scope now 1 then click Next 2.
Exit the wizard by clicking Finish 1.
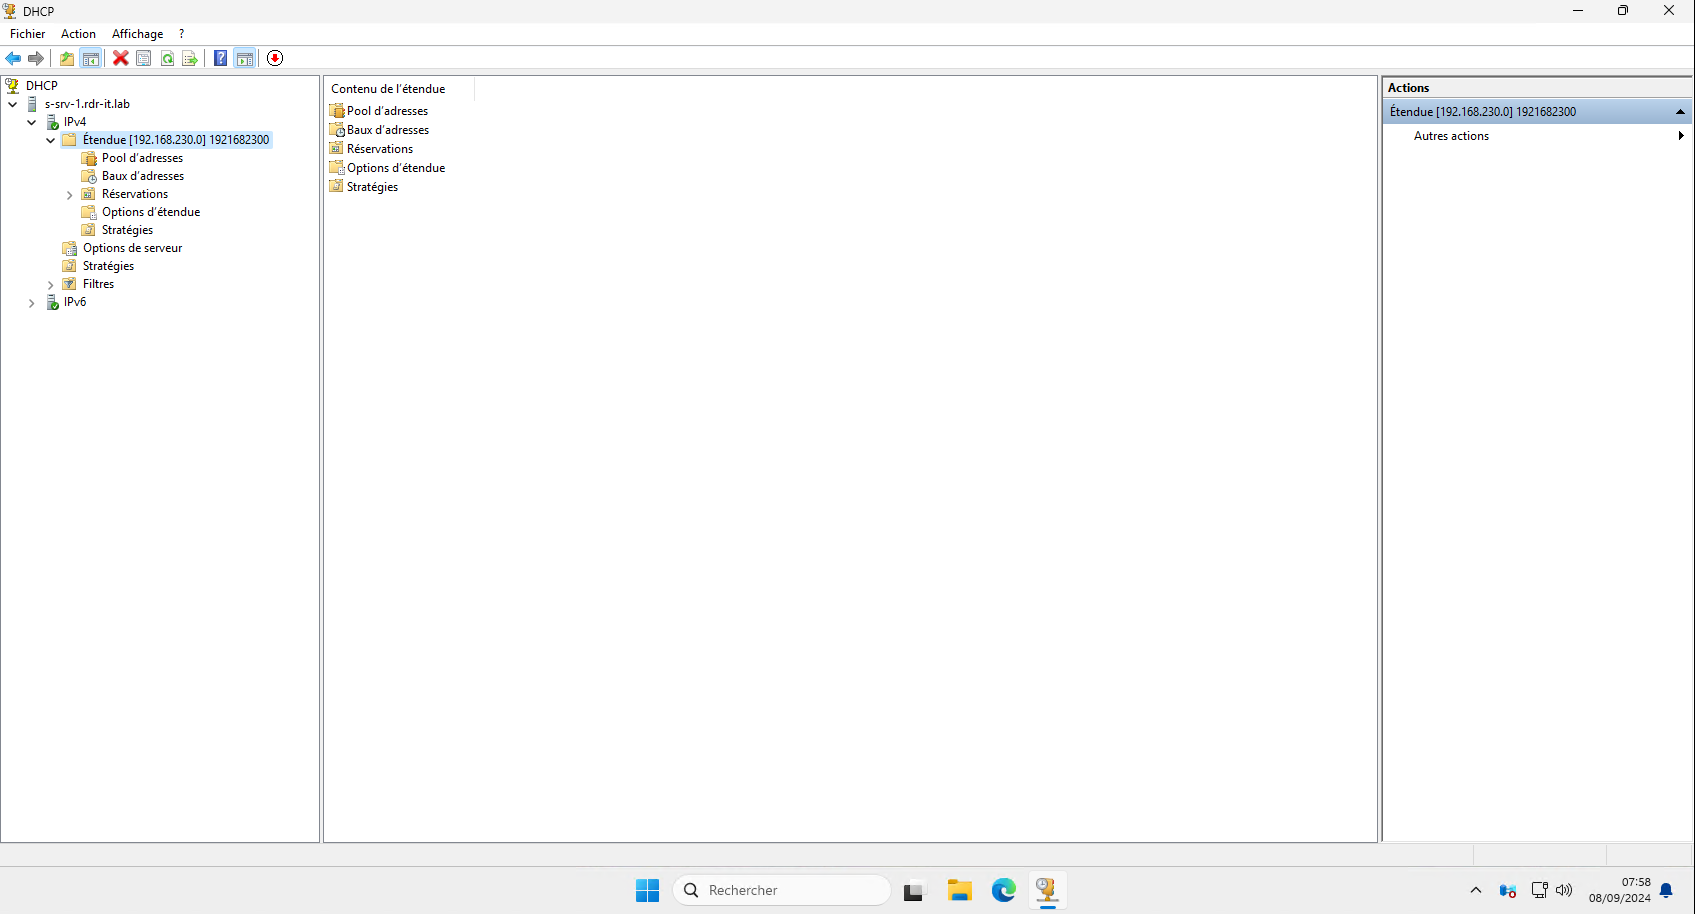
On the DHCP console, we can now see the scope we just created.
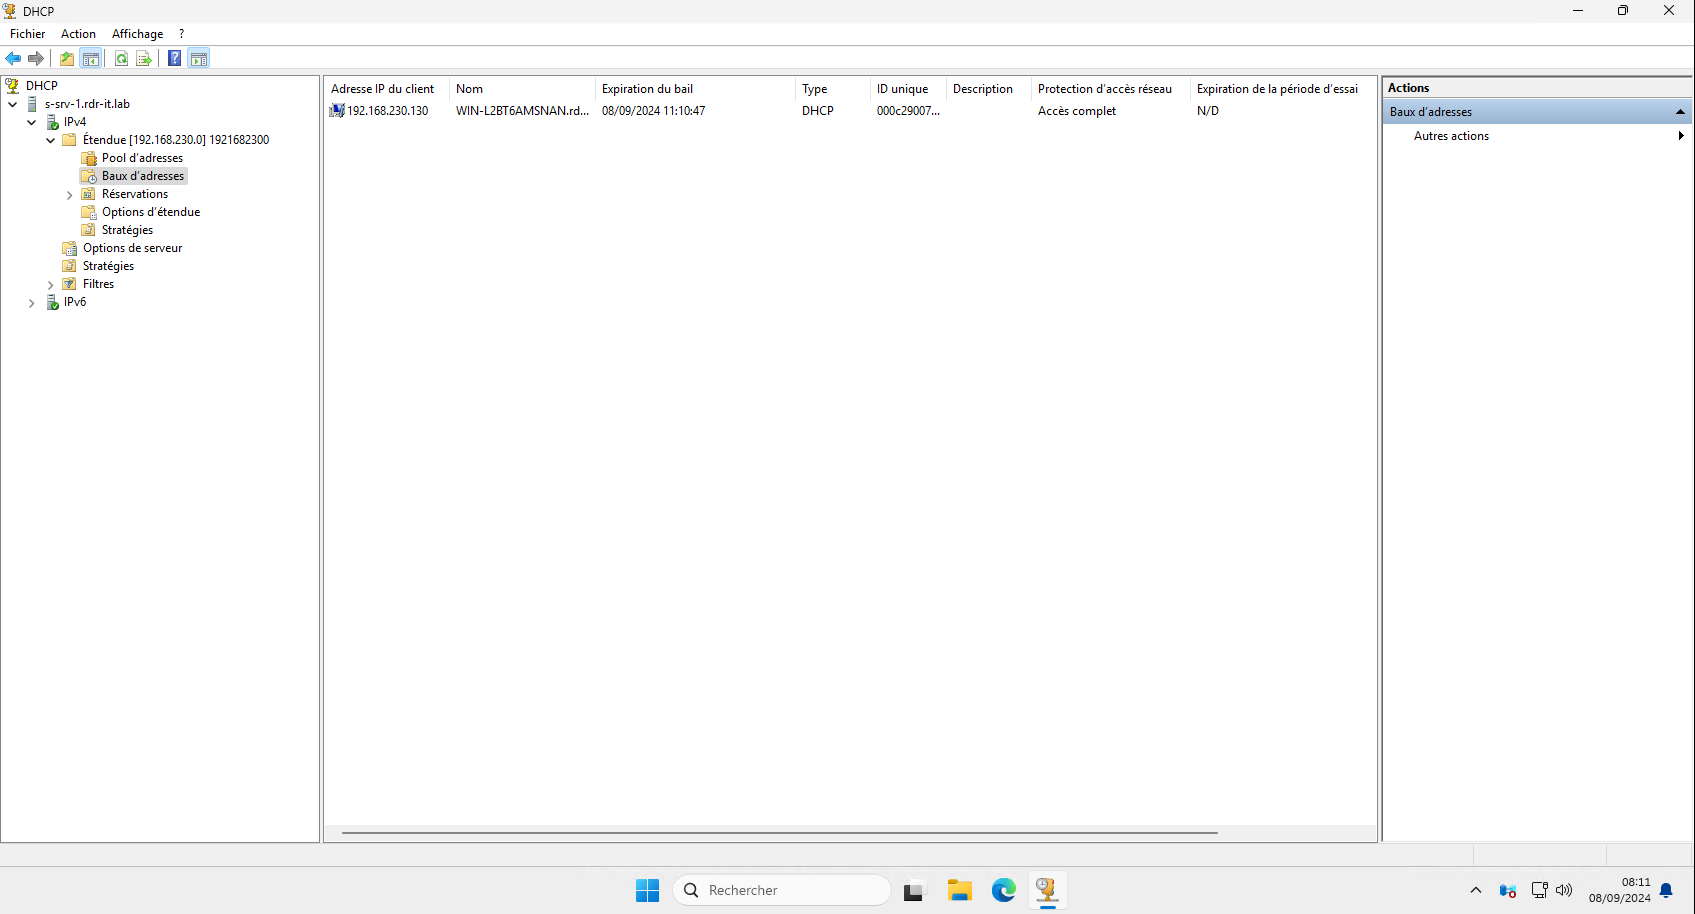
To test the DHCP server for proper operation, connect a computer configured to receive an IPv4 address automatically and verify that an IP address is properly distributed. From the DHCP console, you can see this in the scope at the Address Leases level.
Migrate an existing DHCP server to Windows Server 2025
To finish this tutorial, here is how you can proceed to migrate DHCP servers in a simple way without interruption of service in a completely transparent way. The technique I will give you, I have personally used it several times on version upgrades.
There is a solution that requires doing exports and imports that I find quite cumbersome to do and requires adding tools.
Since Windows Server 2012R2, it is possible to put DHCP servers in high availability, the goal will be to use this functionality.
Here are the steps to do this migration:
- Install the DHCP role on a Windows Server 2025 server
- HA the existing server with the new Windows Server 2025
- Remove high availability between the two DHCP servers
- Stop and then disable the DHCP service on the old server
In this tutorial, we saw how to install and configure the role: DHCP Server on Windows Server 2025.