Veeam ONE is a “free” software package offered by Veeam for virtual infrastructure supervision.
Veeam ONE consists of software:
- Veeam ONE Monitor which allows the supervision of hypervisors (Hyper-V and VMware) and virtual machines. It is also possible
- Veeam ONE Reporter which allows to generate reports on the virtual environment.
Table of Contents
Installation of Veeam ONE
1. Mount the ISO on the server where Veeam ONE is to be installed.
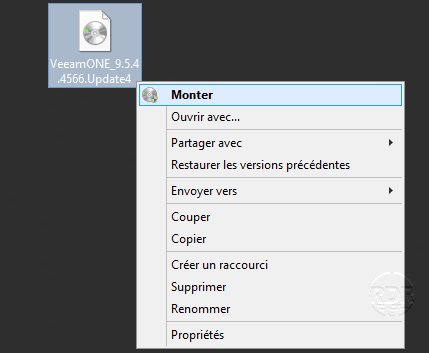
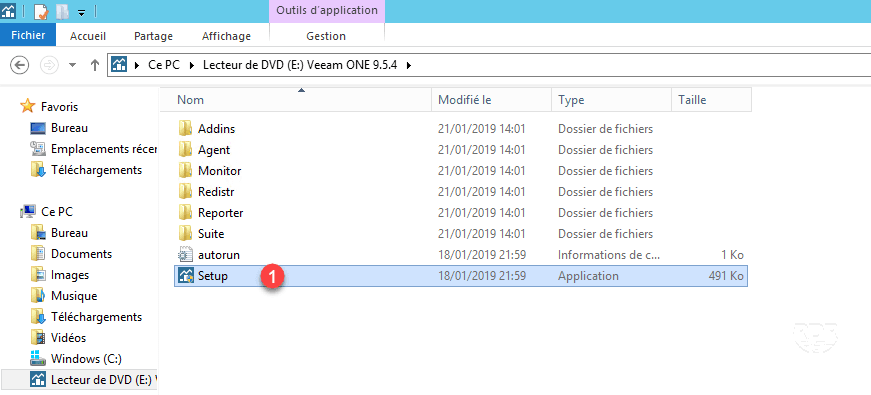
2. Start the installation program by clicking on the file Setup.exe 1 .
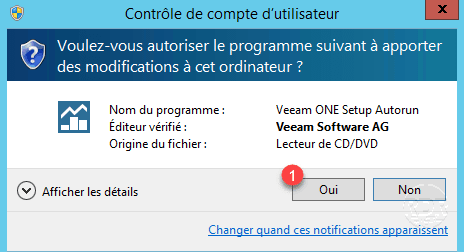
3. (Optional) If the UAC is active, allow the installer by clicking Yes 1 .
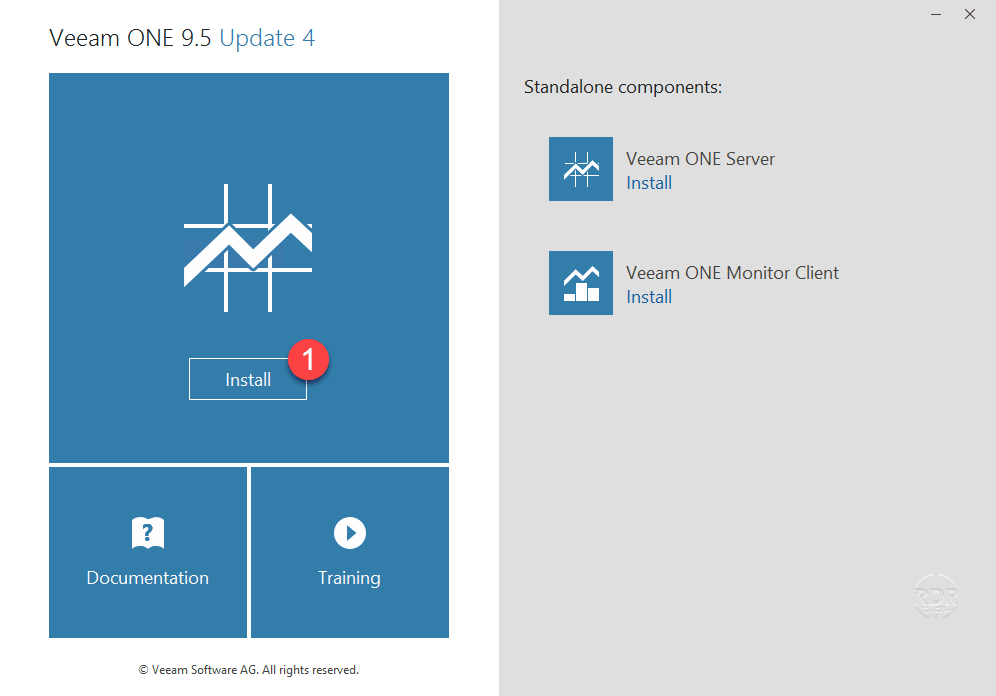
4. Start the installation by clicking on Install 1 .
5. Accept the license agreements by ticking the boxes 1 and click on Next 2 .

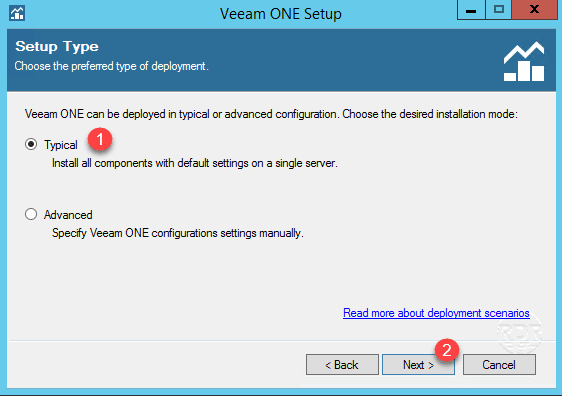
6. Installation mode leave Typical 1 and click Next 2 .
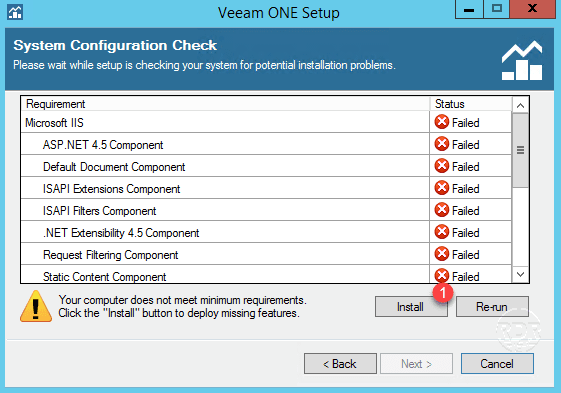
7. Install the prerequisites if necessary by clicking on Install 1 .
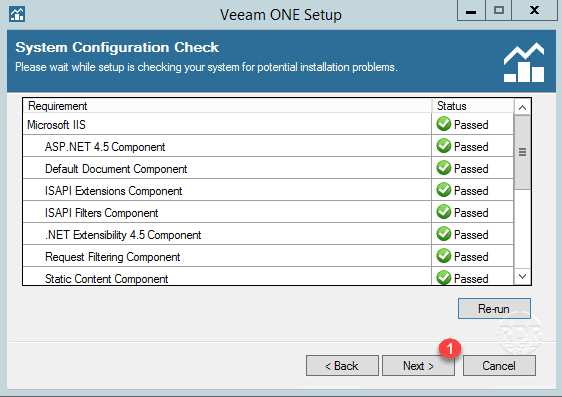
8. Installed features, click Next 1 .
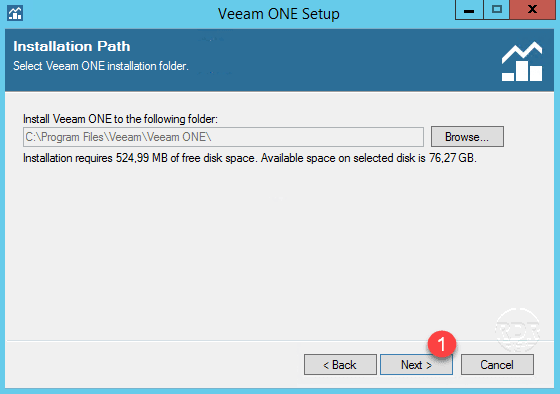
9. If necessary change the installation folder and click Next 1 .
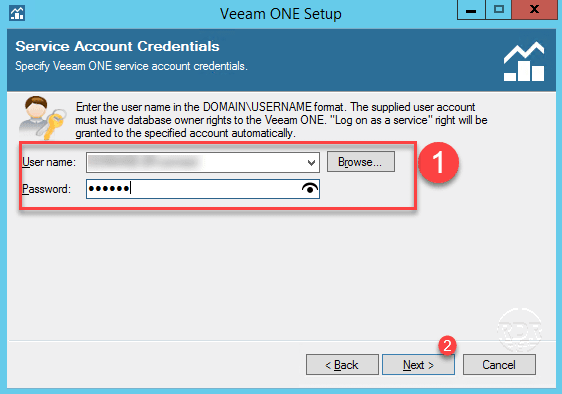
10. Set up an account for Veeam ONE 1 service then click Next 2 .
11. Configure SQL Server instance 1 and click Next 2 .
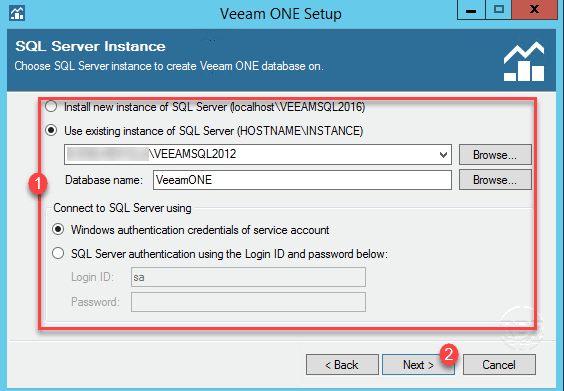
Here I used the instance that was created during the installation of Veeam Backup & Replication.
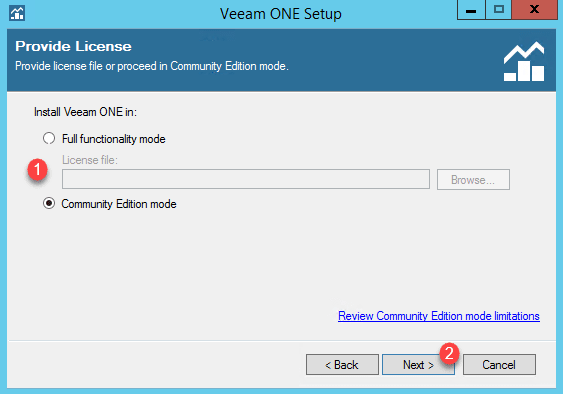
12. Set the license mode 1 and click Next 2 .
13. If necessary, change the operating ports of Veeam ONE and click Next 1 .

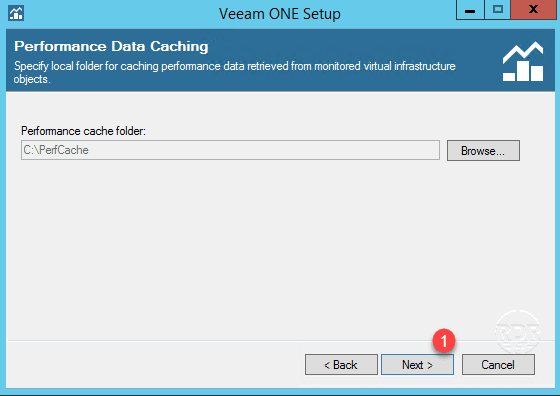
14. If necessary change the cache directory and click Next 1 .
15. Choose the type of Virtual Infrastructure.
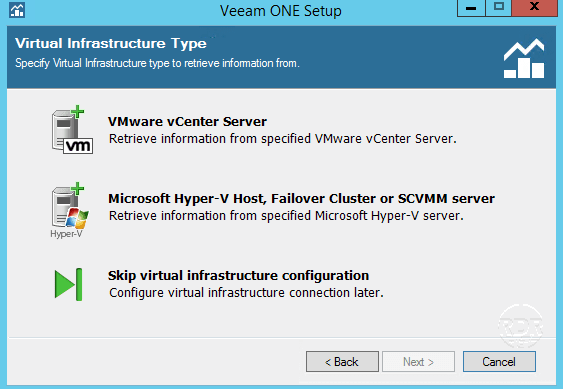
For my part I choose Skip virtual infrastructure configuration.
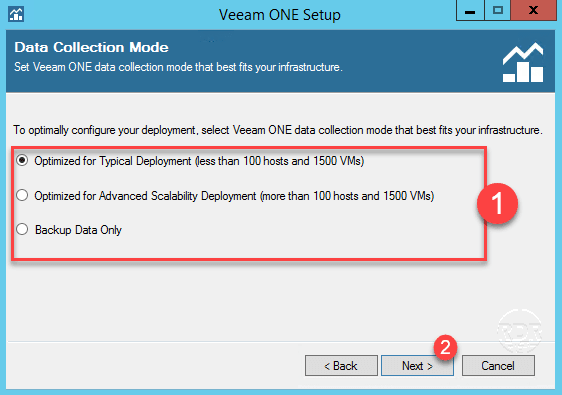
16. Choose option 1 according to the environment and click Next 2 .
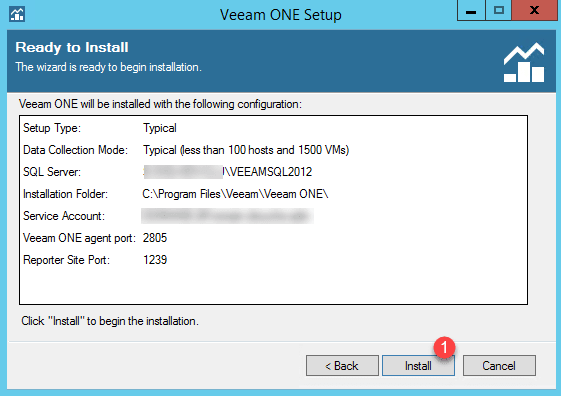
17. Click on Install 1 .
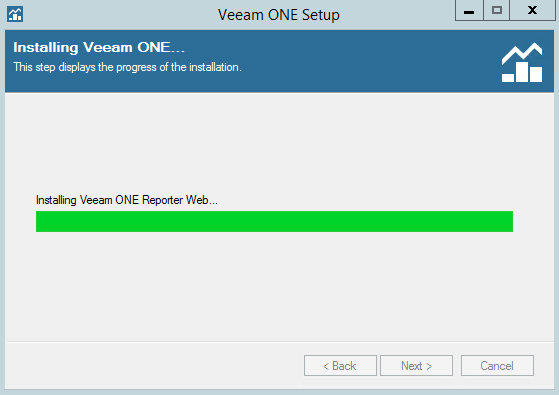
18. Wait during the installation …
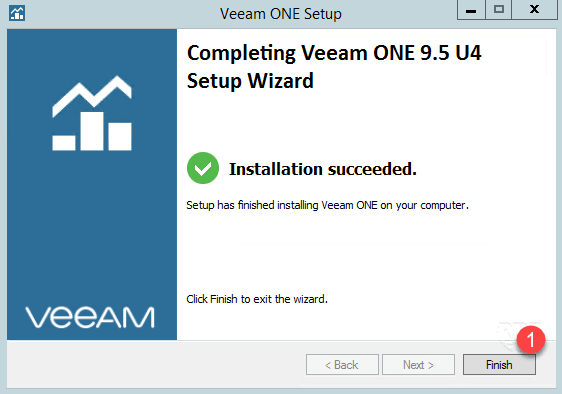
19. Click Finish 1 to close the wizard.
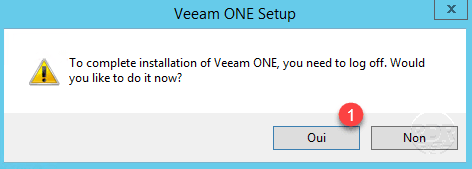
20. To work properly, it is necessary to close / log on. Click Yes 1 to accept the disconnect.
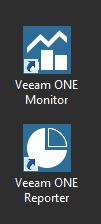
21. The installation is complete, the software is now available from two shortcuts on the desktop, Veeam ONE Monitor for monitoring and Veeam ONE Repoter for generating reports.
Now that the Veeam ONE software suite is installed, we will move to configuration and Veeam ONE Monitor and we will then see how to generate reports.
Veeam ONE Monitor : virtual infrastructure supervision
Add servers to supervise
1. Start Veeam ONE Monitor and connect to the top.
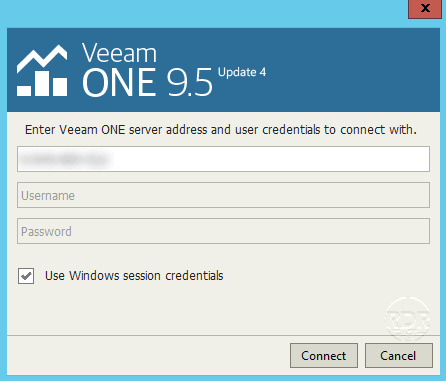
When the application is first launched, you are prompted to configure Veeam ONE notifications
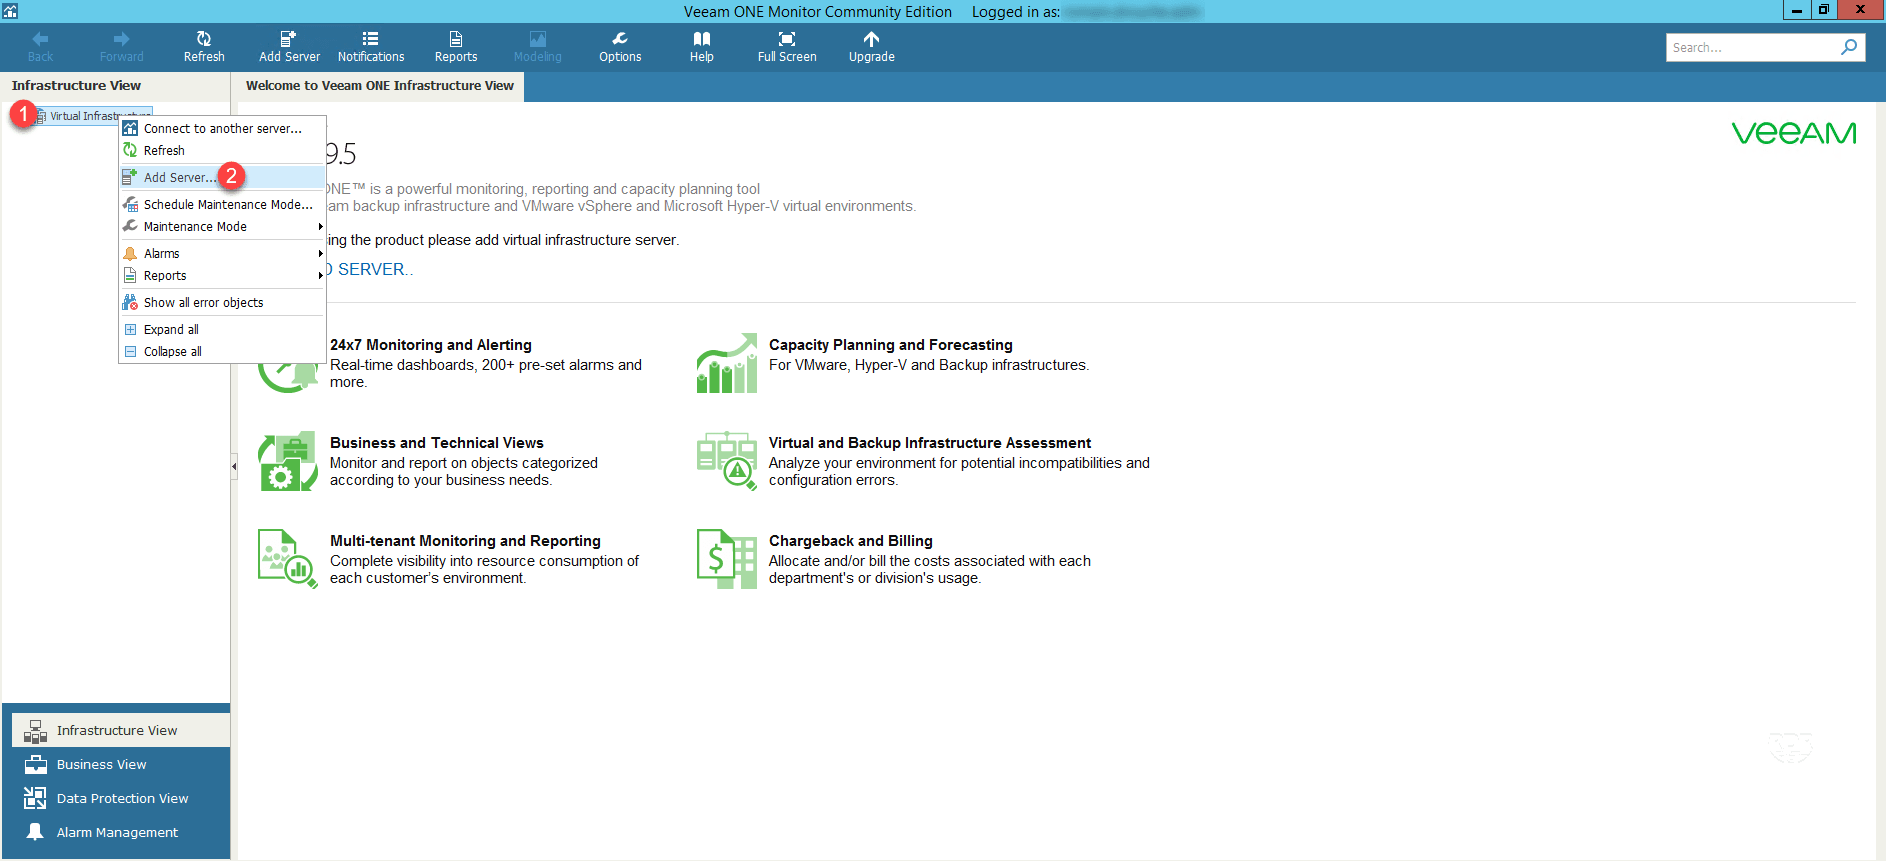
2. Right-click Virtual Infrastructure 1 and click Add Server 2 .
3. Select the type of Hypervisor.
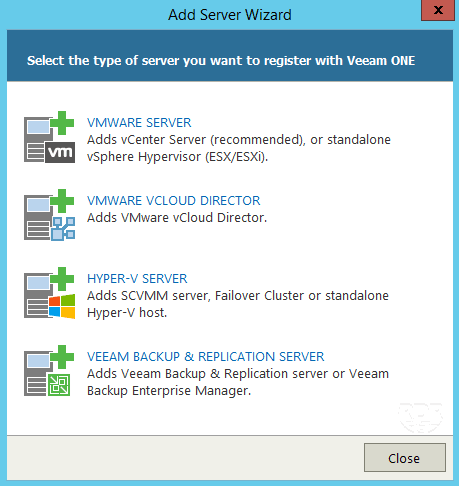
In the HYPER-V SERVER example.
4. Enter the server name or IP 1 , select server type 2 and click Next 3 .

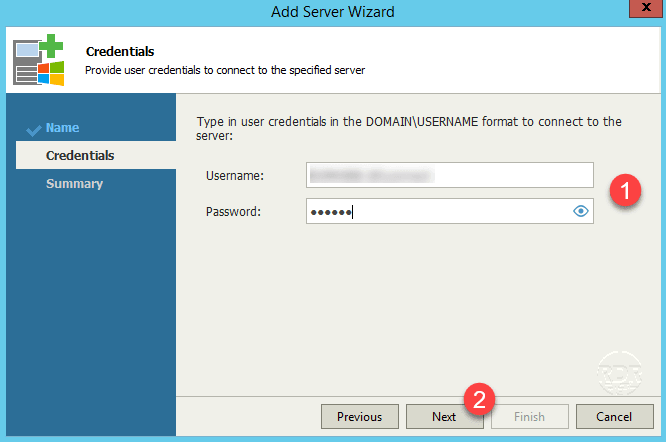
5. Enter the identifiers 1 of an account that has the connection rights to the server then click Next 2 .
6. Confirm the addition by clicking Finish 1 .

7. Wait while Veeam ONE Monitor collects the information. The server is displayed in the Virtual Infrastucture section.

Overview of supervision
Veeam ONE Monitor provides CPU / RAM / network / disk performance information for hypervisors and virtual machines.
He will also analyze the events on hypervisors and send back alerts.
Host Statistics (Hypervisor):

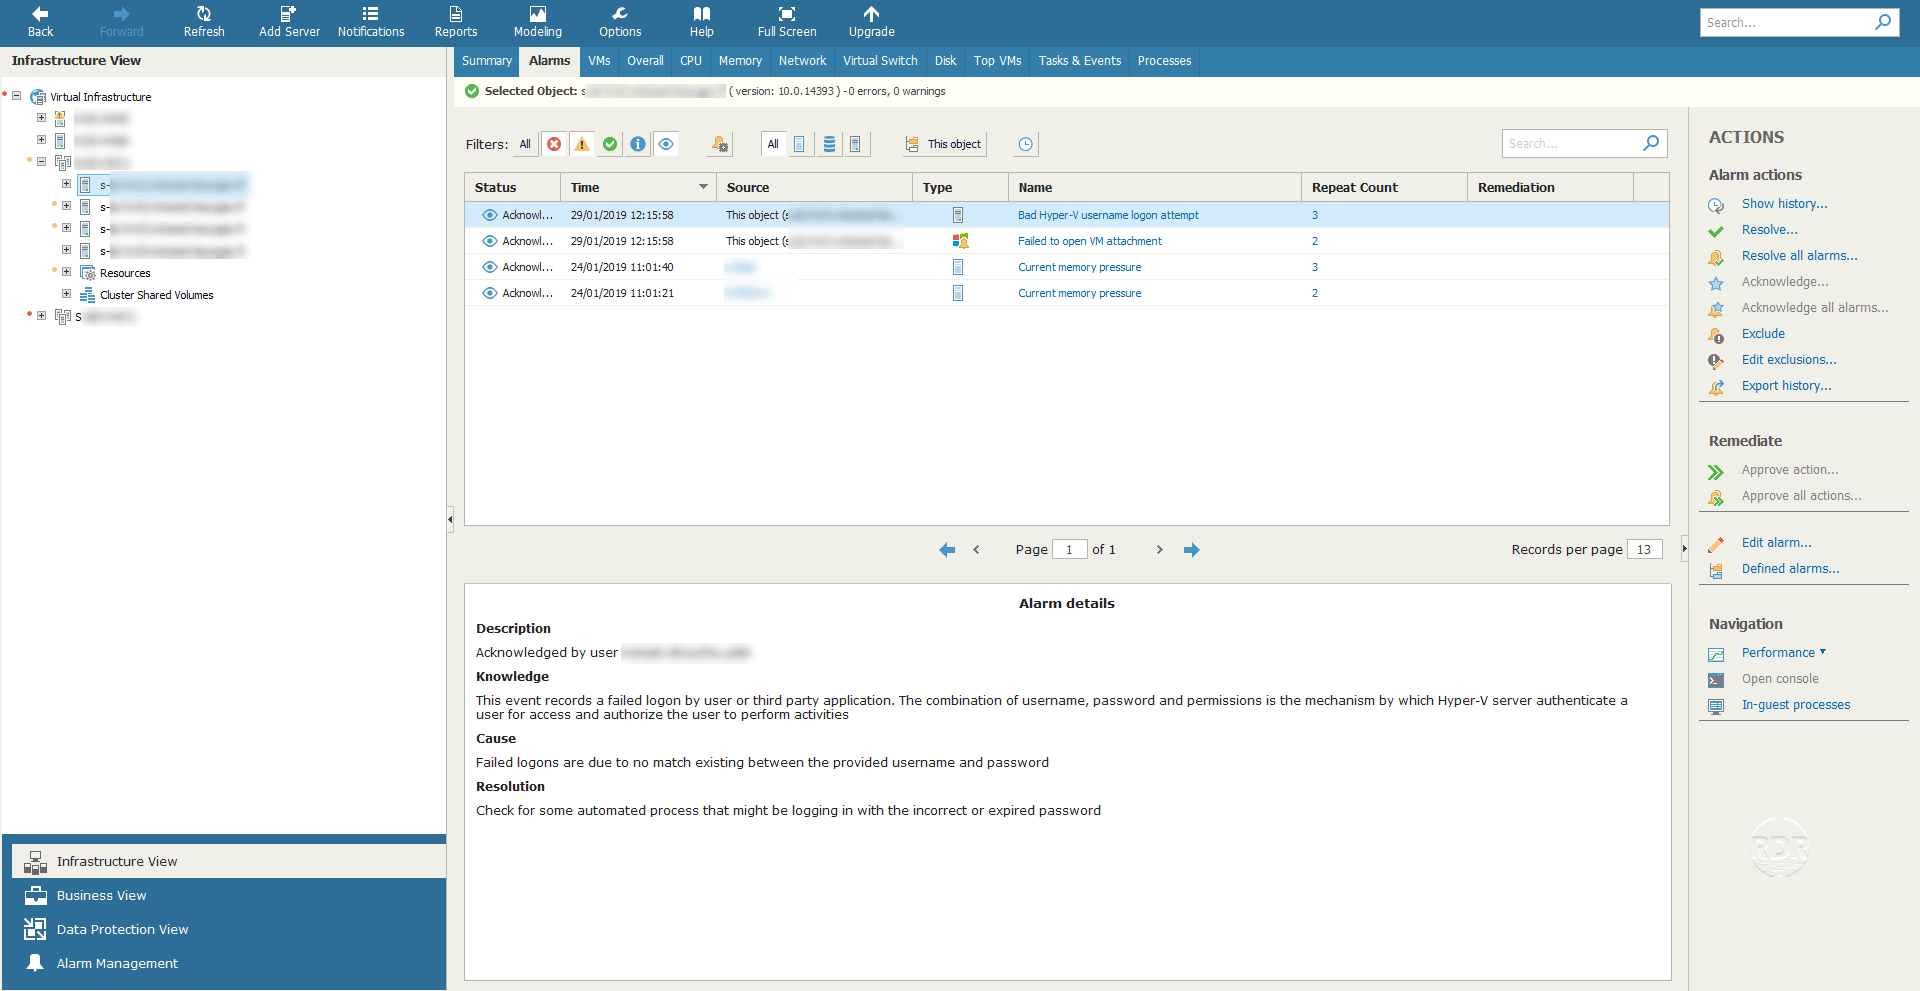
Alarm management:
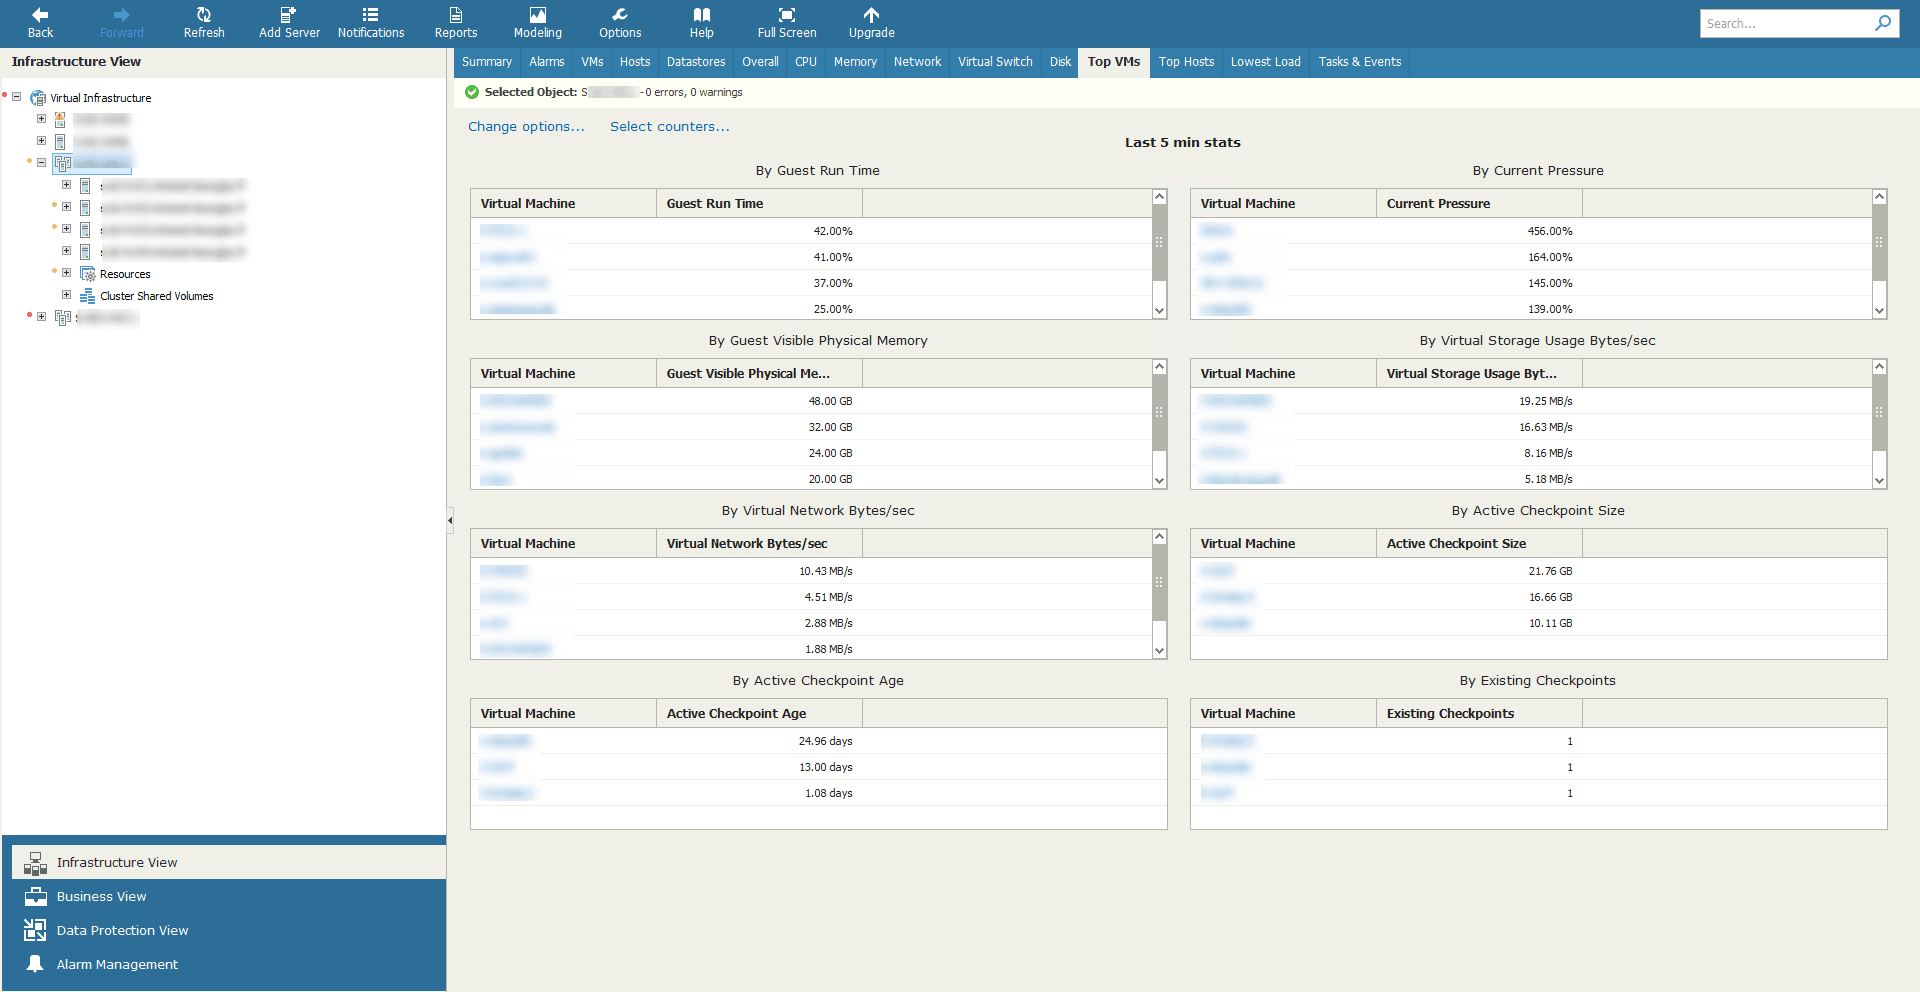
VM using the most resource:
IOPS :

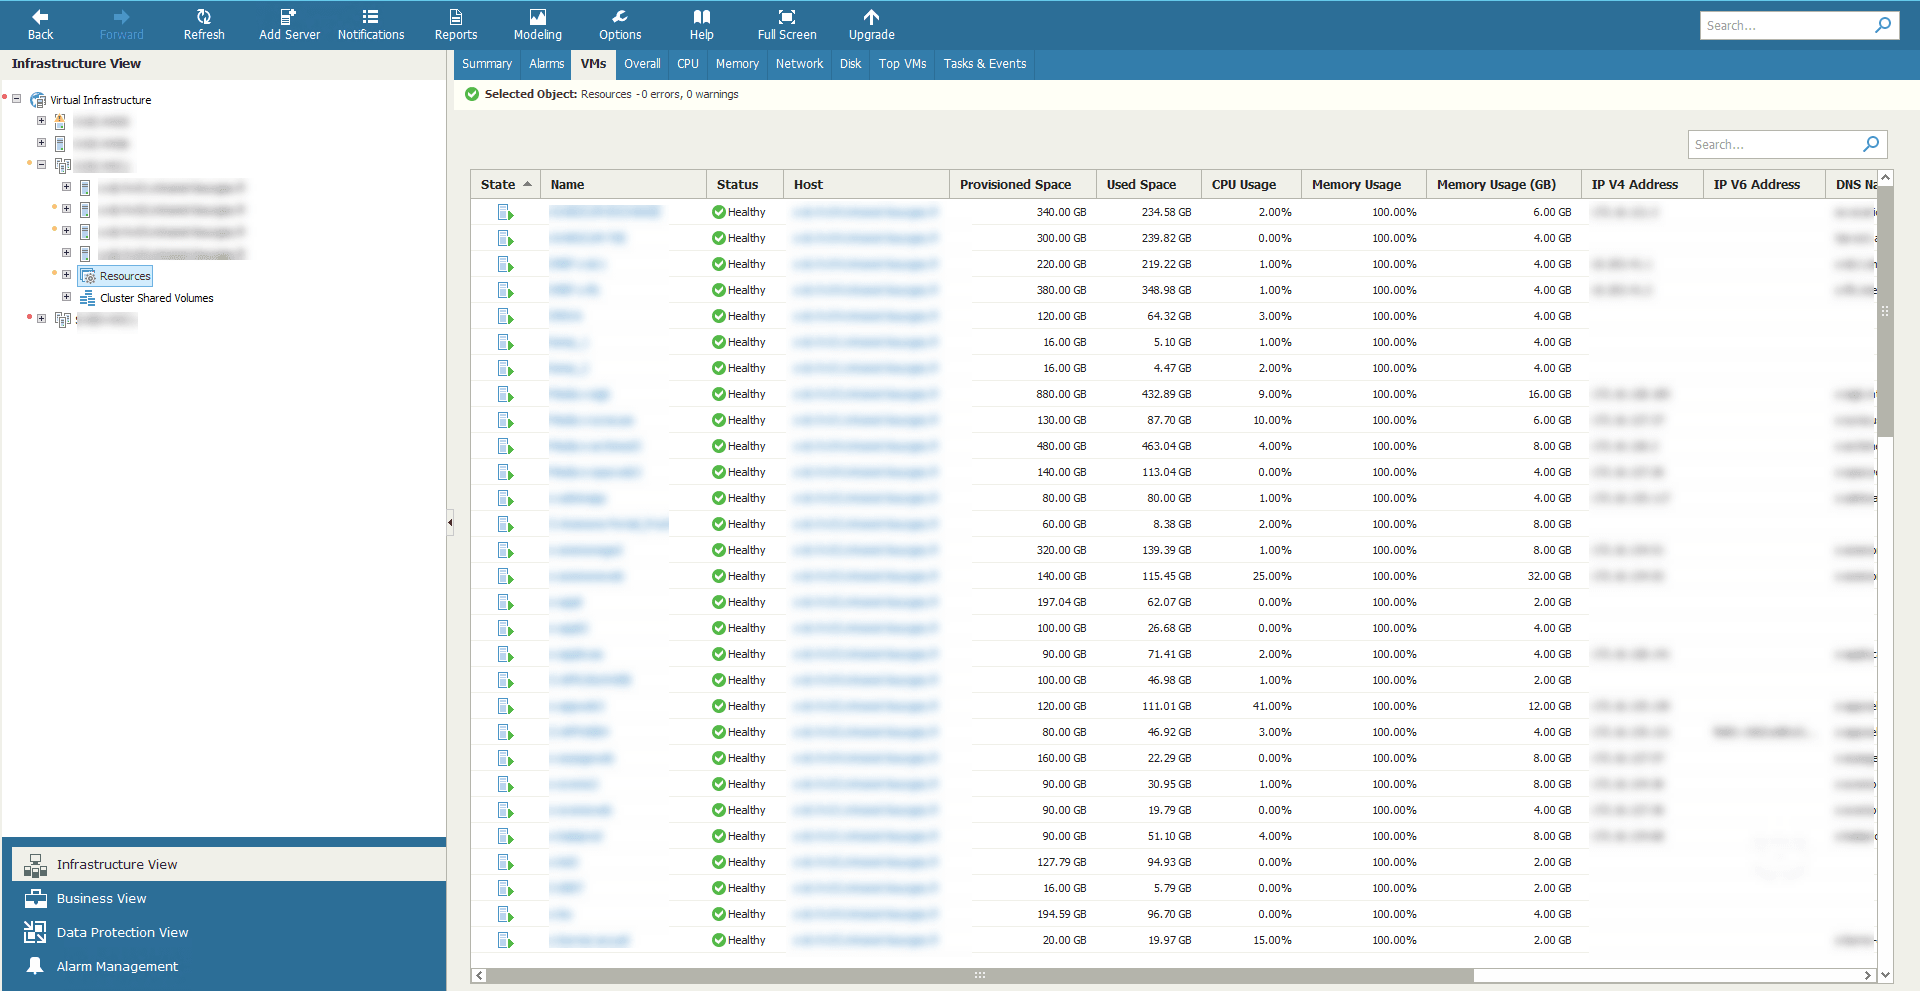
Summary of virtual machines:
Veeam ONE Monitor : supervision of Veeam Backup & replication
With Veeam ONE Monitor, you can also monitor Veeam Backup & Replication backup software and have various backup statistics.
Add a Veeam Backup & Replication Server to Supervise
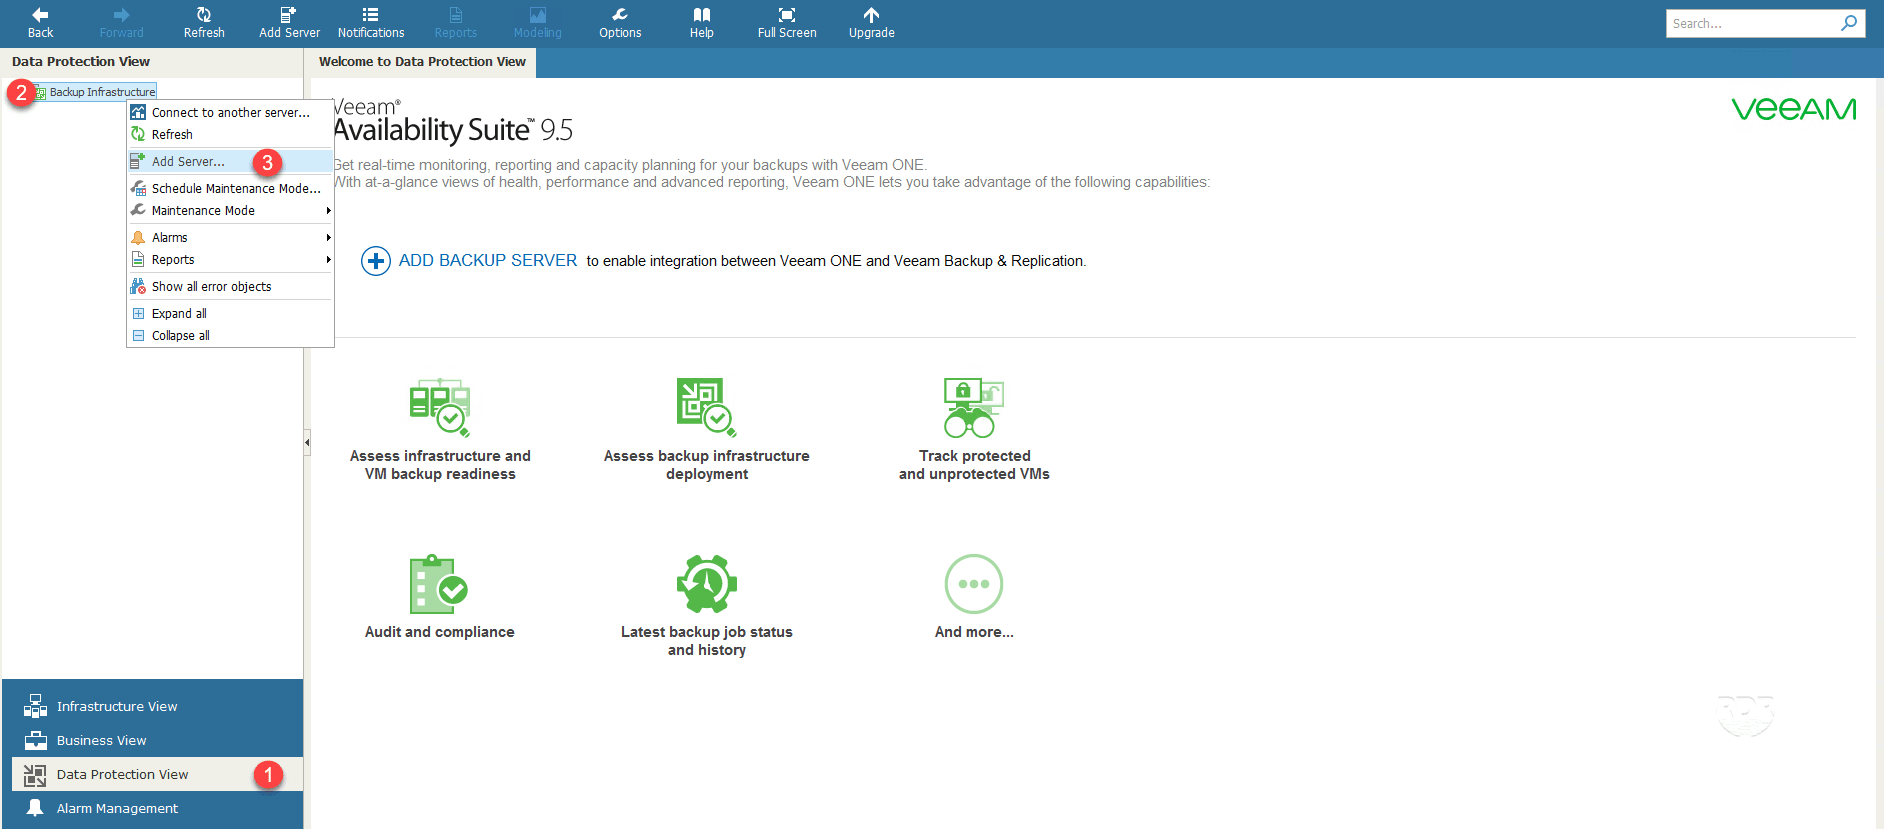
1. From the Go to Data Protection View 1 interface, right click on Backup Infrastructure 2 and click Add Server 3 .
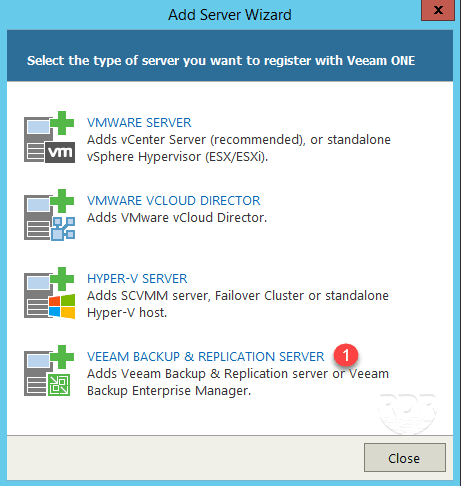
2. Click on VEEAM BACKUP & REPLICATION SERVER 1 .
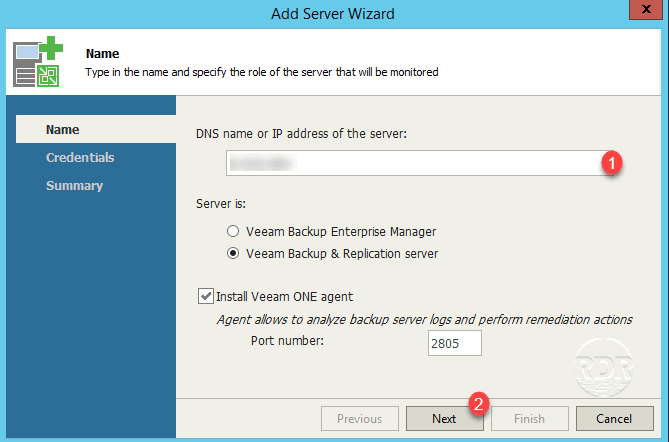
3. Enter the server server name 1 and click Next 2 .
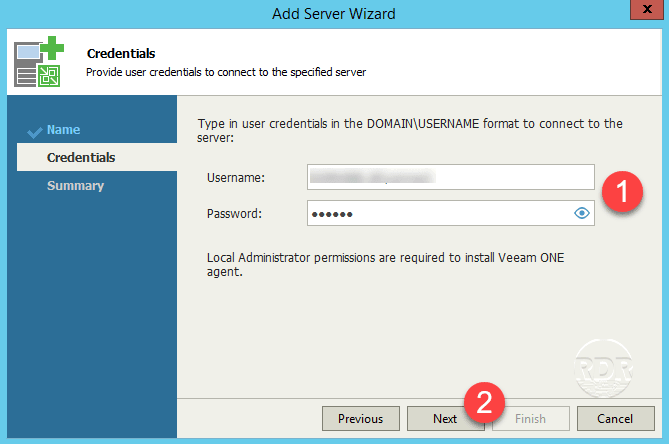
4. Enter the identifiers 1 of an account which has the rights of connection to the server then click on Next 2 .
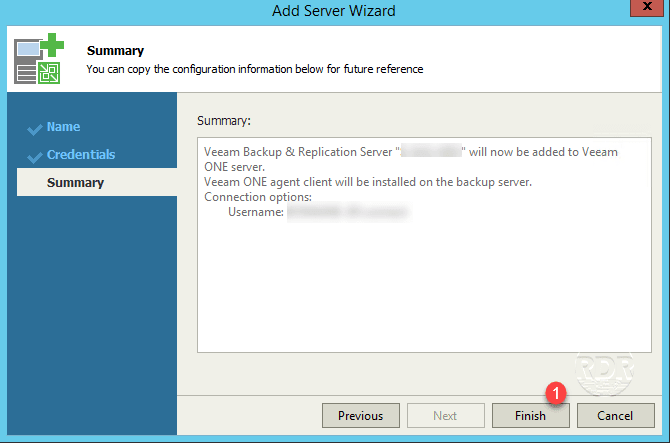
5. Click Finish 1 to finish adding the Veeam B & R server.
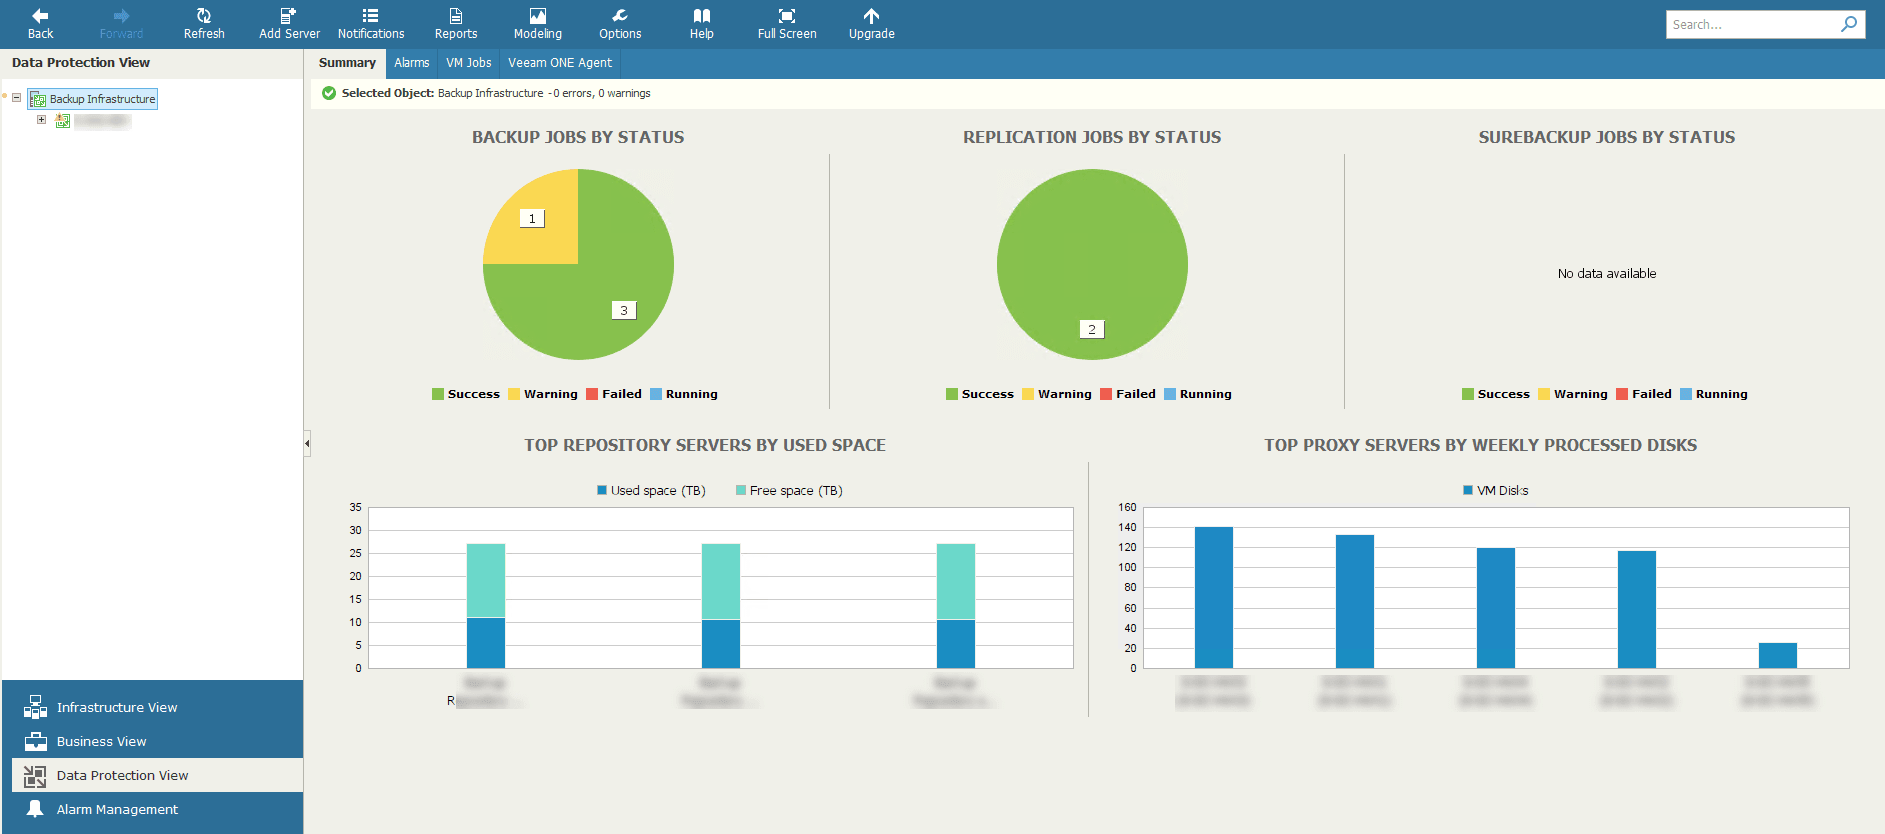
Overview of backup supervision
It is possible to have static on the agents and VM Jobs, information by repository and by proxy.
General statistics:
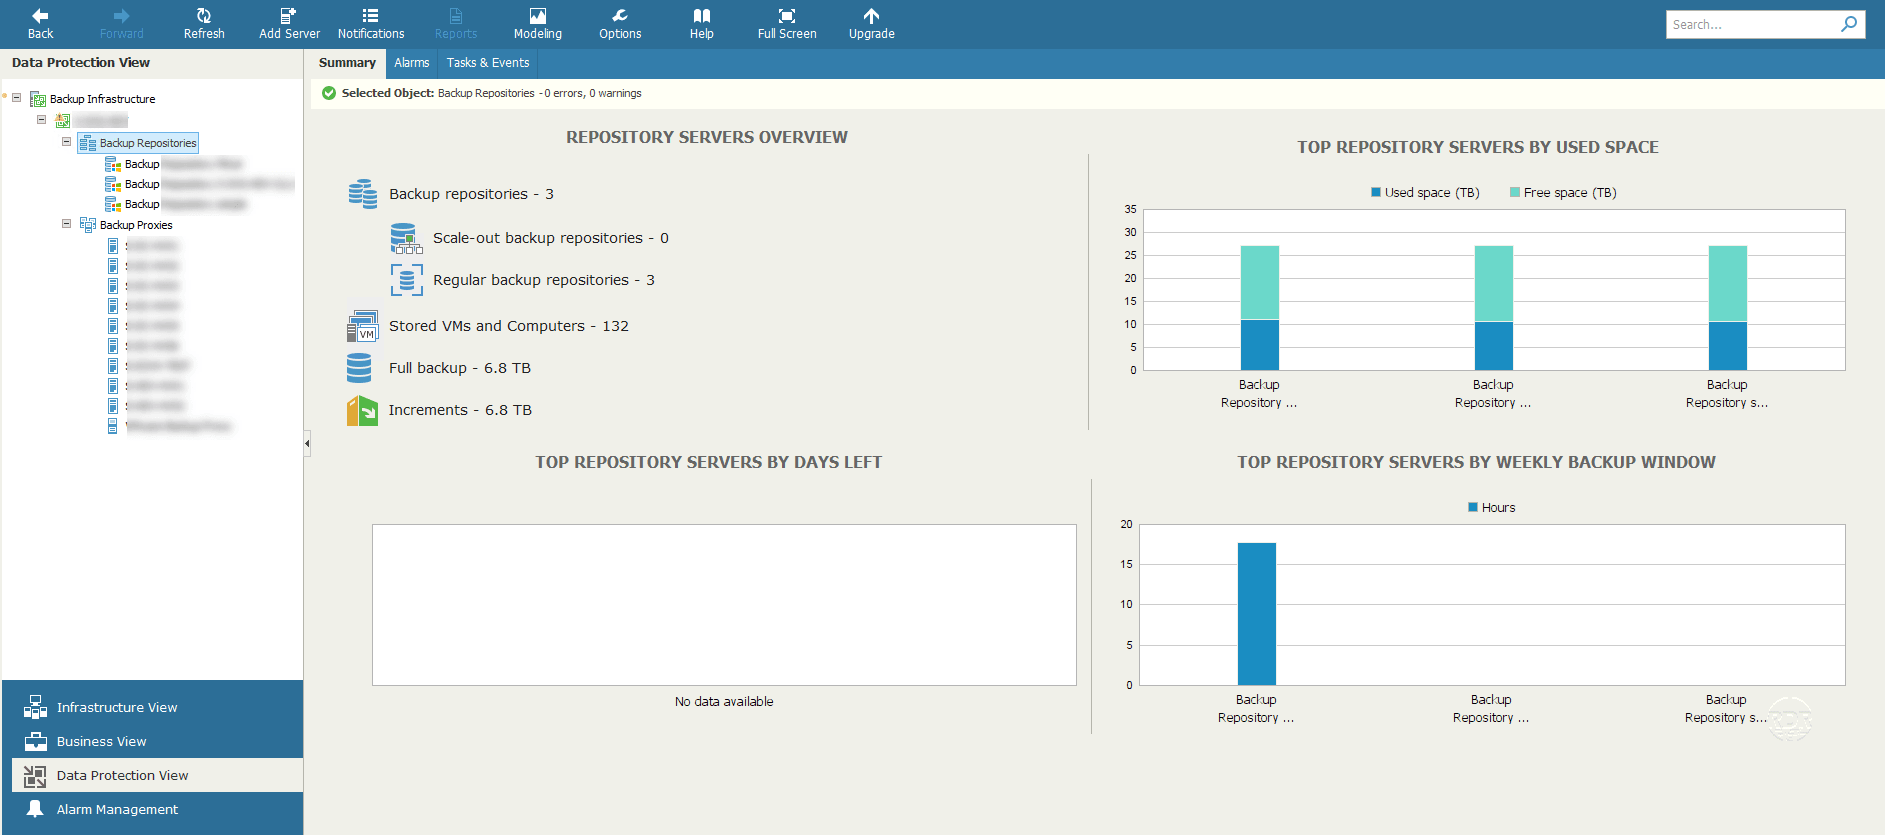
Backup Repositories :
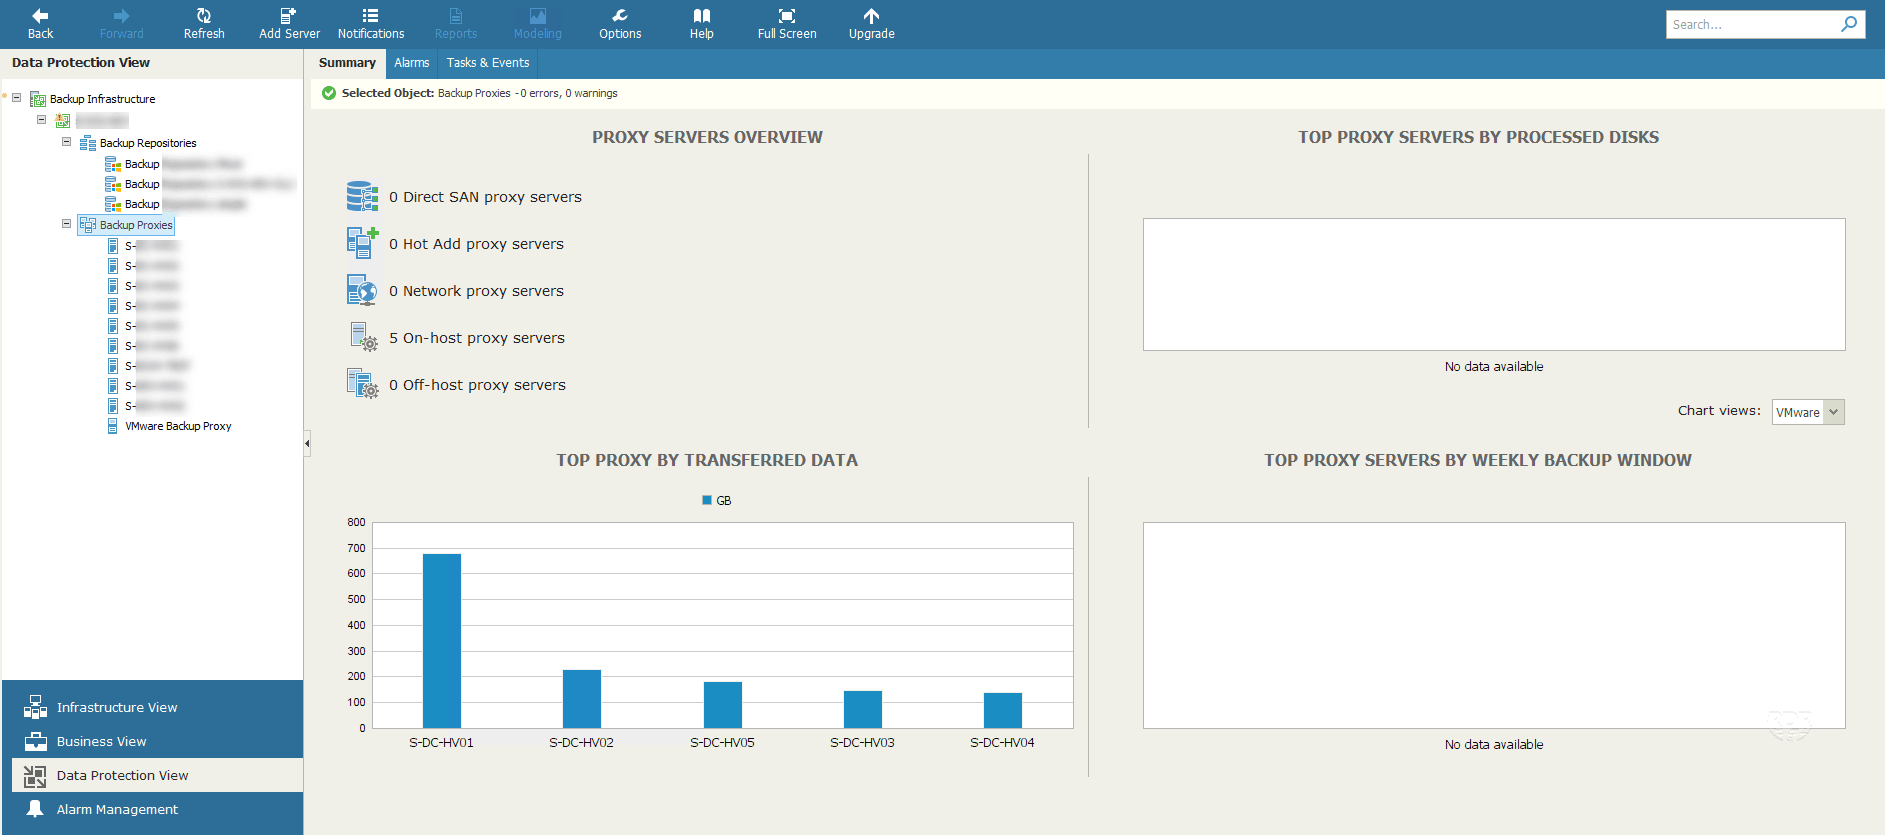
Backup Proxies :
Veeam ONE Reporter : generate reports
Veeam ONE Reporter relies on the servers registered in Veeam ONE Monitor and uses the information collected to generate reports.
Veeam ONE Reporter is a web application that can be run from any computer.
Veeam ONE Reporter overview
1.Launch a browser and enter l’URL https://fqdn-server-veeam-one:1239
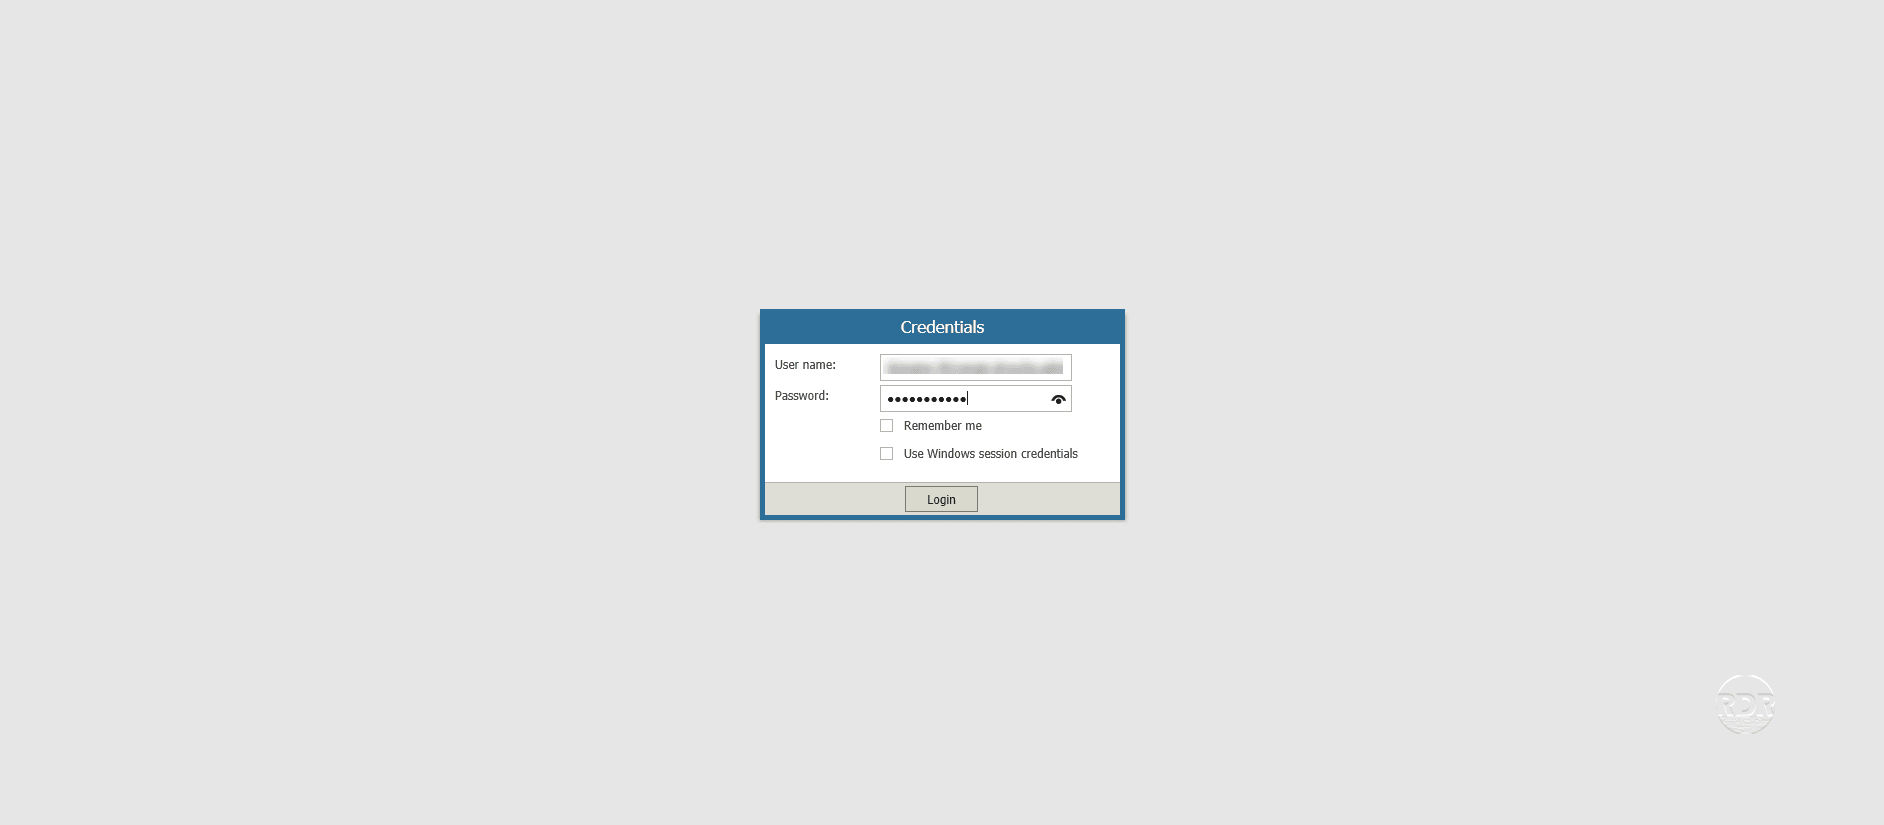
2. Log in to the application.
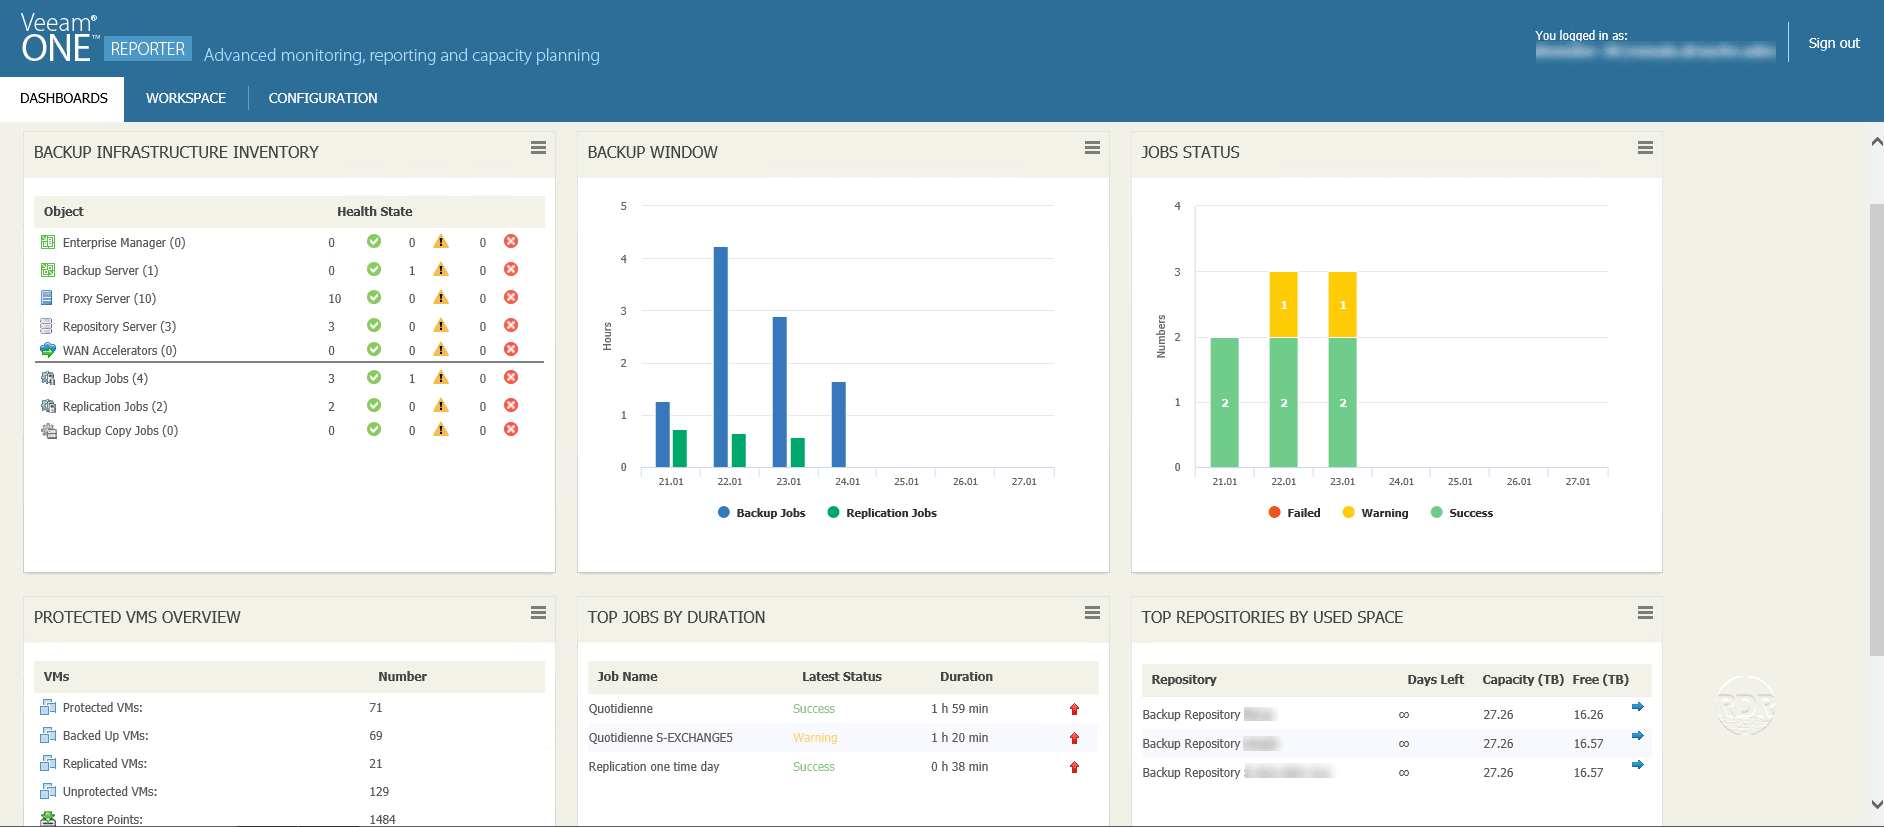
3. Once connected, we arrive on the DASHBOARD, which allows access to several dashboards. In the free version, it is only possible to consult the VEEAM BACKUP AND REPLICATION tile.

4. The VEEAM BACKUP AND REPLICATION dashboard provides an overview of Veeam B & R job status and server status.
Access to reports
1. Click WORKSPACE 1 to access the list of available reports.

Example 1: Configuring Hyper-V VMs
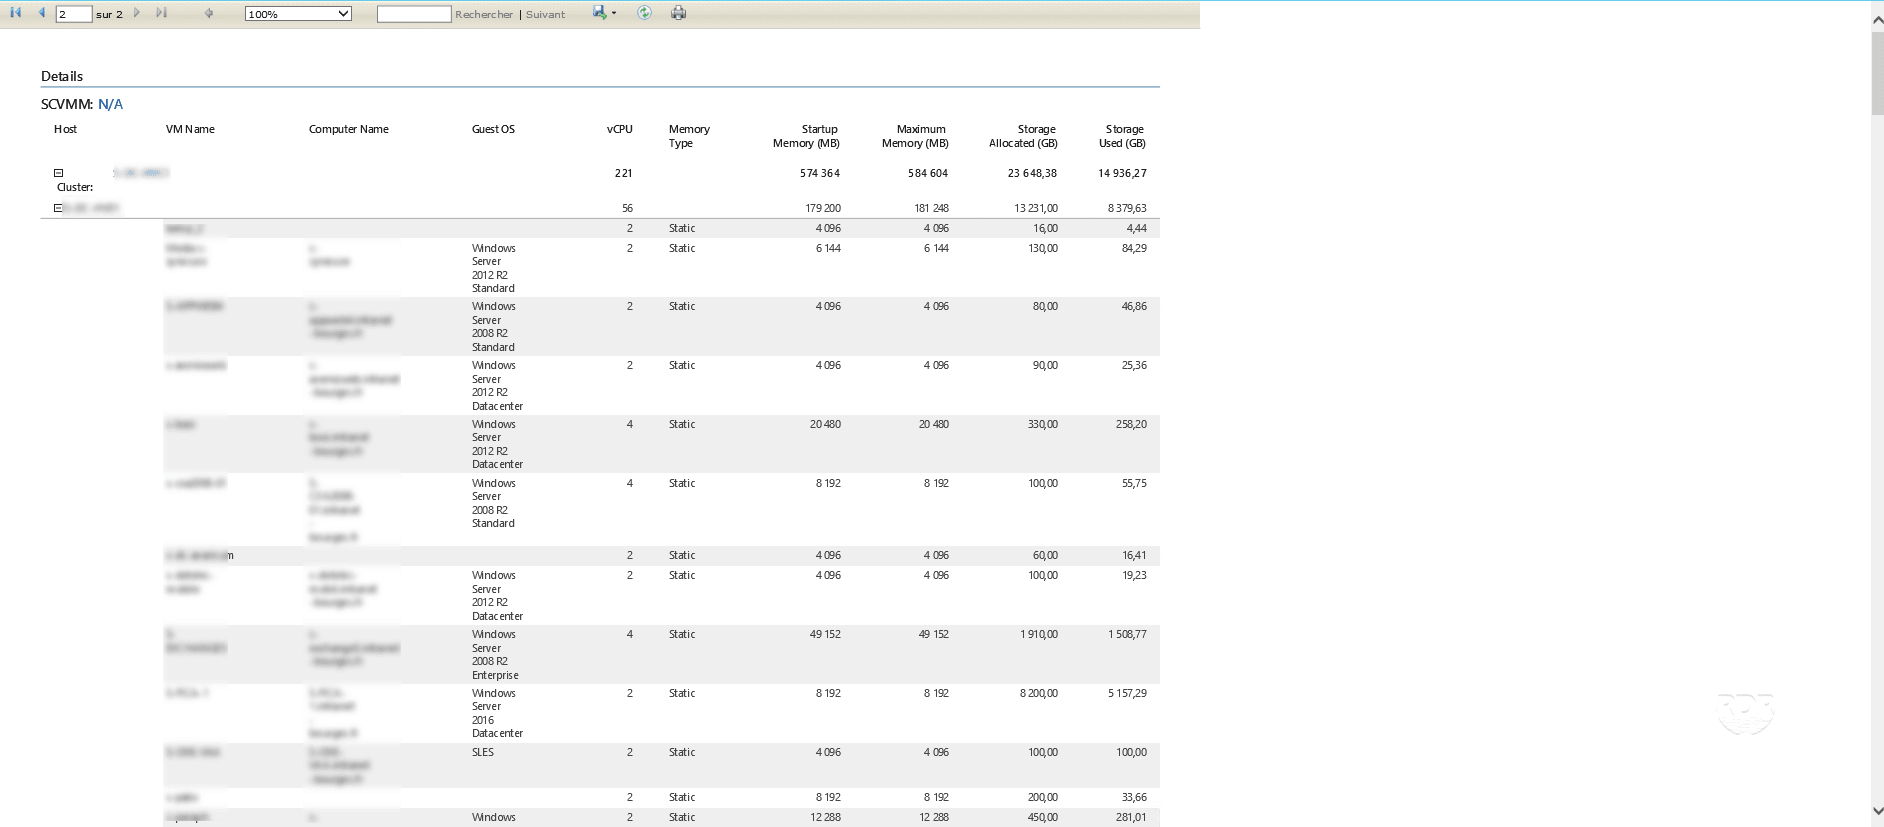
This report is used to output the list of all virtual machines with their configuration (cpu / ram / disks …).
1. Select the Hyper-V Overview 1 / VMs Configuration 2 report.

2. Click Preview 1 to generate the report.

By default the report is generated on all Hyper-V servers, it is possible to filter the objects of the report.
3. The report opens in a new browser tab.

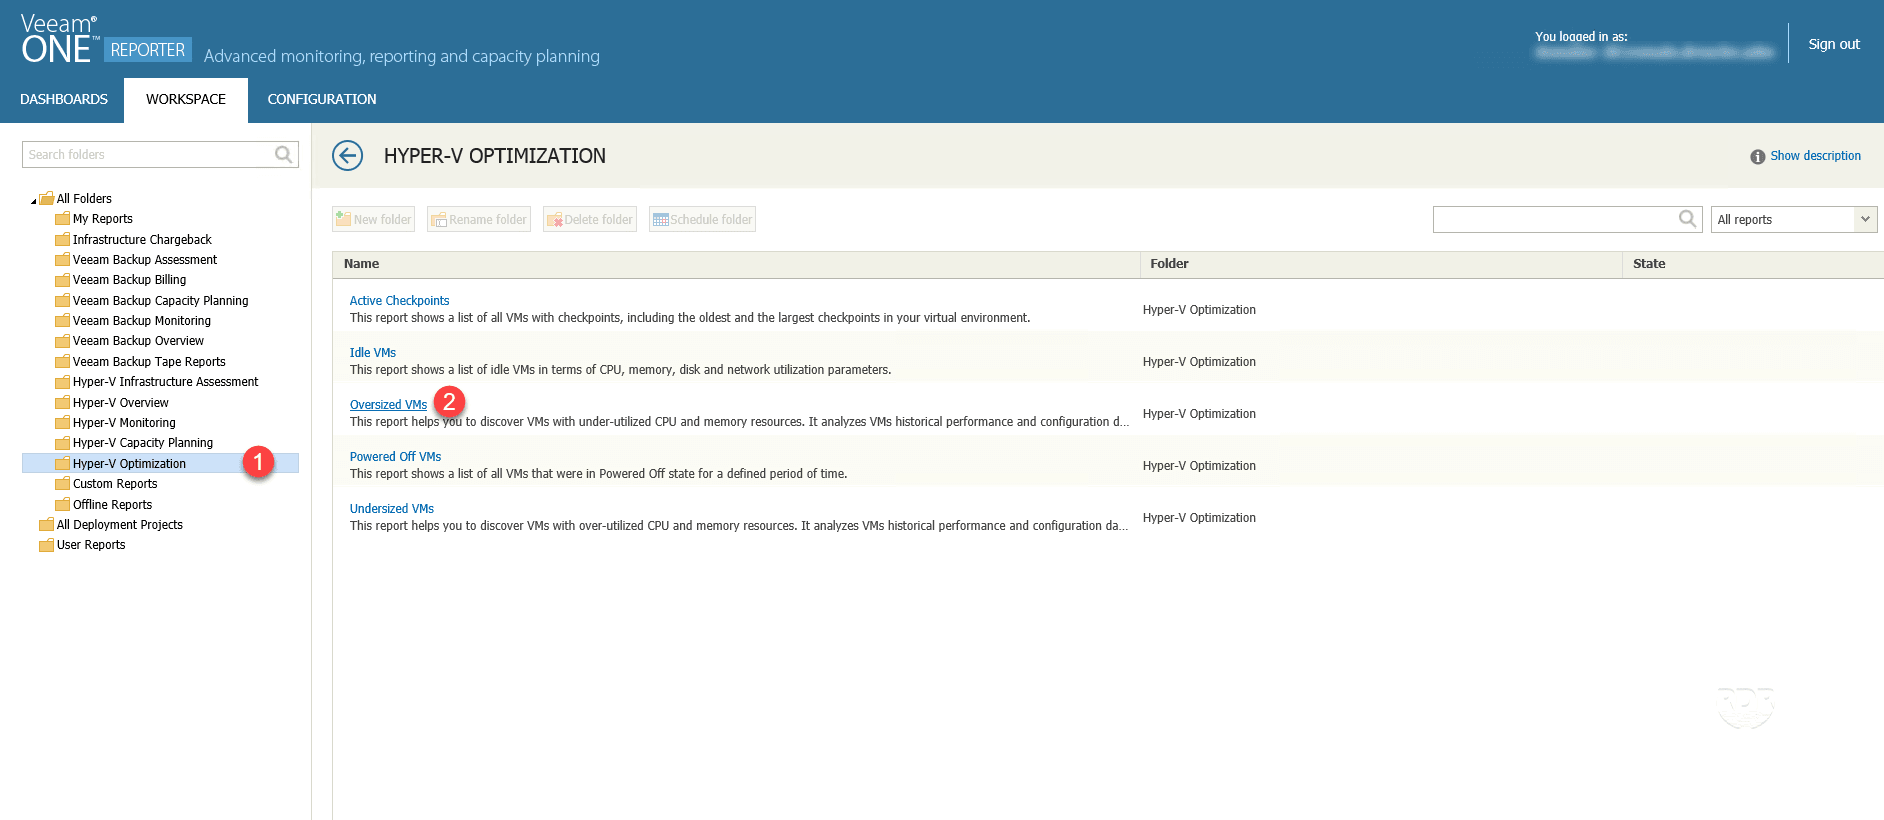
Example 2: Oversized Virtual Machines
This report displays VMs with more CPU and RAM resources than they use.
1. Select the Hyper-V Optimization 1 / Oversized VMs 2 report.
2. Configure the 1 report and click Preview 2 .
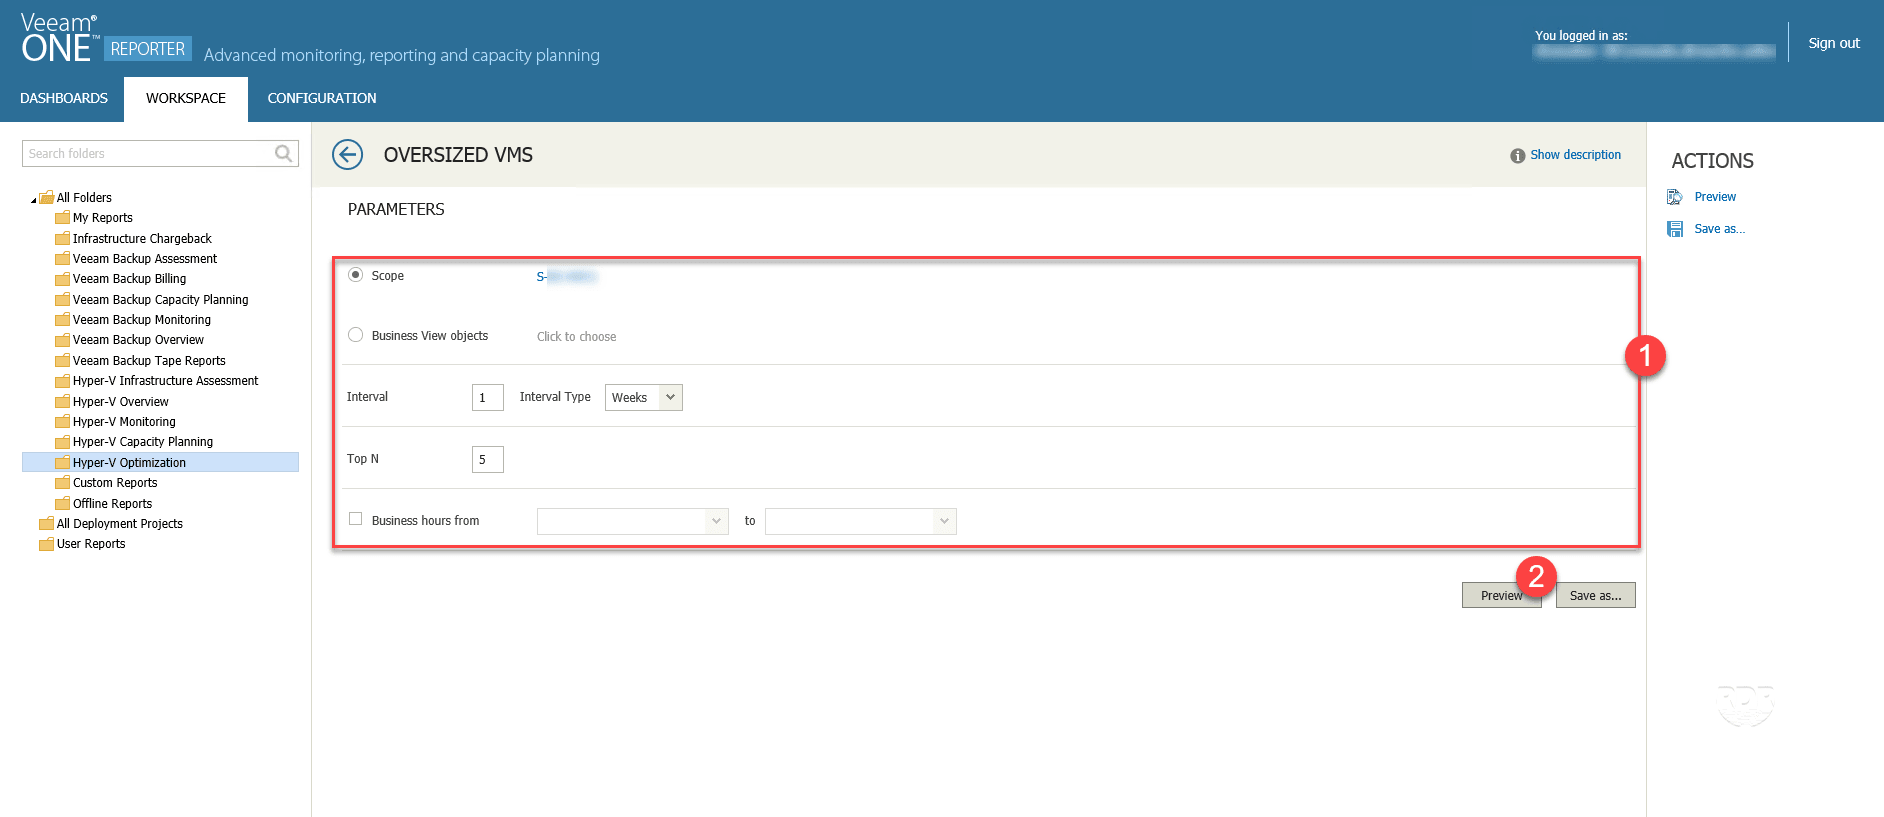
3. The report is available.

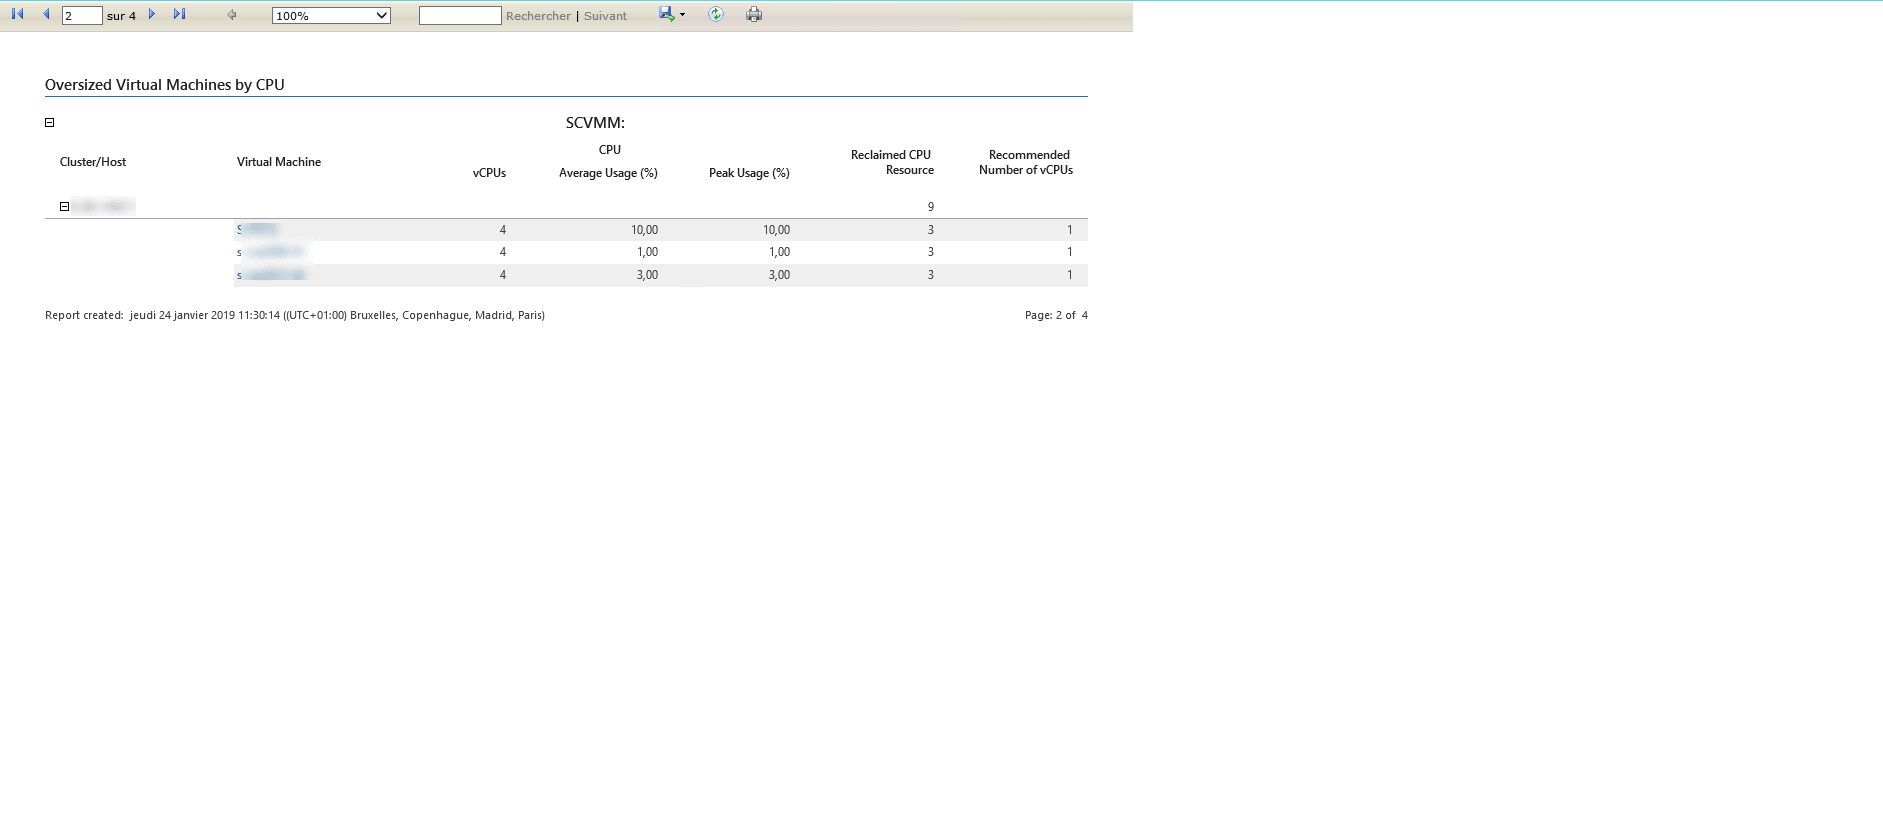
In addition to the report, recommendations are made, I do not necessarily advise you to follow them.
Export a report
It is possible to export in the following formats: Excel, PDF and Word.
Once the report is generated, click on diskette 1 and select the format 2 .

Many reports are available to help you maintain your infrastructure under optimal conditions.
An interesting report for clustered environments is the loss simulation of a node.
