In this tutorial, we will see how to set up and use replication in Veeam Backup & Replication.
Before you begin, the source 1 and destination 2 servers must be added to the Veeam console.
The article presents a Microsoft Hyper-V environment, setting up replication with VMware is almost identical.
Table of Contents
Configuring the replication job
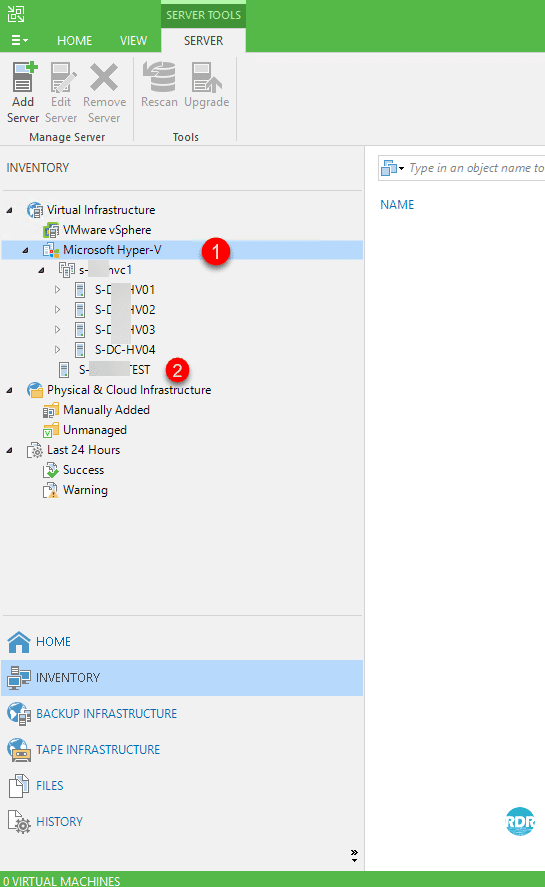
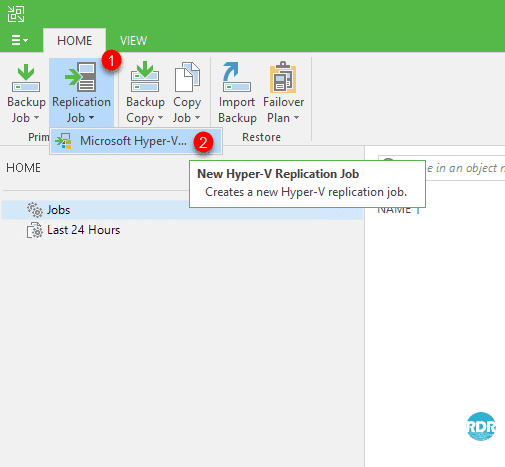
From the Veeam console, click on Replication Job 1 / Microsoft Hyper-V 2.
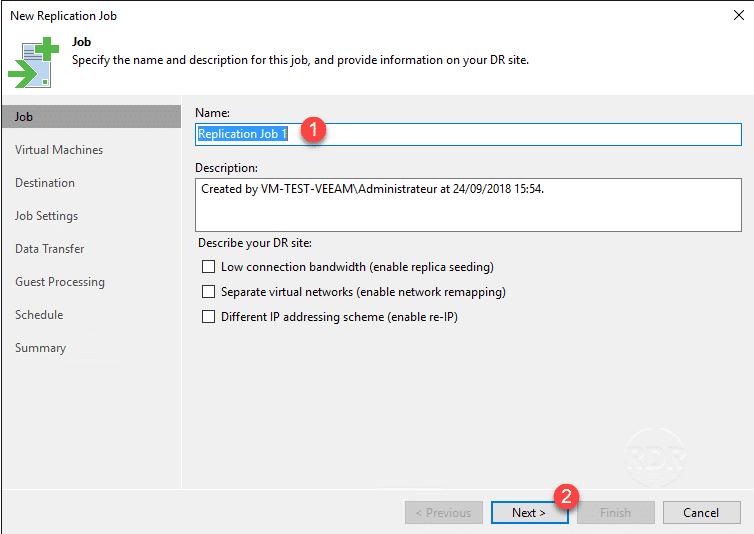
Enter the job name 1 and click Next 2.
At this point in the configuration, you can select the Separate virtual networks option to configure the virtual switch if it is different on the destination Hyper-V. You can also select the Different IP addressing scheme option to configure a different IP address on the replica machine.
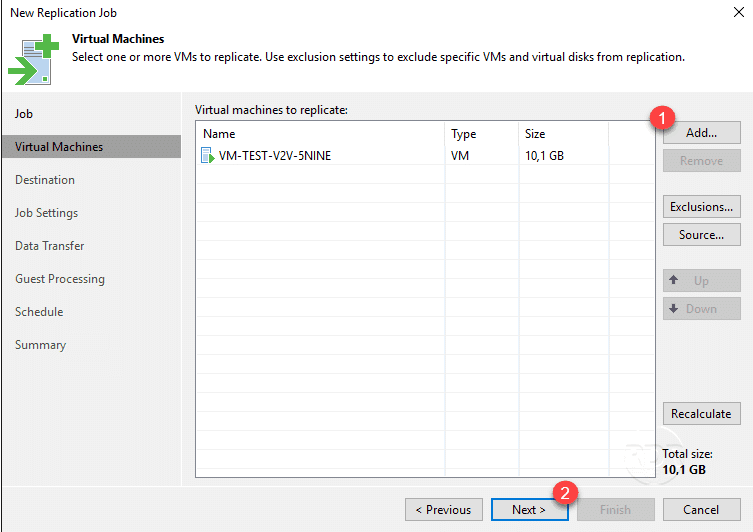
Click Add 1 to add the virtual machines to be replicated and then click Next 2.
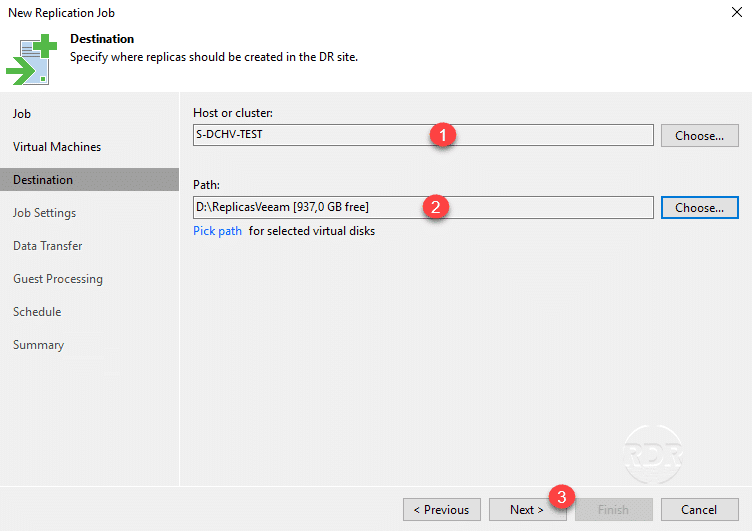
Select the destination host 1, specify the storage location for the replicas 2 and click Next 3.
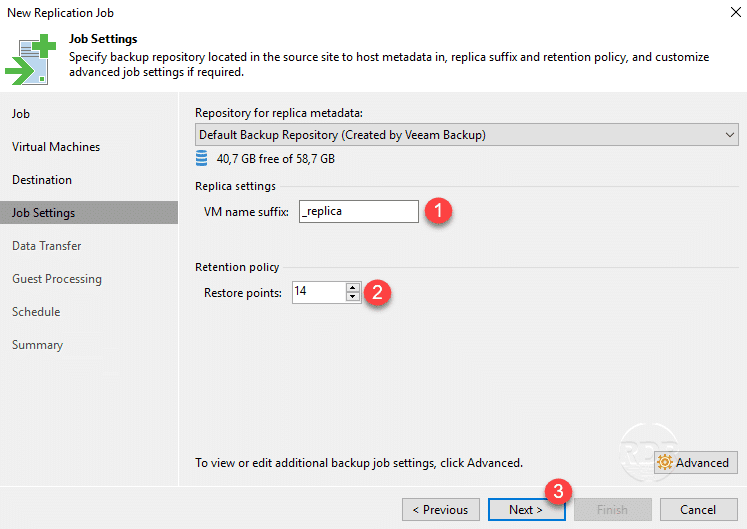
Validate the suffix 1 given to the replica and the number of restore points 2 and click on Next 3.
Click Next 1.

In the context of a PRA on a remote site, it is advisable to use Wan accelerators.
Click Next 1.

In the case of database replication, application-aware processing must be enabled.
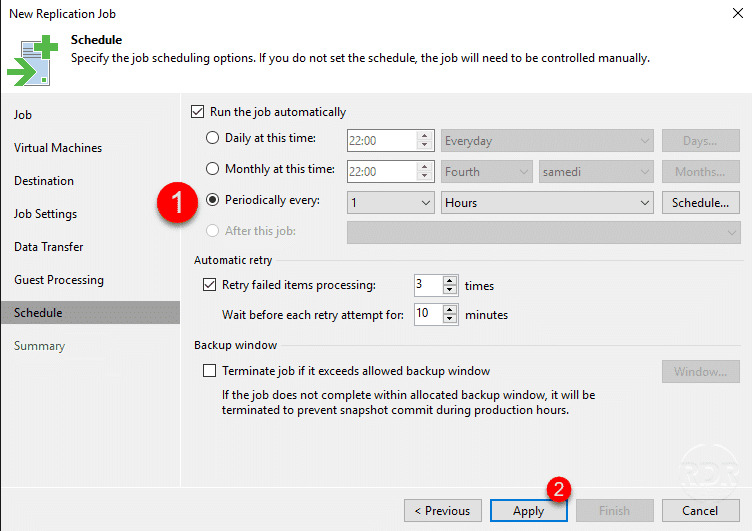
Configure the job schedule 1 then click Next 2.
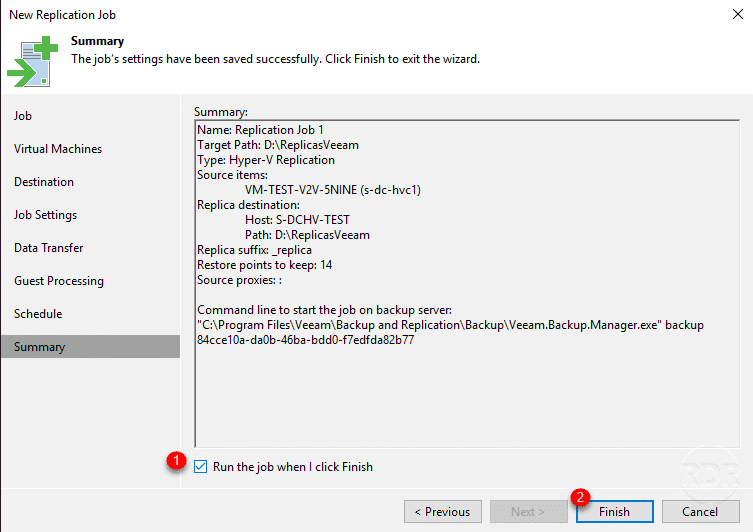
Check the Run the job when i click Finish box 1 to start the replication immediately and then click Finish to close the wizard 2.
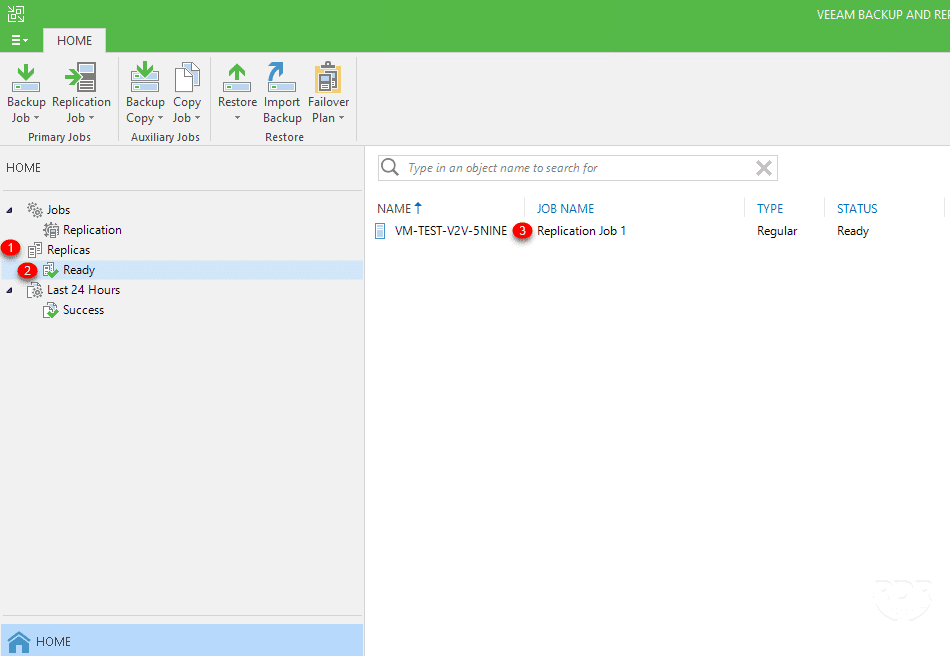
Replication job 1 is now available in the Veeam console.

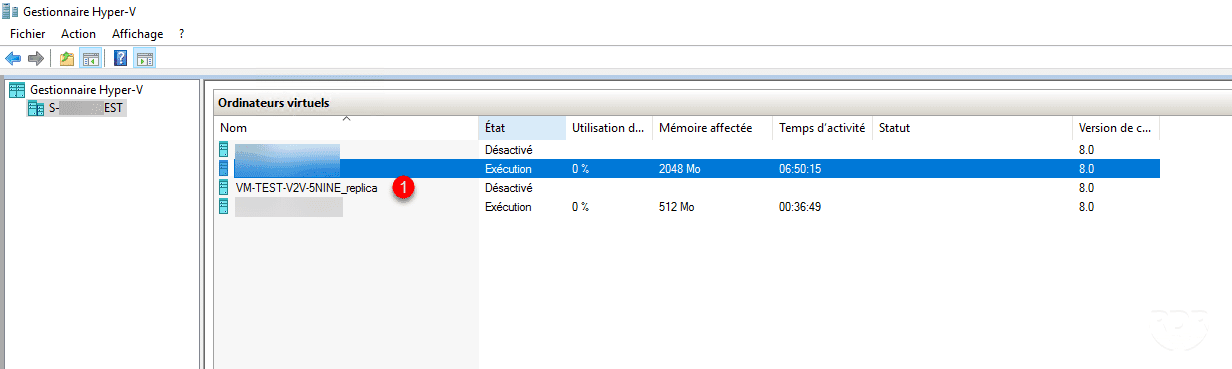
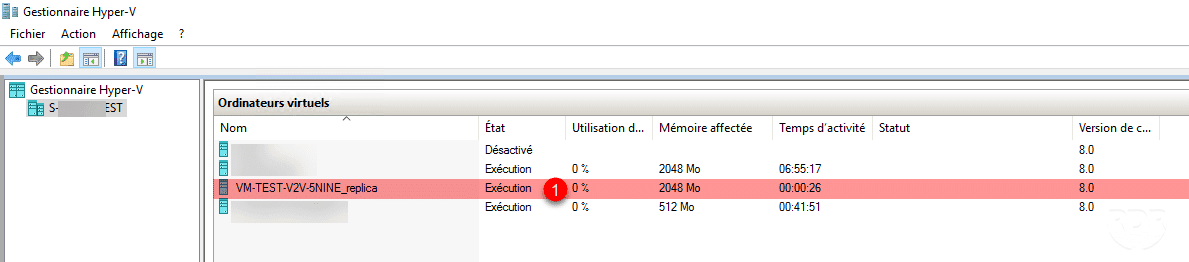
Open the Hyper-V console on the source server and verify the presence of replica 1.
Now that we have seen how to add a replication job to Veeam, we will see how to manage failover from the console.
Replica Management
Failover
From the Veeam B&R console, go to Replicas 1 / Ready 2, which displays the list of replicas ready 3 for failover.
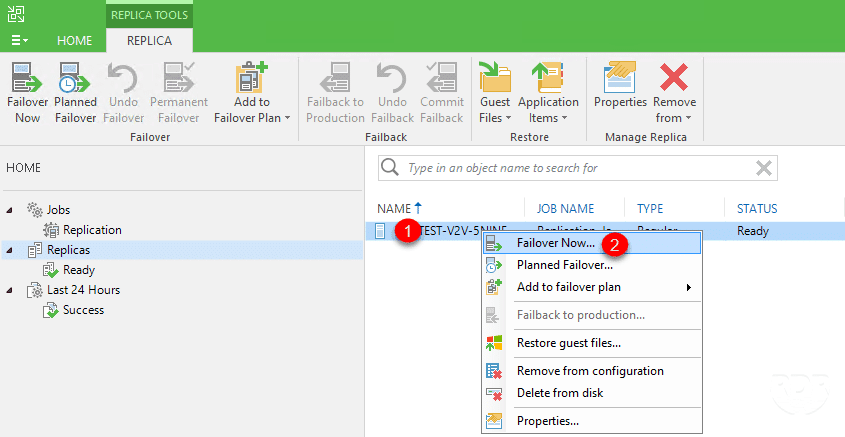
Before triggering the replica, the source VM must be powered off.
Right-click on replica 1 and click Failover Now … 2 to launch the wizard.
The Planned Failover option is to be used in the event of a planned trigger; upon triggering, a final synchronization is performed.
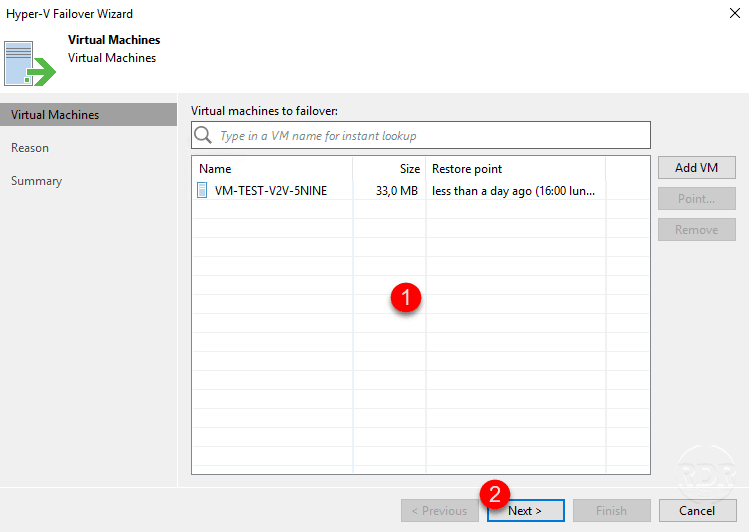
Select the virtual machines and their restore points 1 and click Next 2.
Click Next 1.
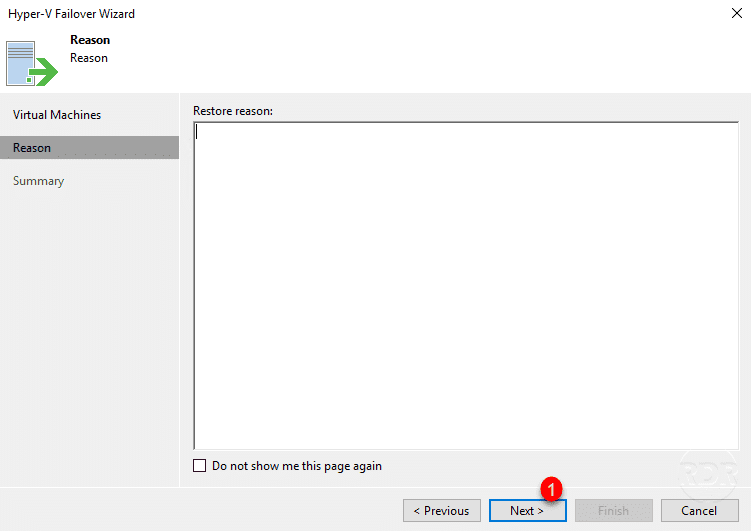
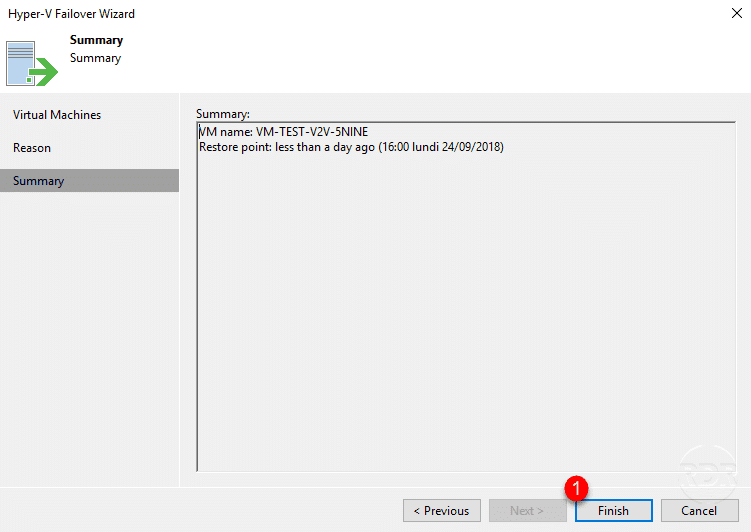
Click Finish 1 to start the replica startup process.
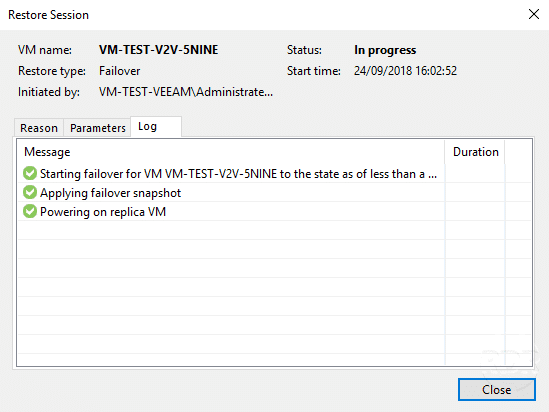
Wait while it starts…
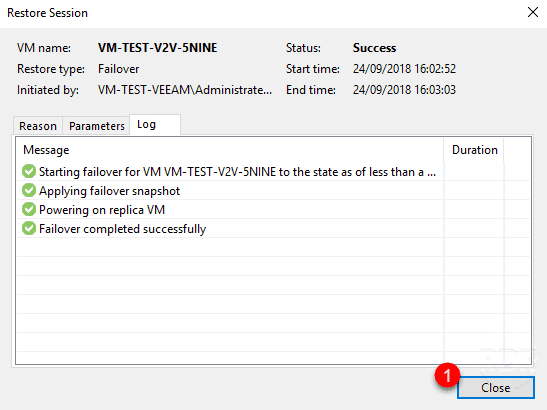
Click Close 1 to close the action window when the replica(s) have started.
In the Veeam console, we see that the replica goes Active 1 and in Failover status 2.
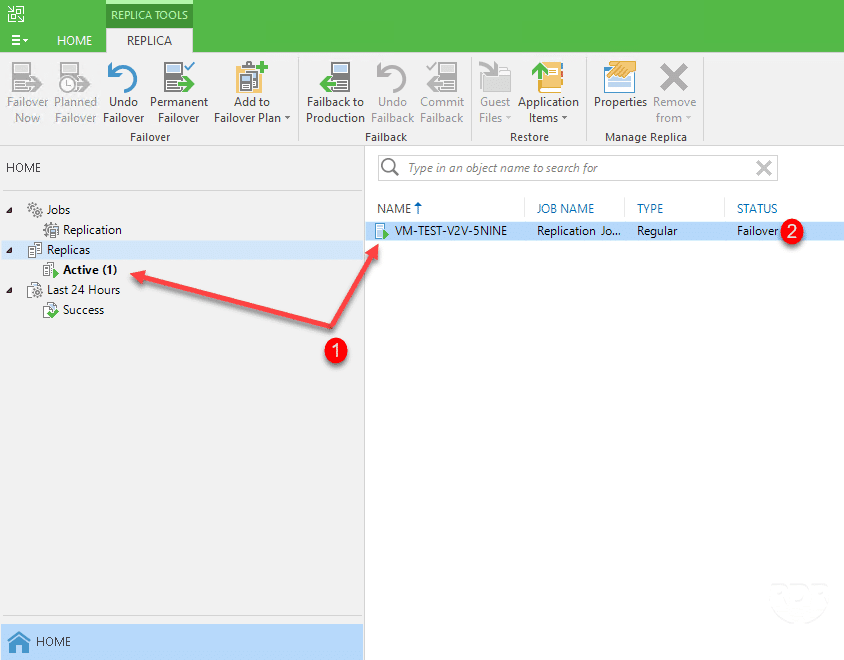
Also check the startup of VM 1 from the Hyper-V console.
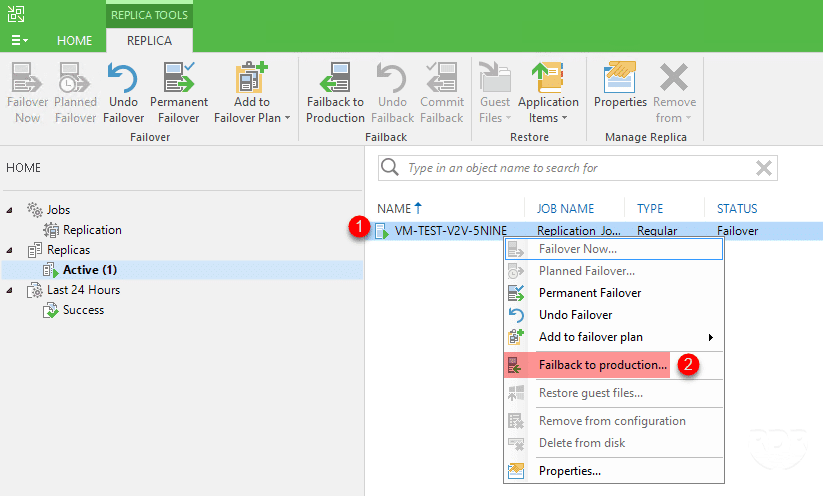
Now that the switch is done, 3 options are “available”:
- Moving Replica Infrastructure to Production: Permanent Failover
- Undo Failover
- Back to production: Failback to production…
Return to production – Failback to production
This option is very interesting, because it allows the replica with the modifications to be transferred to the production infrastructure once it is available again.
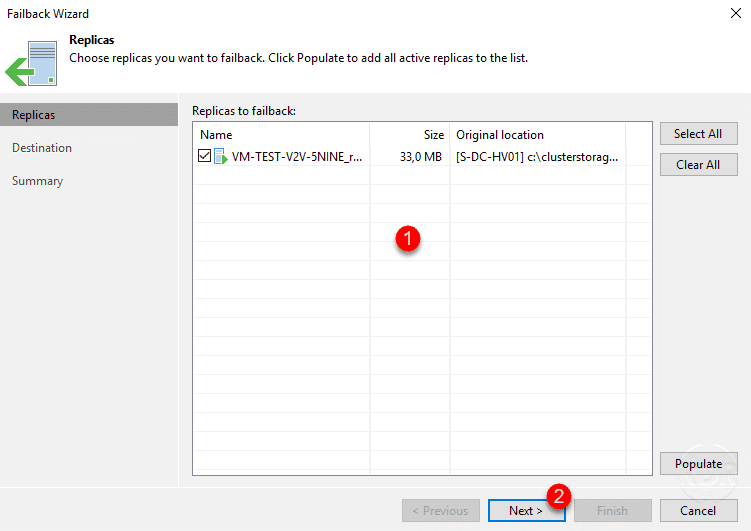
During restoration to production infrastructure, the replica is powered off.
From the Veeam B&R console, go to an active replica 1, right-click on it and click Failback to production 2.
Select replicas 1 and click Next 2.
Choose a restore mode 1 and click Next 2.

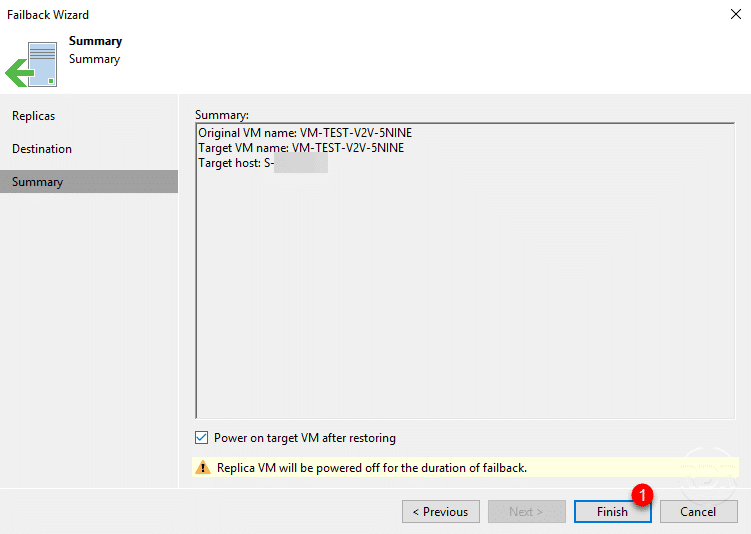
Click Finish 1 to trigger the return to production.
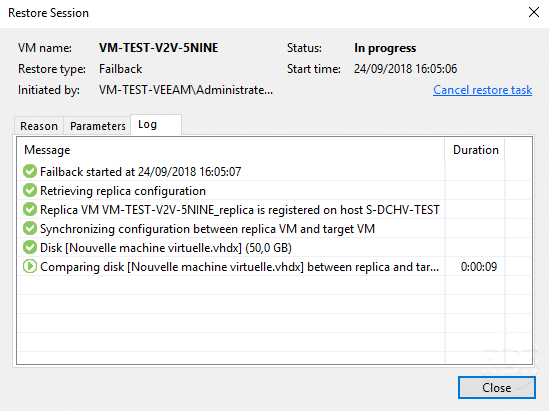
Wait during the return to production process, once completed (Success), click Close.
In the console, the replica is still active 1 but starting on the source infrastructure 2.
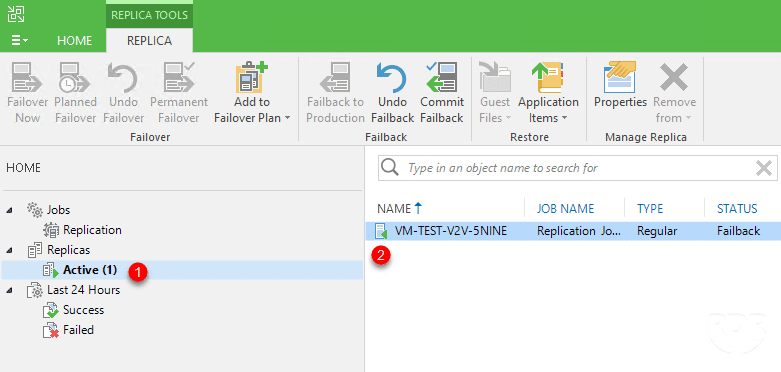
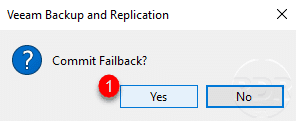
Right-click on the VM 1 and click on Commit Failback 2 to validate the return to production.
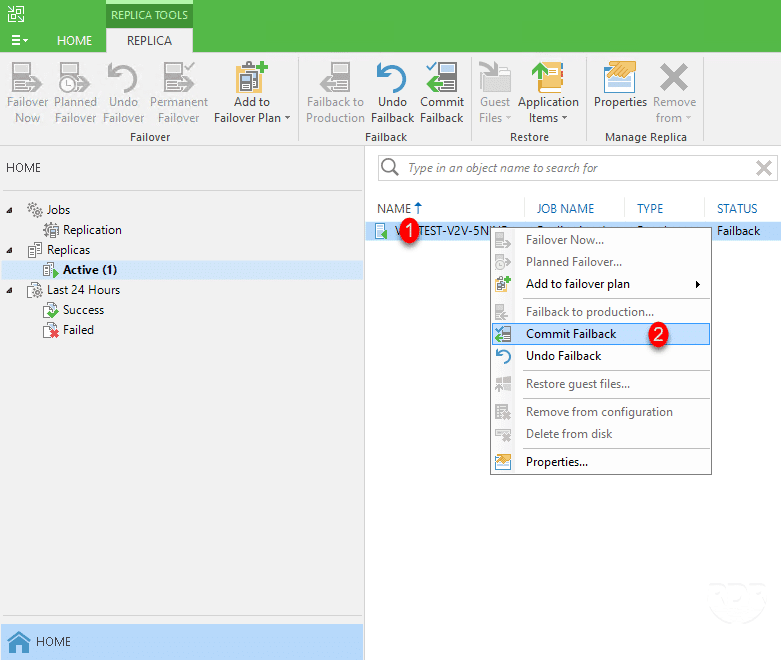
Confirm the action by clicking Yes 1.
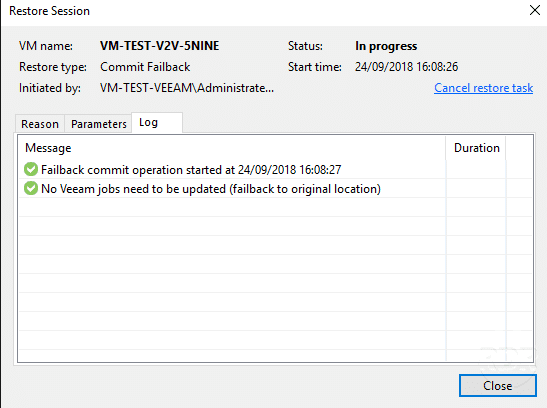
Wait while the operation is taking place…
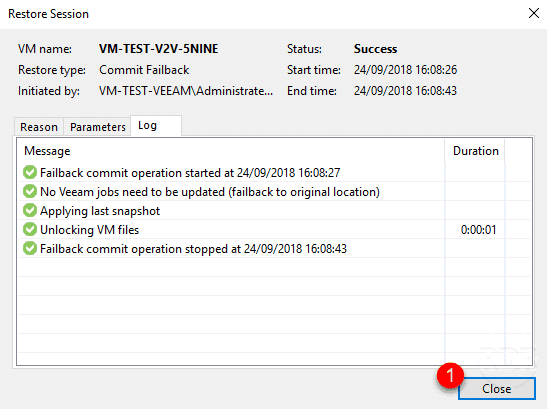
Once completed (Success), exit the window by clicking on Close 1.
Once the operation is complete, check that the replication job to the PRA infrastructure is reactivated.
