On Windows 10, there is a native SSH client that can be used in a command prompt, PowerShell prompt, or Terminal.
At the end of this tutorial, you will no longer need Putty if you are using it exclusively for logging in via SSH.
Table of Contents
Check if the client is installed
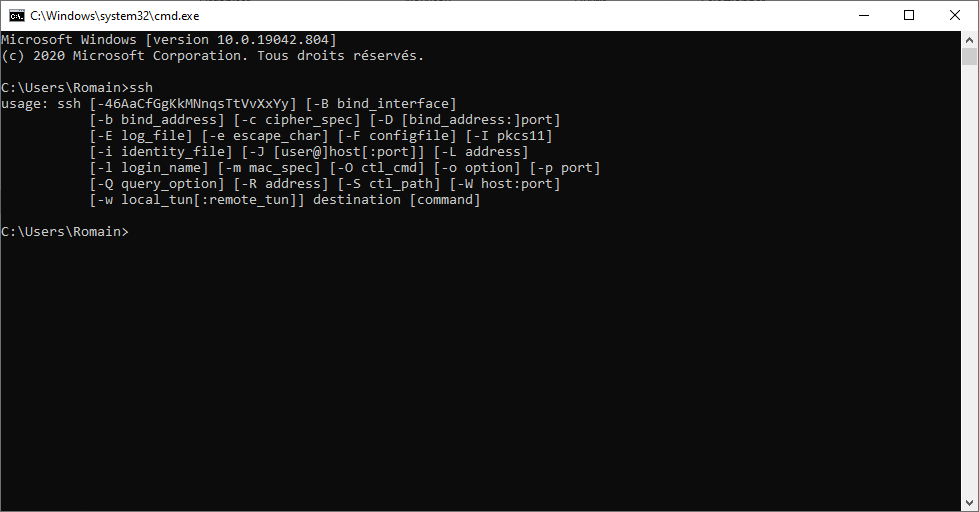
The easiest way to check if the SSH client is installed is from a command prompt and enter the ssh command. If you have the same feedback as in the capture below, the SSH client is installed.
Install the SSH client on Windows 10
If the command is not available, it must be installed.
From the Start menu, open Settings 1.

Click on Applications 1.

Click on Optional Features 1.

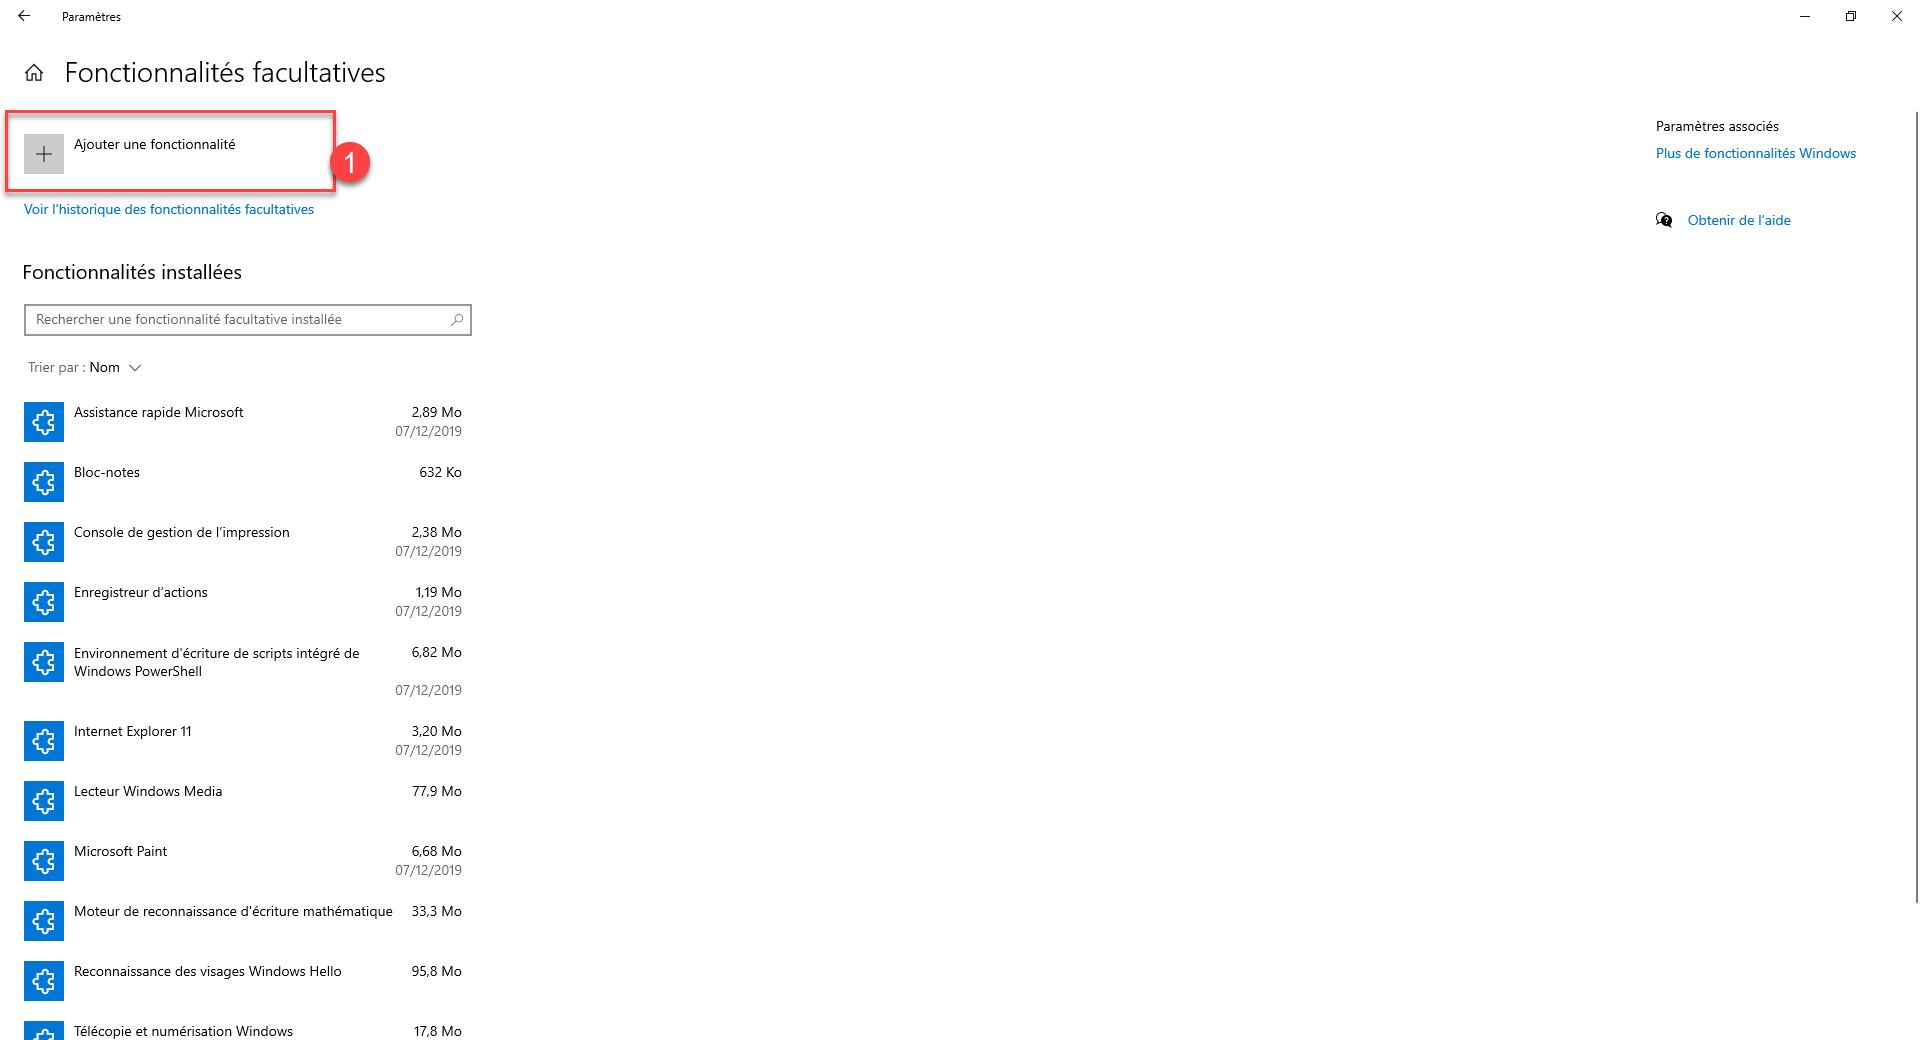
At the top, click on Add functionality 1.
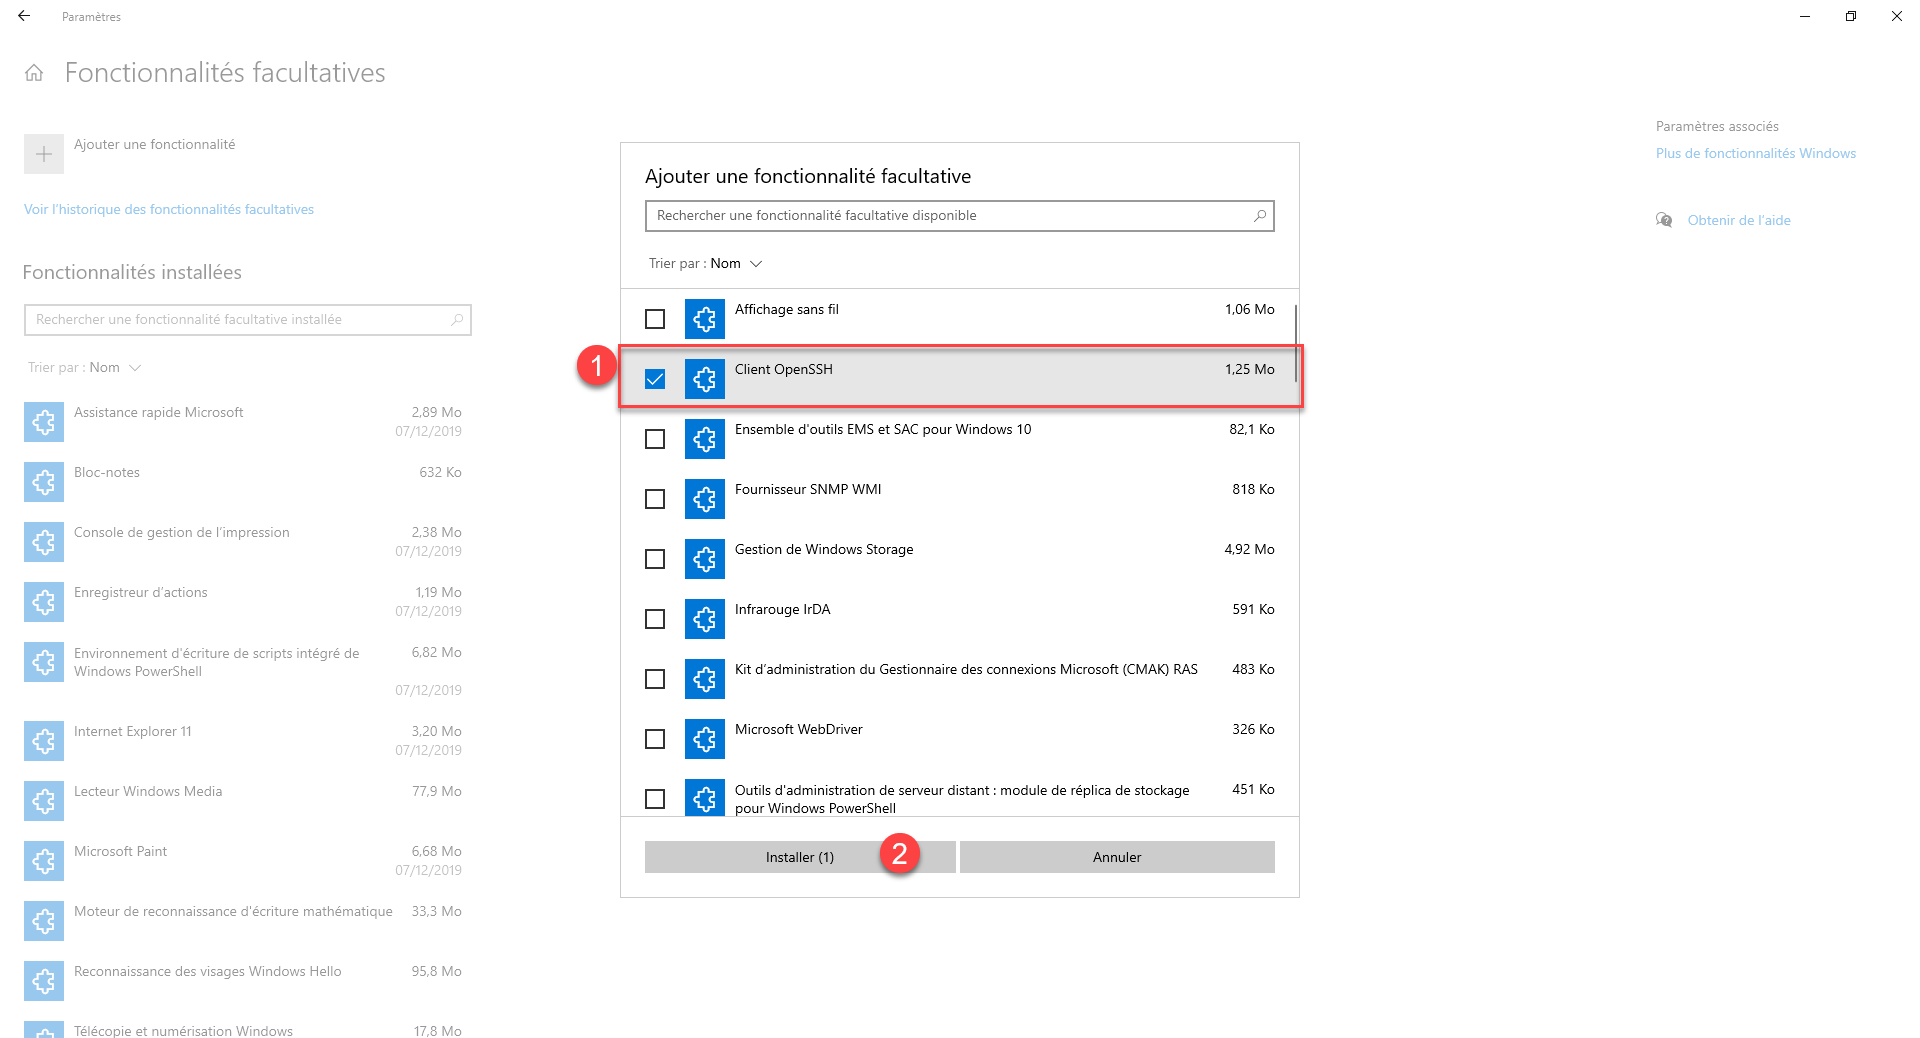
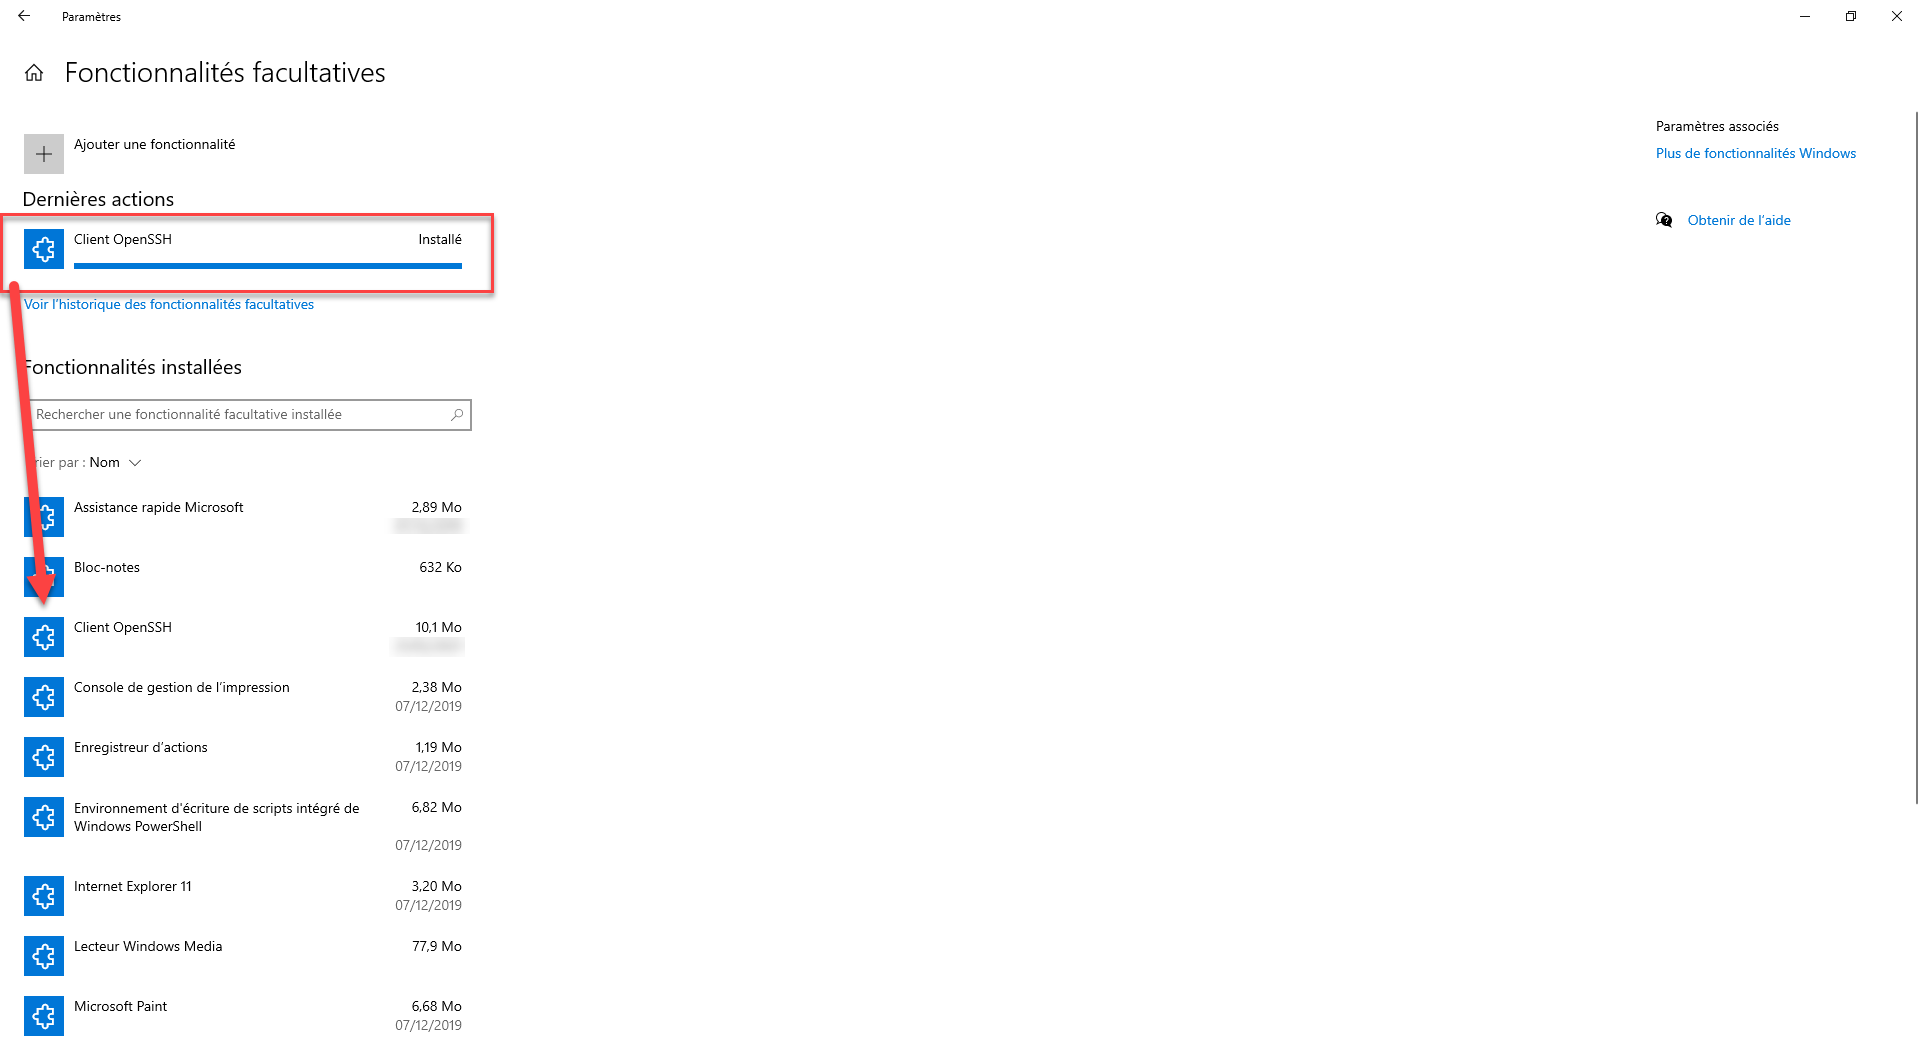
In the list of available features, check the box for OpenSSH Client 1 to select it then press the Install button 2.
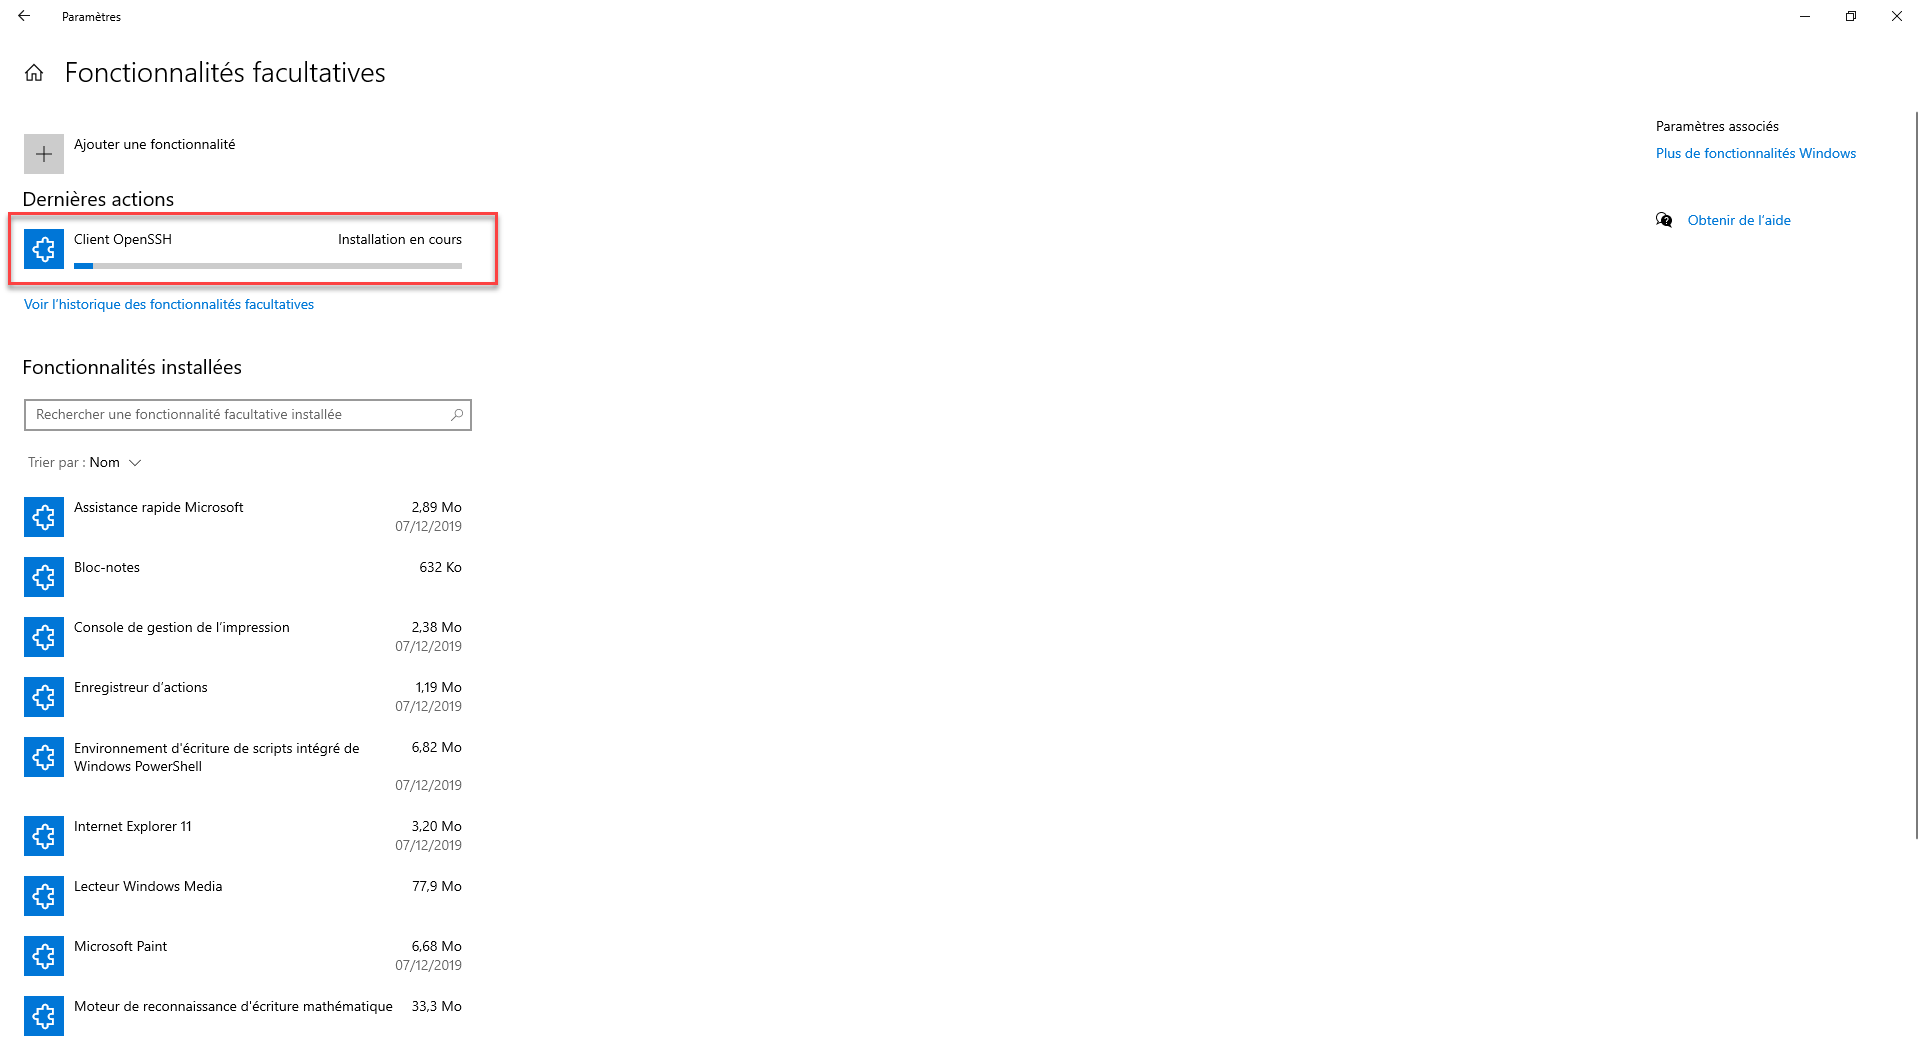
Wait while installing the openSSH client …
Once the installation is complete, the OpenSSH client is available in the installed features.
Using the OpenSSH client
In this last part, I will explain how to connect to a remote server / device with the OpenSSH client on Windows 10.
Depuis une fenêtre de commande / PowerShell / Terminal entrer la commande ci-dessous en adaptant à votre environnement :
ssh User@Ip_Address
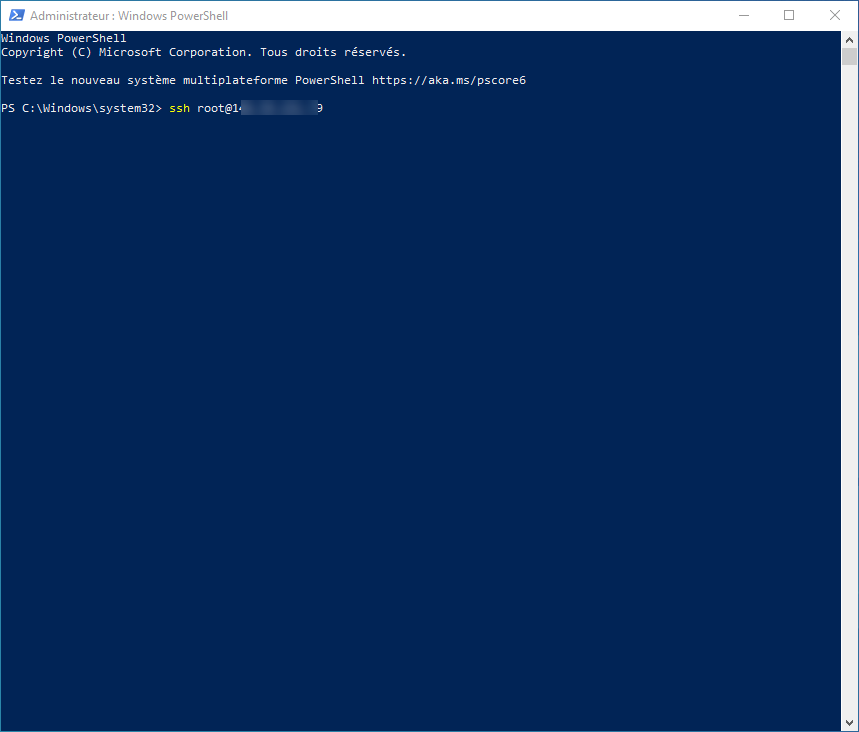
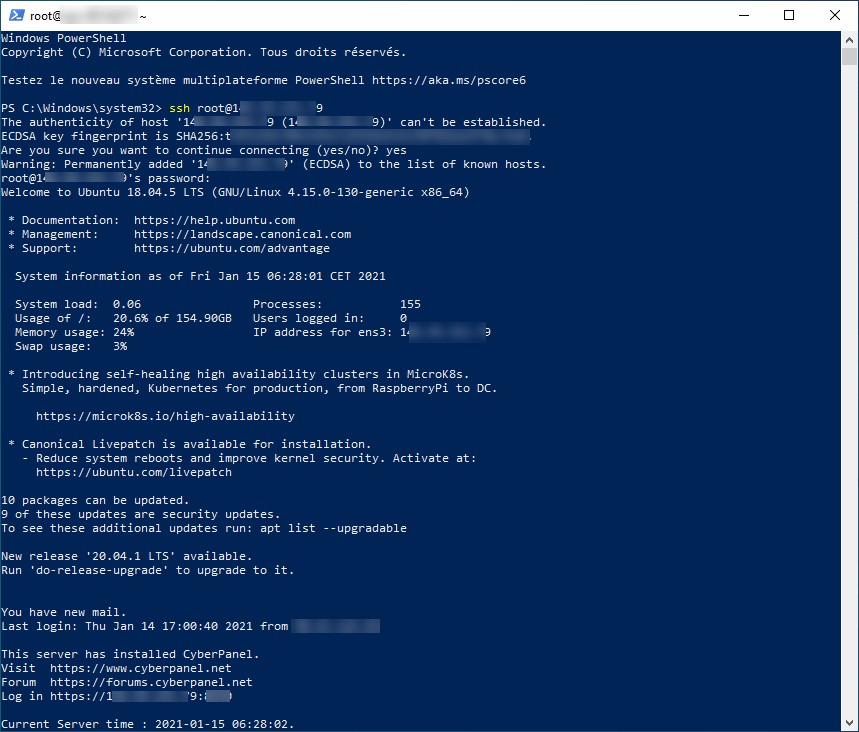
At the first connection, validate the SSH key by entering yes and enter the password. You will then be logged in.
On the screenshot below, we can see a stable connection on an Ubuntu server in SSH in a PowerShell window.
If you are using the Terminal application, it is possible to register an SSH connection in the list of available tabs.
