In this tutorial, I will explain how to partition a disk on Proxmox and then assign the partitions to storage.
In this tutorial, you can see that I have two “disks” sda and sdb.
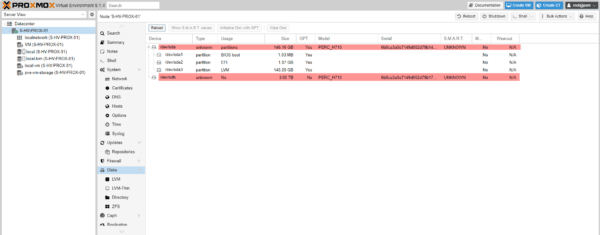
In fact, these are two virtual disks created on a RAID 5 disk group on the server itself.
The sda disk was used to install the system (Proxmox) and the second 3TB disk should be used to store the data of the virtual machines, ISO, templates, etc.
I would like to have a Directory type location of 100GB to store the ISOs and 500GB initially to store the virtual machines.
If you have experienced it, it is not possible to split (partition) a disk from the web interface, depending on what you are going to choose LVM(-Thin), Directory, Proxmox will assign all the available space.
To overcome this “problem”, you have to create partitions, to do this you have to go through the Shell and use the sgdisk utility.
Create partitions in Proxmox with sgdisk
I am not going to go into detail about the sgdisk tool, which is a complete tool for managing partitions, but just about the syntax of the command that interests us here.
Voici la commande que je vais utiliser :
sgdisk -n X:+0:+YYYGib /dev/sdZExplanation of parameters -n
X: corresponds to the partition number+0: start the partition at the first available block on the disk+YYYGib:corresponds to the size of the partition
Finally we indicate the disk /dev/sdZ.
To execute the commands, open the Shell from the Proxmox administration interface.
To start, I will create my first 100GB partition on the sdb disk.
sgdisk -n 1:+0+100Gib /dev/sdbWhen entering the order you will receive the following feedback:
Creating new GPT entiers in memory.
The operation has completed successfully
From the web interface, I now have the partition created on the sdb disk.
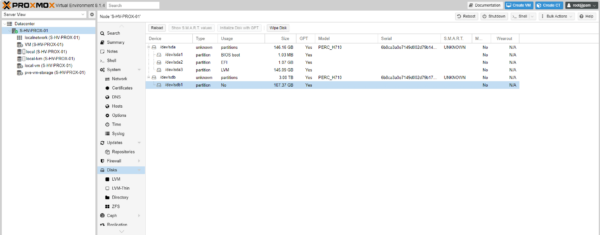
To create the second 500GB partition:
sgdisk -n 2:+0:+500Gib /dev/sdbThe second partition is now visible in Proxmox.
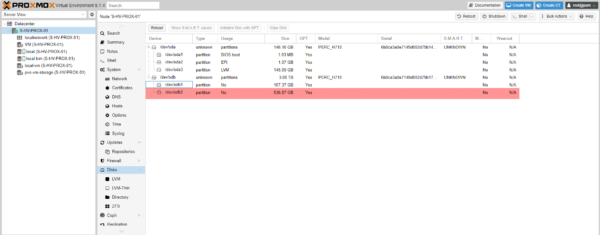
Assign Disks to Partitions
Now in order to be able to use the partitions, you must create Disks in Proxmox.
Add a disk of type: Directory
The first partition will be of type Directory, which will allow the storage of ISOs.
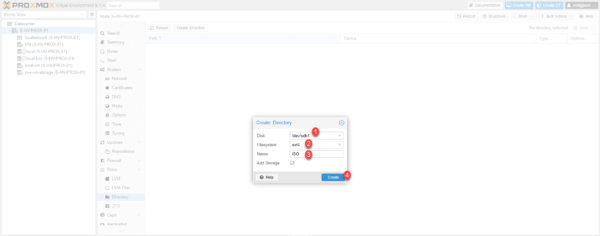
Go to Directory 1 and click on Create: Directory 2.
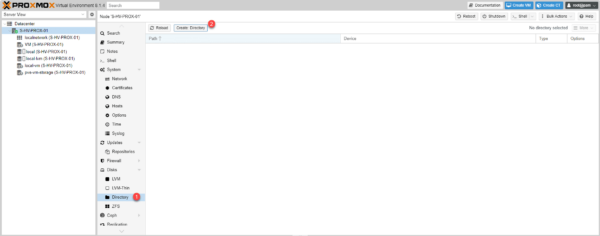
Choose the Disk 1 which is the partition that we created previously, the partition type ext4 2 then name 3 the Folder and click on the Create 4 button.
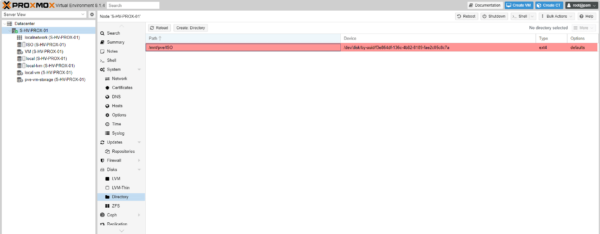
The “Directory” Disk is created.
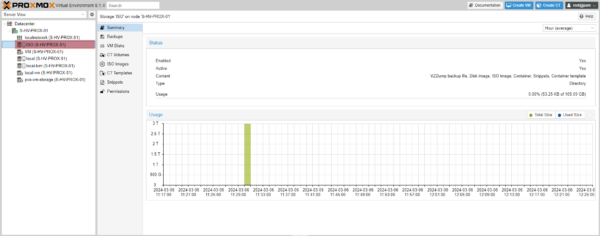
From the navigation menu on the left, storage is available.
Add LVM-thin storage
Now, we will create LVM-thin storage for storing virtual computers and containers.
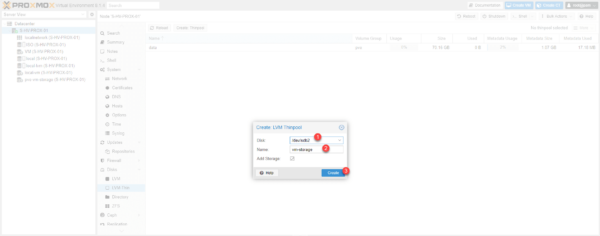
Go to LVM-Thin 1 and click on Create Thin Pool 2.
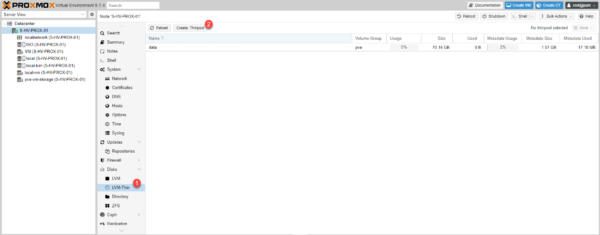
Select the disk 1 which will correspond to the second partition, name the storage 2 and click on Create 3.
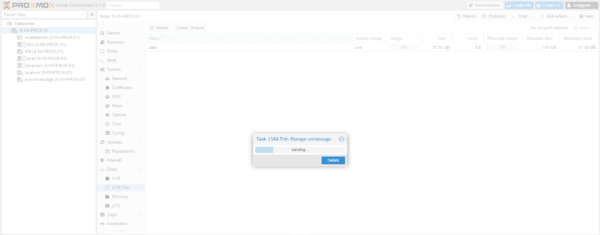
Wait while configuring storage.
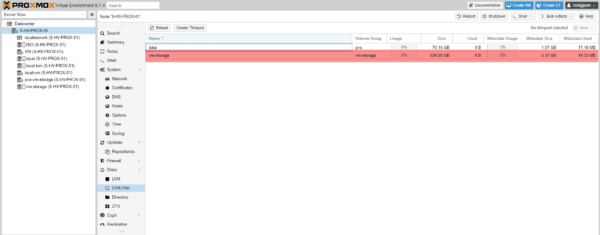
The storage is created.
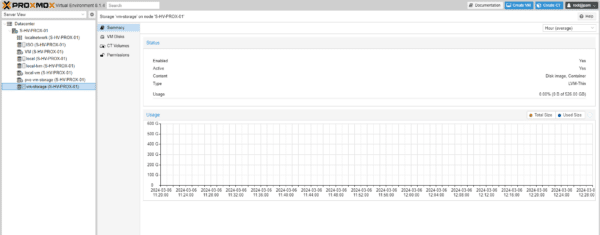
Here too, you can access the storage details from the tree structure on the left.
In this tutorial, we saw how to partition a disk on Proxmox and assign the partitions to different storage types.


Hi, All your command examples are good, especially for creating the first partition.
The first +0 allows you to finish from which available block the new partition will be created and the second +XXXGiB will determine the size of the partition.
On the first starting digit, the + is not mandatory
This doesn’t work, the first partition instead of the value declared in the command takes all the free space in the disk
Correct command is:
sgdisk -n 1:0:+100Gib /dev/sdb
found the same.. the correct command:
sgdisk -n 1:+0:100Gib /dev/sdb
(replaced +100 with 100)