In this tutorial, I will (re)show you how to import PSTs into Exchange Online, which is the messaging service available with Microsoft 365.
A few years ago, I already covered this subject: Upload PST to Office 365 and import into accounts.
The Microsoft 365 Admin Center having evolved a lot, I decided to redo the tutorial with new screenshots.
Overall, it’s still the same.
Table of Contents
Prerequisites for importing PSTs into Exchange Online
- Have a Microsoft 365 tenant administrator account and have Import / Export rights on Exchange Online.
- Have accounts (mailboxes) created in Microsoft 365
- Have the PSTs to import
- Have azcopy or Azure Storage Explorer
Create the correspondence file
The first step to import the PST archives will be to create a CSV file of correspondence between the PST files and the accounts.
The CSV file uses the comma (,) as a separator.
Here are the file headers:
Workload,FilePath,Name,Mailbox,IsArchive,TargetRootFolder,ContentCodePage,SPFileContainer,SPManifestContainer,SPSiteUrlHere is a summary table of the different parameters:
| Paramètre | Value/Explanation |
|---|---|
| Workload | Value : Exchange Description : defines in which office module the import must be done. |
| FilePath | Value: vide Description : path to archive when uploading |
| Name | value: archive-jdupont.pst Description : Name of sent pst file |
| Mailbox | Value : [email protected] Description : Main email address of the account where the archive should be injected. |
| IsArchive | Value: TRUE/FALSE Description : Determines whether the file should be uploaded to the archive mailbox. |
| TargetRootFolder | Value : empty or / or MonPst Description :
|
| ContentCodePage | Value : vide Description : file encoding |
| SPFileContainer | Value : vide |
| SPManifestContainer | Value : vide |
| SPSiteUrl | Value : vide |
Here is an example import:
Workload,FilePath,Name,Mailbox,IsArchive,TargetRootFolder,SPFileContainer,SPManifestContainer,SPSiteUrl
Exchange,,archive-rdr.pst,[email protected],FALSE,/,,,
Exchange,,archive-jbo.pst,[email protected],FALSE,/,,,
Now you know how to create the map file for linking PST archives.
Send PST Archive
Now that we have the correspondence files, we must send the PST archives to a storage space on Azure.
On the server where you exported the PST files, install Azure Storage Explorer.
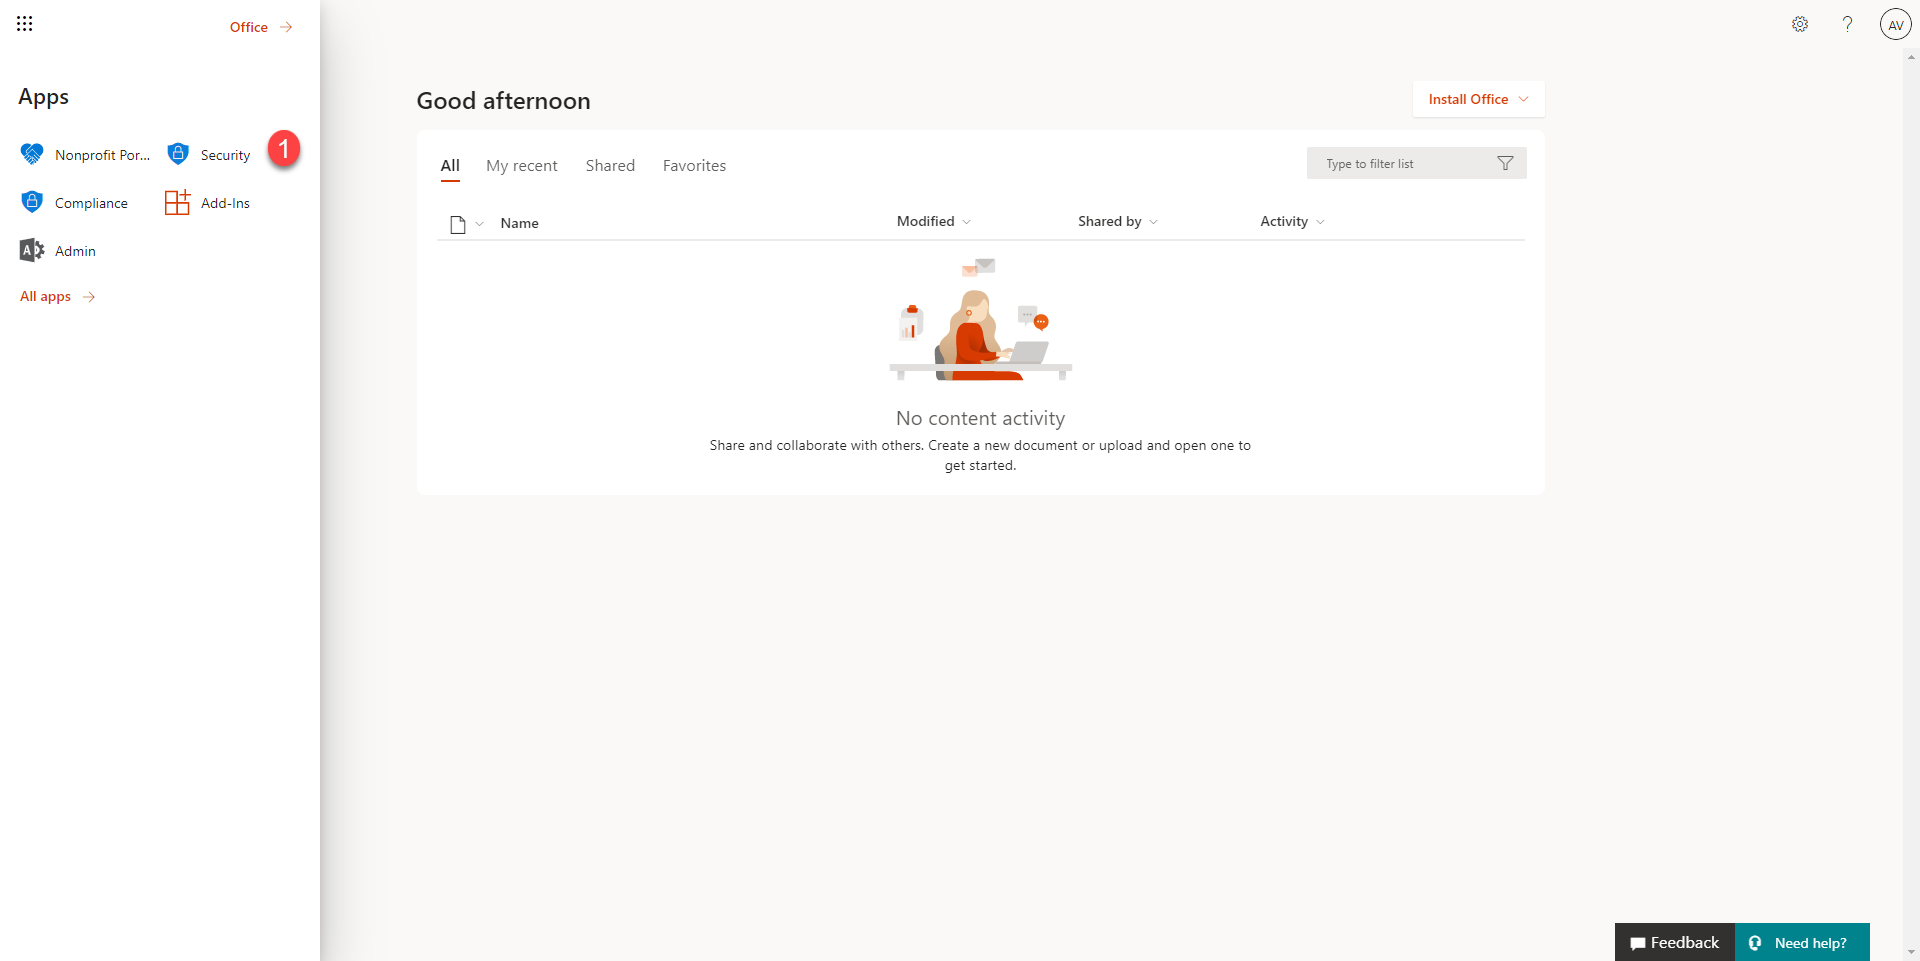
From the home page, click on App Security 1.
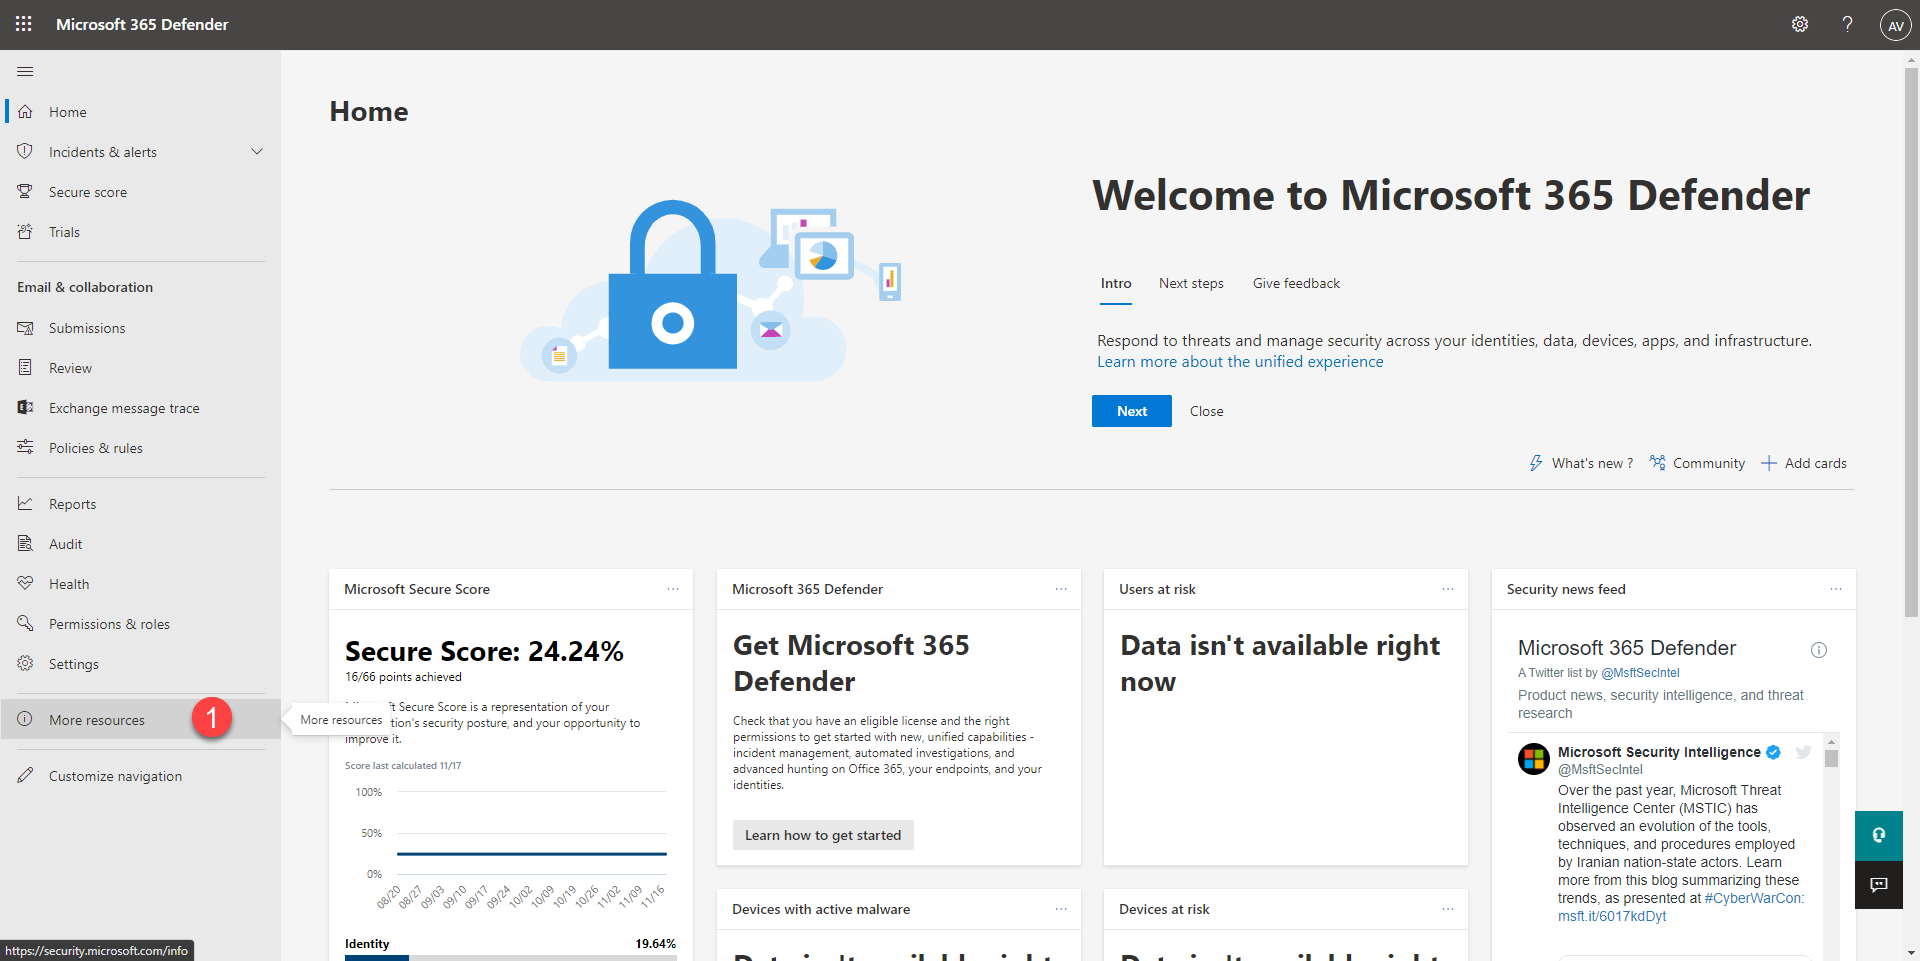
In the menu, click on More resources 1.
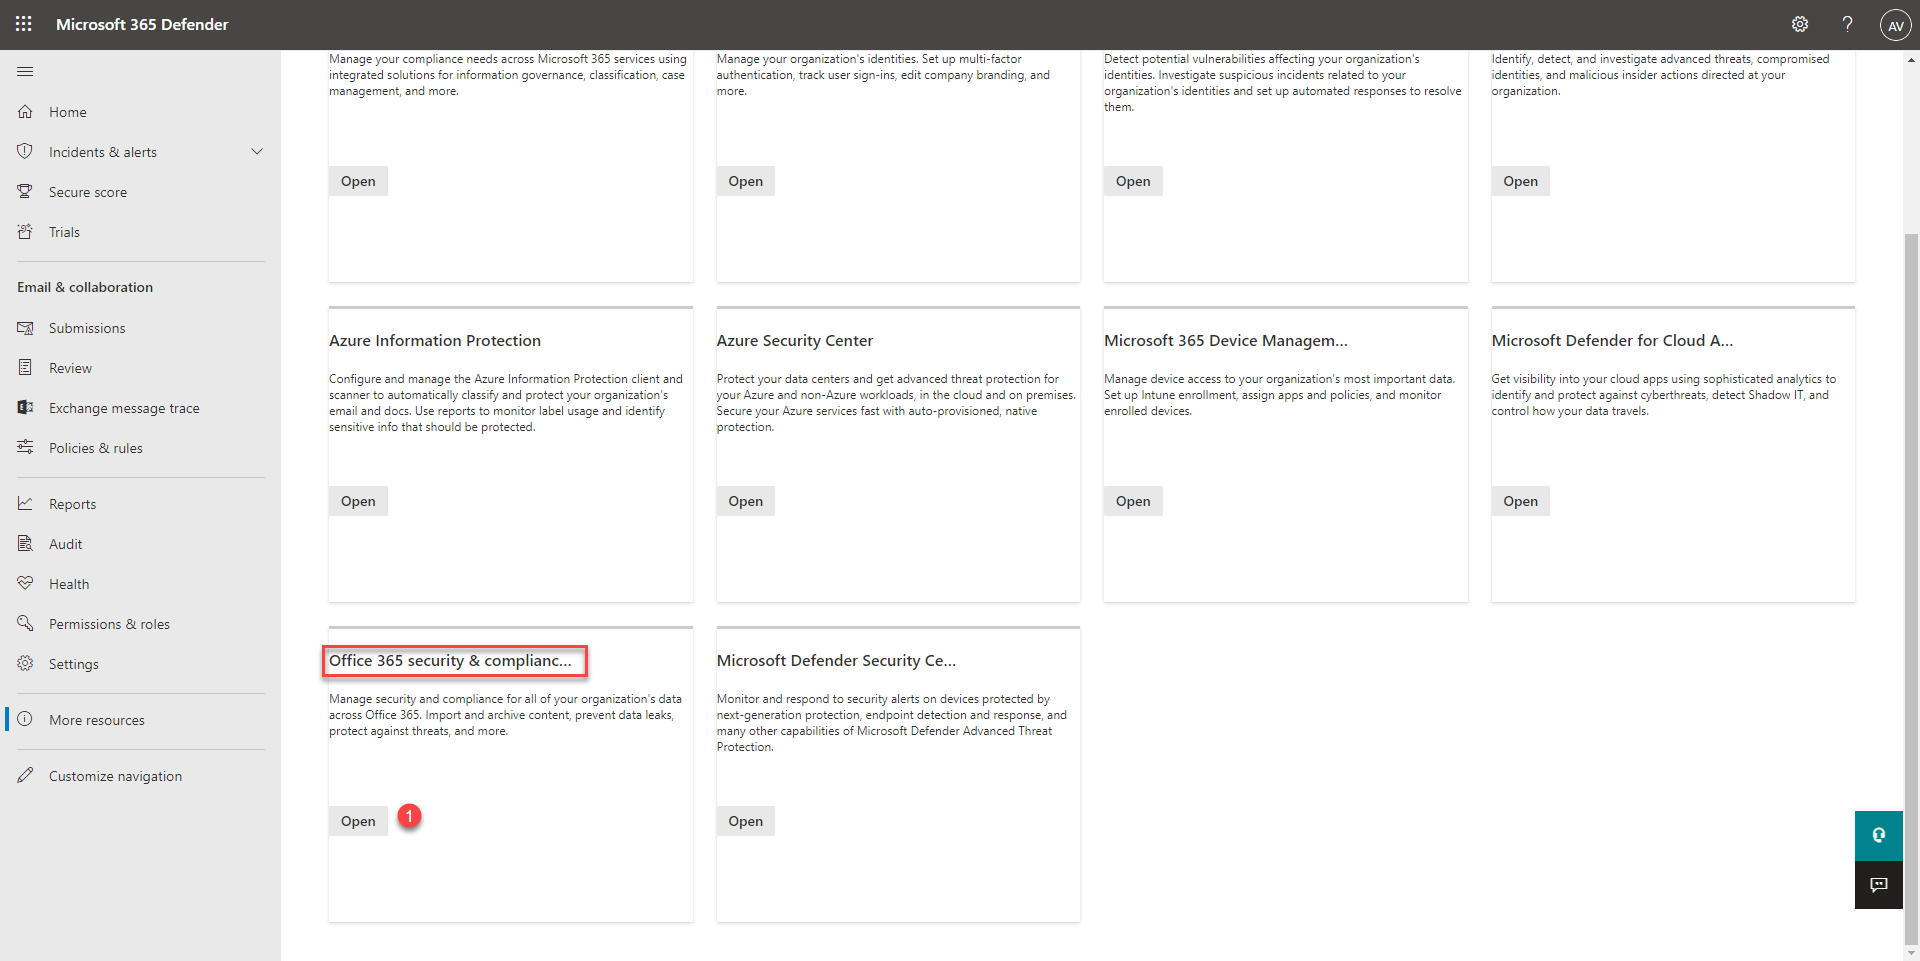
Look for the Office 365 security & compliance insert and click on the Open 1 button.
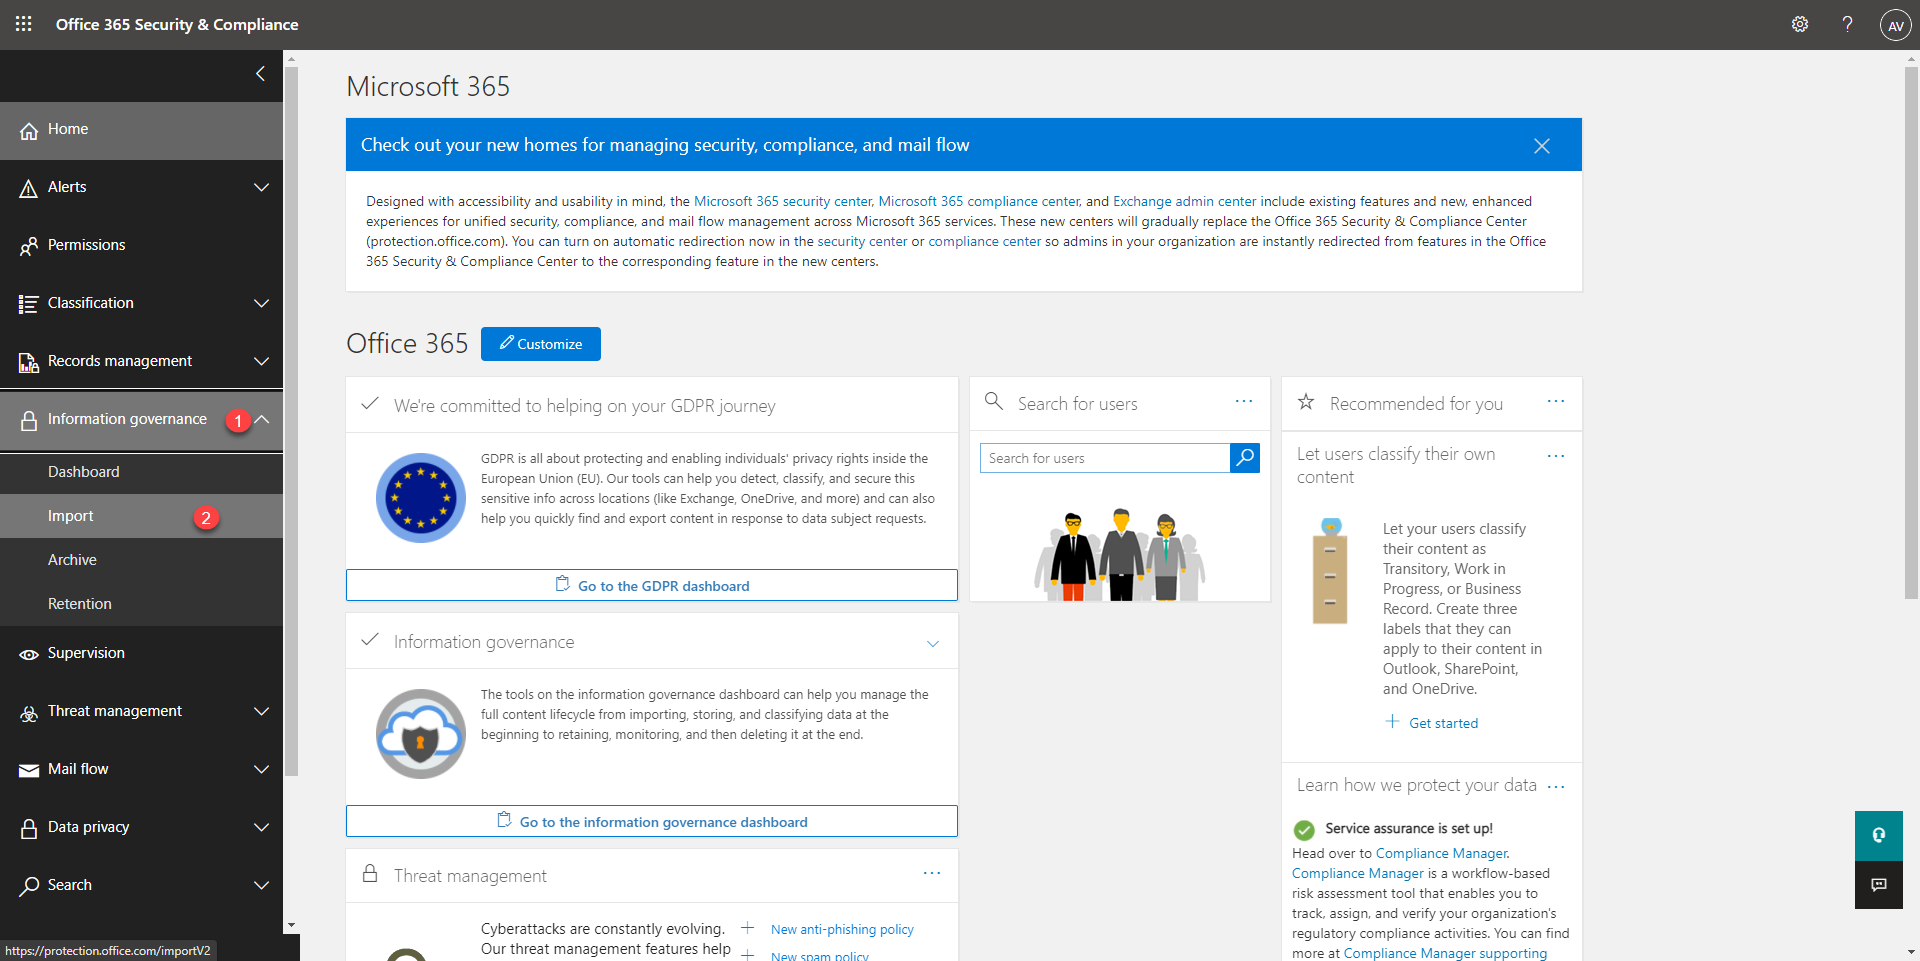
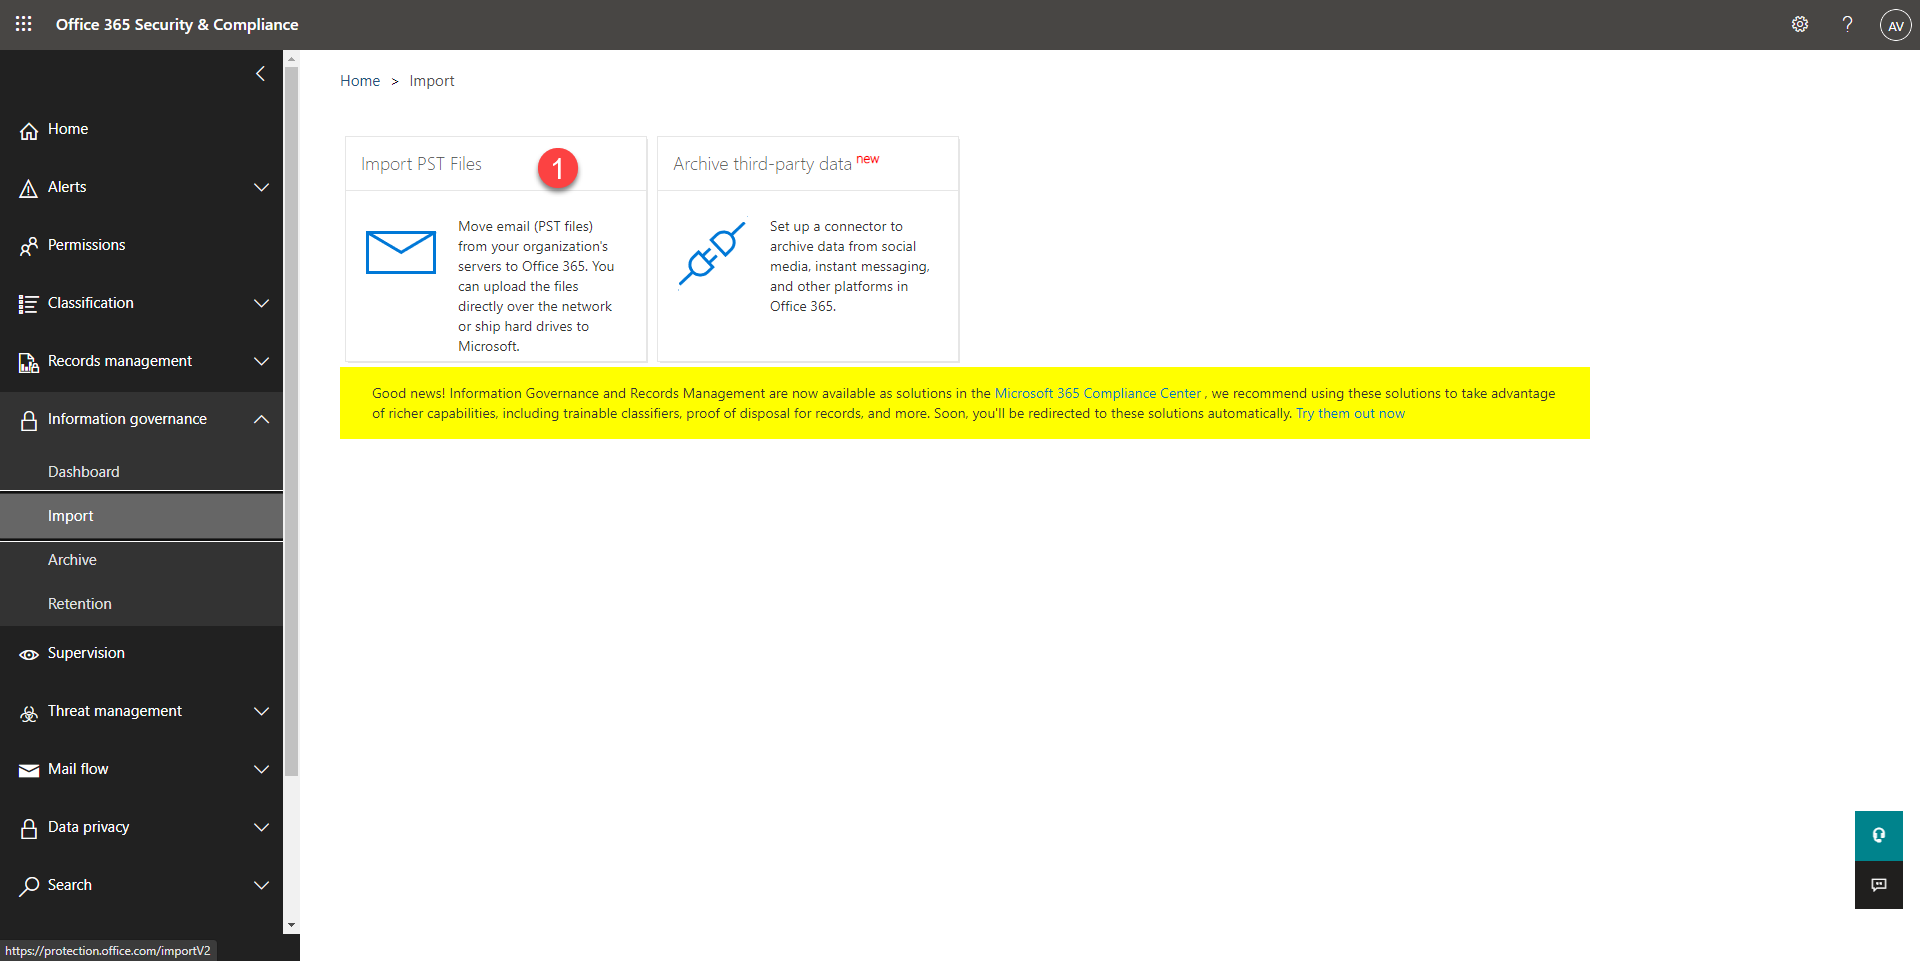
In the left menu, expand Information governance 1 and click on Import 2.
Click on Import PST Files 1.
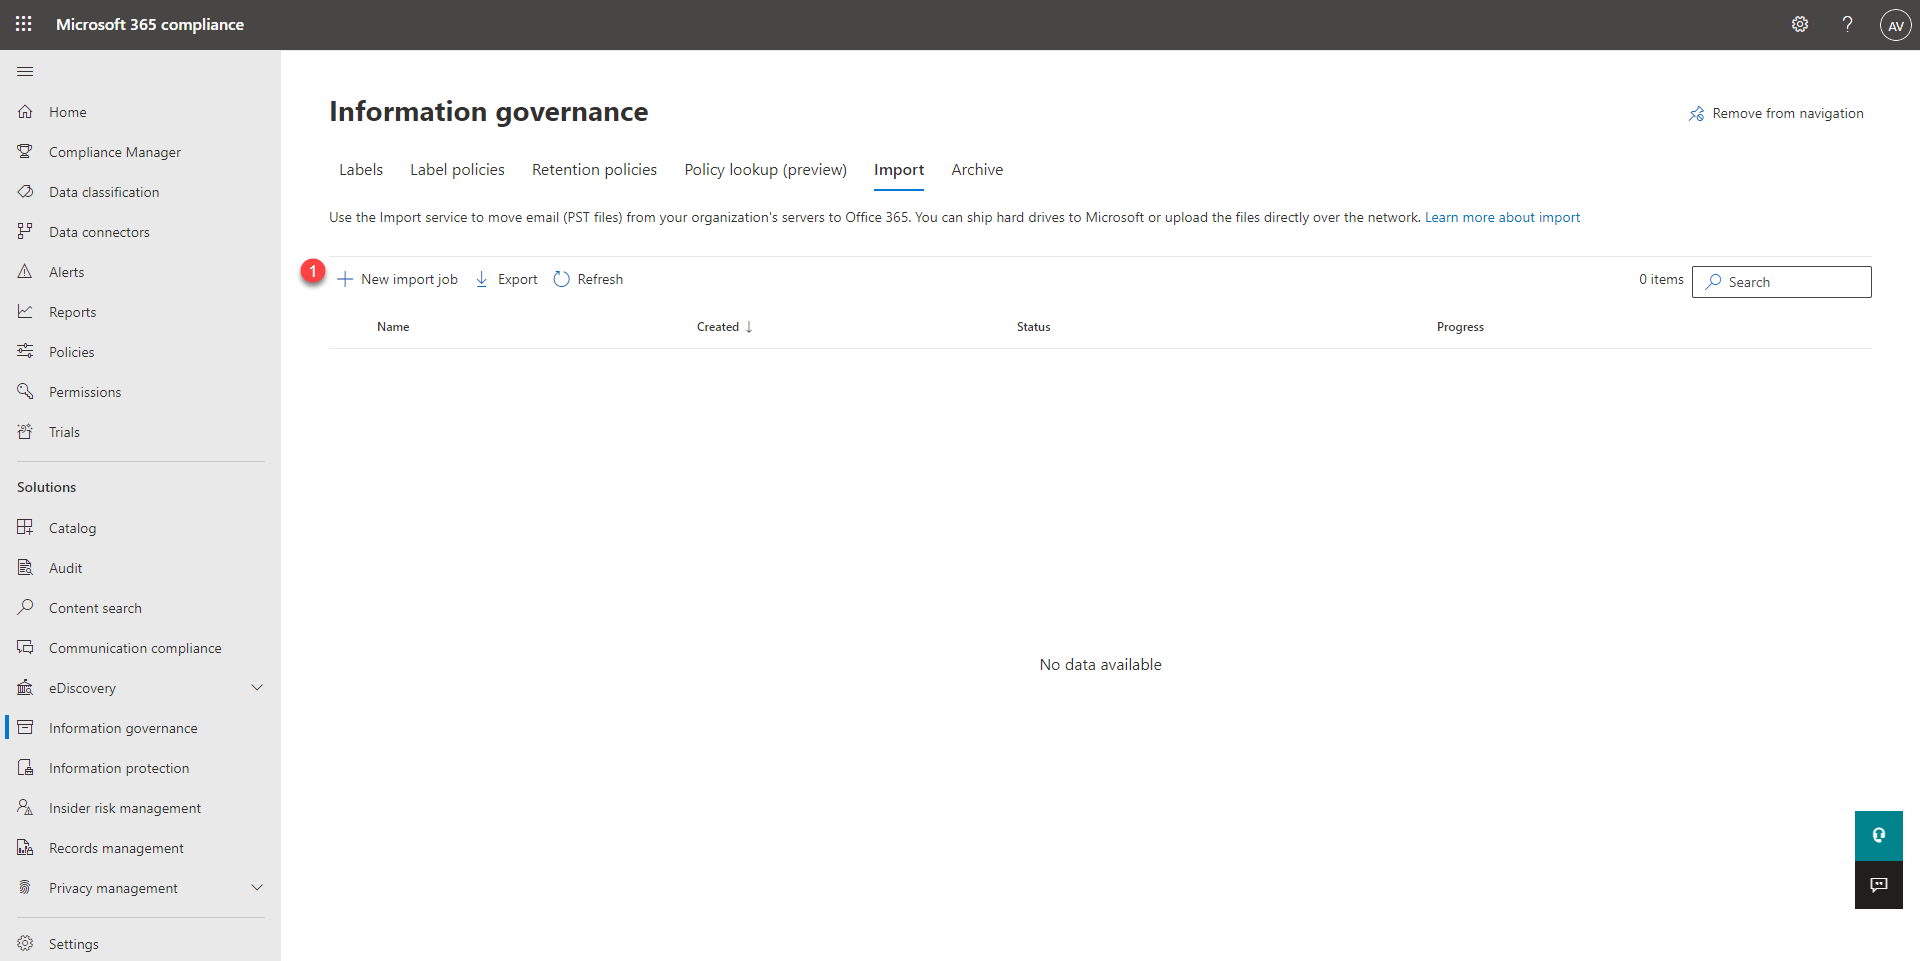
We will start creating an import job to retrieve the connection string to the storage space on Azure. Click on New import job 1.
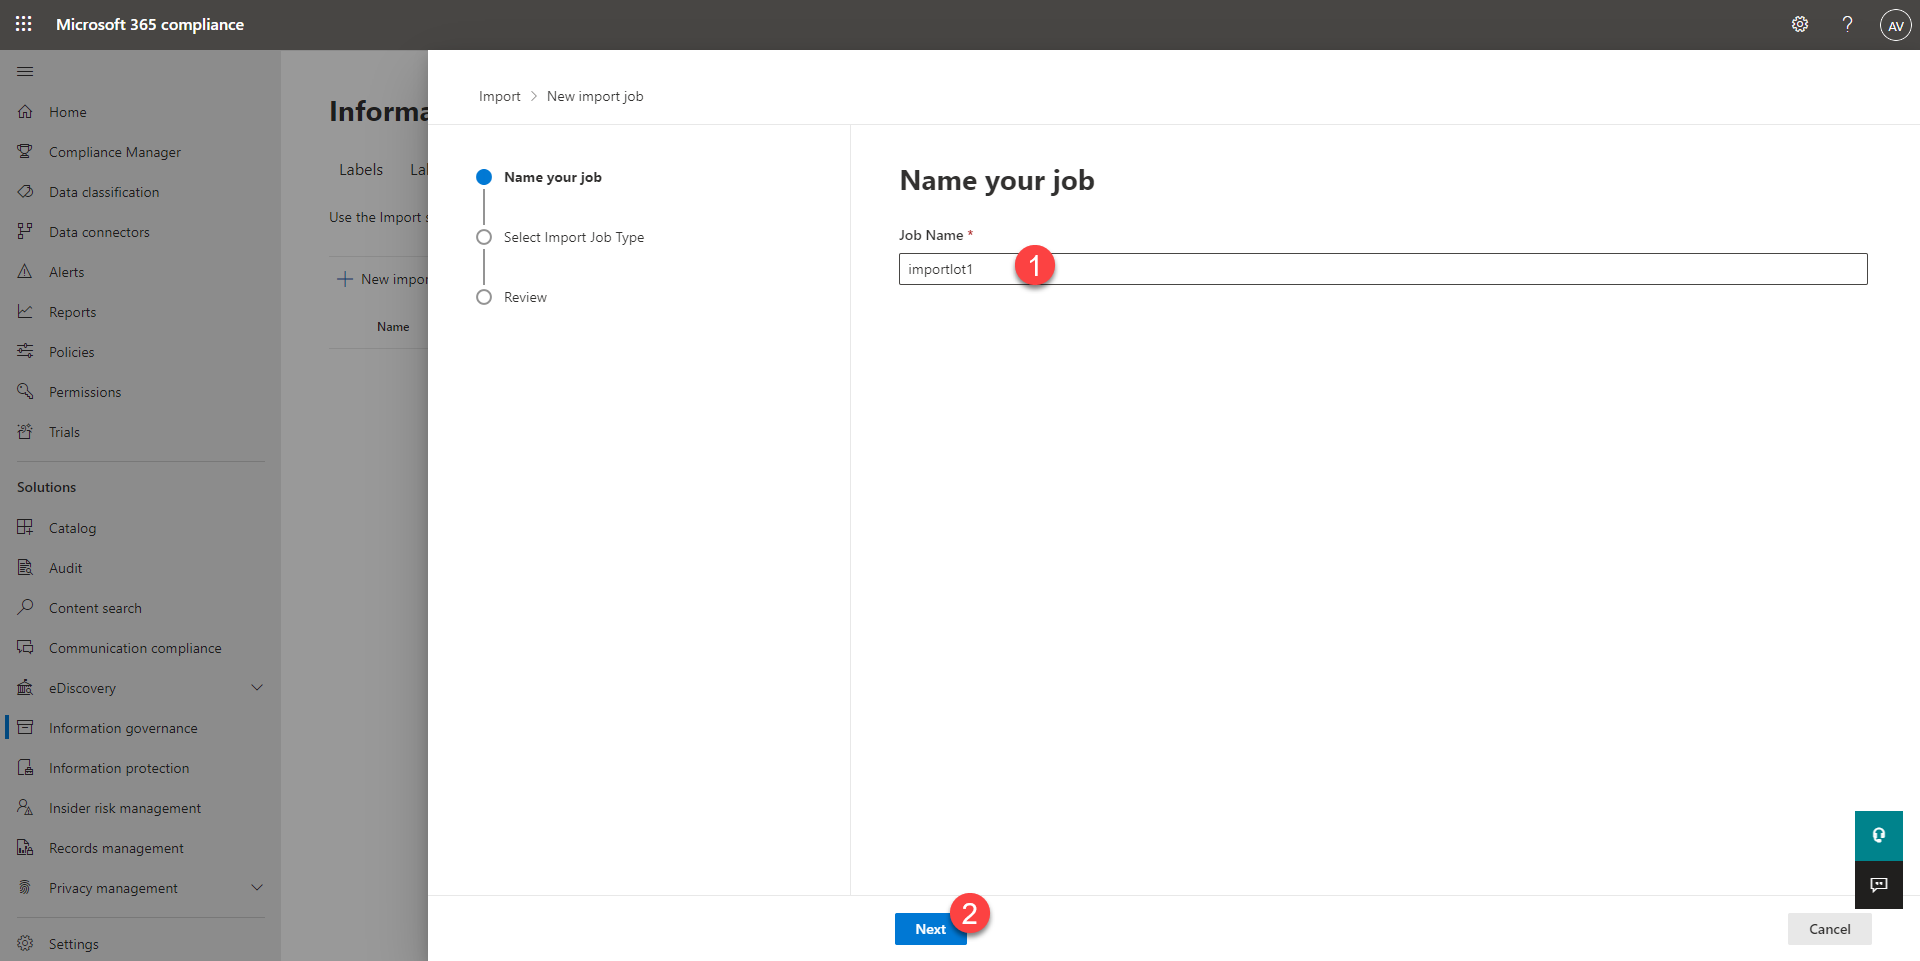
Name the job 1 and click on Next 2.
Choose Upload your data 1 and click on Next 2.

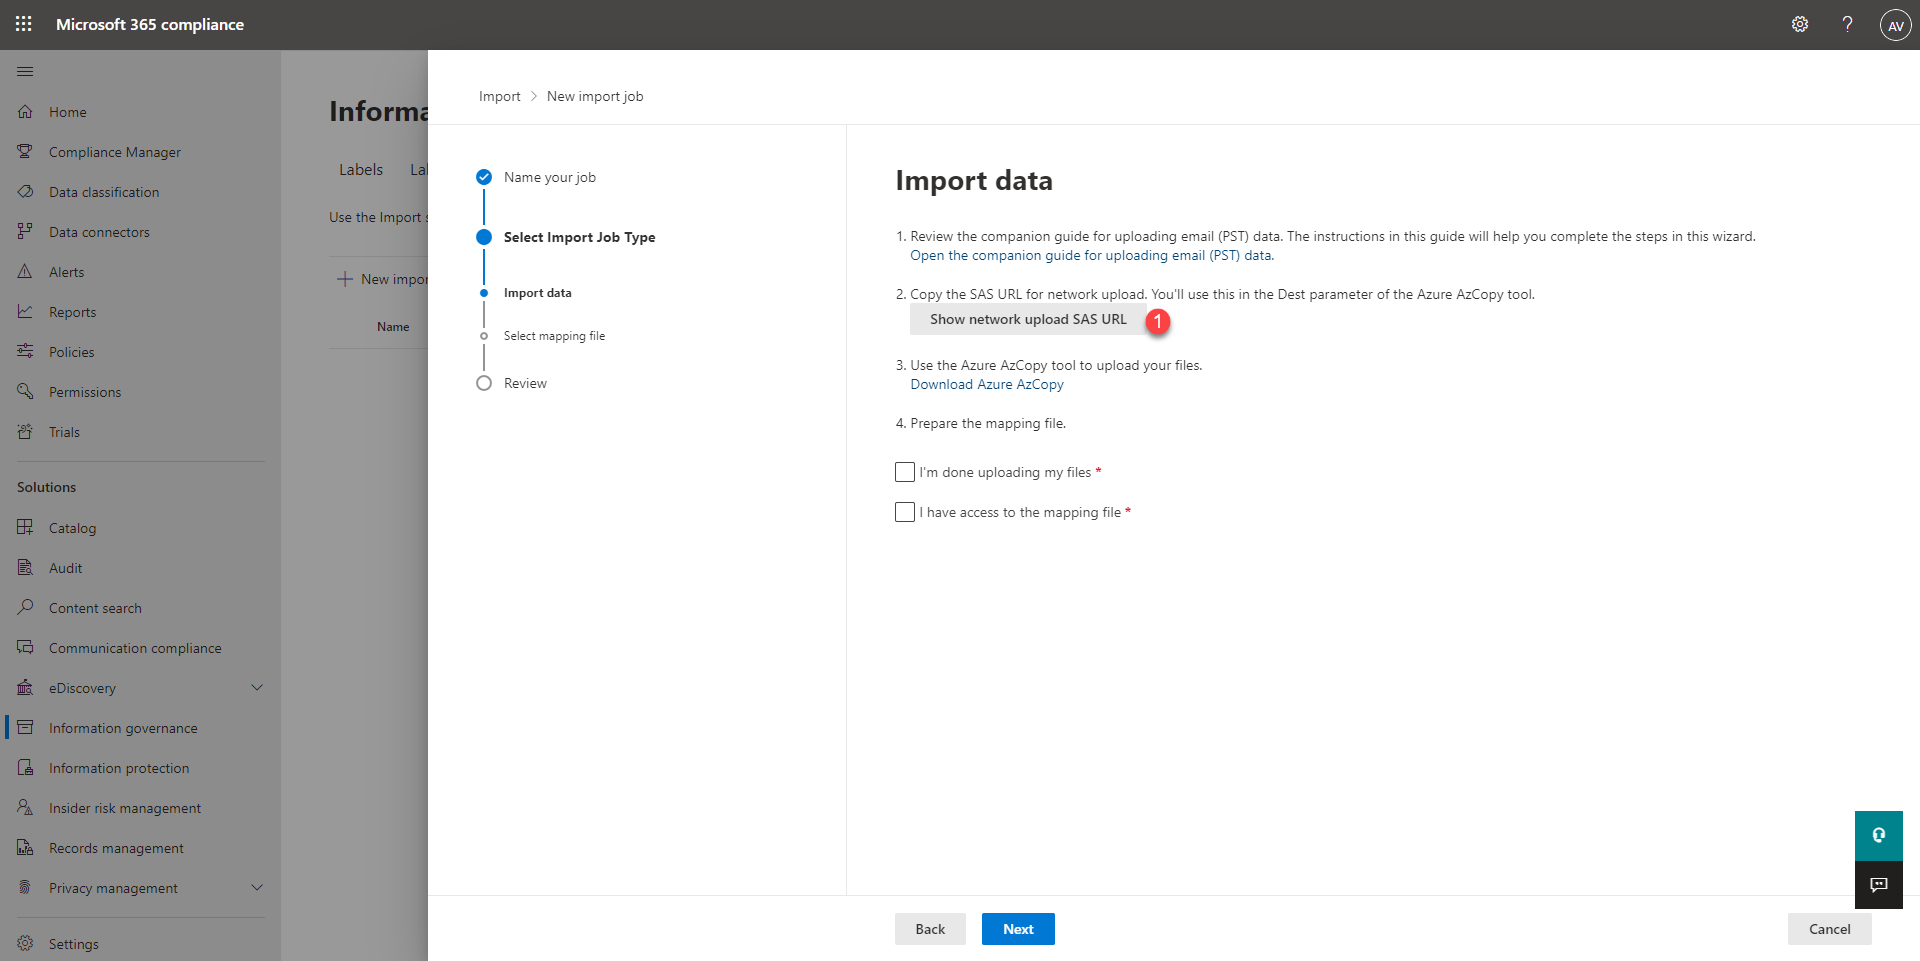
It is possible to send the data by hard disk to Microsoft
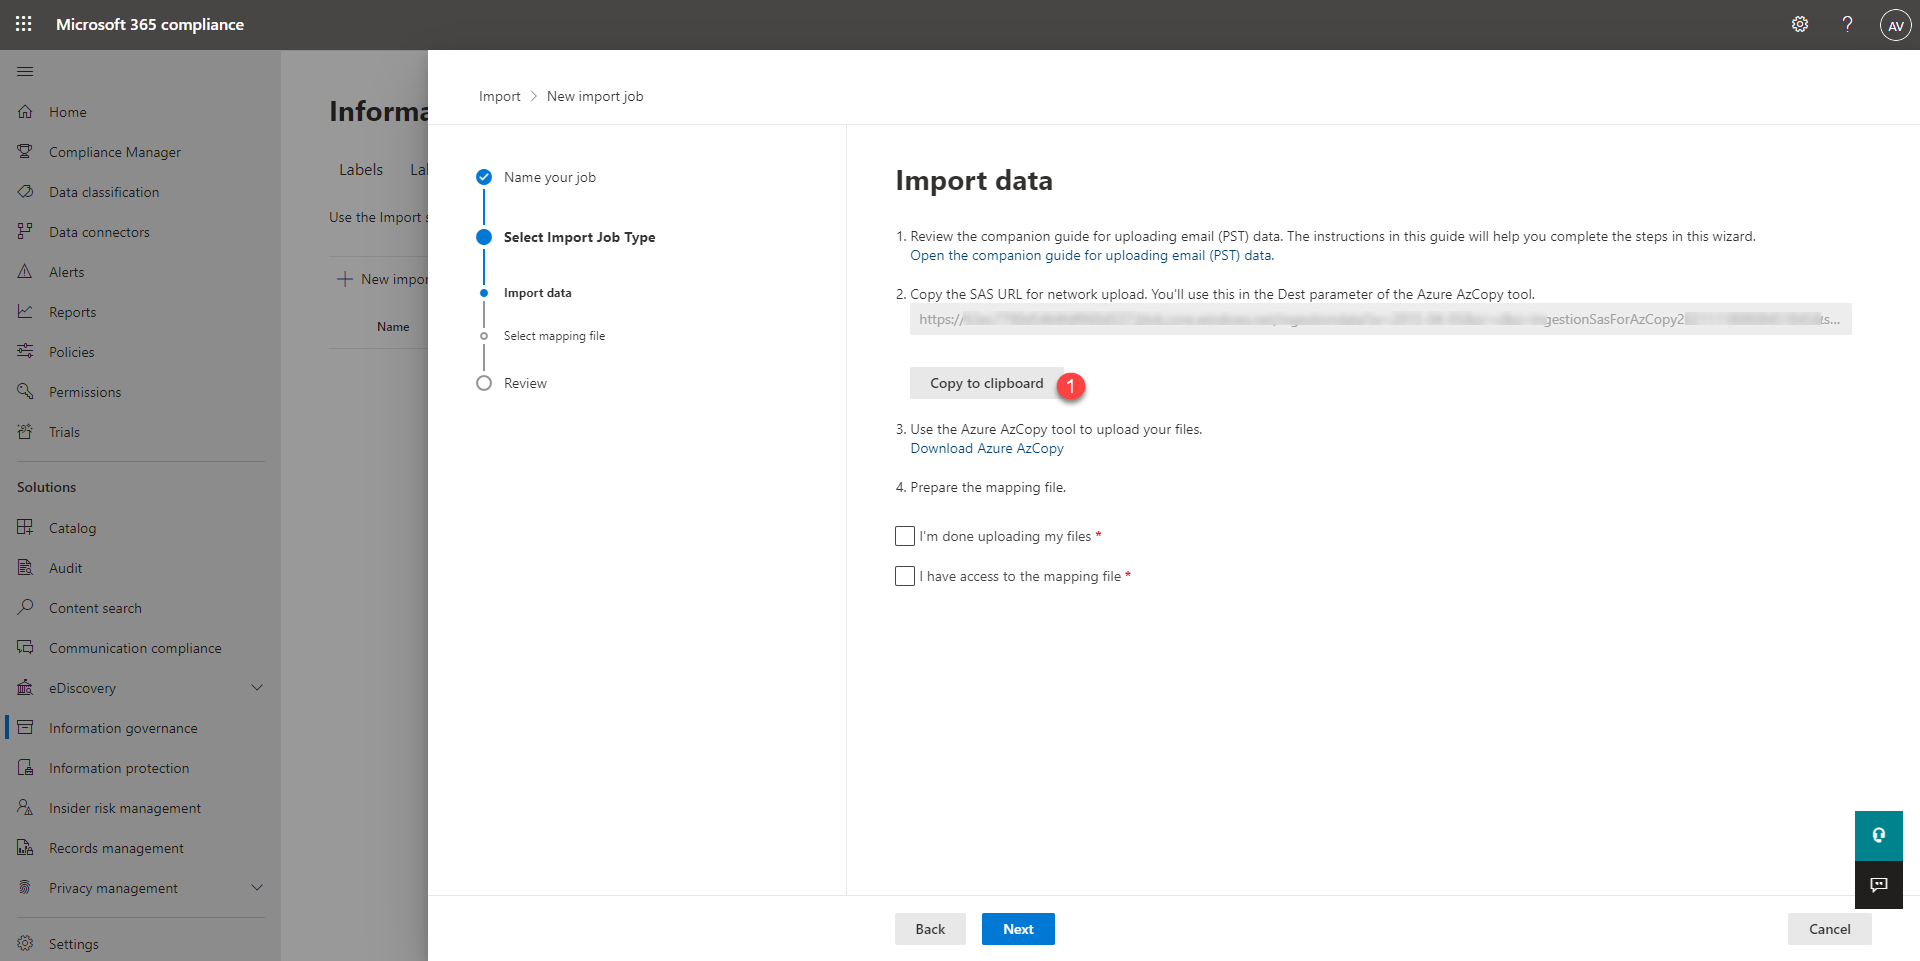
Click on the Show network upload SAS URL 1 button.
Once the url is generated, copy it using the Copy to clipboard 1 button and paste in a notepad.
Now we would be able to send the PST files to Azure.
Transfer PST files with Azure Storage Explorer
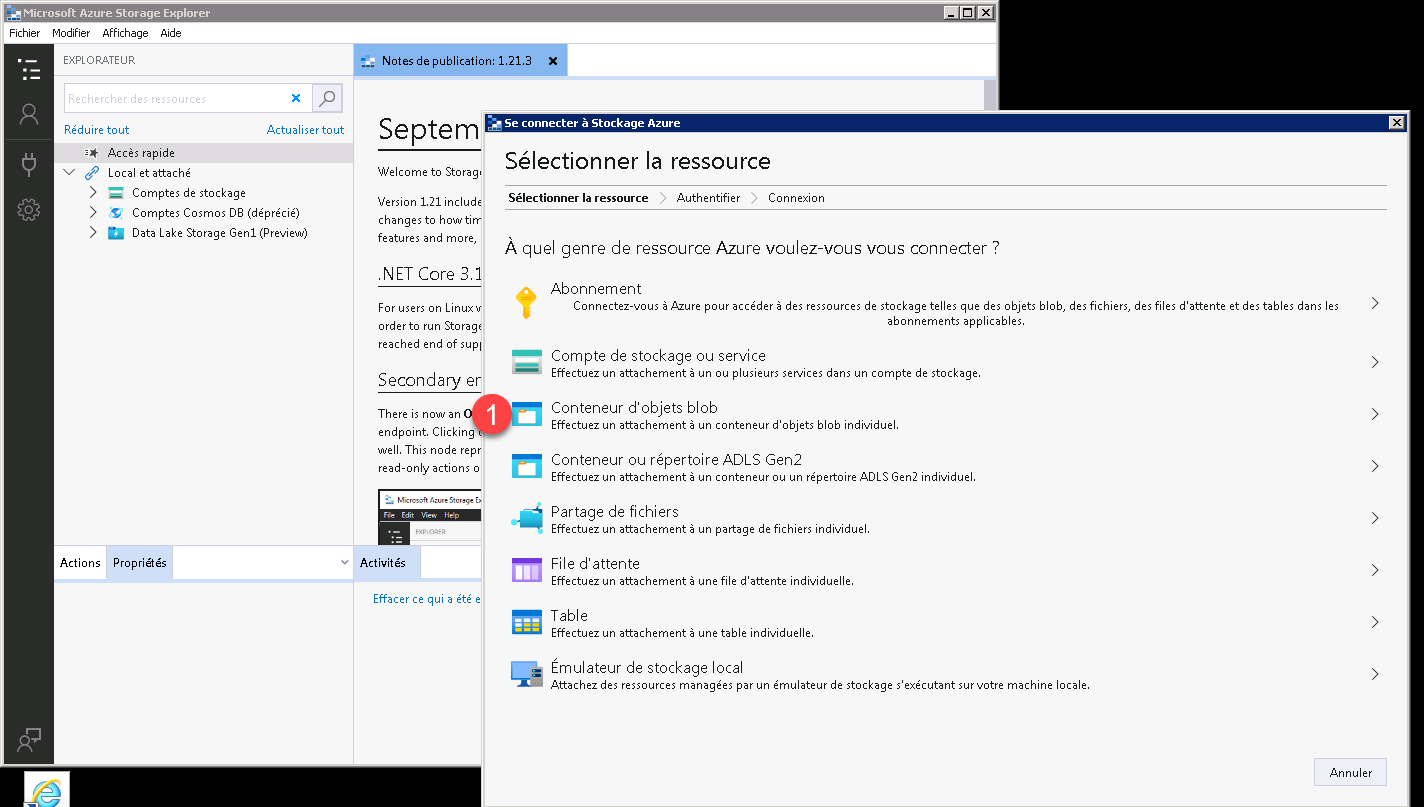
Launch Azure Storage Explorer, at first launch, a wizard opens to configure the connection, click on Blob container 1.
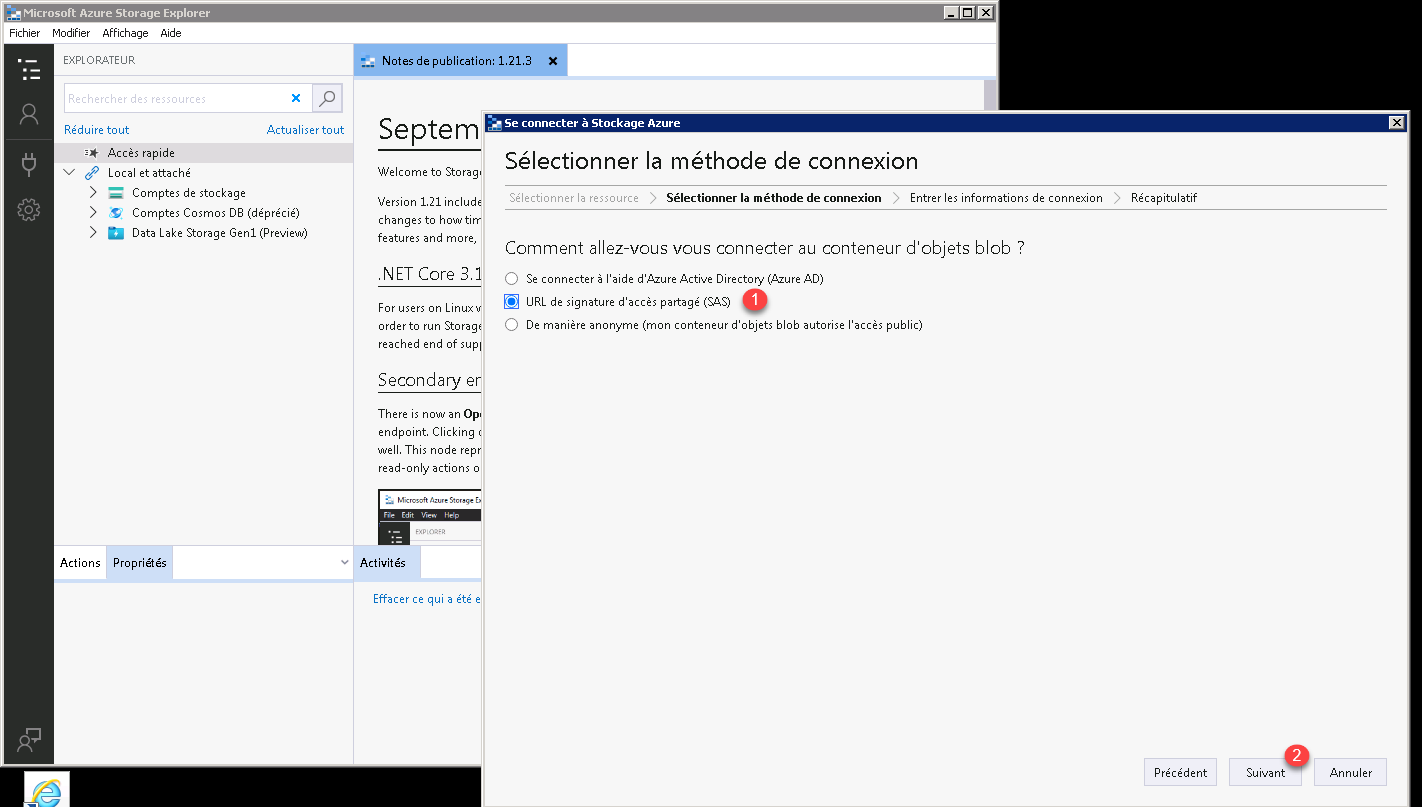
Choose the Shared Access Signature (SAS) URL method 1 then click Next 2.
In the SAS URL box of the blob container, paste the url 1 and click on the Next button 2.

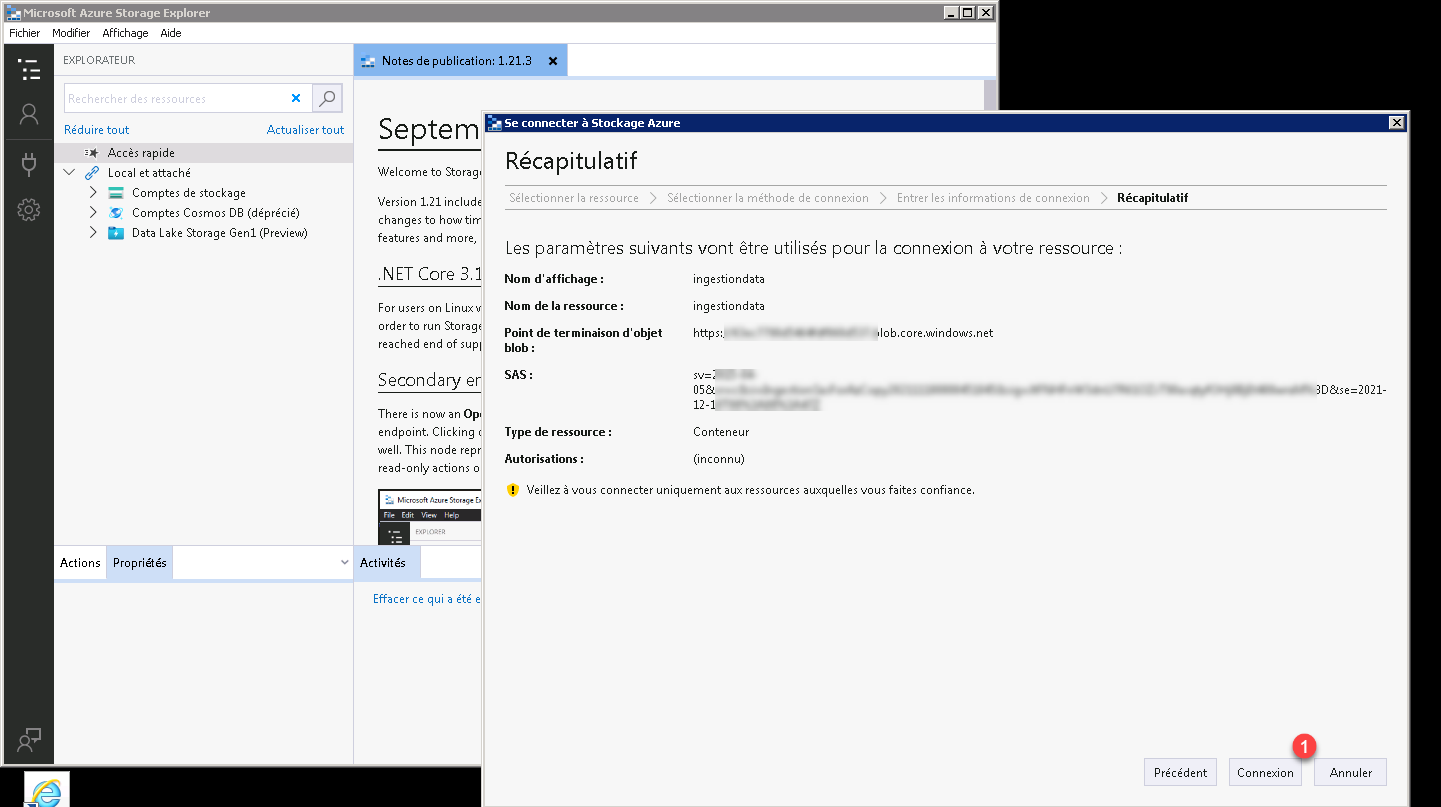
A summary of the connection is displayed, click on the Connection button 1.
Once the connection is established, you are positioned in the ingestiondata (SAS) 1 folder, to transfer the files, drag and drop in the central zone 2.
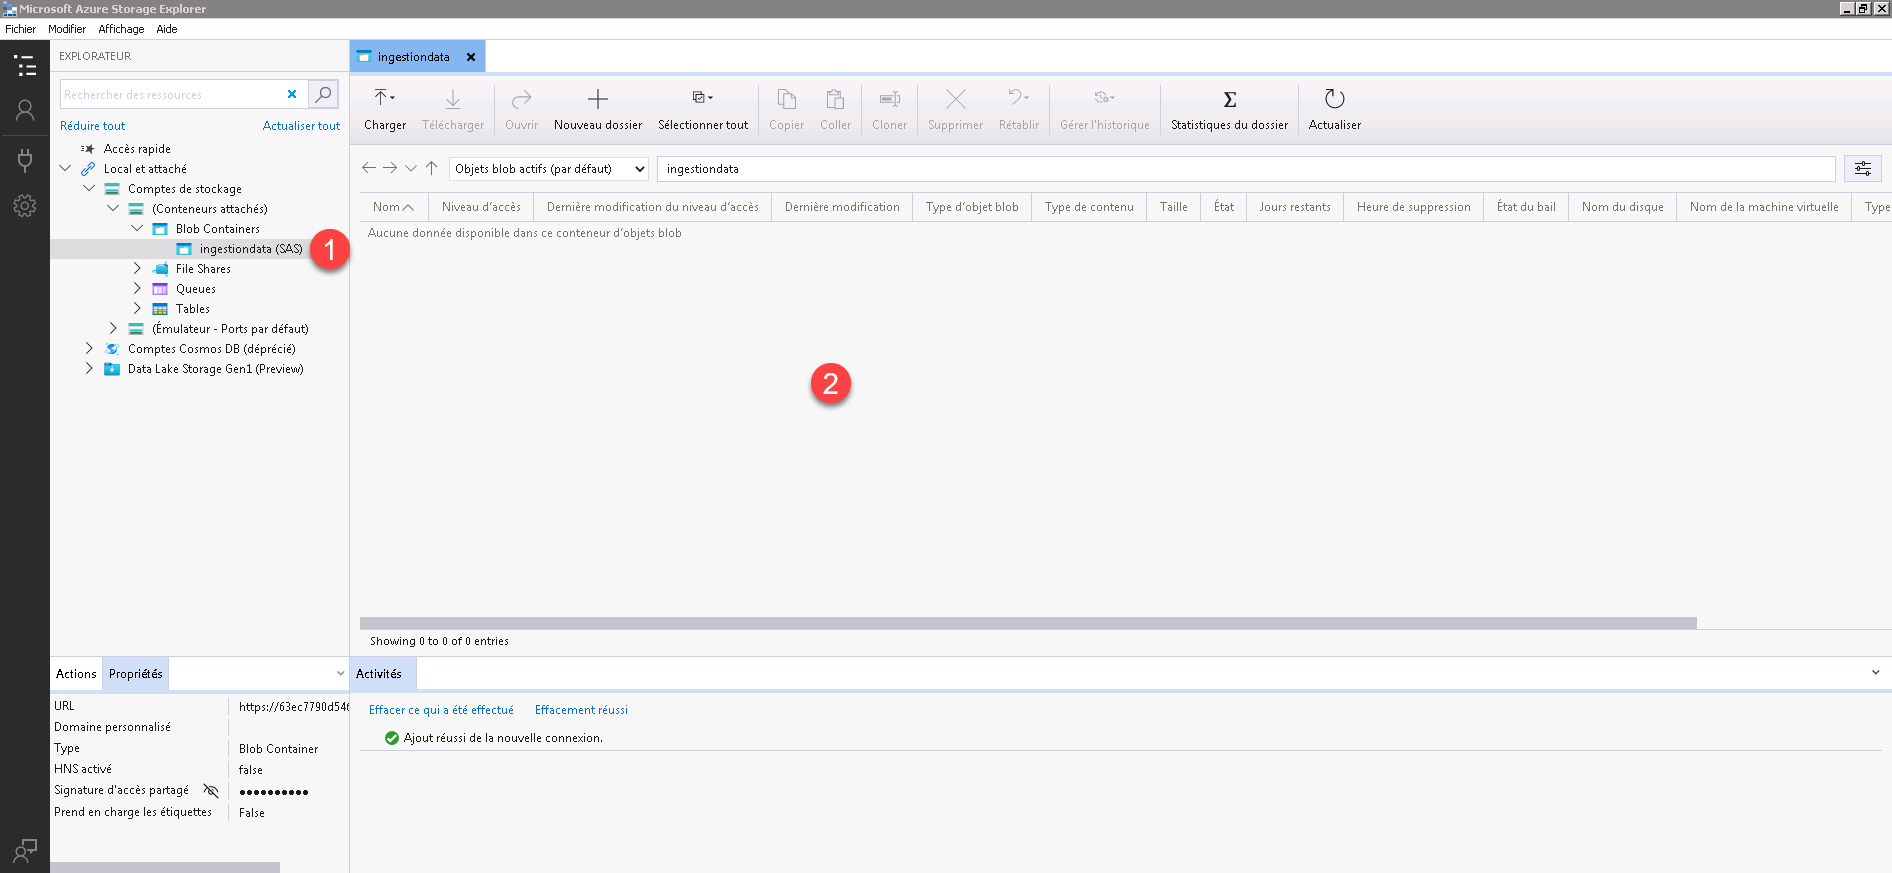
It is also possible to go through the banner by using the Load button.
For my part, the use of Azure Storage Explorer works one time out of ten, I prefer to go through AZCopy
Load PST archives with AZCopy
AZcopy is a command-line utility for transferring files to Azure storage.
If you have installed Azure Storage Explorer, it is available at the following location: C:\Program Files (x86)\Microsoft Azure Storage Explorer\resources\app\node_modules\@azure-tools\azcopy-win64\dist\bin and the executable is called: azcopy_windows_amd64.exe.
Otherwise you can download azcopy here : Copy or move data to Azure Storage with AzCopy v10 | Microsoft Docs
It is simply an archive to unpack.
The user is very simple, here is an example to transfer the files:
AzCopy.exe /Source:"D:\pst" /Dest:"URI_SAS_AZURE" /Y /SAdapt source and URL.
Validate the import file
Before injecting the PST archives into the accounts, the import file must be validated.
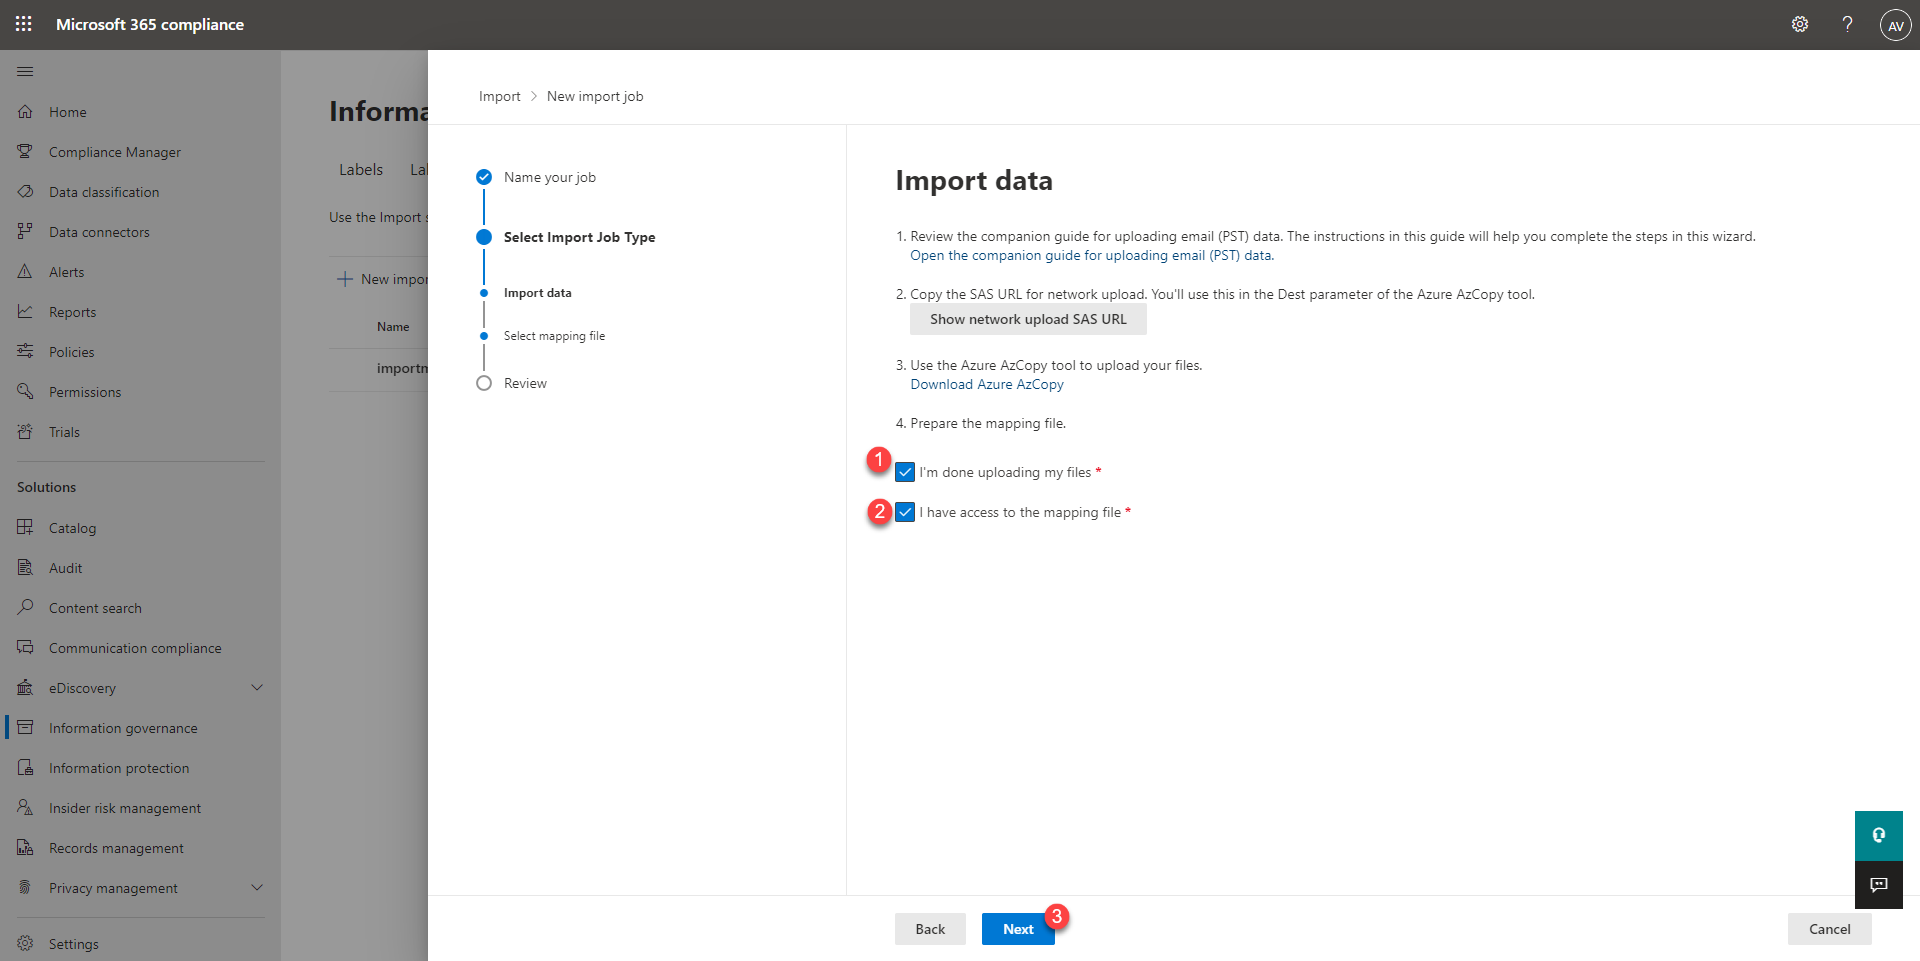
Return to the page where we got the link to upload the PST files, on this page, check the two boxes I’m done uploading my files 1 and I have access to the mapping file 2 and click Next 3.
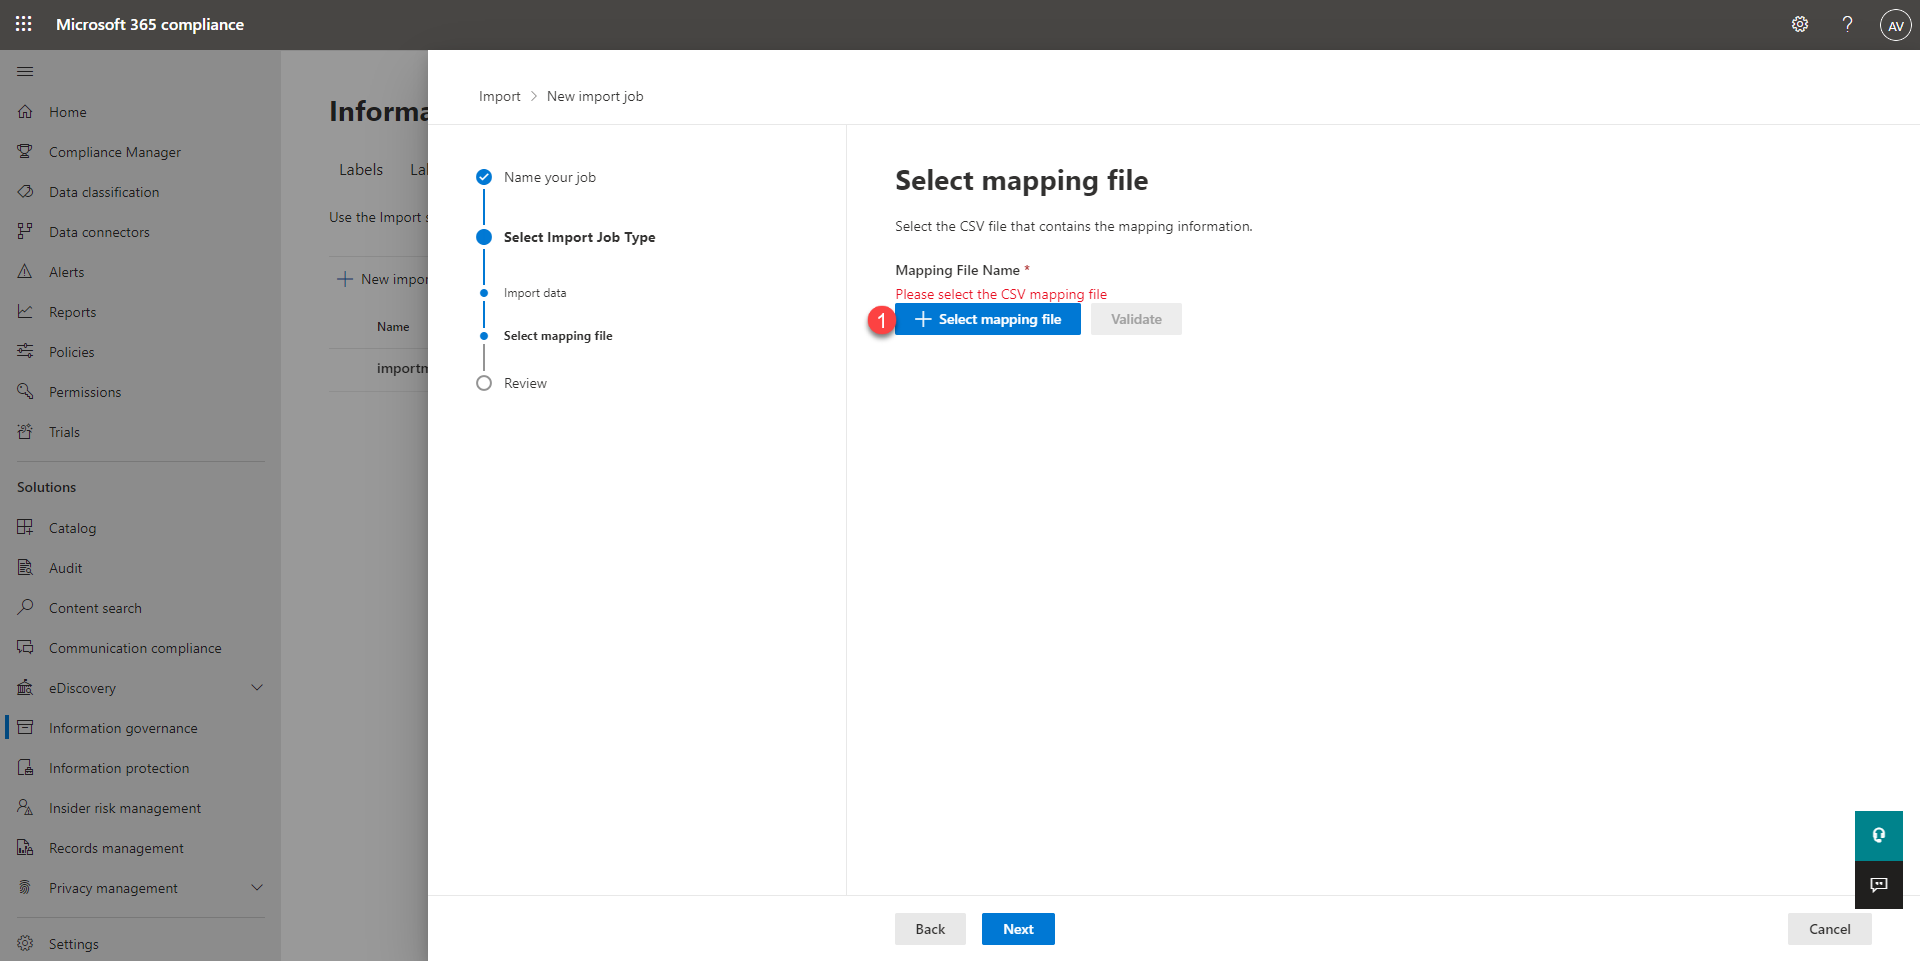
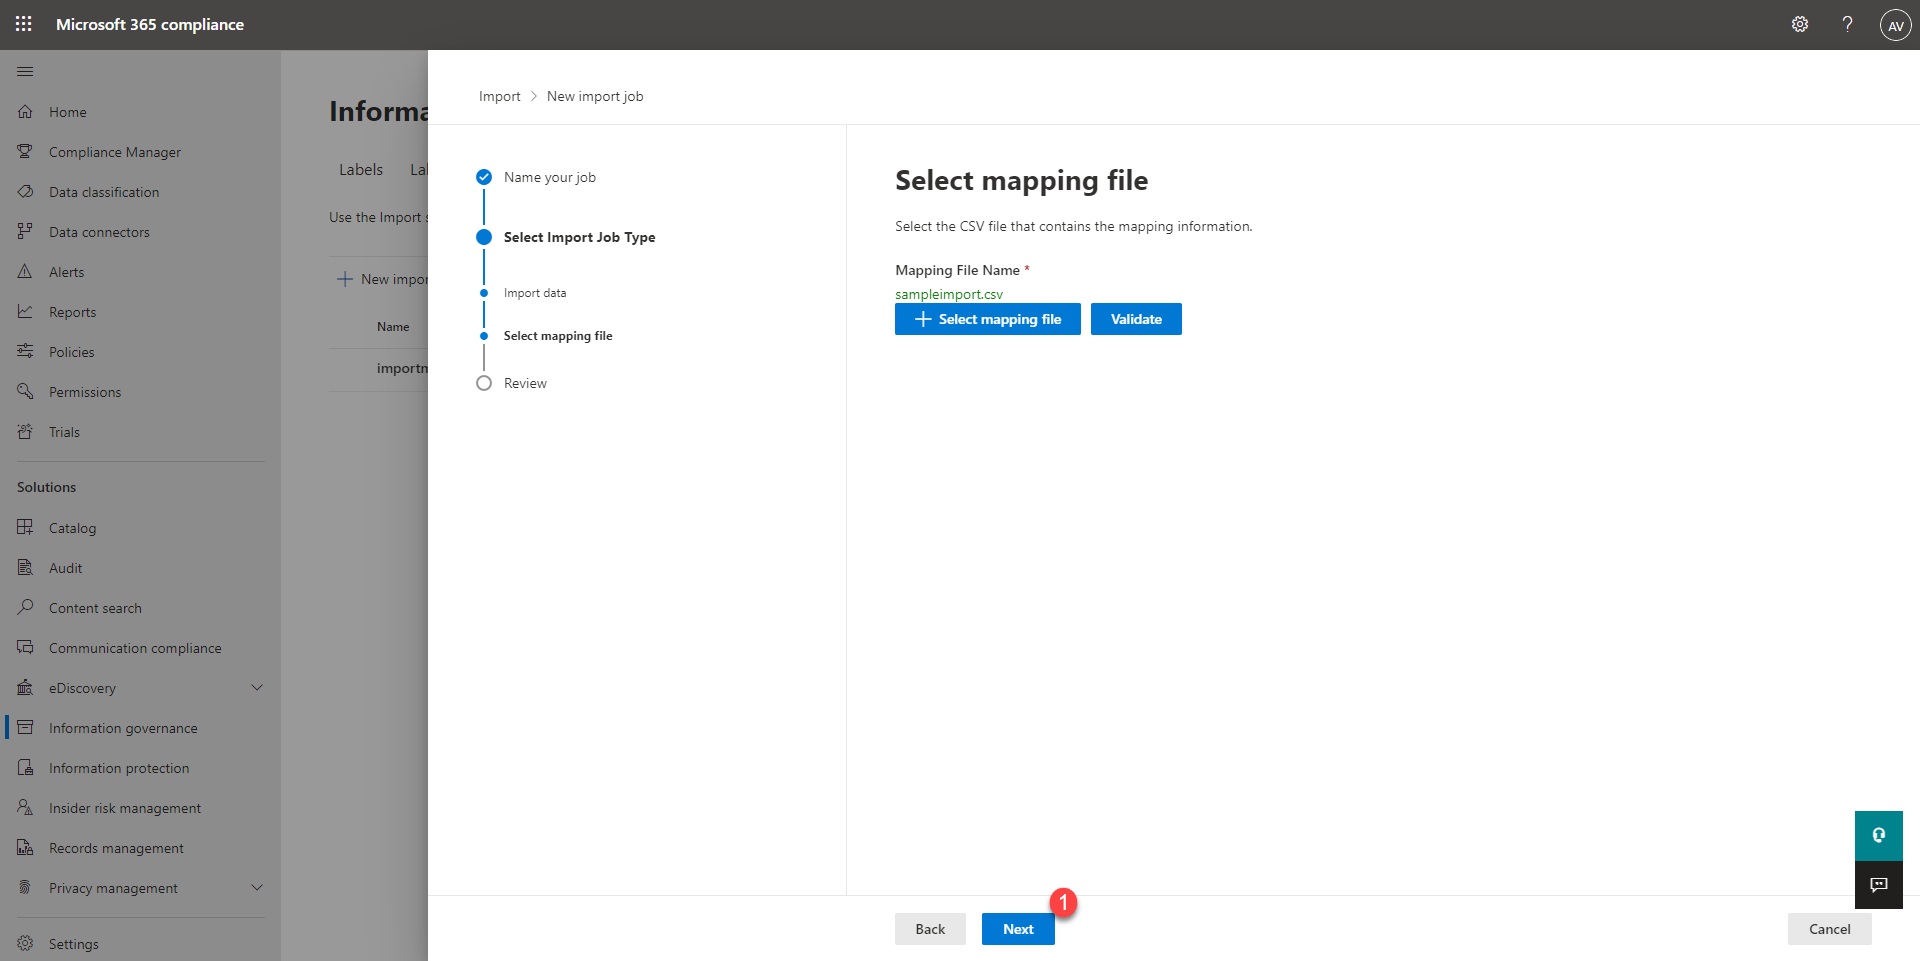
Click on the Select mapping file 1 button.
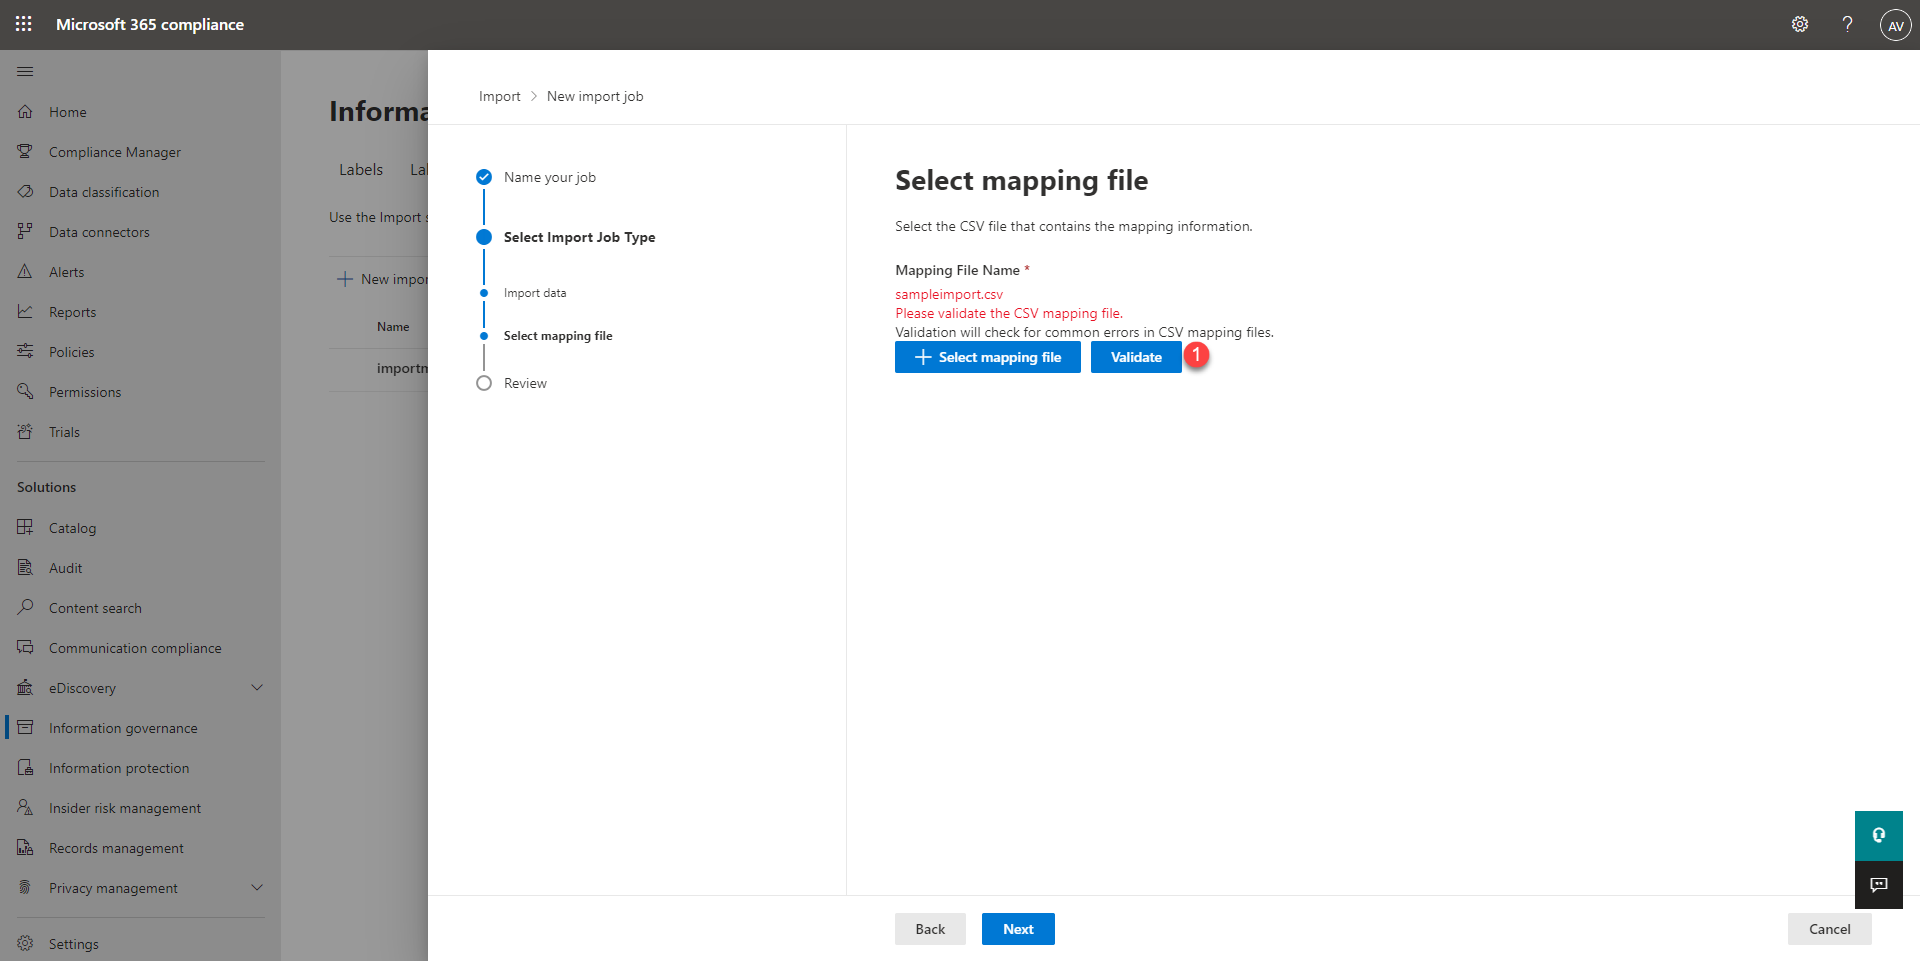
Once the mapping file is loaded, click on Validate 1.
Once the file has been validated, click on Next 1.
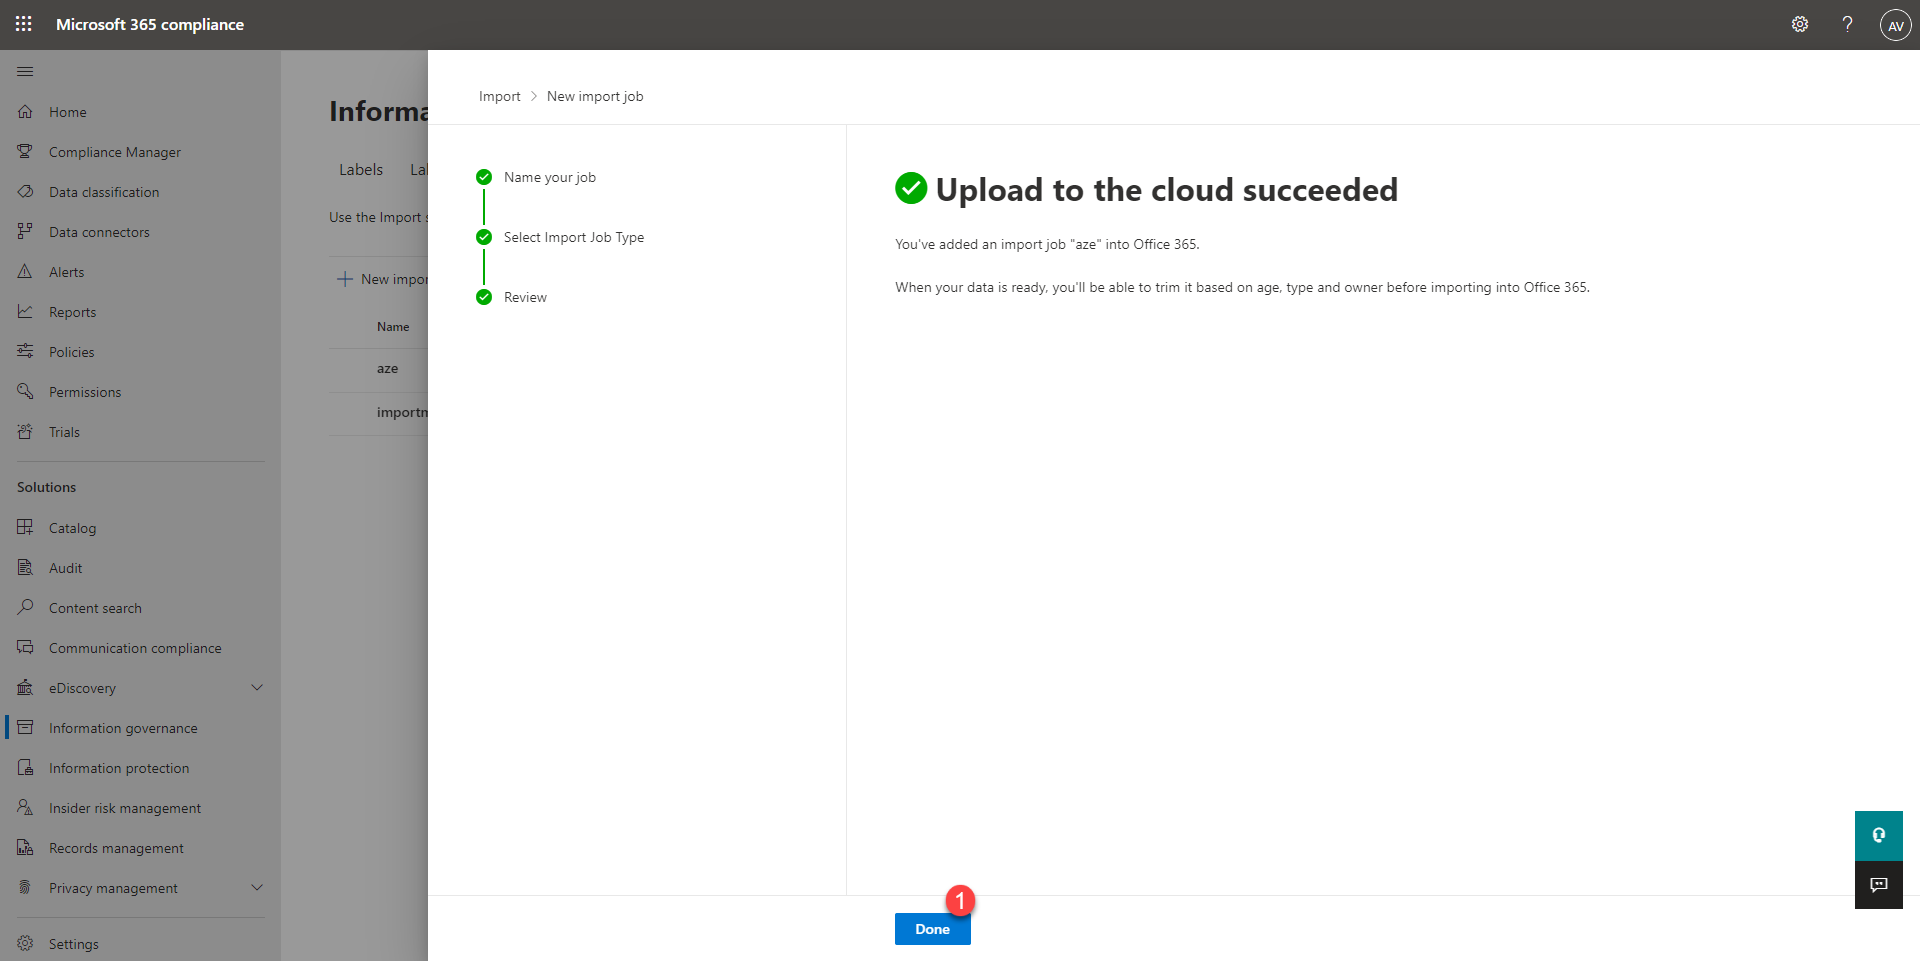
Validate the creation of the import job by clicking on Submit 1.

Close the import job creation wizard by clicking on the Done 1 button.
We find the import job 1, this one is being checked, correspondence between the accounts and the archive files.
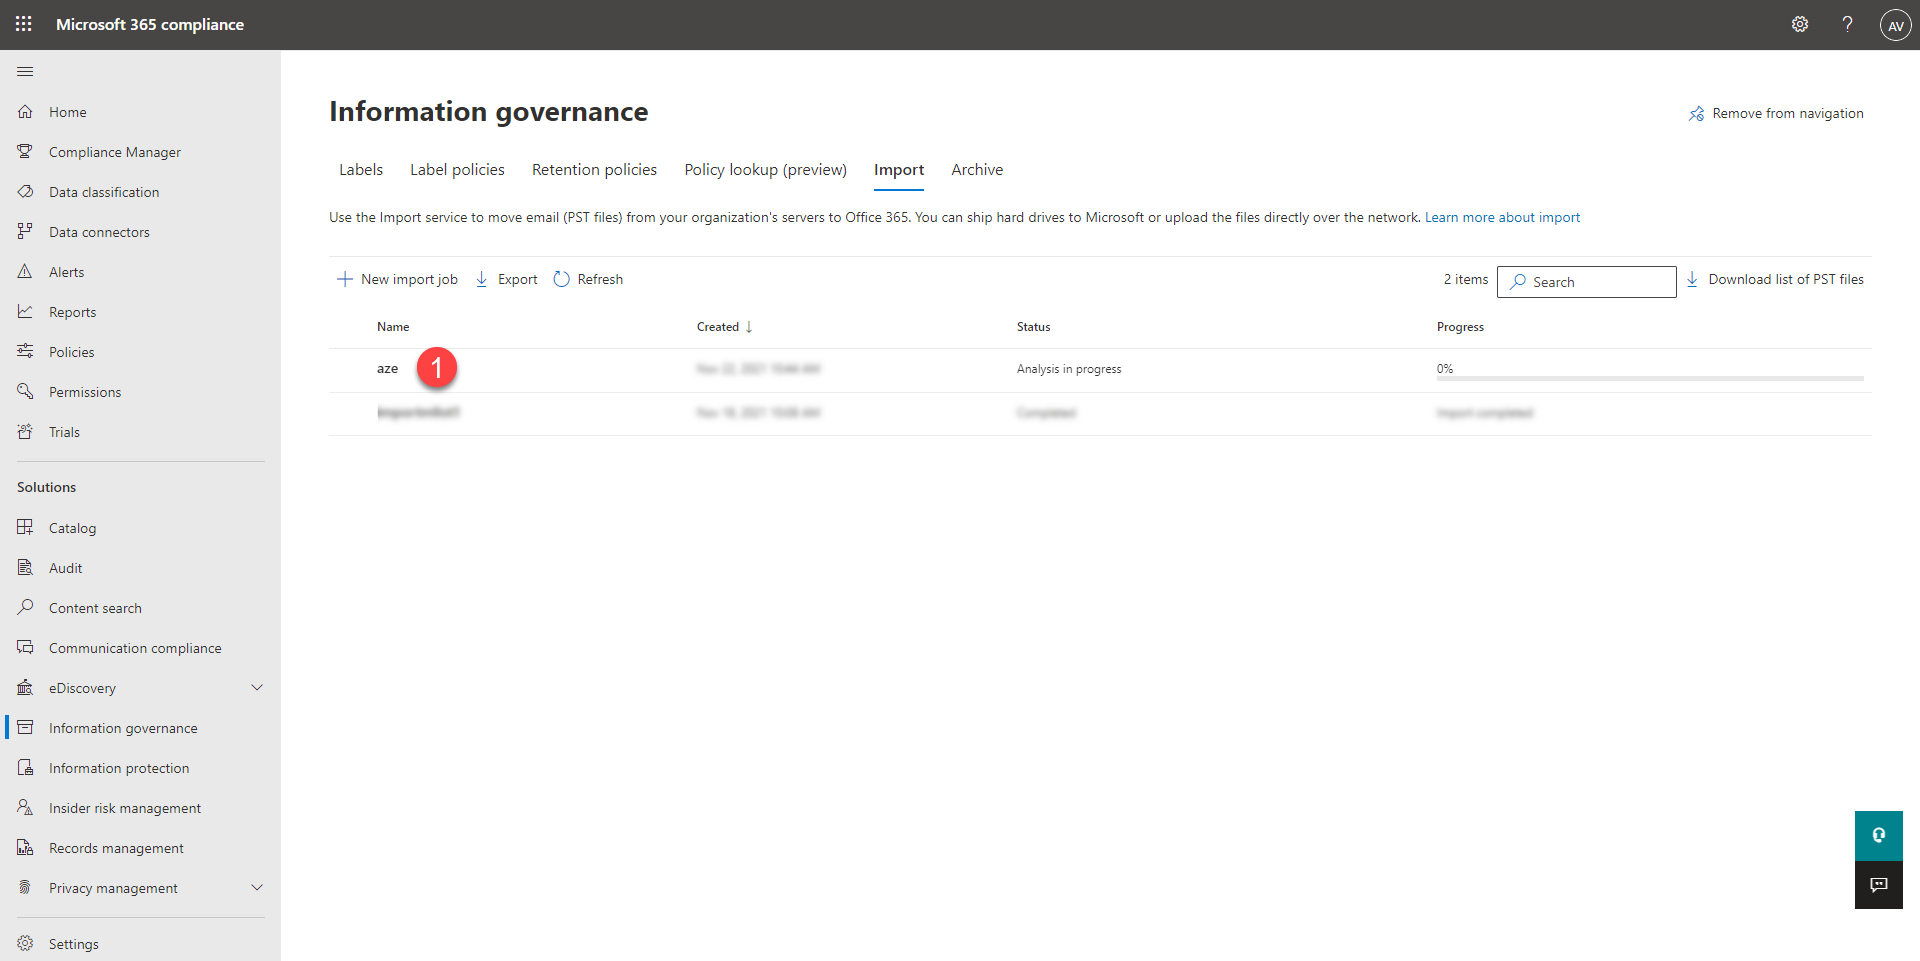
Patienter pendant l’analyse…
Import PST files into accounts
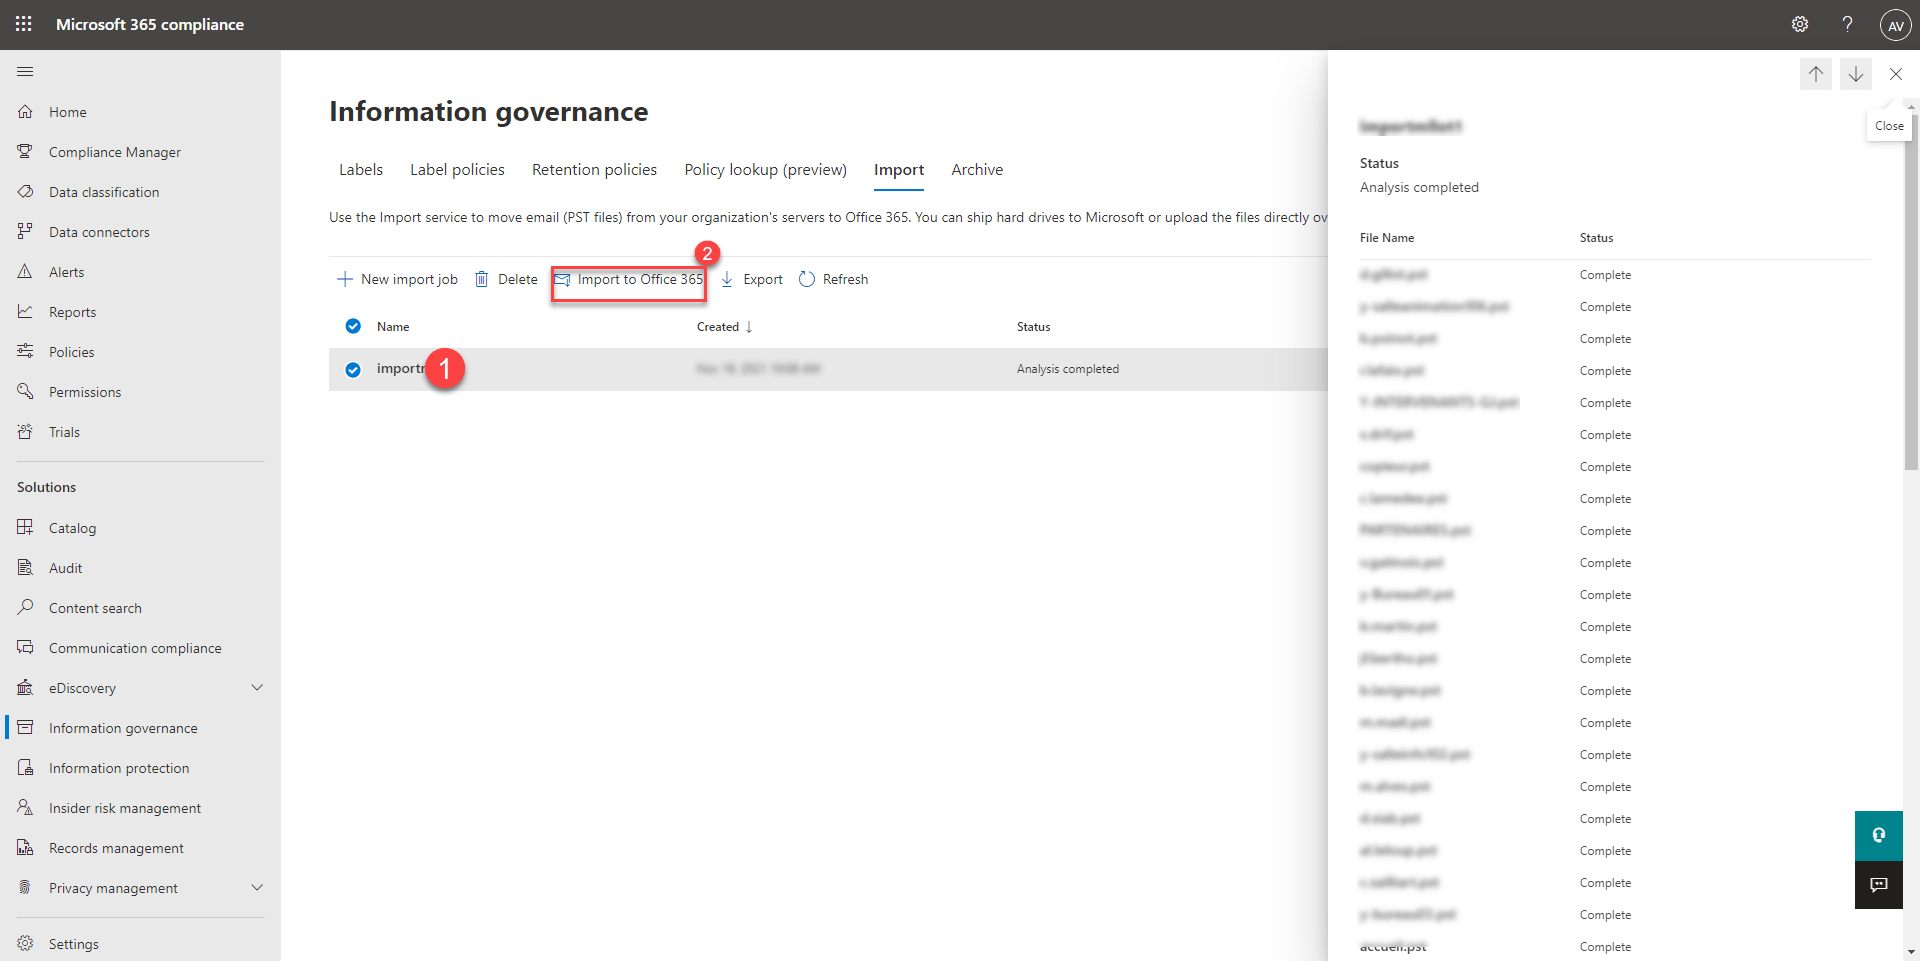
We arrive at the last step, once the analysis is complete as shown in the screenshot:

Select the job 1 by clicking on it then click on Import to Office 365 to inject the PST files.
Depending on the archives, it is proposed to import only the last two years of messages, select the option that suits you 1 and click on the Next button 2.

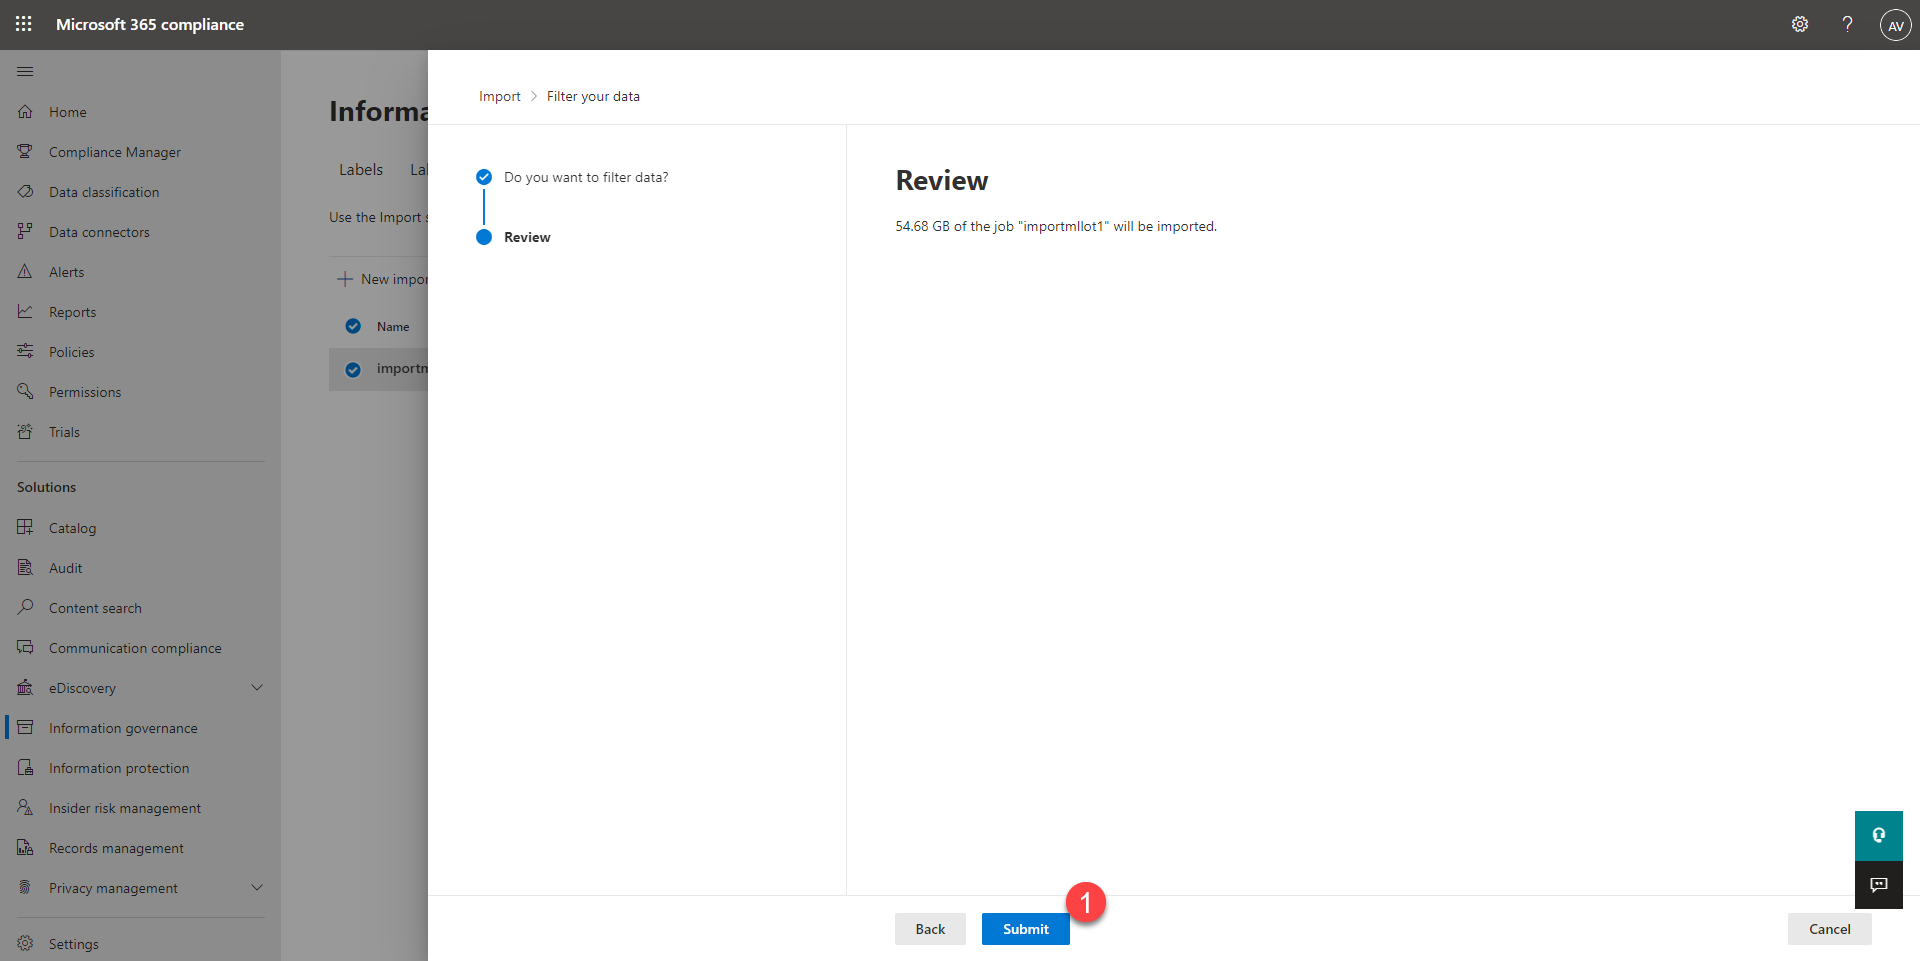
Confirm import of PST files by clicking Submit 1.
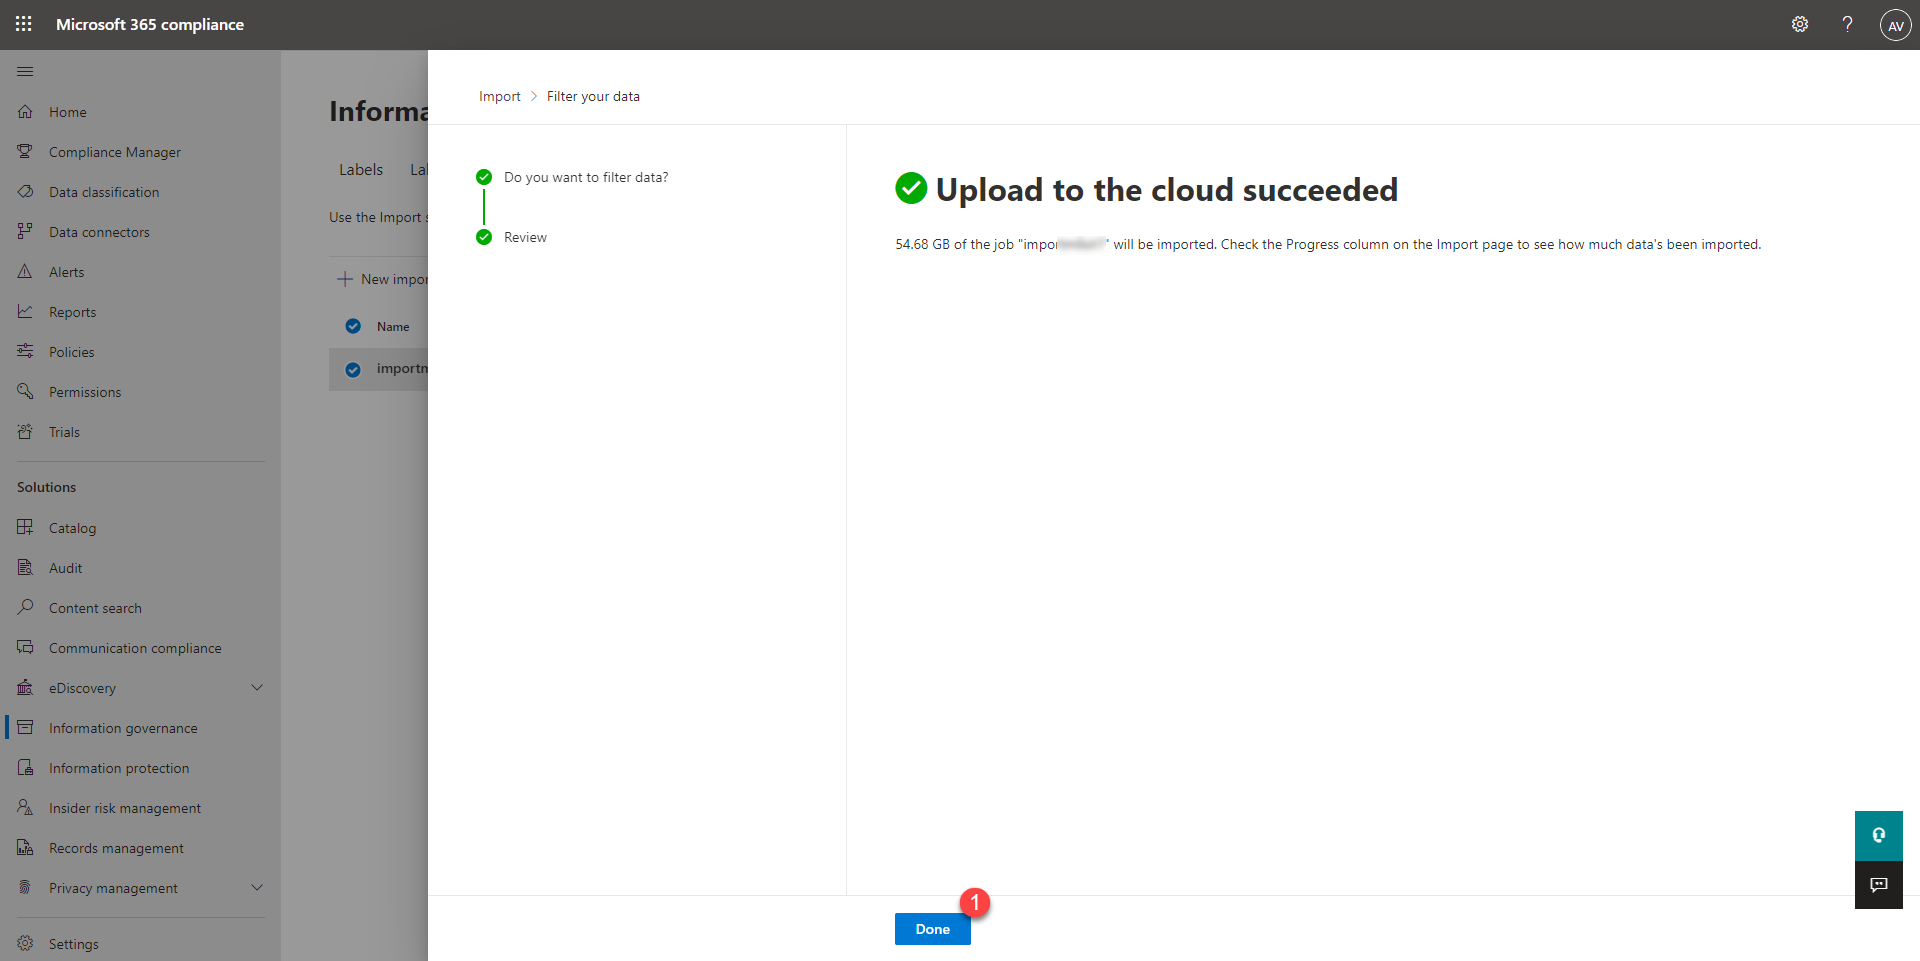
Once the job has been validated, close the wizard, click on Done 1.
The import job is in progress, all you have to do is follow the progress.
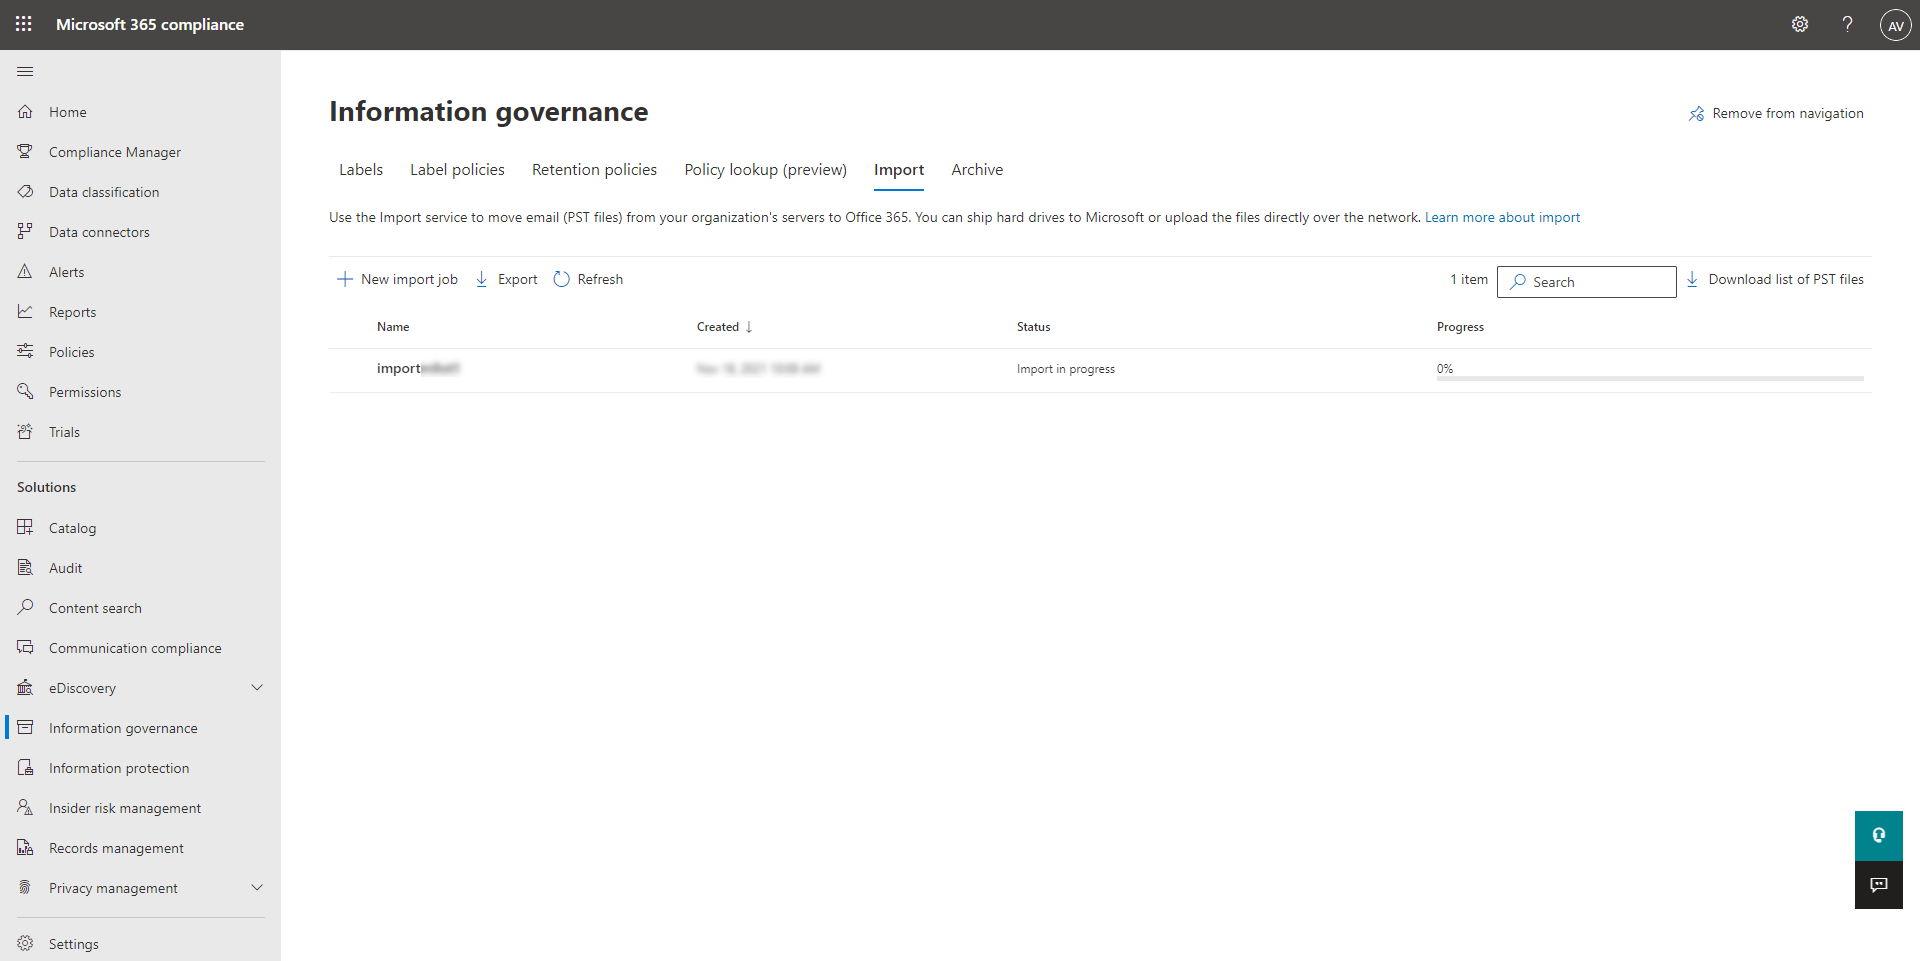
As the files are processed, users recover PST archives which includes:
- Calendar
- Contacts
- …
Now you know how to import PST files to migrate from Exchange onpremise to Exchange Online.
