The namespace of DFS makes it possible to provide shared, which are on different servers under the same name.
Instead of accessing a shared folder with the \\server-file\ computer address, we will use an address of the type \\domain-name\ share\ computer. The user will be redirected transparently on the “server-file” server.
In a simplified way, in the folder \\domain-name\share will be shortcuts to other shares that are several servers and this in a completely transparent way for the user.
Using DFS also makes it easy to add resource and server migration because you only need to edit the folder in the namespace.
Another interesting point with DFS is the high availability of files, it is possible to replicate the content of a share between several servers and present it under the namespace.
Through this tutorial, we will see how to configure a namespace, add a shared folder and use replication.
Prerequisites
- Know Windows Folder Sharing
- Servers must be a member of an Active Directory domain
Role installation
In PowerShell
1. Open a PowerShell command prompt as Administrator.
2. Enter the following command:
Get-WindowsFeature FS-DFS* | Install-WindowsFeature –IncludeManagementTools
3. Wait during the installation.

4. When the installation is complete, close the window.

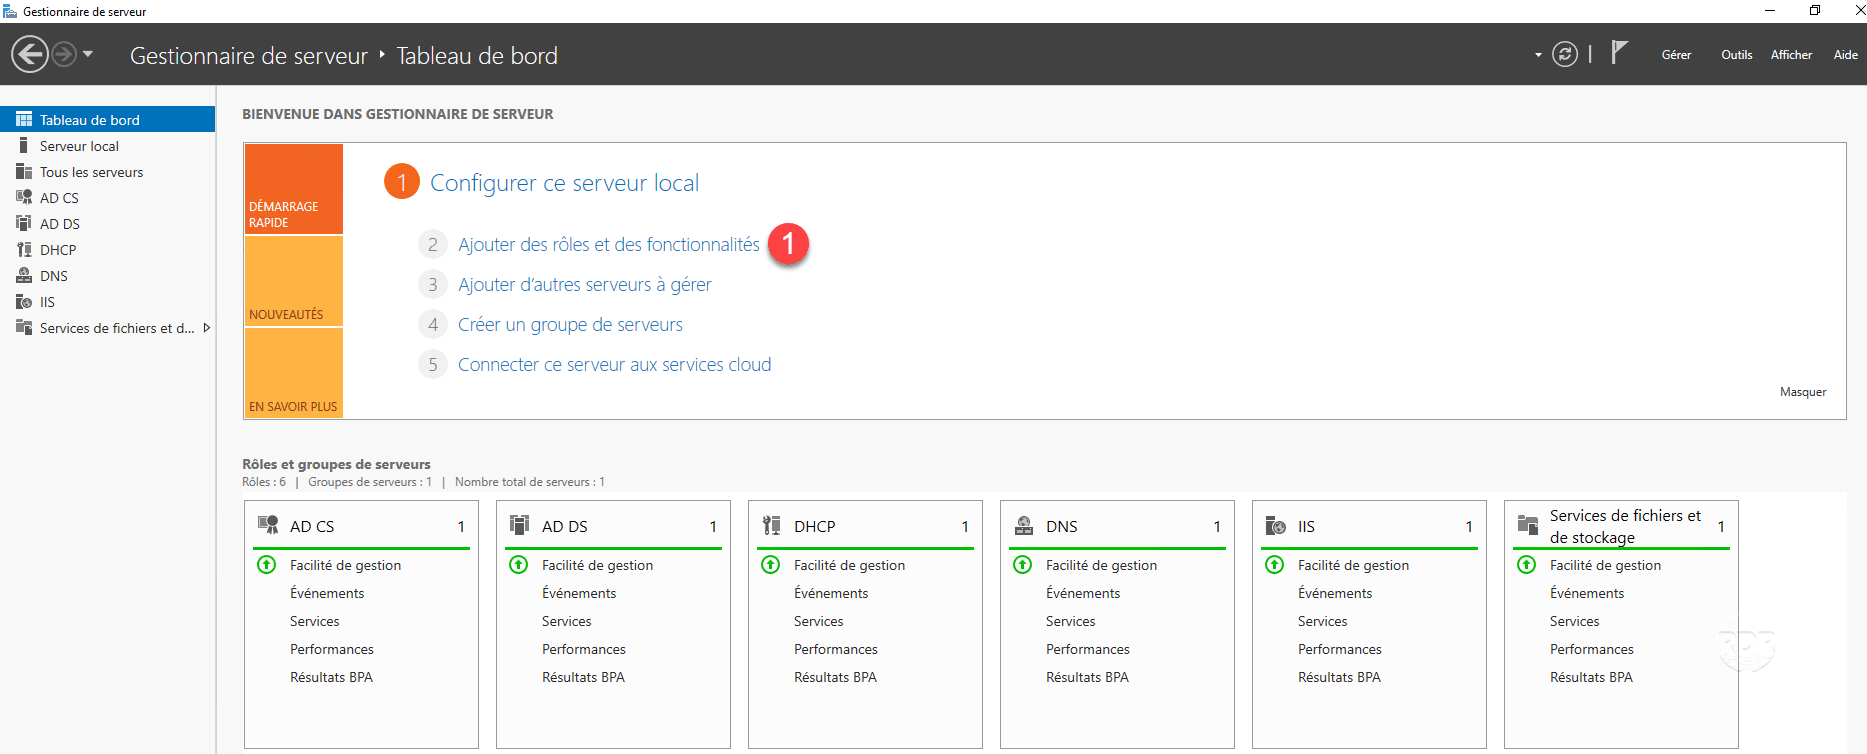
With the graphical interface
1. From the server manager, click Add Roles and Features 1 .
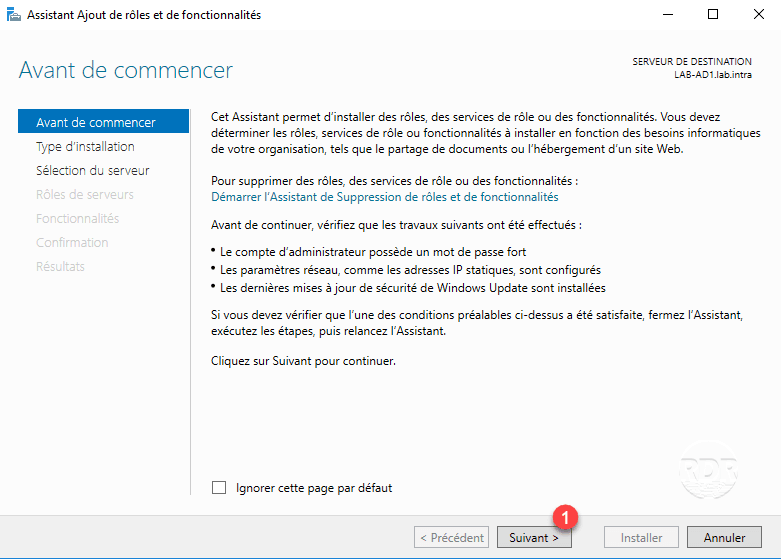
2. When launching the wizard, click the Next 1 button.
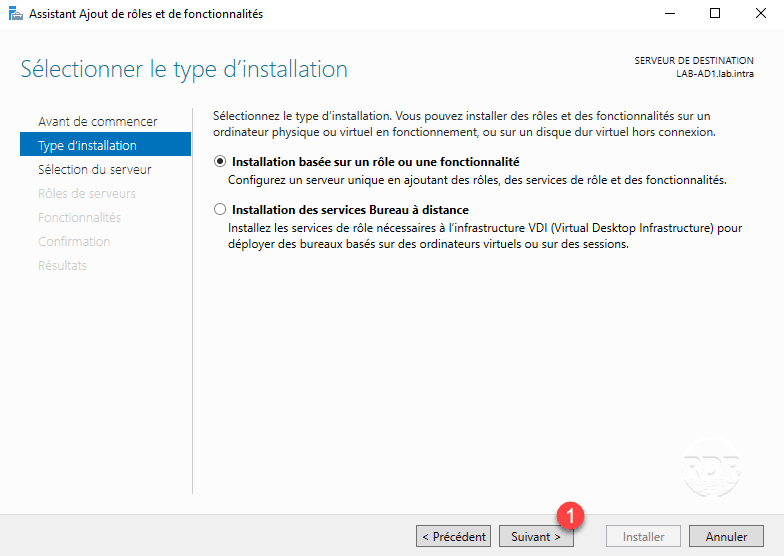
3. Choose Role Based Installation or 1 Feature and click Next 2 .
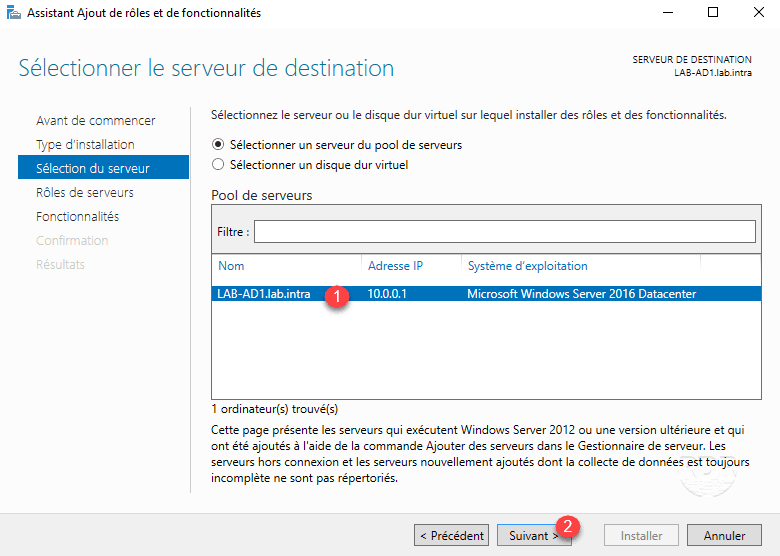
4. Select server 1 then click Next 2 .
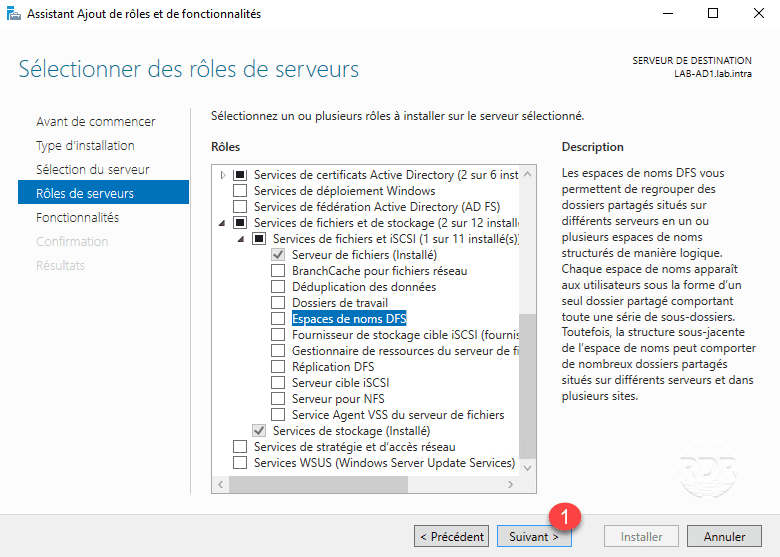
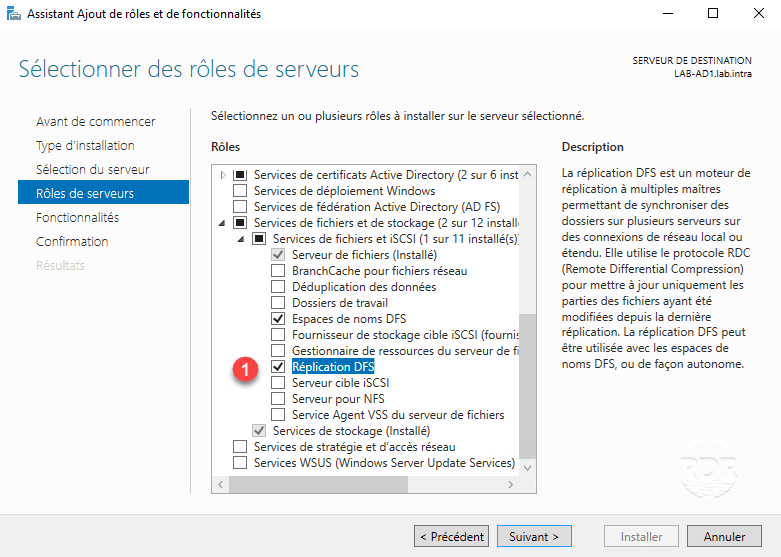
5. Check the box for the DFS Namespace role 1 in File and Storage Services / File Services and iSCSI.
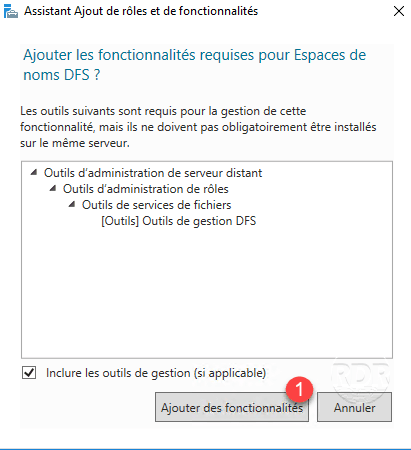
6. Validate by clicking features by clicking Add Features 1 .
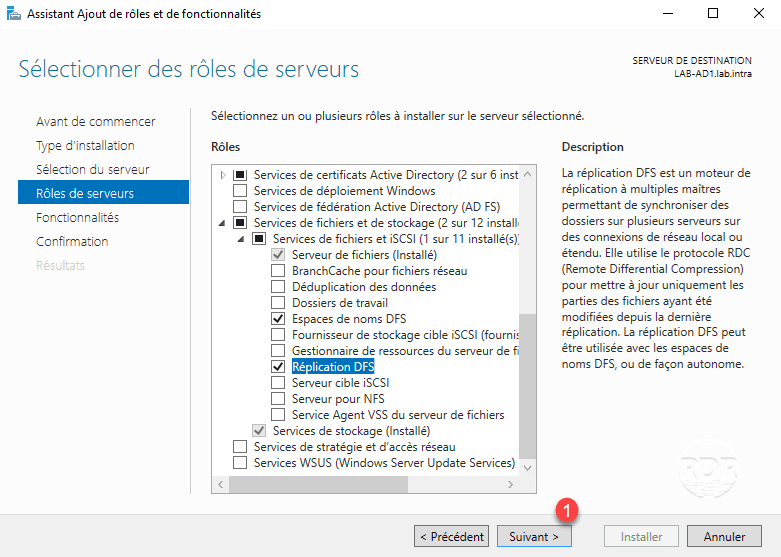
7. Optional: Check the DFS Replication 1 box if you plan to replicate the folder.
8. Click Next 1 .
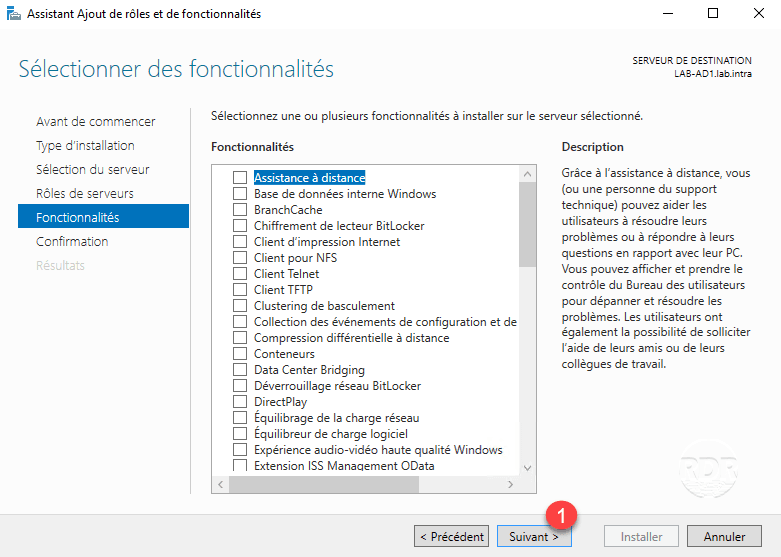
9. Skip features by clicking Next 1.
10. Start the installation by clicking the Install 1 button.

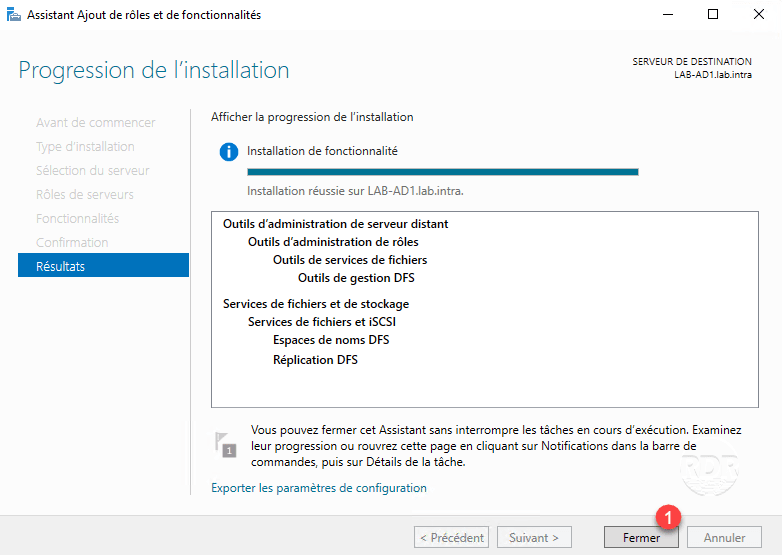
11. Wait during the installation …

12. The installation completed, exit the wizard by clicking Close 1 .
Role administration is done using the DFS Distributed File System Management console.

Configuration: Creating a namespace
1. From the “DFS Distributed File System Management” console, click New Namespace … 1 in the Actions section.

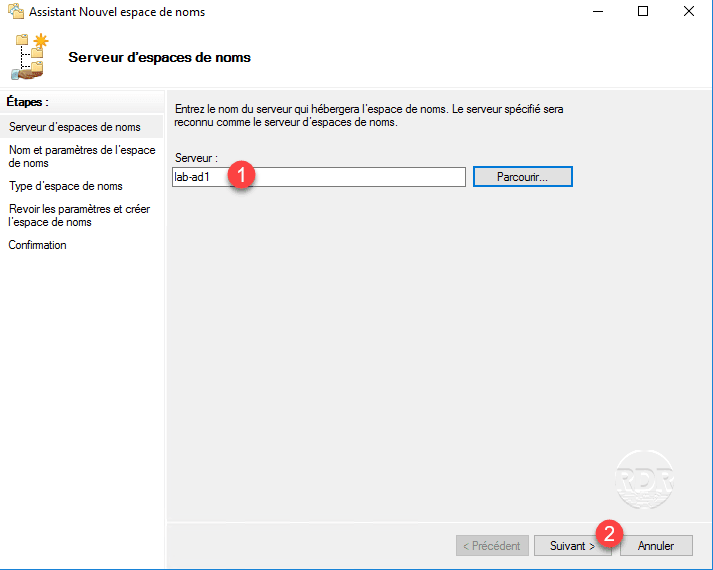
2. Enter the name 1 of the server that will host the namespace and click Next 2 .
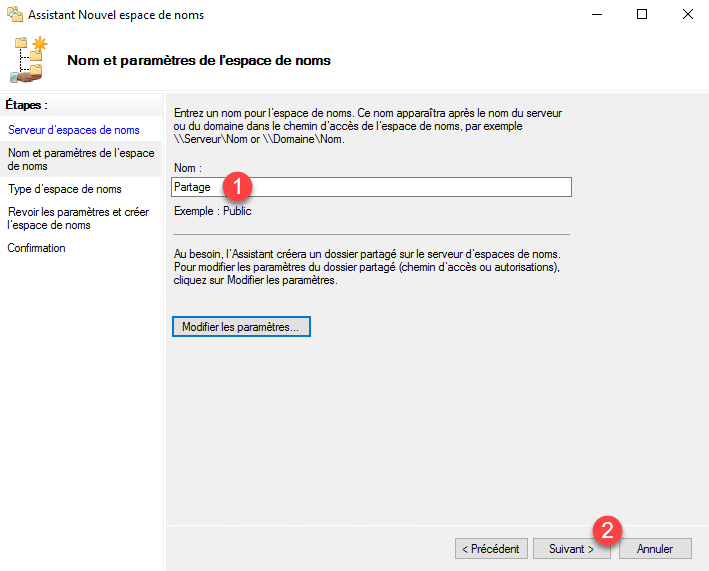
3. Enter the root share name 1 and click Next 2 .
4. Choose Domain Name Space 1 and click Next 2 .

A domain name space allows access to the folder by an address of type: \\domain-name\root-share\shared-folder.
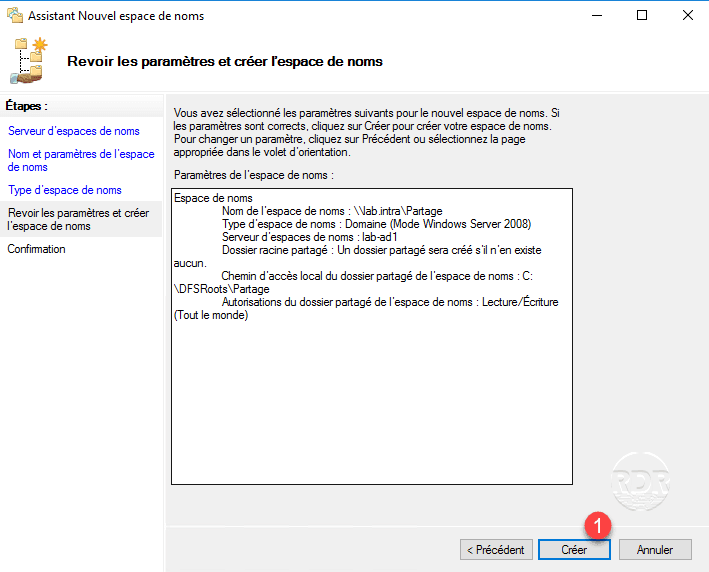
5. Click the Create button 1 .
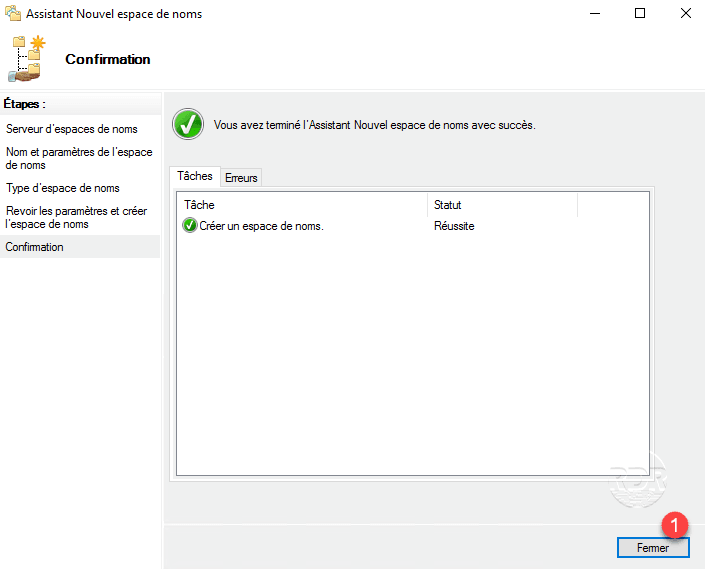
6. Once created, click Close 1 to exit the wizard.
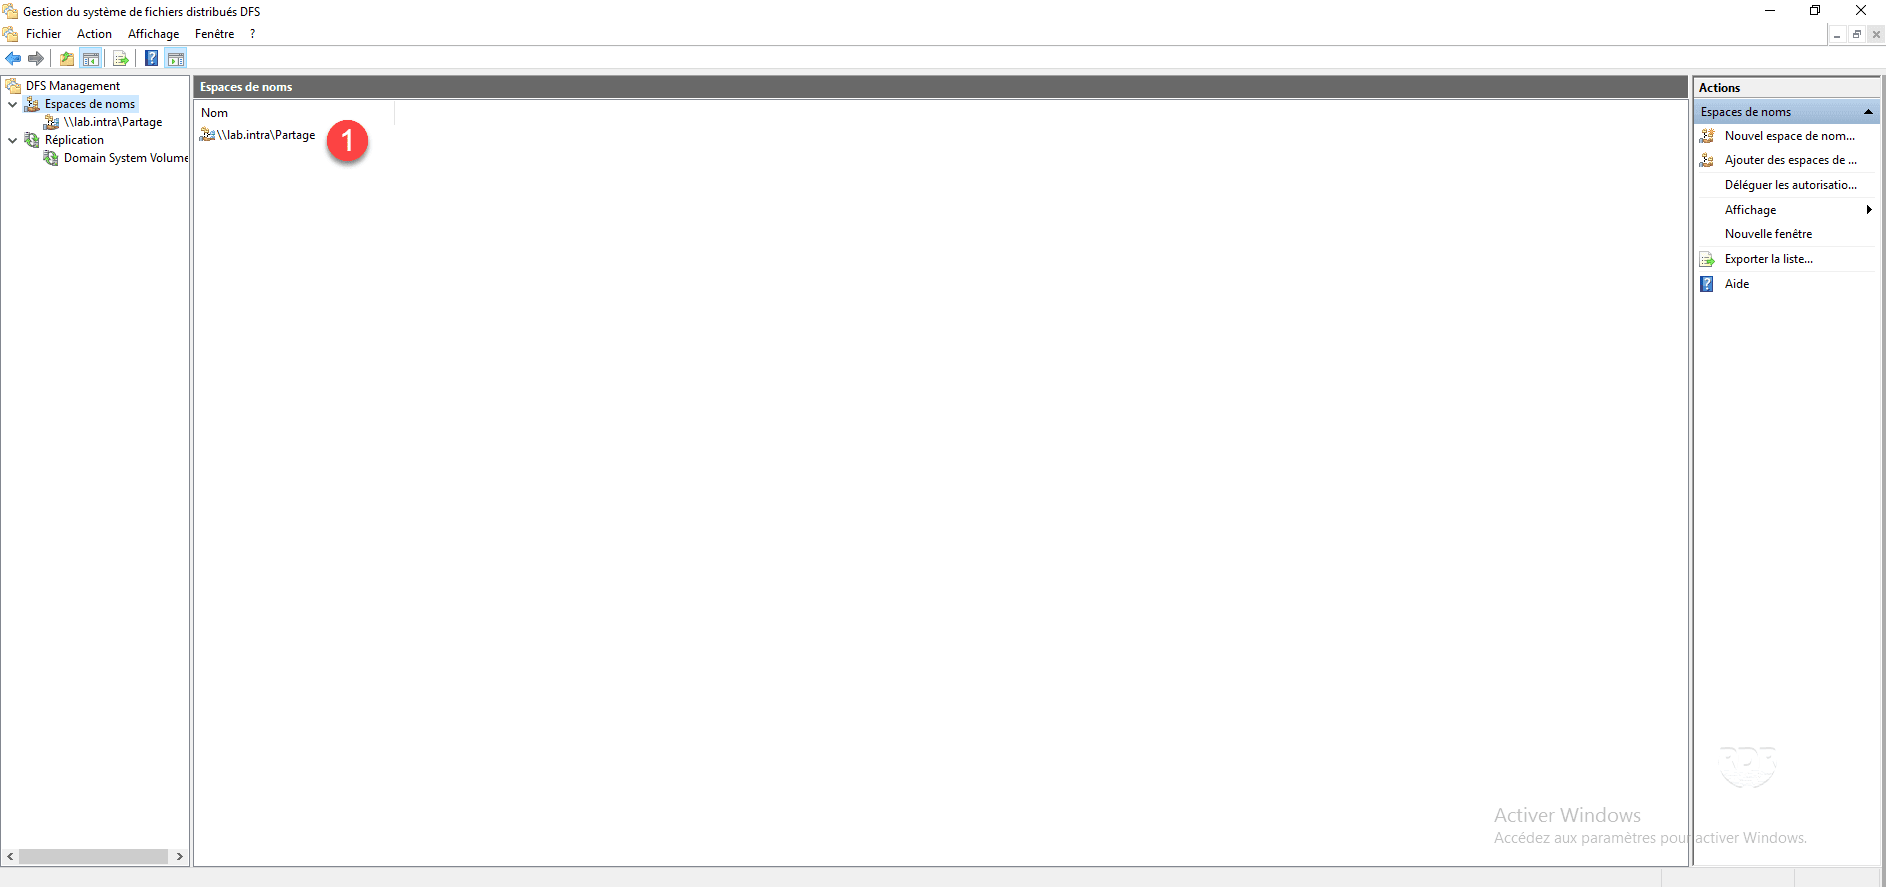
7. The namespace is available in the 1 administration console. You can now access the share \\domain-ad\share.
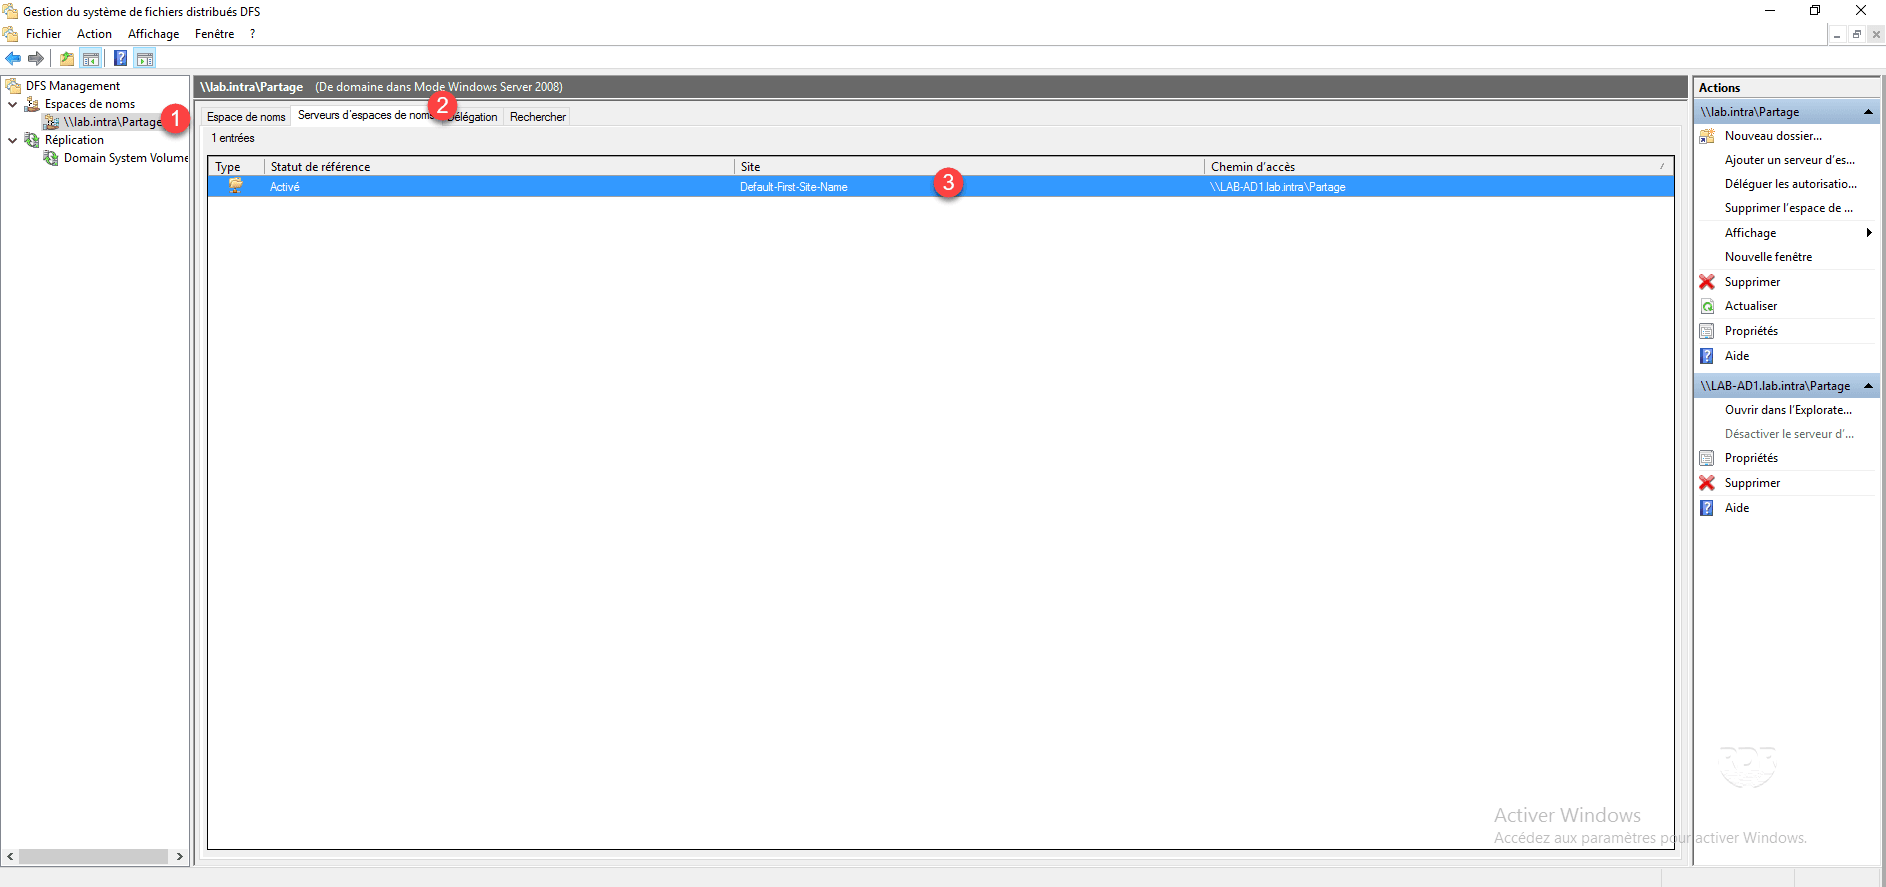
8. By clicking on the 1 namespace and going to the 2 Namespace Servers tab, you can see the server path 3> >.
Configuration: Add a server to the namespace
In order to ensure the best availability of the server, we will see how to add a server to the namespace.
The DFS role must be installed on the server.
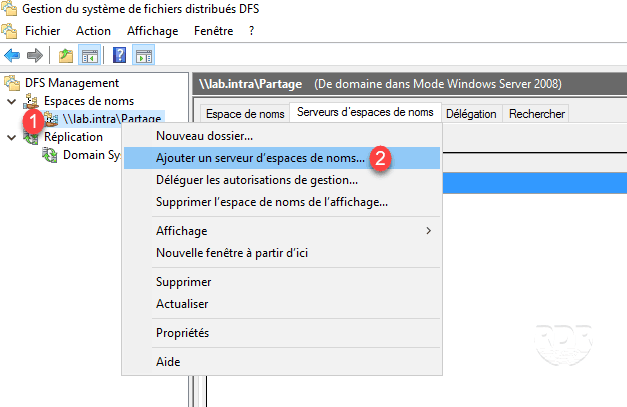
1. From the Distributed File System Administration console, right-click on the 1 namespace and click Add Namespace Server … 2 .
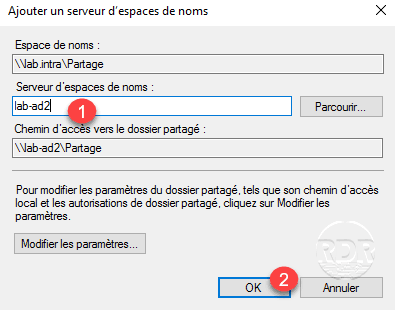
2. Enter the server name 1 and click OK 2 .
3. It can be seen that the namespace is now distributed by 2 servers 1 .

Configuration: Adding Shared Folders
In this part we will see how to add a shared folder.
The folder will be accessible at the following address: \\domain-ad\namespace\folder.
Prerequisites:
- The folder must already be shared.
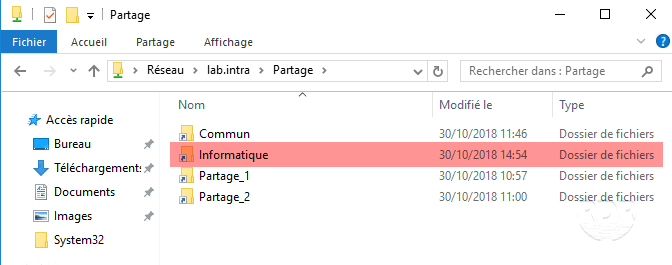
To illustrate the tutorial, we will add in an IT folder that is shared on the LAB-FIC1 server.
1. From the console, right-click on the 1 namespace and click on New Folder … 2 .

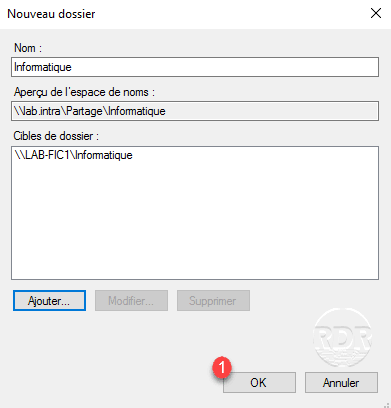
2. Enter the name of the folder 1 in the namespace then click on Add 2 .

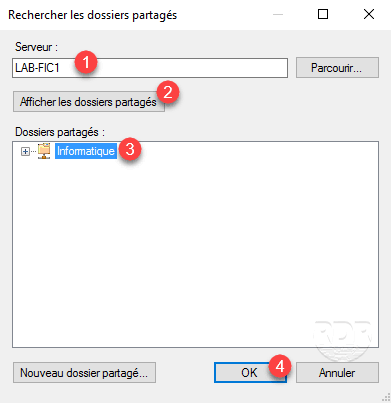
3. Enter the name of the server 1 , click on the Show shared folders 2 button, select the folder 3 and press OK 4 .
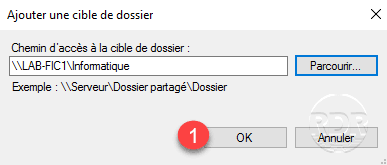
4. Click OK 1 .
5. Click OK 1 .
6. The file is added 1 .

7. Launch Windows Explorer and verify that the added folder is accessible 1 .
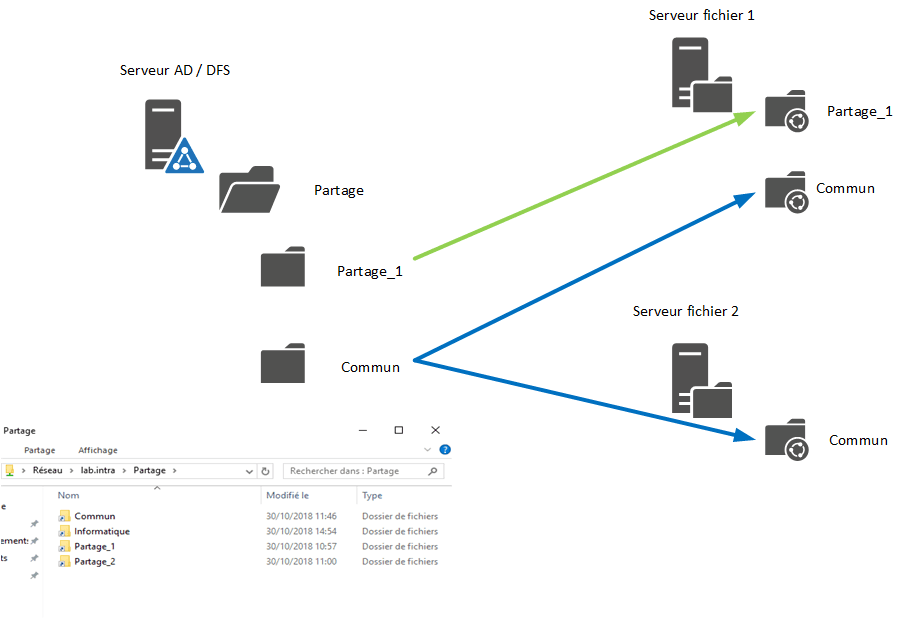
Configuration: Replicated Folder
In this part, we will see how to set up a folder replicate between multiple servers in a namespace.
Prerequisites:
- The DFS-R role must be installed on the servers that host the replicated folder.
- The folder must be shared on each server.
To illustrate the tutorial, we will replicate a common folder that is present on both servers (LAB-AD1 and LAB-AD2) which also have the namespace.
Configuring replication
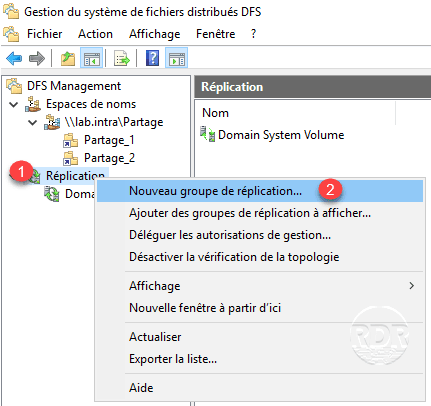
1. From the console, right-click Replication 1 and click New Replication Group …. 2 .
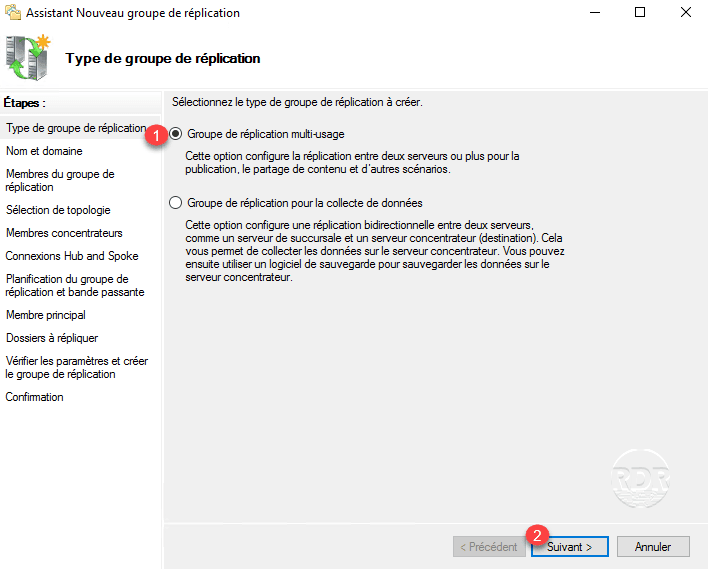
2. Choose Multi-Purpose Replication Group 1 and click Next 2 .
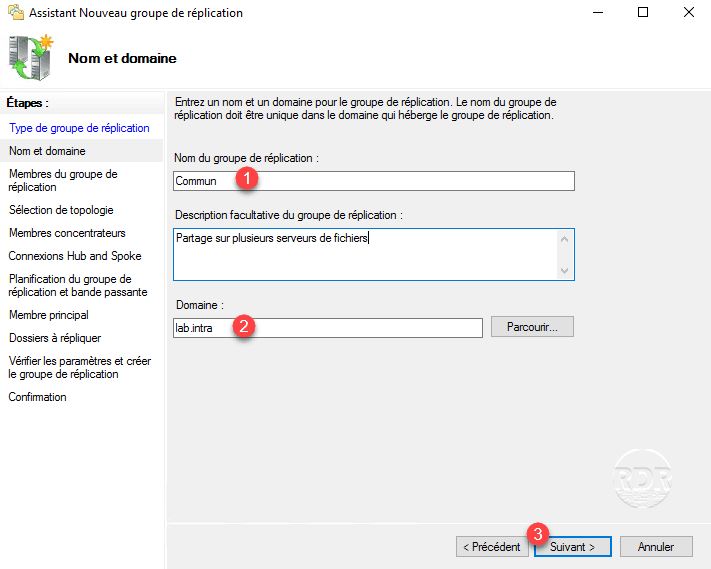
3. Enter the name of the replication group 1 , select the domain 2 and click Next 3 .
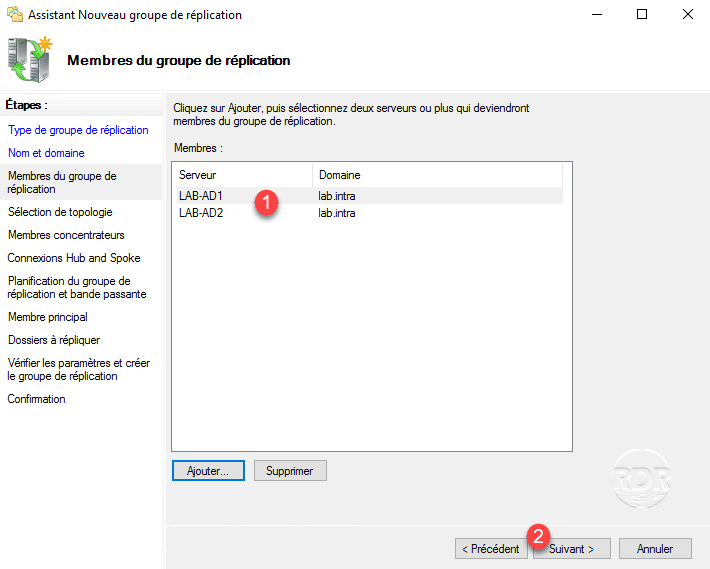
4. Add the servers that are members of replication group 1 and click Next 2 .
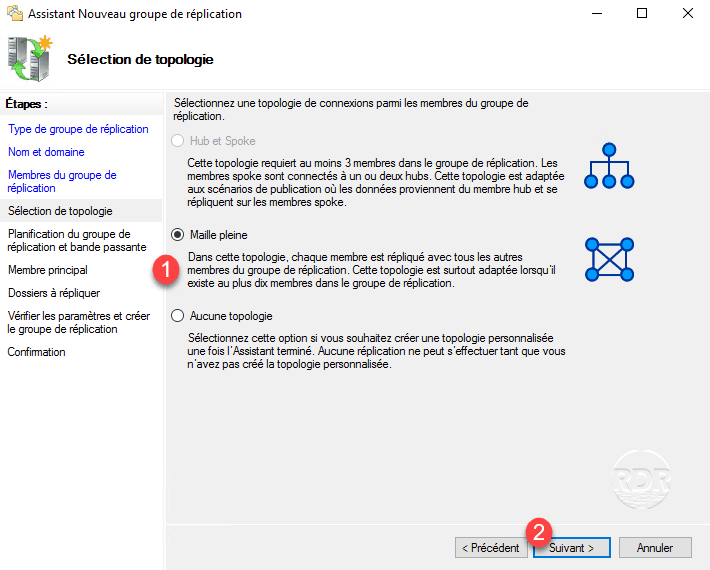
5. Select the full mesh topology 1 and click Next 2 .
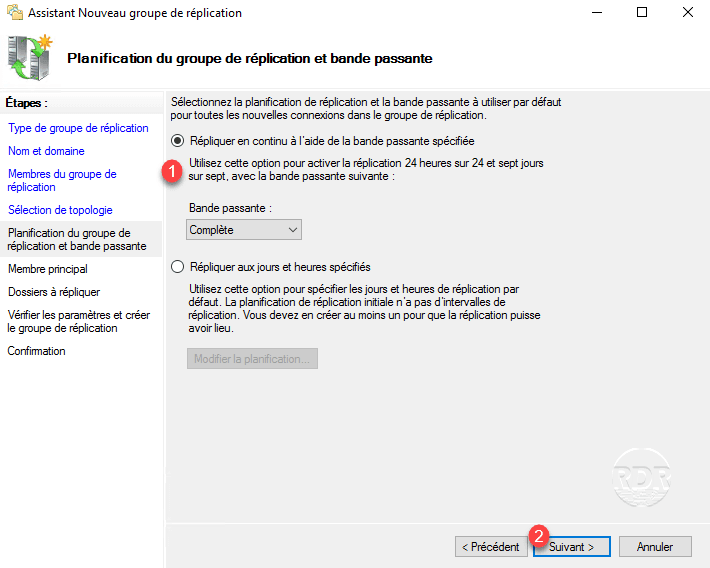
6. Select continuous replication 1 and click the Next 2 button.
7. Choose main member 1 for replication then click Next 2 .
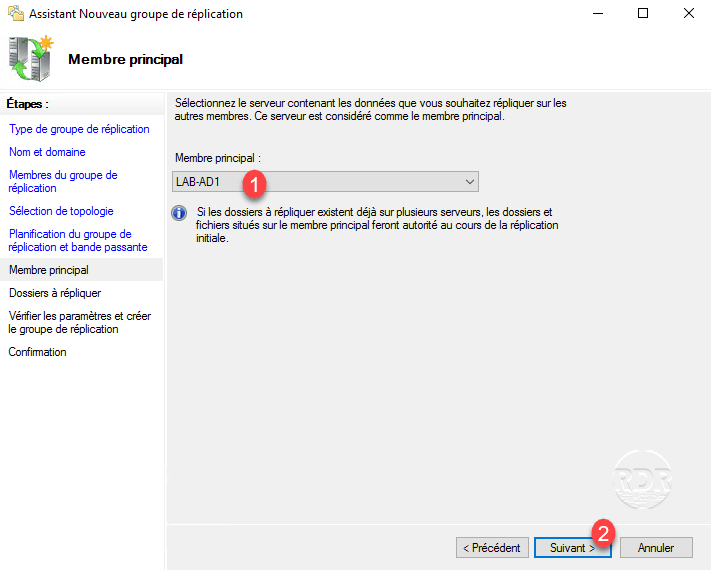
The primary member will be used as the source during the first replication.
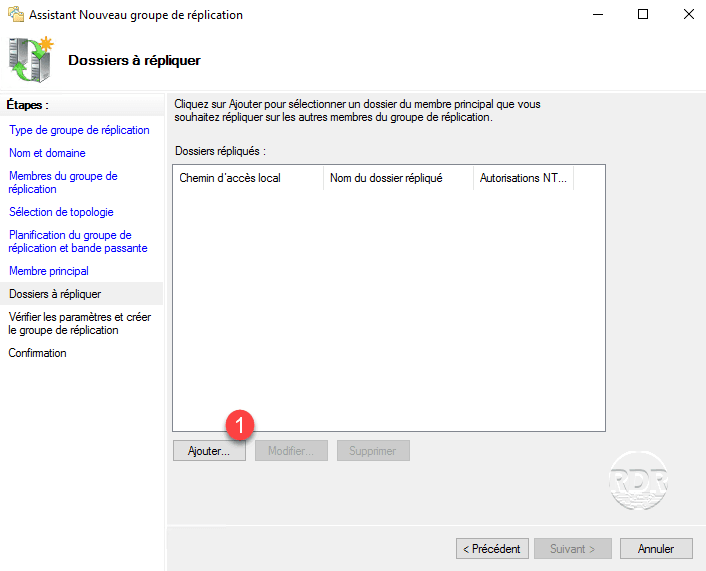
8. Click on Add 1 .
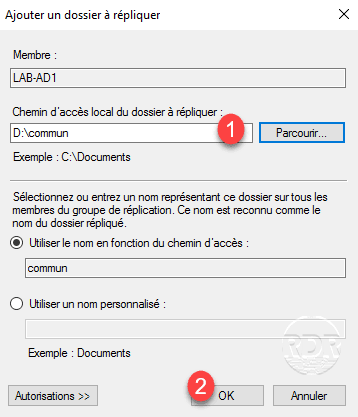
9. Select the folder to replicate 1 on the primary member and click OK 2 .
10. Once the folders have been added 1 to the replication group, click Next 2 .

It is impossible to replicate multiple folders within the same group.
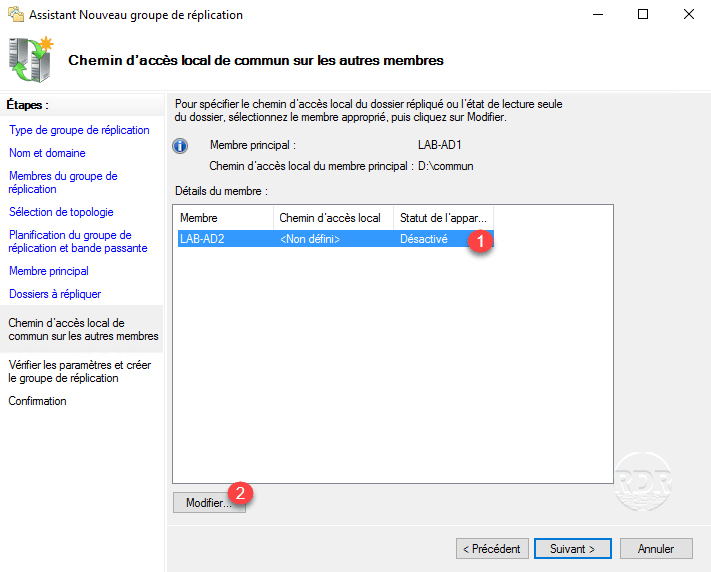
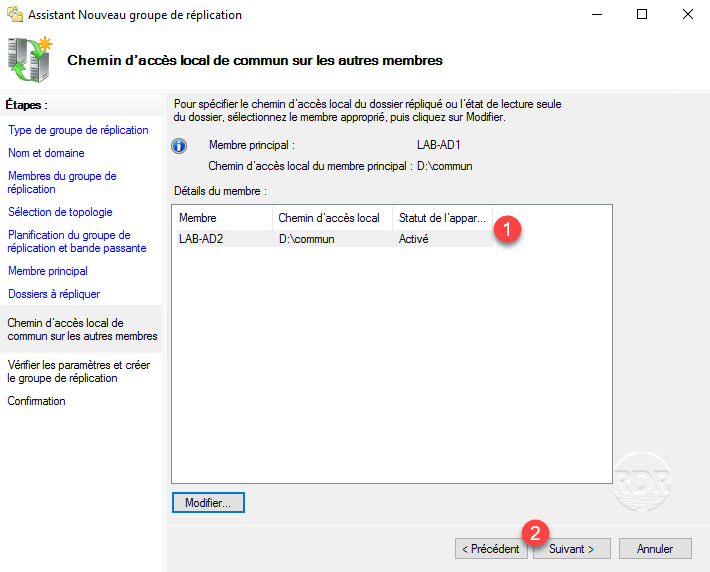
11. Select member server 1 and click Edit 2 to configure the replicated folder path.
2. Enable replication on member 1 by selecting the option, indicate the location on server 2 and click OK 3 .
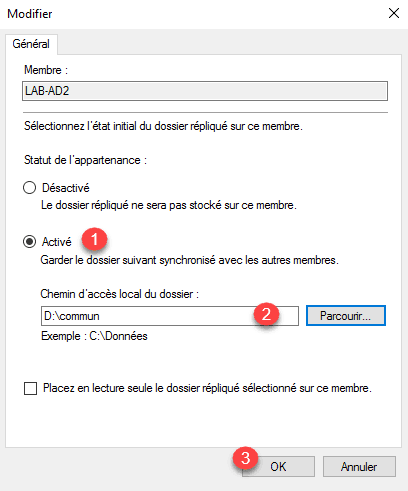
Points 11 and 12 are to be done on each member server of the group.
13. Servers configured 1 , click Next 2 .
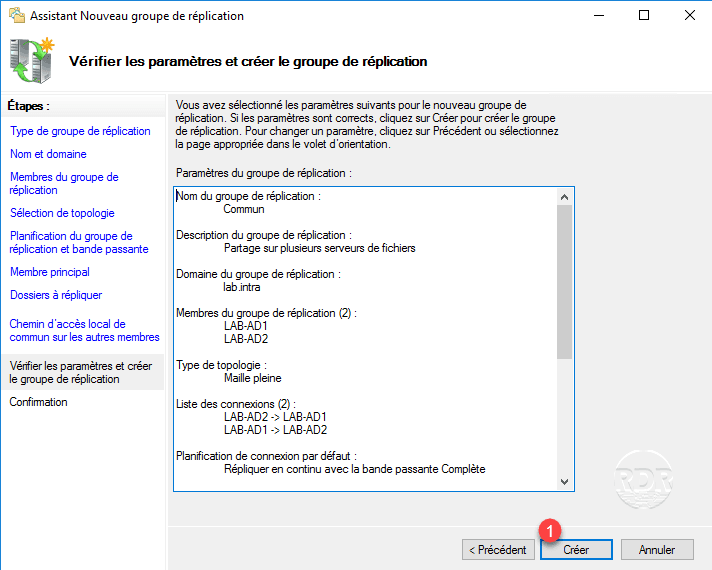
14. Click the Create button 1 .
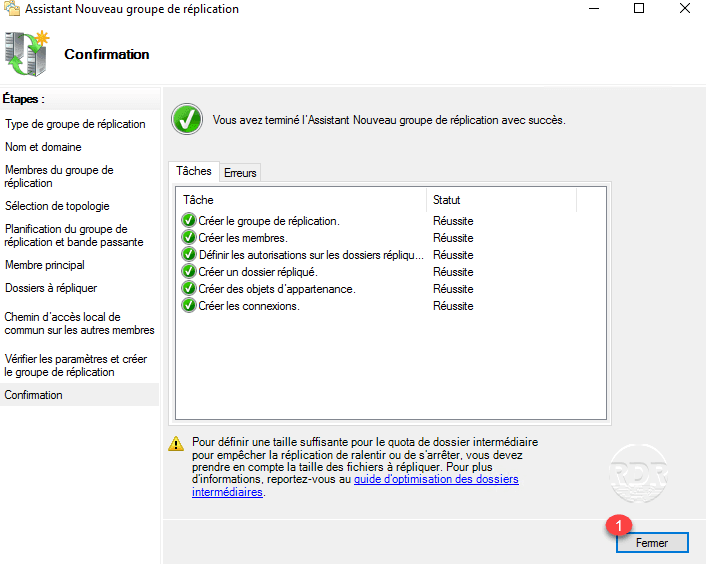
15. The replication group is created, exit the wizard by clicking Close 1 .
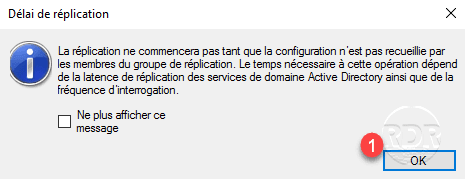
16. Click OK 1 to close the message, which informs you that initial replication may take a while.
17. The replication group is displayed in the 1 console.

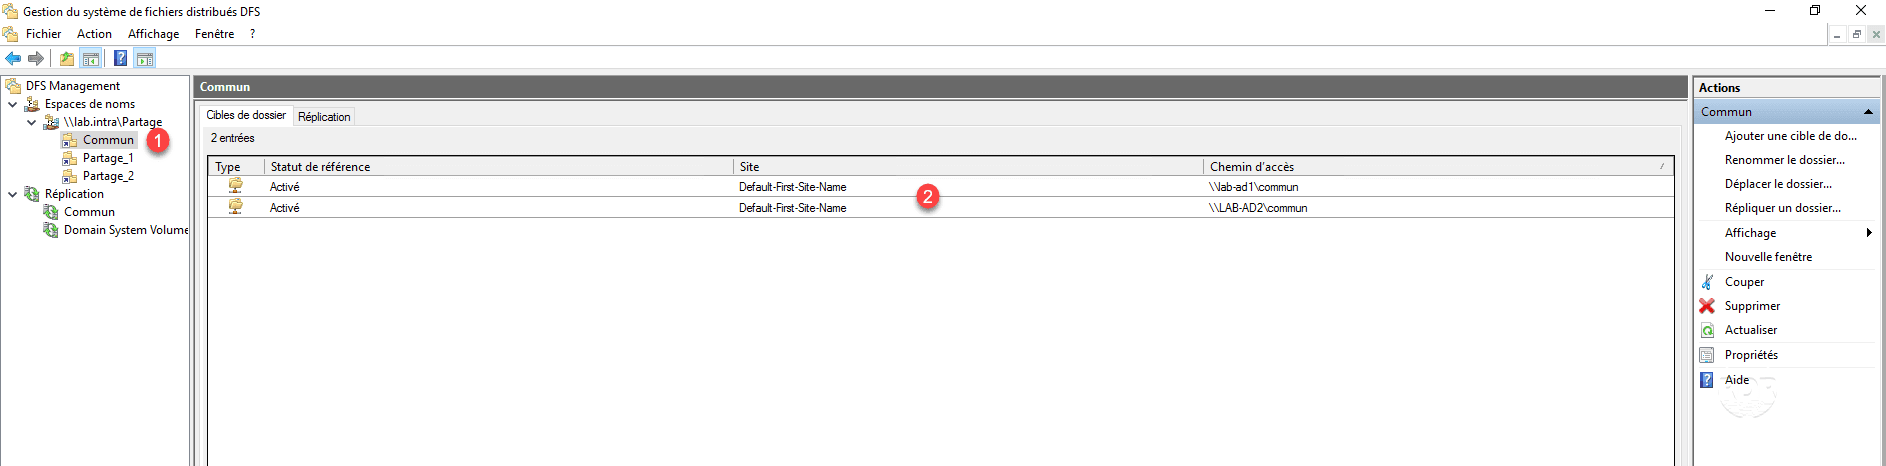
Add the replicated folder to the namespace
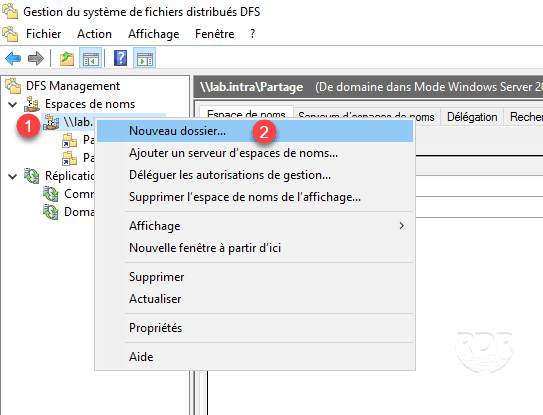
1. Right-click on the 1 namespace and click on New 2 folder.
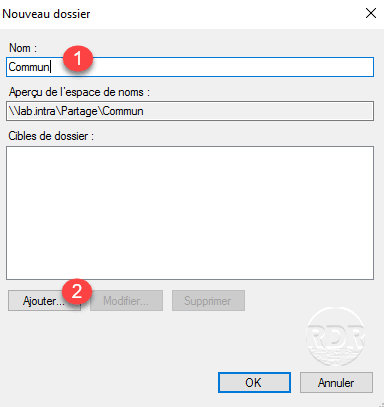
2. Enter the name of the folder 1 and click on Add 2 .
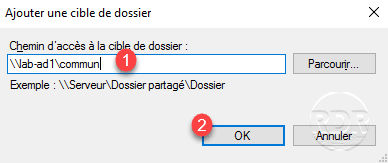
3. Enter the UNC path of the share 1 and click OK 2 to add the folder.
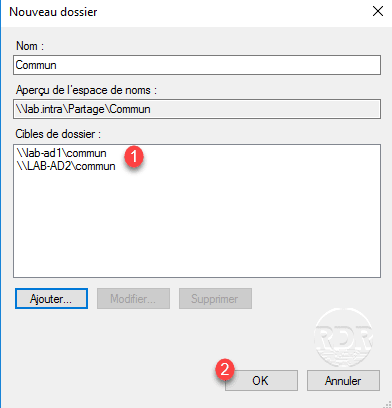
4. Repeat the operation to add the servers that are members of replication group 1 and click OK 2 .
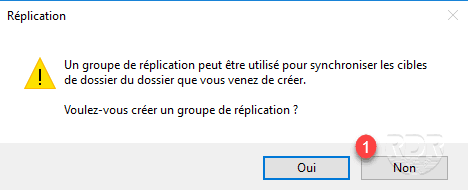
5. An alert message appears, click No 1 . The replication group is already created.
6. The file is added 1 with the different targets 2 .