In this article, I will explain how to implement SSO (Single Sign-On: Single Authentication) with GLPI installed with IIS.
SSO saves the user from having to enter identifiers to connect to GLPI.
Prerequisites
- Have configured the Active Directory in GLPI and import the users.
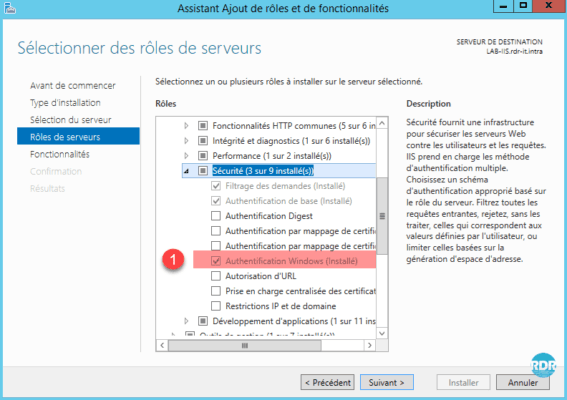
- In order to set up single authentication for GLPI, you must have installed Windows Authentication 1 in the functionalities of the IIS Web Server role and your IIS server must be a member of the domain.
Site configuration in IIS
Open the IIS console, go to the GLPI site 1 and click on Authentication 2.
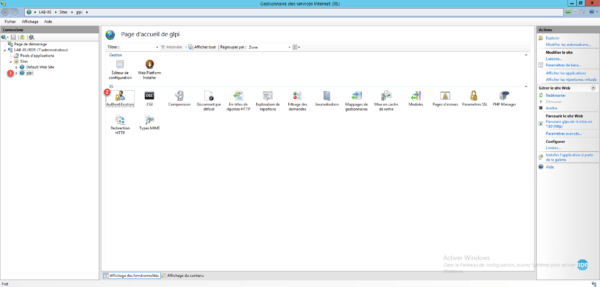
Select Anonymous Authentication 1 and click Disable 2.

Select Windows Authentication 1 and click on Activate 2.

Windows authentication is enabled 1.

GLPI configuration
In this part, we will configure GLPI to tell it in which server variable the user is stored.
The manipulations below are to be done with a super-admin account.
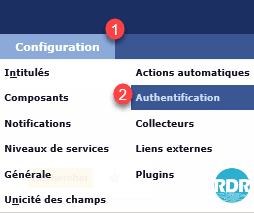
From the navigation menu go to Configuration 1 / Authentication 2.
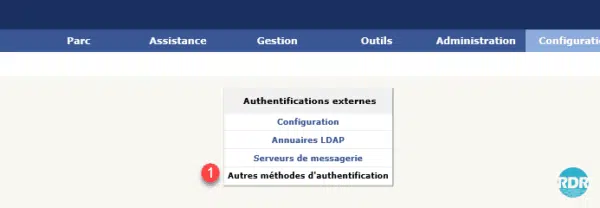
Click on Other authentication methods 1.
Select REMOTE_USER 1 in Identification storage fields in the HTTP request and click on Save 2.
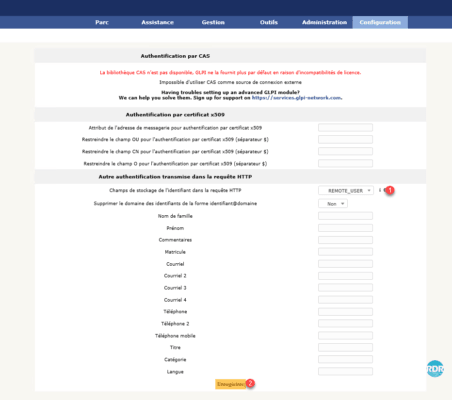
Authentication is up. From a client computer in the domain, open Internet Explorer and go to GLPI, no authentication information should be requested.
Troubleshooting
Windows asks for credentials
When you open GLPI, a window asking for credentials appears. To resolve the problem, you must change the Internet security settings.
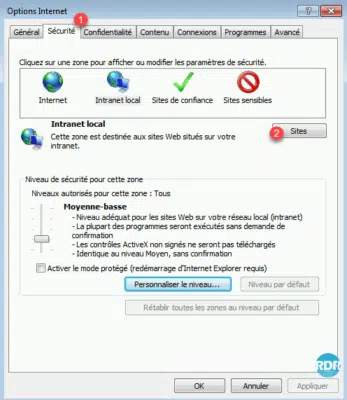
Open the Internet options, go to the Security tab 1 and click on Sites 2.
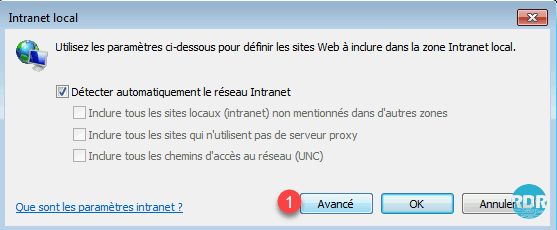
Click on Advanced 1.
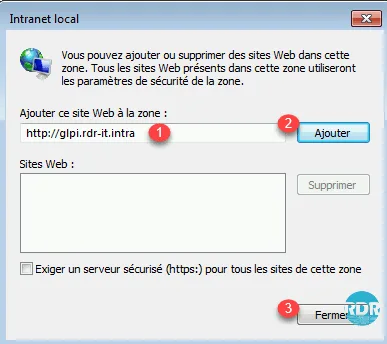
Enter the url of your GLPI site 1 then click on Add 2 and Close the window 3.
Close the Internet options and refresh the page. The problem should be resolved.
It is possible to deploy this parameter by GPO on all the stations.
Create a site without SSO for FusionInventory
The implementation of SSO will prevent the inventory via the FusionInventory agent because it does not send identification information and will therefore no longer be able to access the page it uses to send the data.
This site can also be used if the automatic tasks are configured with a browser call or to use the default GLPI account.
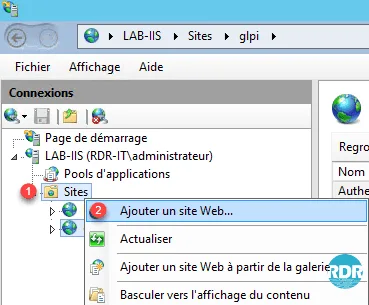
Open the IIS console and right-click on Sites 1 and click on Add website … 2.
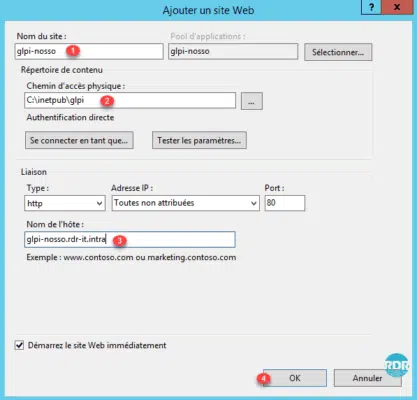
Enter the name of the site name 1. Select the location of the GLPI 2 site (this one where SSO is activated), enter the url of the site 3 and click OK 4.
The site is ready 1.

Check that PHP extensions are activated for the site.
Add a DNS record to be able to resolve the site’s url.

From a client computer, open a browser and enter the url, the authentication page is displayed and it is possible to select the authentication base.
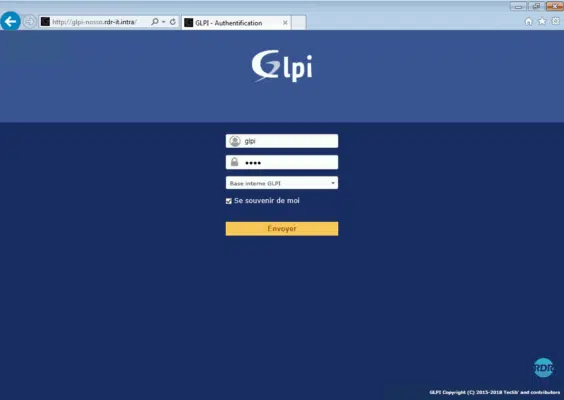
For FI agents to function properly, they will need to be configured with this URL.


