In this article, we will see how to configure GLPI with an Active Directory so that users can identify with their Windows session name and password.
Table of Contents
Configuration of the Active Directory in GLPI
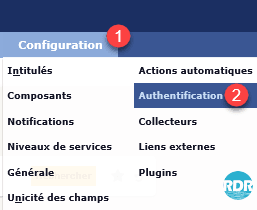
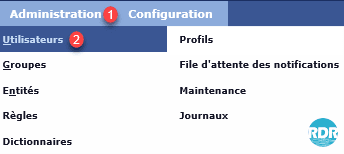
From the navigation menu go to Configuration 1 > Authentications 2.
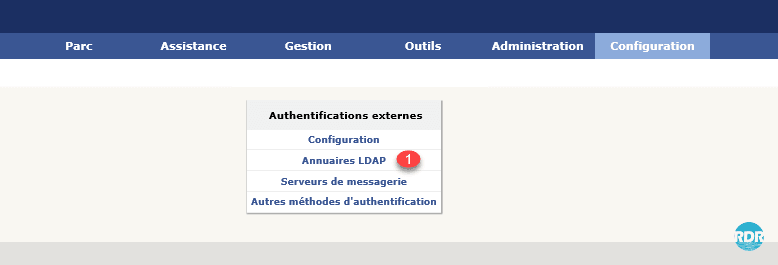
In the External Authentications list, click LDAP Directories 1.
Click on the + 1 to add a directory.

Click on Active Directory 1 to pre-fill the fields.

Configure Active Directory :
- 1 Enter a name.
- 2 Set this directory as default
- 3 Make the server Active
- 4 Enter the fqdn name or ip of your domain controller
- 5 Enter Active Directory Domain DN Base
- 6 Username and password of an account authorized to login
- 7 Click Add.

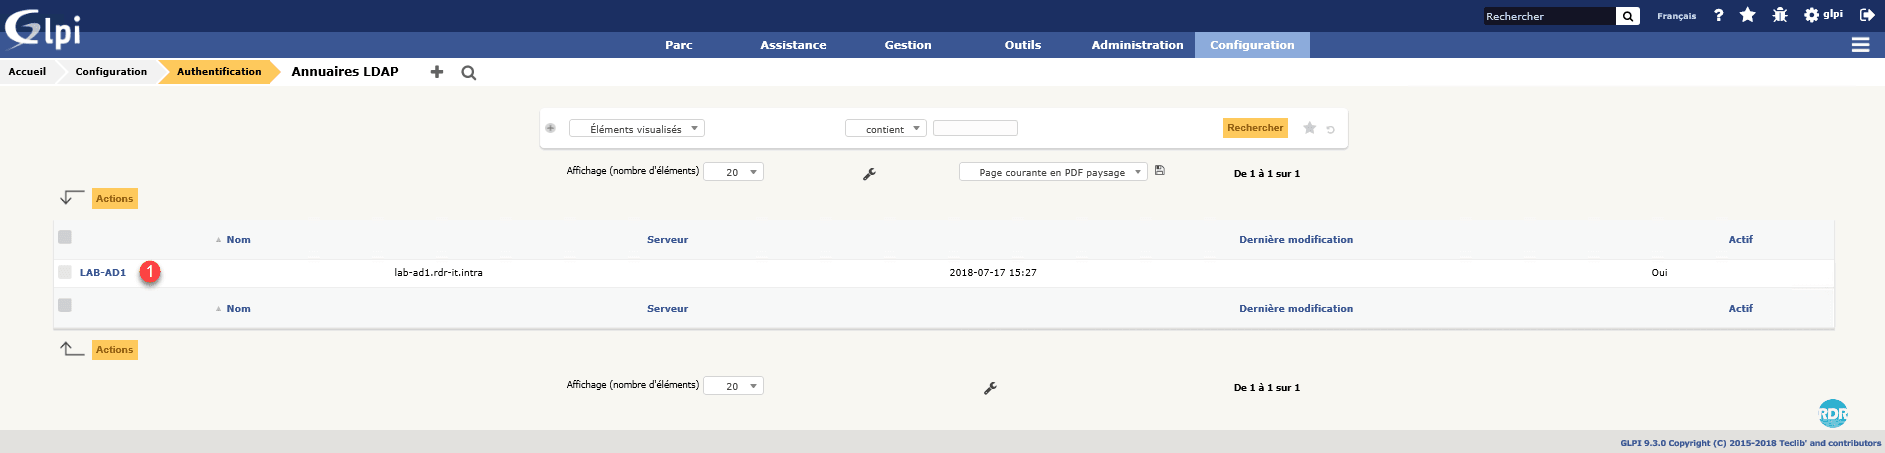
Click on the newly added server 1.
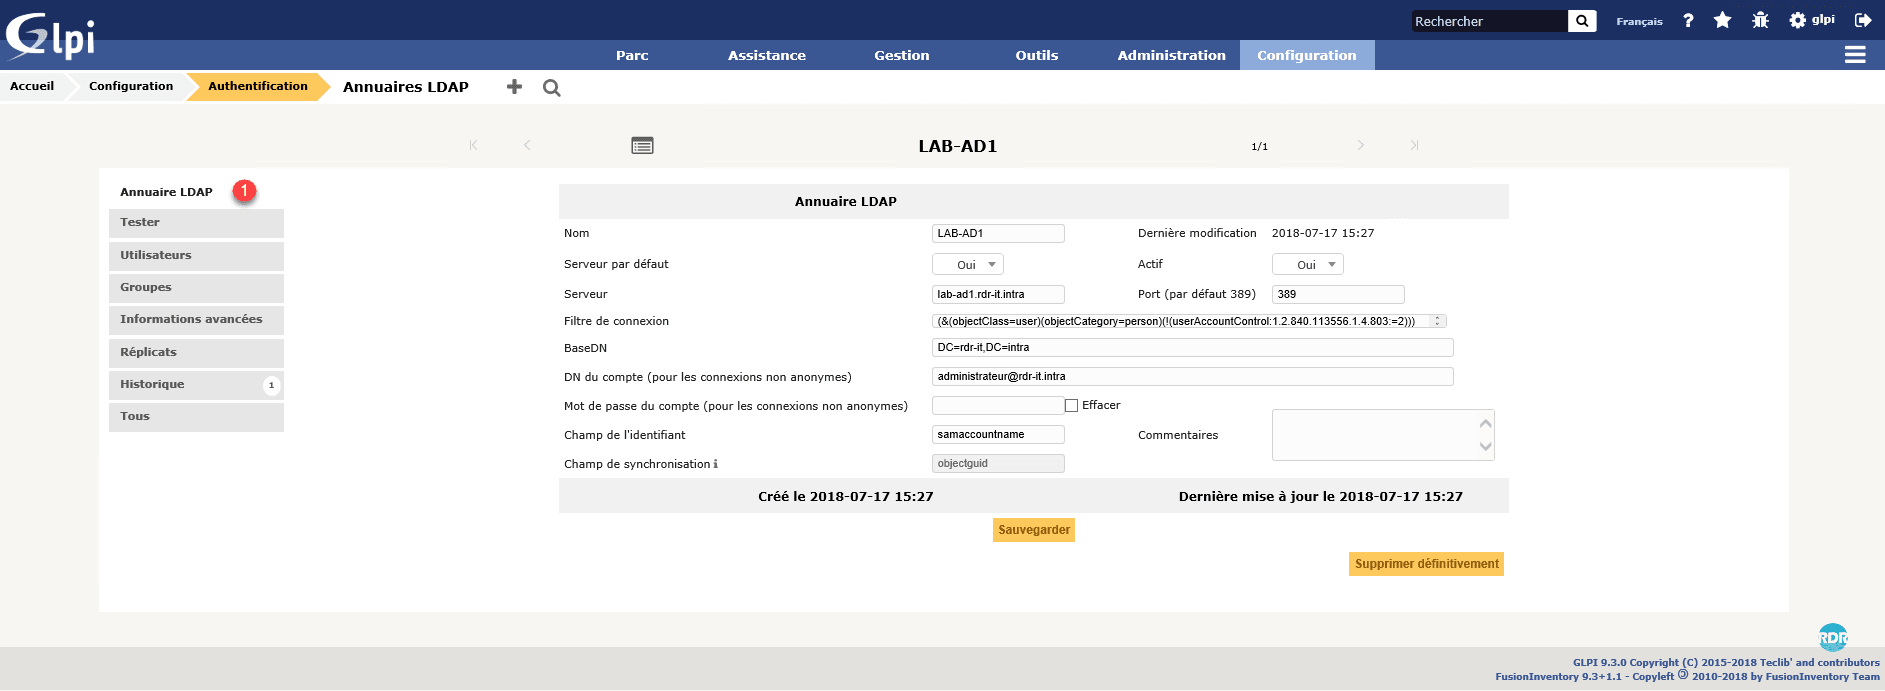
From the LDAP Directory 1 tab, you can find the configuration of the directory you entered just before.
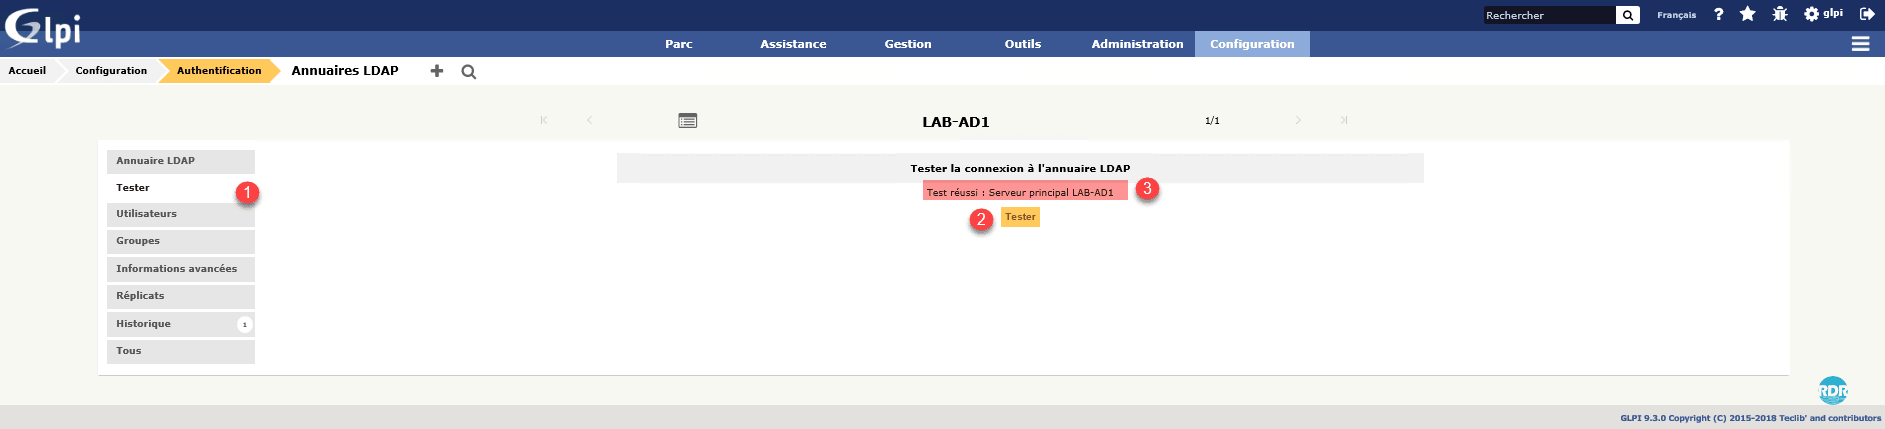
Go to the Test 1 tab and click on the Test 2 button. If the configuration is good you should get the confirmation message 3.
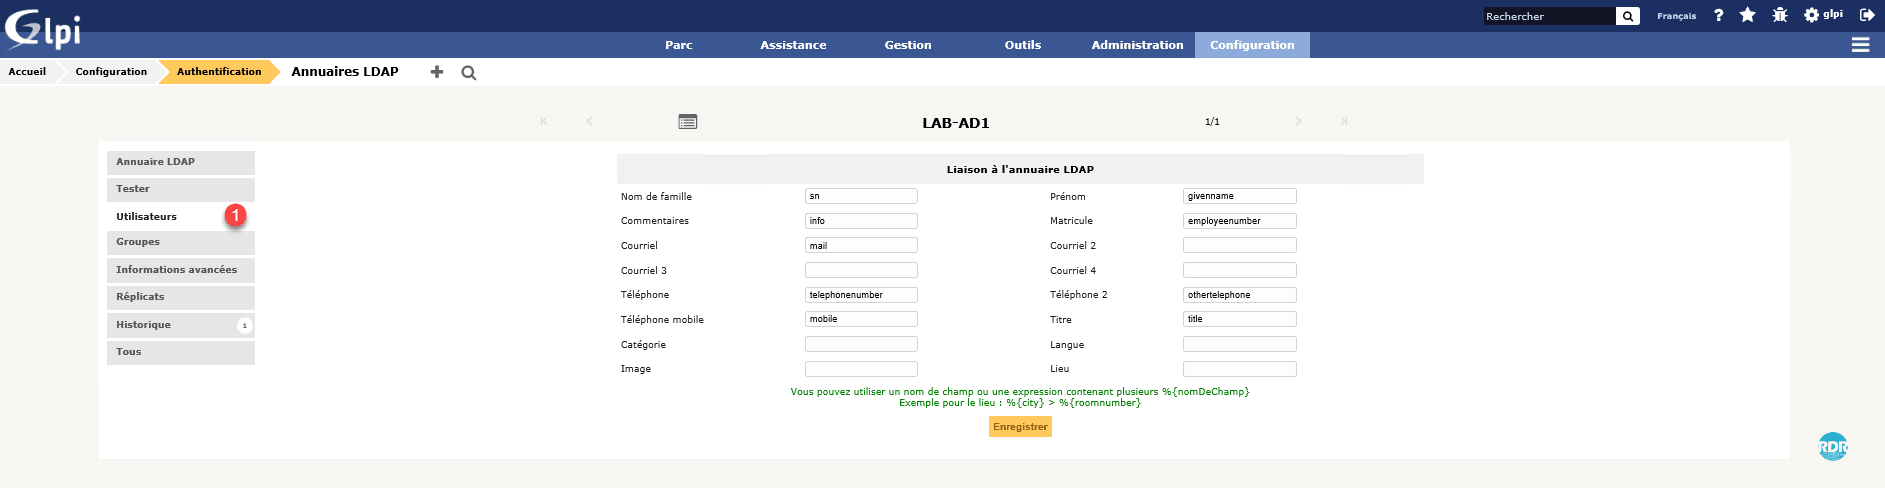
The tab Users 1 makes it possible to parameterize the connections between the Active Directory and the GLPI base.
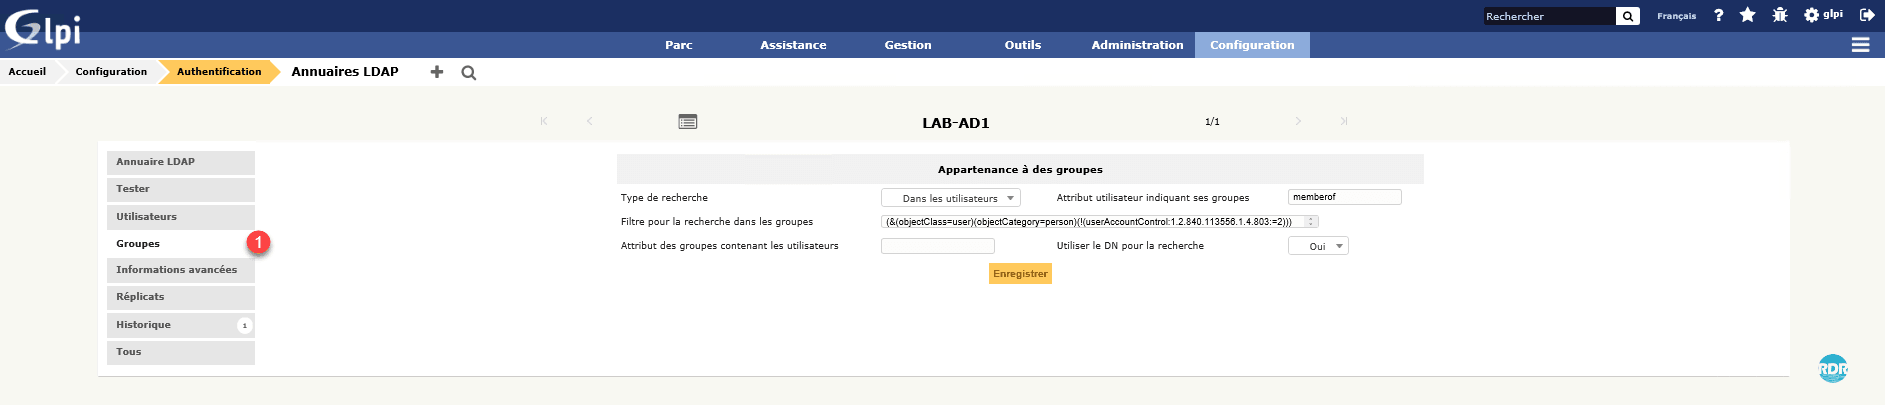
The tab Groups 1 allows the import of groups AD and to make the link also with GLPI.
Import users
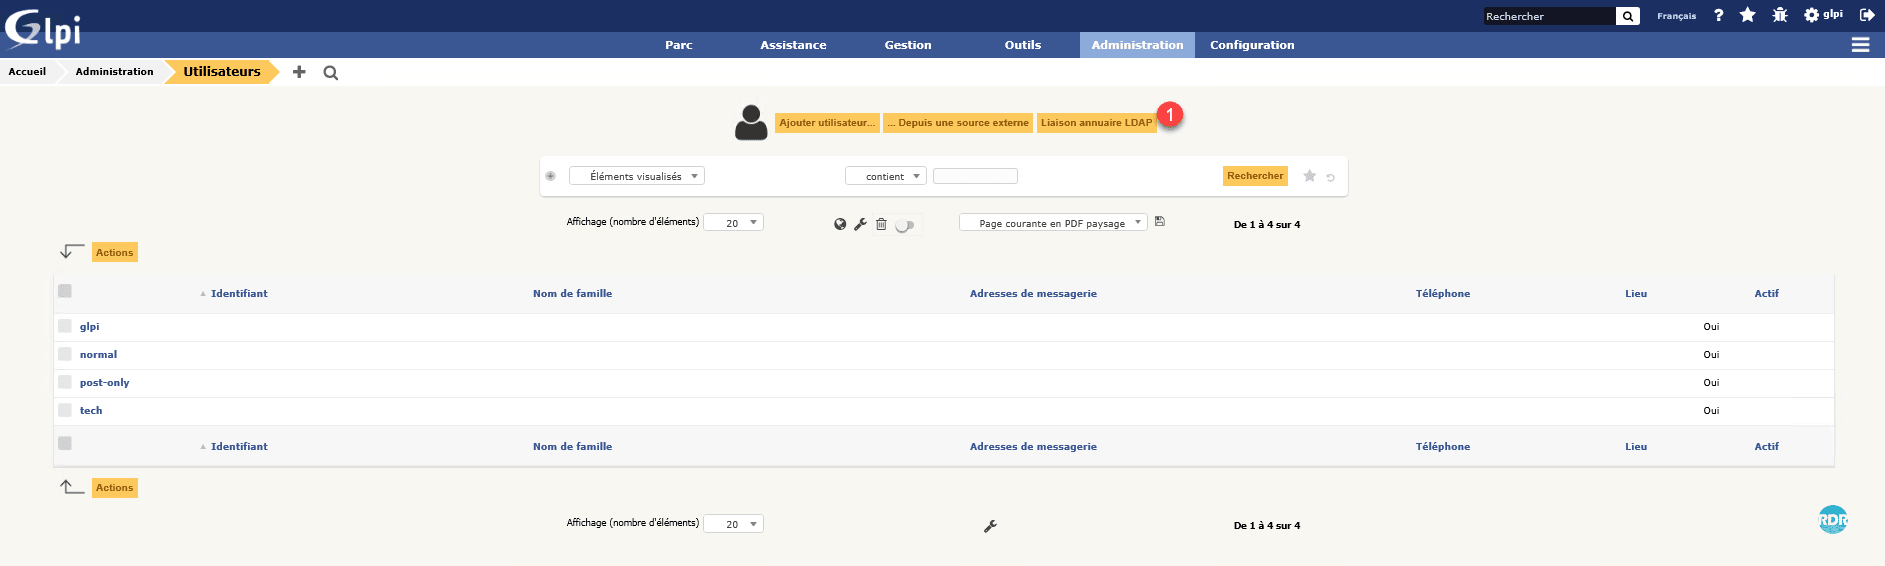
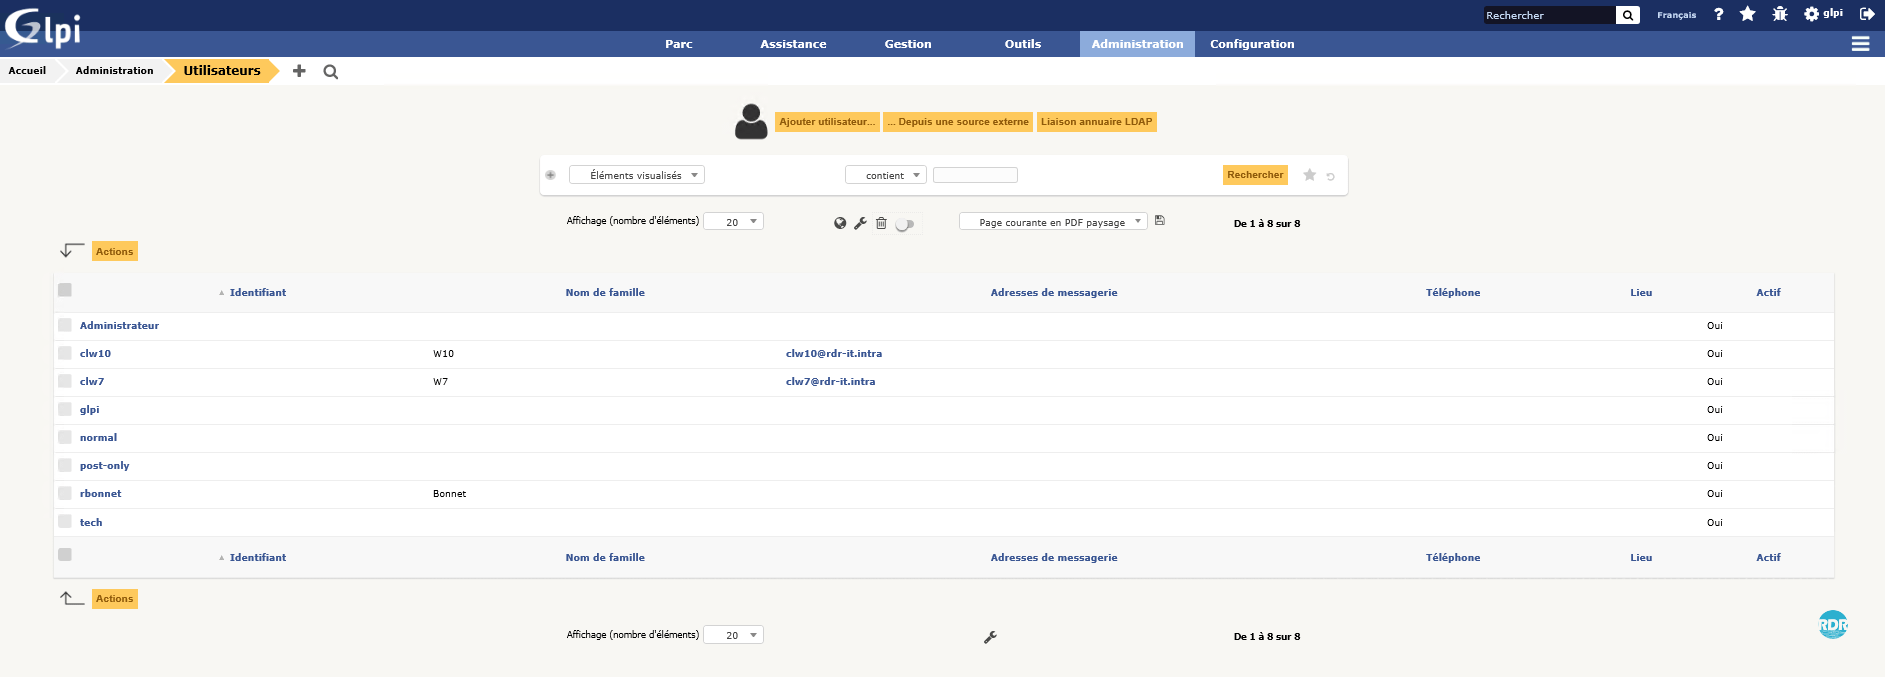
From the navigation menu go to Administration 1 / Users 2.
For the moment, there are only the default users. Click the LDAP Directory Link button 1.
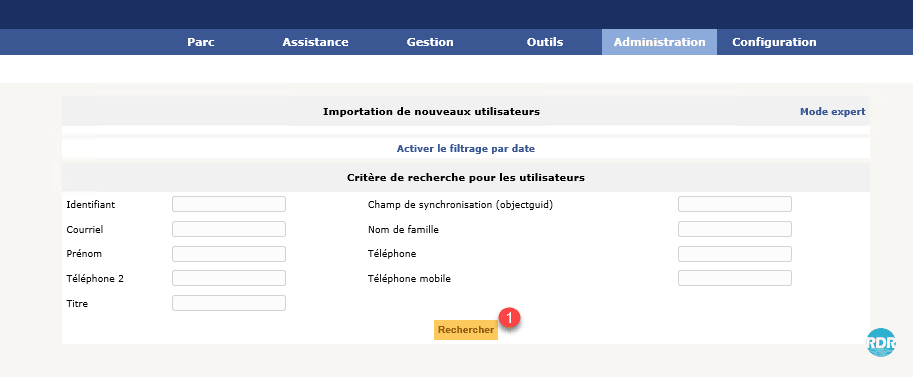
From this page, it is also possible to synchronize the user already imported in case of modification in the Active Directory. Click on Import new users 1.

From this form, it is possible to make search filters. Here we want to import all users, click on Search 1.
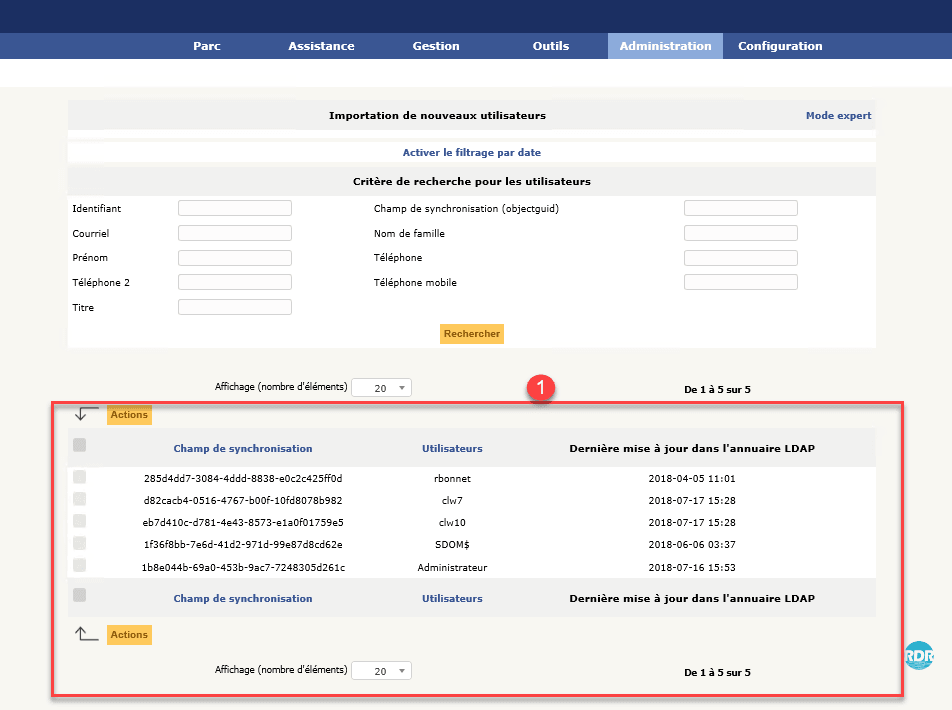
Below the form the search result 1 is displayed.
Check the users 1 that should be imported and click on the Actions 2 button.
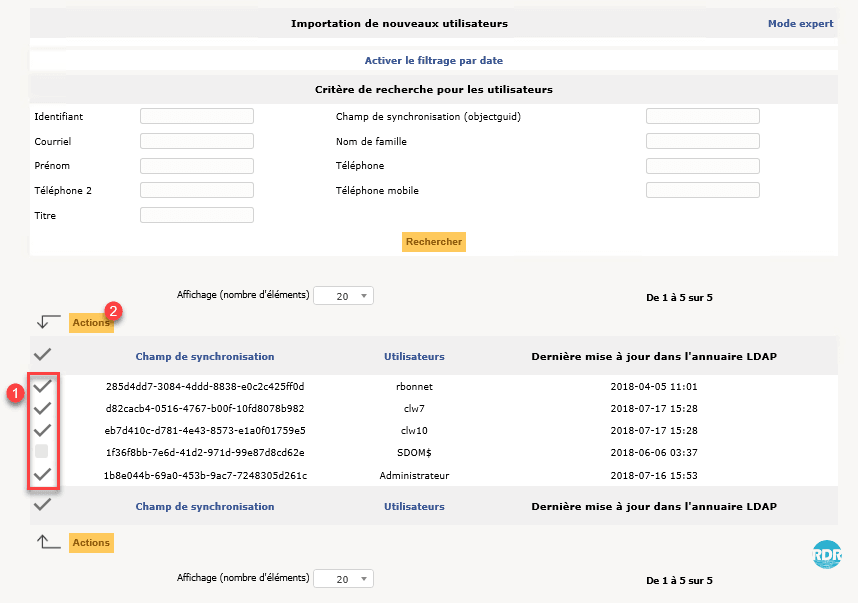
At the action level select Import 1 and click on Send 2.

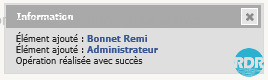
A notification should be displayed with the result of the action.
Go back to the list of users to check that they are present.
Synchronization works the same way.
Import of groups
The operation for importing groups is the same as for users.
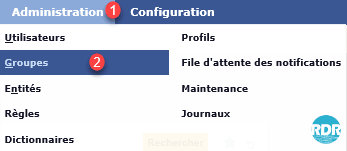
From the navigation menu, go to Administration 1 / Groups 2.
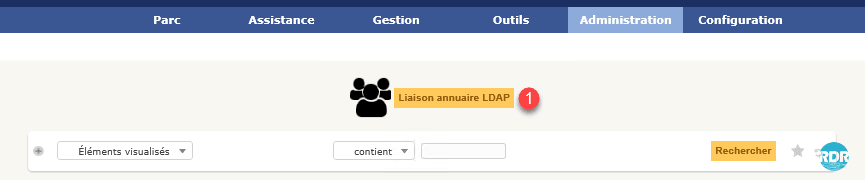
Click LDAP Directory Link 1.
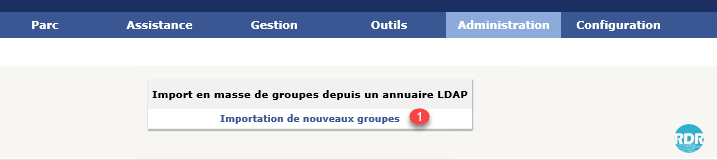
Click Import New Groups 1.
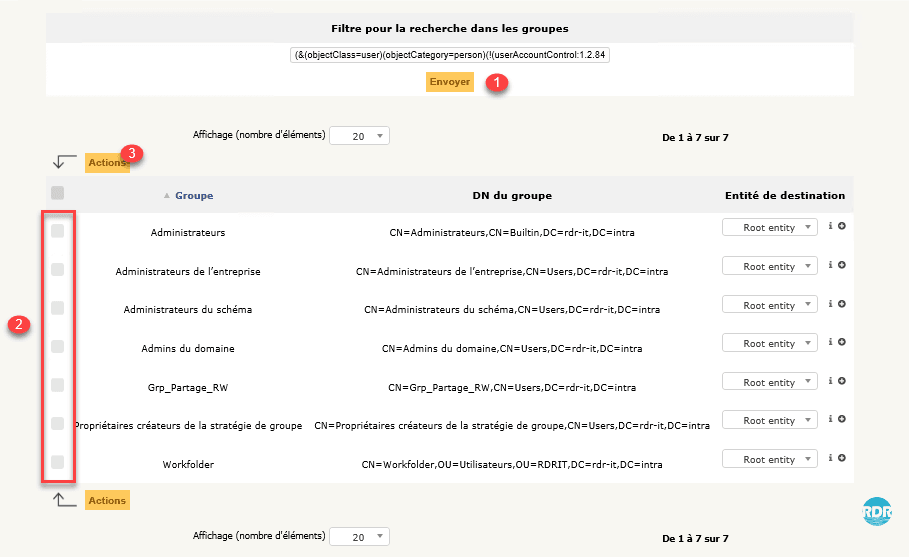
Click on Send 1 to execute the search, select the groups to import 2 and click on Action 3.
At the action level select Import 1 and click on Send 2.
Go back to the group list and check the result.

Automation of user import and synchronization
Unfortunately there are no automatic actions in GLPI to perform these tasks.
Fortunately the developers of GLPI have thought of everything, there is a script (ldap_mass_sync.php) which makes it possible to carry out that.
Before setting up the automation I invite you to read the following article: GLPI: automatic actions configuration.
The implementation of import and synchronization automation uses the same operation. Creation of a bat with a scheduled task.
The following explanations are for Windows. By reading the article on automatic actions and adapting the following explanations it is possible to do it under Linux.
In the installation directory of GLPI located the file ldap_mass_sync.php which is in the scripts directory at the root of the site.
Create a bat file with the following contents :
"C:\Program Files (x86)\PHP\vX.Y\php.exe" "C:\inetpub\glpi\scripts\ldap_mass_sync.php"
This line will have the effect of synchronizing users all the directories declared in GLPI.
Create a new scheduled task on the web server that will launch the bat. According to your needs adapt the execution interval.
Syntaxe
ldap_mass_sync.php [<Options>]
Parameters
| Parameter | Description |
|---|---|
| ldapservers_id | Optional, this parameter is used to specify the LDAP server ID. If the parameter is not filled in, the script will run for all active servers. |
| action | Optional, this parameter is used to determine the action to be taken. 0: Import only 1: Synchronization of existing users 2: Import and synchronization If no value is filled in, the script will only synchronize |
Example :
ldap_mass_sync.php ldapservers_id=1 action=1
The script will run only for the ldap server with ID 1 and synchronizes the users.
