Table of Contents
Presentation of the RDS gateway
In this tutorial, we are going to install, configure and use an RDS gateway without deploying an RDS farm.
In an environment mainly consisting of Windows server, the use of the RDS gateway is a means of setting up remote access for the IT server. It is not necessary to use a VPN service.
For SSH access on a server or an asset, it is possible to bounce through a Windows server.
It is also possible to use the RDS gateway in a telecommuting context to give access to “his computer” to a user, for this it is enough to activate the remote desktop and put it in the right groups.
The advantage of using the RDS gateway:
- Servers / computers are not directly published on the Internet.
- Access control by policies.
- Control of elements redirected by the gateway.
- Reduced bandwidth consumption compared to a VPN
Through this tutorial, we will see how to use an RDS gateway to give access to a group of users to servers / computers which are themselves members of a group.
Prerequisites and preparation
Prerequisites
A Windows 2012R2 / 2016 or 2019 server preferably dedicated to the role (in the tutorial it is a member of a domain).
An SSL certificate for the RDS gateway, it is possible to use a self-signed certificate, in this case it must be installed (gpo) on each computer that will use the RDS gateway.
For publication on the Internet, provide a DNS record compatible with the certificate and publication (IP / ports 443) on the perimeter firewall.
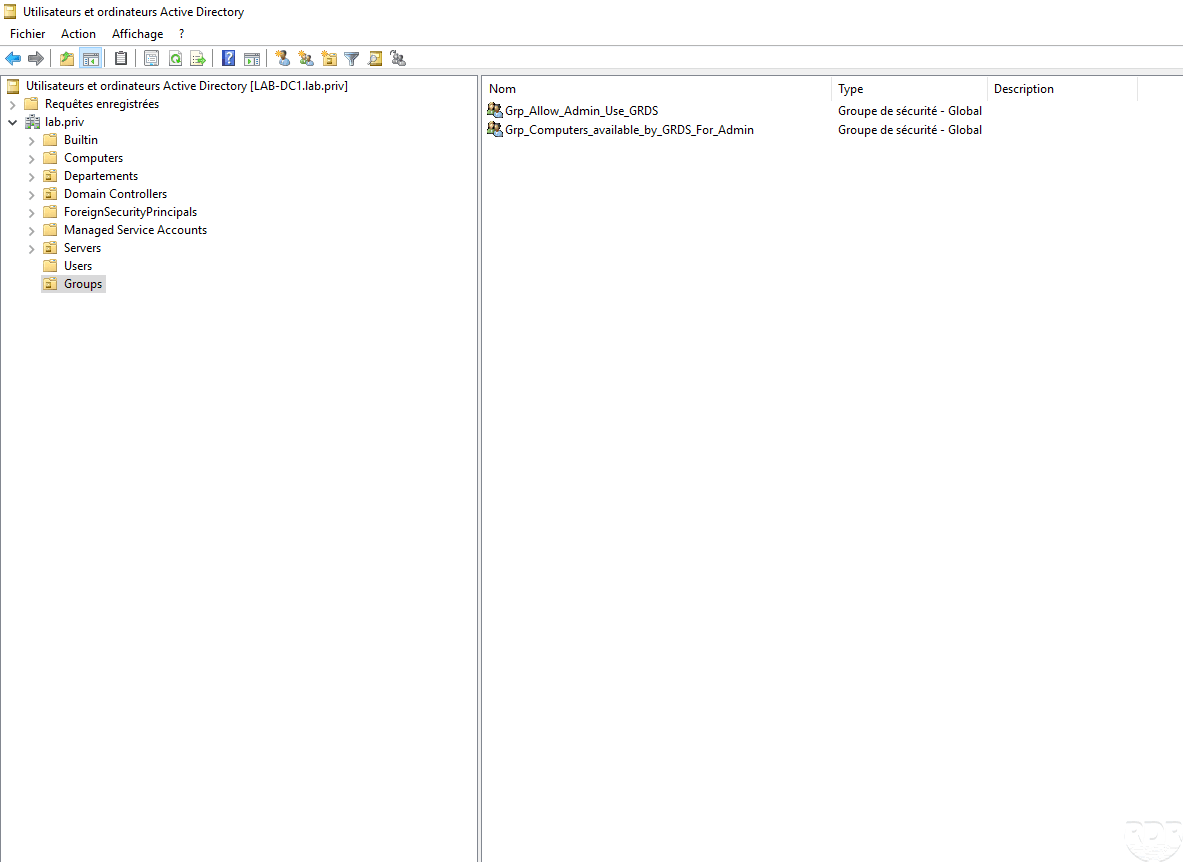
Creating groups
For the purposes of the tutorial, we will create two groups:
- Grp_Allow_Admin_Use_GRDS which will contain the users authorized to connect to the gateway.
- Grp_Computers_available_by_GRDS_for_Admin which will contain the computers (Active Directory objects) where the members of the Grp_Allow_Admin_Use_GRDS group will be able to connect.


Installing roles
Now that the environment is ready, we will go to installing roles, when installing the Remote Desktop Services gateway role two dependent roles are installed:
- IIS : which is the server integrates with Windows will manage the publication on the HTTPS port (443).
- NPS (Network Policy Server): this role will manage network access policies to grant access refusal.
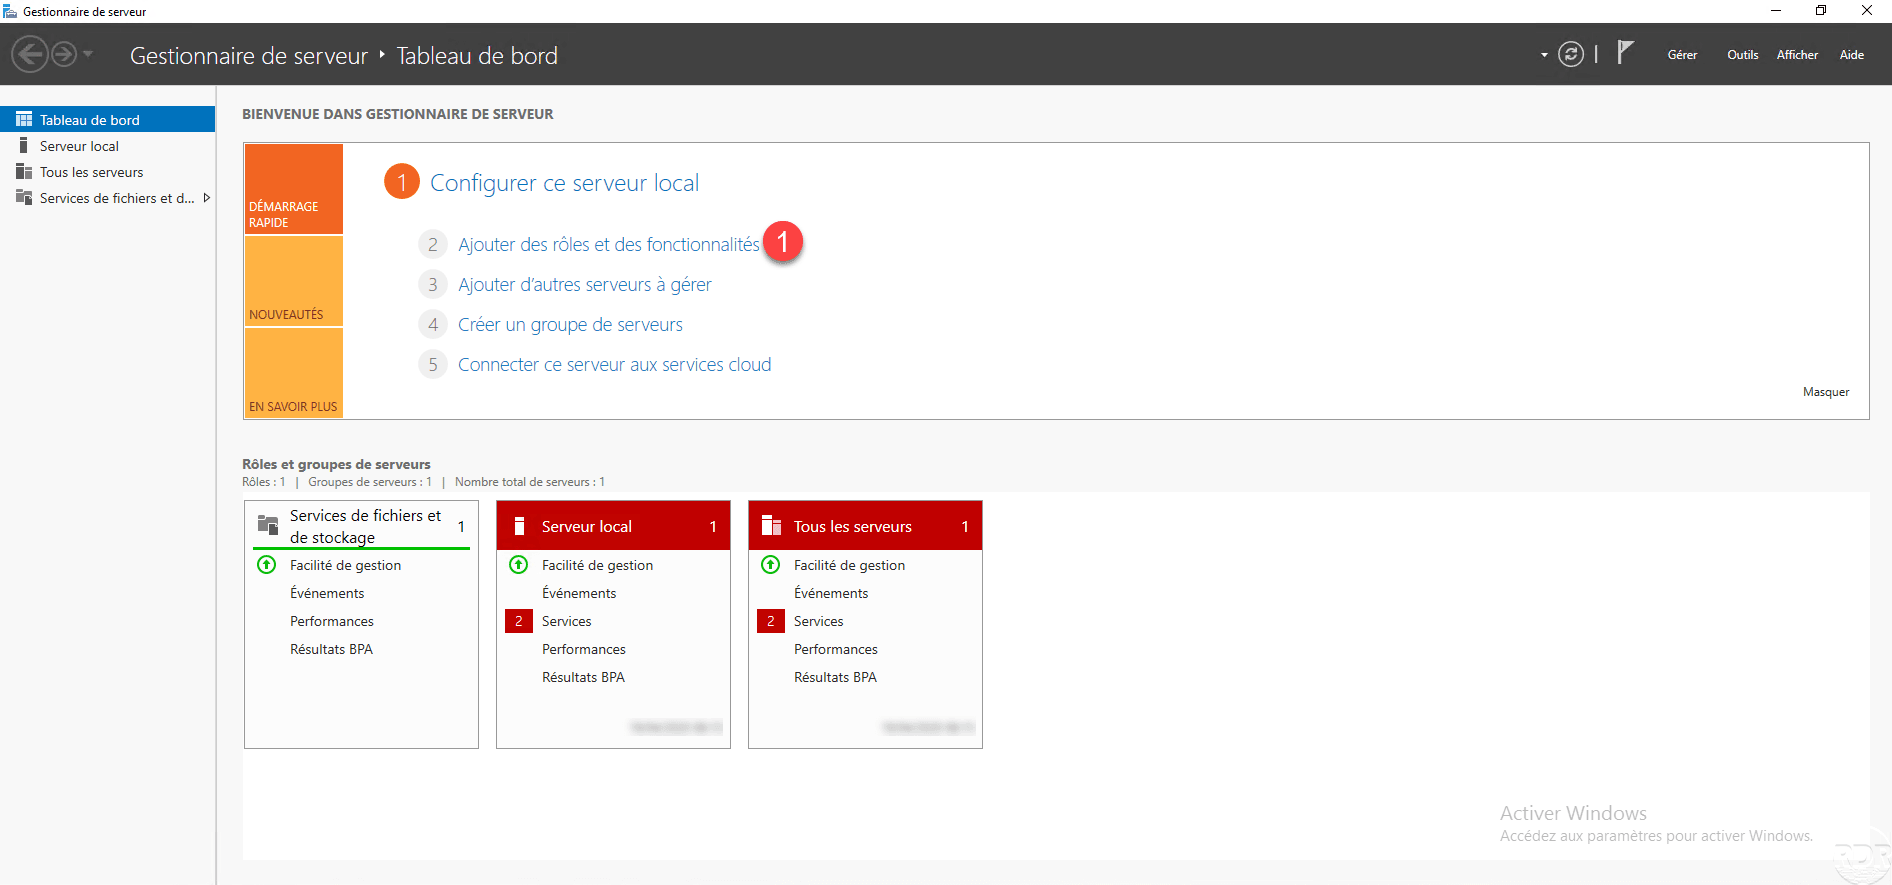
From the server manager, click on Add roles and features 1.
When the wizard is launched, click on Next 1.

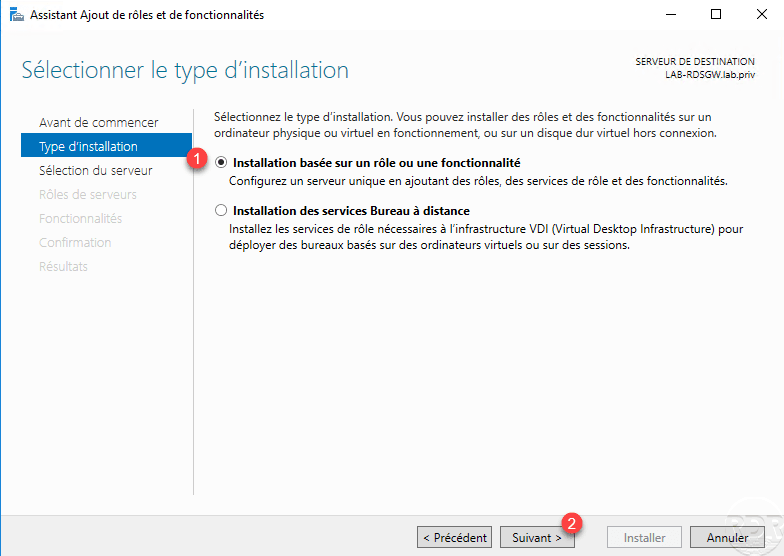
Choose Installation based on a role or a feature 1 and click on Next 2.
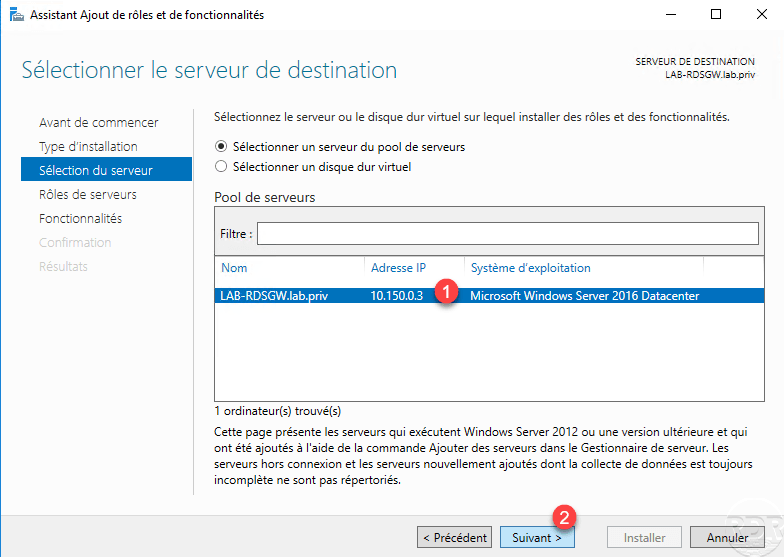
Select the server 1 which will receive the role then click on the Next button 2.
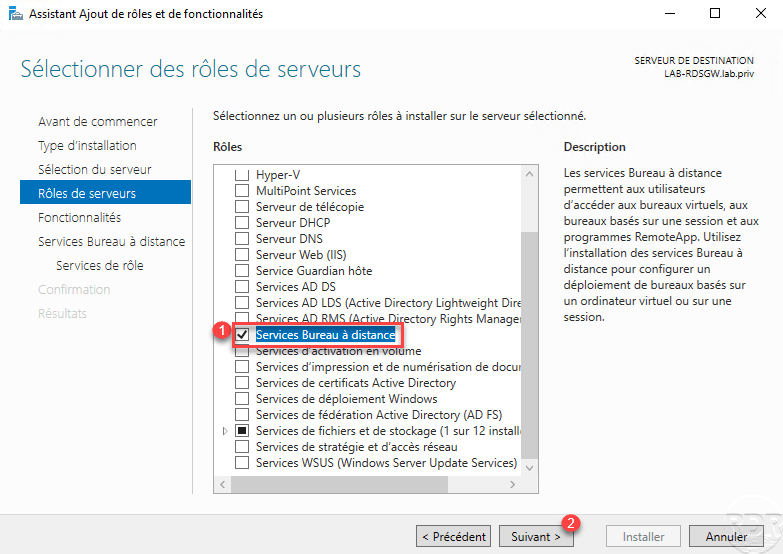
In the roles, check the Remote Desktop Service box 1 and click Next 2.
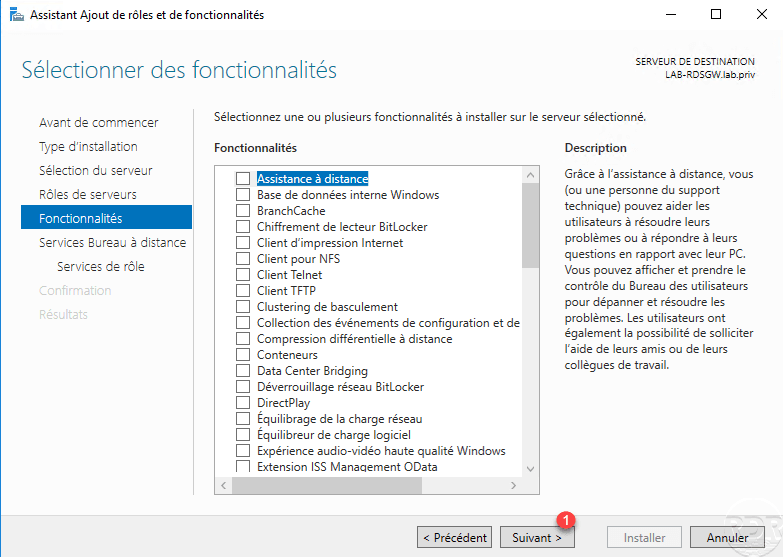
Skip the functionality, by clicking Next 1.
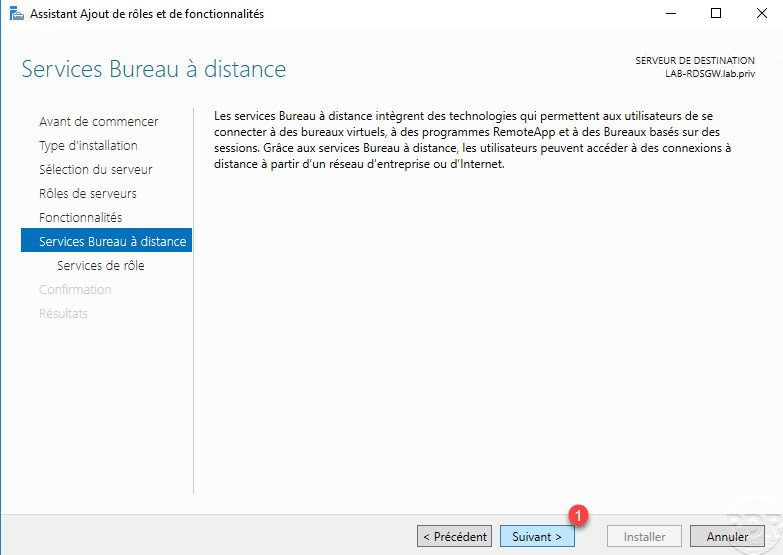
A presentation of Remote Desktop Services is displayed, click on Next 1.
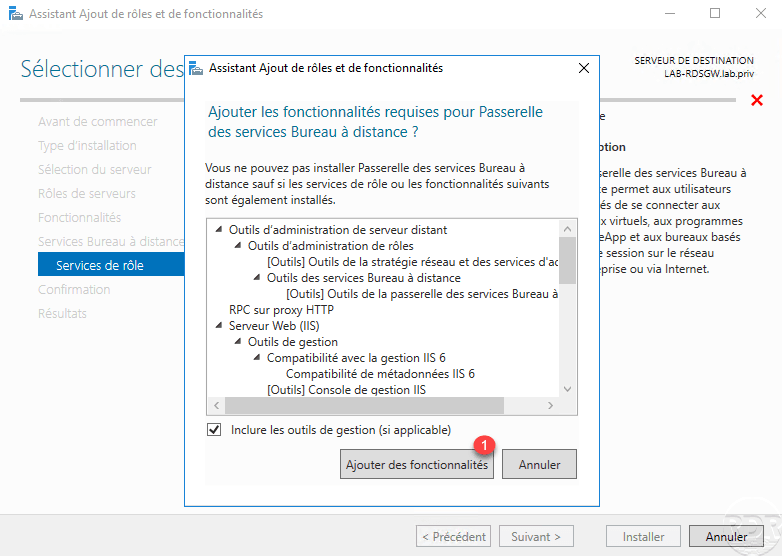
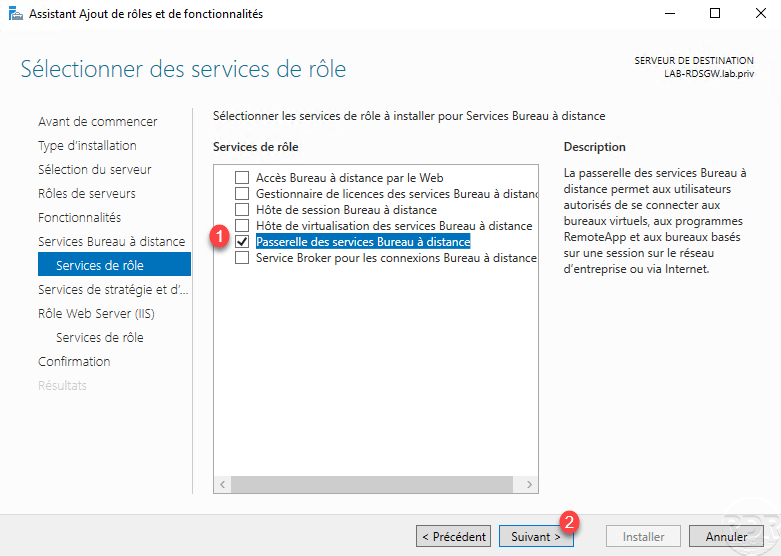
Check the Remote Desktop Services Gateway service 1.

Click on Add features 1 to install the necessary dependencies for the RDS gateway.
With the Remote Desktop Services gateway service selected 1, click Next 2.
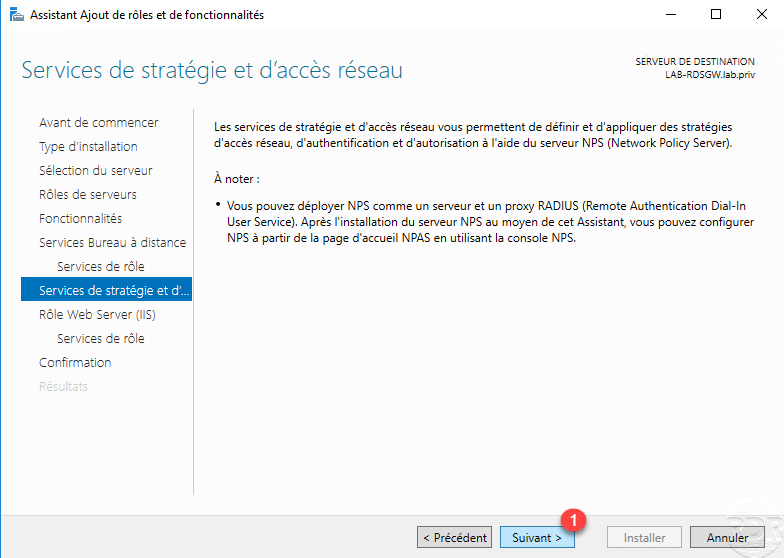
Skip the overview of Network Policy and Access Services (NPS) by clicking Next 1.
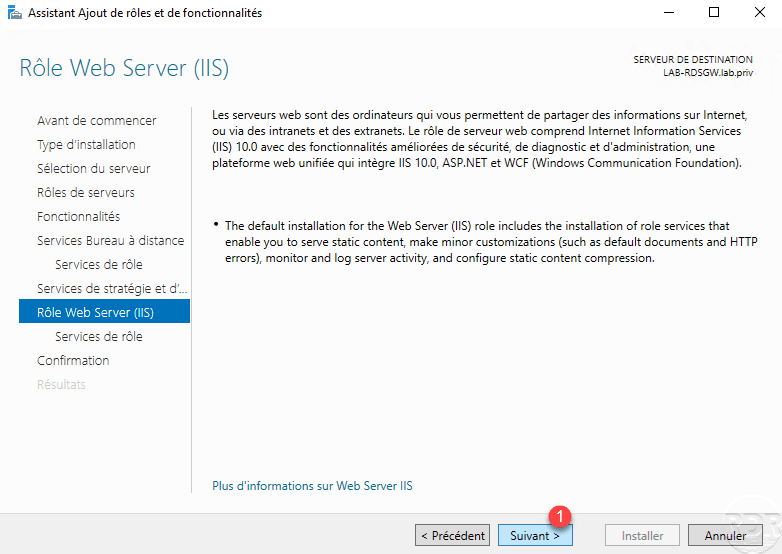
Do the same with the IIS role, click on Next 1 to skip the presentation.
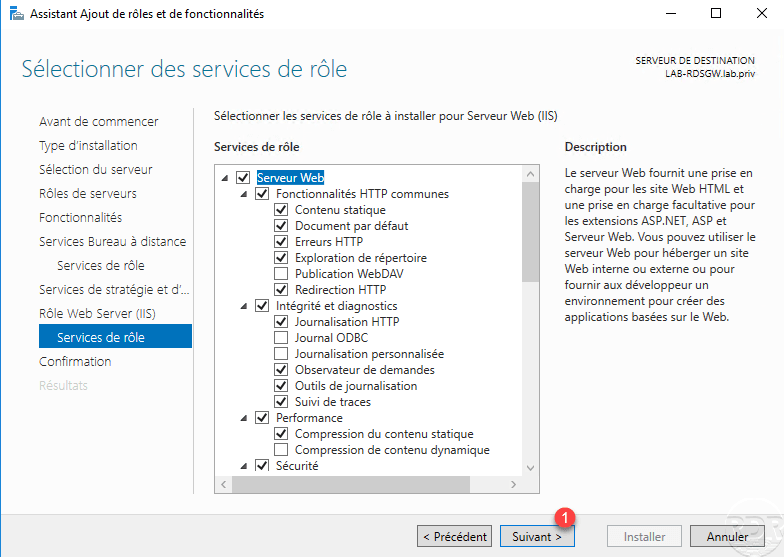
Click on Next 1 to confirm the installation of the various components (services) linked to IIS.
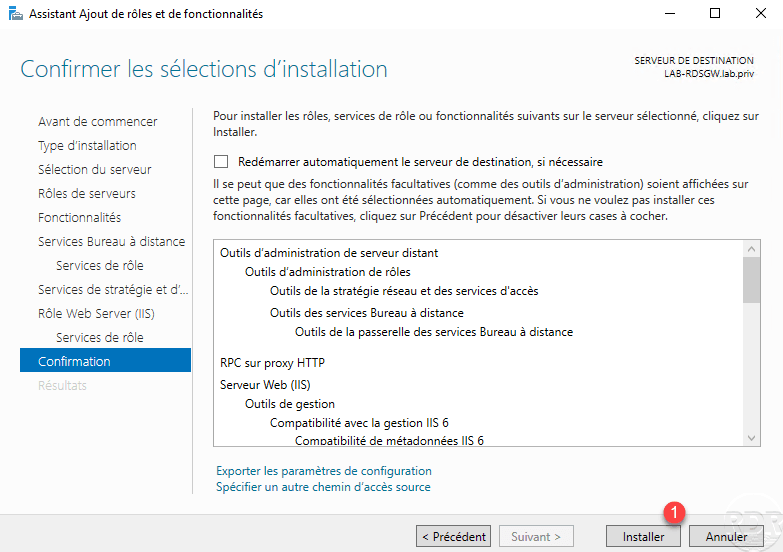
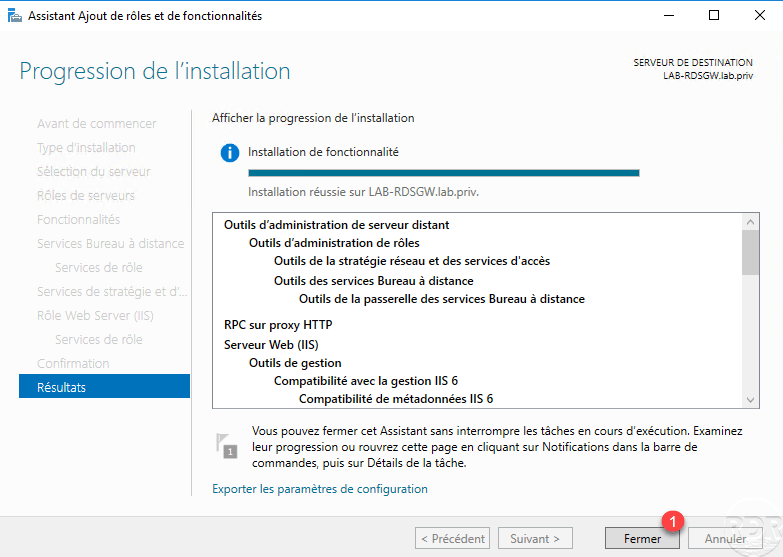
Confirm the installation of the RDS gateway by clicking on Install 1.
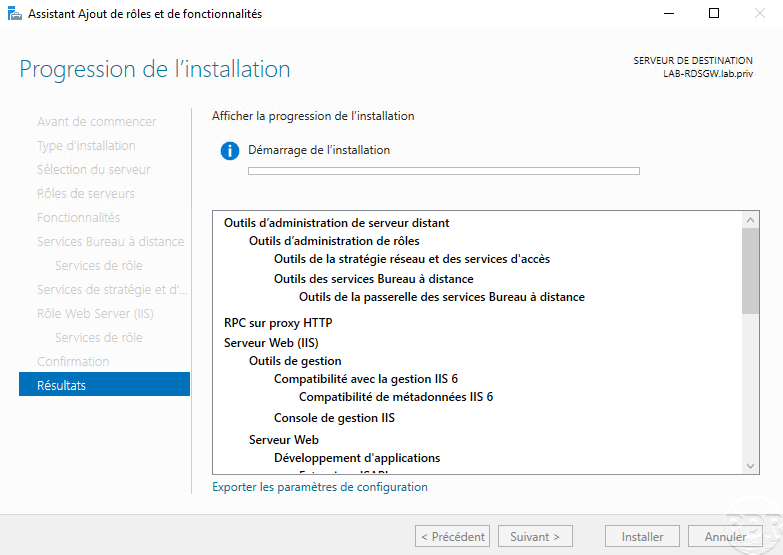
Wait during installation …
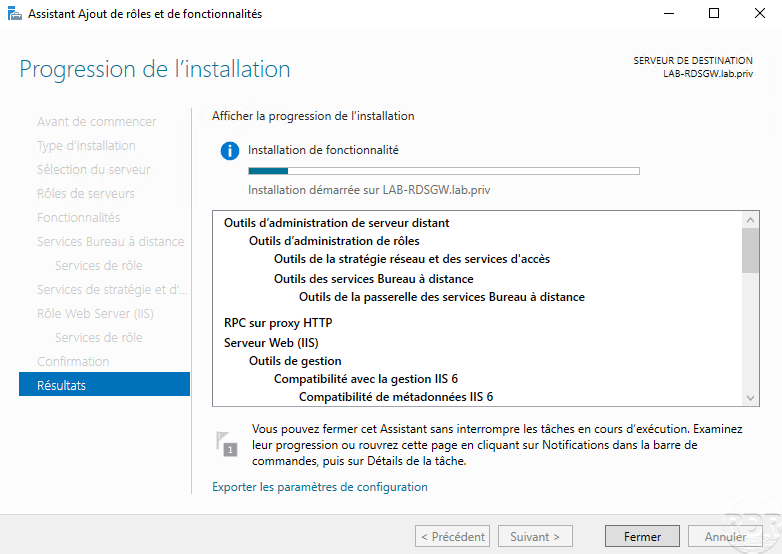
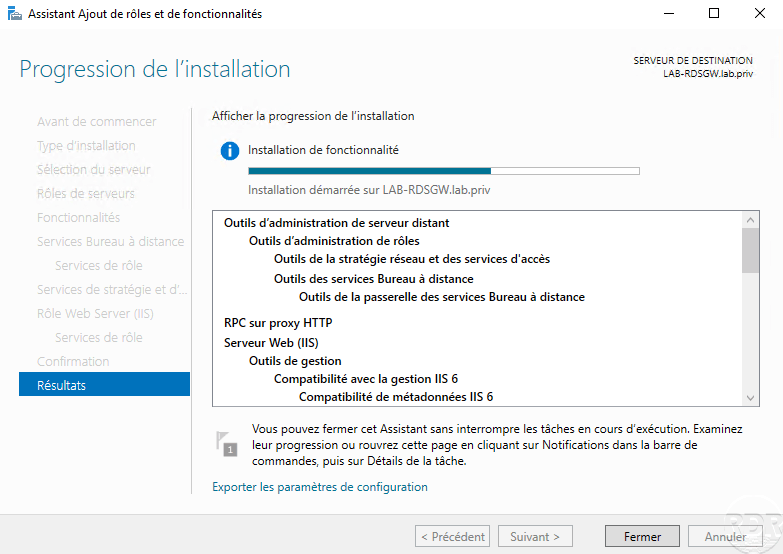
Once the roles have been installed, exit the wizard by clicking on the Close 1 button.
Now that the roles are installed, we will see how to configure the RDS gateway.
Configuration of remote access by the RDS gateway
In this part we will :
- Configure the SSL certificate for the RDS gateway.
- Create a connection authorization policy.
- Create a resource access strategy.
The administration of the gateway is done through the Remote Desktop Gateway Manager console accessible from the Start menu.
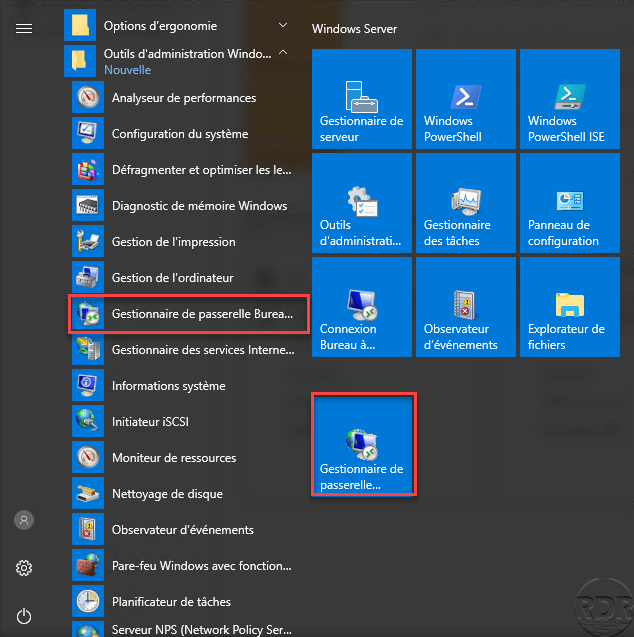
Other consoles have also been installed to manage the IIS and NPS service.
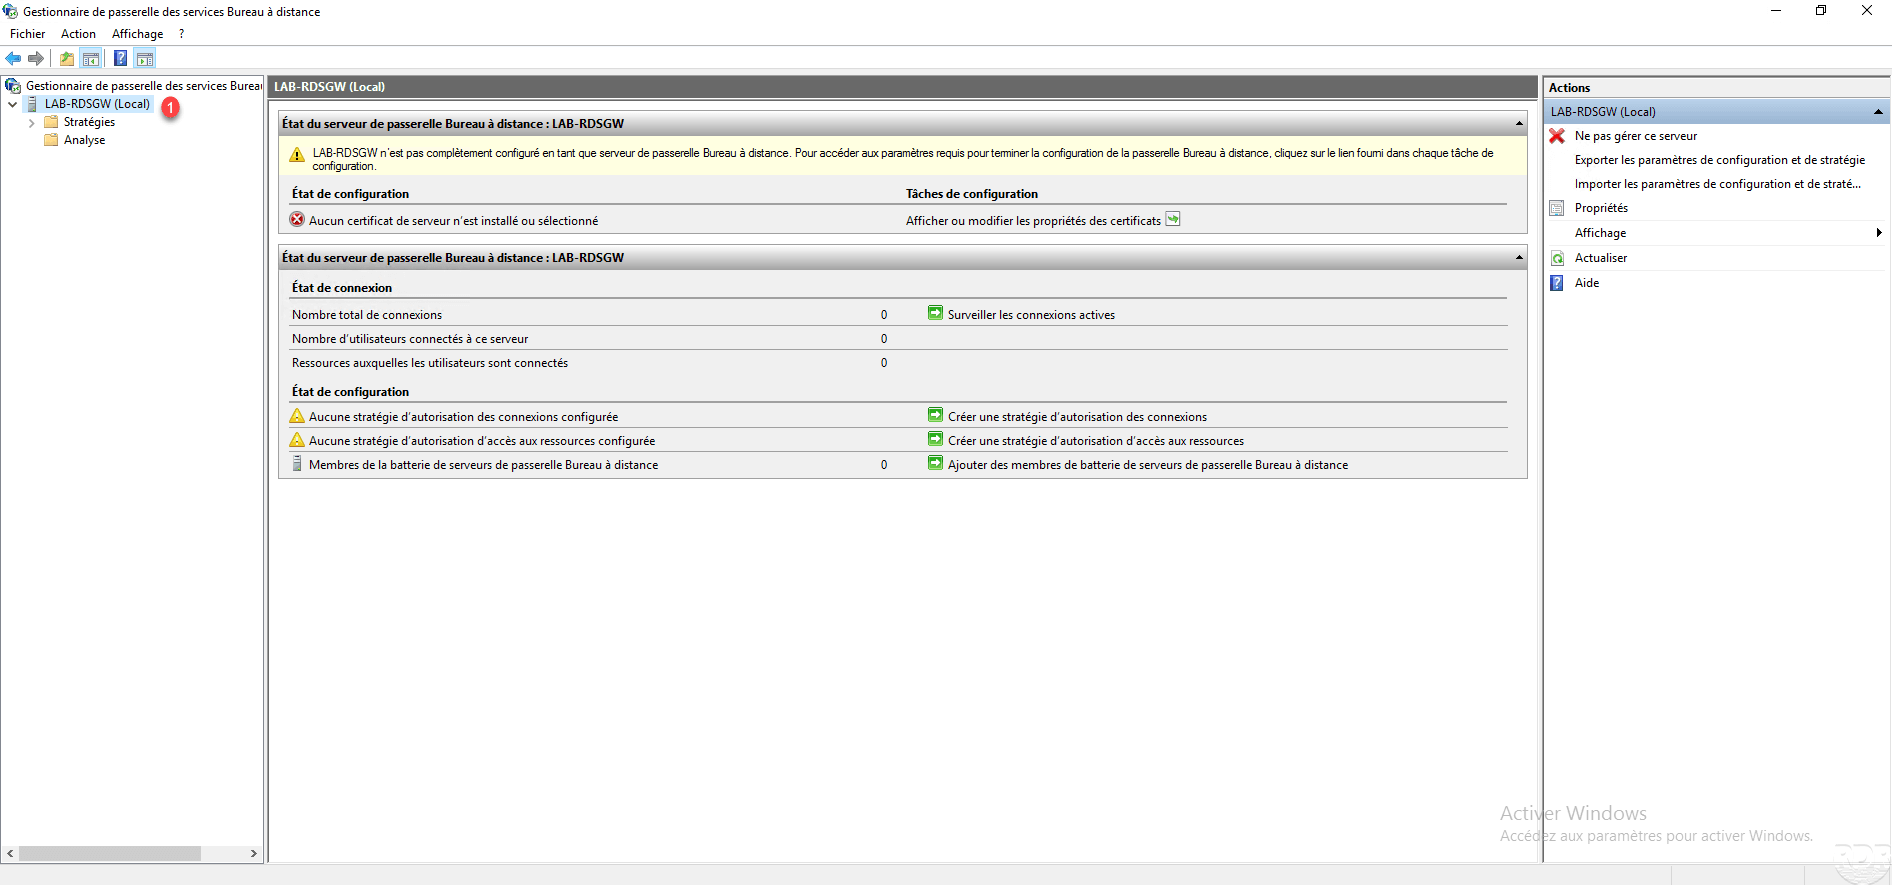
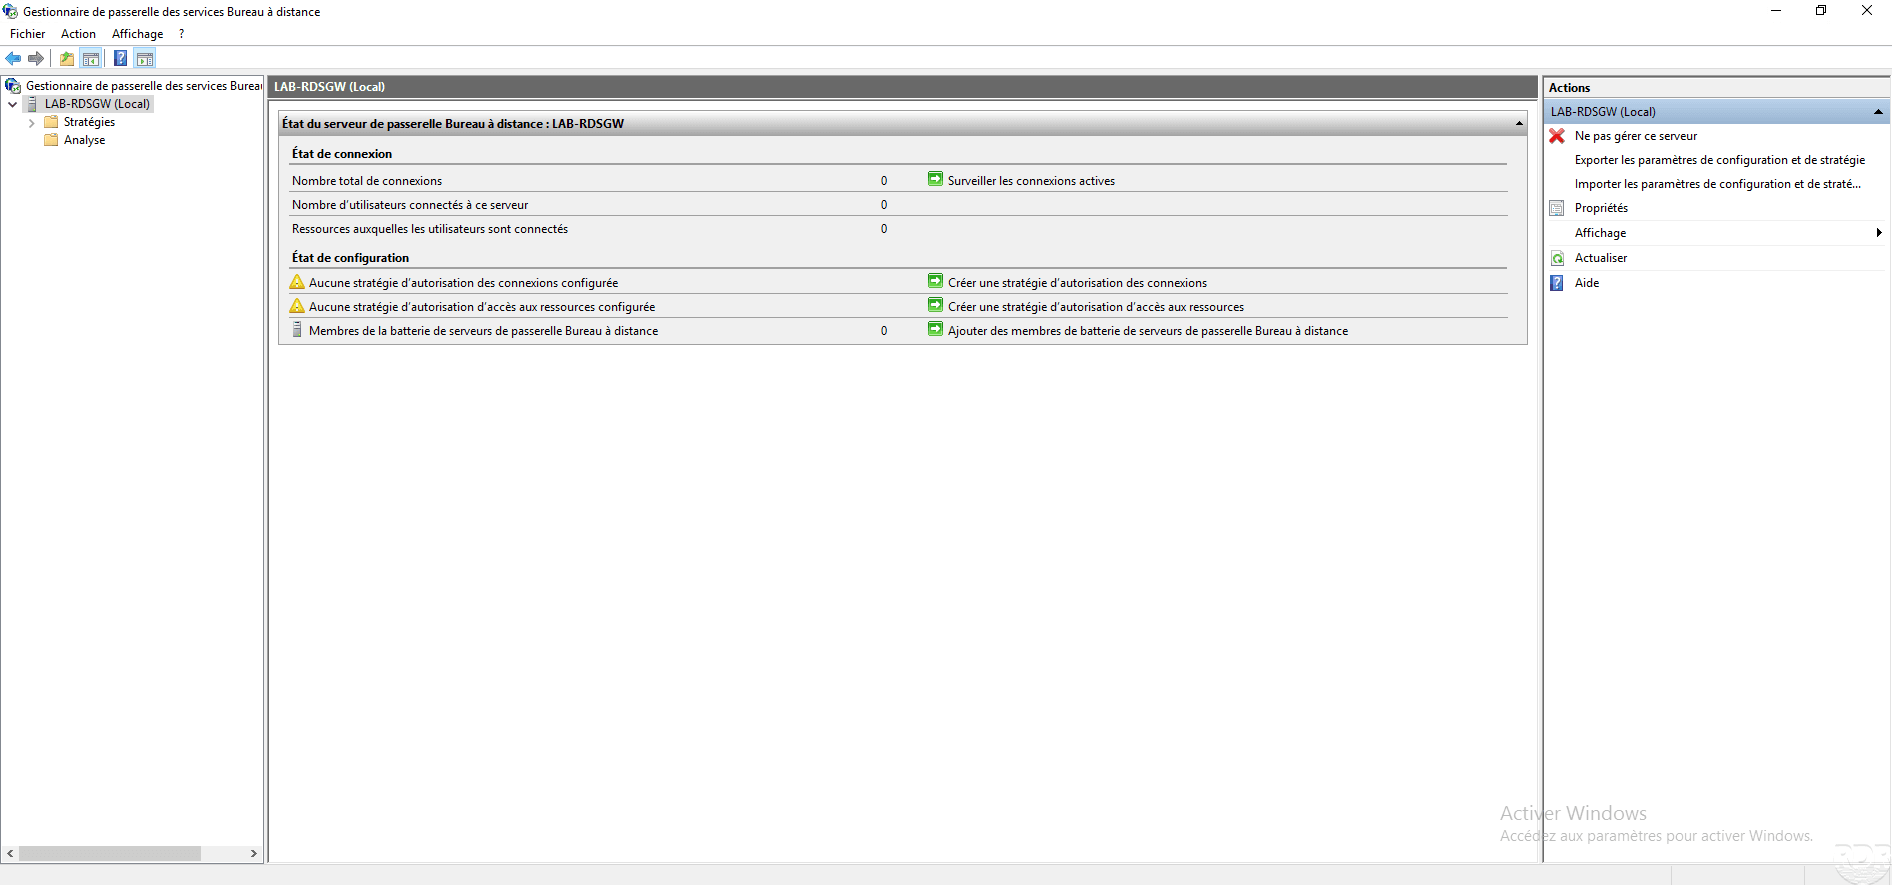
Once the console is launched, go to the local server 1. In the central part, we can see that several warnings are displayed because the certificate is not configured and there are no policies.
SSL certificate configuration
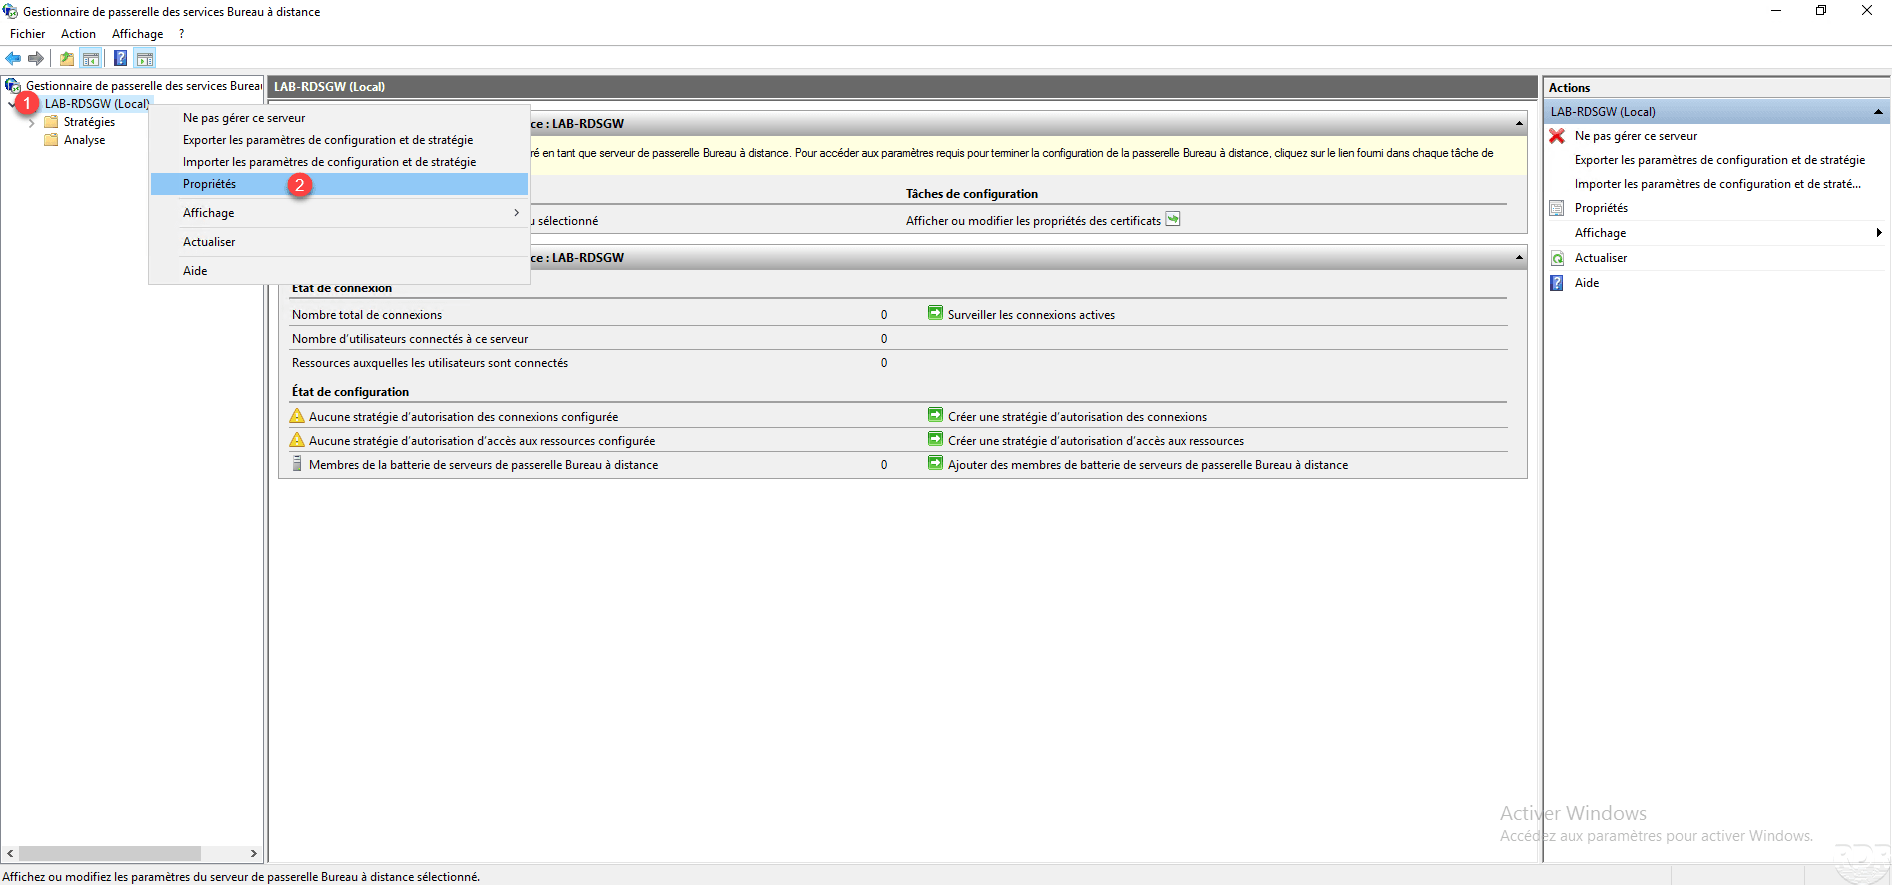
Right click on the local server 1 and click on Properties 2.
Go to the SSL certificate 1 tab and click on the Create and import a certificate 2 button.

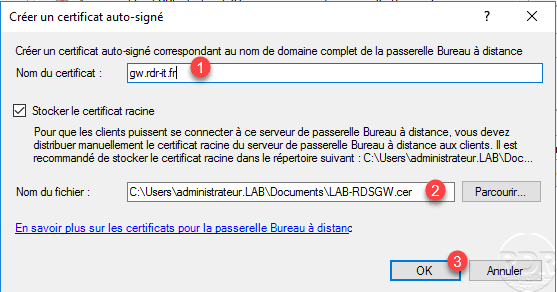
Indicate the URL 1 which will be used to contact the RDS gateway, indicate the location 2 where the certificate will be saved in order to be deployed on the computers and click on OK 3.
Click OK 1 to close the message.
In the central part, we can see that the certificate is installed 1 but the configuration not taken into account. Click on Apply 2.
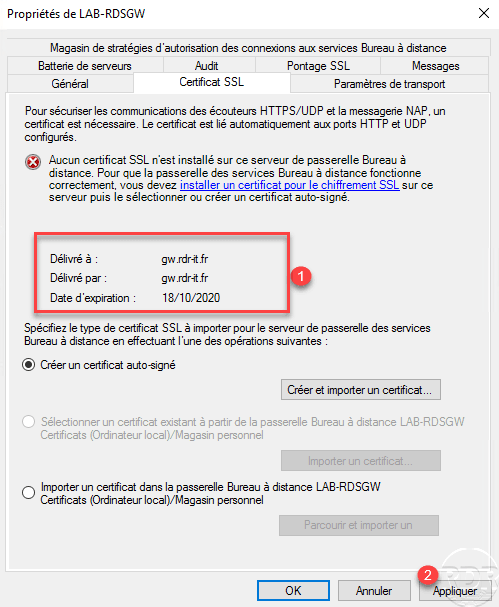
The certificate is now installed 1, click OK 2 to close the properties.

Configuring policies
On the administrative console, only the alerts on the configuration of policies remain.
The RDS gateway requires two policies so that users can access computers in the remote office:
- Connection authorization policies will determine who can connect and with what parameters. These policies are applied in order like a firewall.
- Resource access authorization policies will determine whether the person is authorized to access the requested resource (remote desktop).
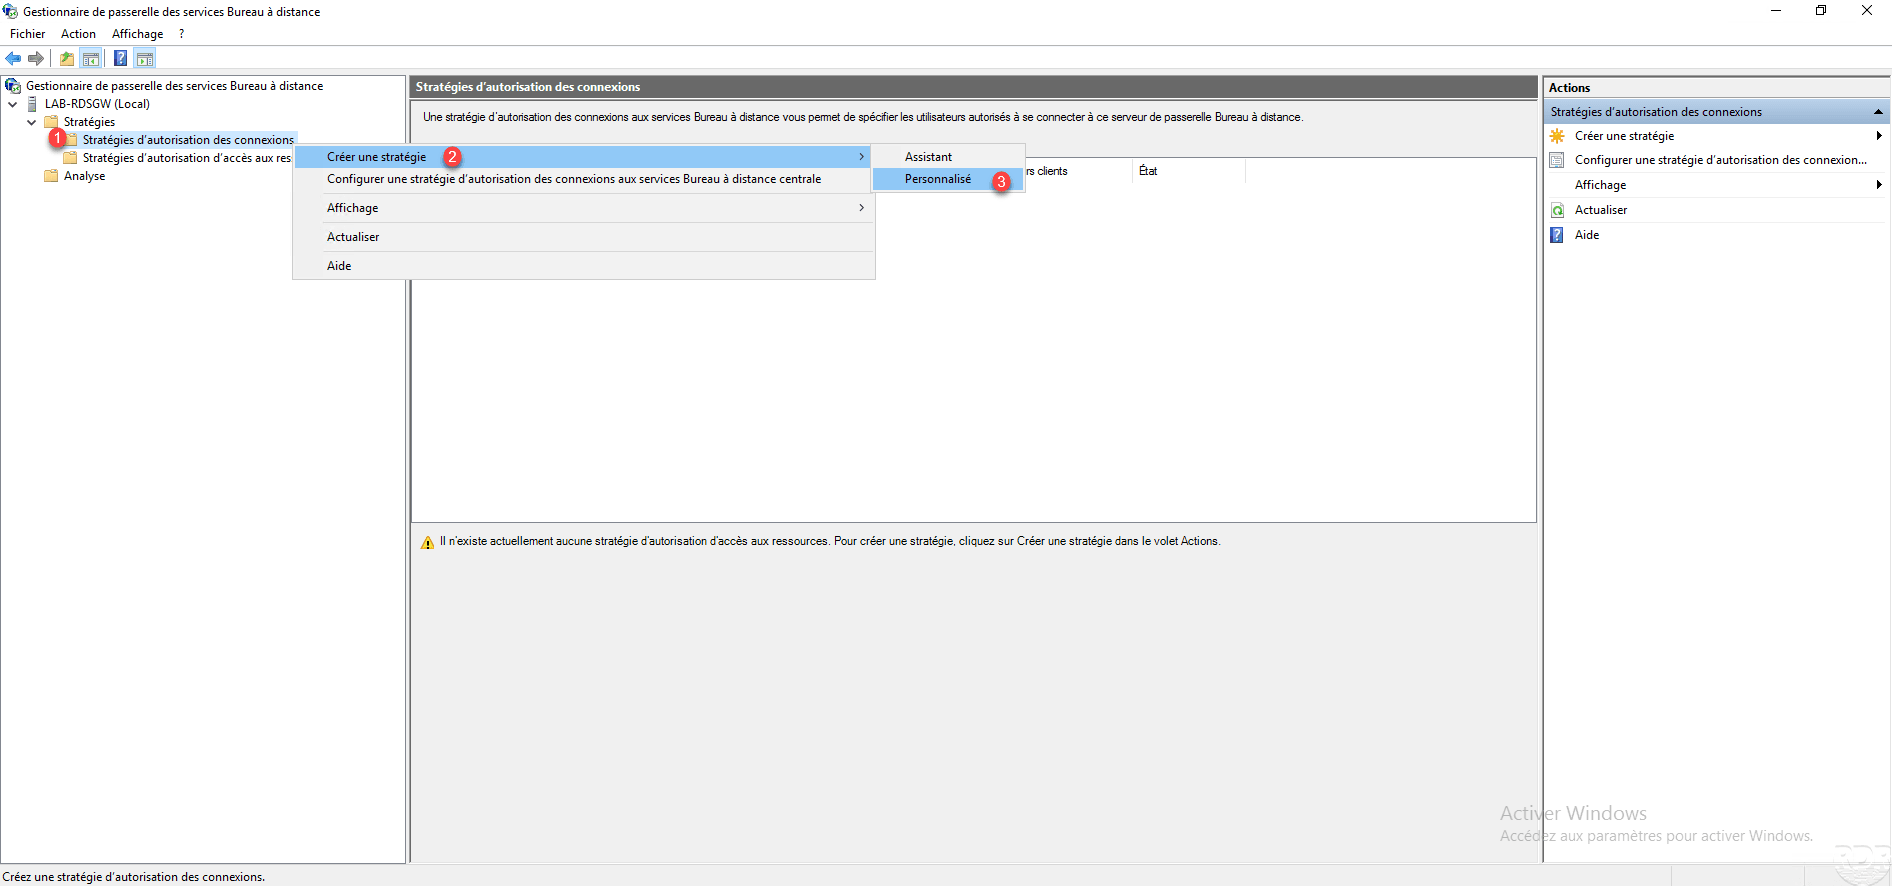
Access to the different strategies is done by scrolling down the Policies 1 node.

Create a connection authorization policy
Right click on Connection authorization policies 1 and go to Create a strategy 2 and click on Custom 3.
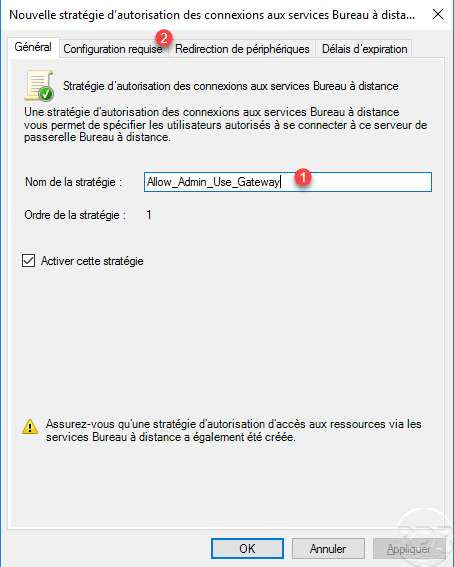
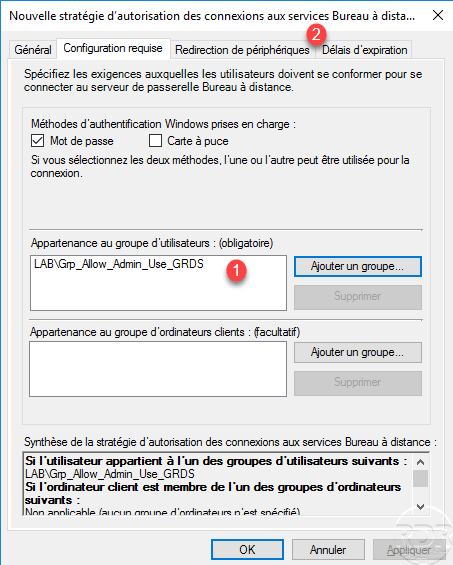
Name the strategy 1 and go to the Requirements tab 2.
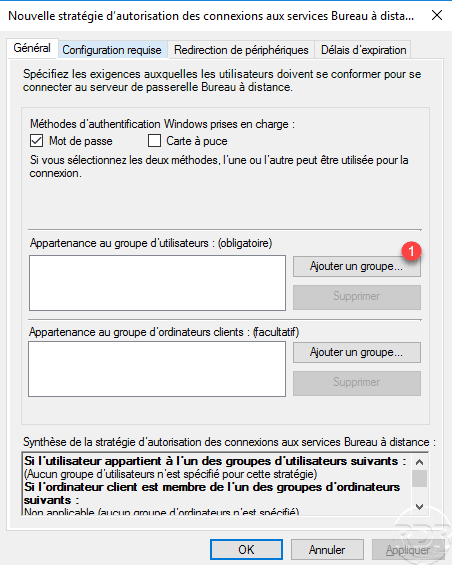
In this part, you must configure the group, which has the right to connect. Click on Add a group 1.
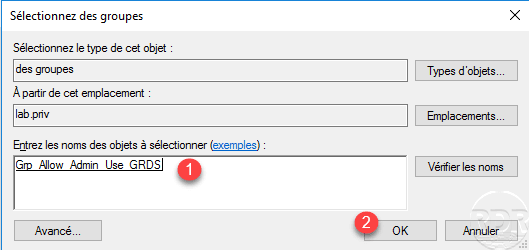
Select the group created 1 at the start of the tutorial and click OK 2.
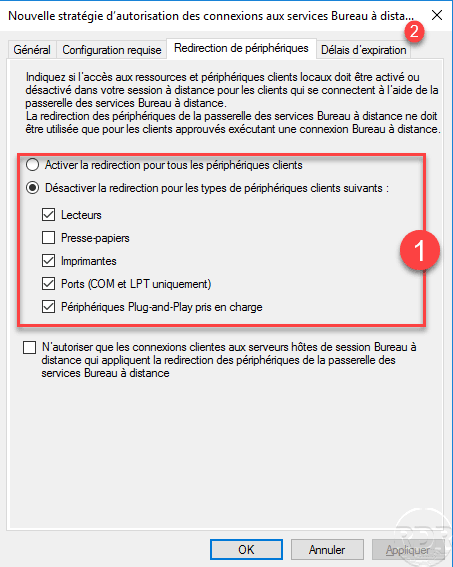
The group is added 1 to the policy, go to the Device redirection tab 2.
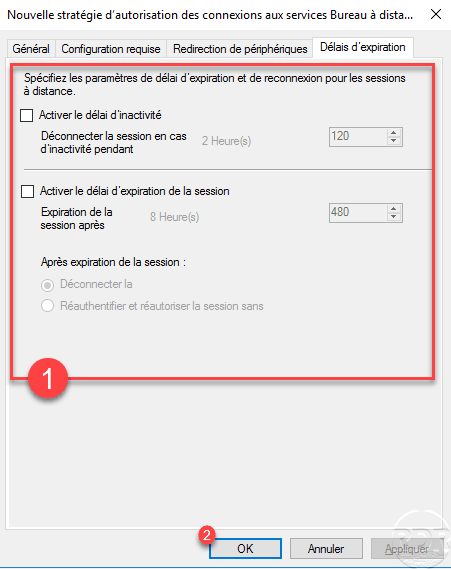
As required, configure the redirection of the 1 devices and go to the Expiration times 2 tab.
Like device redirection, configure the expiration times for sessions 1 then click OK 2 to create the policy.
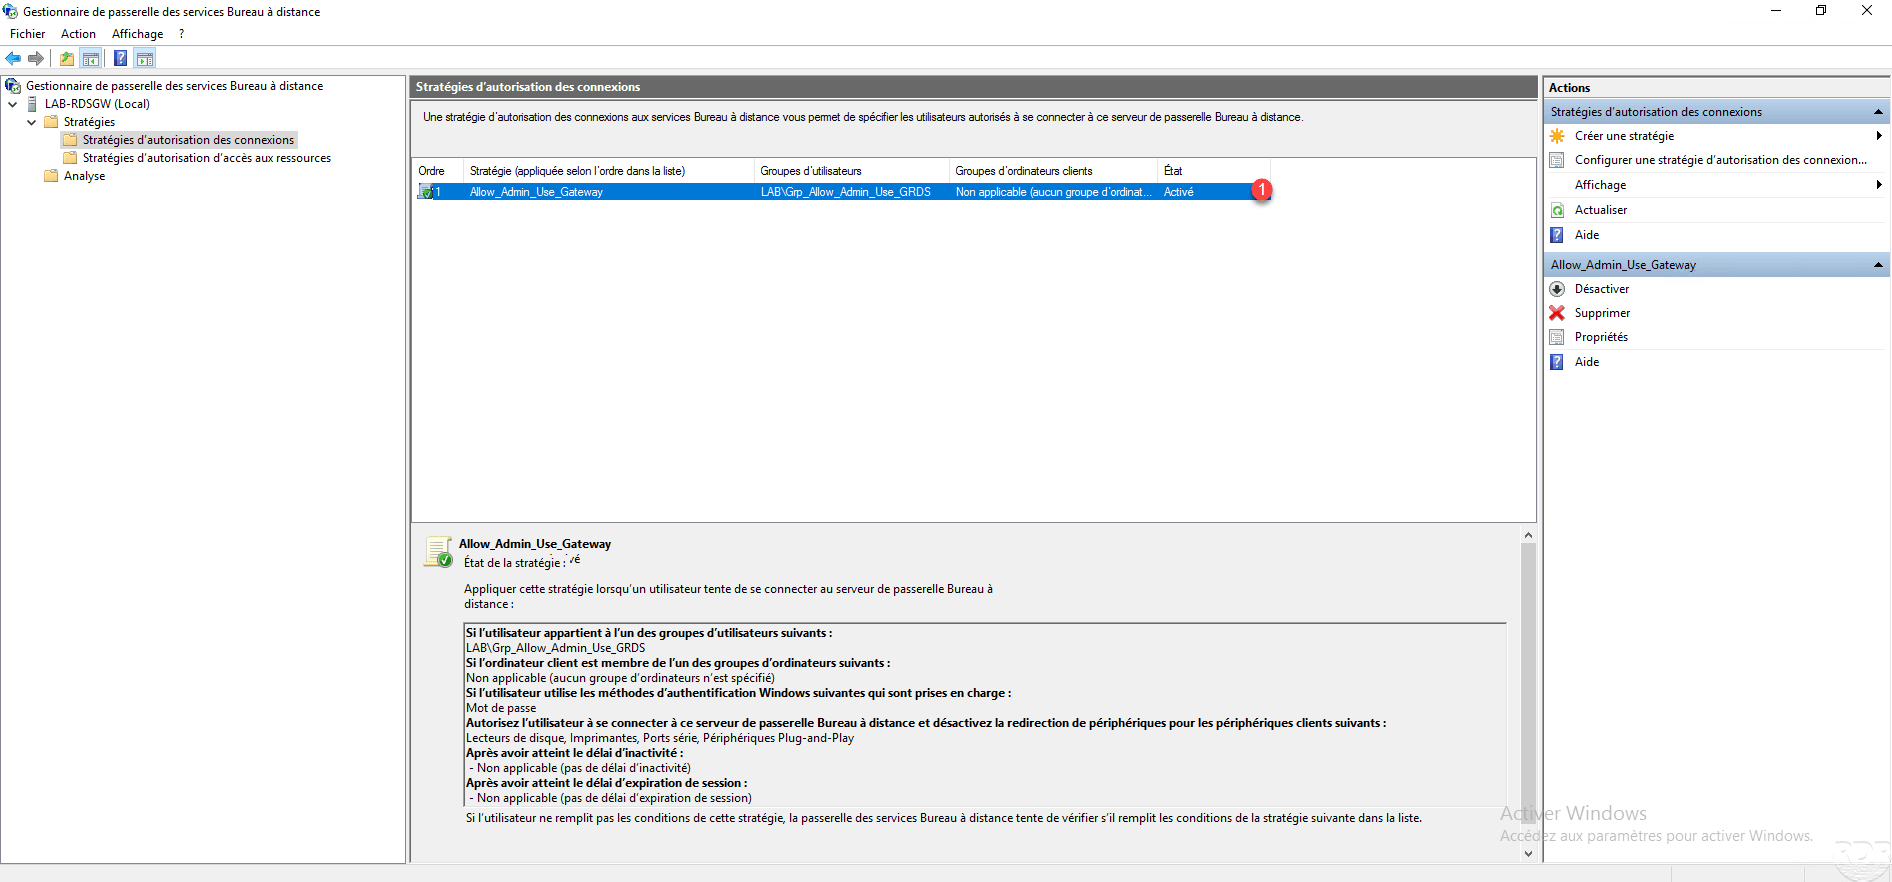
Connection strategy 1 is added and active.
Create a resource access authorization policy
In this strategy, we will configure “who can use what”.
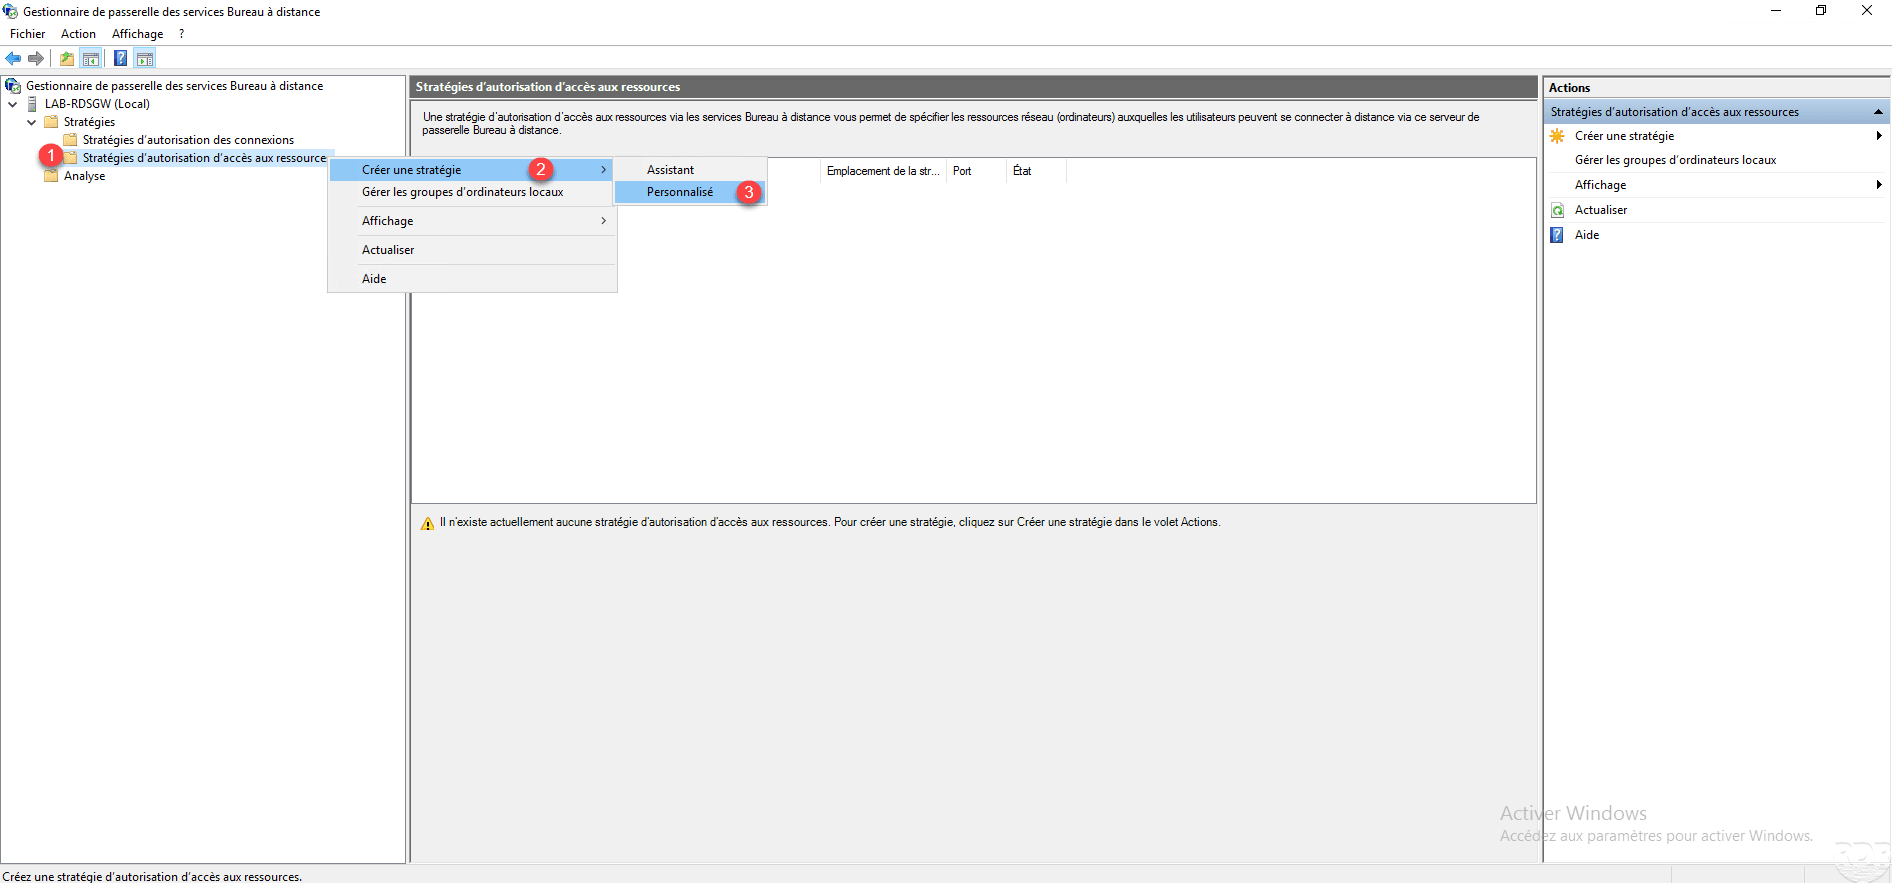
Right click on Resource access authorization policies 1, go to Create a policy 2 and click on Custom 3.
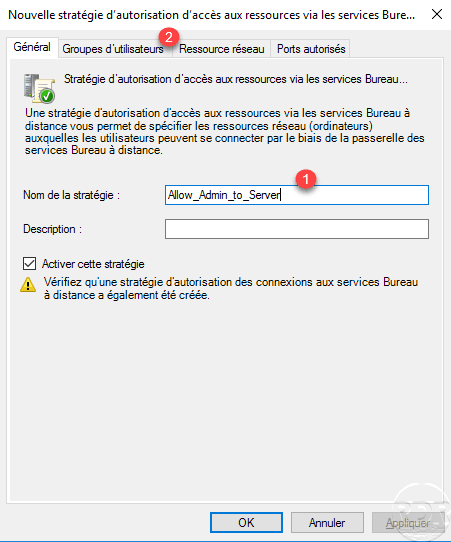
Name the policy 1 and go to the User groups tab 2.
On this tab, we indicate Who, we must select the group which contains the users authorized to connect. Click the Add 1 button.

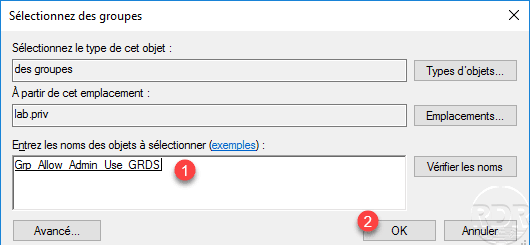
Select the group 1 and click on OK 2.
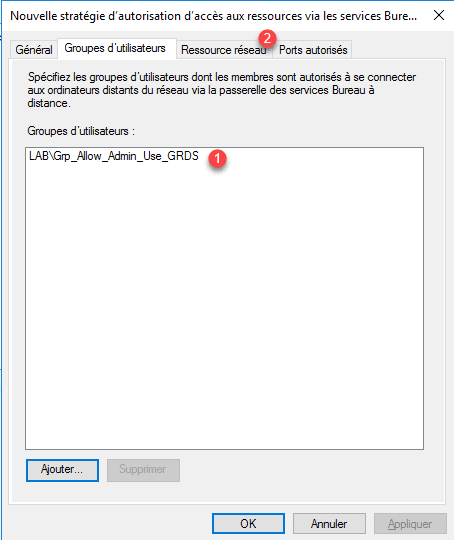
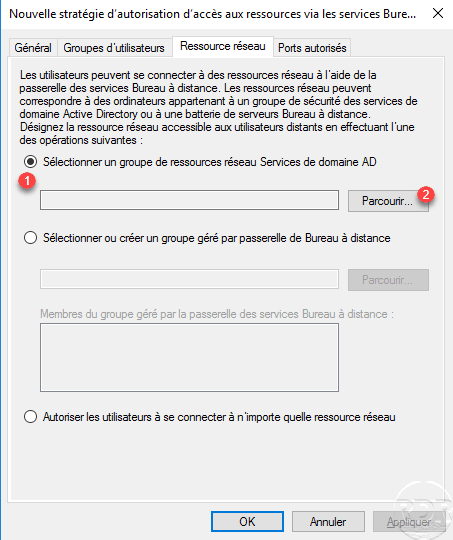
The user group 1 is added, go to the Network resource tab 2.
On the Network Resource tab, we will define What, that is to say the computers where the user group has the right to connect. There are 3 options, indicate an Active Directory group as we will do in this tutorial, use a group managed by the RDS gateway or authorize all resources (not recommended).
Choose Select an AD Domain Services network resource group 1 and click Browse 2.
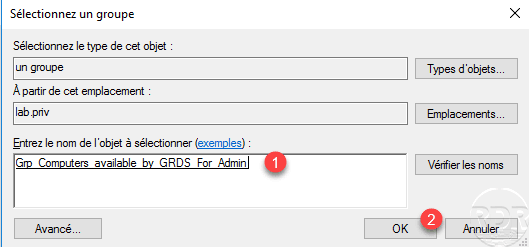
Select the group 1 Active Directory which contains the Computers objects and validate by clicking on OK 2.
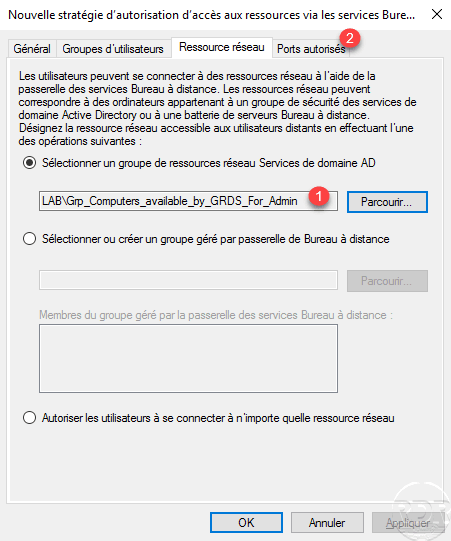
The group 1 is configured in the policy, go to the Authorized ports tab 2
If the RDP port has been modified, you must configure the policy to allow ports other than 3389. Click OK 1 to create the policy.
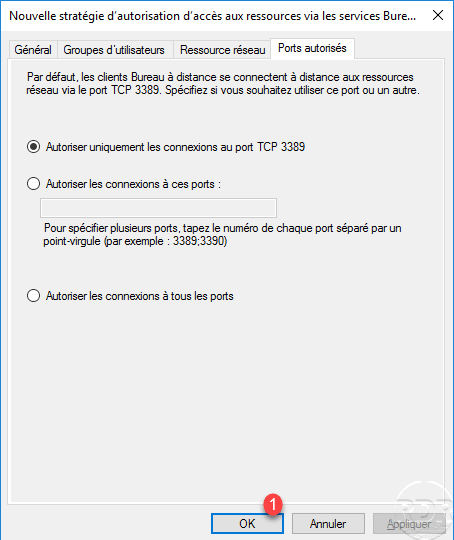
The resource access authorization policy 1 is added to the RDS gateway.
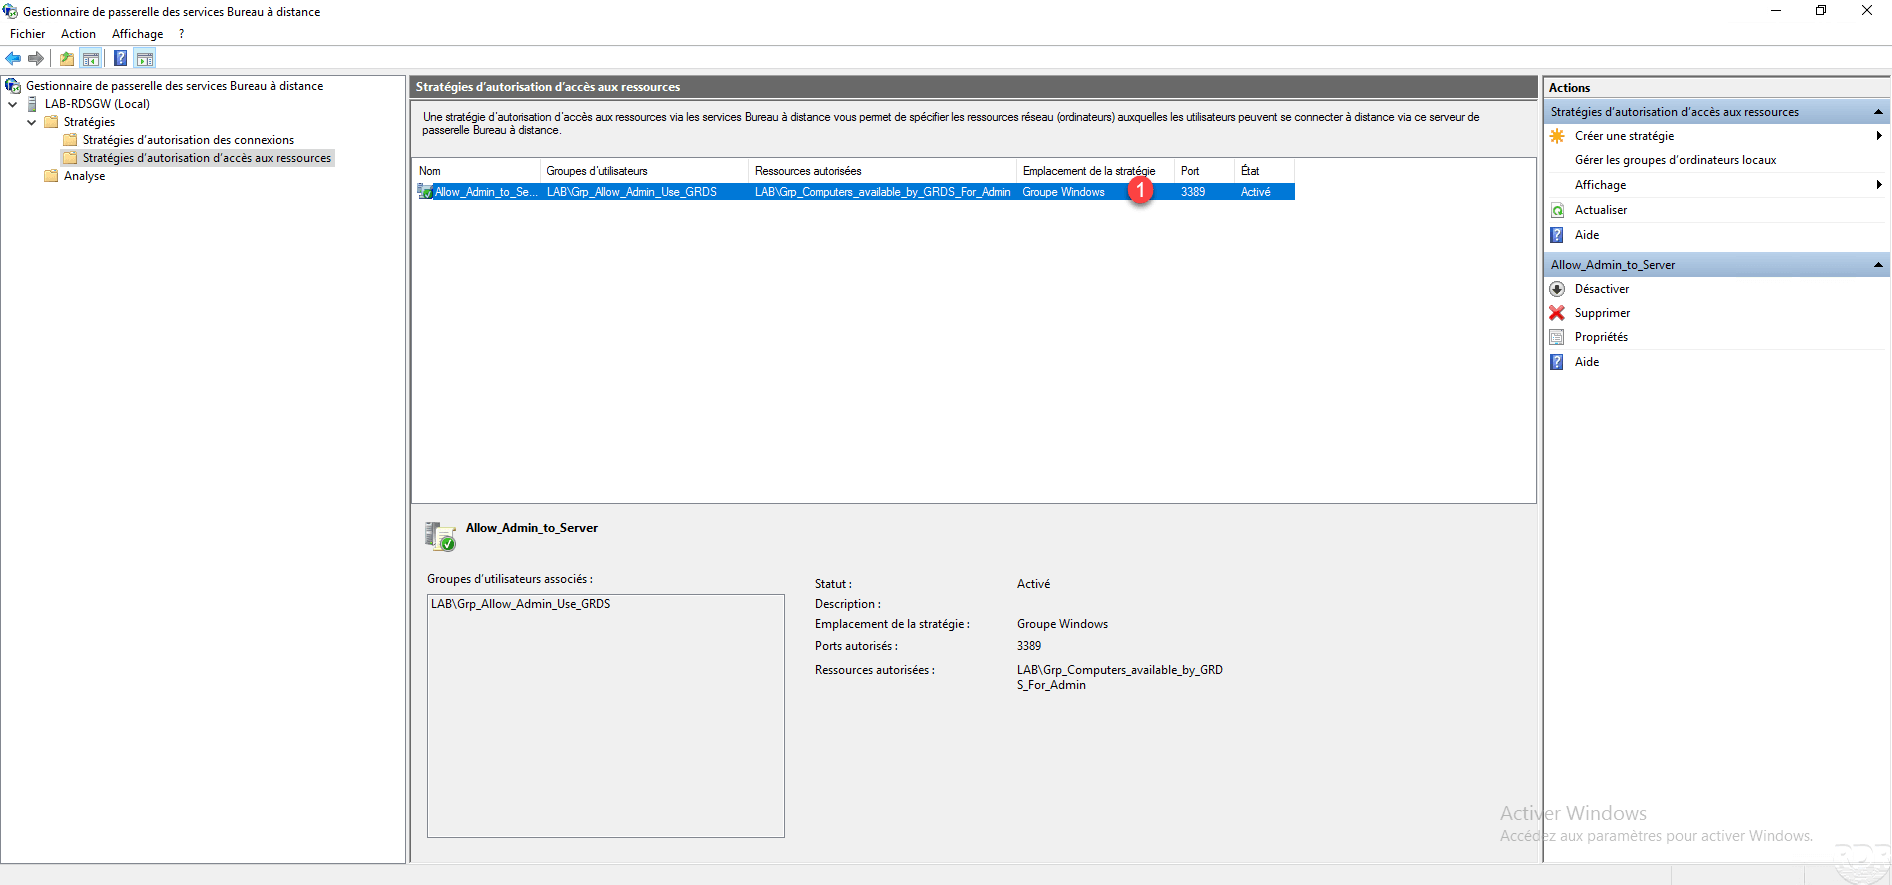
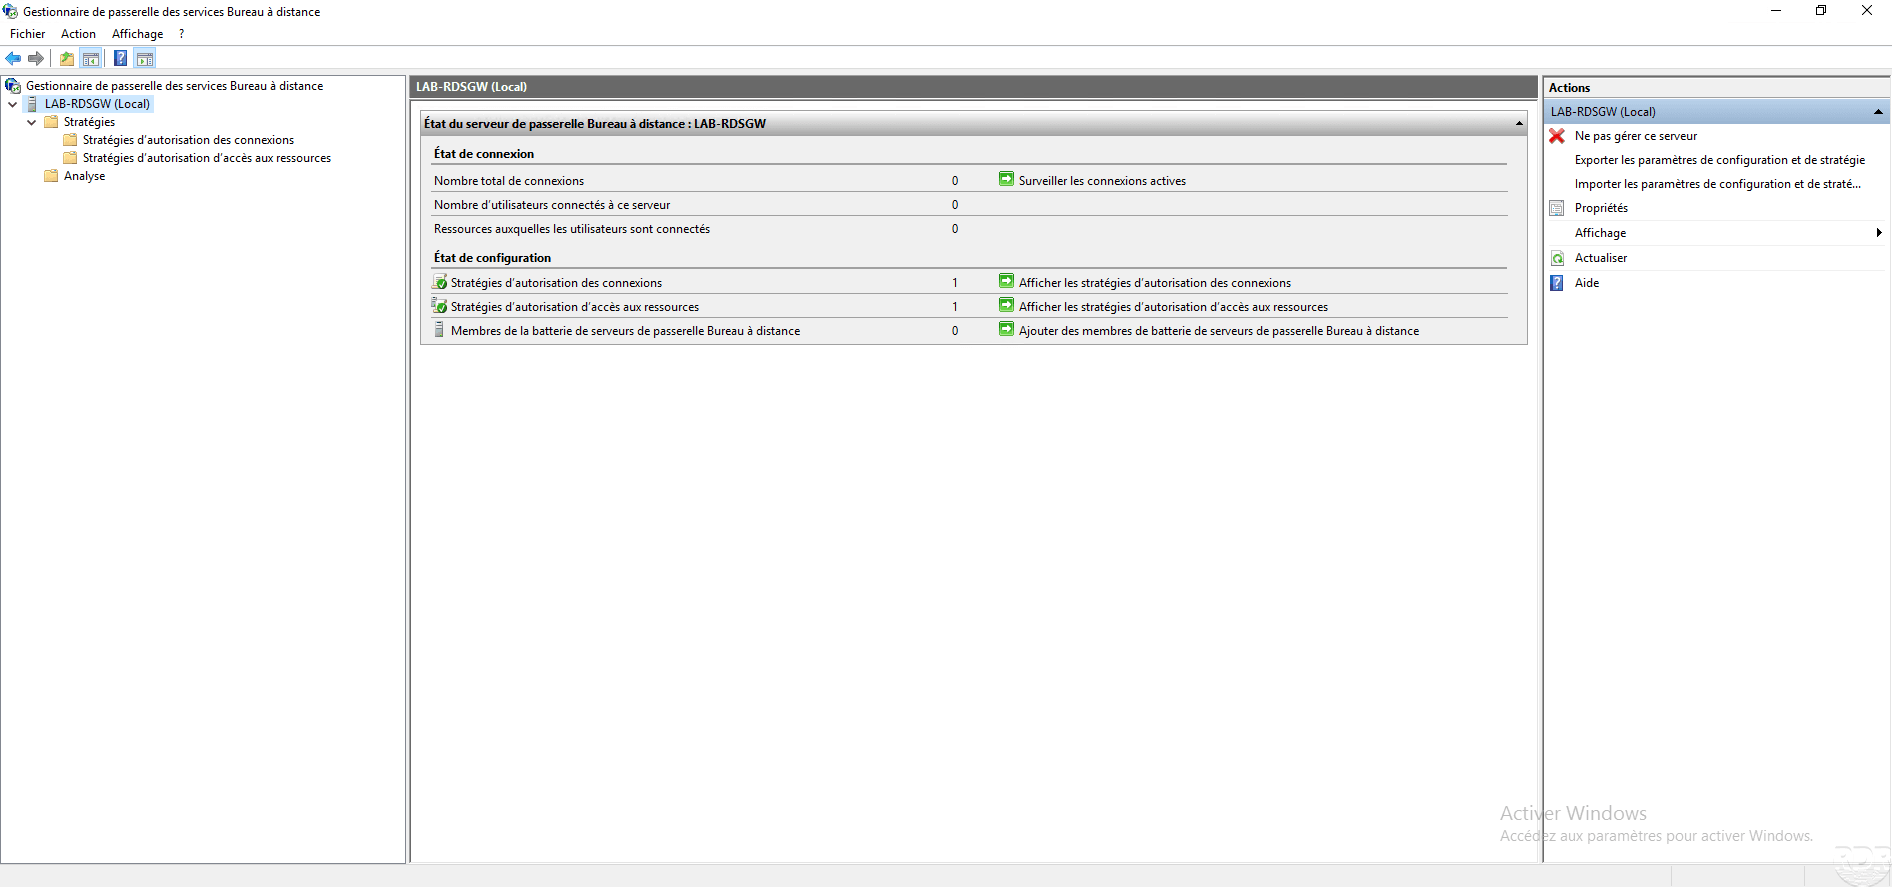
The configuration of the RDS gateway is complete, it is now ready to be used. On the administration console you can see that there is no warning.
How to use the RDS gateway
In this part, we will now see how to use the RDS gateway that we have just configured.
Install the RDS gateway self-signed certificate
This should be done in the case where you are using a self-signed certificate and it is not deployed using GPO.
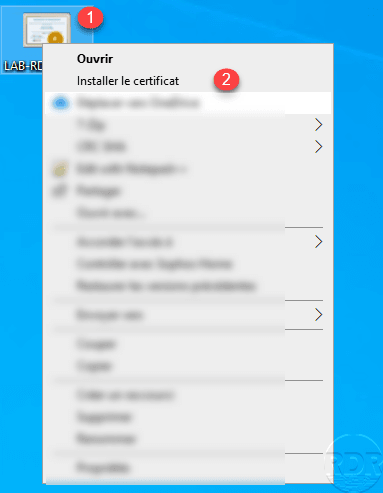
Retrieve the certificate on the RDS gateway and copy the computer that will be used. Right click on certificate 1 and click on Install certificate 2.
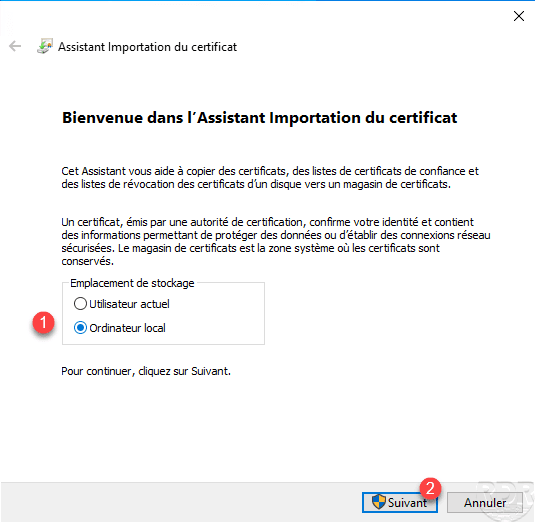
Choose the local computer location 1 and click Next 2.
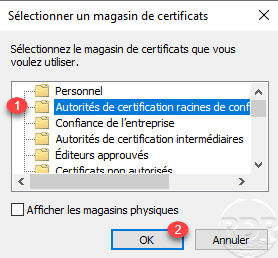
Choose Place all certificates in the following store 1 and click on Browse 2.

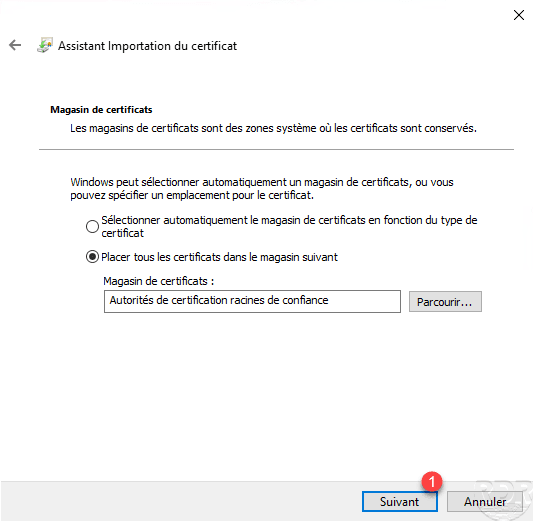
Select the Trusted Root Certification Authorities store 1 and validate by clicking OK 2.
With the store selected, click on Next 1.
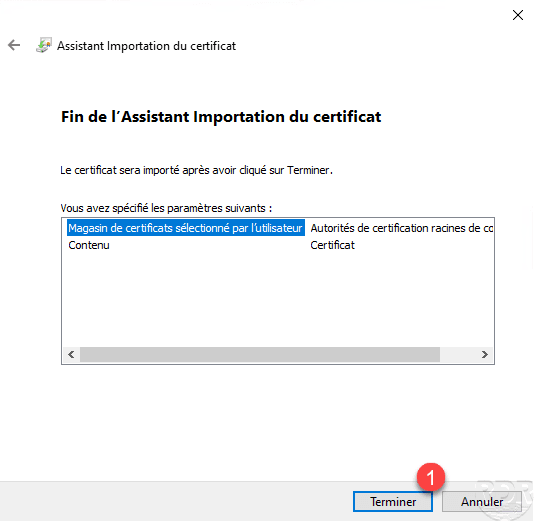
Click on Finish 1 to confirm the installation of the RDS gateway certificate.
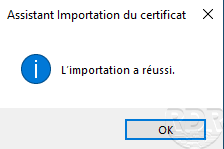
Click OK 1 to close the confirmation message.
Use with RDS gateway with Remote Desktop Connection client
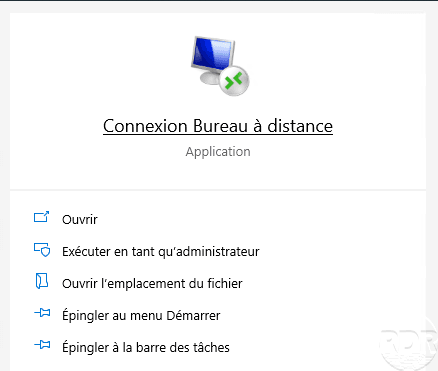
Ouvrir le client Connexion Bureau à distance disponible sur Windows.
On the General tab 1, indicate the computer 2 then the identifier of the account 3 to be used to connect. Then go to the Advanced tab 4.
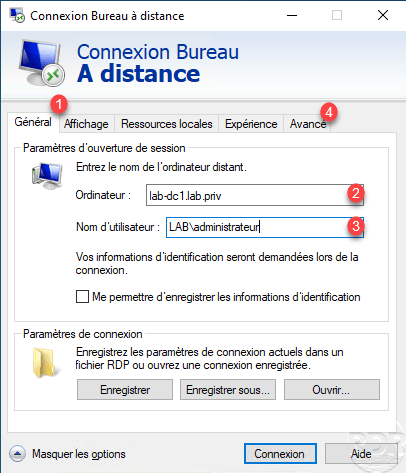
Click on the Parameters button to access the configuration of the RDS gateway.

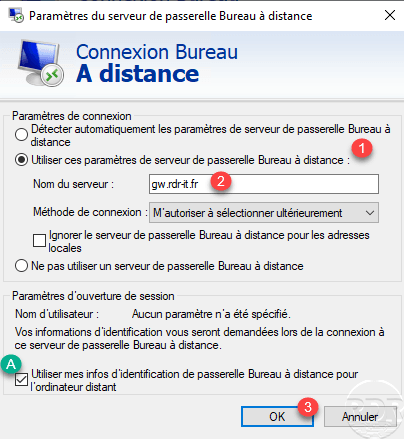
Choose the parameter Use these Remote Desktop gateway server parameters 1, specify the DNS name (fqdn) of the gateway 2. If the login credentials for the server and the RDS gateway are identical, check the box Use my Remote Desktop Gateway credentials for the remote computer A. Click on OK 3 to validate the parameters.
Click on Connection 1.

Validate any certificate alerts.
A Windows security window of identification opens, one can see above the identification concerns the RDS gateway and the remote server A. Enter the password for account 1 and click OK 2.

Wait during configuration and login.
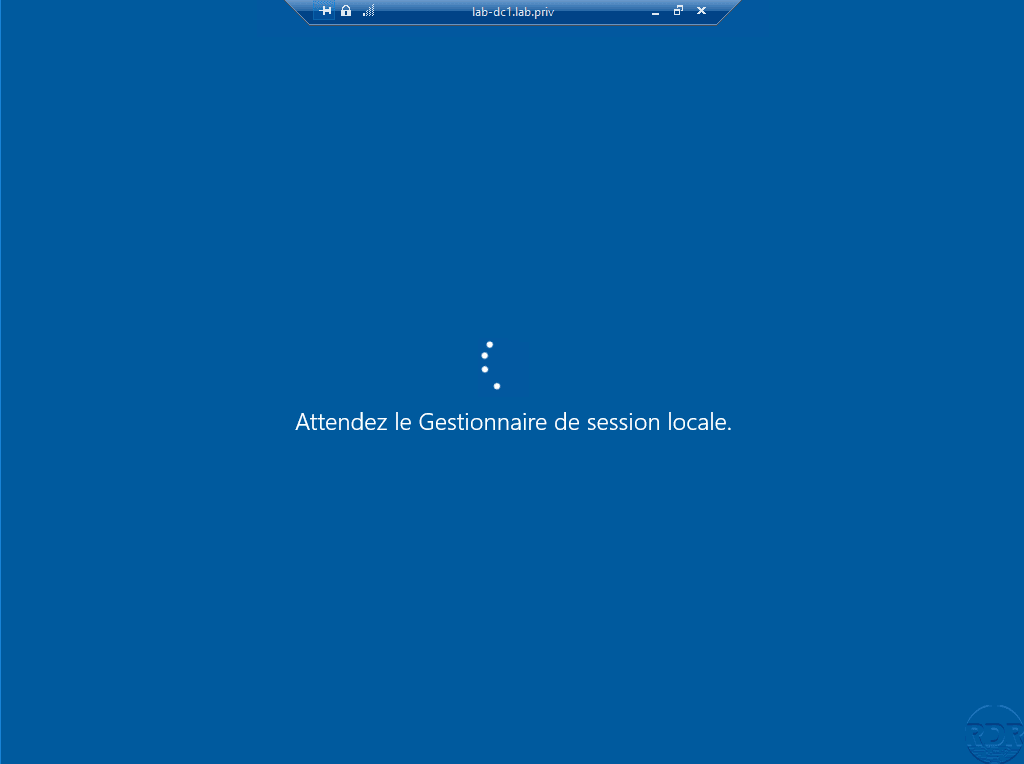
The session is opened via the RDS gateway.
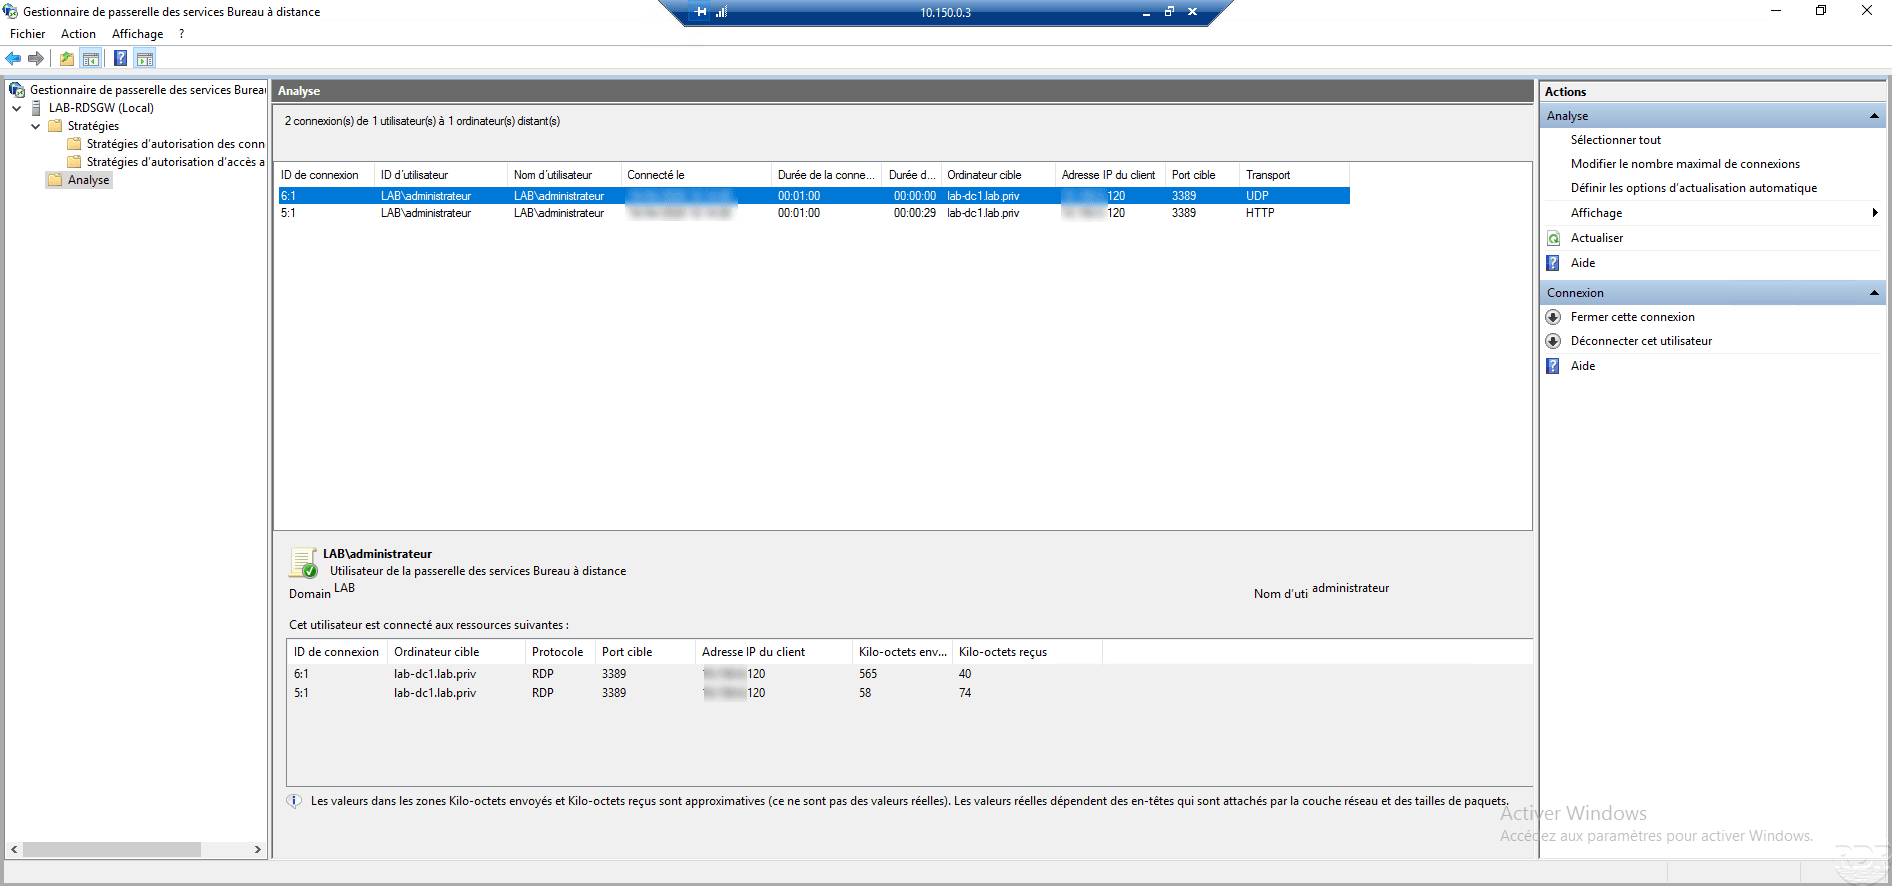
RDS gateway supervision
Connections can be tracked using the Remote Desktop Services Gateway Manager console on the Analysis node 1 which displays the current connections. We can thus see the connected user and the computers.
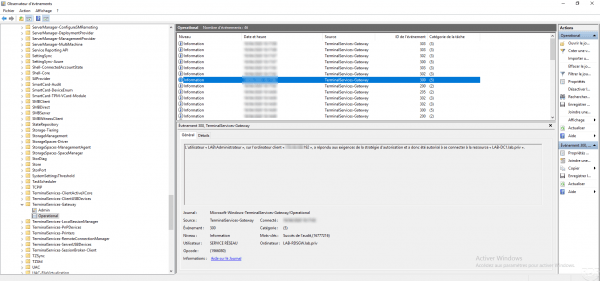
The Windows event viewer also allows you to track connections, the events can be found in the Operational log in Application and service logs / Microsoft / Windows / TerminalServices-RemoteConnectionManager.
Conclusion
The gateway is RDS and Windows role, which allows remote access to remote offices through HTTPS. This solution can easily replace VPN access and can be used on several devices, there are RDP clients for Android, Apple, Linux today …
The use of HTTPS also makes it possible to use this solution in most “public” wifi, VPN access is often blocked.
In order to increase the security level of access to the RDS gateway and if your equipment allows it, apply geoip filtering on the accesses.
Additional resources:
