In this tutorial, we’ll look at how to install, configure, and use PSD (PowerShell Deployment), which is a version of MDT that has been rewritten in PowerShell
To provide some background on PSD and MDT, it’s important to note that Microsoft no longer maintains MDT, a tool that allows you to deploy customized Windows installations with minimal user interaction.
If you’re not familiar with MDT, I recommend starting by reading this tutorial: MDT – Installation and Configuration – Microsoft Deployment Toolkit – Optimizing Windows Deployment.
For those who use MDT and have already worked with it, it is written in VBS, which is also no longer supported by Microsoft and is expected to be phased out of Windows.
This observation led to the creation of the PowerShell Deployment Extension Kit, which allows you to continue using MDT in a more modern version based on PowerShell and also introduces improvements such as web-based deployment (port 443).
In this tutorial, I’ll explain the PowerShell Deployment
Table of Contents
Prerequisites
Before we begin, let’s address the various prerequisites.
First, you must have a Windows Server installed in English, which can be 2016, 2019, or 2022.
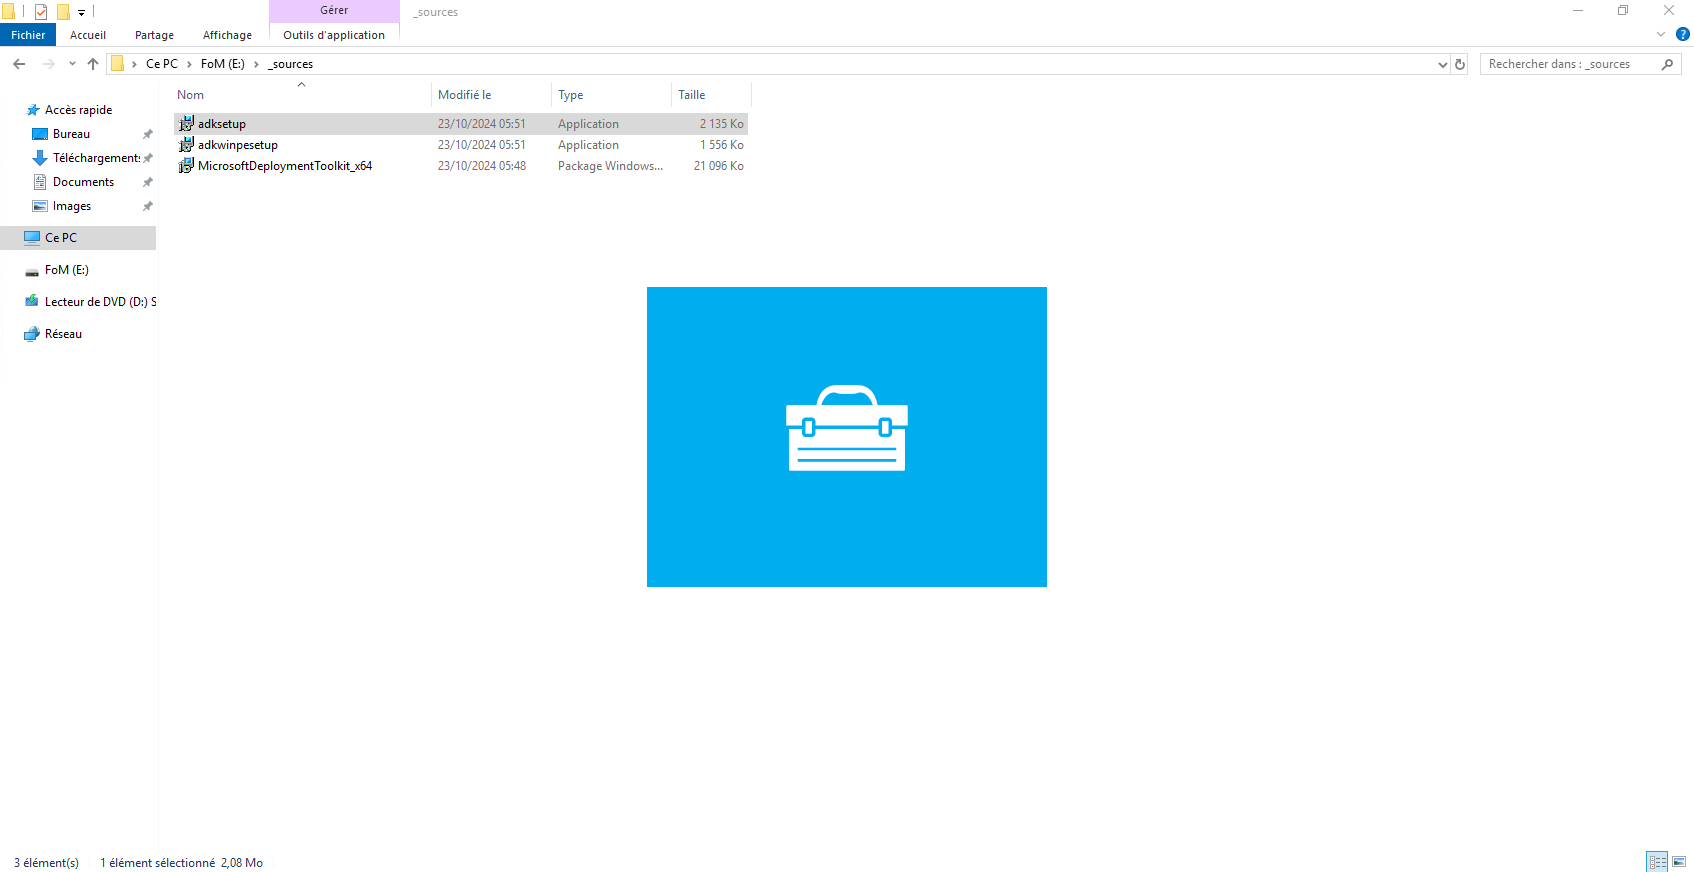
Next, we’ll move on to the software prerequisites, which are:
- Windows ADK for Windows 11 21H2 (10.1.22000.1)
- MDT 8456
Installing ADK for Windows 11 21H2
Start by downloading the installation file: https://go.microsoft.com/fwlink/?linkid=2165884
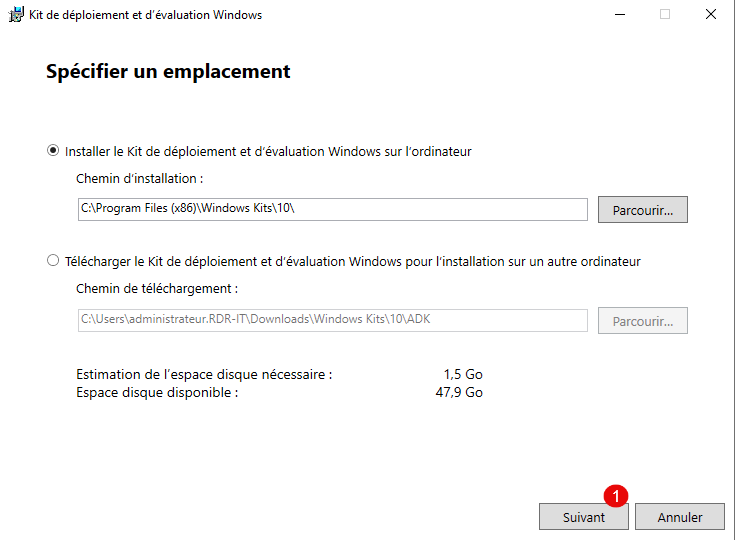
Run the file and wait while the installation wizard loads…
When the wizard launches, click Next 1 and leave the default options.
Configure data collection for Microsoft 1, then click Next 2.

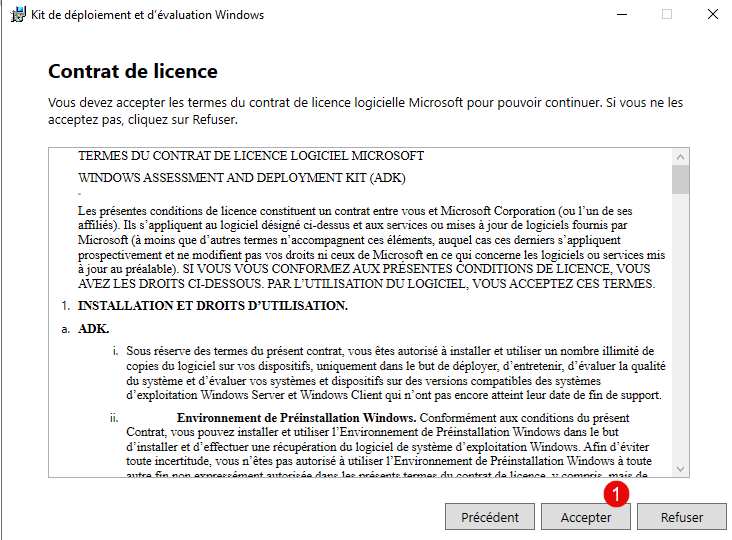
Click Accept 1.
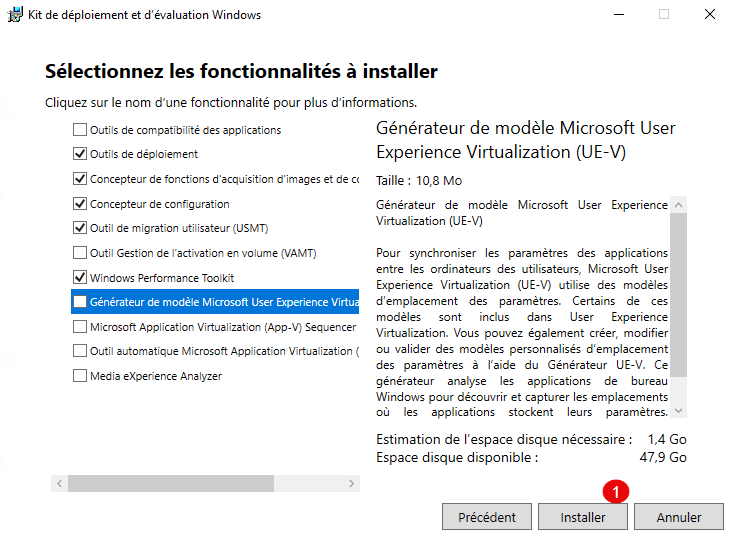
Leave the default features selected, then click Install 1.
Wait while Windows ADK downloads and installs…
Once the installation is complete, exit the installation wizard by clicking the Close button 1.
Installing WinPE Addon 21H2 for Windows 11
We will now install: WinPE Addon 21H2 for Windows 11, which will allow us to create bootable environments to install Windows via MDT.
Download WinPE Addon 21H2 for Windows 11: https://go.microsoft.com/fwlink/?linkid=2166133
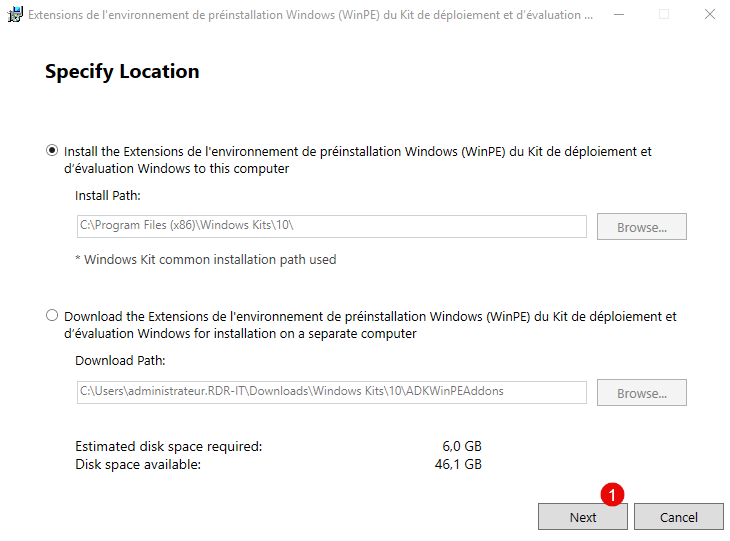
Run the file. When the wizard launches, click Next 1, leaving the default options.
Then click Next 1; the collection option is normally the one selected during the Windows ADK installation.

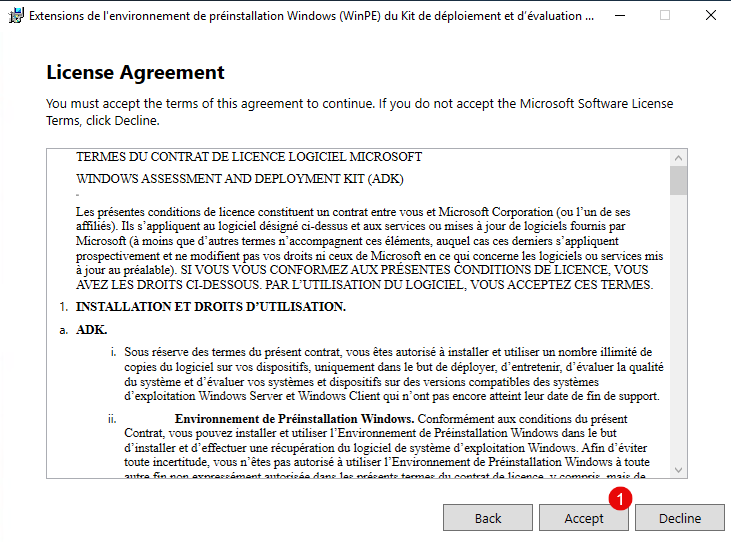
Click Accept 1.
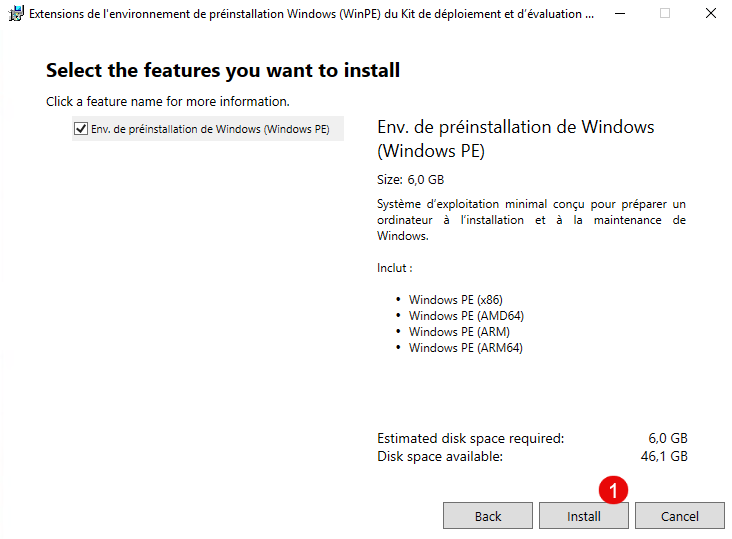
Finally, click Install 1.
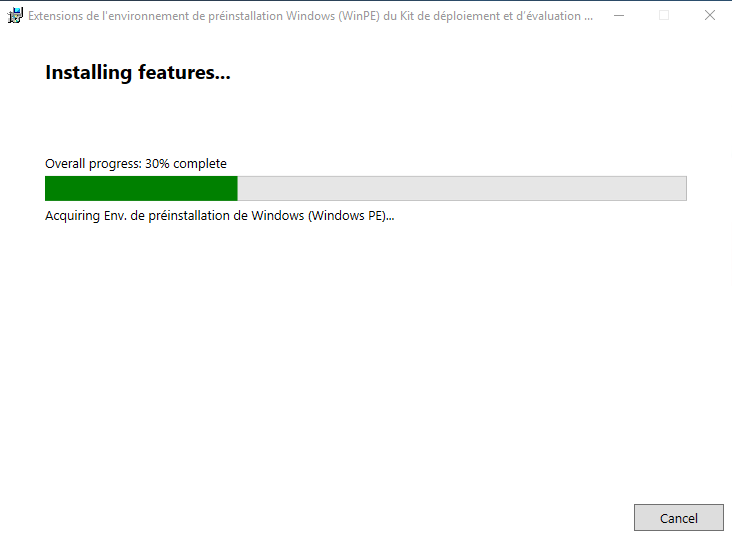
Wait while the download and installation complete…
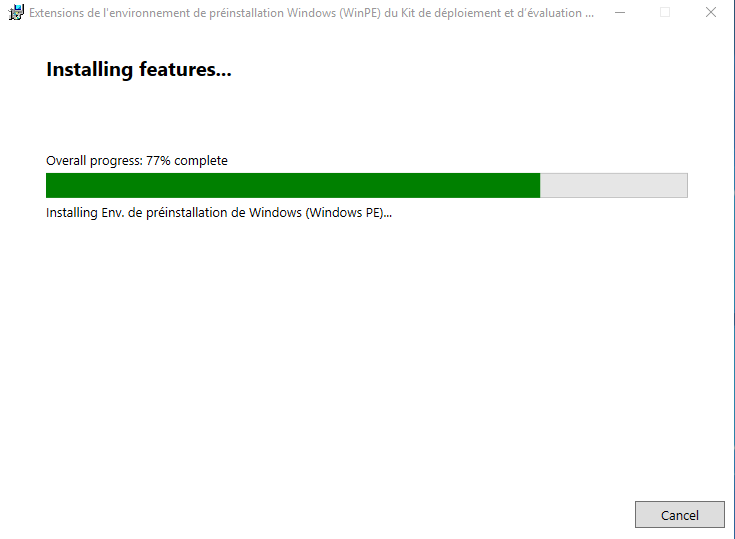
Once the installation is complete, click Close 1.
Installing MDT
To complete the installation of the necessary software, you must install MDT, which you can download here: https://www.microsoft.com/en-us/download/details.aspx?id=54259 or https://static.rdr-it.com/files/MicrosoftDeploymentToolkit_x64.msi
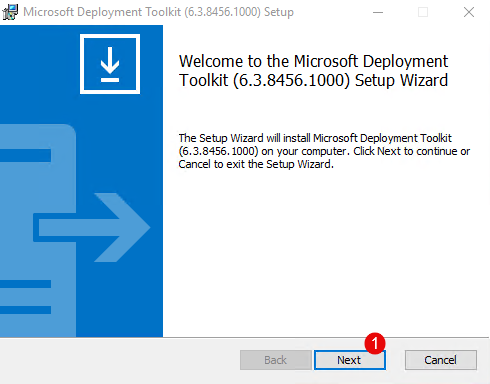
Run the MDT installation file.
When the wizard launches, click Next 1.
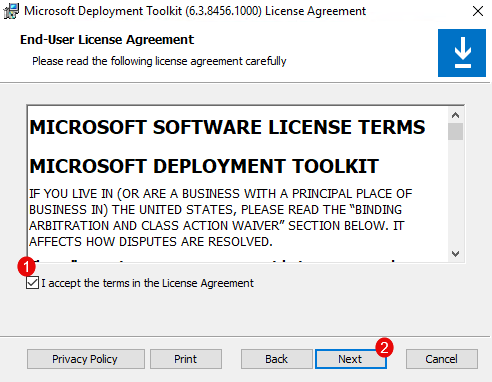
Check the box 1 to accept the license, then click Next 2.
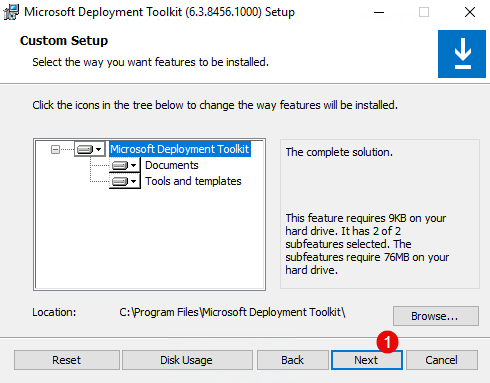
For the default installation options, click Next 1.
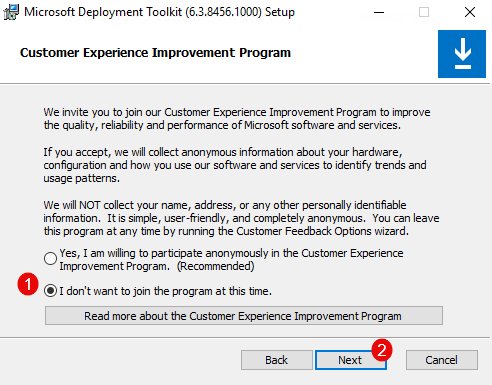
Select I don’t want to join the program at this time 1, then click the Next button 2.
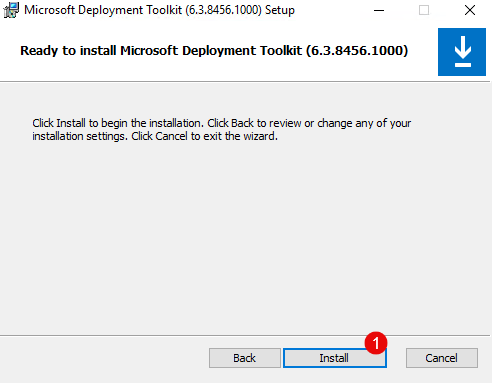
Now click Install 1.
The MDT installation takes only a few seconds… Once the installation is complete, close the wizard by clicking Finish 1.

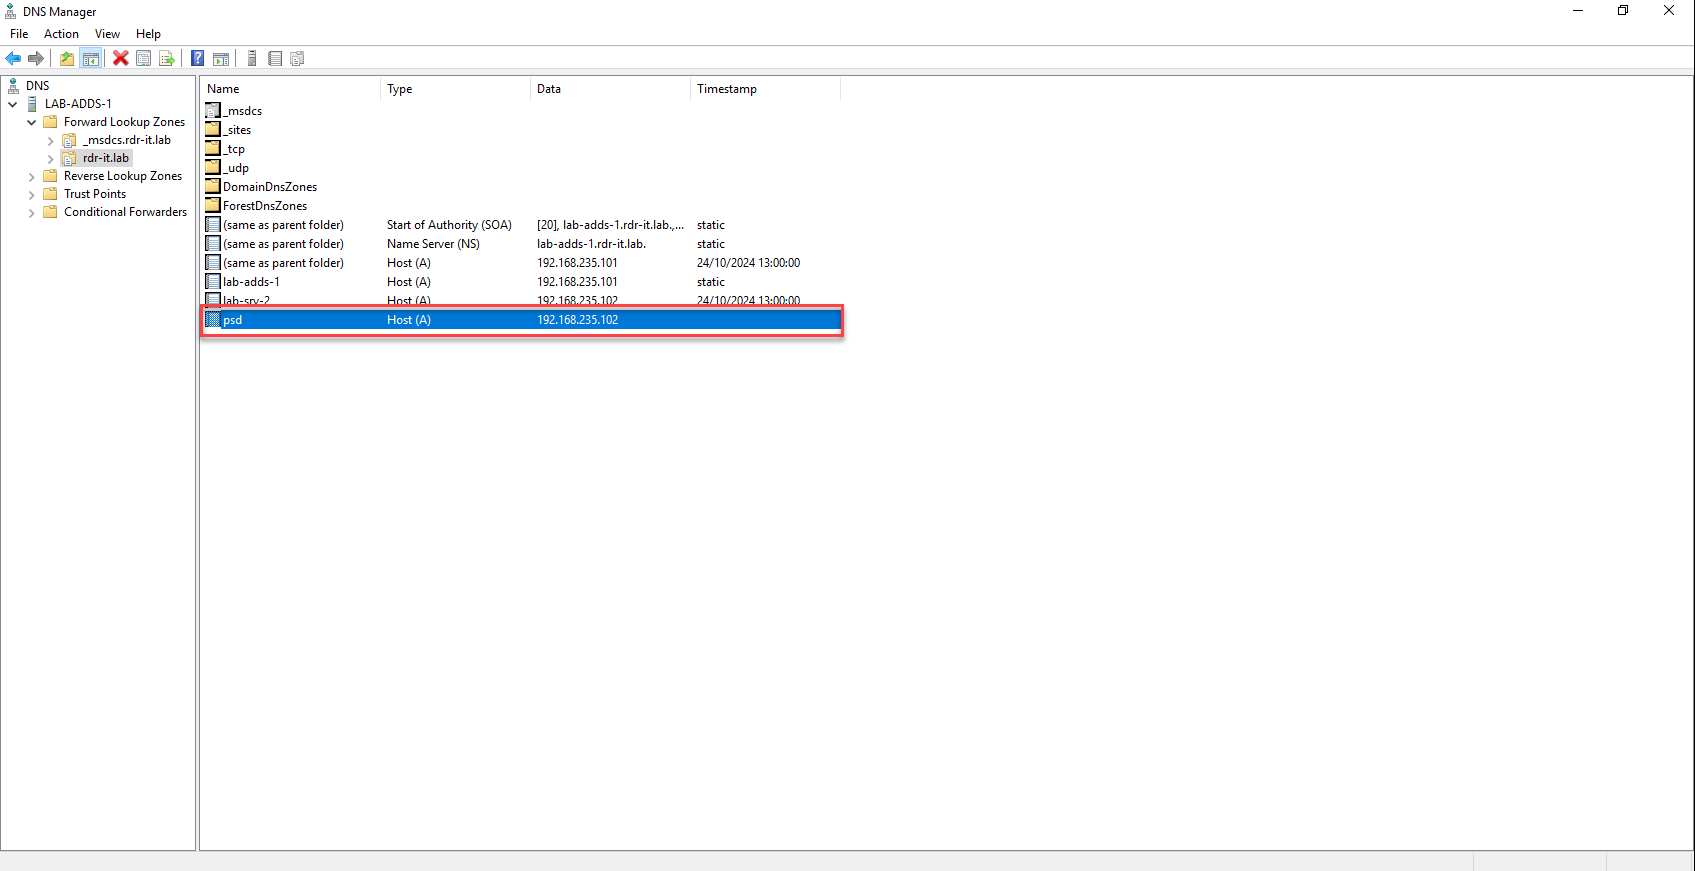
Create a DNS record for the web server
On your DNS server, create a record for web access that points to the server; in this tutorial, I chose psd.rdr-it.lab.
Create a local user dedicated to PSD
Modify the PowerShell execution policy
You must allow PowerShell scripts to run; without this change, I was unable to generate the ISO file needed for the WinPE environment.
On the future server, enter the following command:
Set-ExecutionPolicy BypassYou must confirm execution for all scripts.
Download PSD
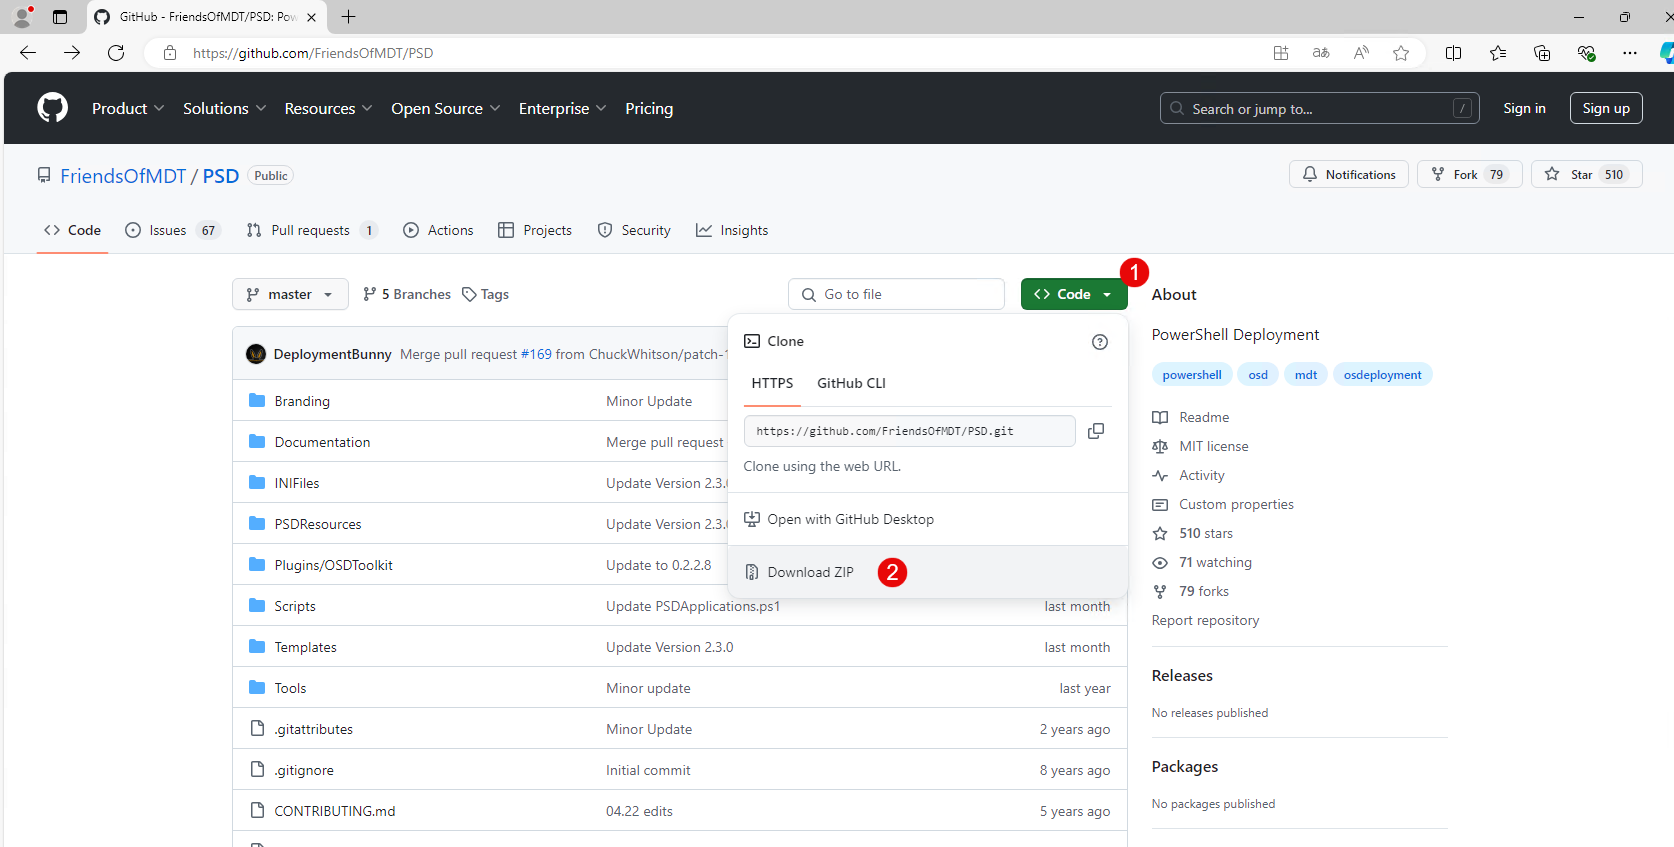
Go to the GitHub repository: https://github.com/FriendsOfMDT/PSD
Click the Code button 1, then Download ZIP 2.
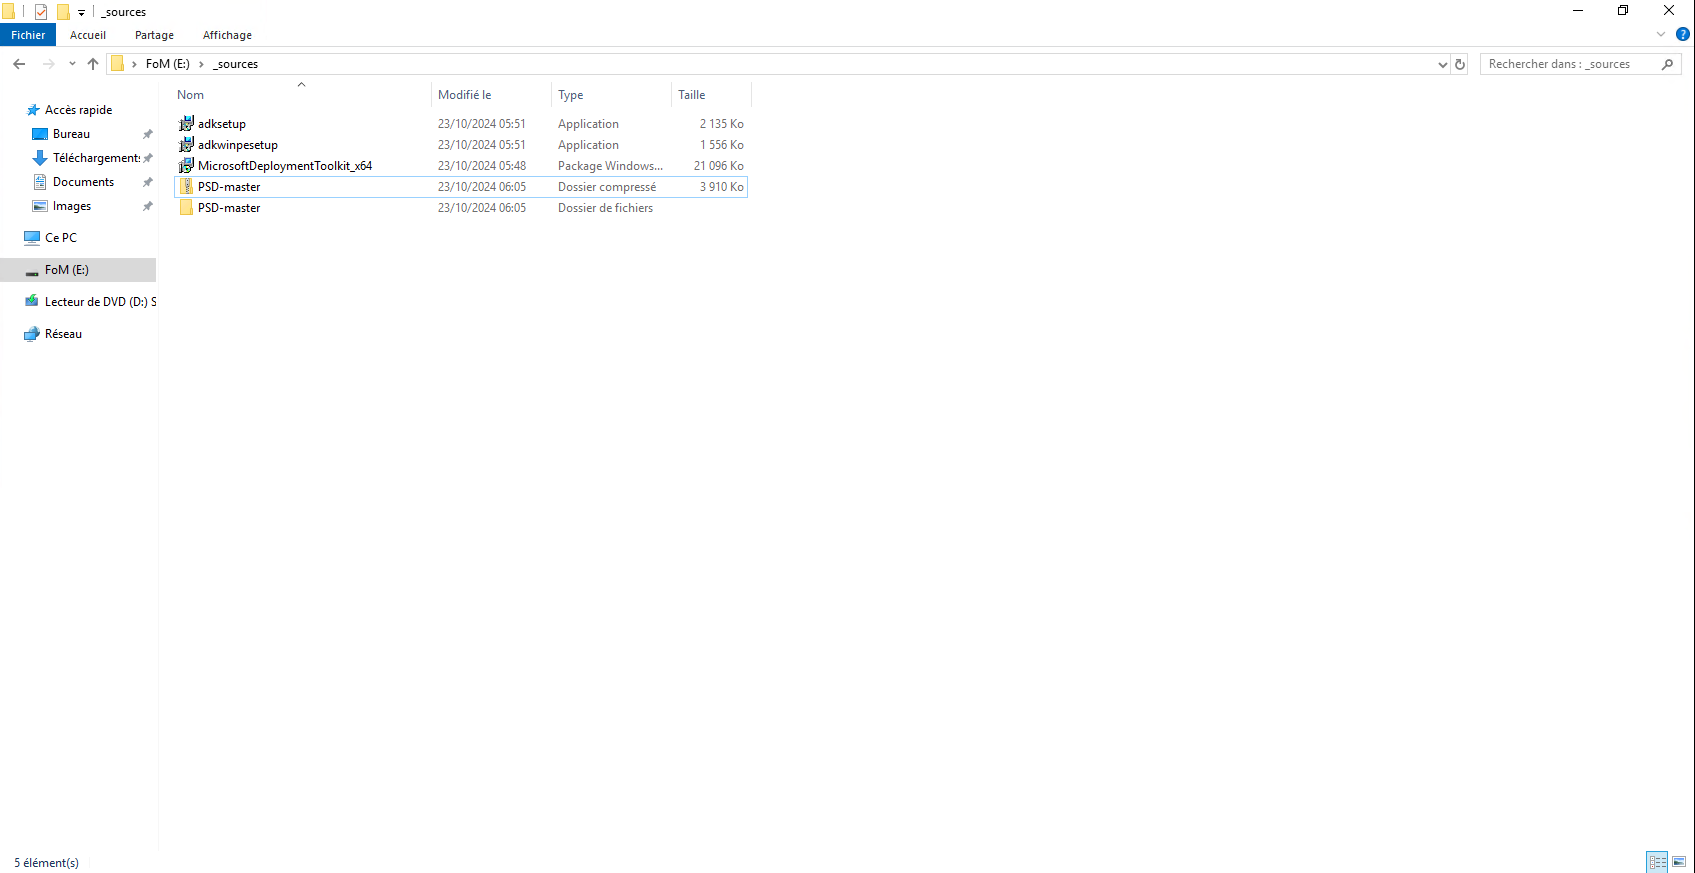
Once downloaded, unzip the archive.
Configure PSD
As you will see, there isn’t really an installation process for PowerShell Deployment; rather, there is a list of scripts to run, since PSD relies on the MDT console for configuration.
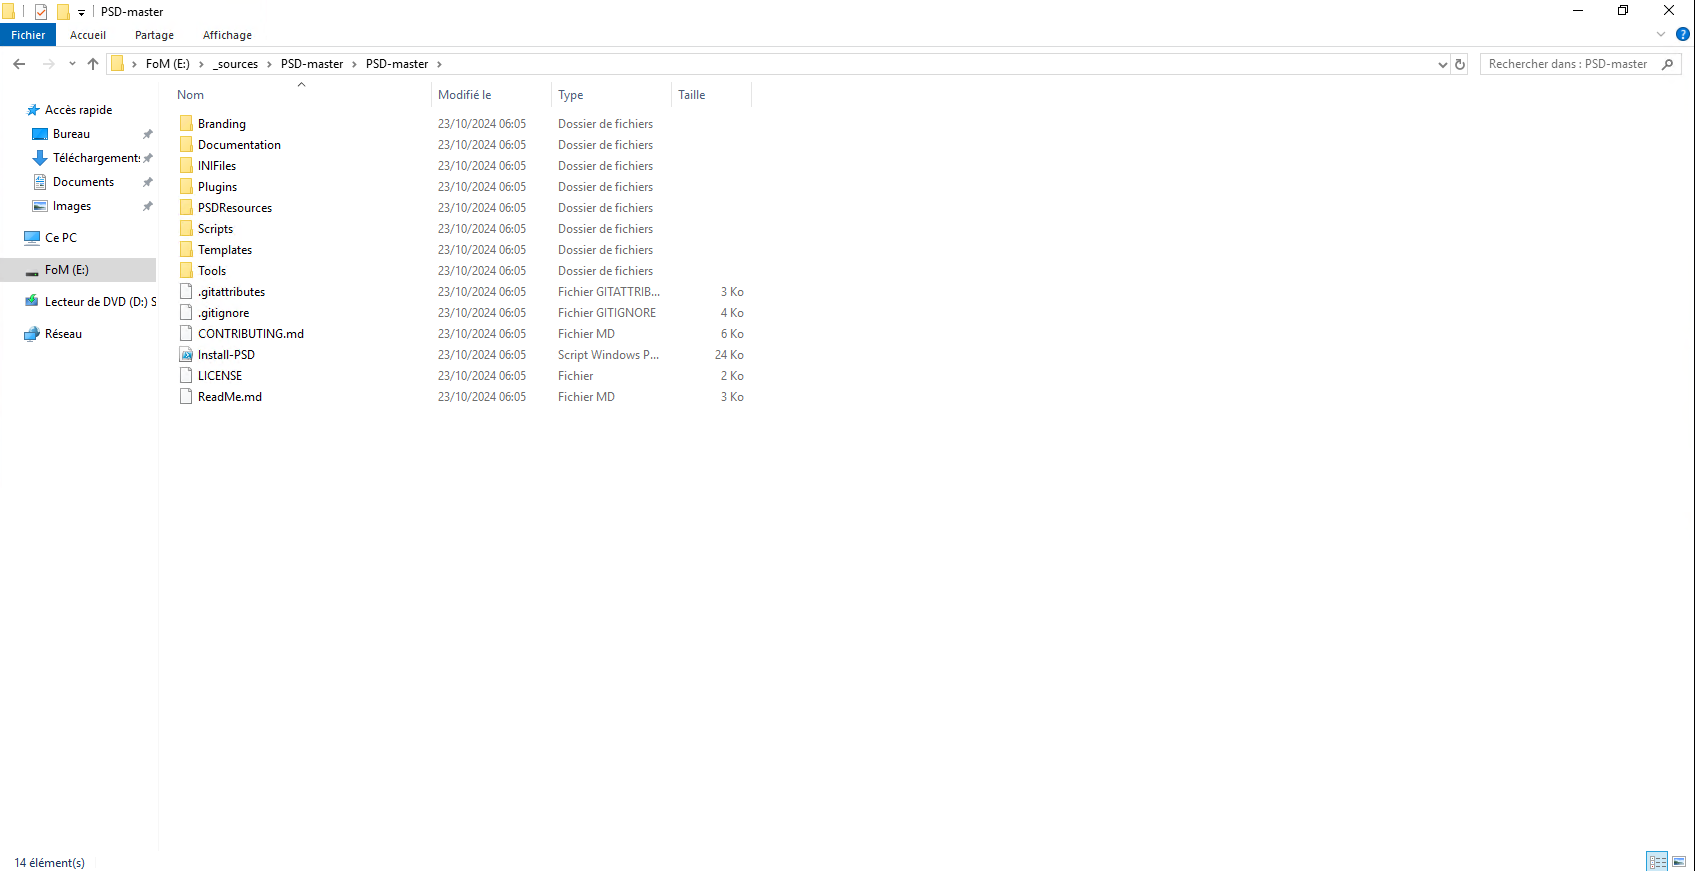
All of the commands below must be run from a PowerShell command prompt launched as an administrator, and you must navigate to the extracted PSD folder.
Additional configuration information:
- The physical path on my DeploymentShare server is as follows:
E:\PSD - The share name:
PSD - The virtual folder on IIS:
psd - The DNS name:
psd.rdr-it.lab
It’s up to you to adapt these various parameters in the commands to your environment.
Creating the Deployment Share for PSD
The first step is to configure the folder in MDT that PSD will use to store these files, as well as various operating systems, drivers, applications, and more.
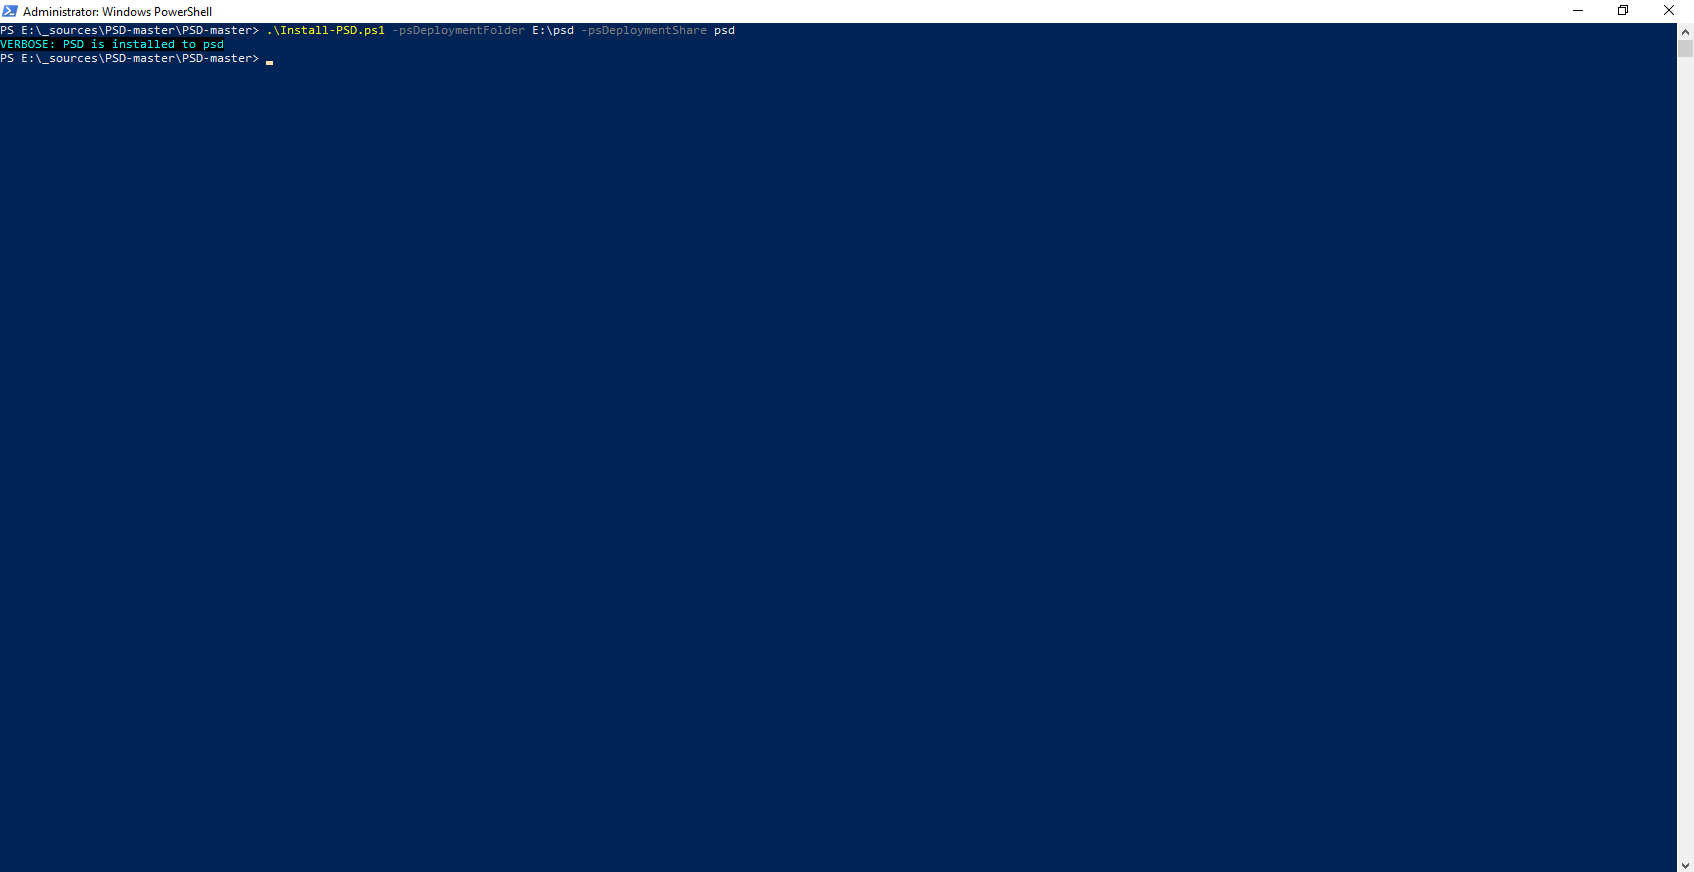
To do this, we will run the script Install-PSD.ps1by passing it two parameters:
psDeploymentFolder: which corresponds to the absolute path on the server to the folder locationpsDeploymentShare: the name of the share
This gives us:
.\Install-PSD.ps1 -psDeploymentFolder E:\psd -psDeploymentShare psdIf all goes well, you should see this:
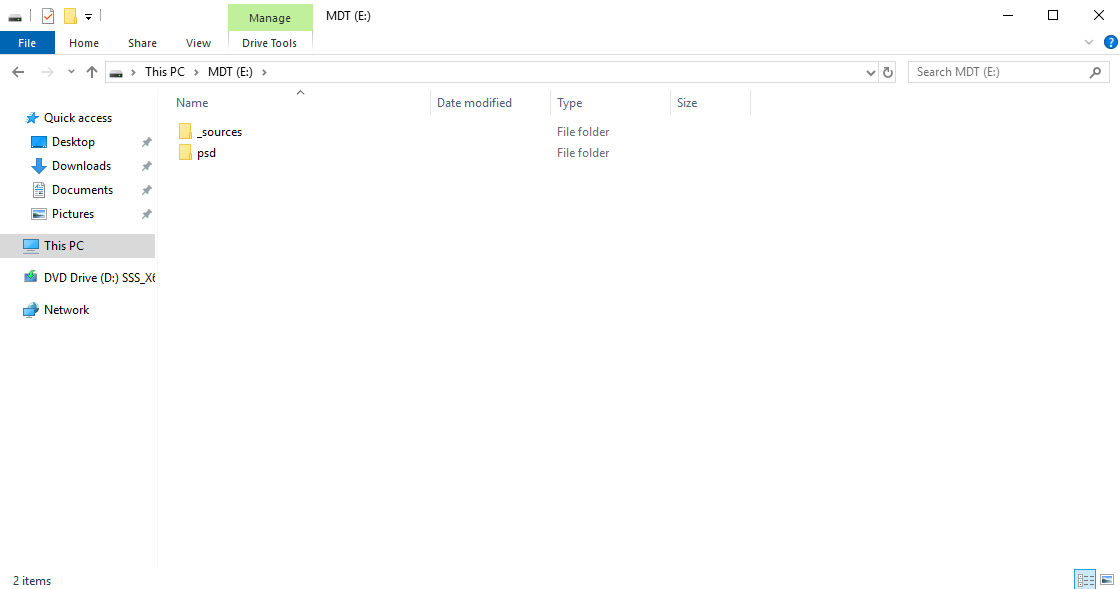
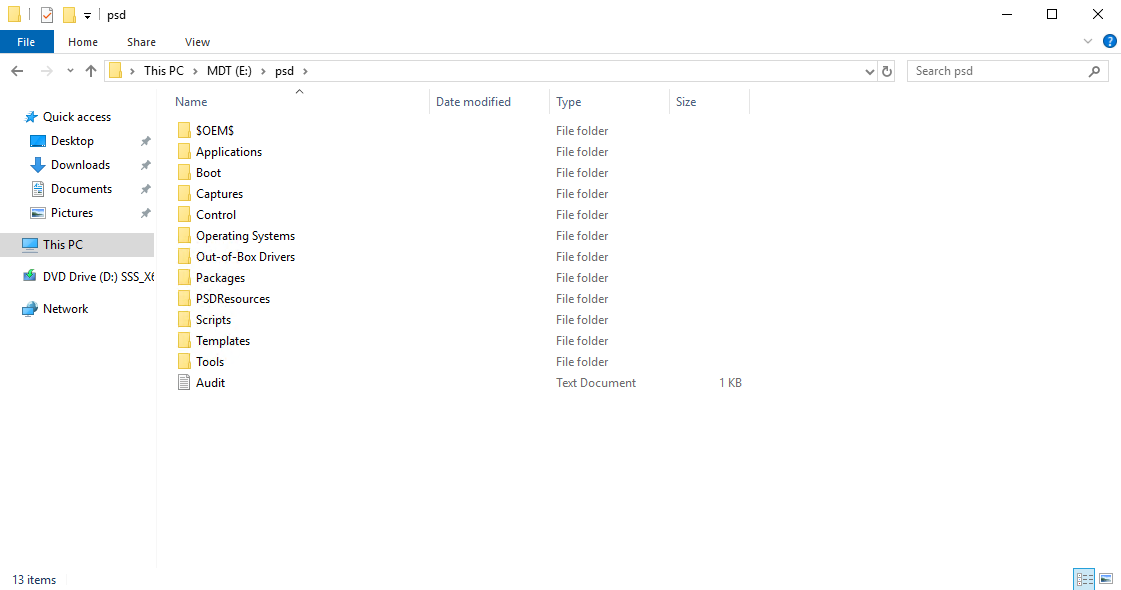
On the server, you can see that a PSD file has been created, and if you look inside it, you’ll find almost the same directory structure as in an MDT deployment folder.
Installing the IIS Web Server for PSD
As mentioned at the beginning of the tutorial, one of the new features is the use of a web server to access the share instead of a UNC path. To do this, PSD relies on IIS and provides a script to install the role with the necessary features.
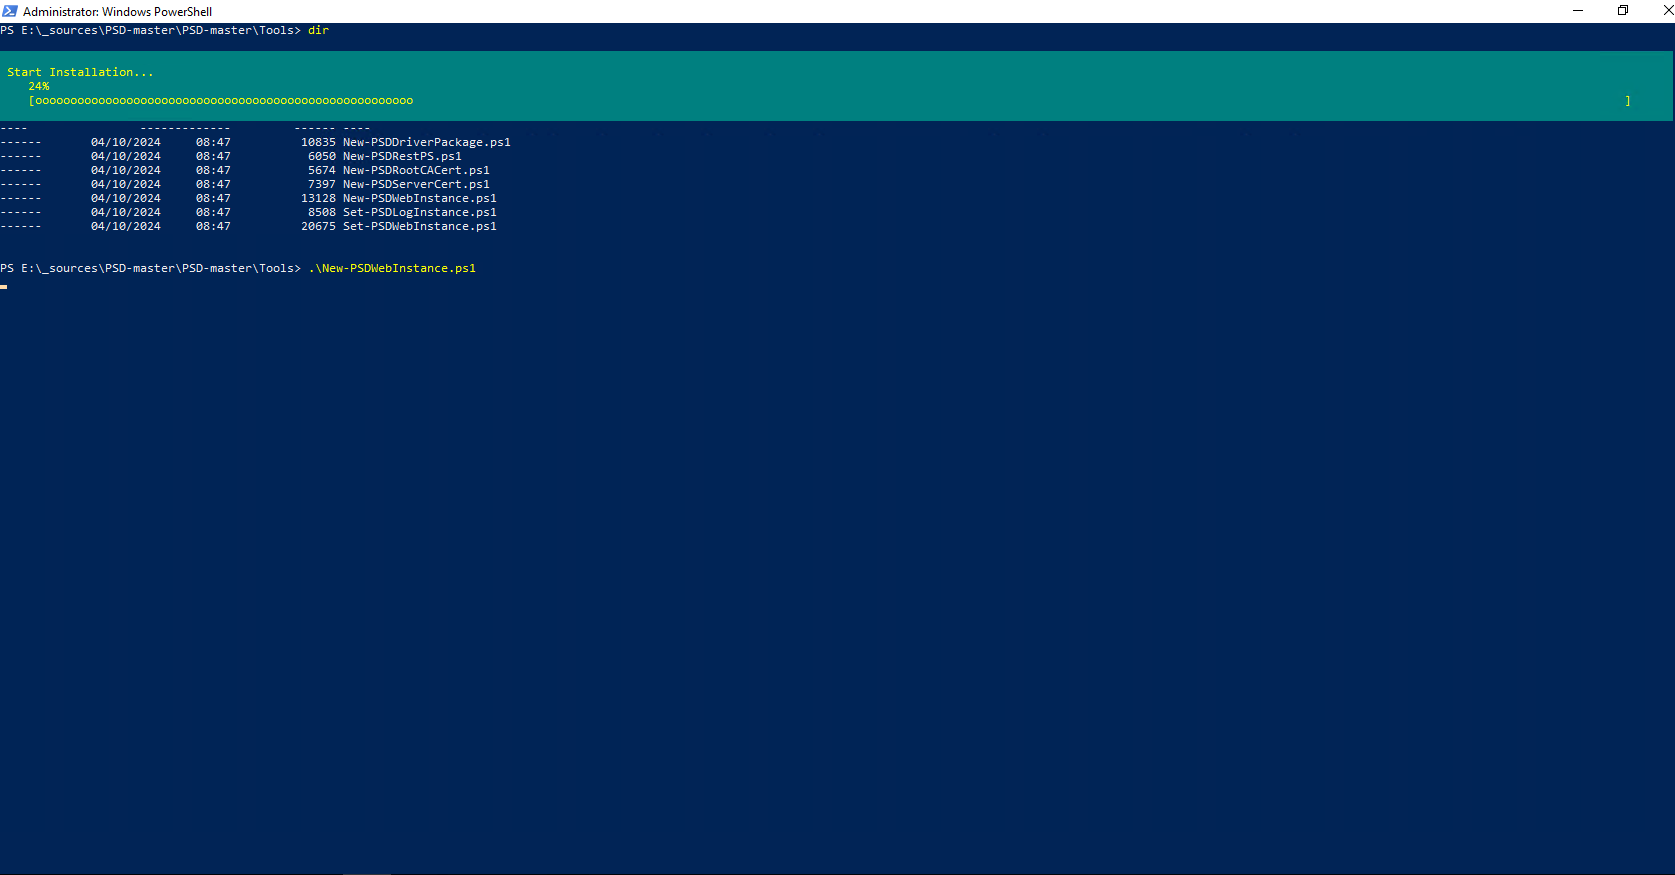
Go to the folder Tools and run the file New-PSDWebInstance.ps1
.\New-PSDWebInstance.ps1Wait while IIS installs…
Once the installation is complete, the server needs to be restarted.
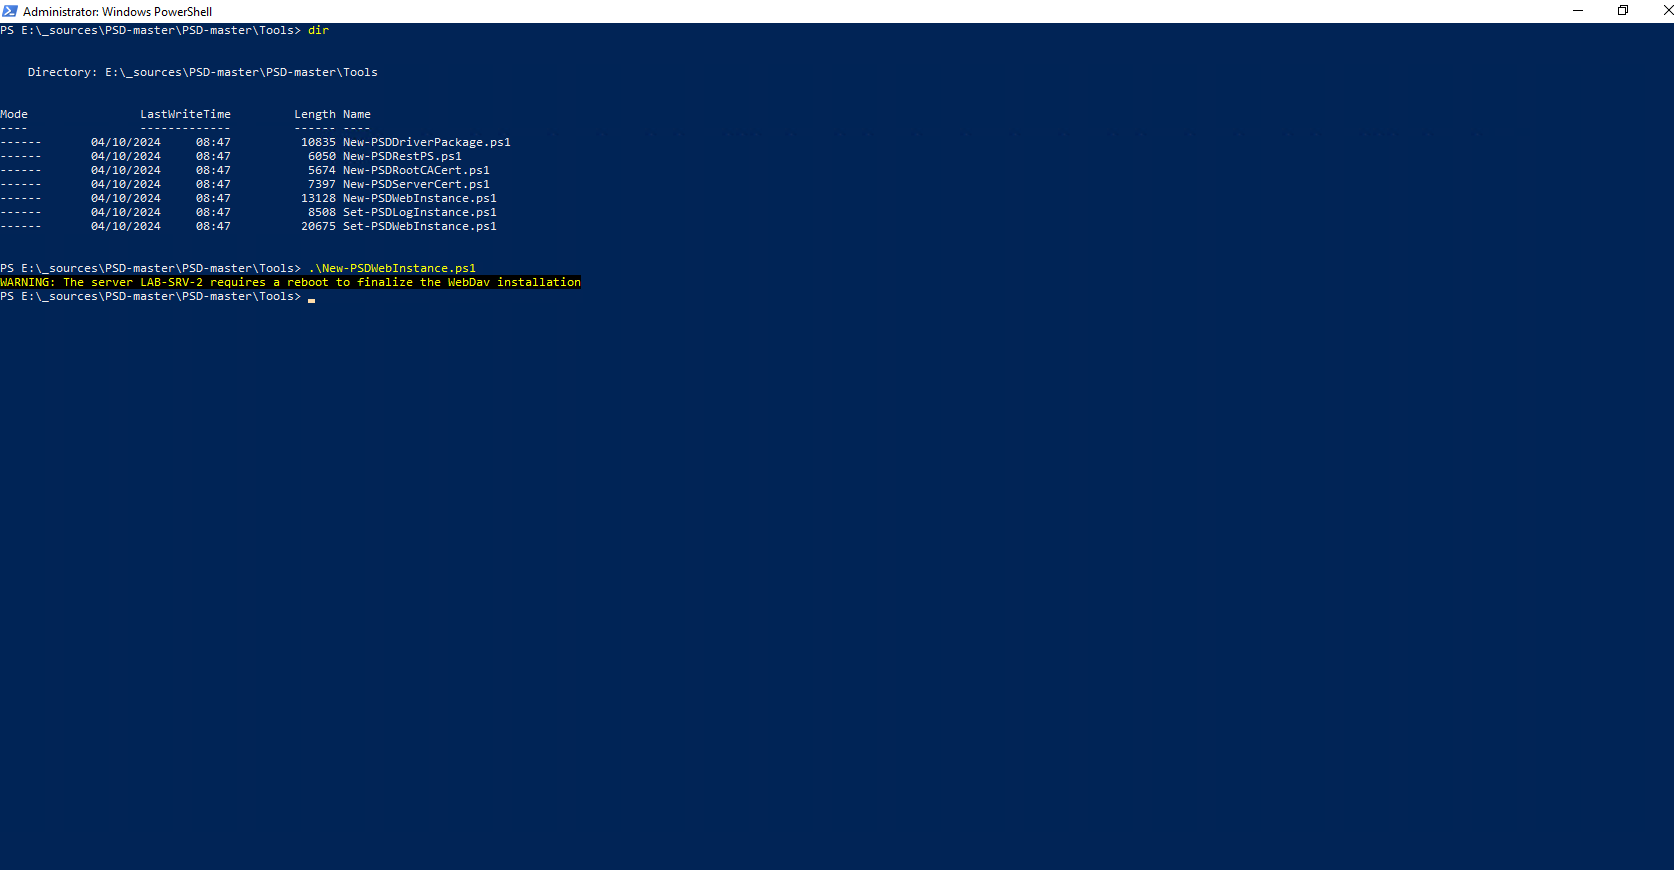
To restart the server, enter the following command:
Restart-ComputerConfiguring IIS for PowerShell Deployment
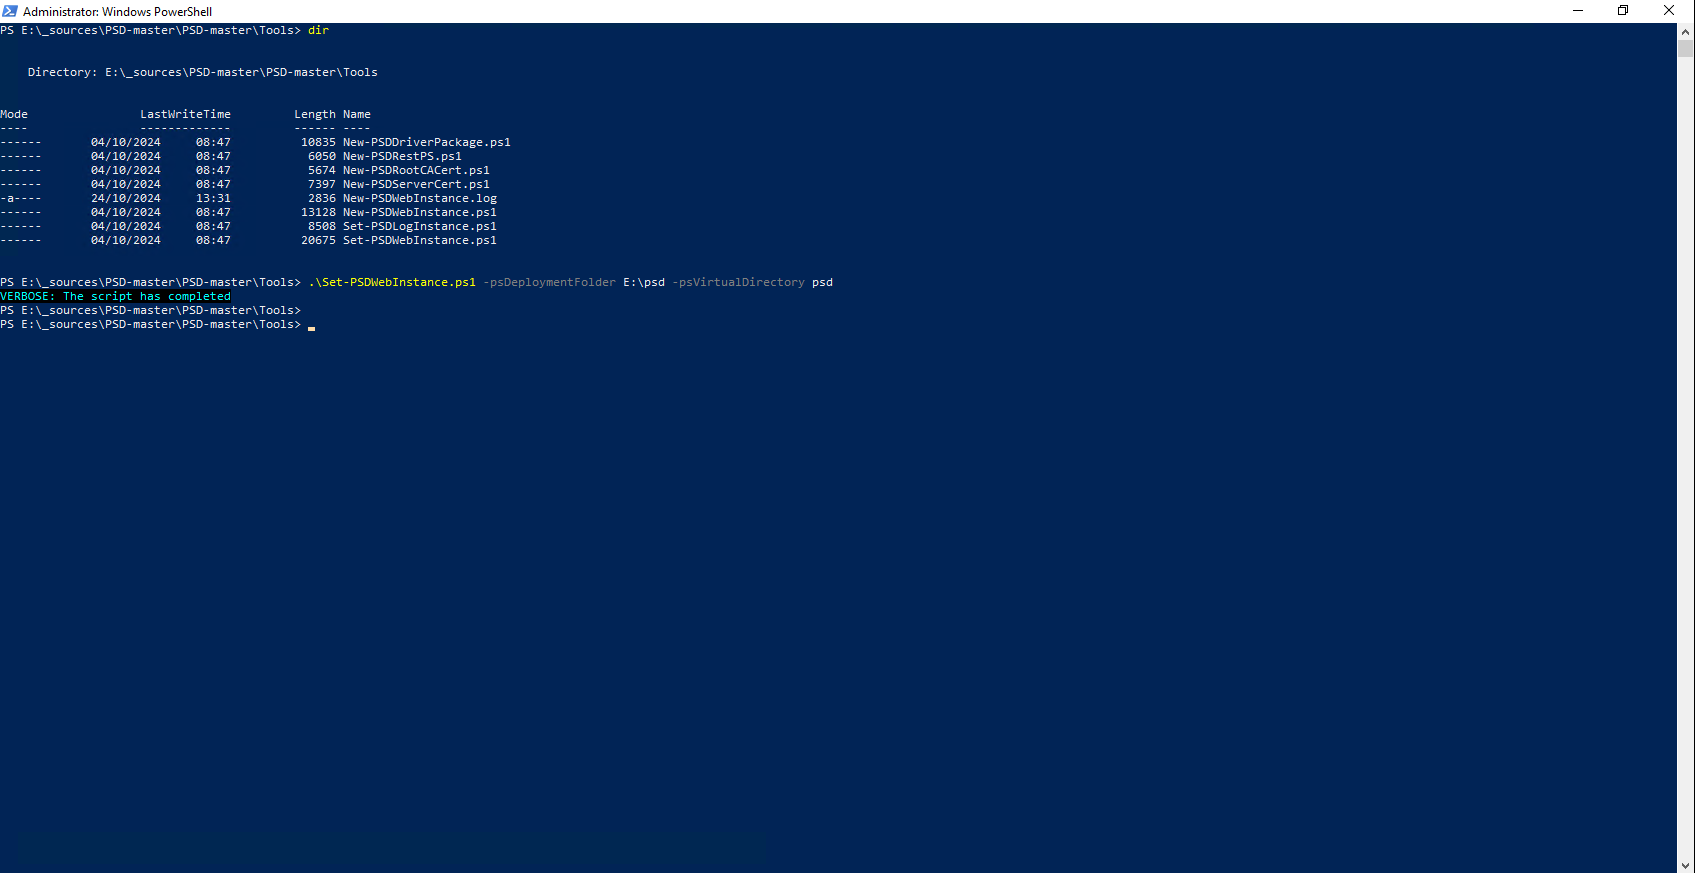
In the Tools folder, you’ll find the scriptSet-PSDWebInstance.ps1that lets you configure the IIS site.
Enter the following command:
.\Set-PSDWebInstance.ps1 -psDeploymentFolder E:\psd -psVirtualDirectory psdIf the script runs successfully, you will simply receive a message indicating that the process has completed.
Generating Certificates
We will now generate a certificate authority and a certificate for the IIS web server issued by this authority; here, the Windows ADCS role is not required, as everything is done using PowerShell scripts.
If you have an internal CA, you can skip this step, but you will still need to add the root certificate to the Trusted Root Certification Authorities store and also generate a certificate for the IIS server, install it on the server, and bind it to the site.
ToolsThe first step is to create the certificate authority; to do this, we will run the scriptNew-PSDRootCACert.ps1located in the folder.
Enter the following command:
.\New-PSDRootCACert.ps1 -RootCAName PSDRootCA -ValidityPeriod 20 -psDeploymentFolder E:\psd
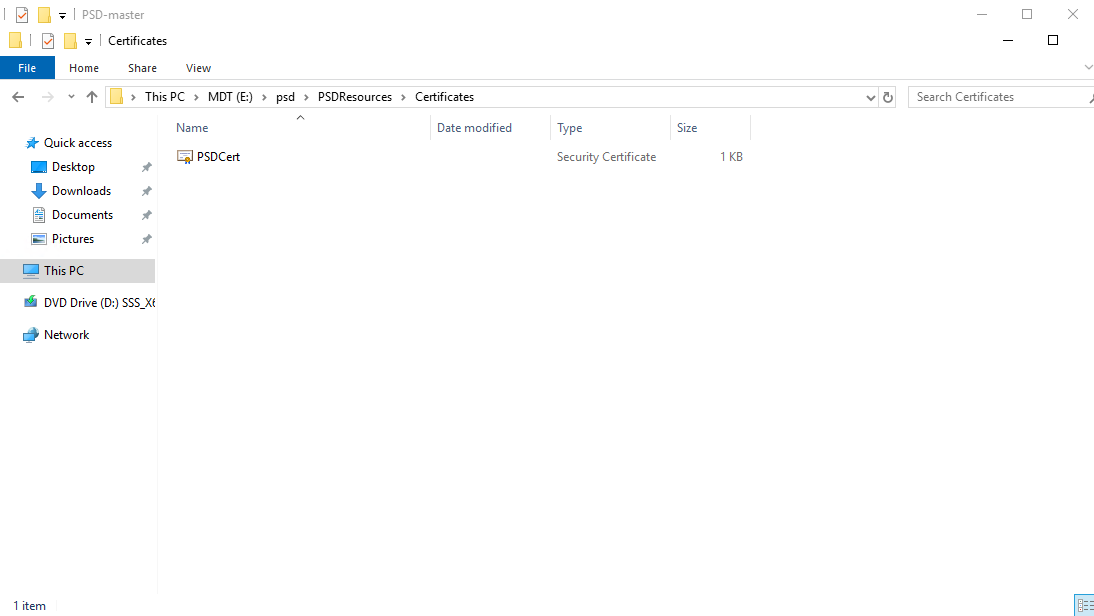
If you look in the folderPSDRessources\Certificatesof the PSD Deployment Share, you will find the certificate for the certificate authority that was created there; it must be placed here because it will be added to the WinPE boot file to prevent SSL errors when connecting to the web server.
Now, we will generate the certificate for the web service using the certificate authority we just created. In the script we are going to use, you must specify the DNS name, which results in:
.\New-PSDServerCert.ps1 -DNSName fqdn.psd.local -FriendlyName fqdn.psd.local -ValidityPeriod 5 -RootCACertFriendlyName PSDRootCA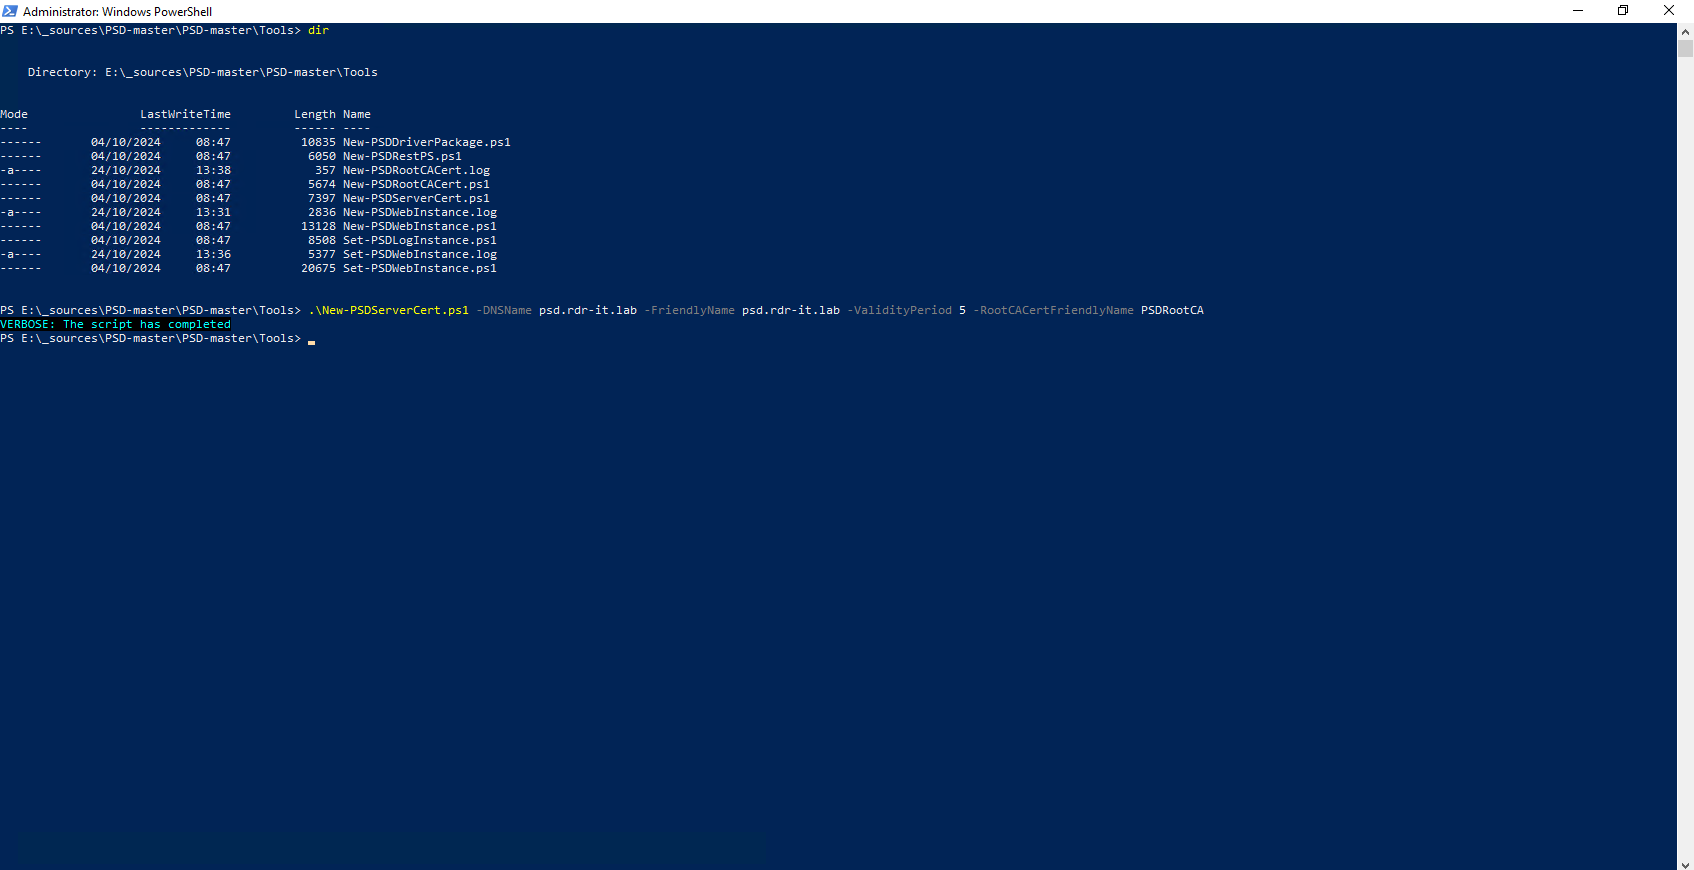
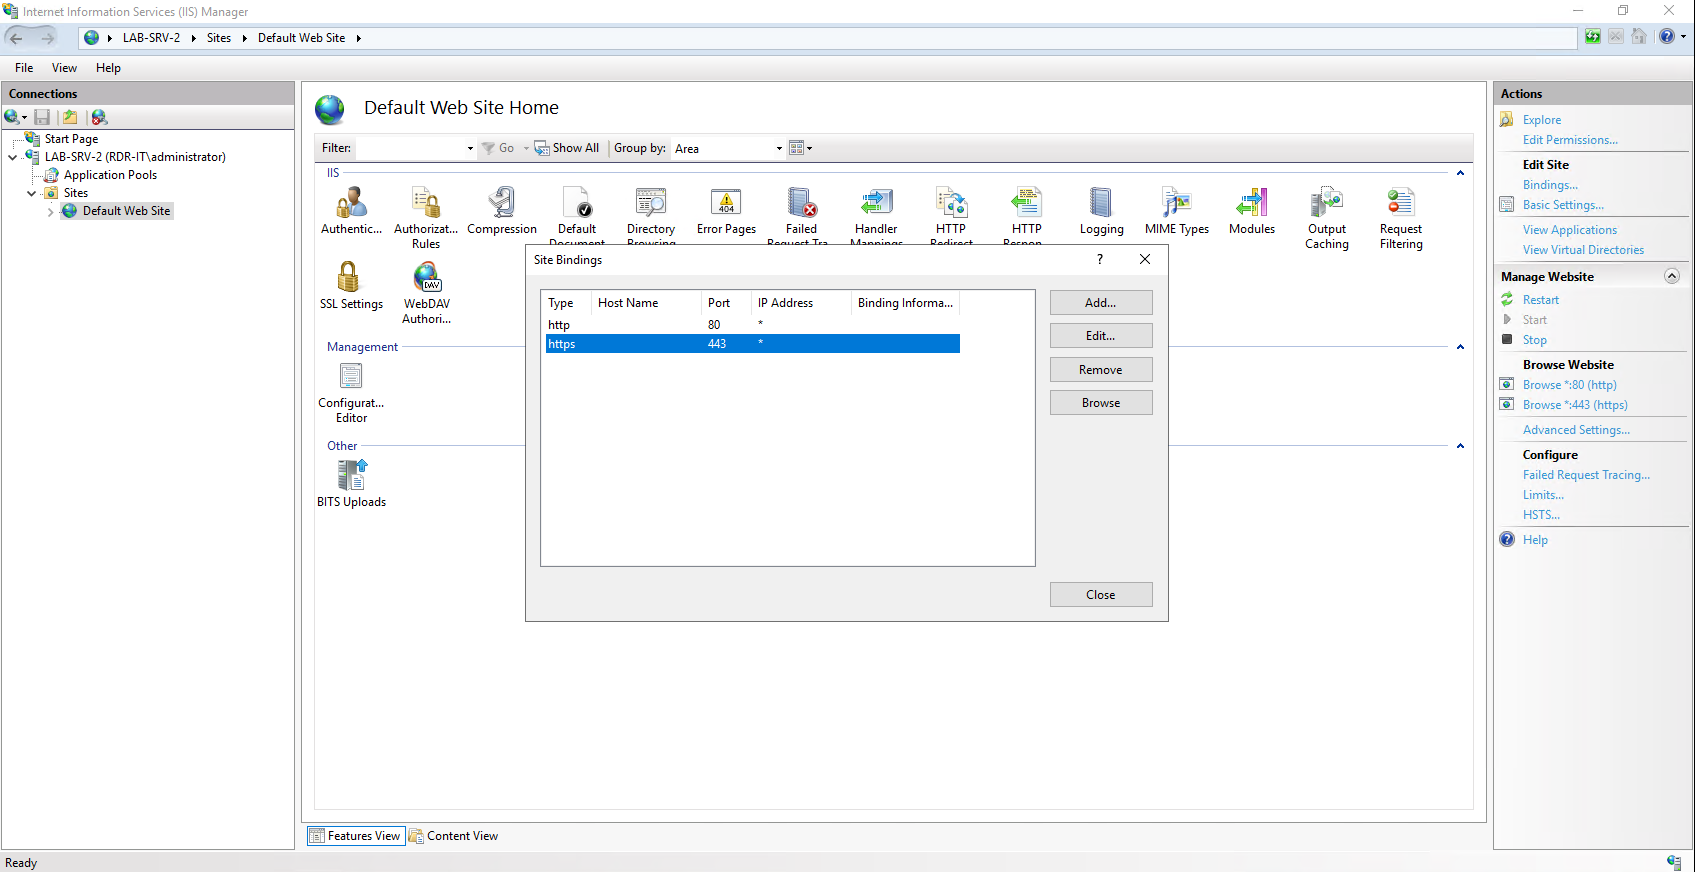
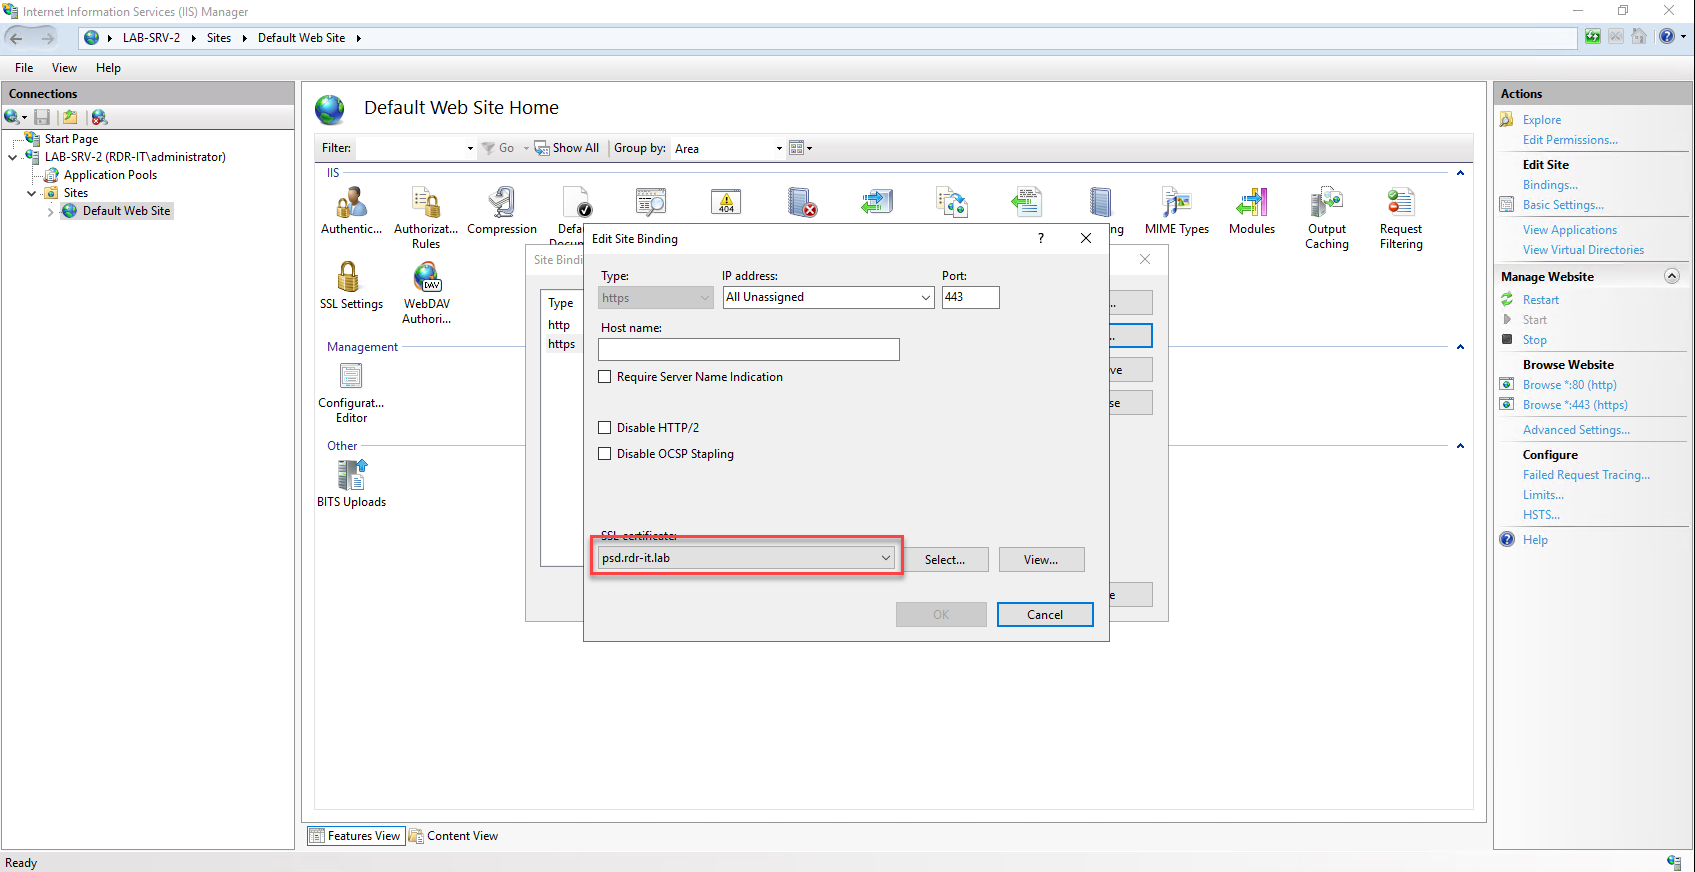
To verify the certificate generation, you can do so via the IIS console by checking the default site mapping for HTTPS.
We’re done with the PowerShell scripts; PowerShell Deployment is now ready to be “used”
Using PowerShell Deployment
We will now move on to using PSD or MDT, because as you will see, all of its usage and customization is done directly in the MDT console, and there is very little difference from an MDT installation; so if you are used to using MDT, you won’t be lost.
Start by launching the MDT console:
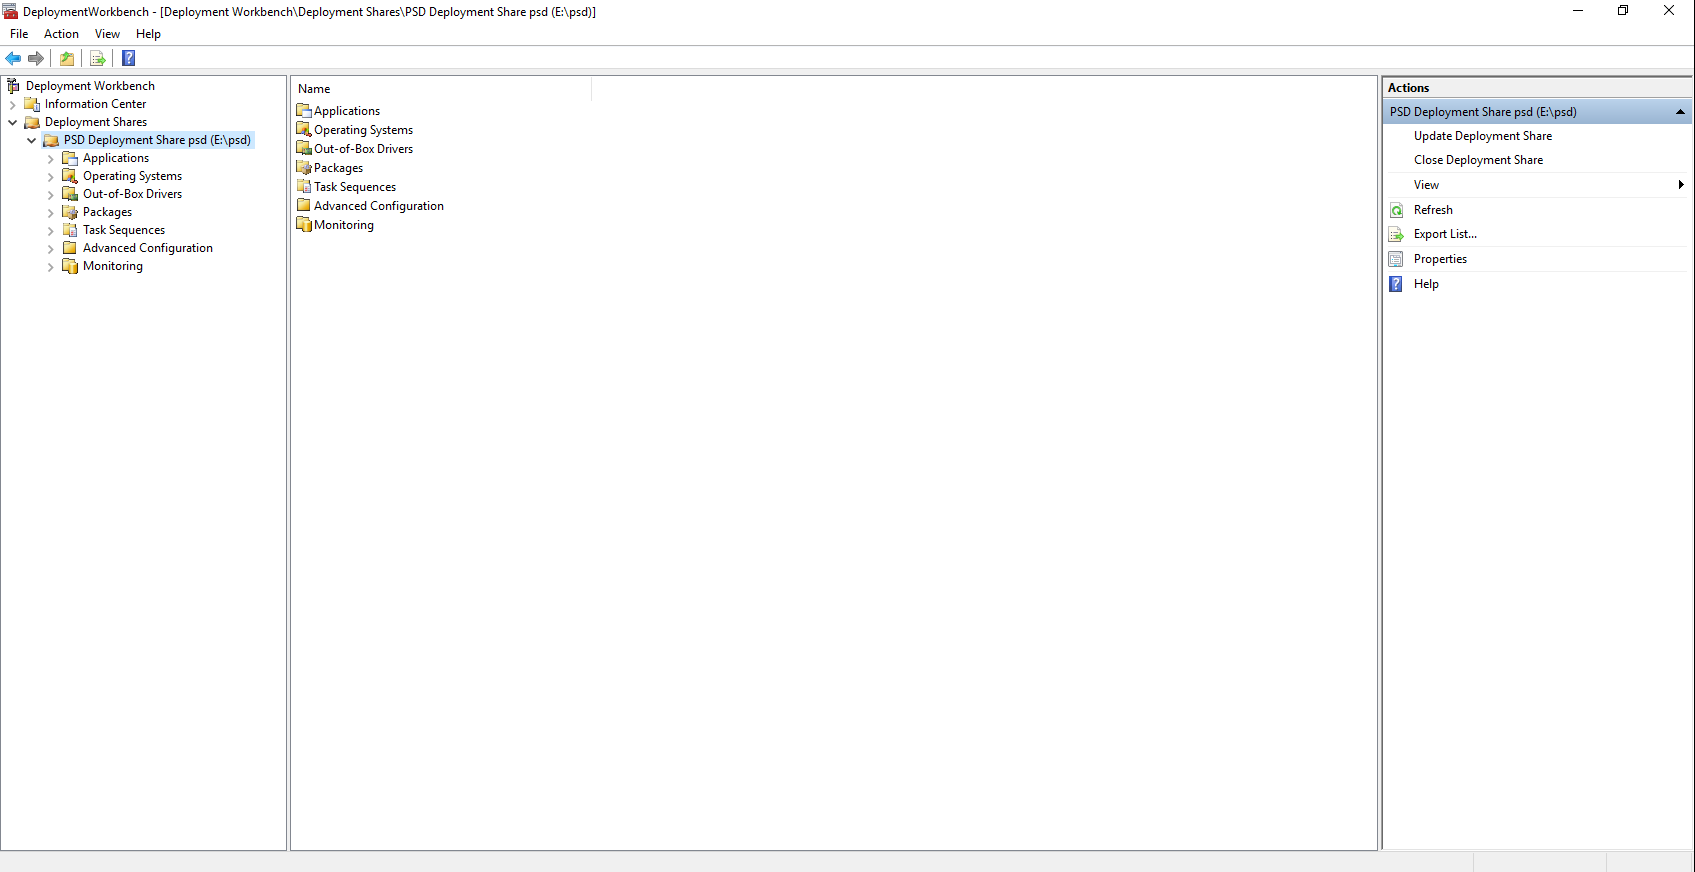
As you can see, the PSD Deployment Share has been added to the MDT console. For those new to MDT, I’ll walk you through the steps so you can get started with Windows deployment. For those familiar with MDT, proceed as usual: add the OS, add drivers, add applications, and then create the task sequence (which I recommend reading, as there is a subtle point).
For a comprehensive overview of the MDT console, I invite you to read this tutorial: MDT – Installation and Configuration – Microsoft Deployment Toolkit – Optimizing Windows Deployment
Add an Operating System
The first thing to do is add the operating system you want to deploy; here, I’ll use the ISO I used to create the virtual machine, namely Windows Server 2019 EN.
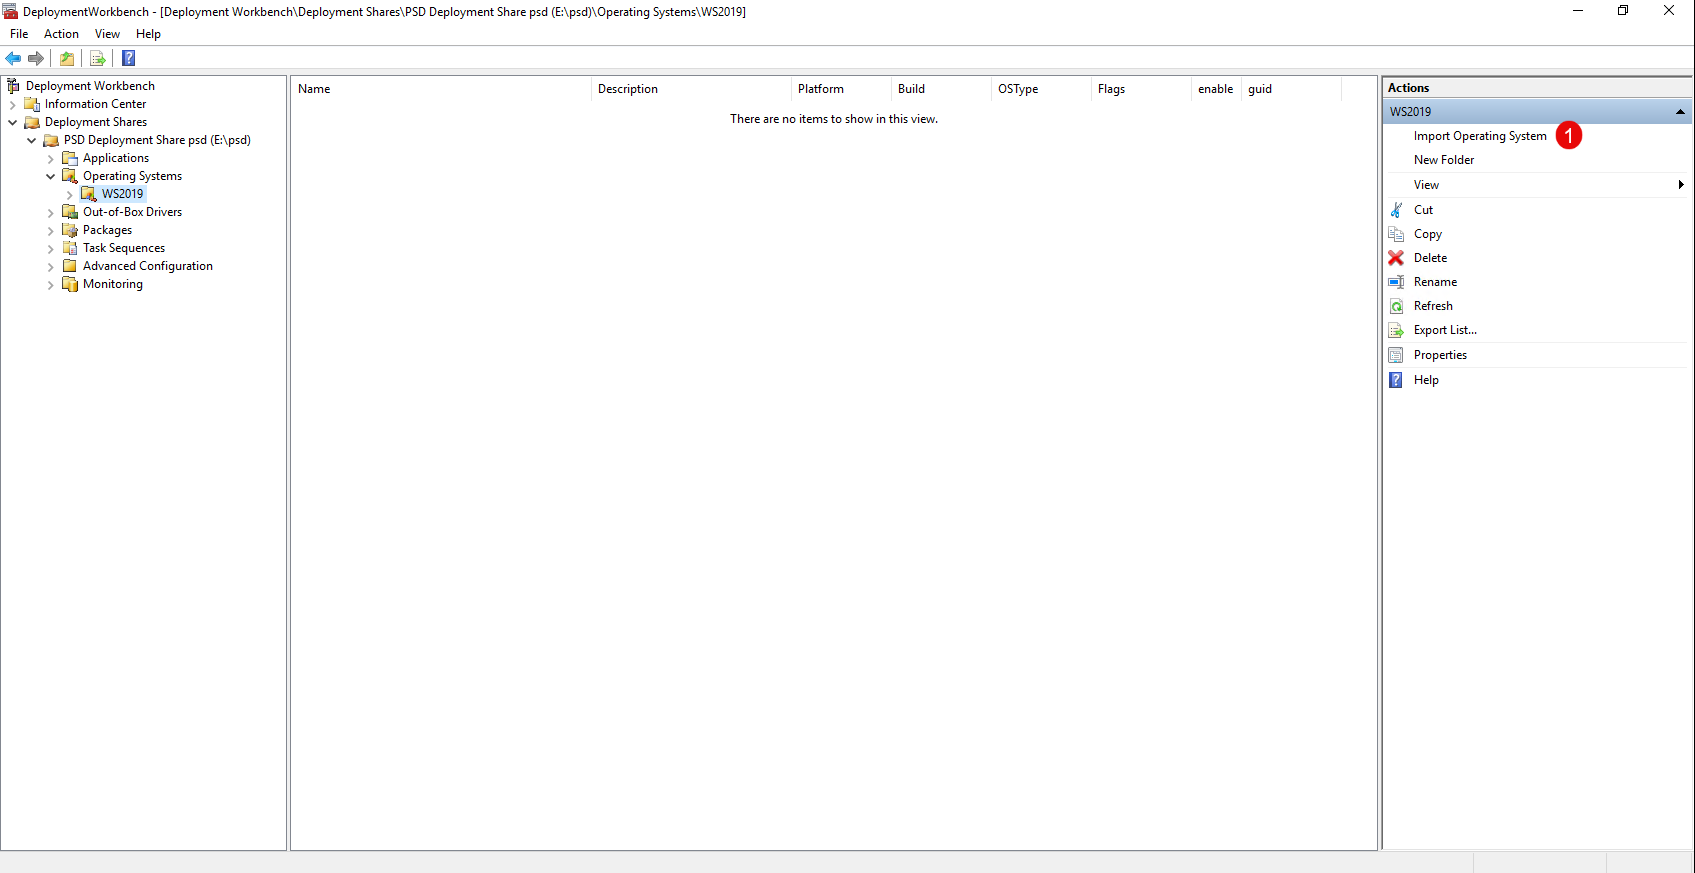
To start, I created a folder in Operating Systems to organize my OSes. Once in the desired location, click Import Operating System 1.
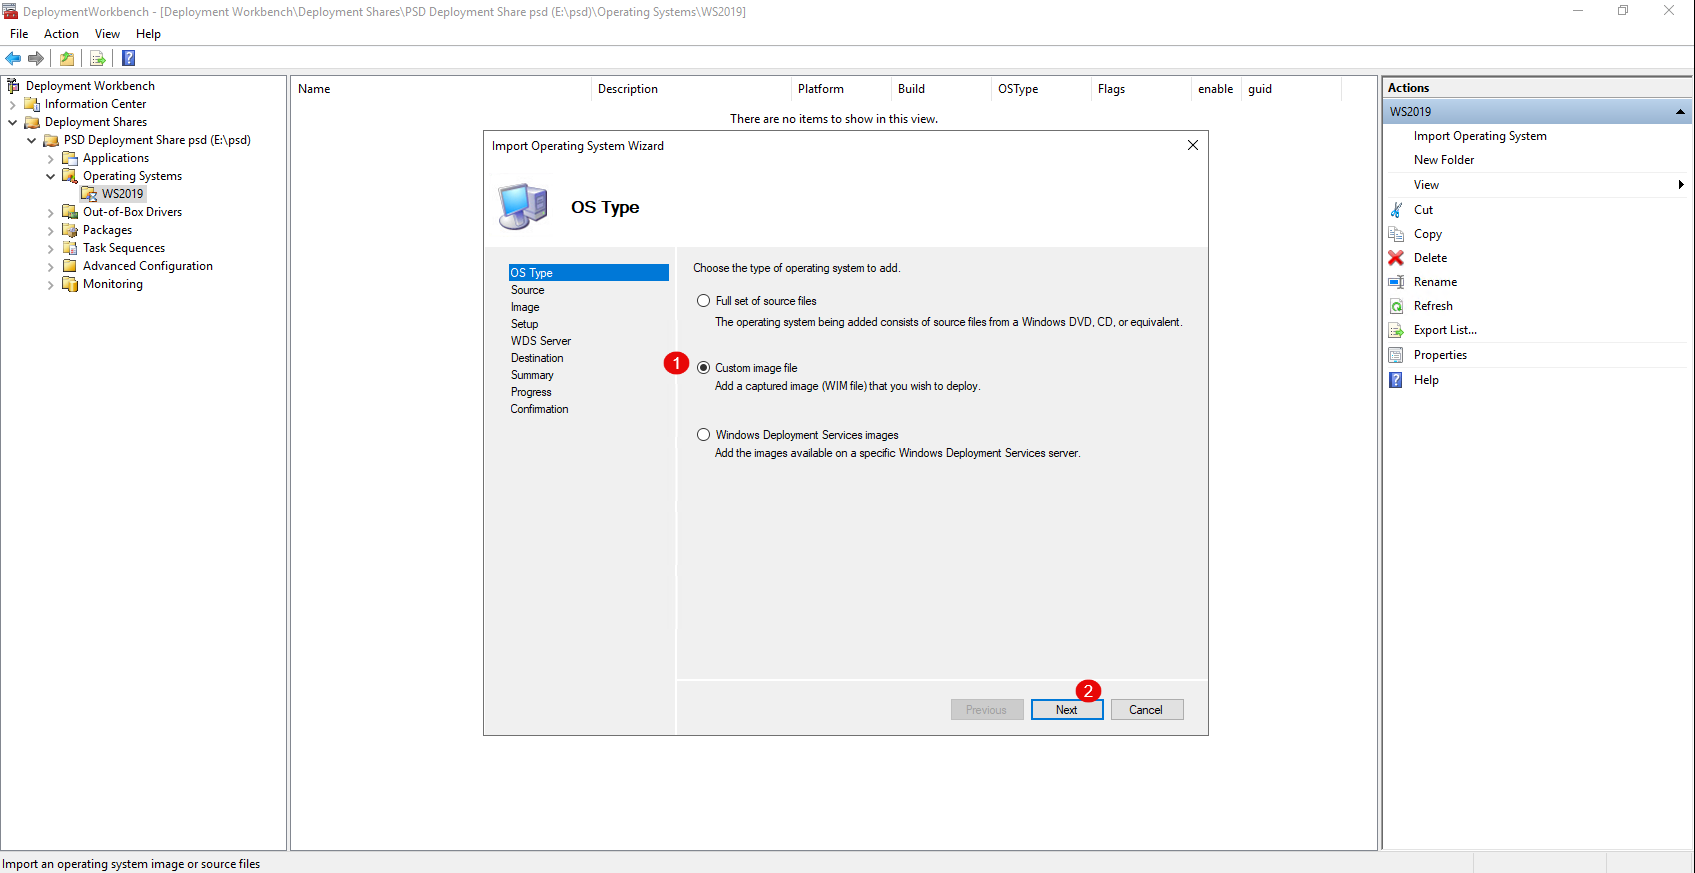
Select the type of OS you’re going to import. Here, I’ll just use the WIM file from the ISO, so I’ll choose Custom Image File 1 and click Next 2.
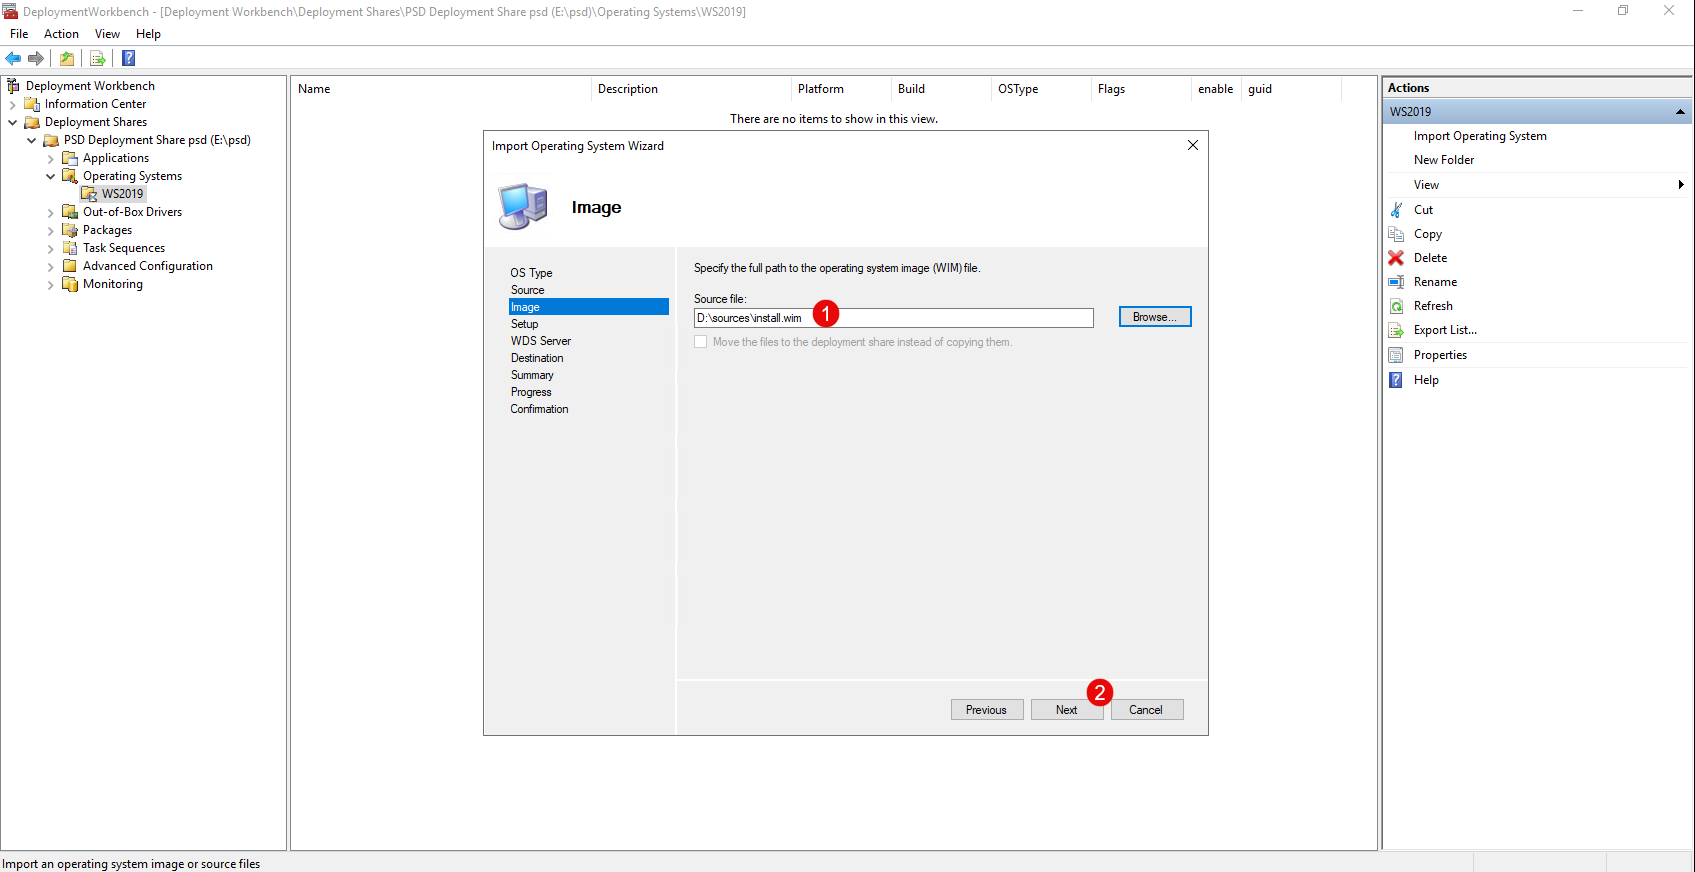
Specify the location of the install.wim file 1 and click Next 2.
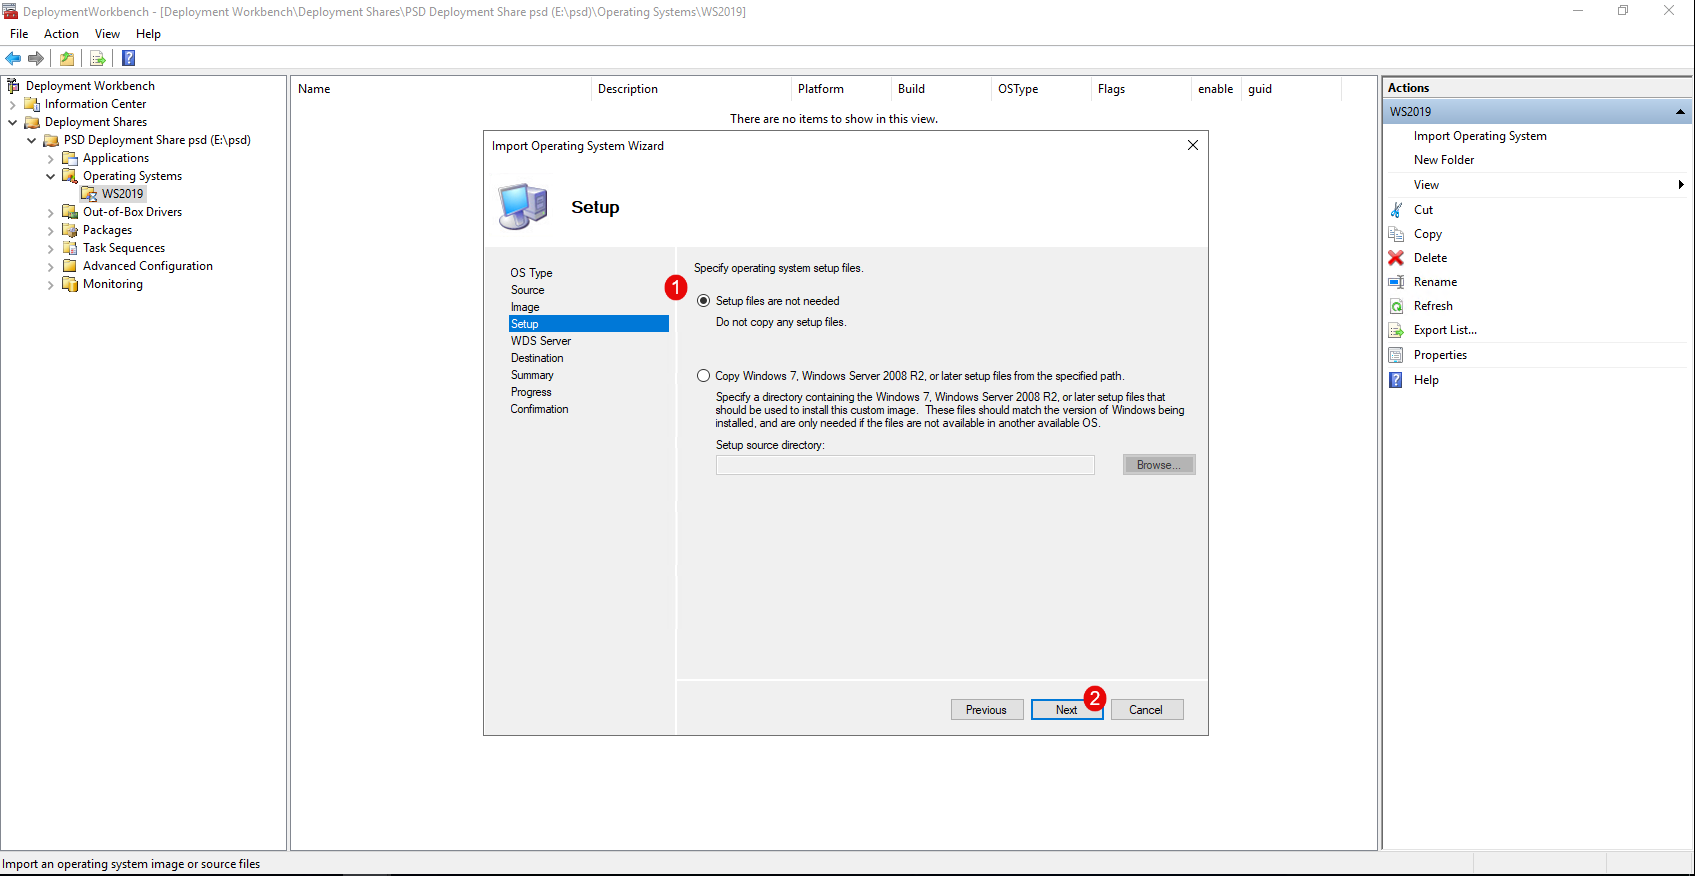
Leave the “Setup files are not needed” option selected 1, then click the Next button 2.
Here, specify the folder name where the OS will be stored 1 and click Next 2.

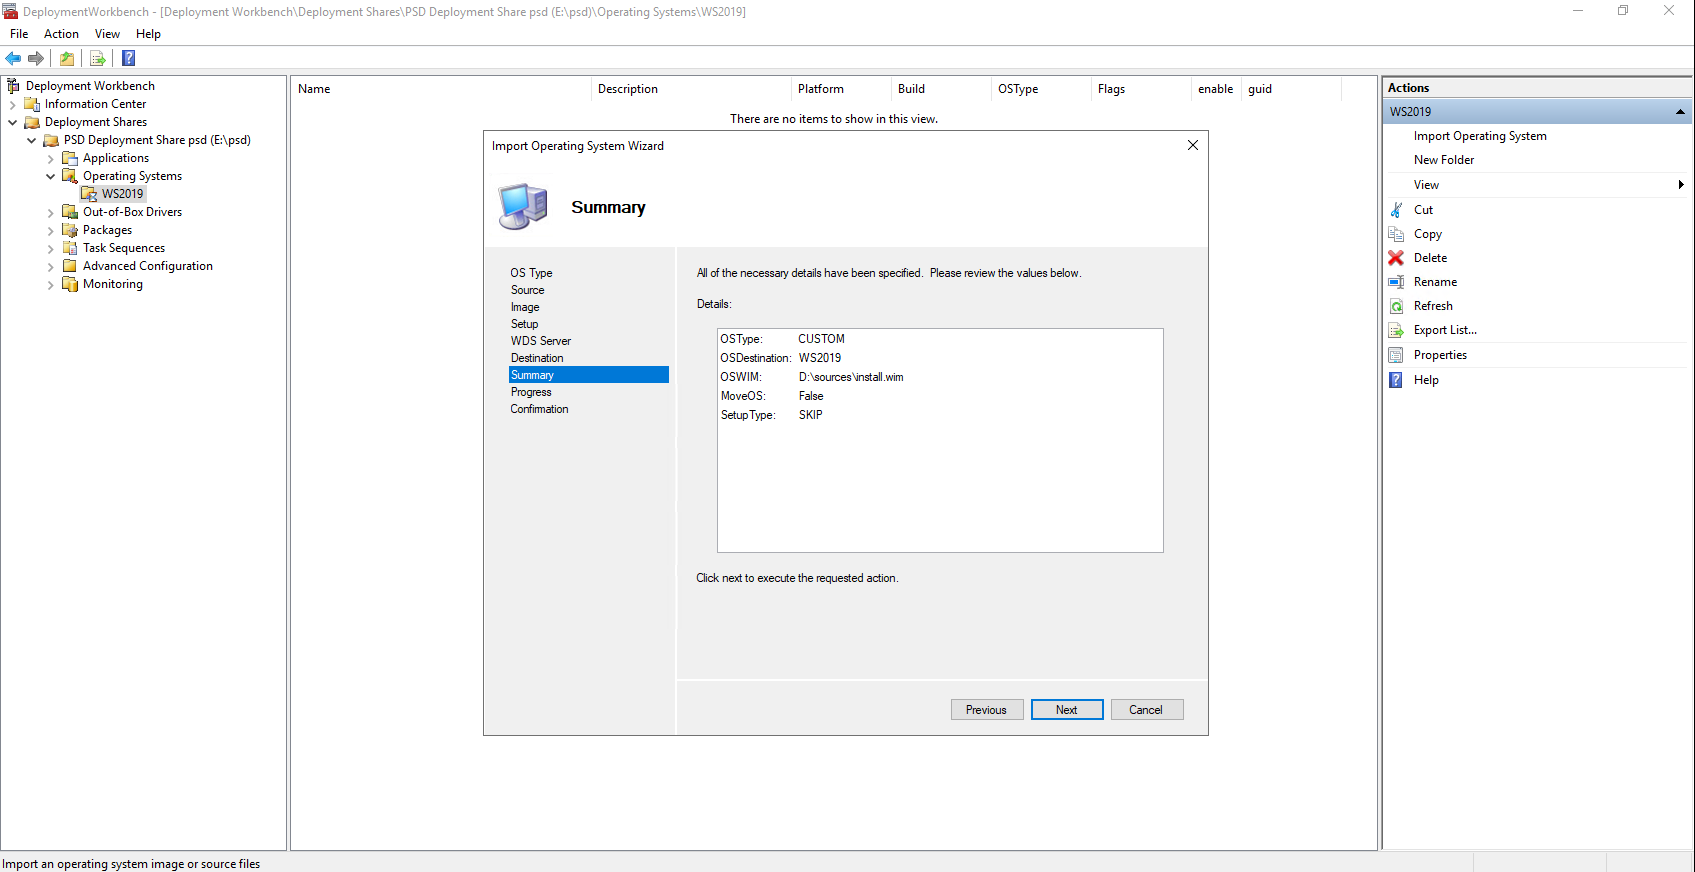
A summary of the OS import appears; click Next 1.
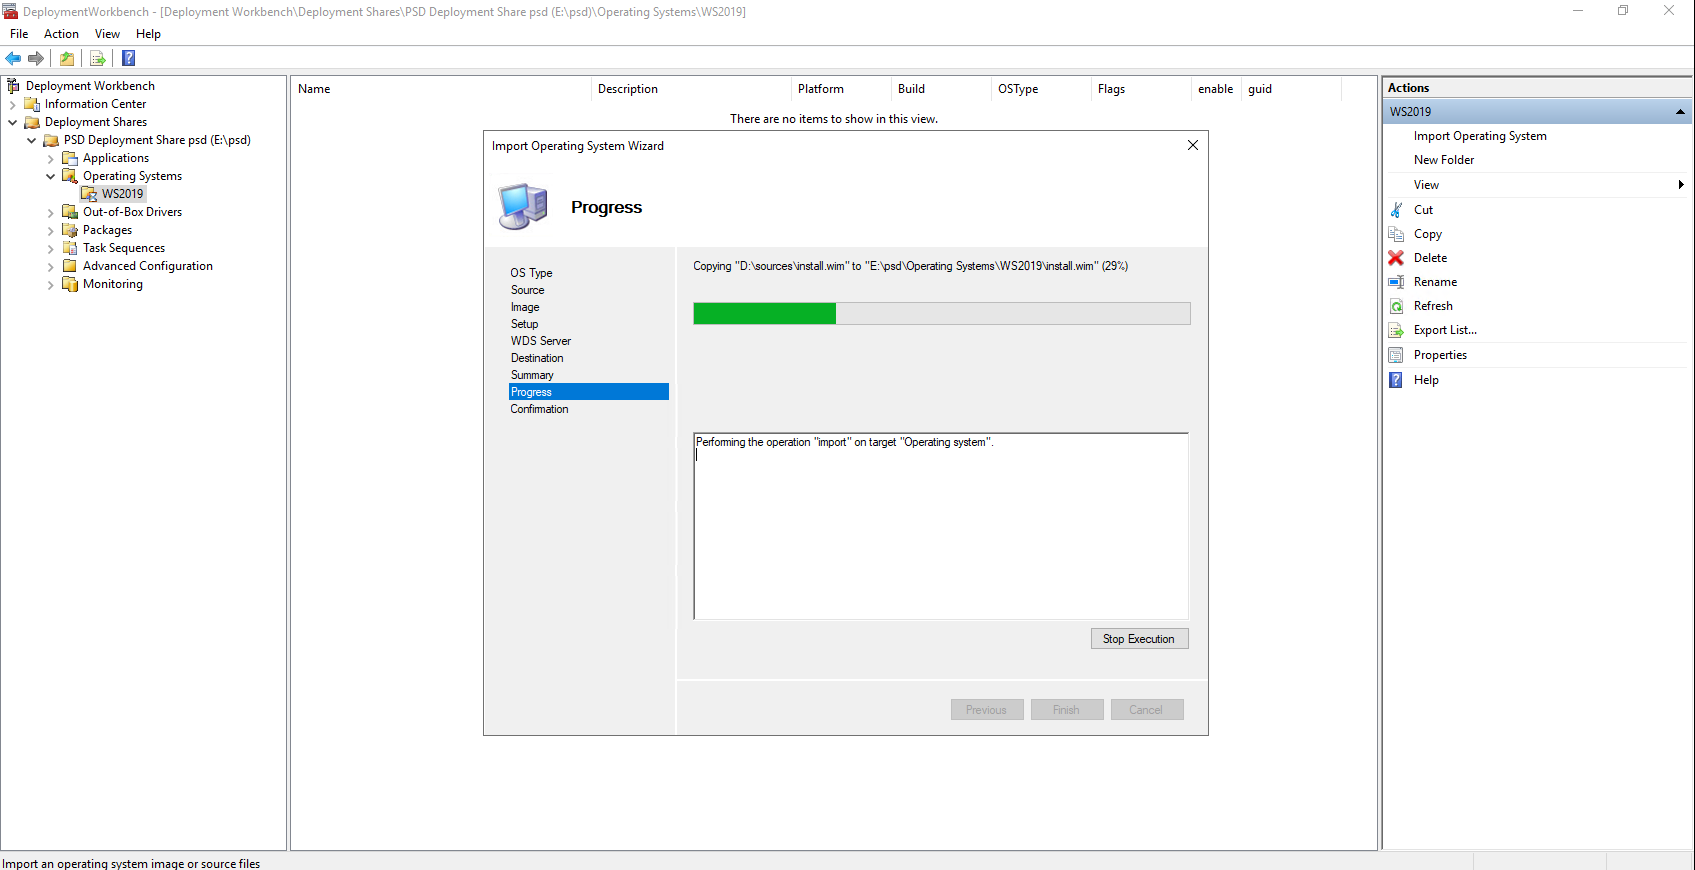
Wait while the import is in progress…
Once the import is complete, click Finish 1 to close the wizard.

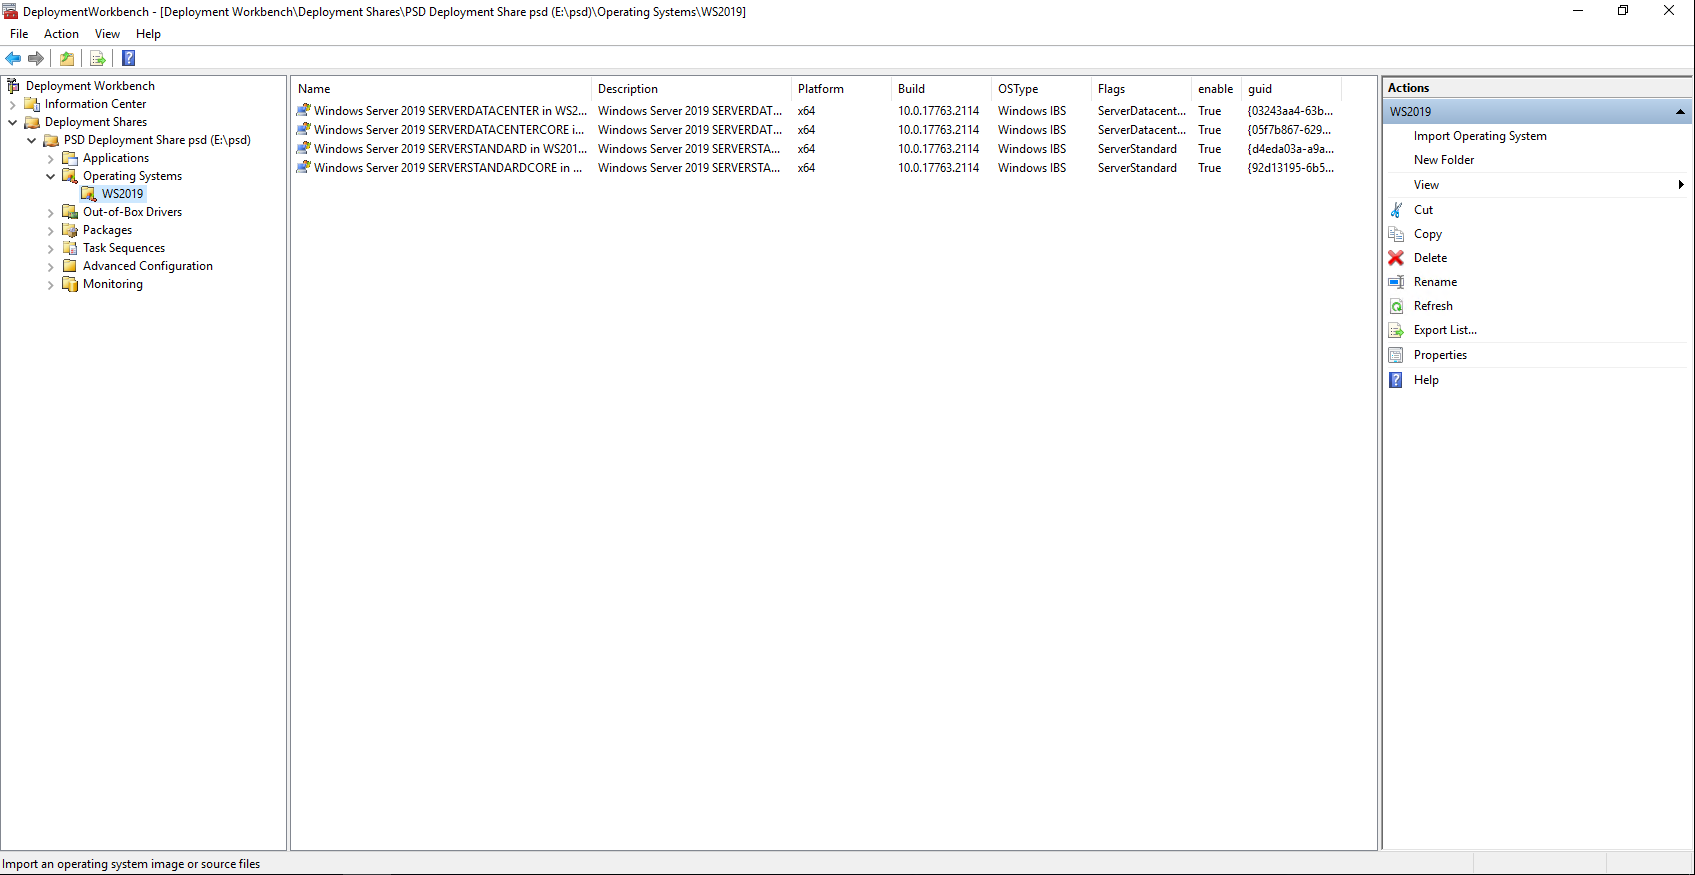
The OS is available in MDT / PSD.
Add an MSI application in the MDT / PSD console
To customize the deployment, we will add an MSI application that can be selected during computer configuration in the deployment phase.
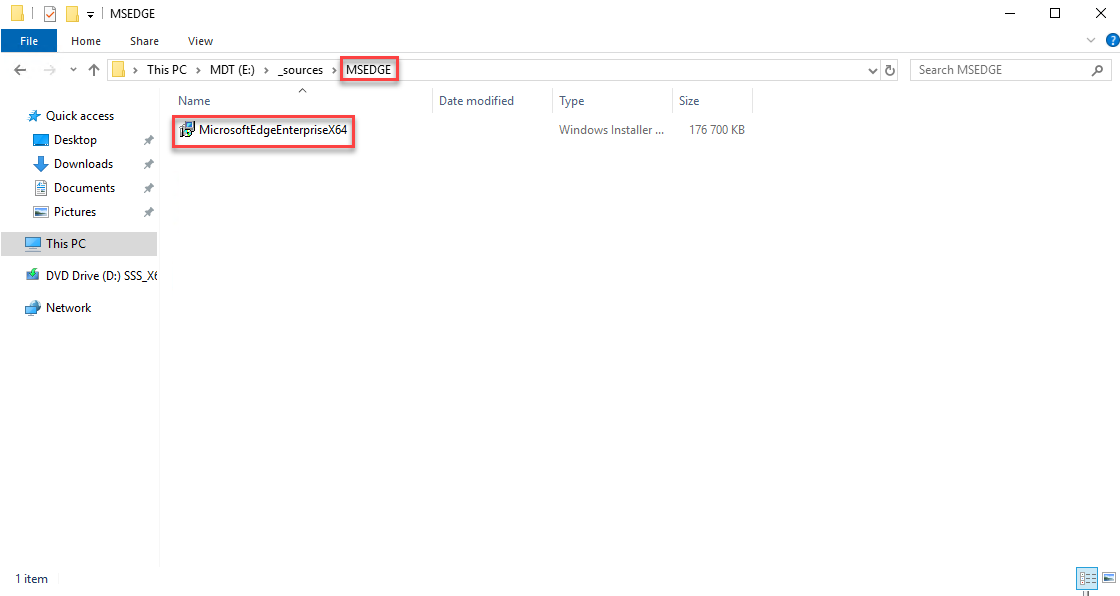
To illustrate this step, I used Microsoft Edge. To import it correctly into MDT, you must create a folder containing the .msi file, as shown in the screenshot.
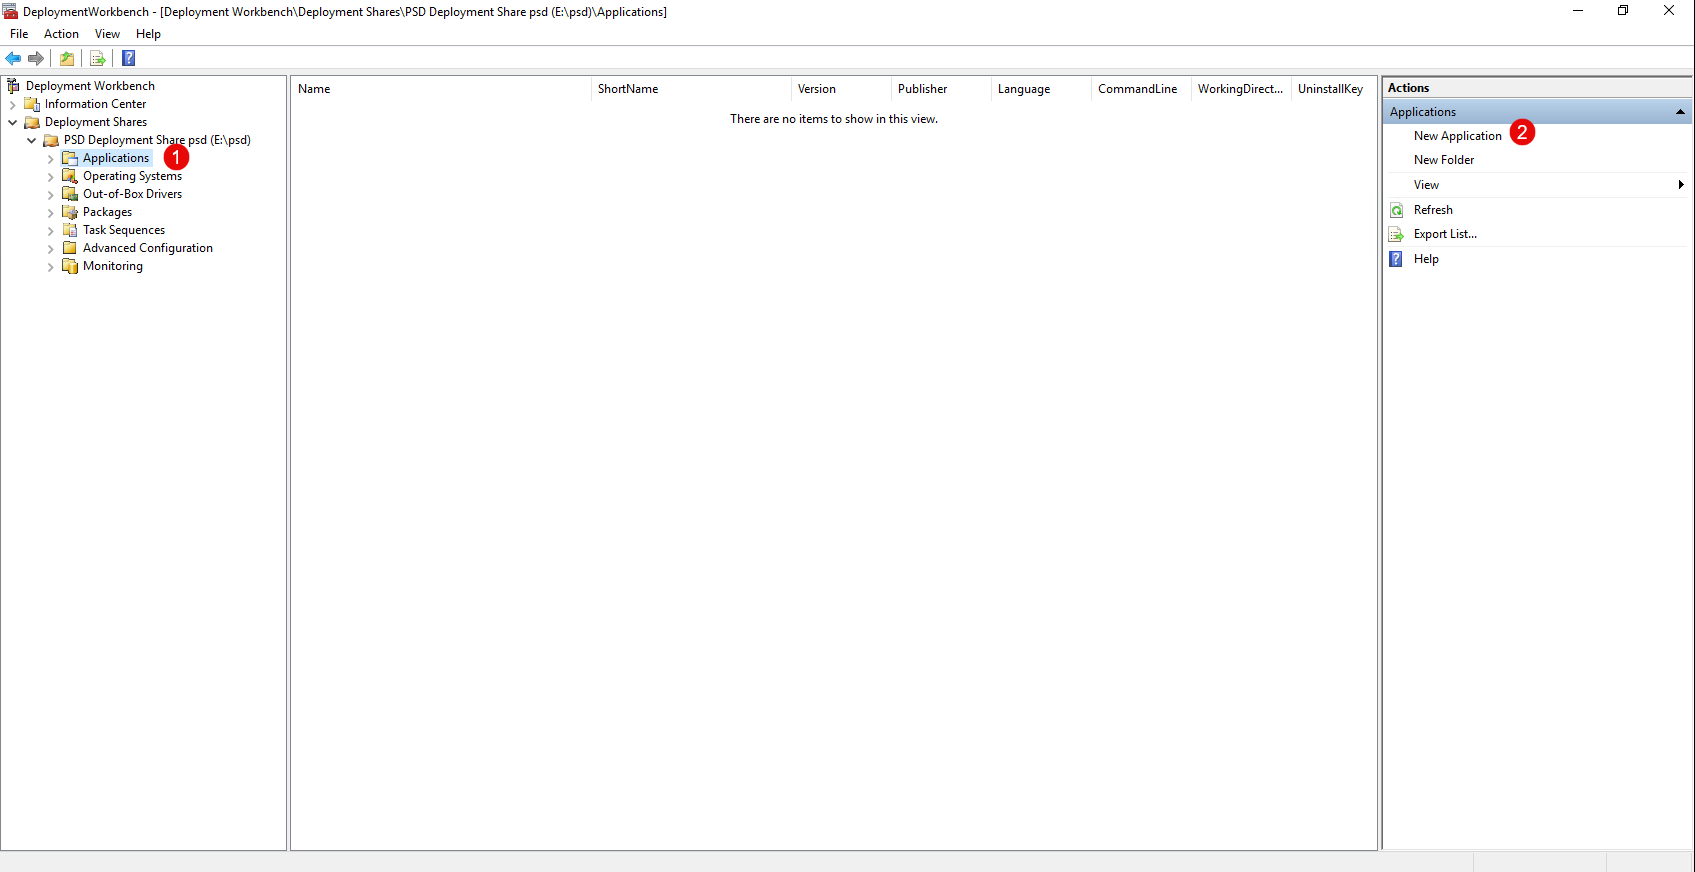
From the MDT console, go to Applications 1 and click New Application 2.
As with operating systems, you can create folders to organize applications.
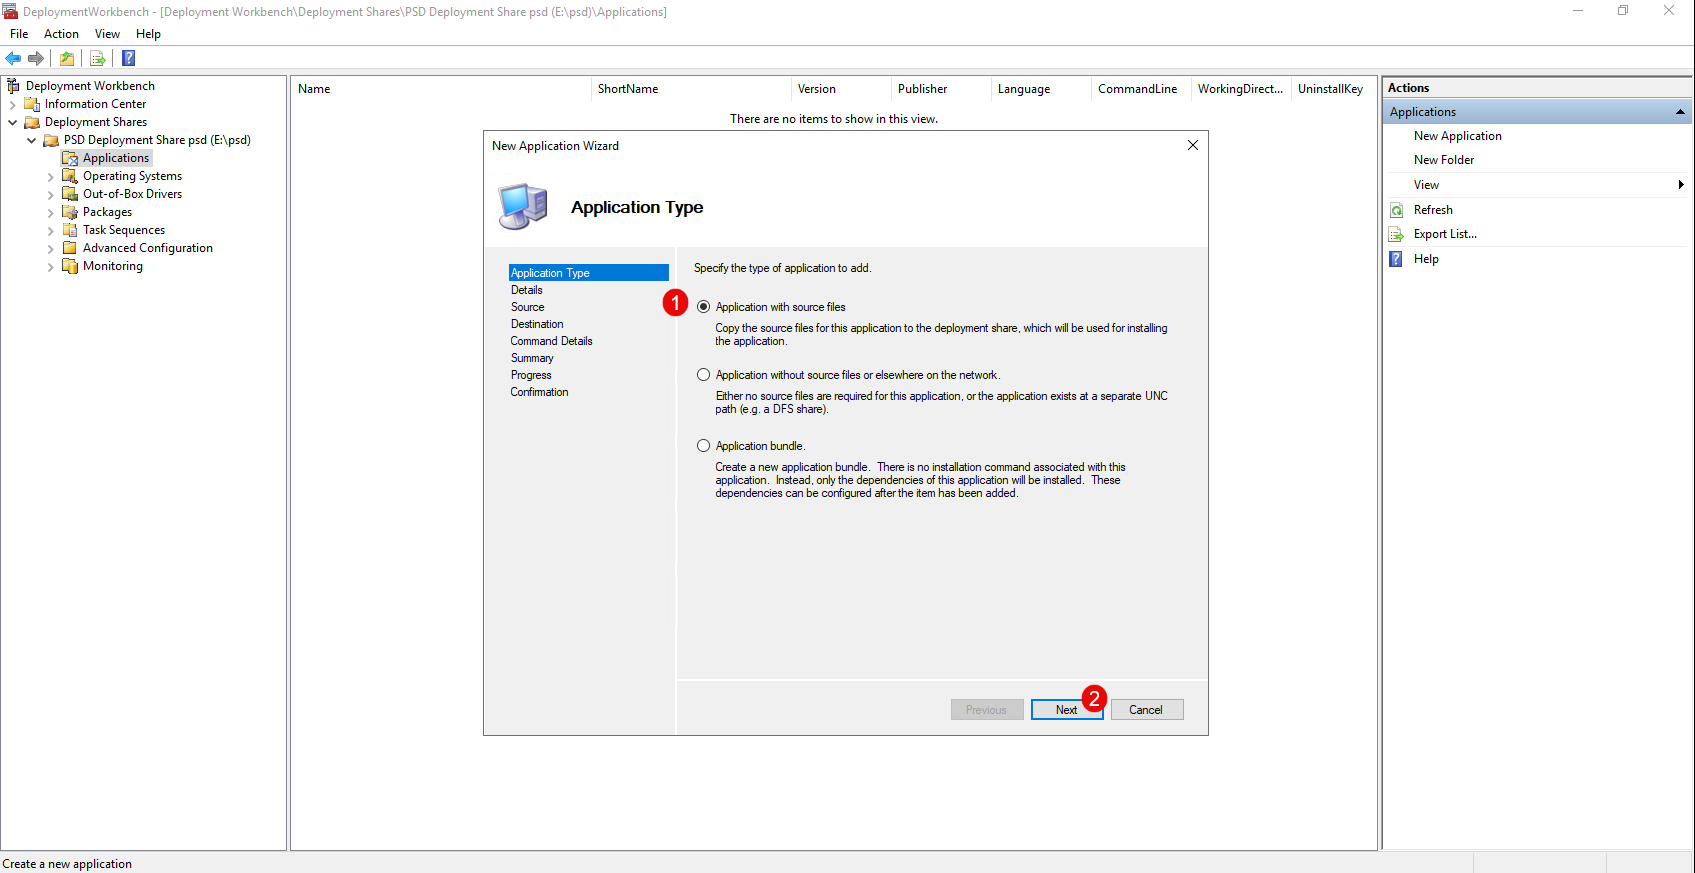
Select the type: Application with source files 1, then click the Next button 2.
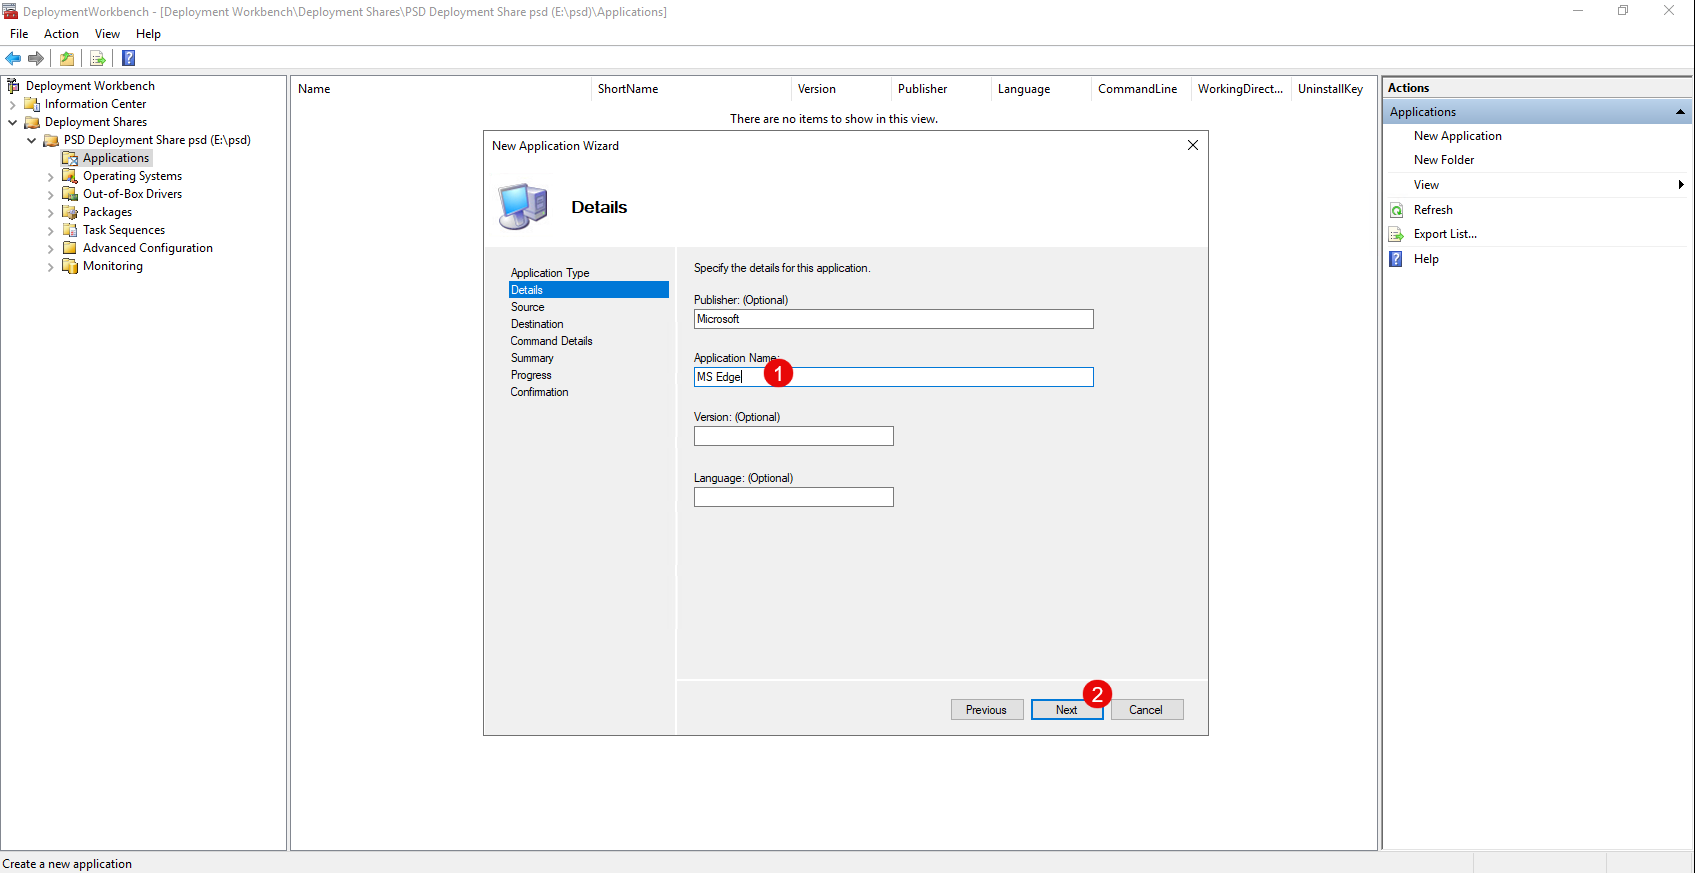
In the application details, at a minimum, enter the application name 1 and click Next 2.
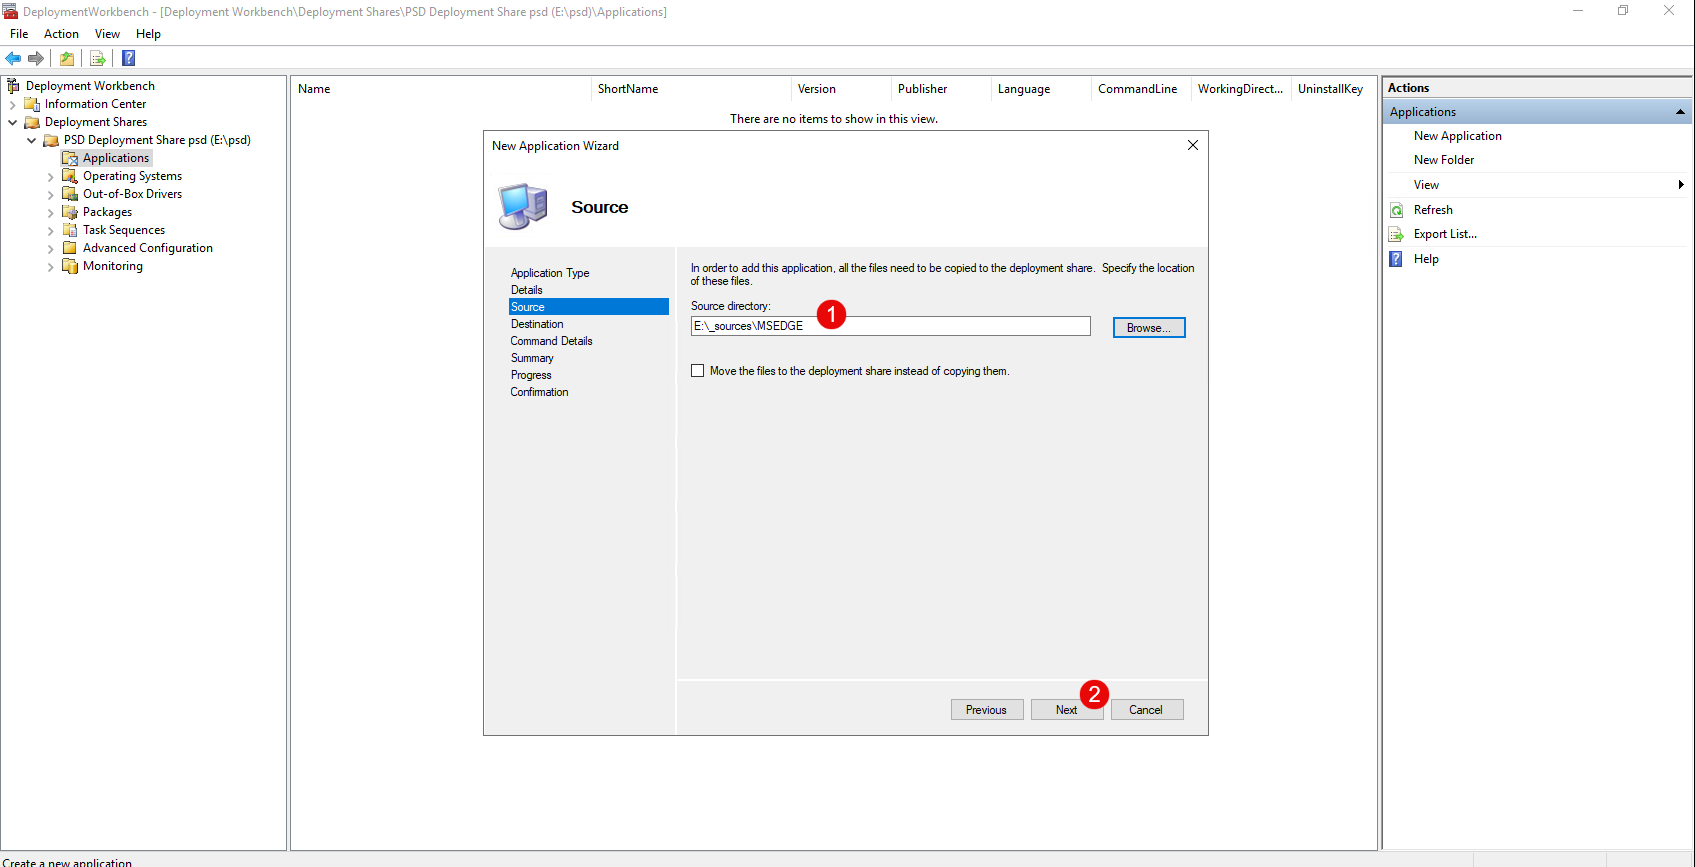
Specify the location of the sources 1 on the server and click Next 2.
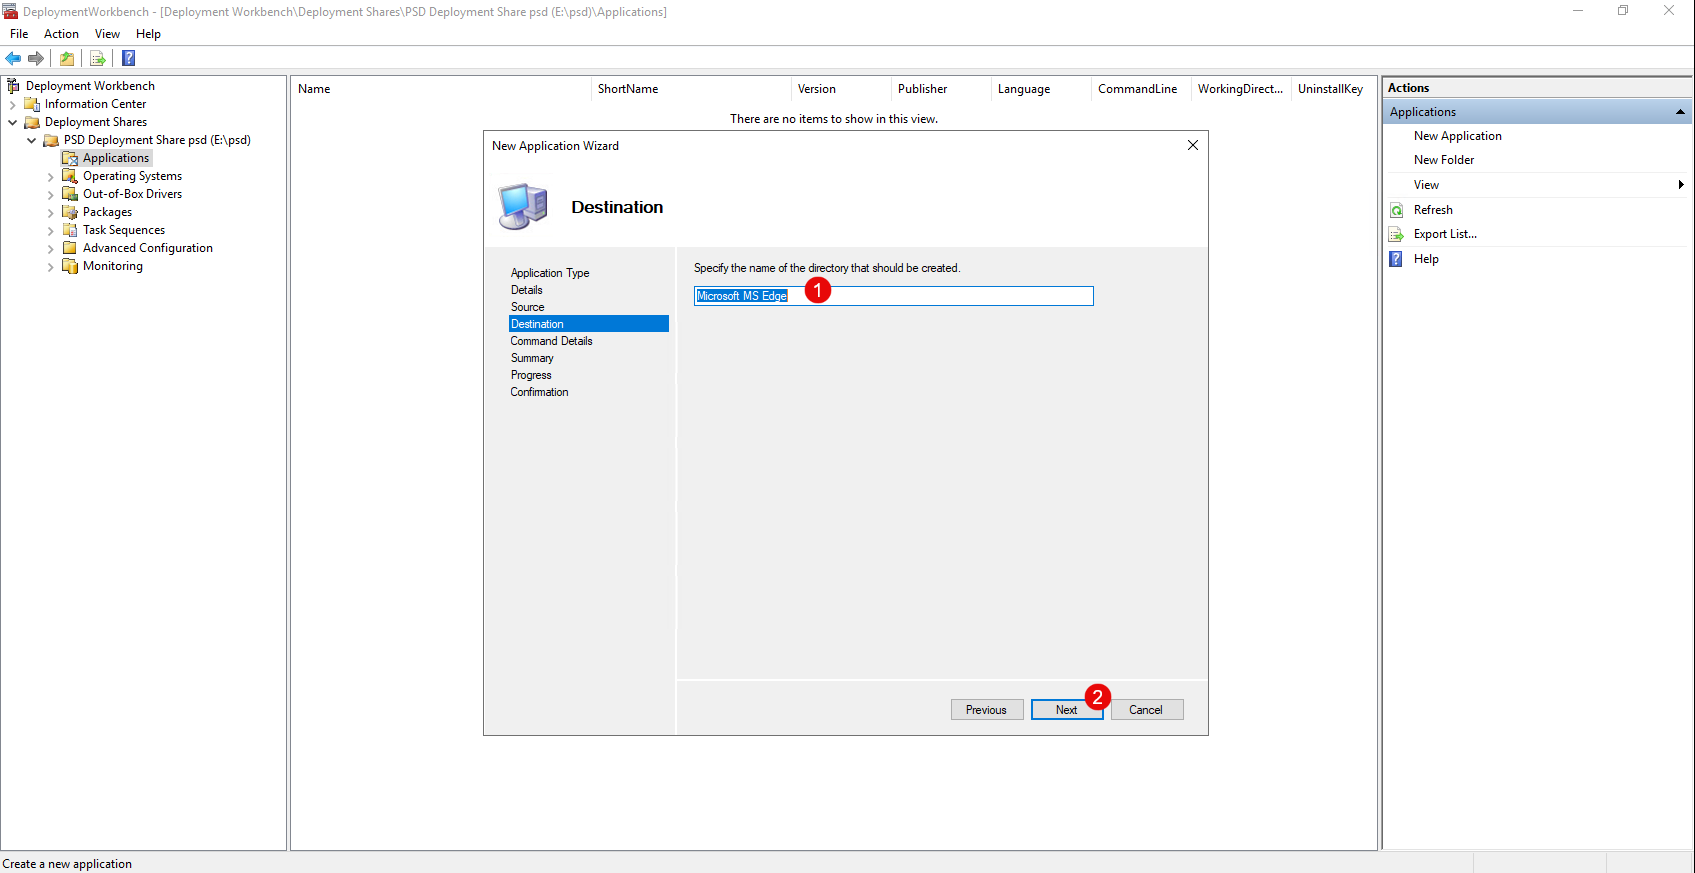
Specify the name of the folder 1 that will be created in the deployment share, then click Next 2.
Enter the command to run to install the .msi file; the advantage of this file type is that silent installation is standard, so enter the following command 1, then click Next 2.
msiexec.exe /i filename.msi /qn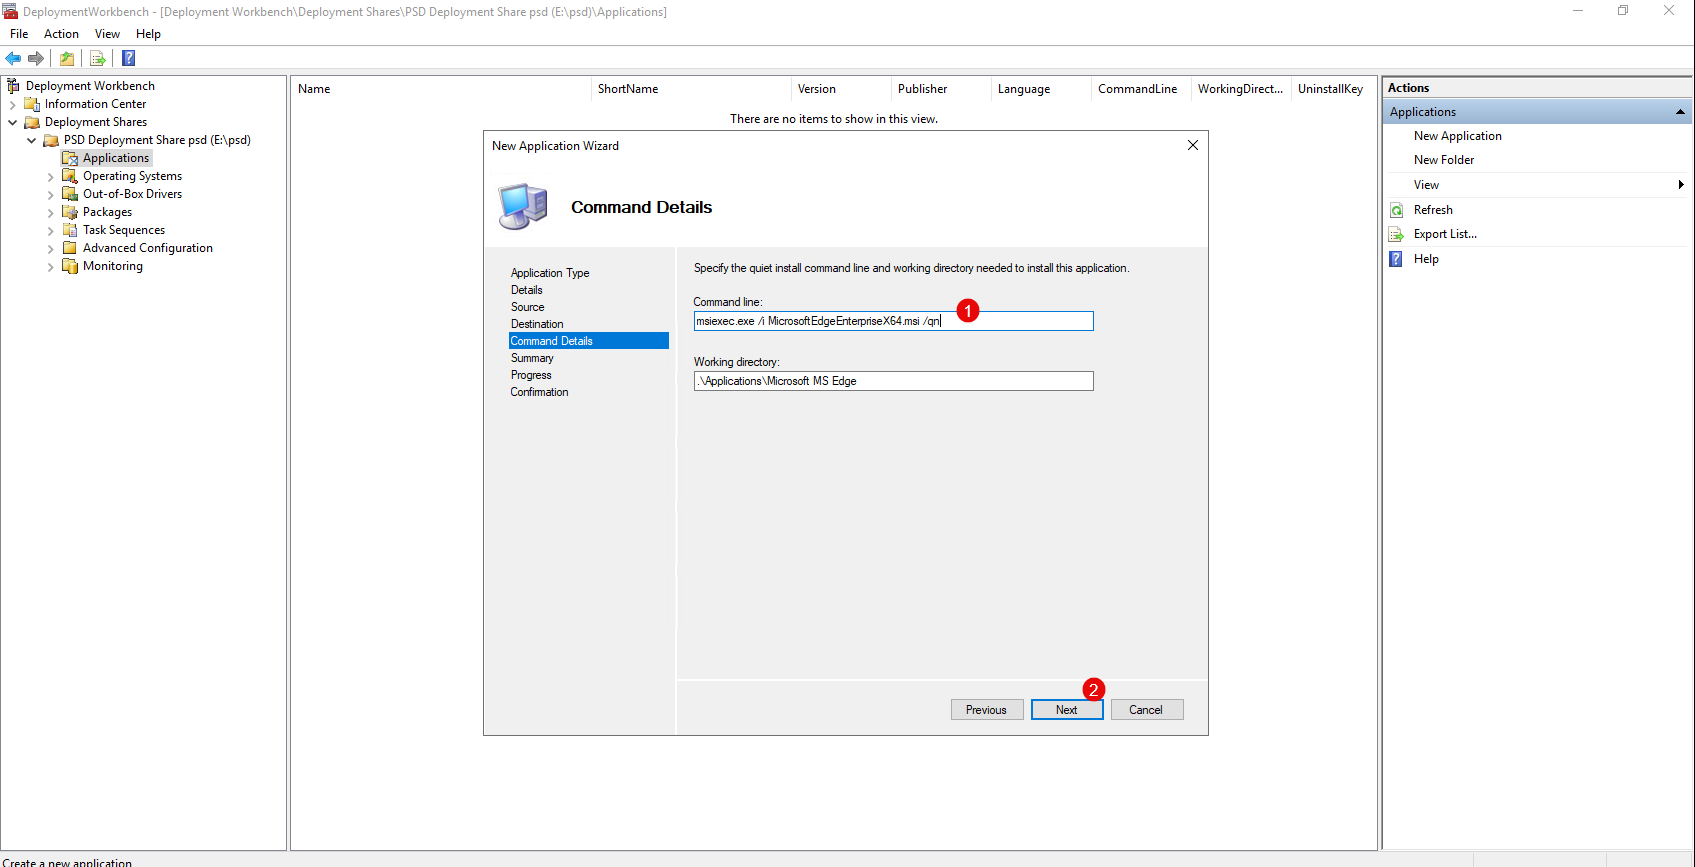
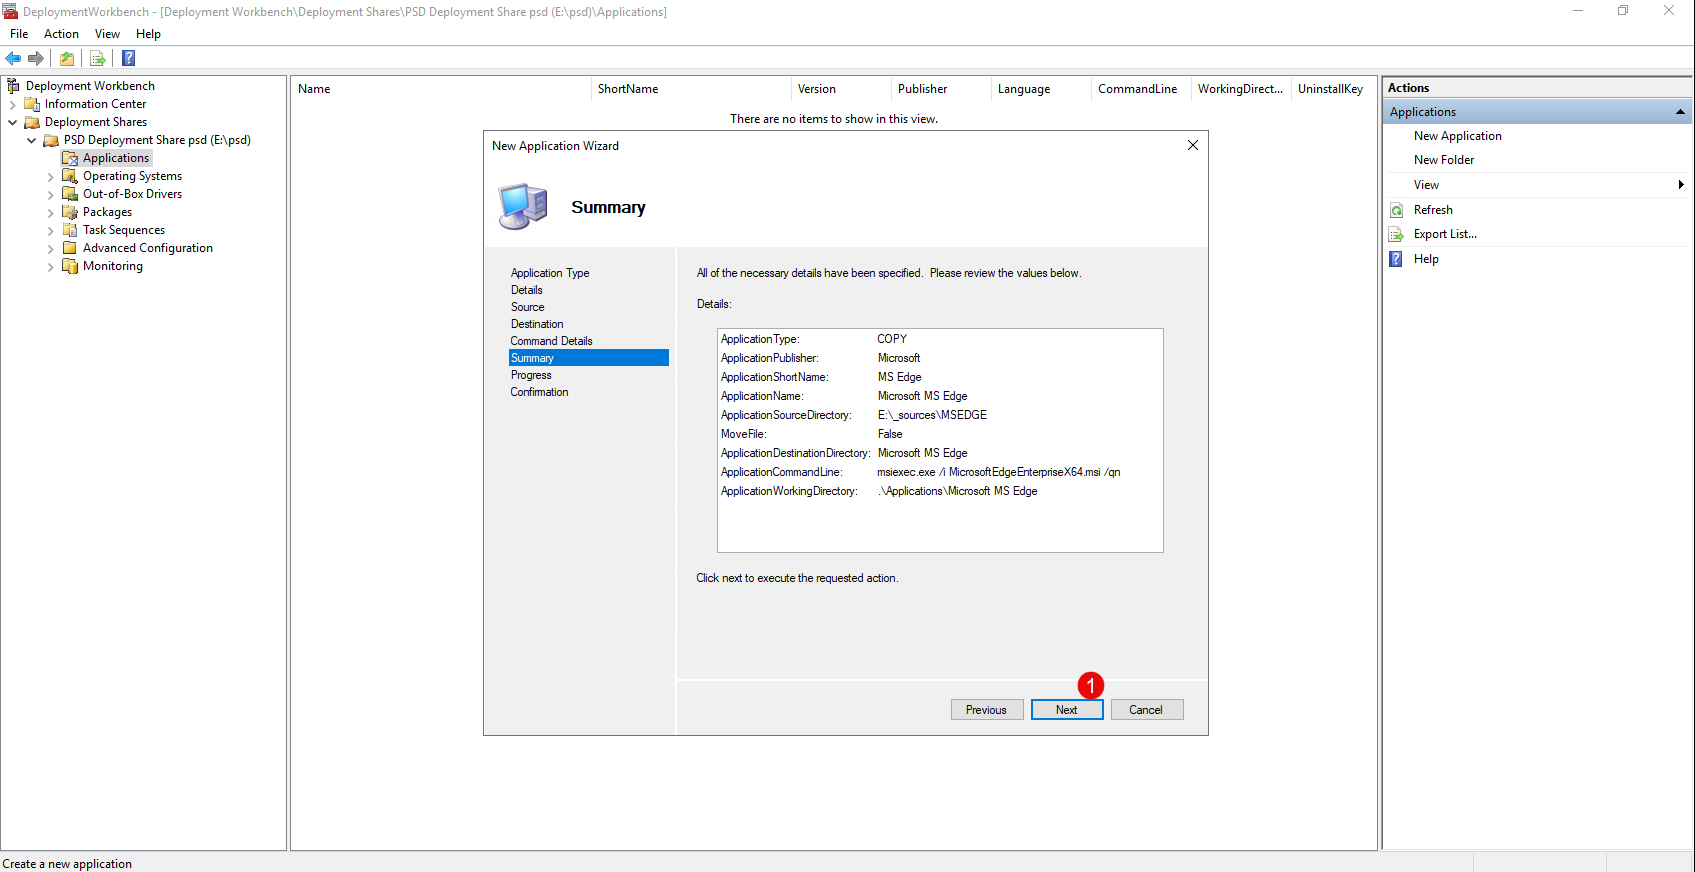
Confirm the addition of the application by clicking Next 1.
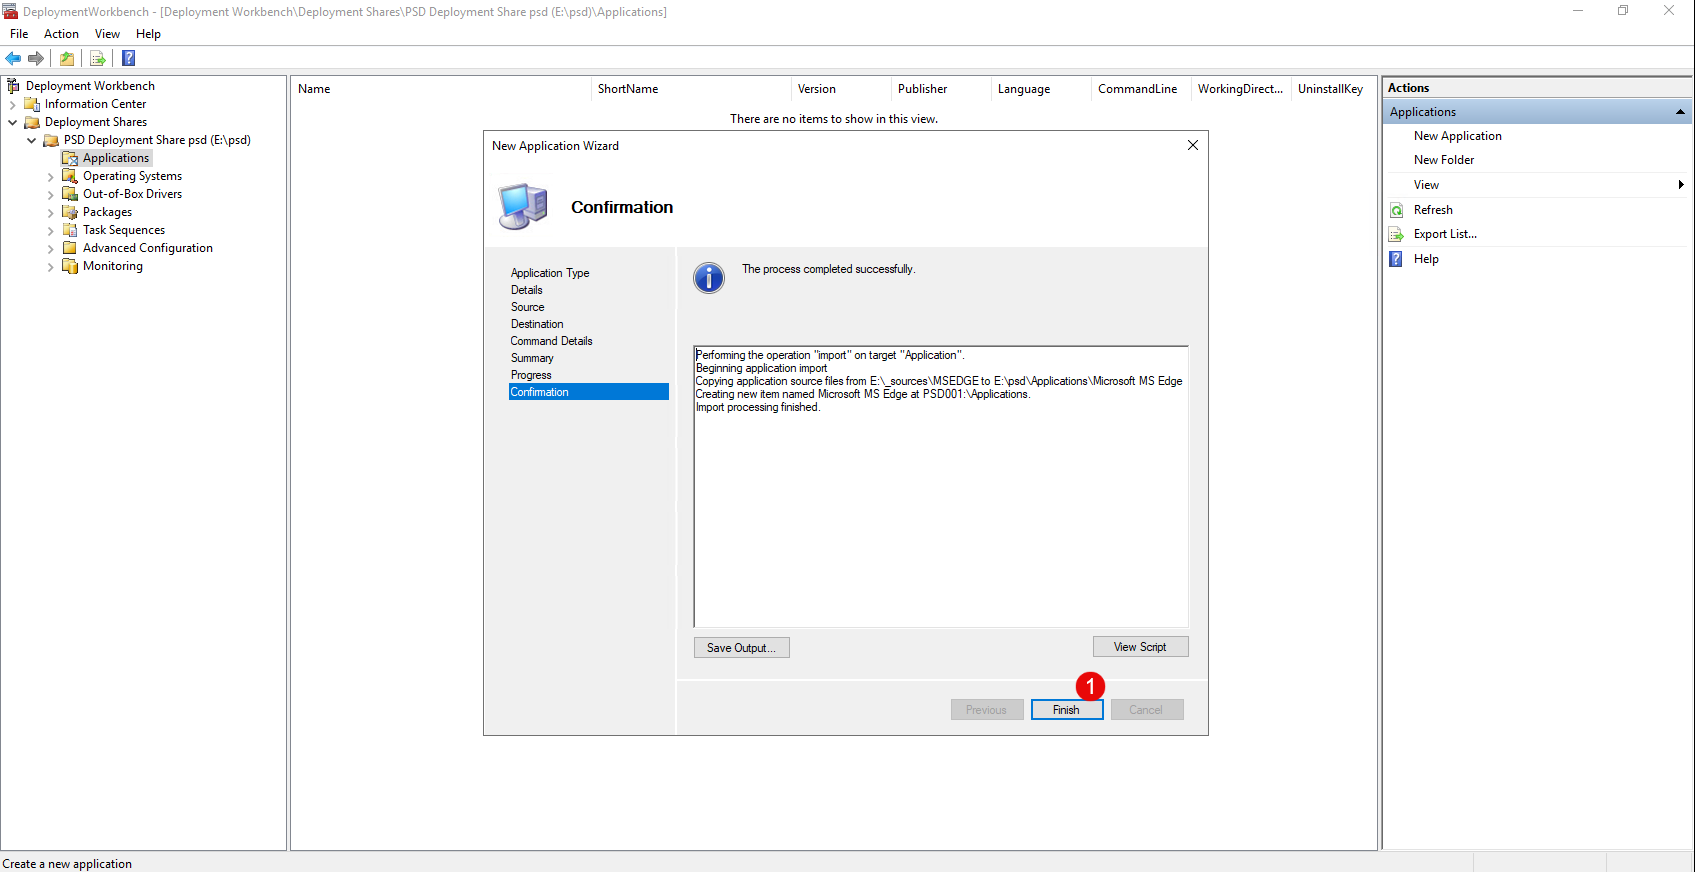
Once the application has been added, close the wizard by clicking Finish 1.
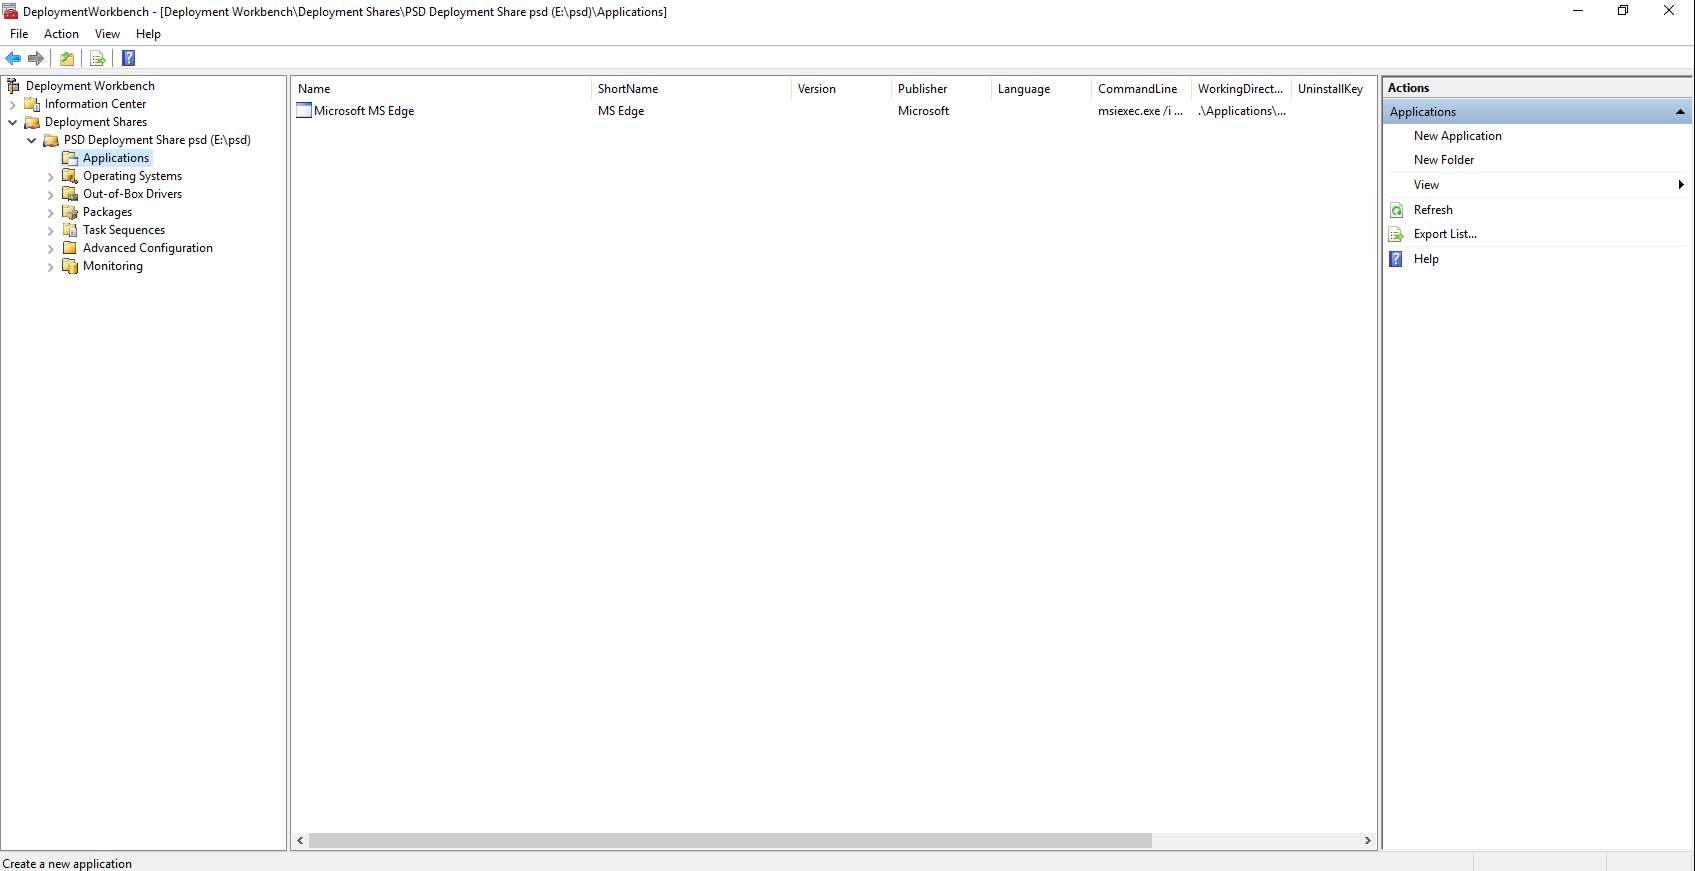
The application is added and available in the MDT console.
Add a Task Sequence
The Task Sequence in MDT allows you to configure a series of actions to be performed, such as installing Windows.
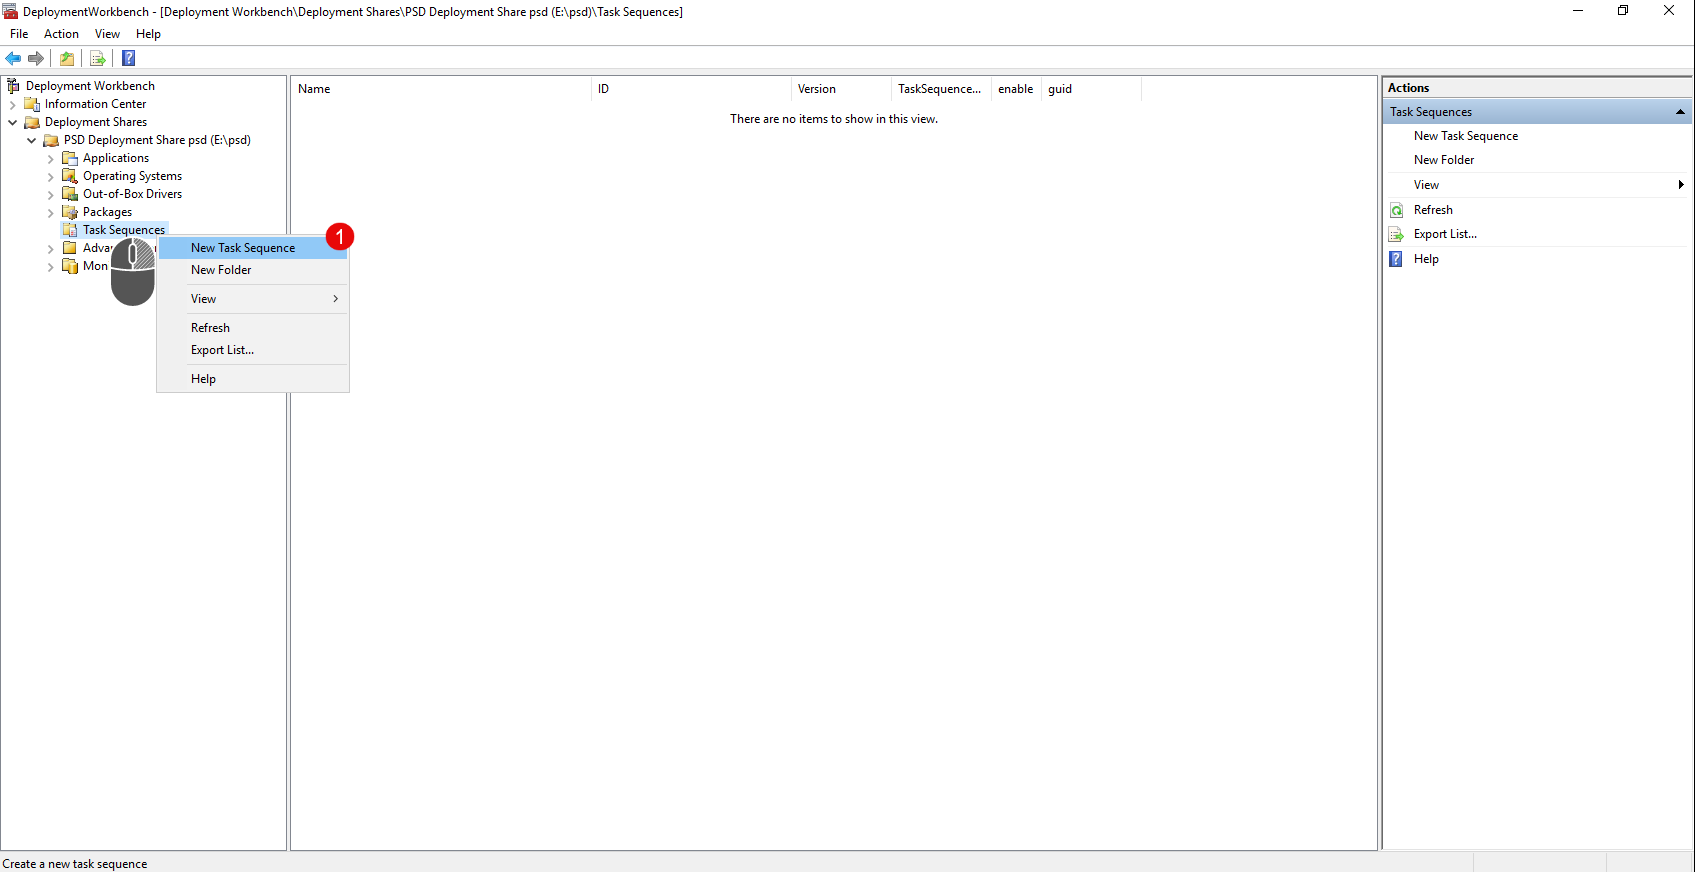
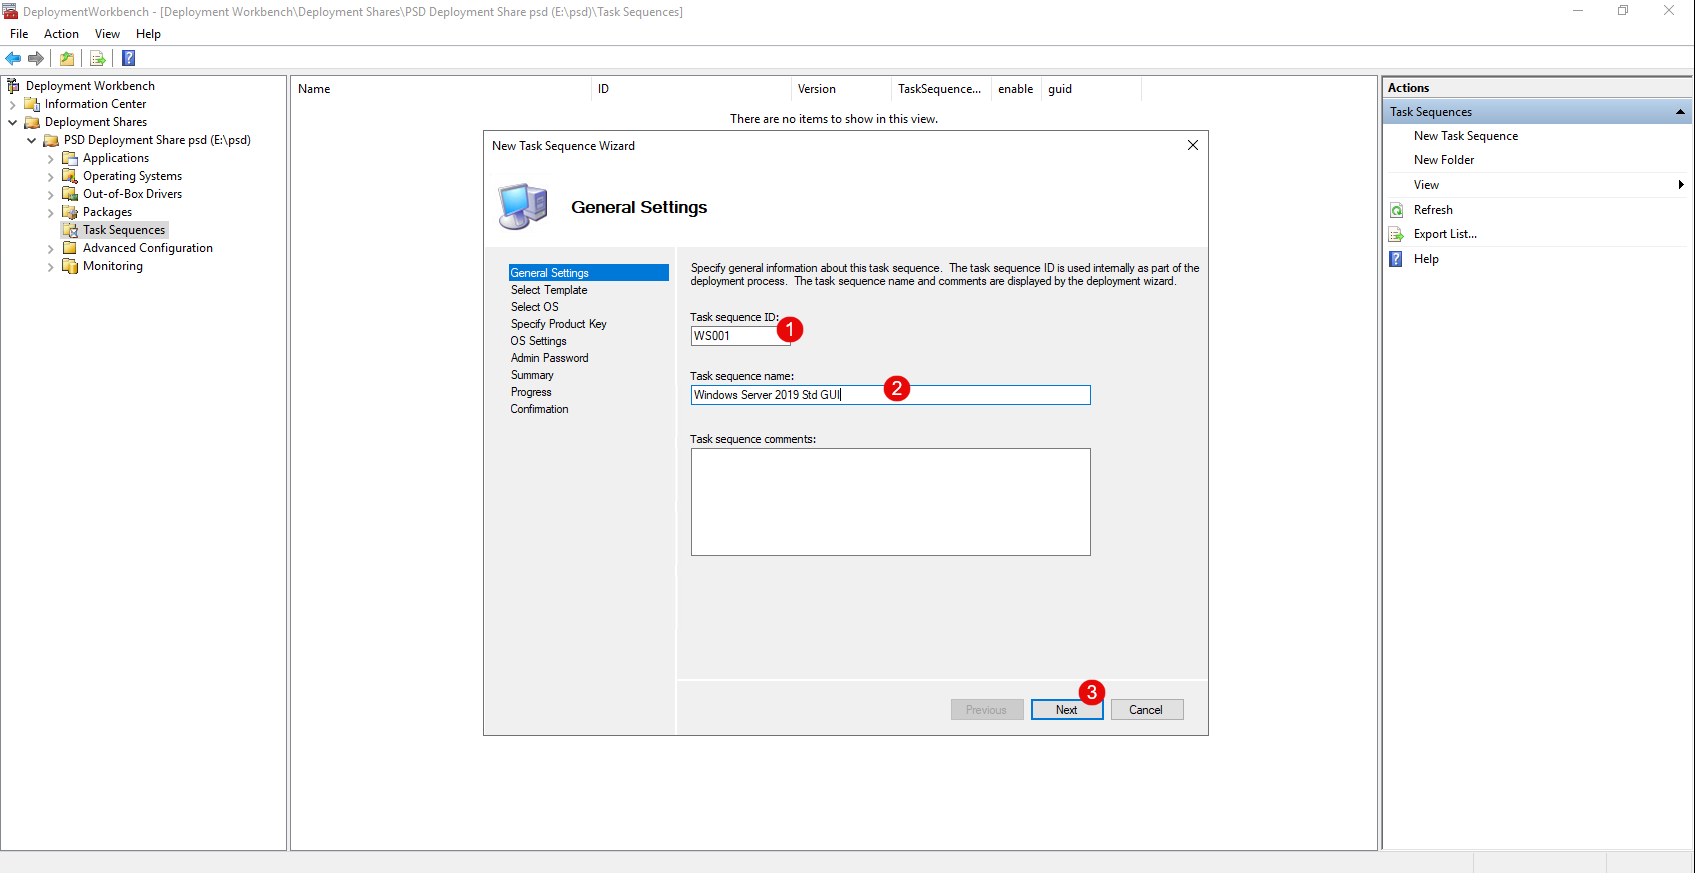
Right-click on Task Sequences, then click New Task Sequence 1.
Enter the ID 1 of the task sequence and a name 2, then click Next 3.
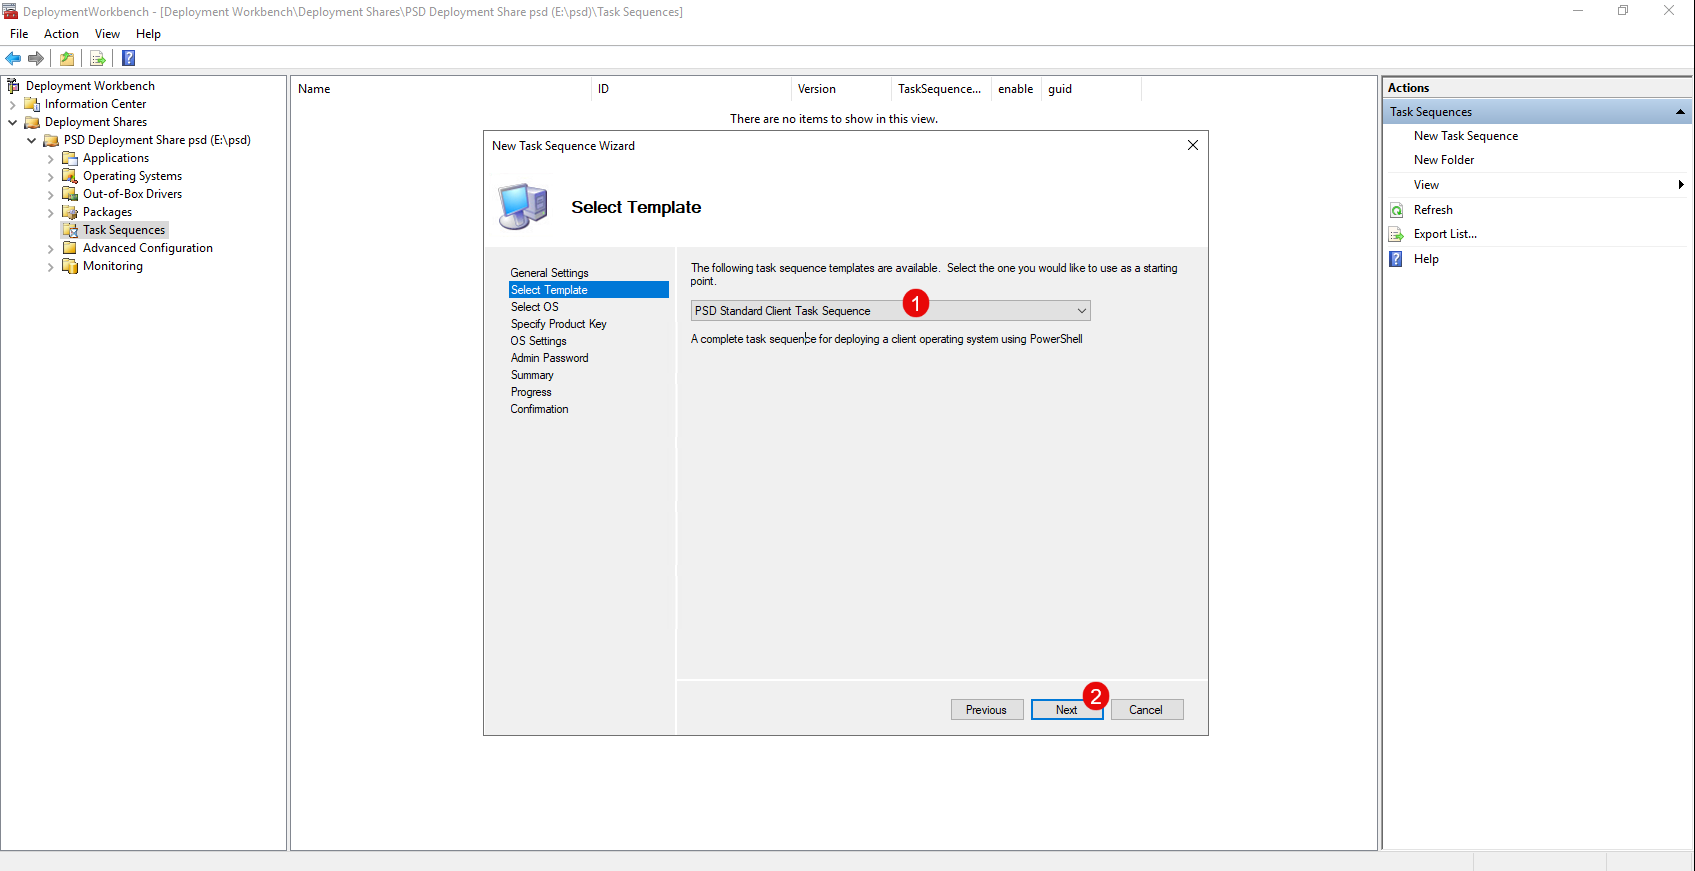
From the list of templates, select PSD Standard Client Task Sequence 1 and click Next 2.
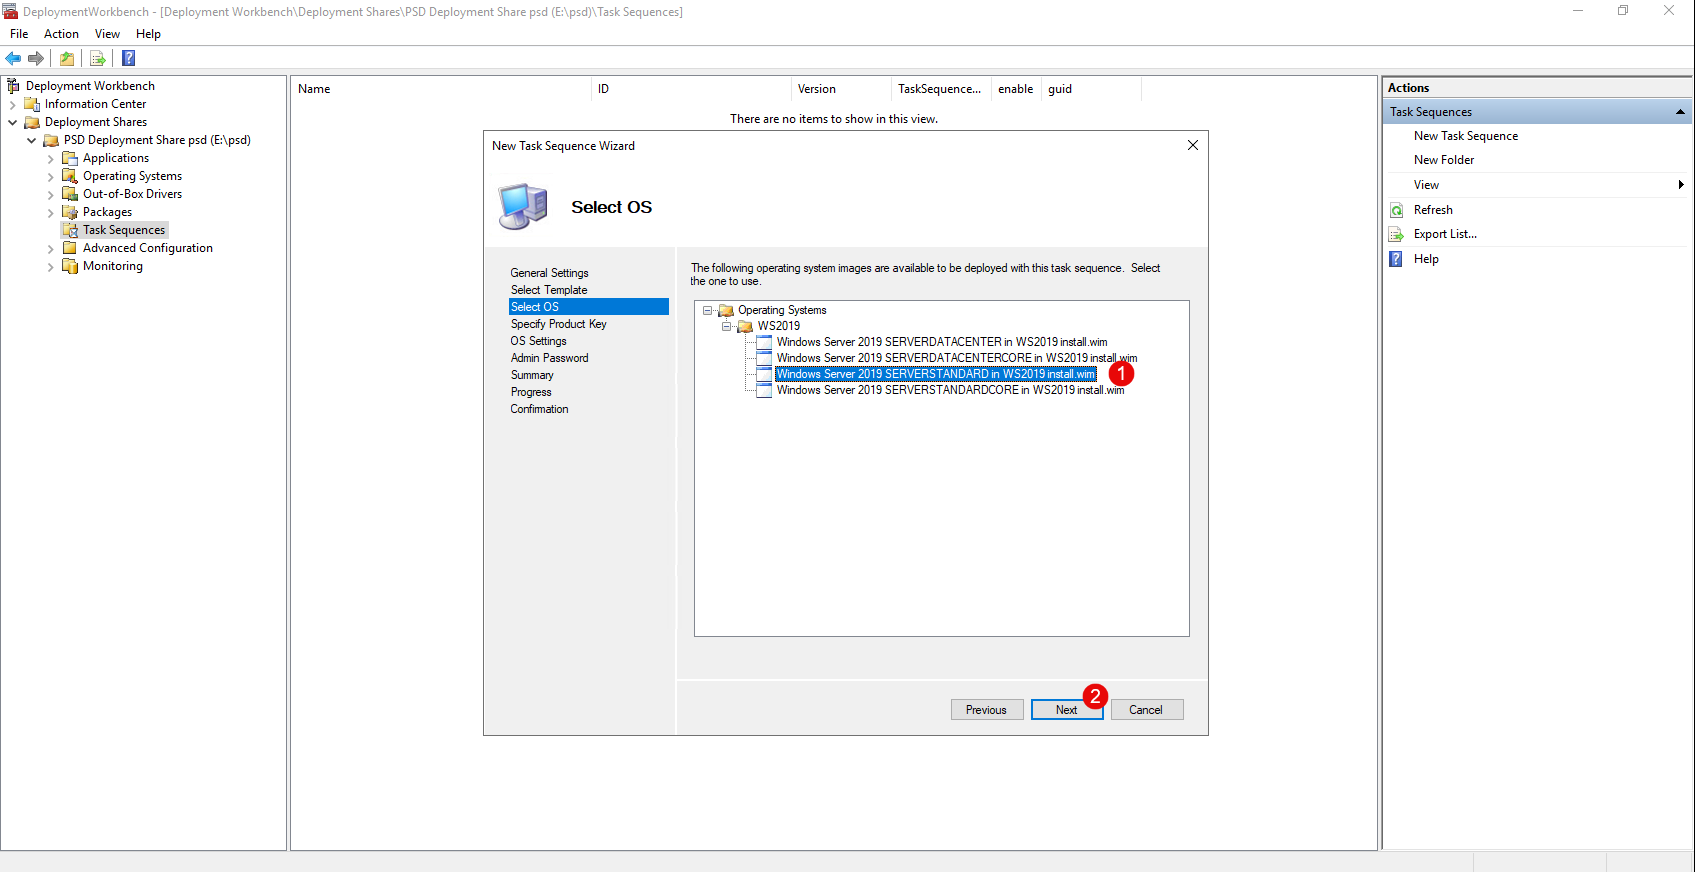
Select the operating system (OS) 1 to be installed, then click the Next button 2.
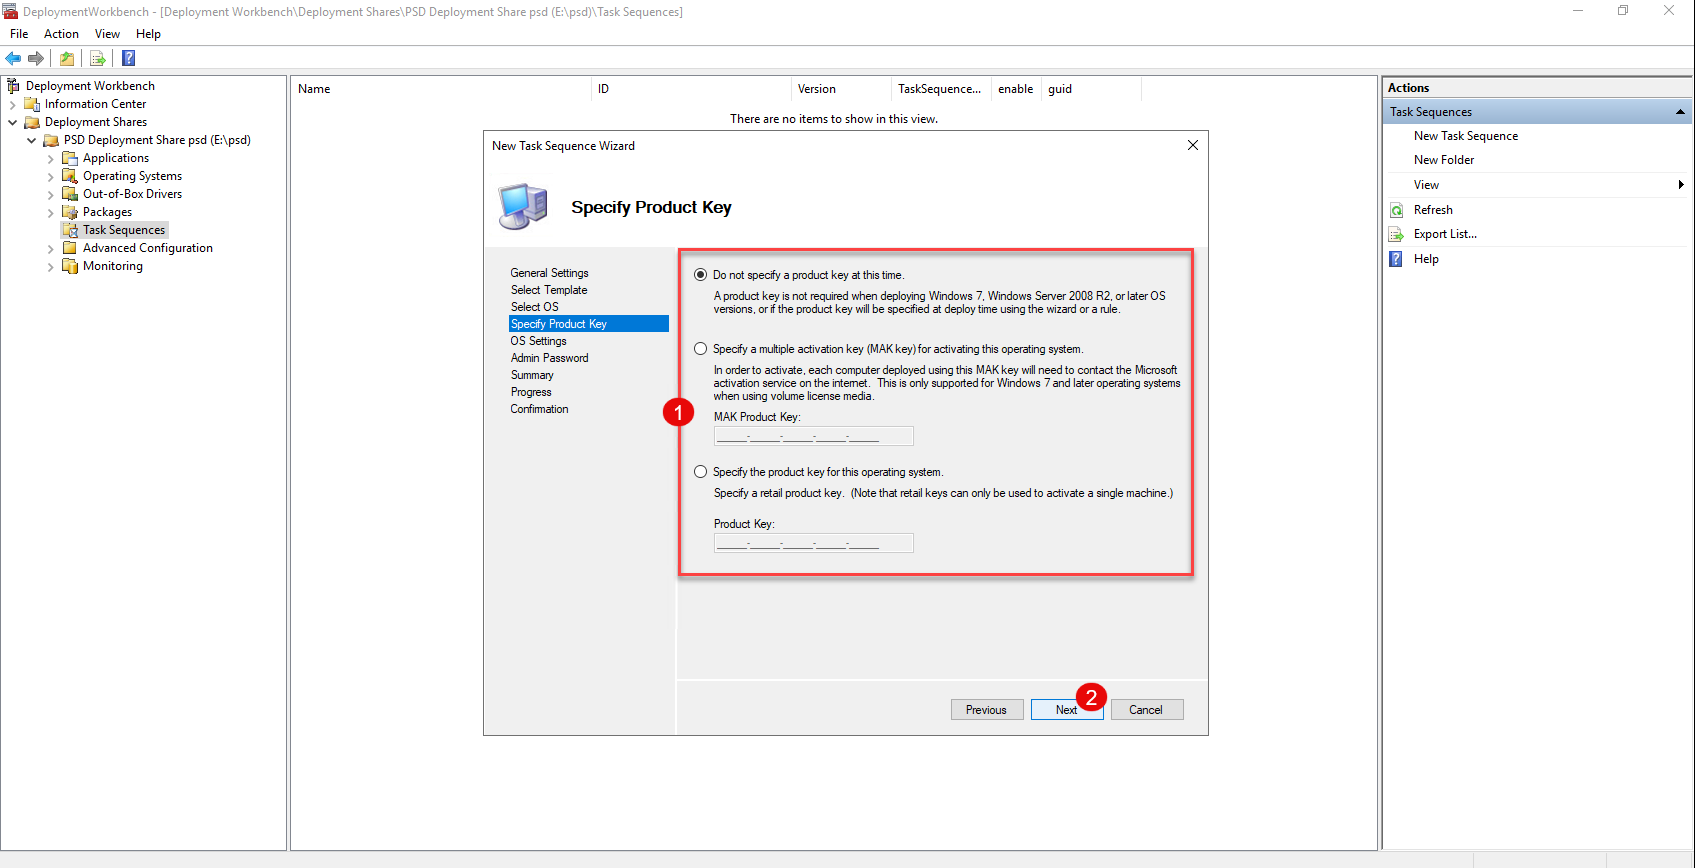
If necessary, enter the product key 1, then click Next 2.
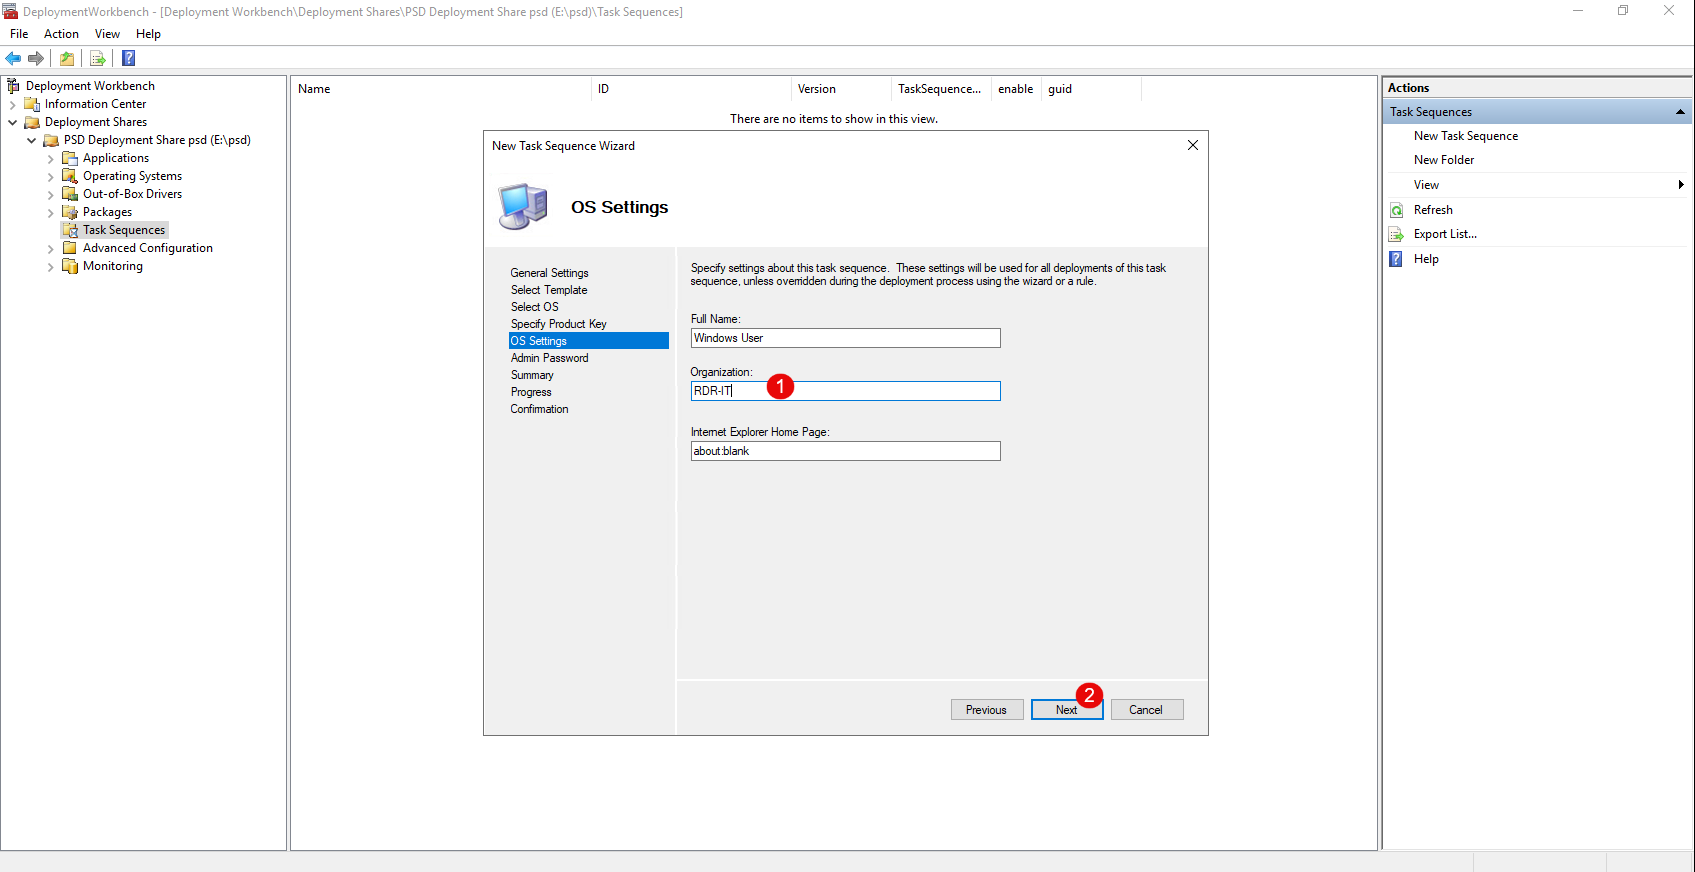
Enter your organization name 1 and click Next 2.
Select an option for the Administrator account password 1 and click Next 2.
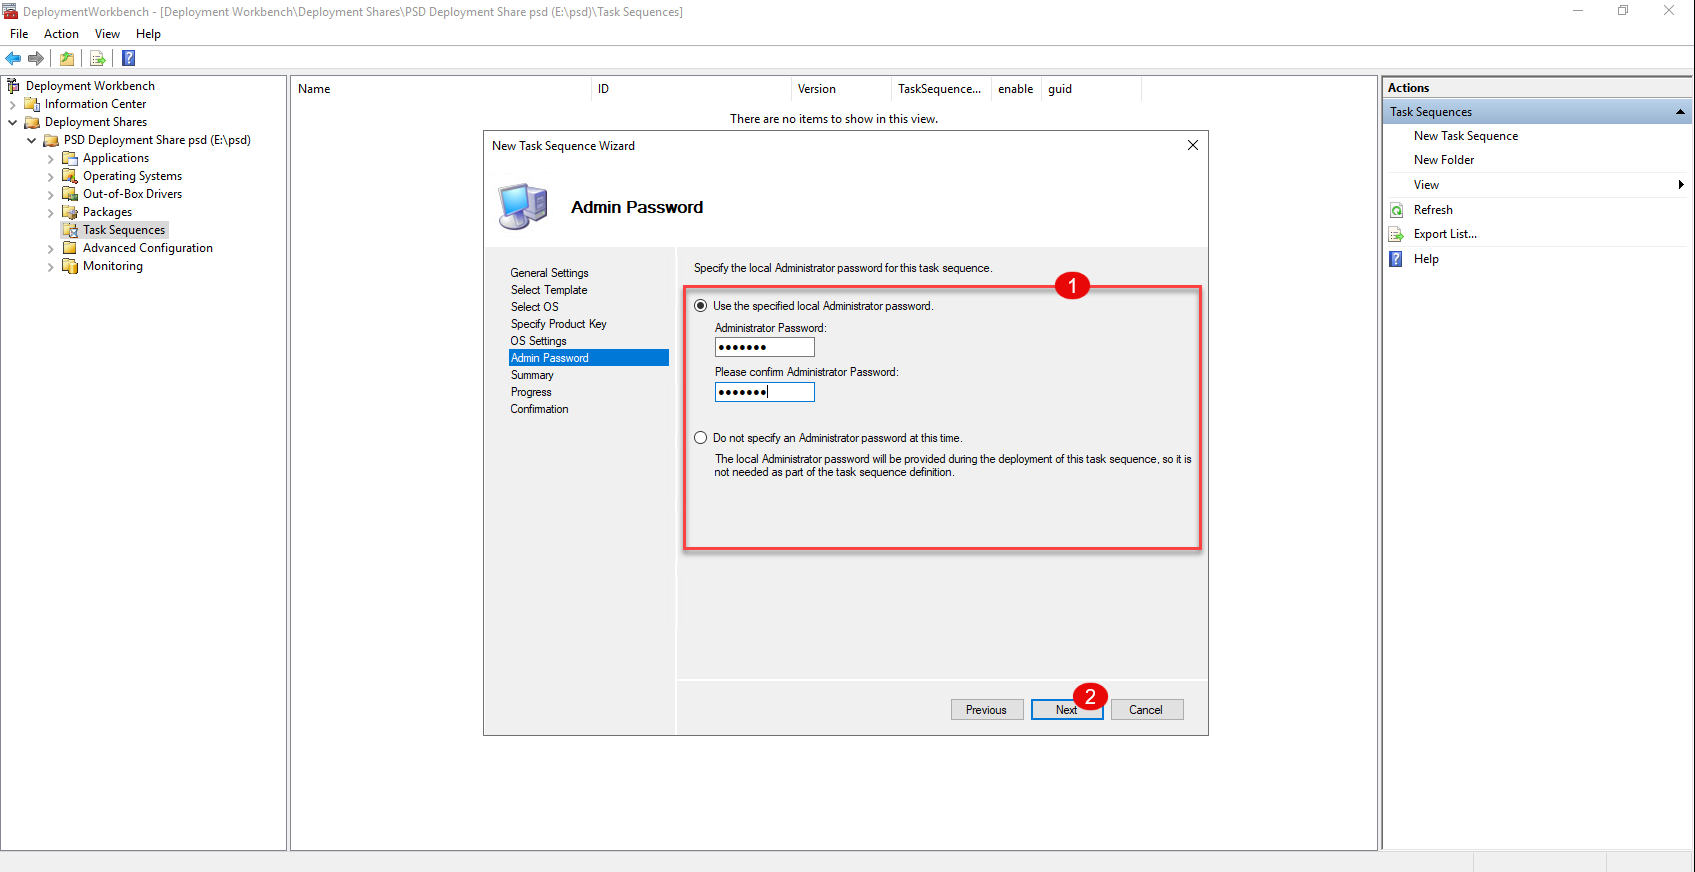
By default, you will be prompted to configure the Administrator account password during deployment.
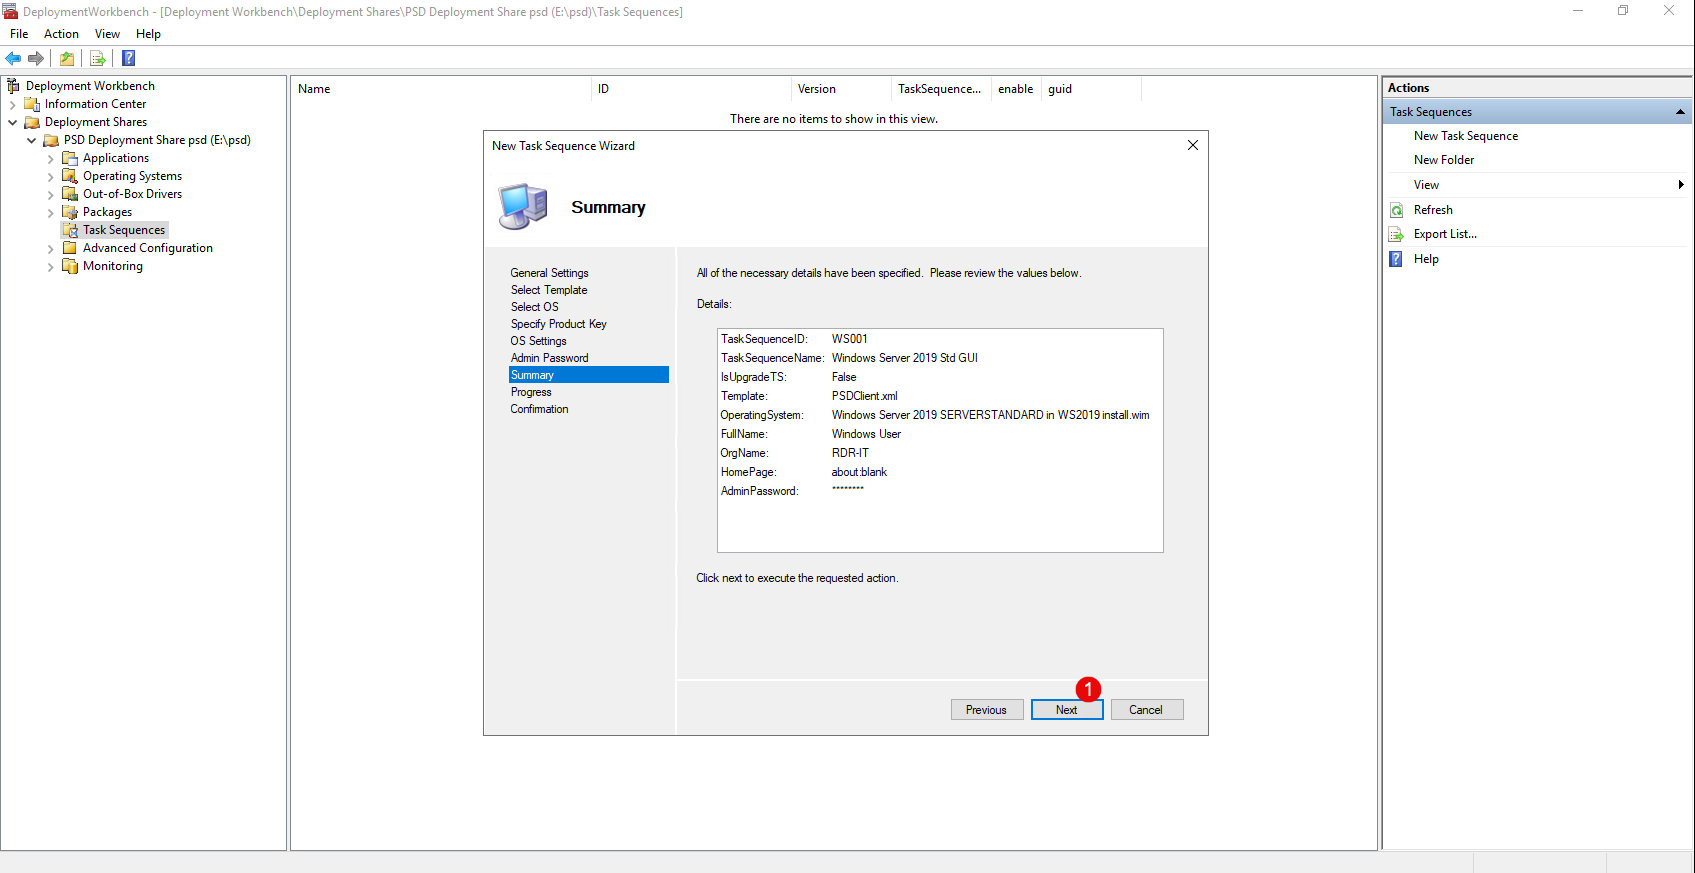
A summary of the task sequence is displayed; click Next 1 to confirm its creation.
The task sequence has been added; click Finish 1 to close the wizard.
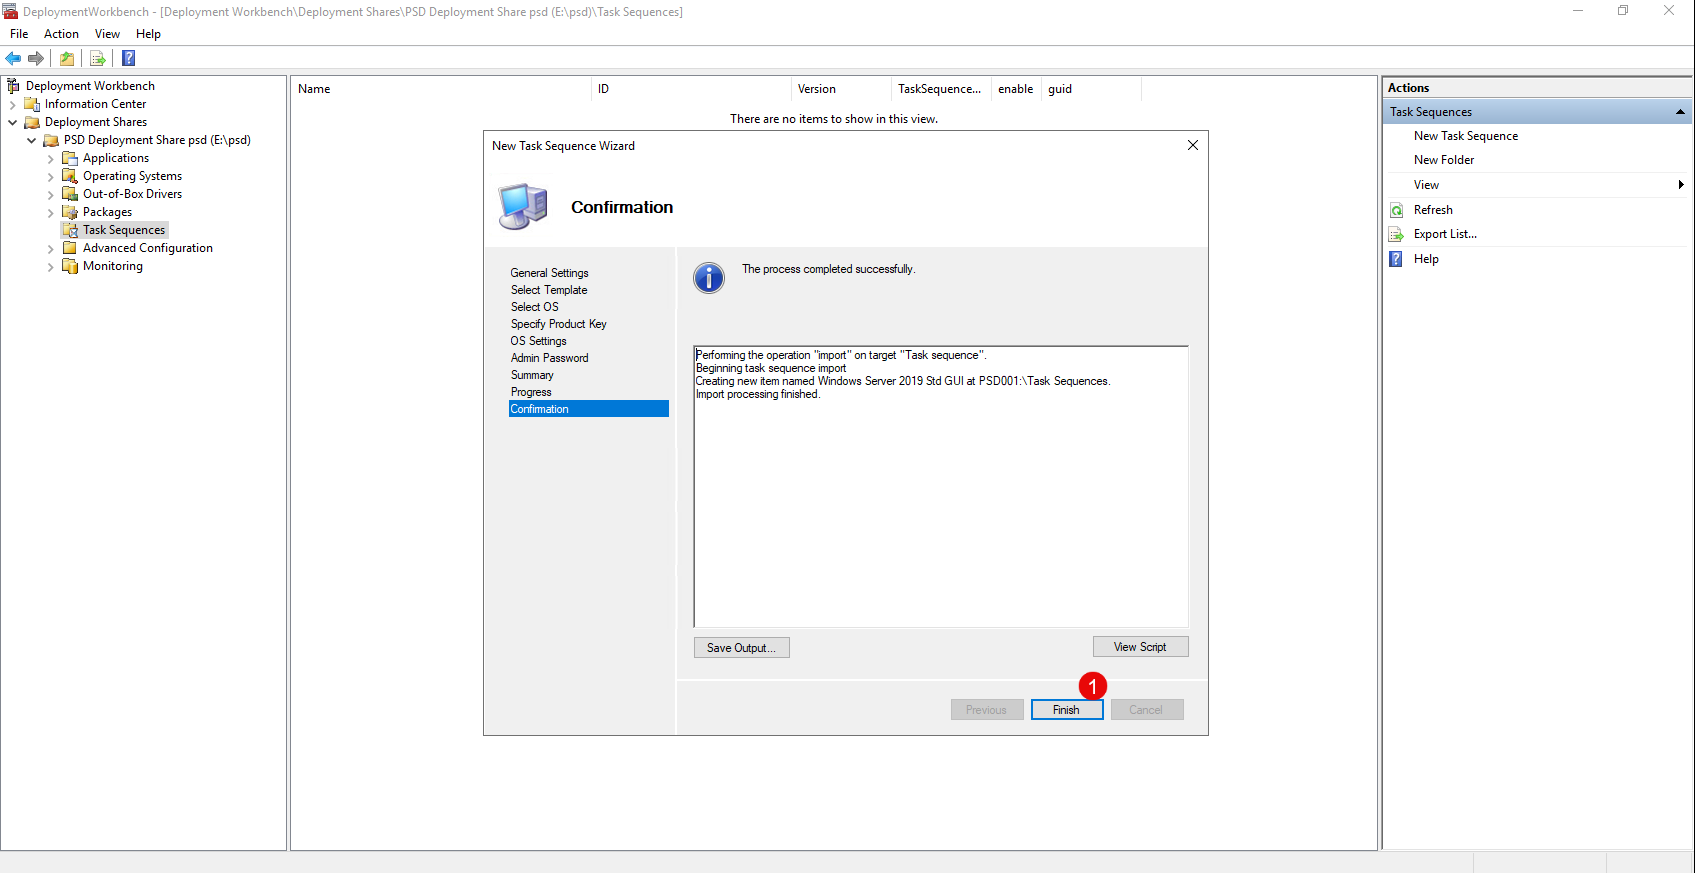
The task sequence is available in the MDT console.
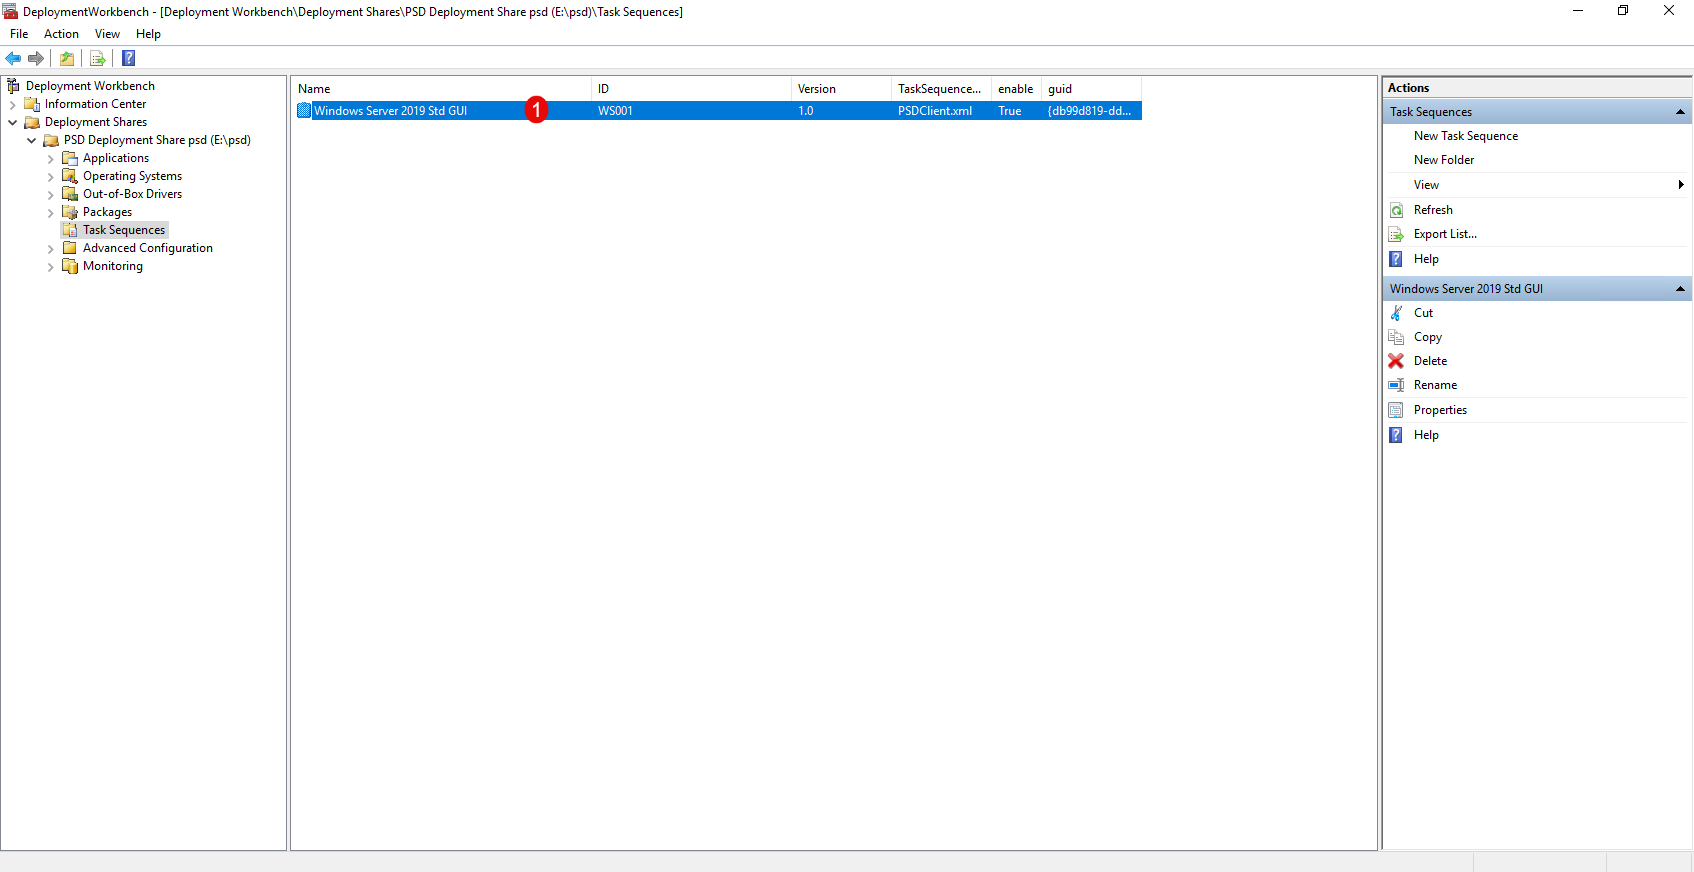
Configure and build the WinPE boot environment
Now, in order to use MDT, we will need to configure and generate the WinPE boot environment, which will enable the installation of Windows on the computer we wish to deploy.
The main new feature of PSD is the WinPE environment, which has been rewritten in PowerShell, making it compatible with the latest Windows 11 ADK environments.
In this tutorial, we’ll keep it simple and focus only on booting and deployment, but the configuration is highly customizable, so I encourage you to check out the existing MDT tutorials.
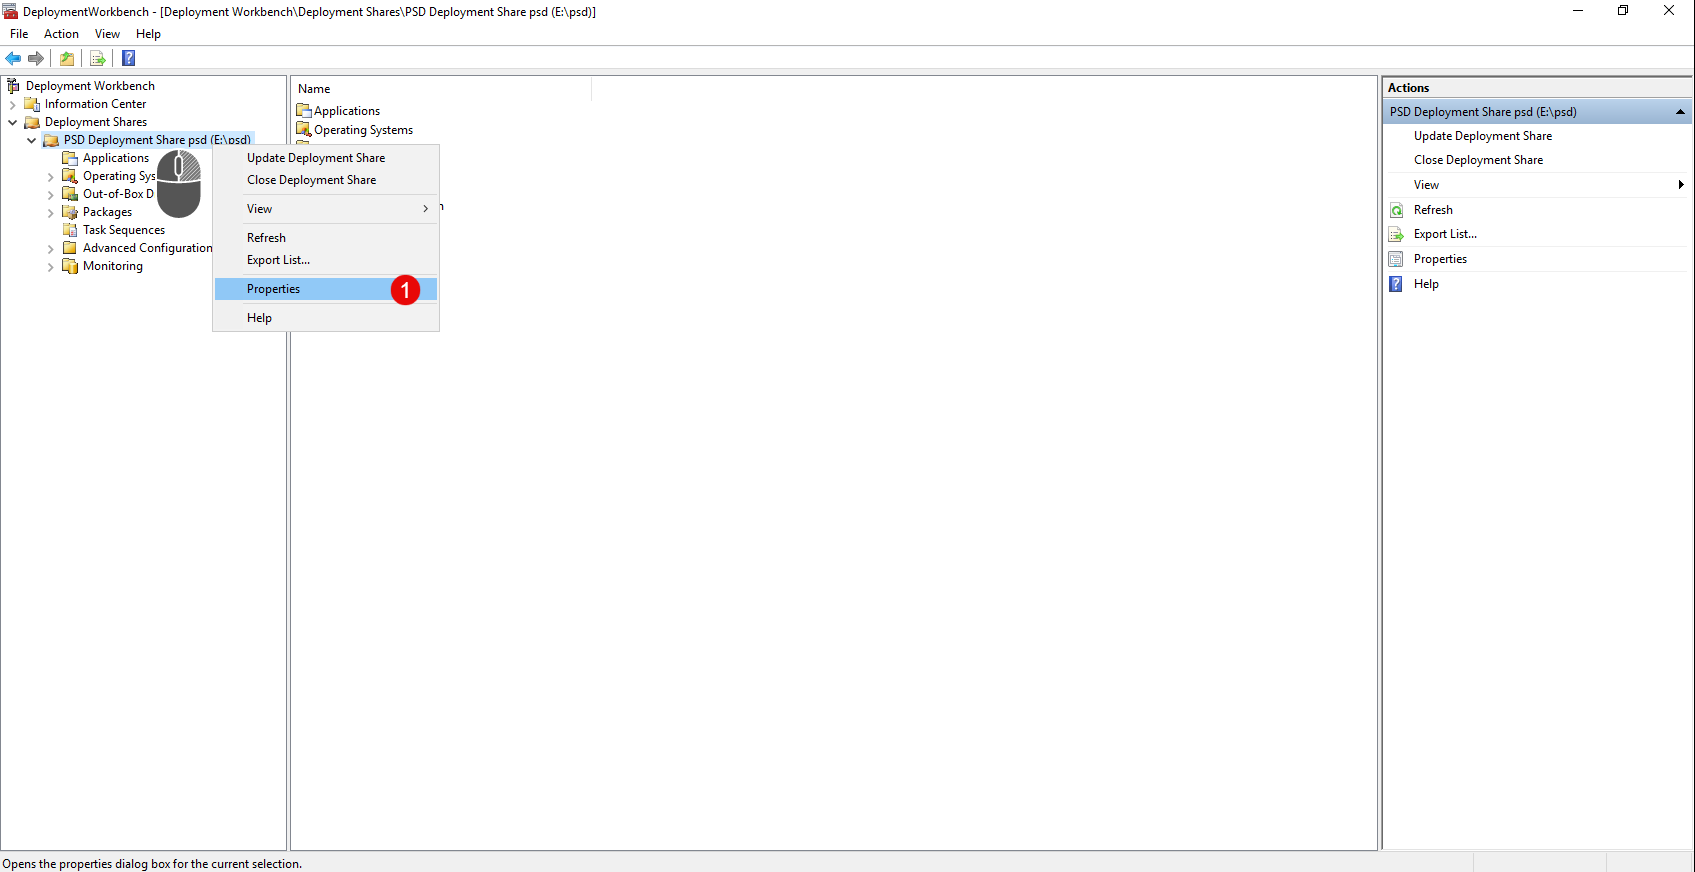
In the MDT console, right-click on the Deployment Share and click Properties 1.
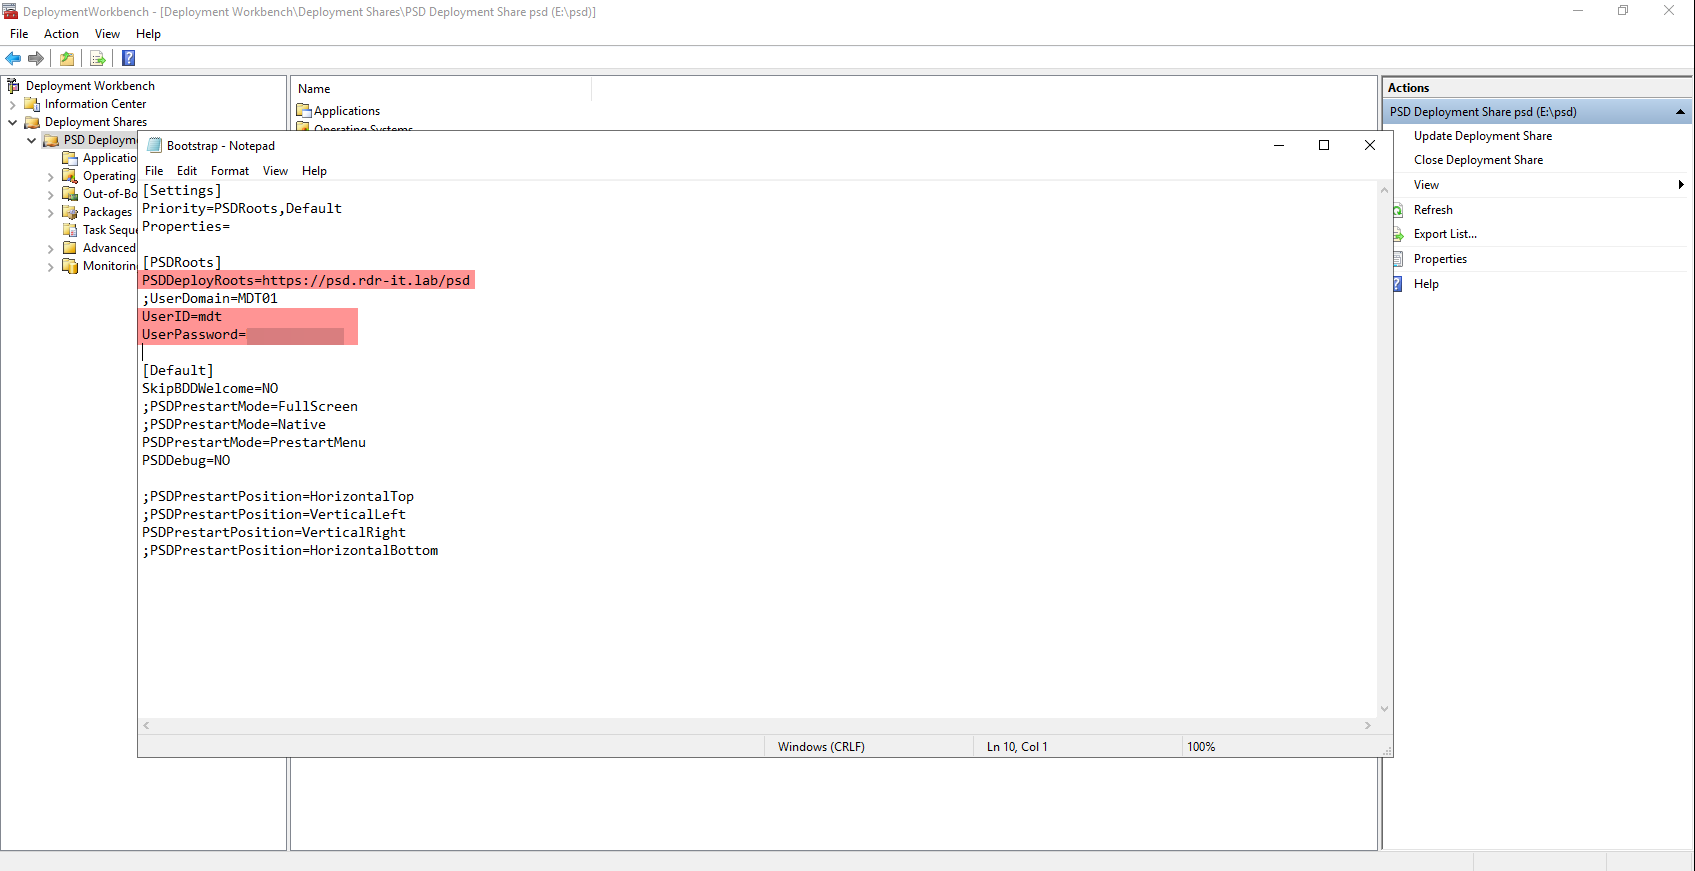
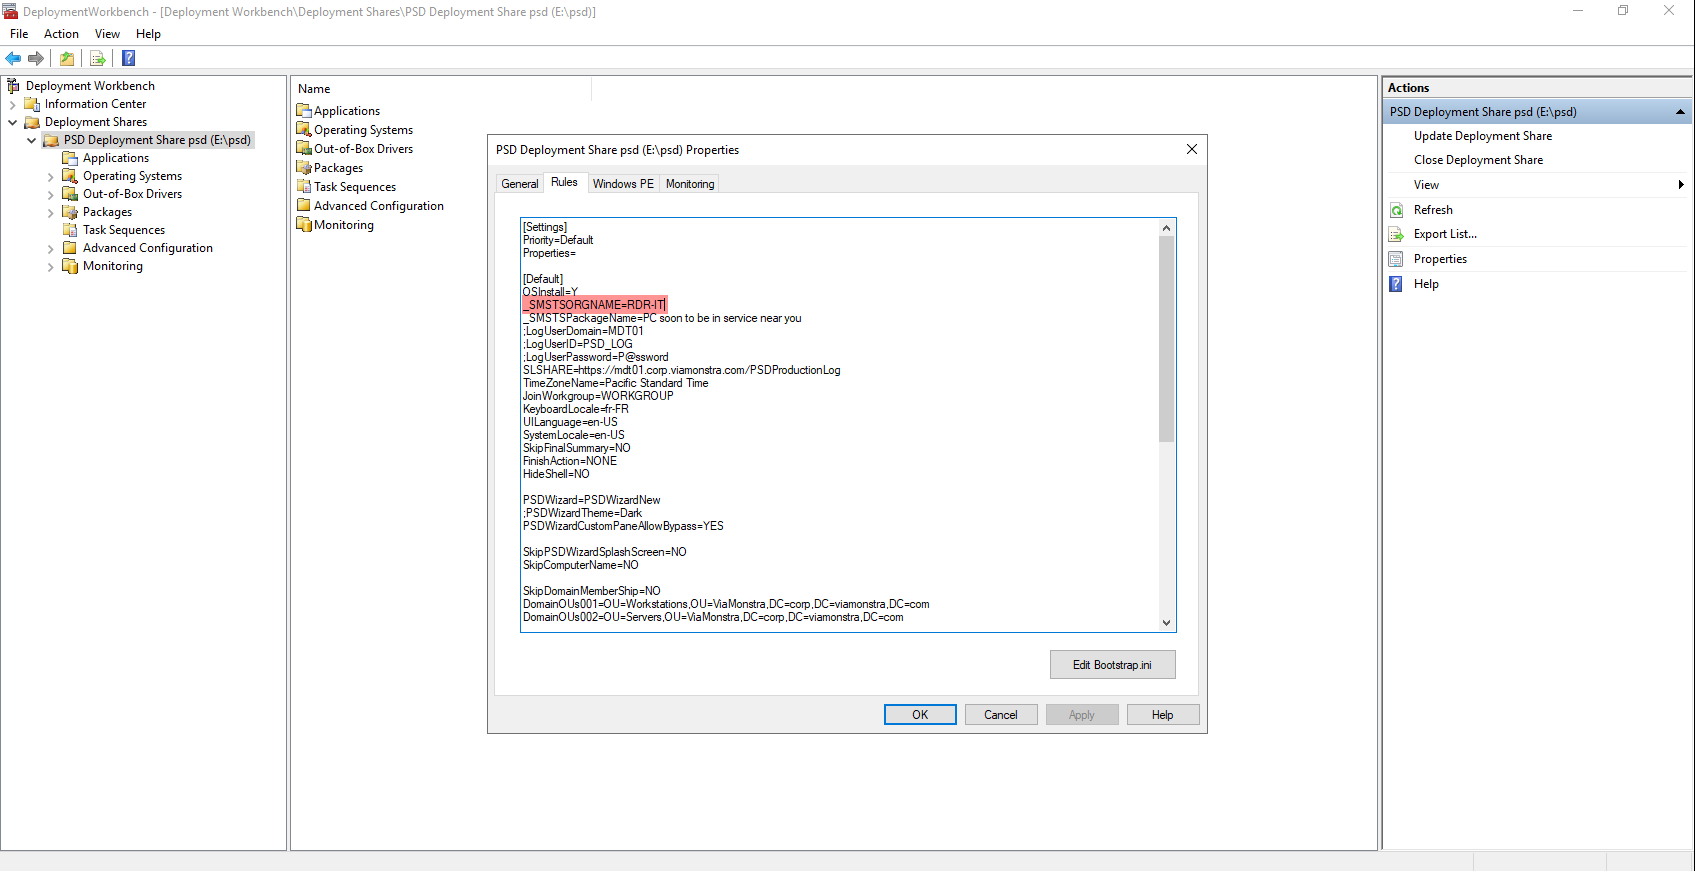
Go to the Rules tab 1; as with MDT, you’ll find the contents of the CustomSettings.ini file, which allows you to configure the deployment wizard. First, we’ll configure the WinPE environment; to do this, click the Edit Bootstrap.ini button 2.

At a minimum, enter the URL, username, and password so that the WinPE environment has the information needed to connect to the web server.
Back on the Rule tab, modify, for example, the _SMSTSORGNAME value, which will display your company name in the WinPE window text; then apply the changes and close the window.
We will now continue with building the WinPE environment, which will be used later to boot the computers.
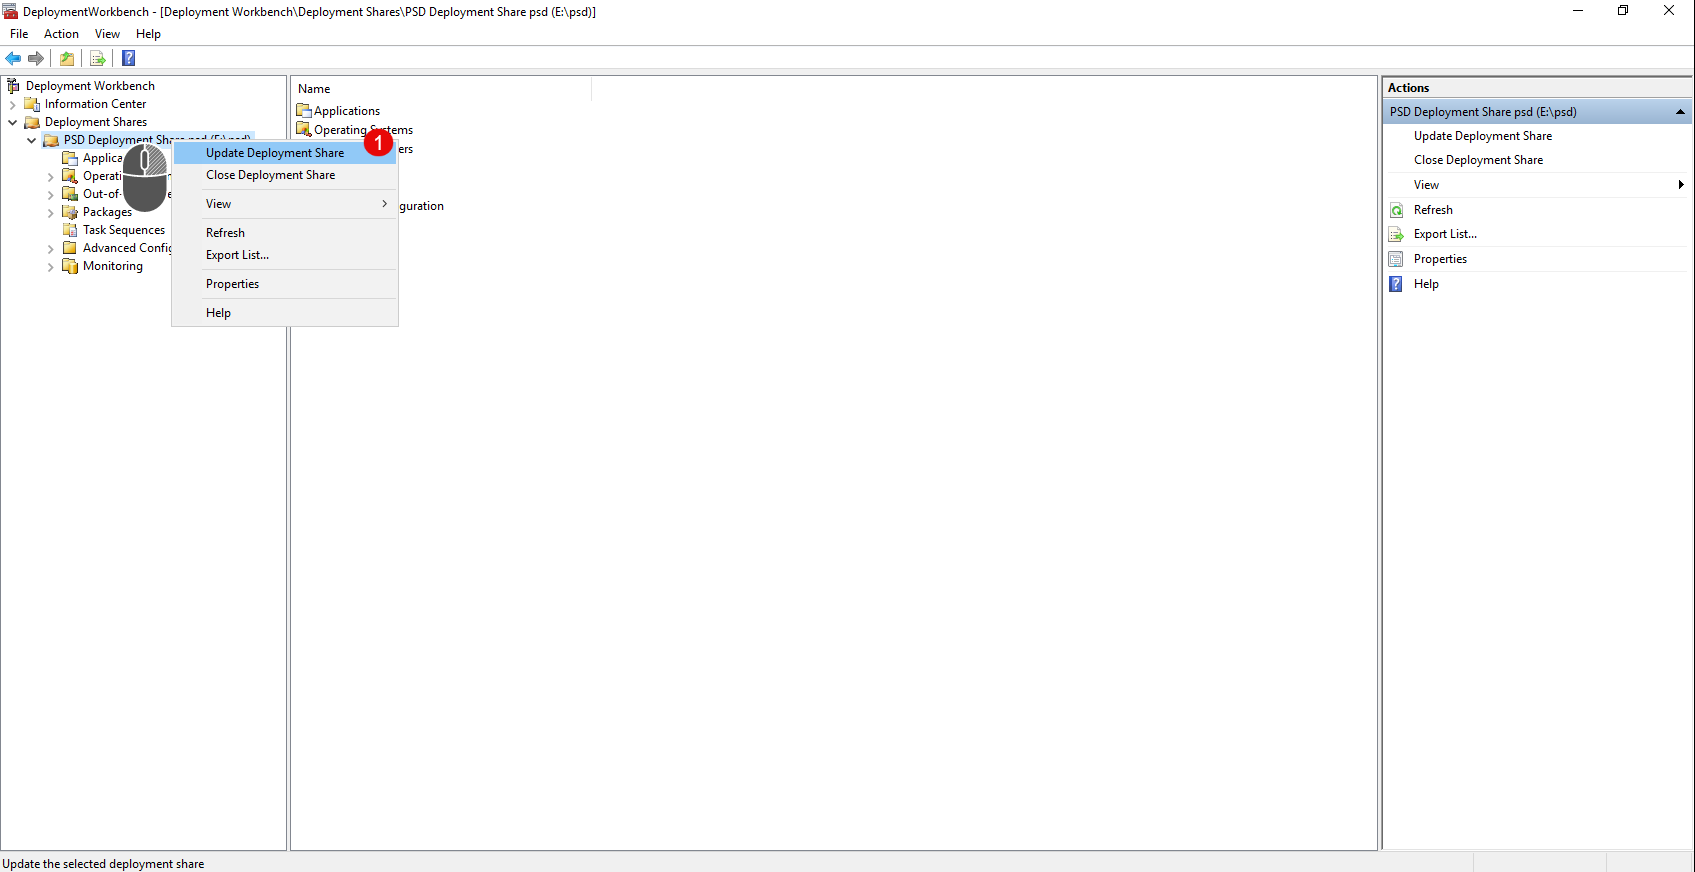
Right-click on the Deployment Share and click Update Deployment Share 1.
In the next step, leave the “Optimize the boot image updating process” option selected, then click Next 1.
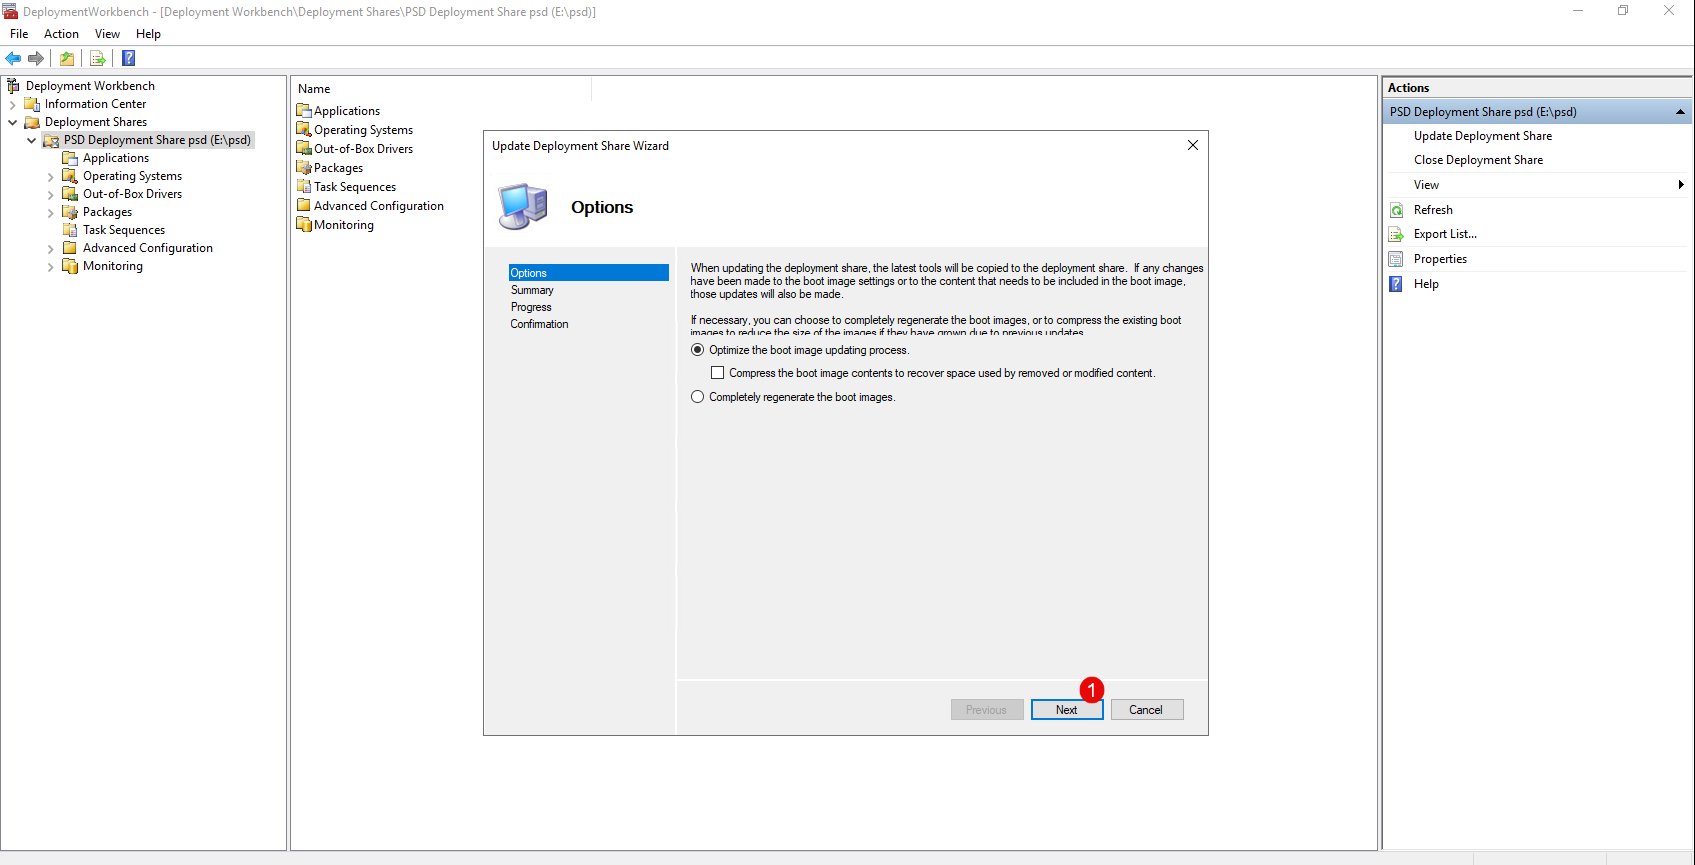
Skip the summary by clicking Next 1.

Wait while the images are being generated…
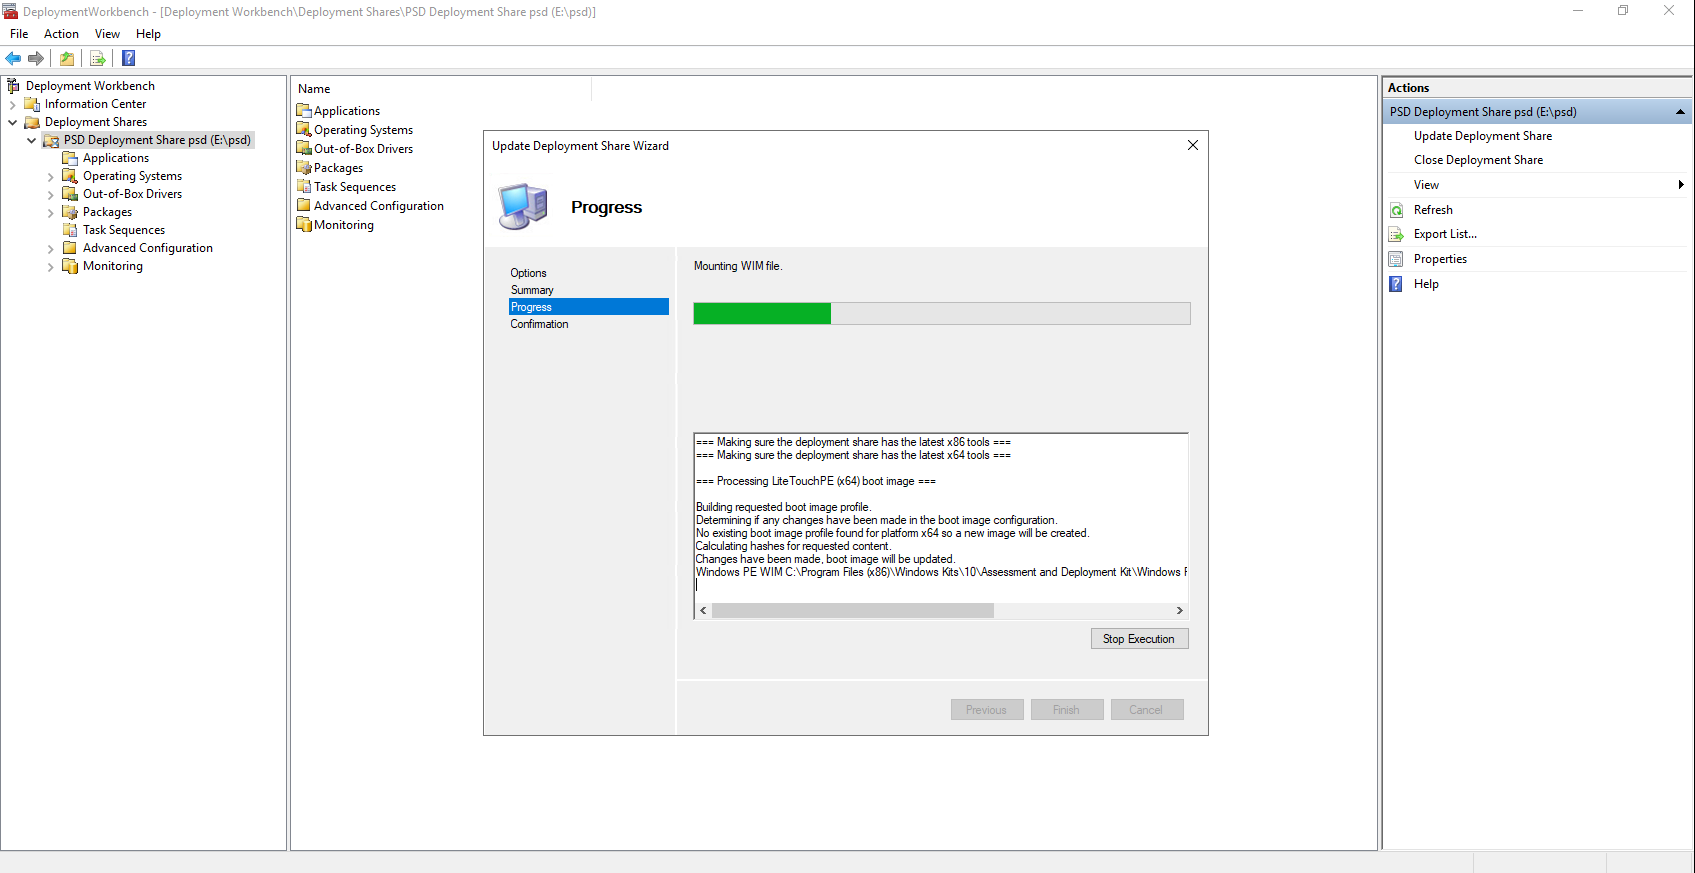
Once finished, exit the wizard by clicking Finish 1.

Using File Explorer, navigate to the Boot folder located within the PSD folder.
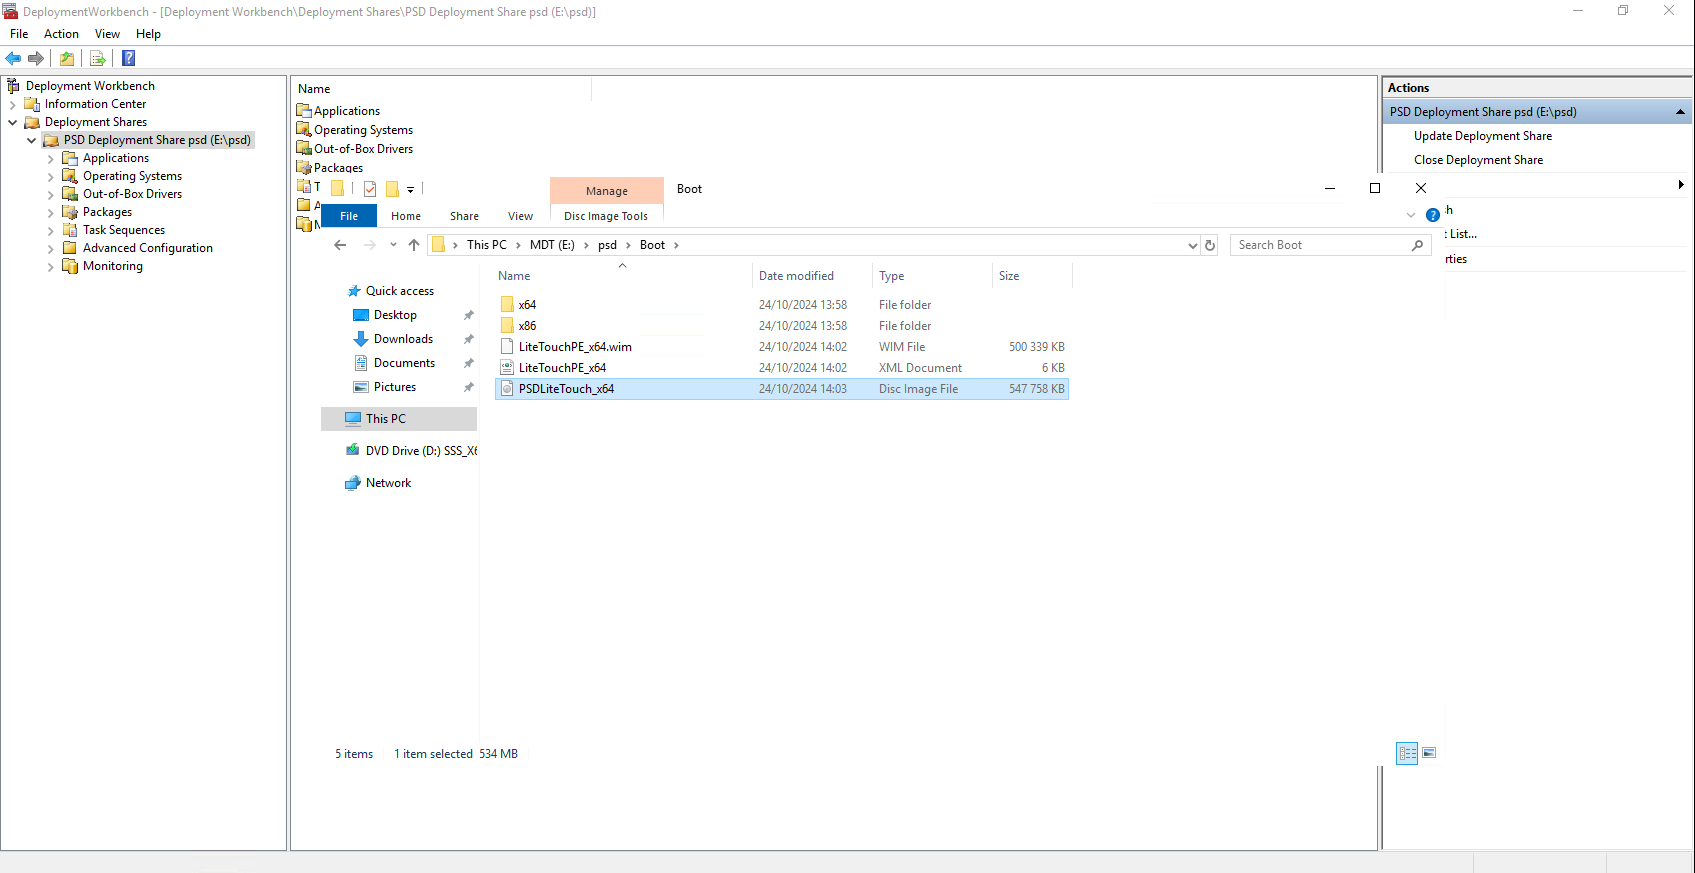
In this folder, the .iso file is of particular interest to us, as it will allow us to create bootable media for VMs or create bootable USB drives. The .wim file can be added to WDS for network booting.
Deploying Windows with PowerShell Deployment
To finish this tutorial, we’ll go over the deployment steps using PSD.
For this tutorial, I created a VM in Hyper-V and configured the ISO file on the VM’s CD/DVD drive to boot from it.
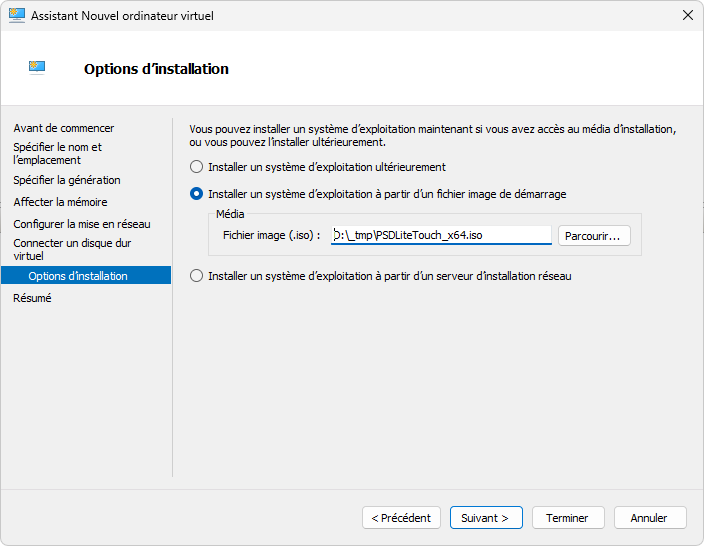
So I’ll boot from the ISO…
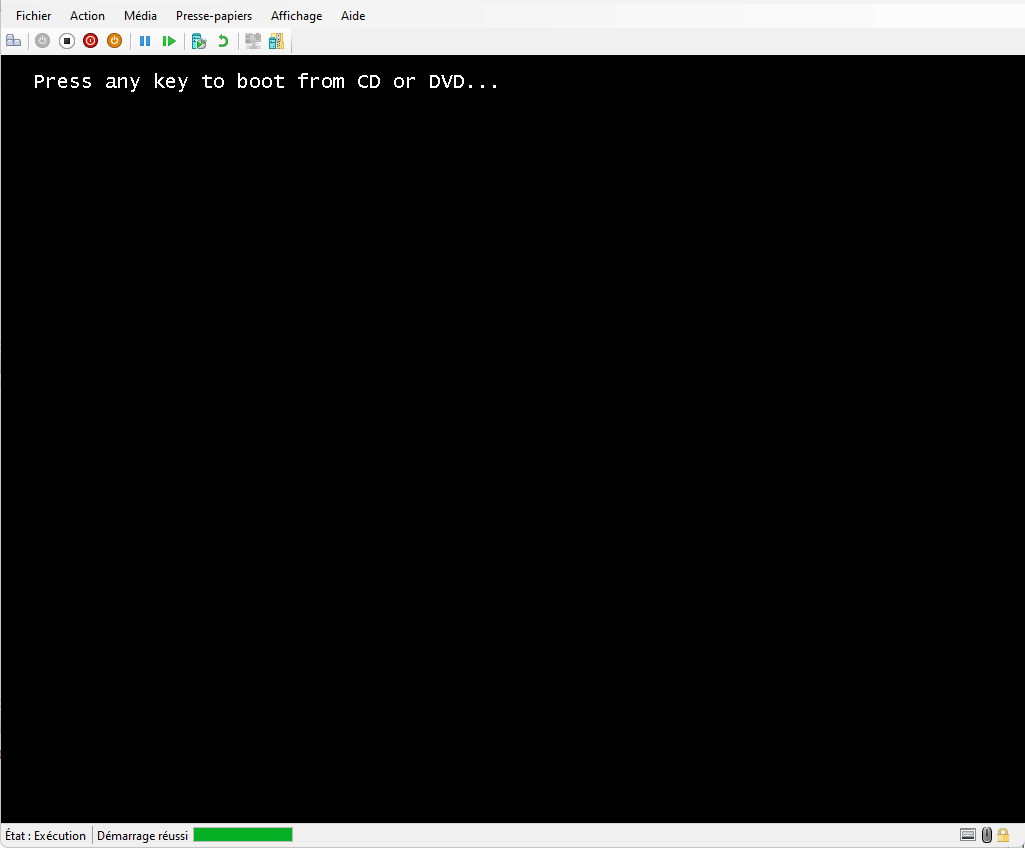
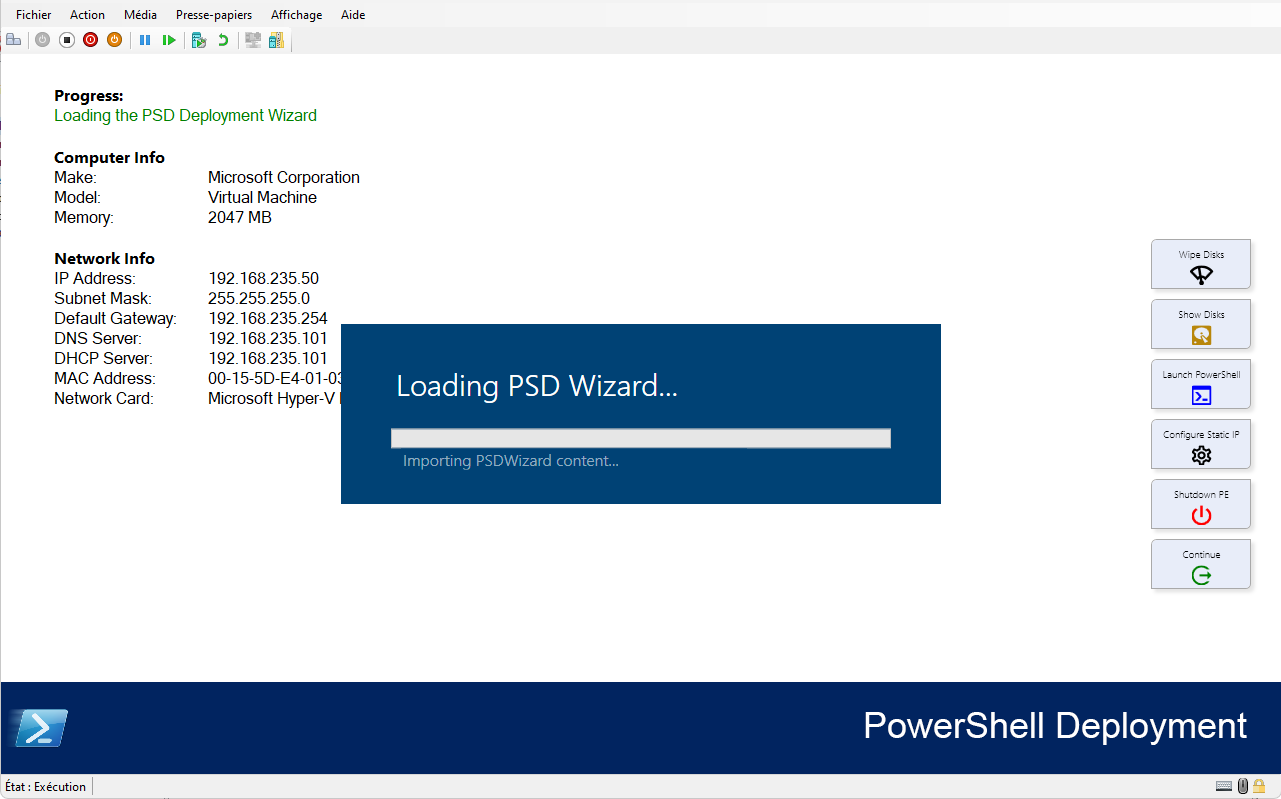
Please wait while the WinPE environment loads; this may take 2 to 3 minutes…
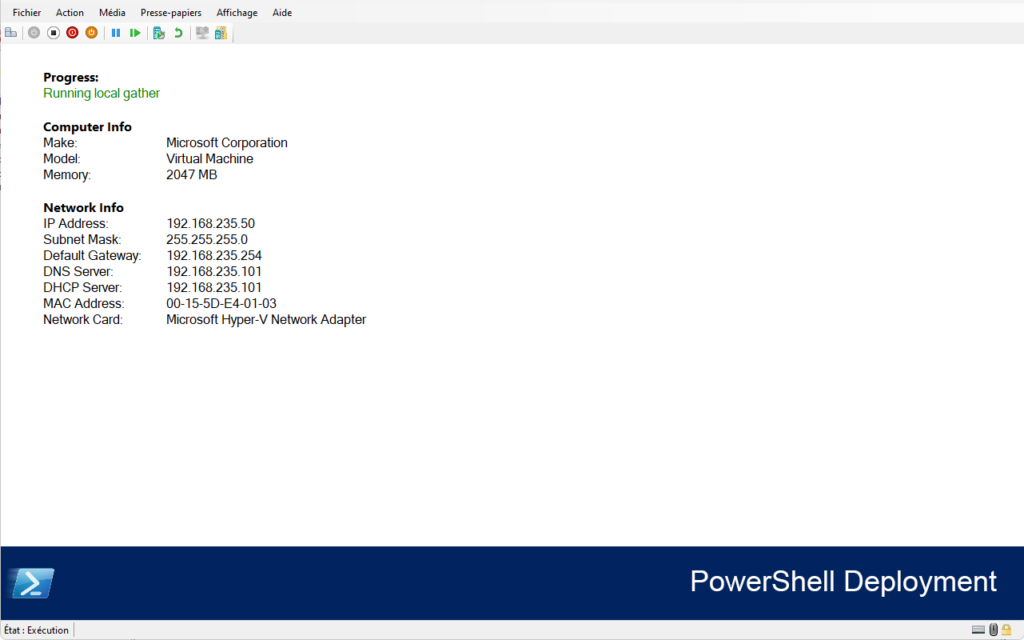
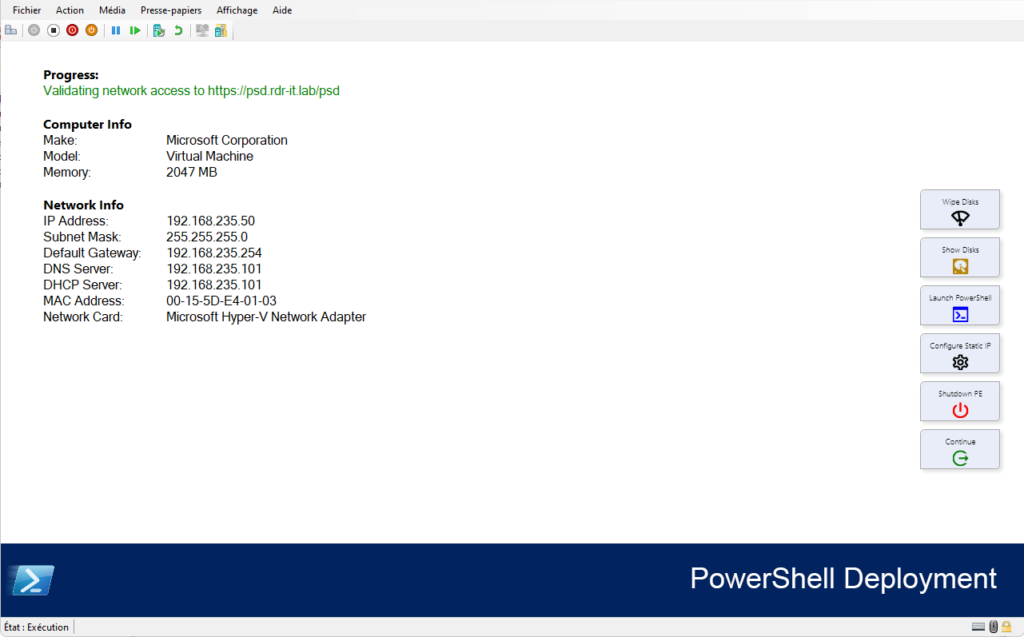
As you can see in the screenshot below, the WinPE environment is checking the connection to the server…
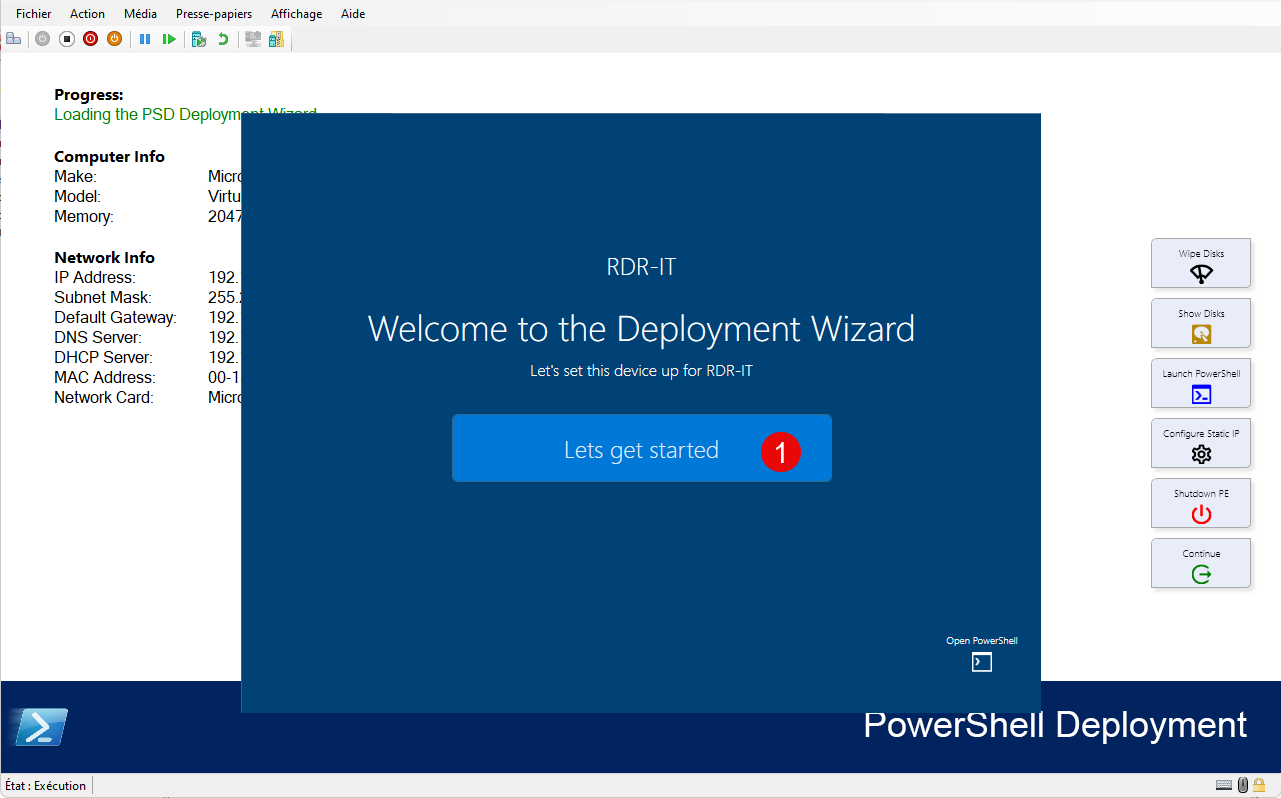
Once the various tests have been performed and passed, the wizard launches…
Once the wizard launches, click “Let’s get started” 1.
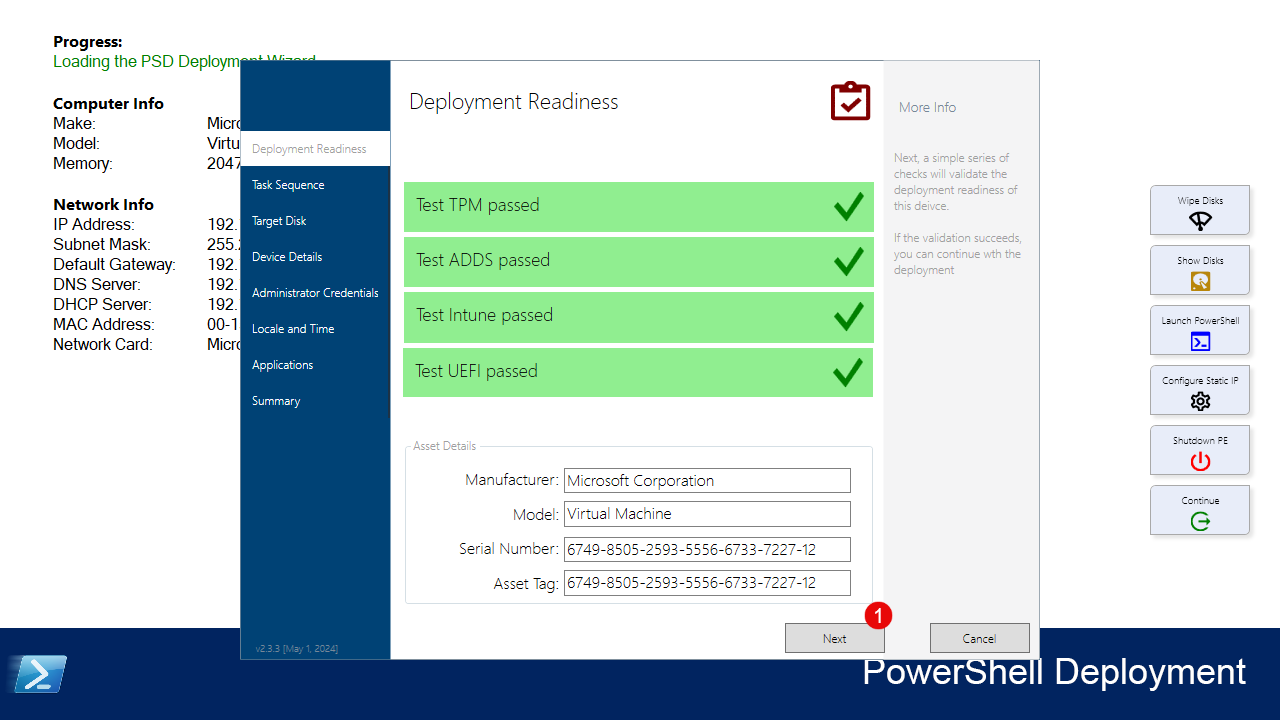
In the first step, a check is performed to see if the computer meets the prerequisites for deploying the latest version of Windows. As with MDT, you can configure this step or even skip it; click Next 1.
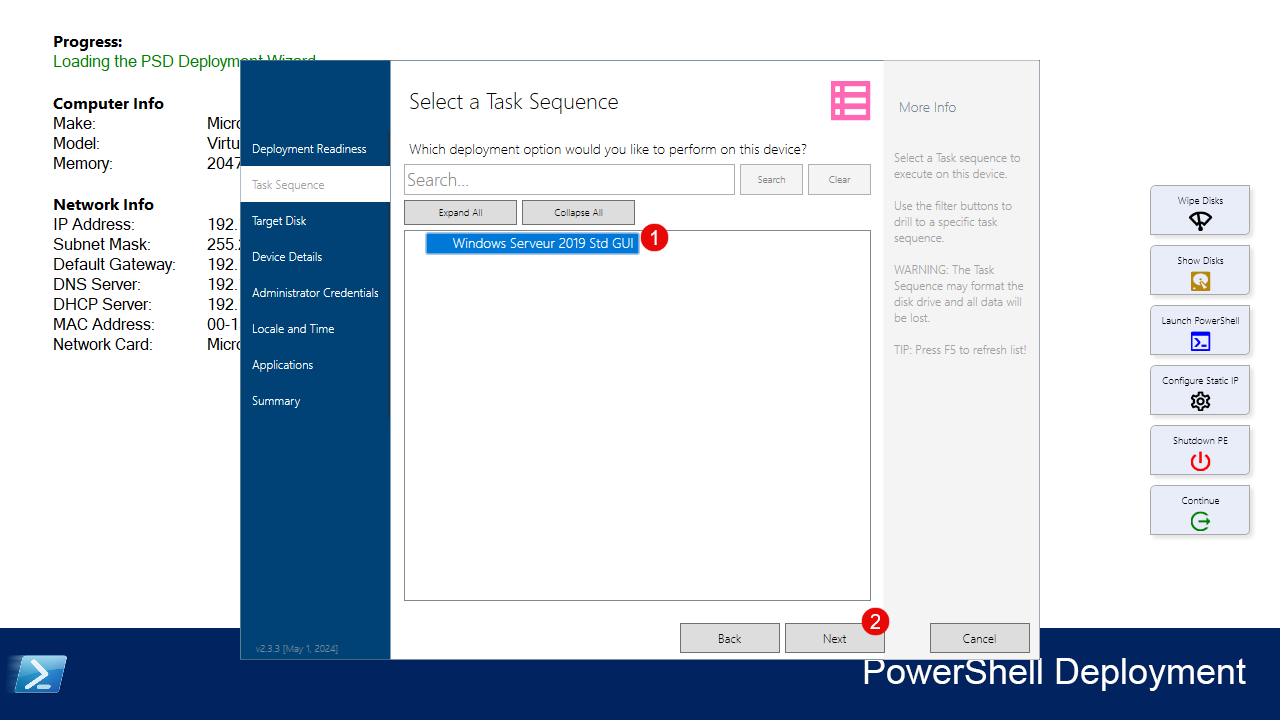
Select the task sequence 1 you want to run for the Windows deployment and click Next 2.
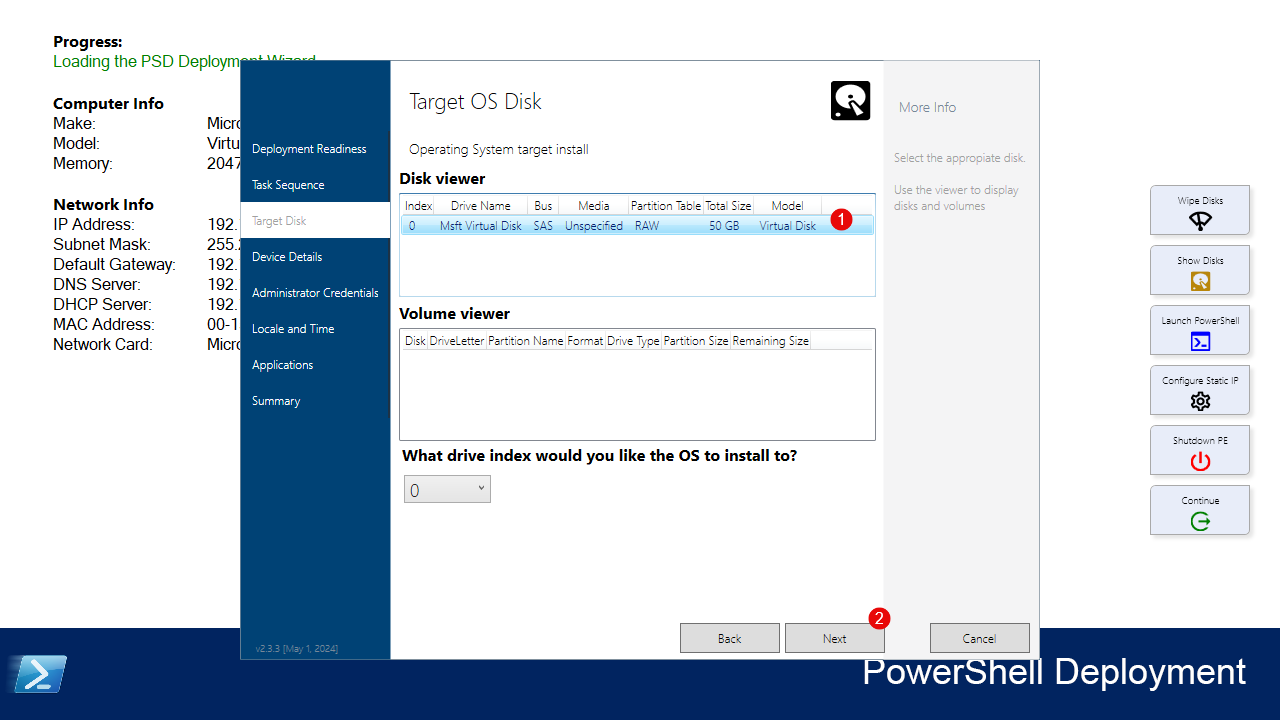
Select the disk 1 where Windows will be installed, then click Next 2.
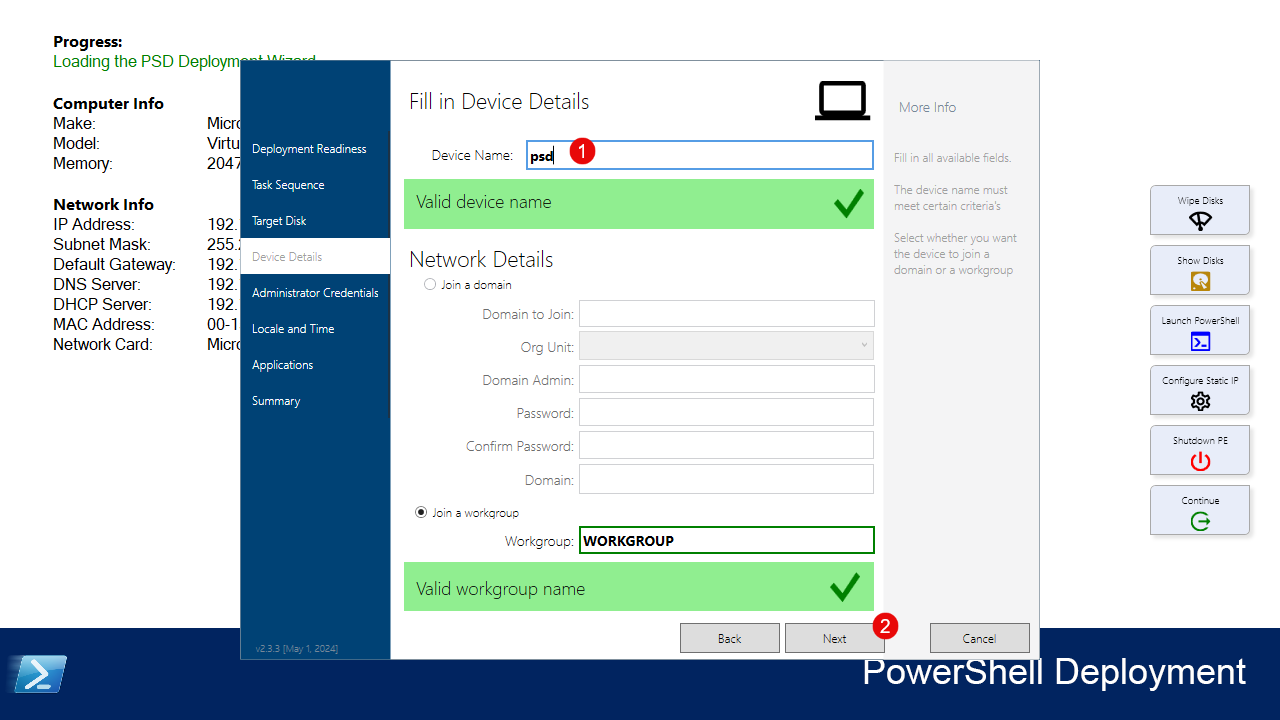
Active DirectoryConfigure the computer name 1; here I will leave it as Workgroup. At this step, you can configure domain joining; click Next 2.
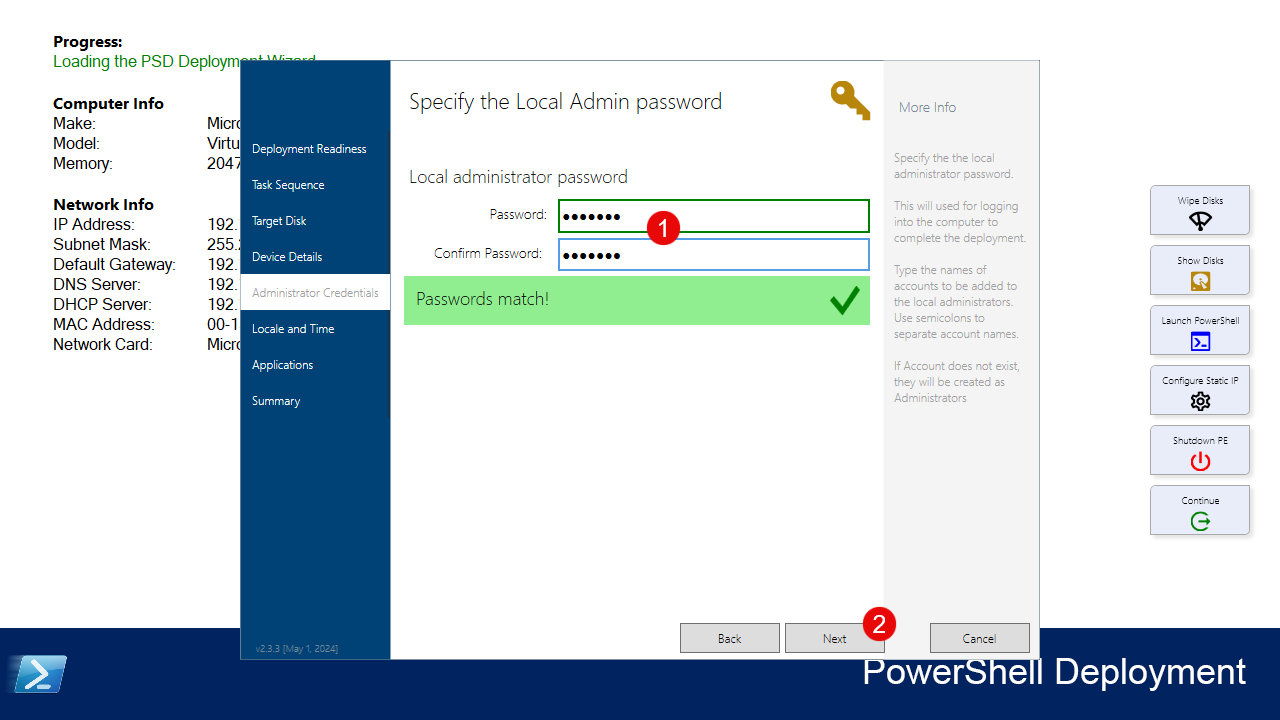
Enter the Administrator account password 1, then click Next 2.
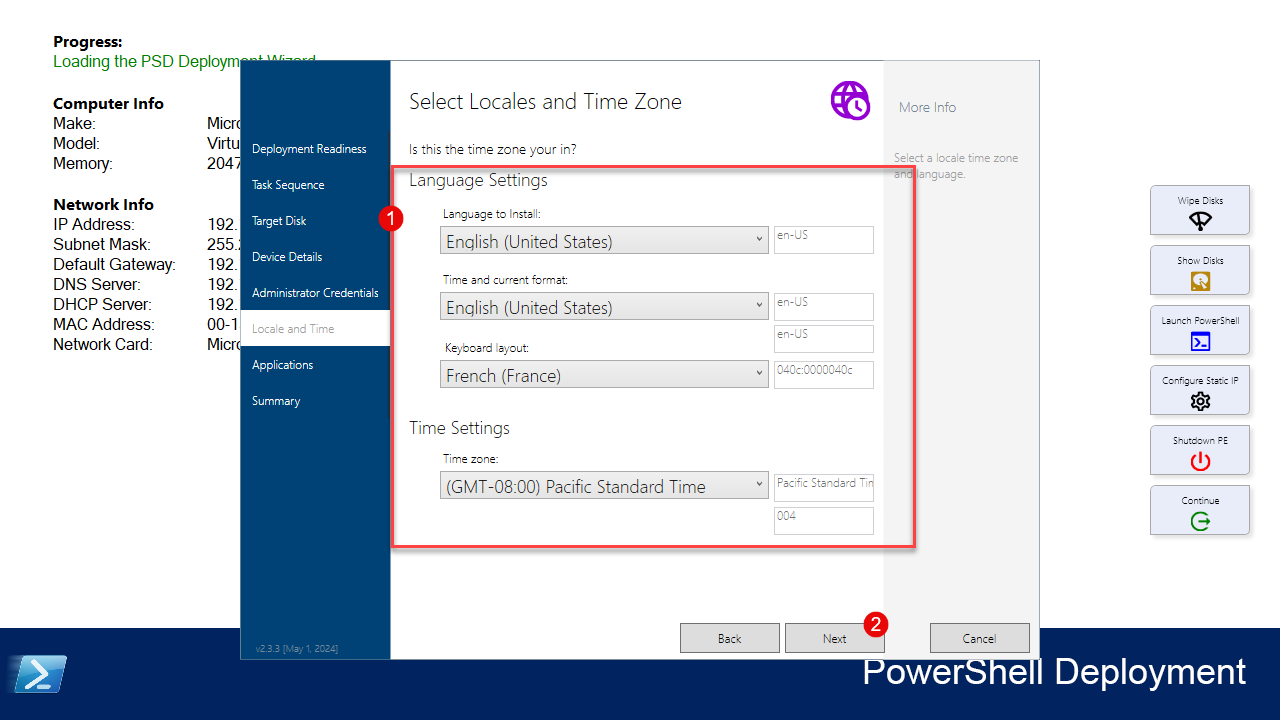
Adjust the keyboard and time zone 1 if necessary, then click Next 2.
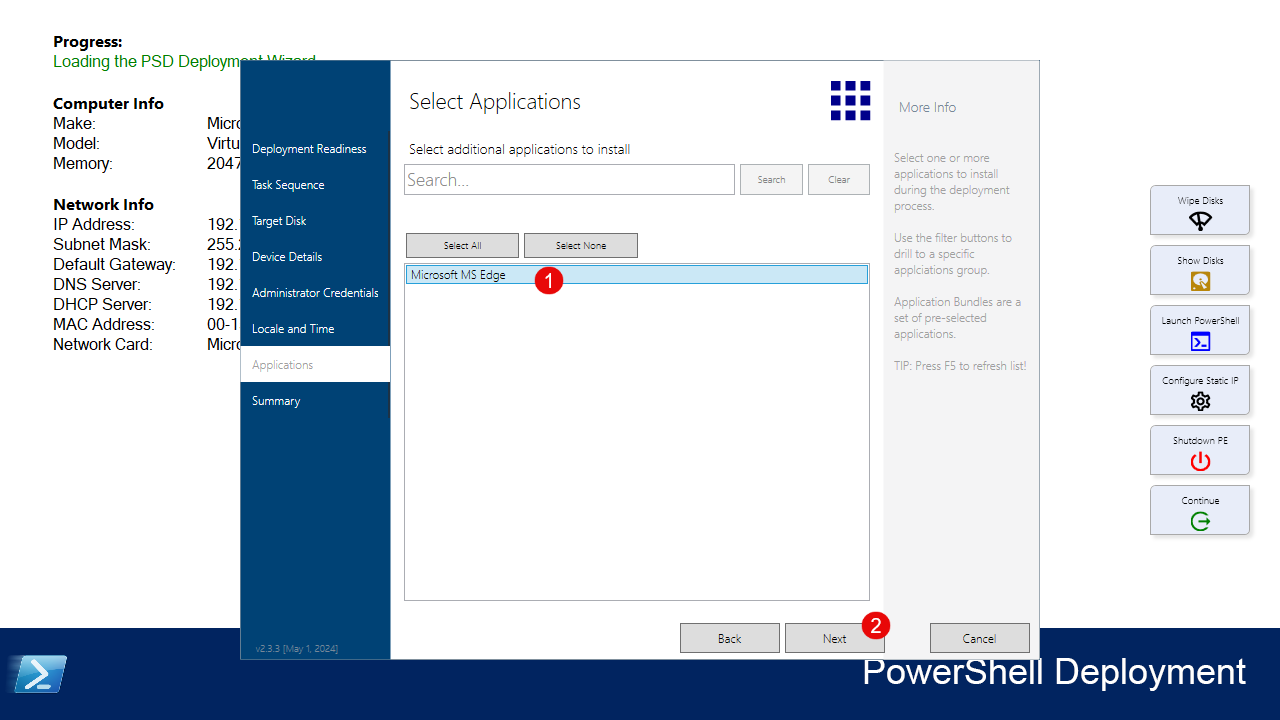
Select the applications to install 1, then click Next 2.
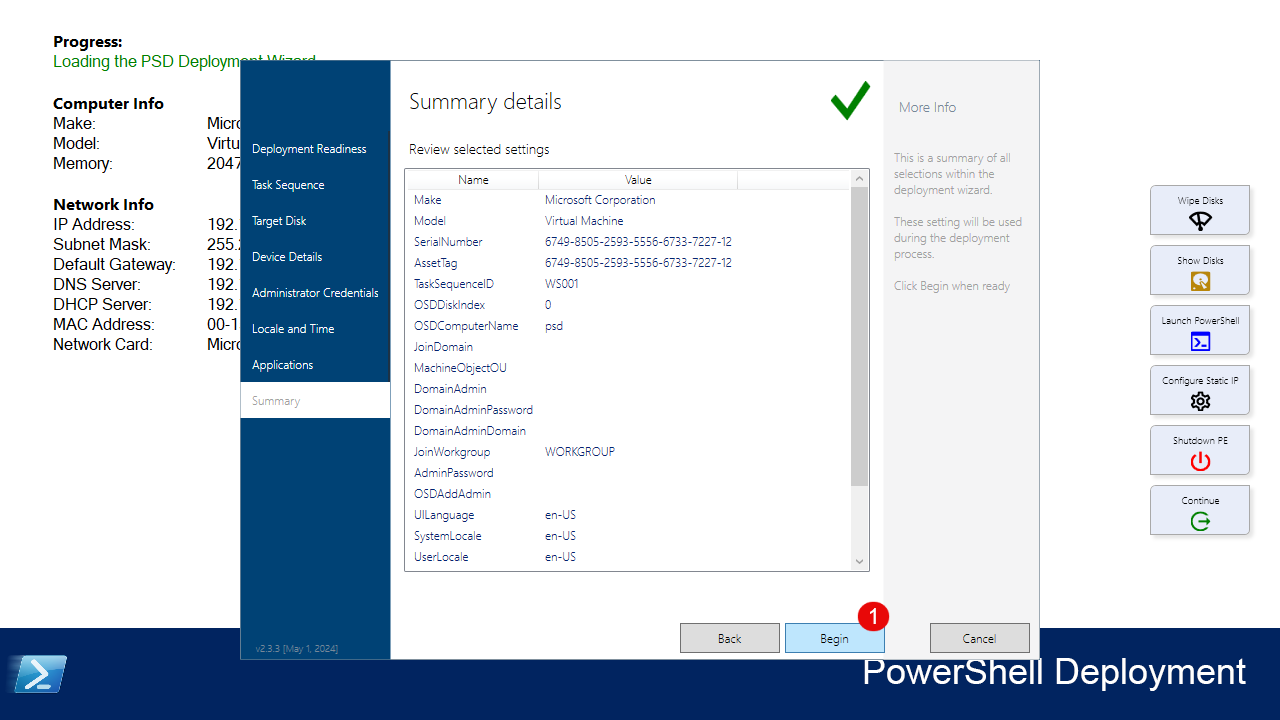
Confirm the deployment by clicking Begin 1.
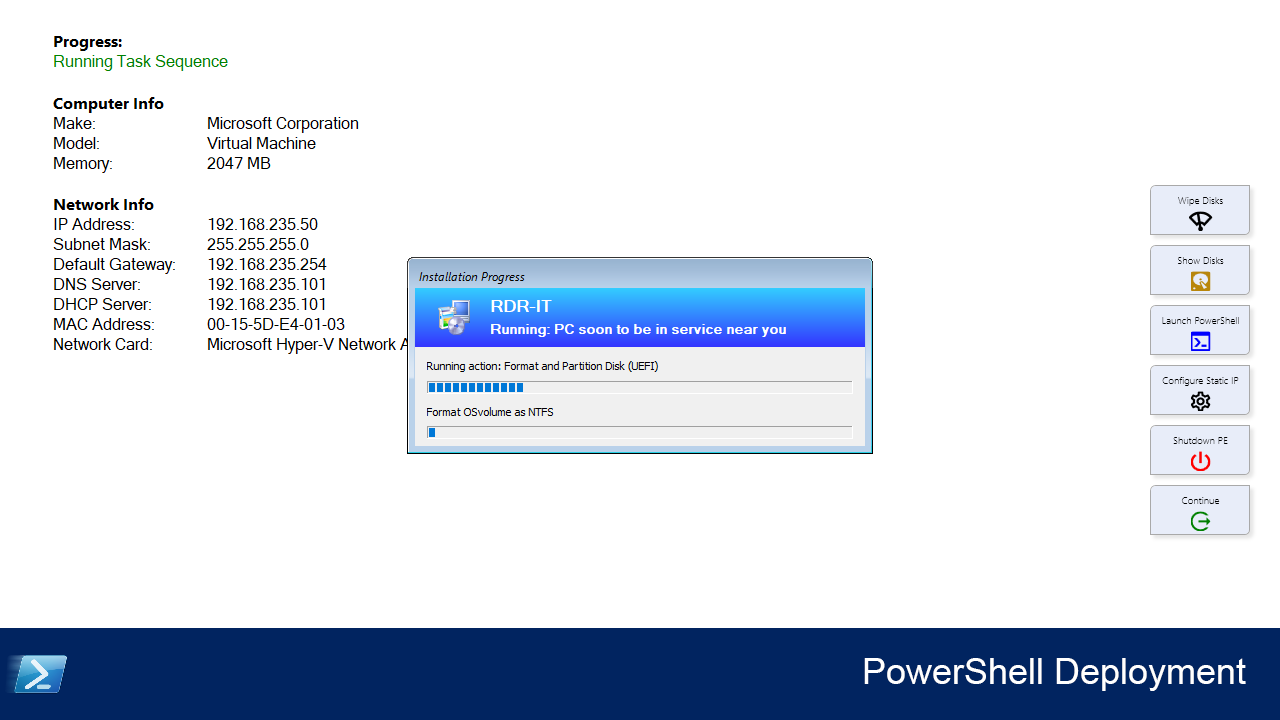
Please wait while Windows is deploying…

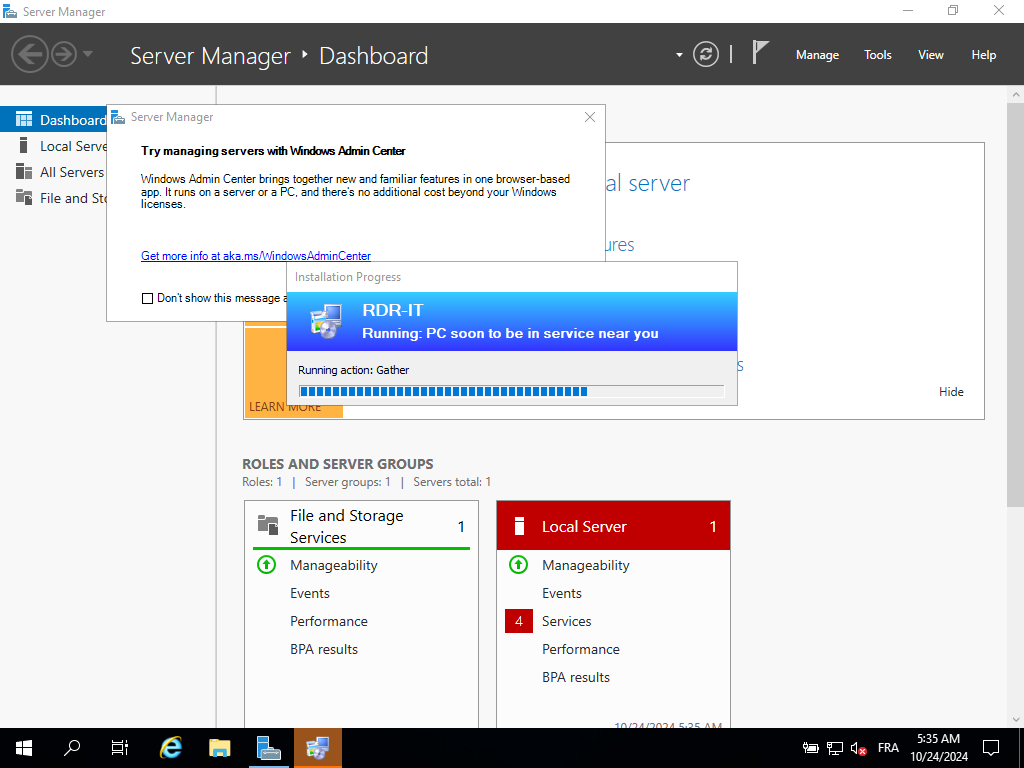
Once the deployment is complete, click OK 1 to close the window.
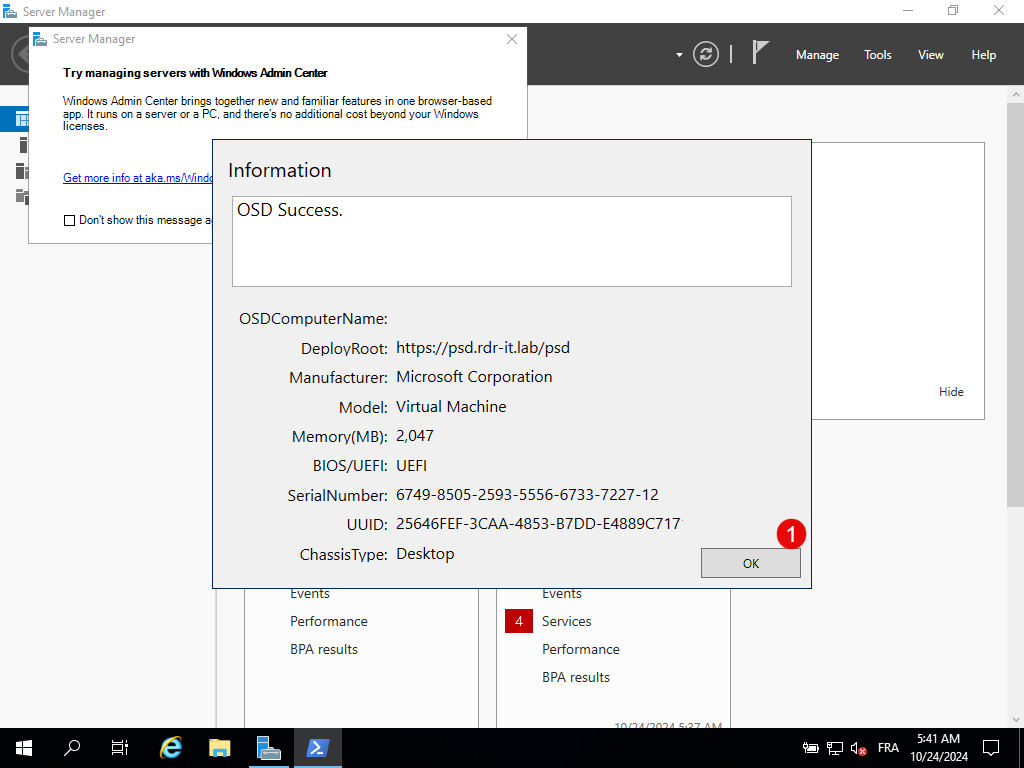
Your computer has been deployed.
In this tutorial, we saw how to deploy PSD, which is based on MDT and provides a “modern” Windows deployment environment.
