In this tutorial, I will explain how to set up an enterprise CA that is linked to an Active Directory, unlike the stand-alone CA.
This type of CA allows you to automate certificate generation with direct submission to the CA. Automatically issue computer and user certificates to, for example, secure VPN access with Windows NPS.
Table of Contents
Prerequisites
The server where the role will be installed must be a member of the domain. Ideally you have to dedicate a server to this role.
Install the AD CS role
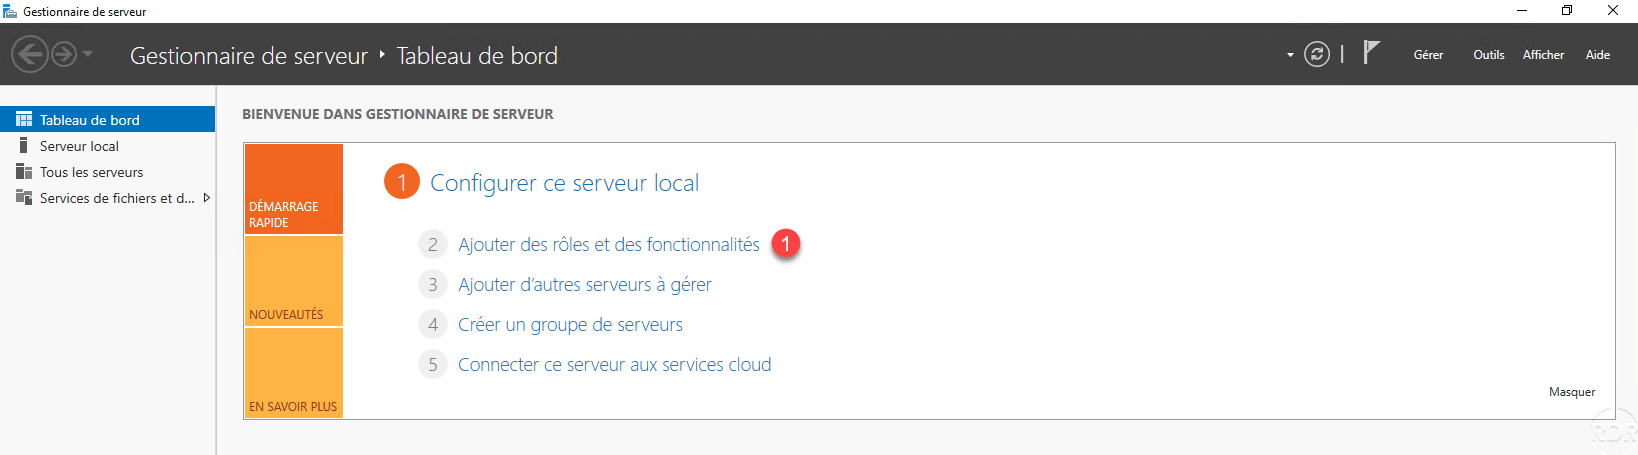
From the server manager, launch the installation wizard by clicking Add Features Roles 1 .
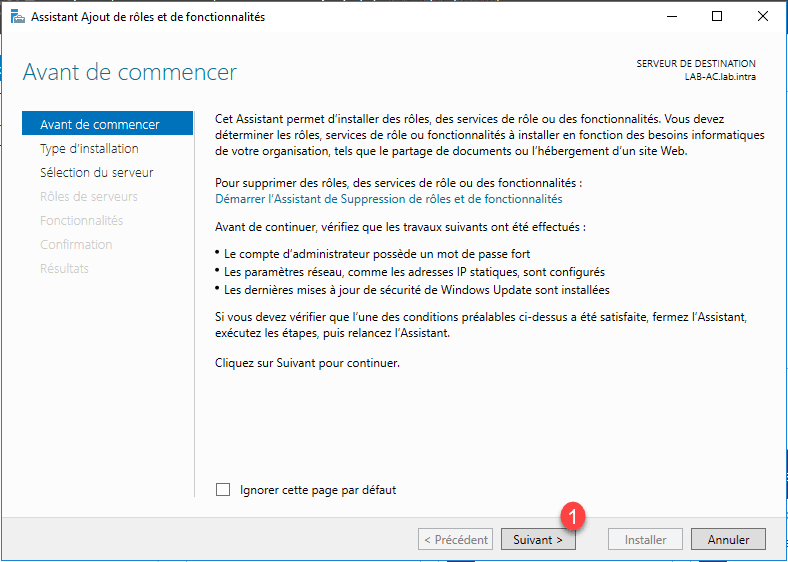
At the launch of the wizard click Next 1 .
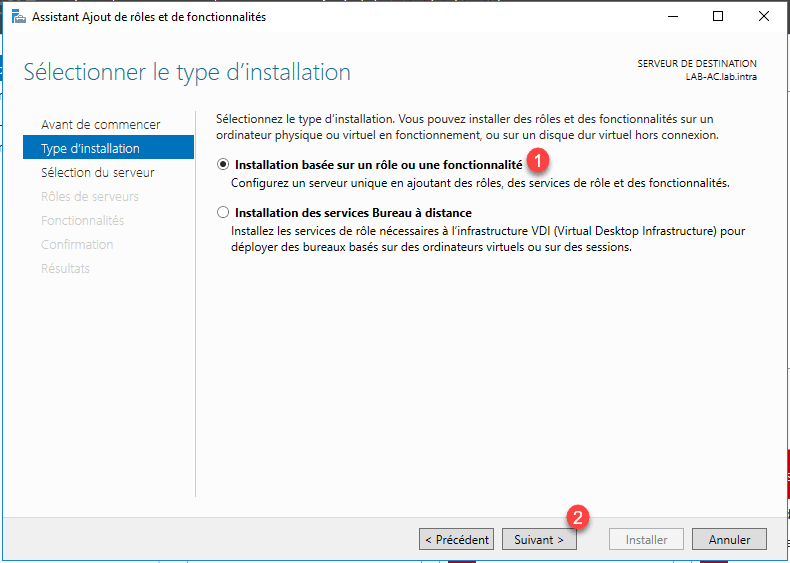
Choose the Role Based Installation option or 1 feature then click Next 2 .
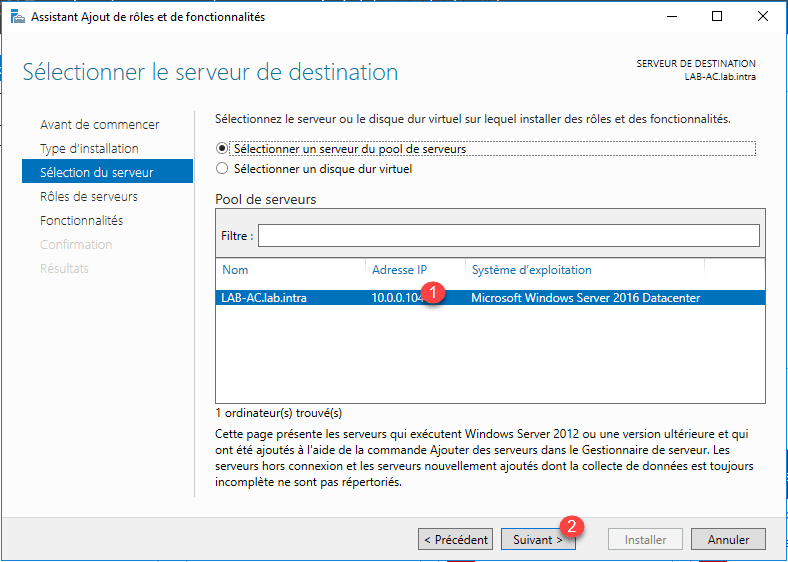
Select server 1 where the AD CS role installation is to be performed and click Next 2 .
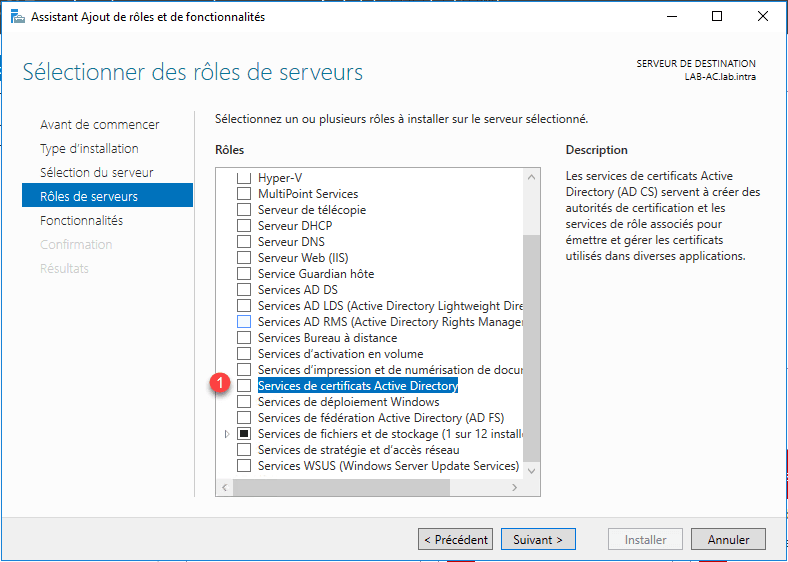
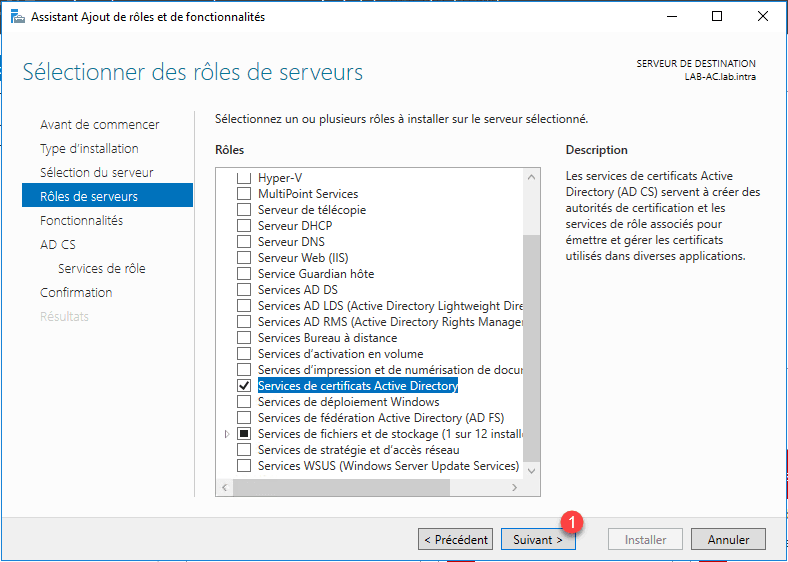
Check the box for Active Directory Certificate Server 1 .
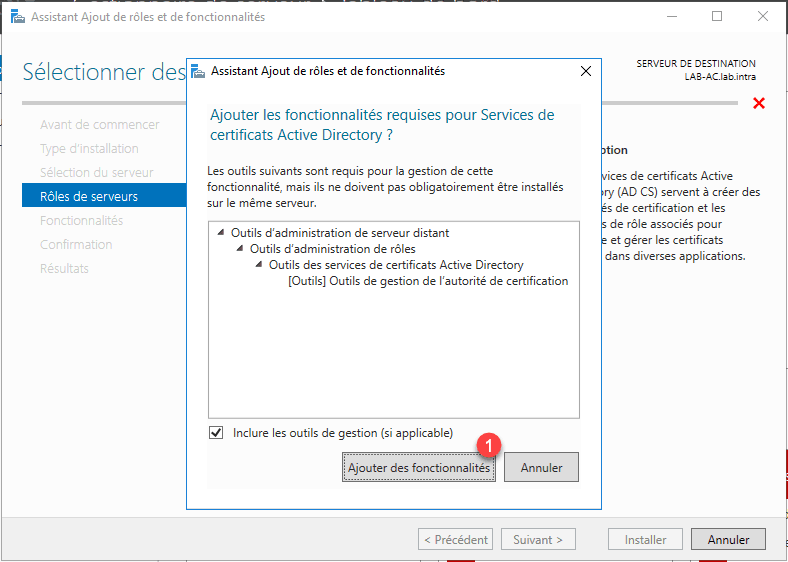
Click Add Features 1 to add the administration tools.
With the AD CS role selected, click Next 1 .
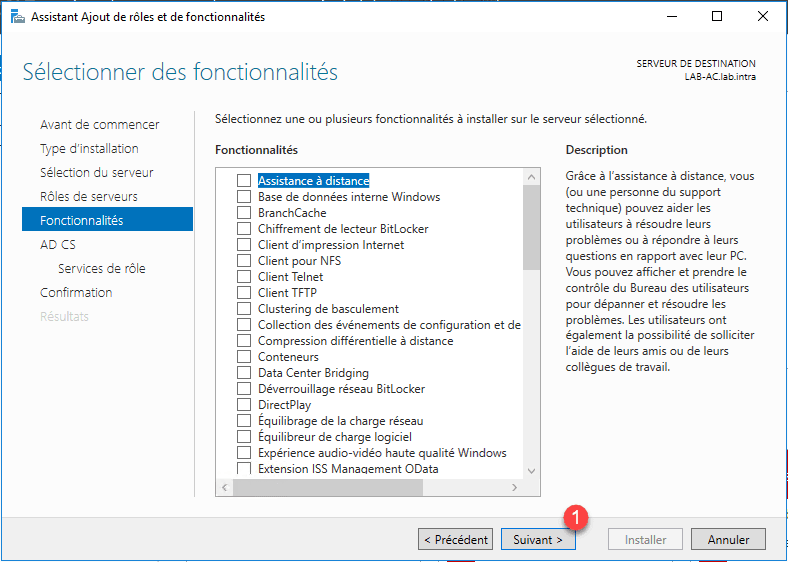
Skip the list of features by clicking Next 1 .
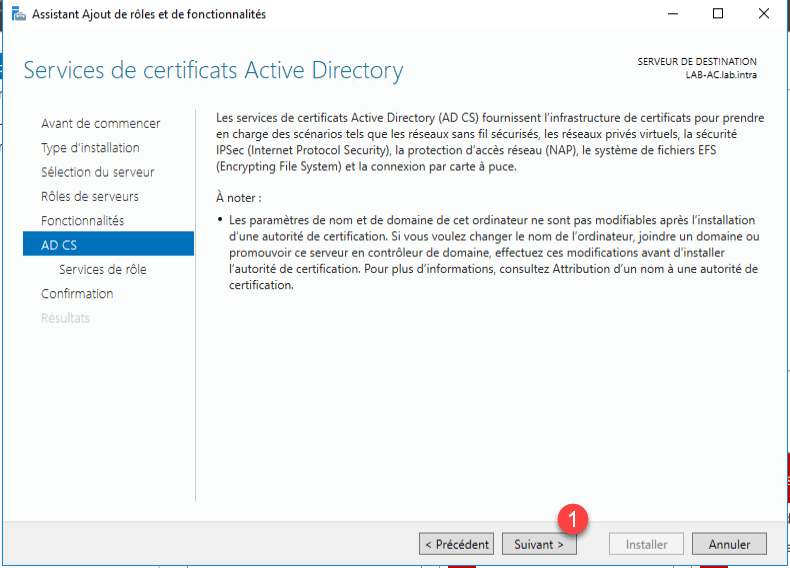
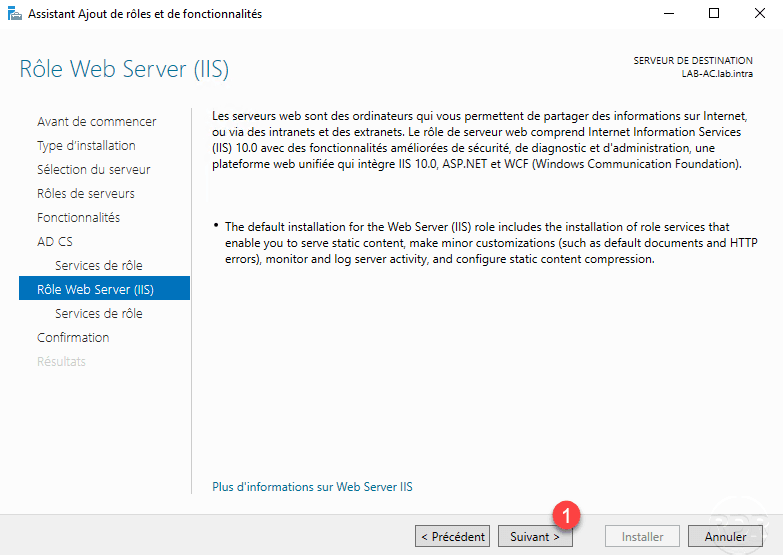
A summary of the AD CS role is displayed, click Next 1 .
Check the “Certification Authorities 1 and Certification Authority Web Authoring 2 services then click Next 3 .
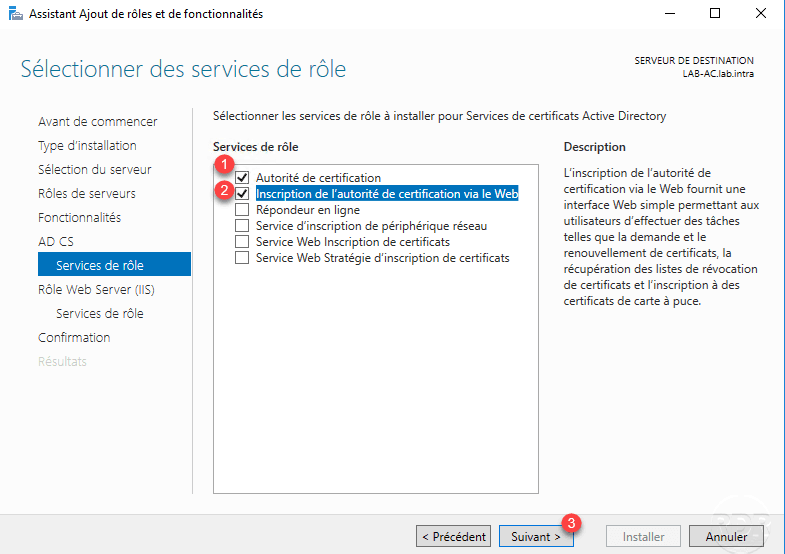
The certification authority service will allow us to generate certificate, registration via the web will allow the user to request certificates using a graphical interface in a browser.
Web-based registration relies on the IIS role, click Next 1 to skip the IIS role summary.
Click Next 1 to validate the services that will be installed for IIS.

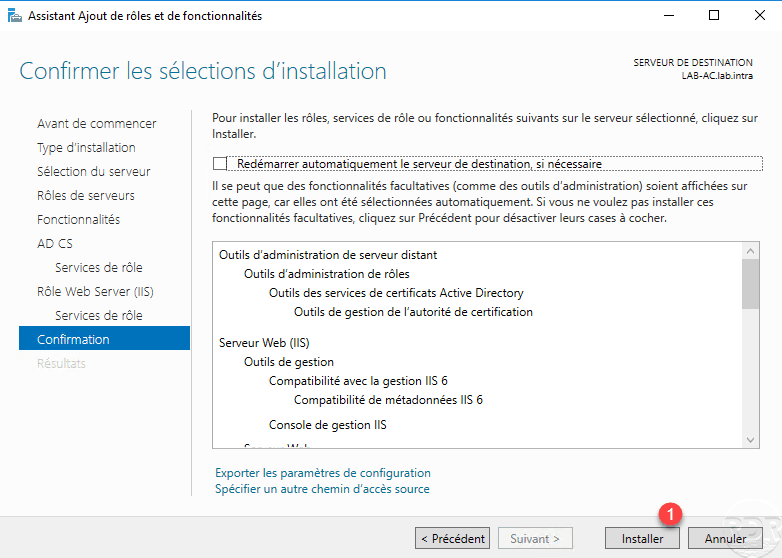
Confirm the installation by clicking Install 1 .
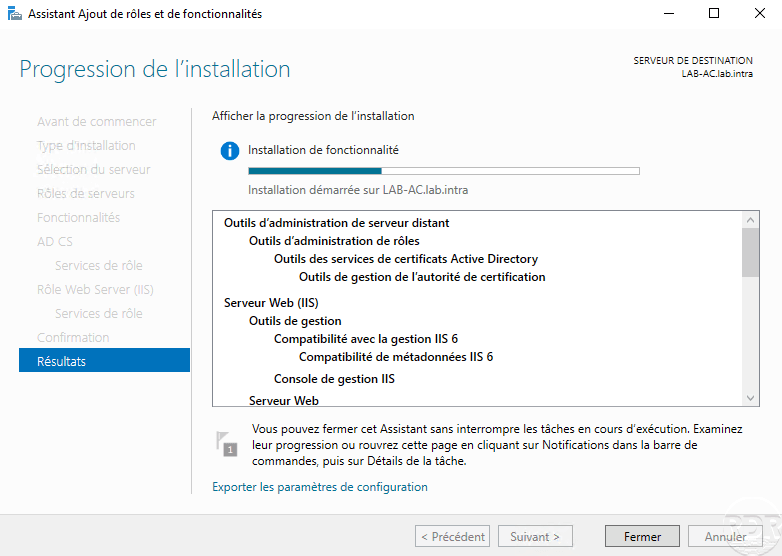
Wait during the installation …
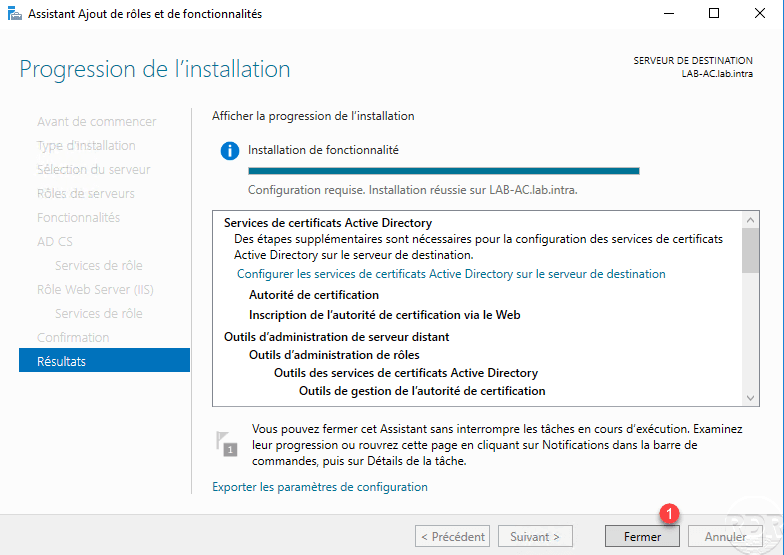
When the installation is complete, exit the wizard by clicking Close 1 .
Configuration of the certification authority
Now that the AD CS role is installed on the server, we will configure the service to be an enterprise CA.
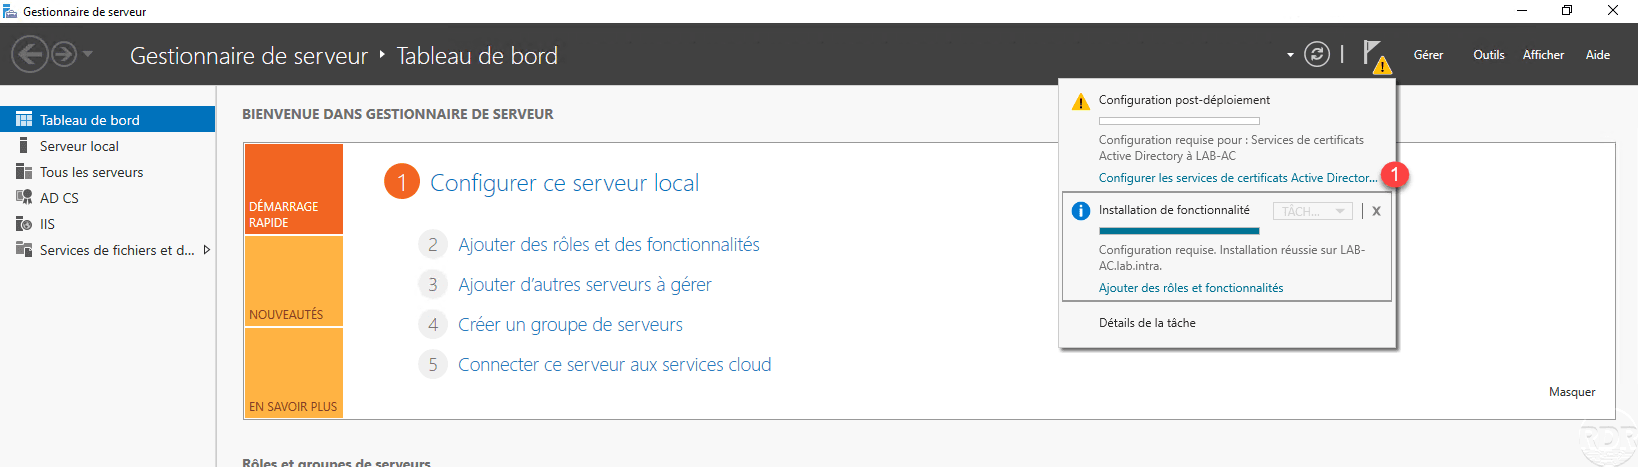
From the server manager, click the notification icon and then click Configure Active Directory Certificate Services 1 to open the setup wizard.
Indicate the user account 1 for the configuration then click Next 2 .
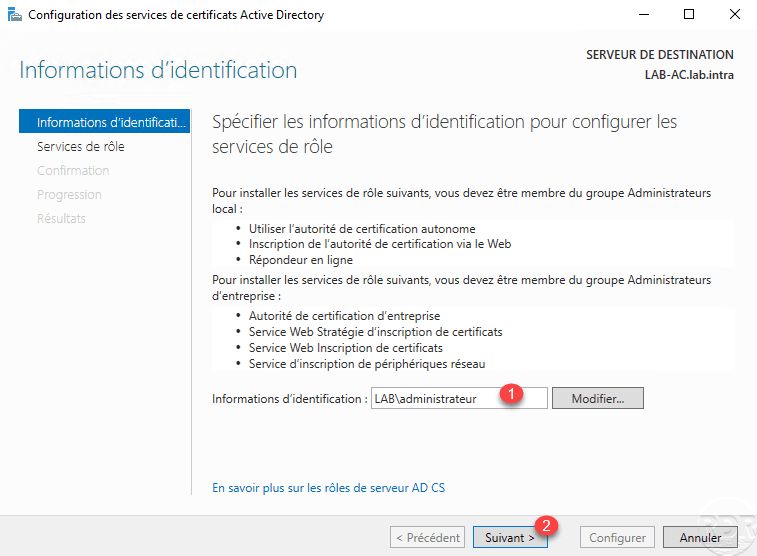
For the configuration of an enterprise CA that is linked to the Active Directory, the account must be a member of the Enterprise Admins group.
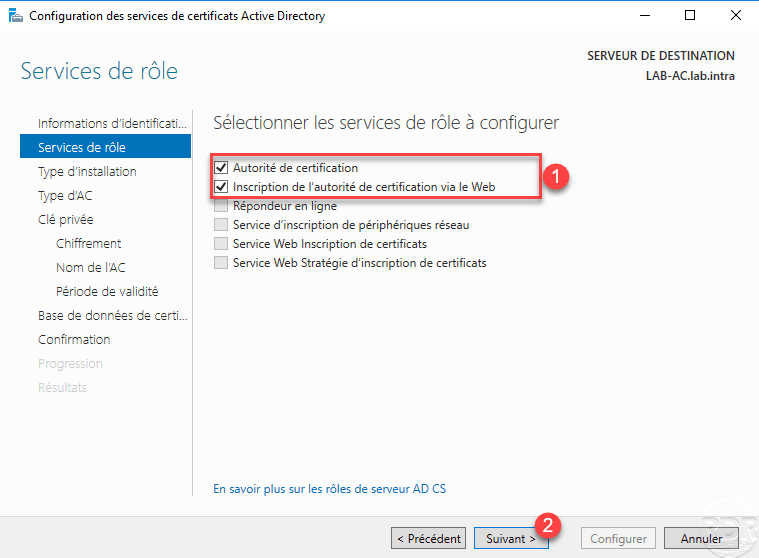
Check both 1 services that have been installed then click Next 2 .
Choose the type of enterprise certification authority 1 and click Next 2 .
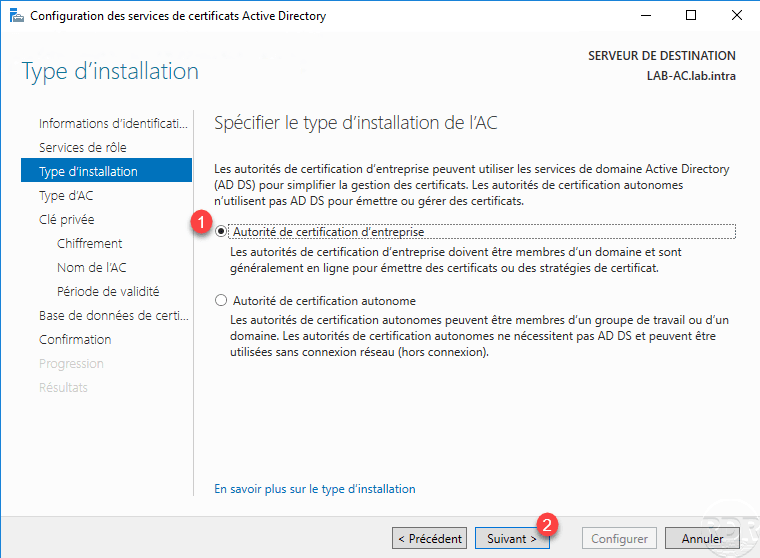
Unlike a stand-alone CA that can be offline, the enterprise CA server must remain on.
Choose the Root Certification Authority 1 option and click Next 2 .
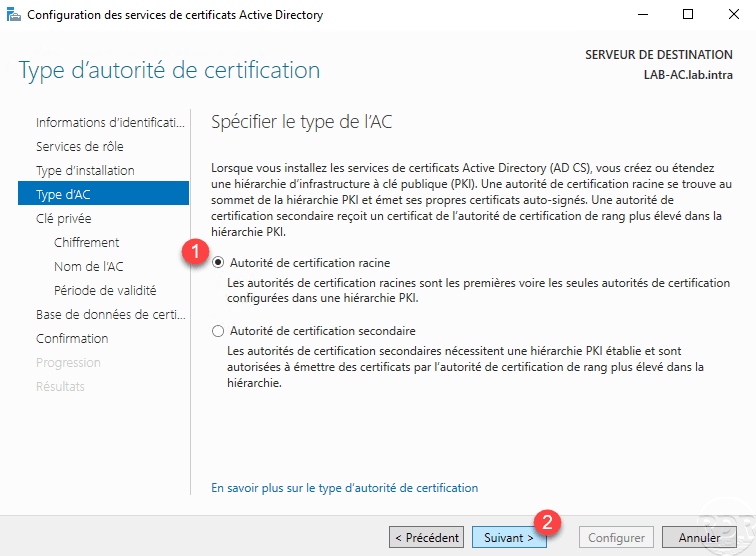
If you have a stand-alone CA and want to set up a PKI hierarchy, you must choose the Secondary CA option. Following the configuration, you will be brought to generate using the root authority.
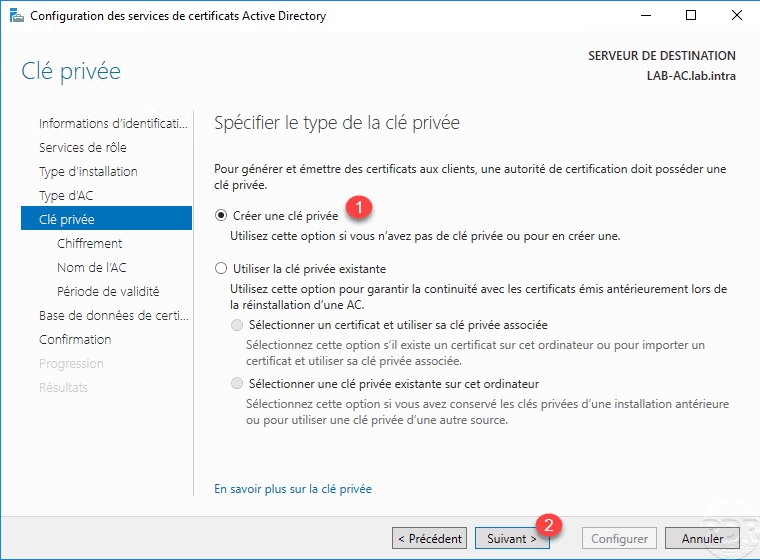
Select Create private key 1 and click Next 2 .
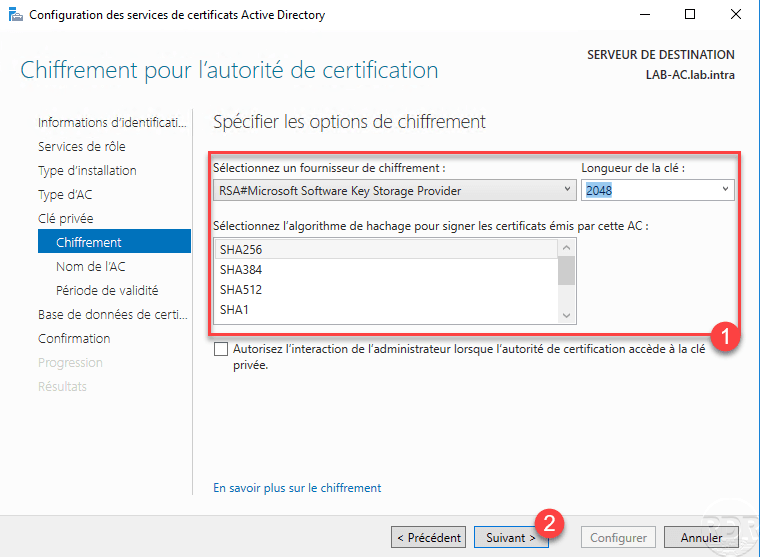
Configure the encryption of the key 1 then click Next 2 .
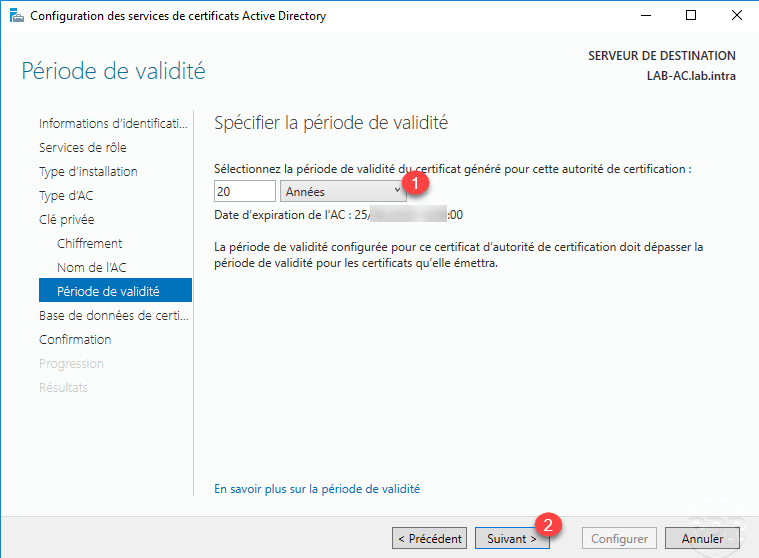
Configure the validity period 1 and click Next 2 .
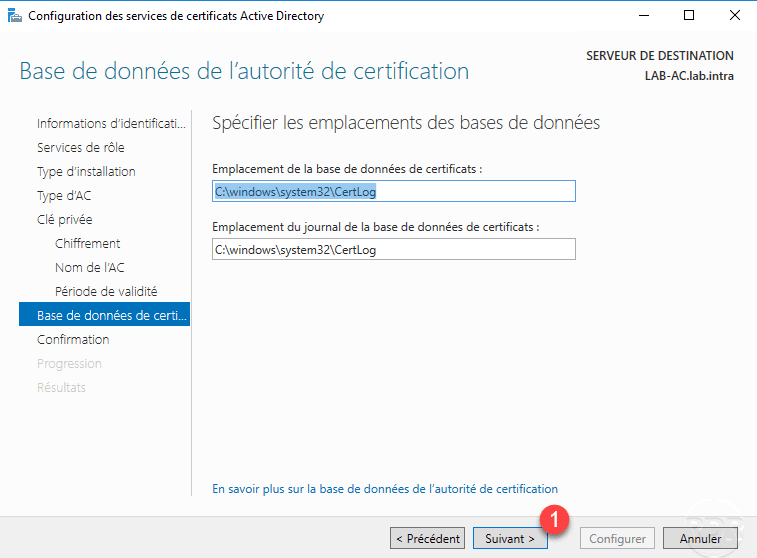
If necessary change the location of the databases and click Next 1 .
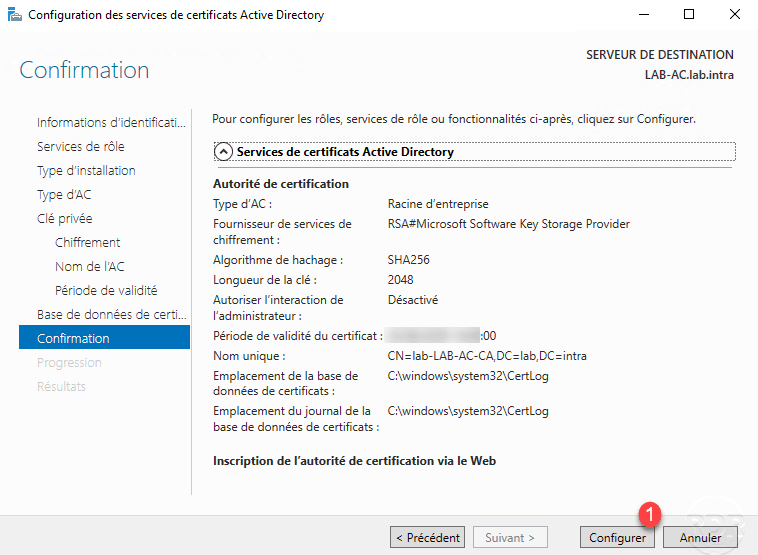
Confirm the information and click on Configure 1 .
When the configuration is complete, click Close 1 to exit the wizard.

Authority Administration
On the server where the role is installed, a Certification Authority console is available.

The CA Administration Console has several folders that will include certificates as well as templates.
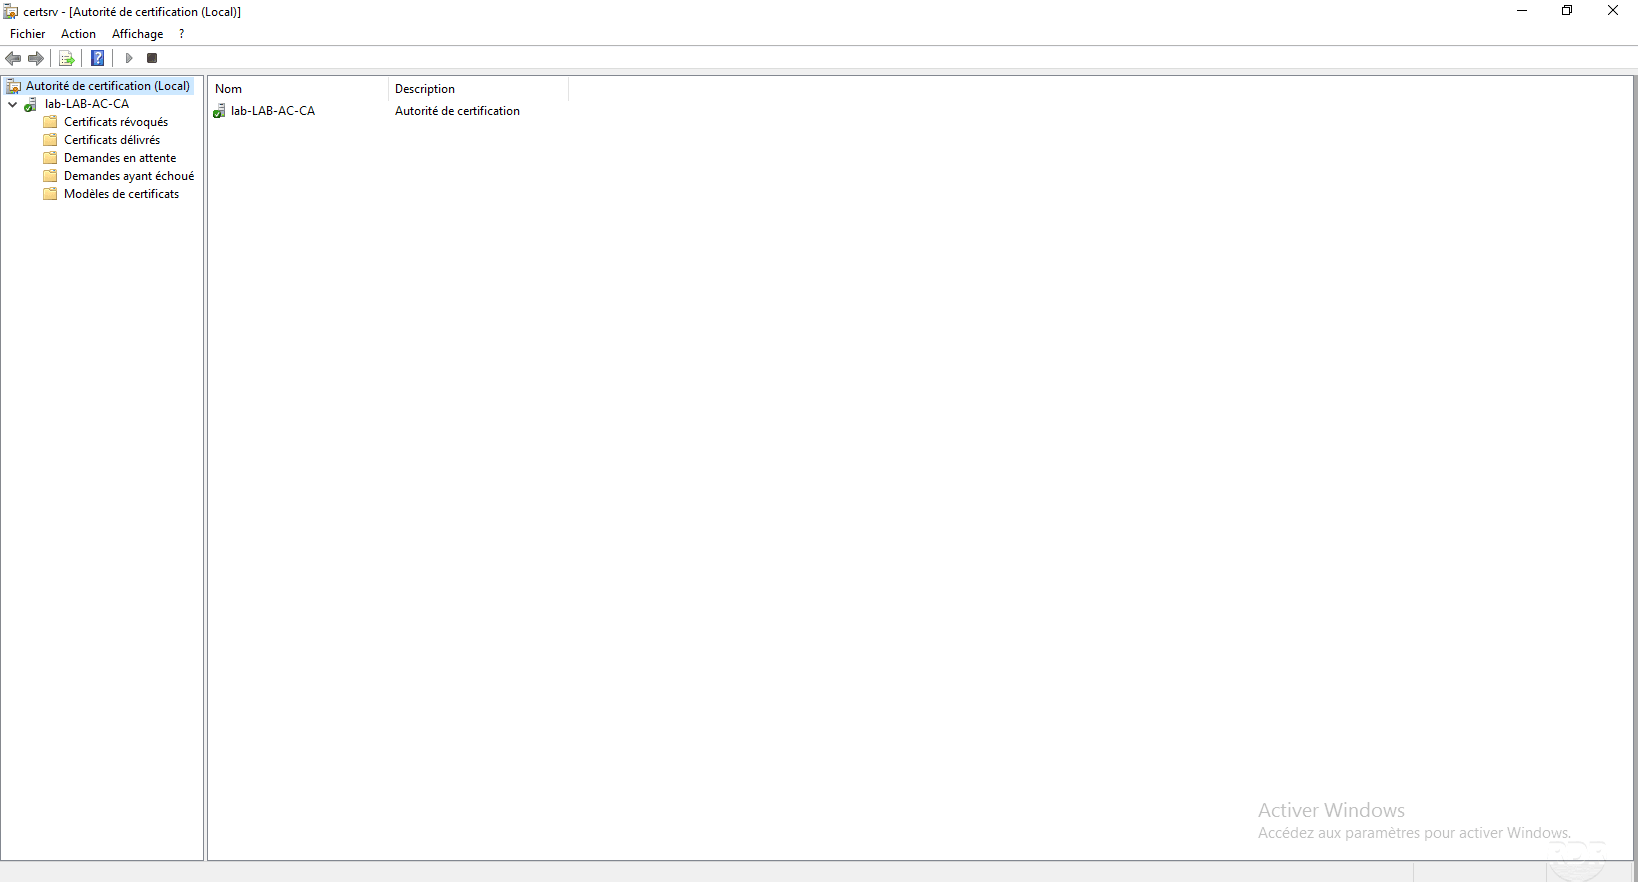
We will come back in more detail on the various files following the tutorial during the various manipulations.
To access the service settings, right-click on the server 1 then click on Properties 2 .

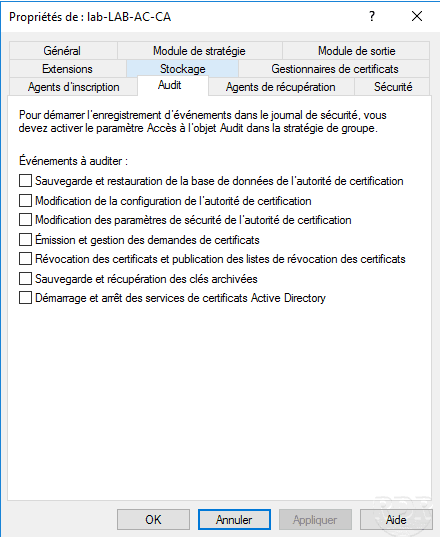
The two tabs except special cases that we change regularly are:
Extensions: which allows you to configure certificate revocation locations.
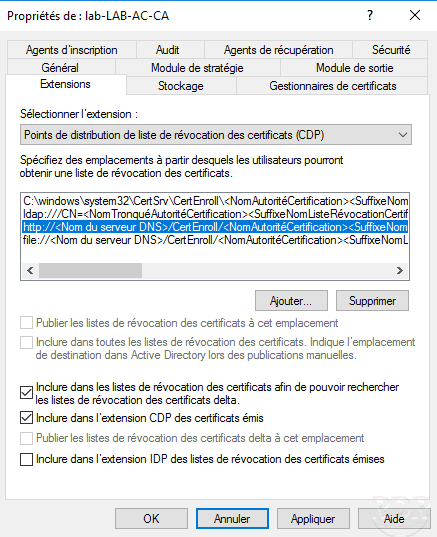
Audit: which enables logging of events.
Export and install the authority certificate
Before you start to generate certificates with the CA, you must export the CA certificate to the CAs. By installing the certificate on the computers it avoids having the error message in the internet browsers and this allows services to work as the RDS gateway, VPN SSTP …
Export the authority certificate
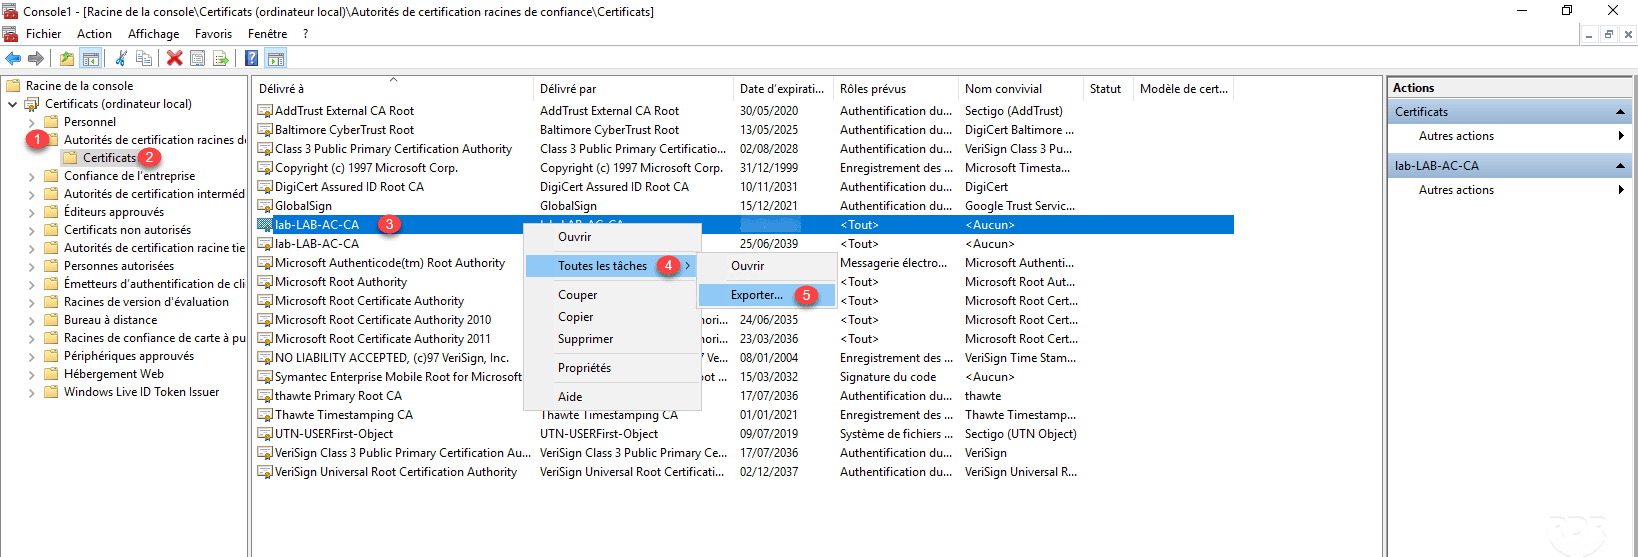
Access the MMC console certlm available several ways.

In the console, go to Trusted Root Certification Authority 1 then in Certificates 2 and look for this one from the authority. Right click on 3 and go to All tasks 4 / Export 5 .
When launching the export wizard, click Next 1 .
Choose export format 1 and click Next 2 .

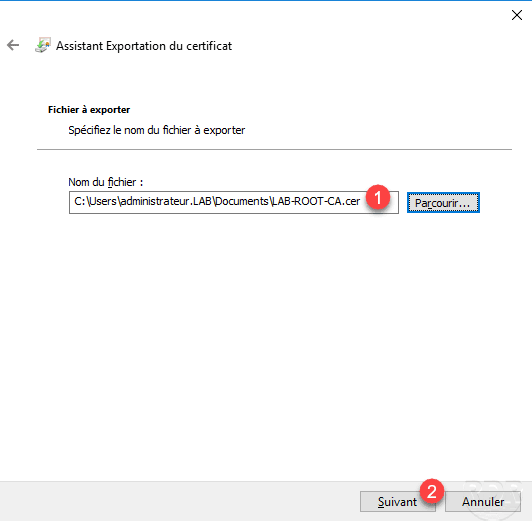
Indicate the location and name of the certificate export file 1 and click Next 2 .
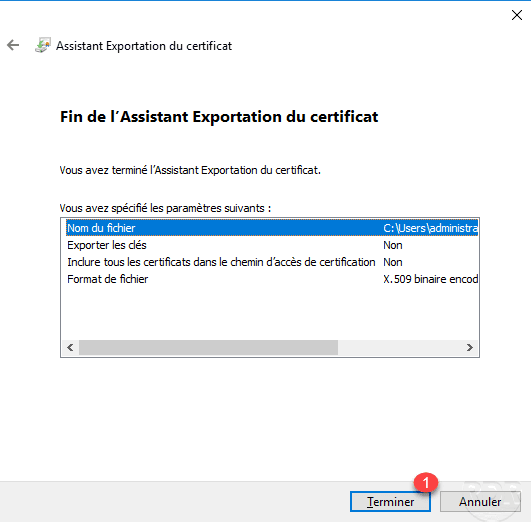
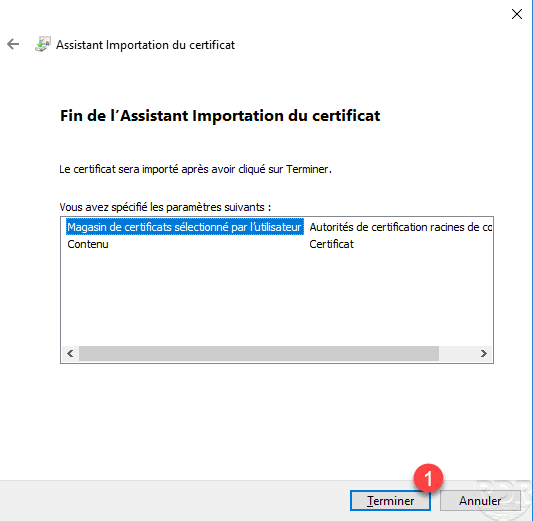
Click Finish 1 to close the wizard.
A message appears indicating that the export is successful, click OK 1 to close it.
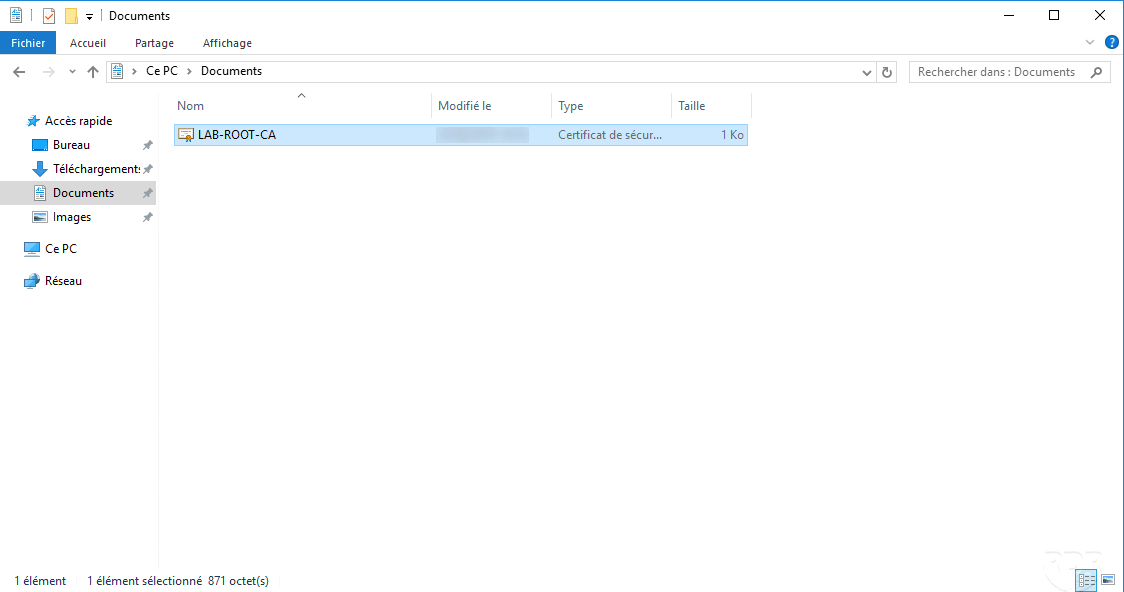
The certificate is exported.
Manually install the certificate on domain computers
Now that we have seen how to export the root certificate from the CA, we will see how to manually import it on a non-domain computer.
Info
In the case of an enterprise certificate authority (linked to an Active Directory domain), the root certificate is automatically distributed to the computers in the domain, so there is nothing to do.
Copy the file to a computer where it must be installed, right click on 1 and click Install Certificate 2 .

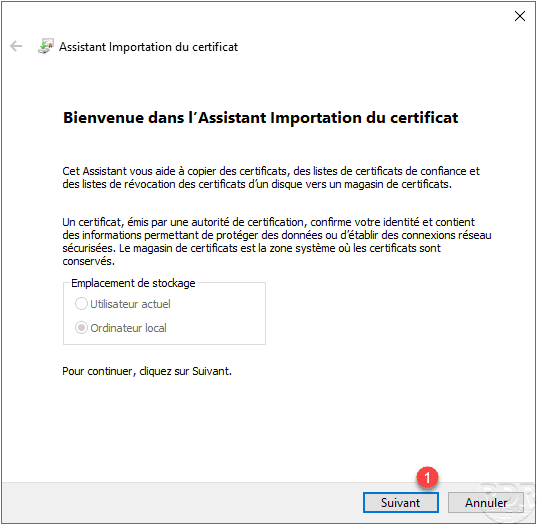
A wizard launches to perform the import, choose Local Computer Location 1 and click Next 2 .

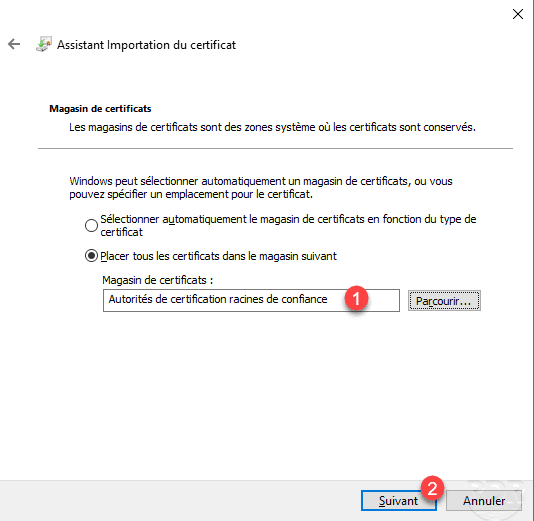
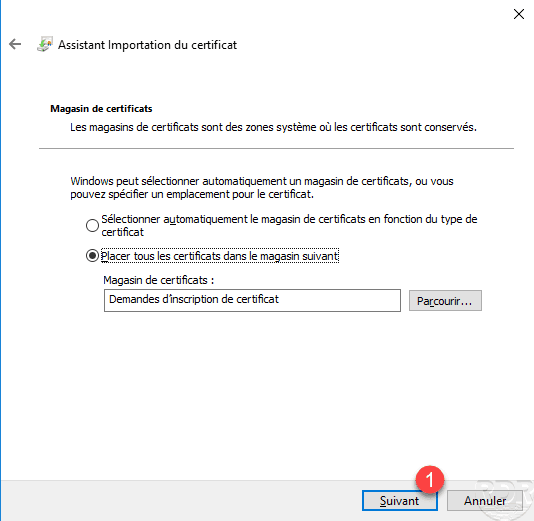
Select Trusted Root Certification Authorities Store 1 and click Next 2 .
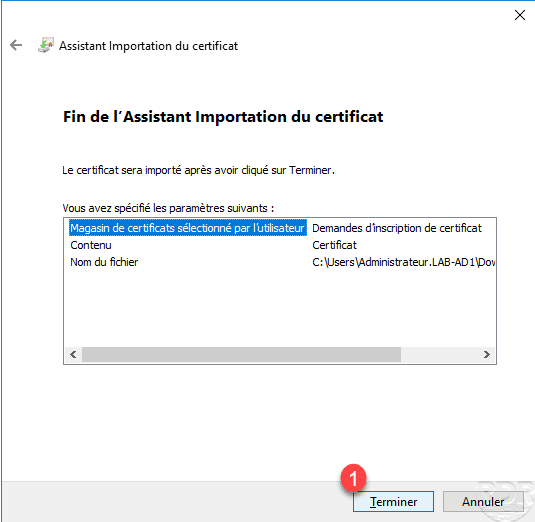
Click Finish 1 to import the certificate.
A message appears indicating that the import is successful, click OK 1 .
The computer can now use certificates that emanate from the enterprise CA.
If necessary, it is possible to use a Group Policy (GPO) to deploy a certificate to domain computers, this can be used to deploy a root certificate from a standalone authority for example or from another AD domain.
Generate a certificate from the Certificates console
In this section, we will see how to request a certificate from the Certificates MMC console of a computer that is a member of the Active Directory domain. The account used is a member of the Domain Admins group.
To illustrate the tutorial, we will generate a Computer certificate that will be used for Remote Desktop connections.
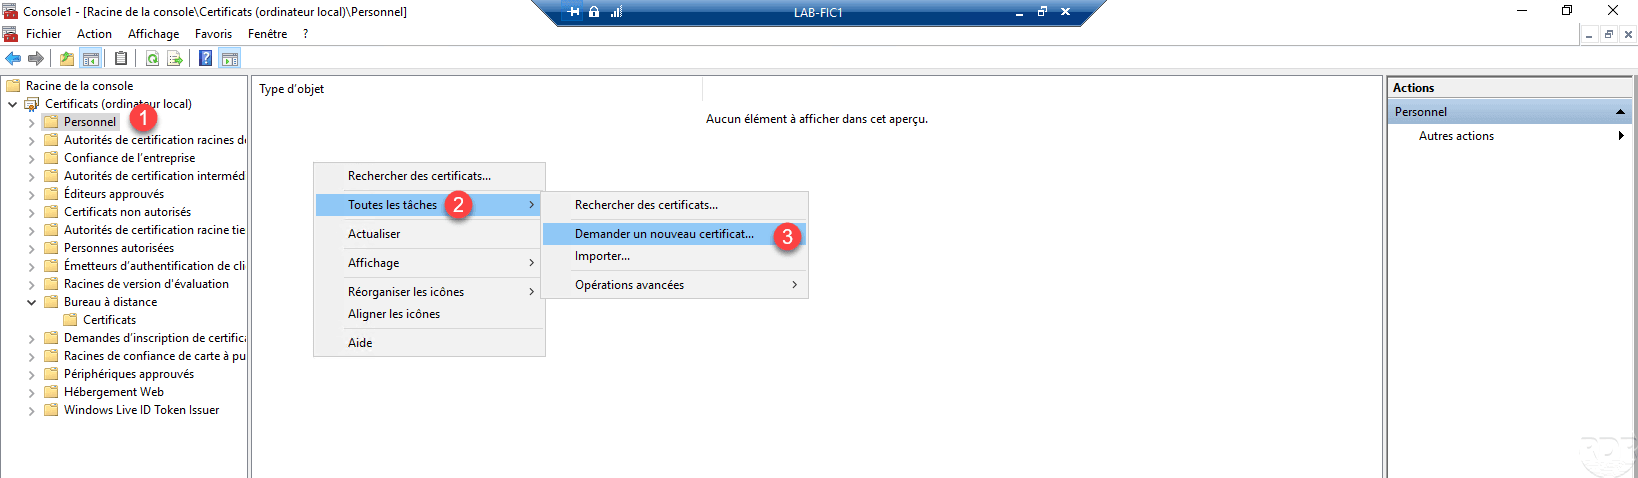
On the console go to the Personal folder 1 and right click in the central area and go to All tasks 2 and click on Request a new certificate 3 .
At the launch of the wizard click Next 1 .

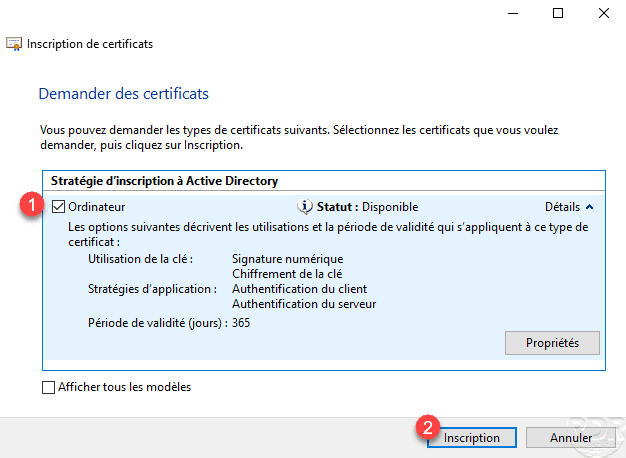
Select Computer 1 certificate template then click Register 2 .
The certificate has been generated, click on Finish 1 .

The certificate is now available in the store.
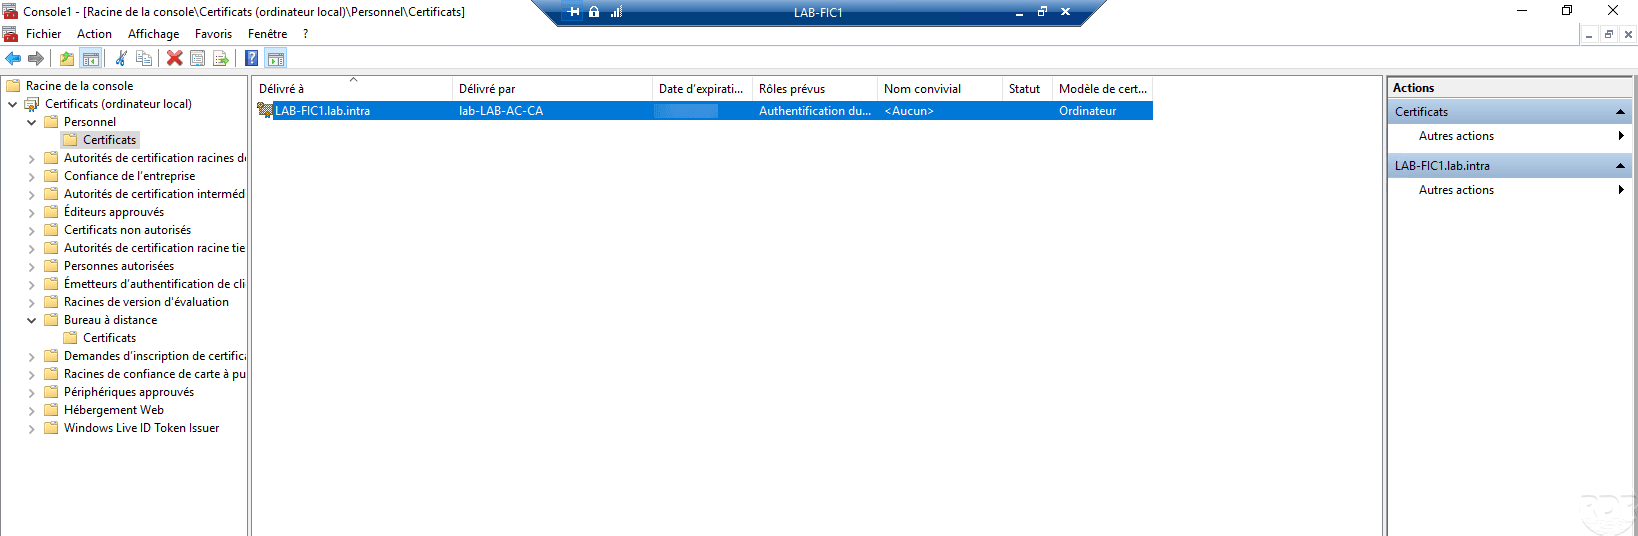
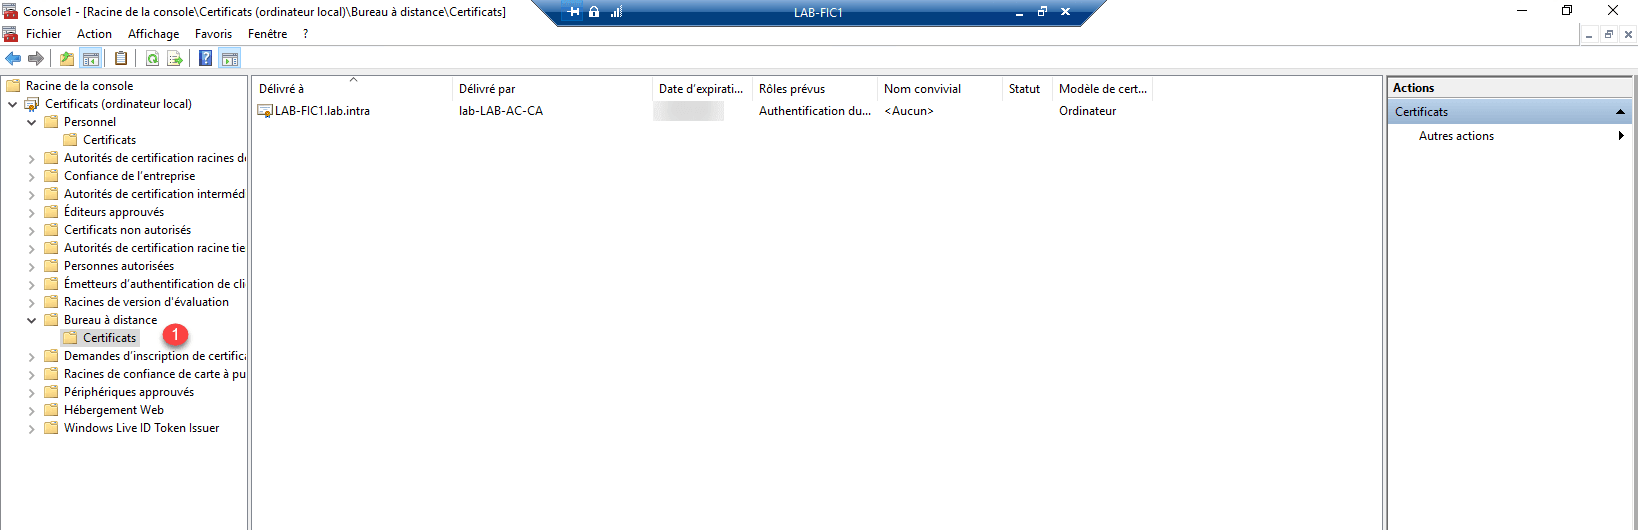
Copy / paste to Remote Desktop Store 1 and delete the server self-signed certificate.
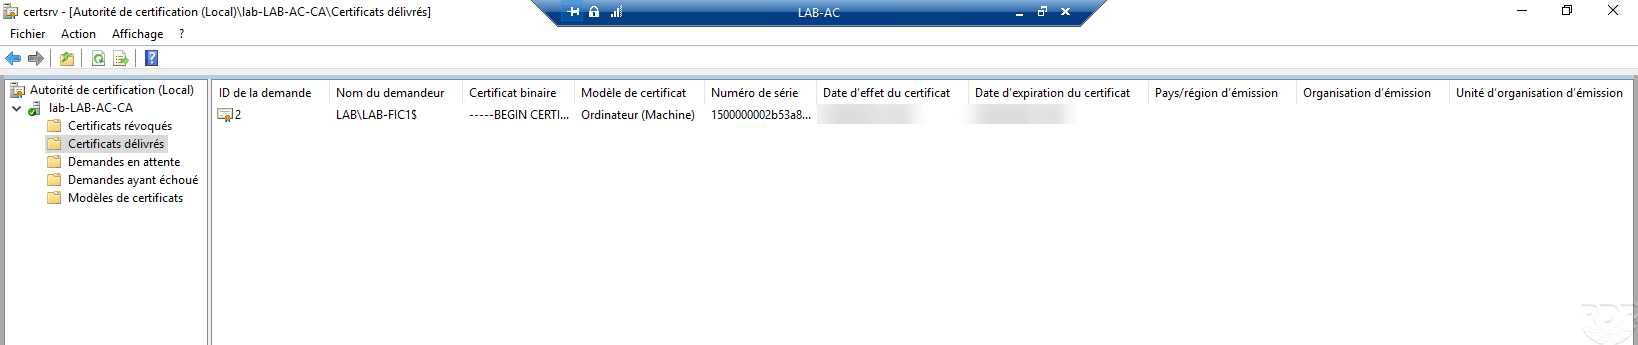
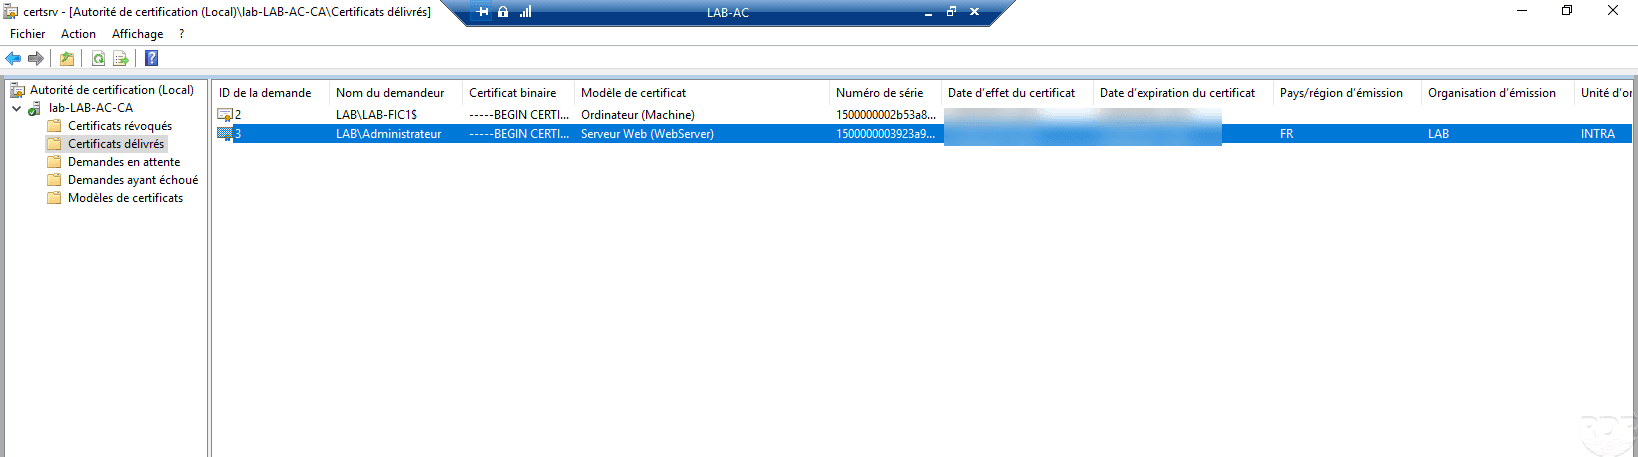
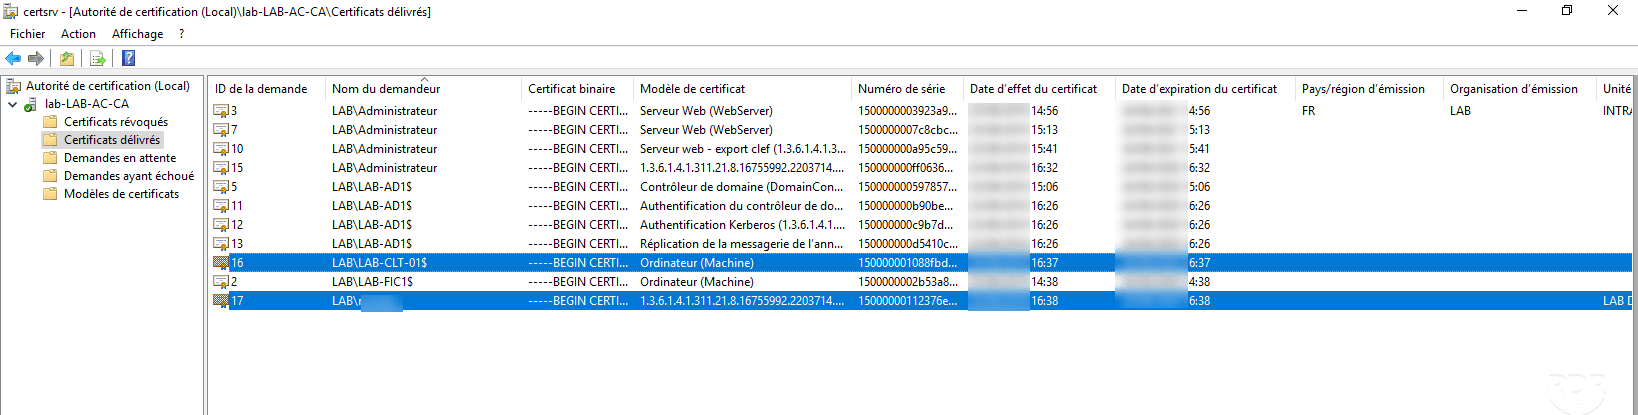
It is possible to view the certificate generated on the CA from the Administration Console in the Certificates issued folder.
To use the certificate, you must pass this command : wmic /namespace:\\root\cimv2\TerminalServices PATH Win32_TSGeneralSetting Set SSLCertificateSHA1Hash="<certificate thumbprint>"
Certificate request from IIS
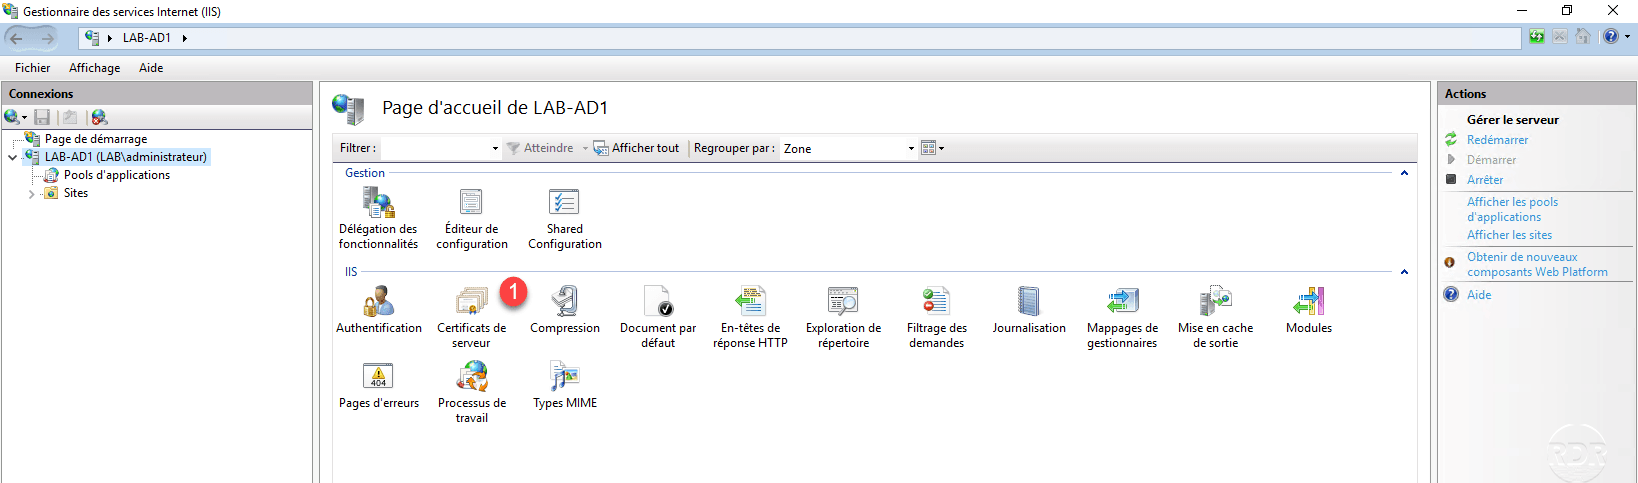
In this part, we will see how to perform a domain certificate request using the IIS console. In order to be able to contact the enterprise CA, the server must be a member of the domain.
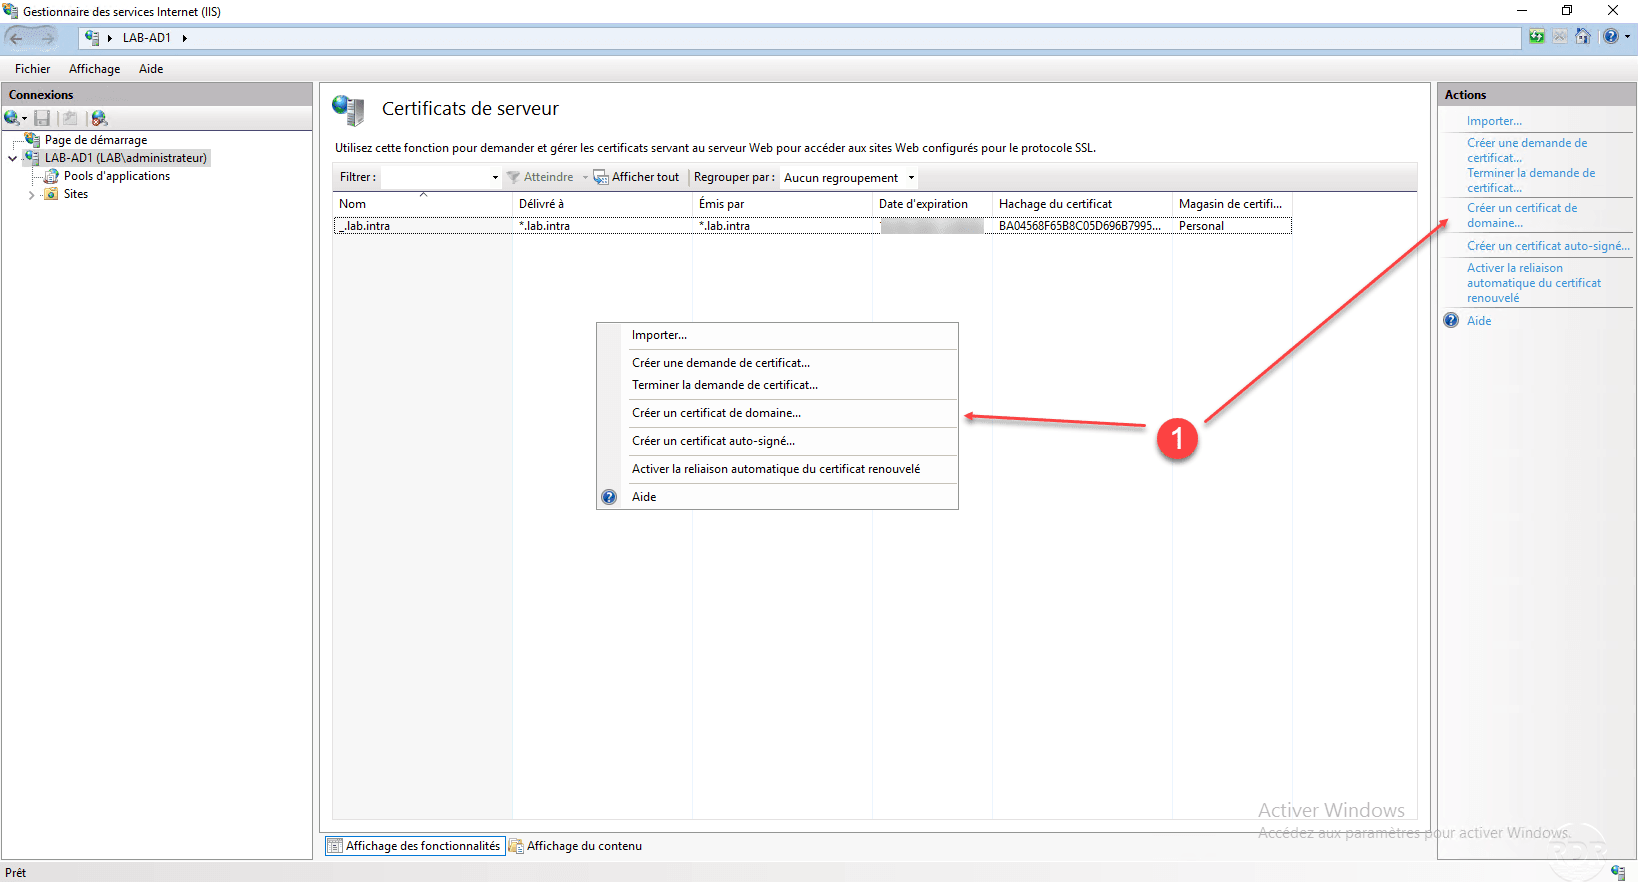
From the IIS console of a server, click Server Certificates 1 .
Right-click in the certificates area and click Create Domain Certificate 1 or go through the Actions menu.
Enter the certificate information 1 , the common name contains the address this one will identify. It is possible to create a certificate for another domain. Click Next 2 .

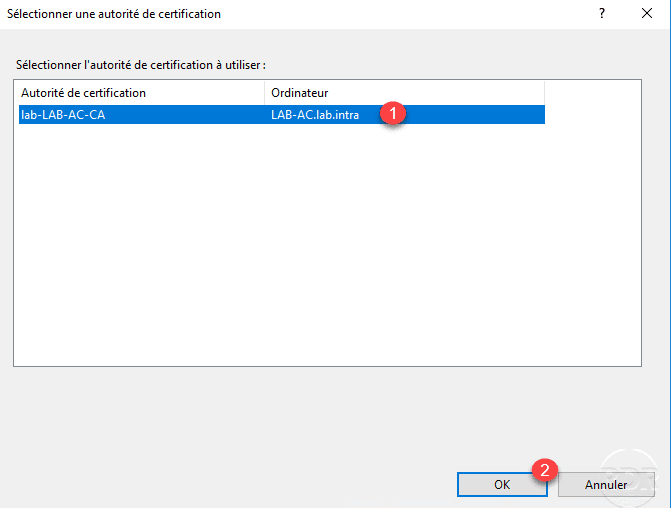
You must now choose the enterprise CA, click on Select 1 .

Choose authority 1 and click OK 2 .
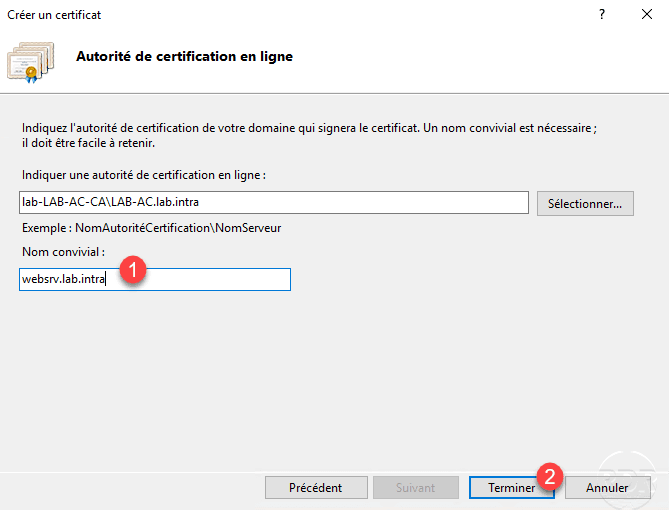
With the authority selected, enter the server’s friendly name 1 and click Finish 2 .
Certificate 1 is generated and available in IIS.
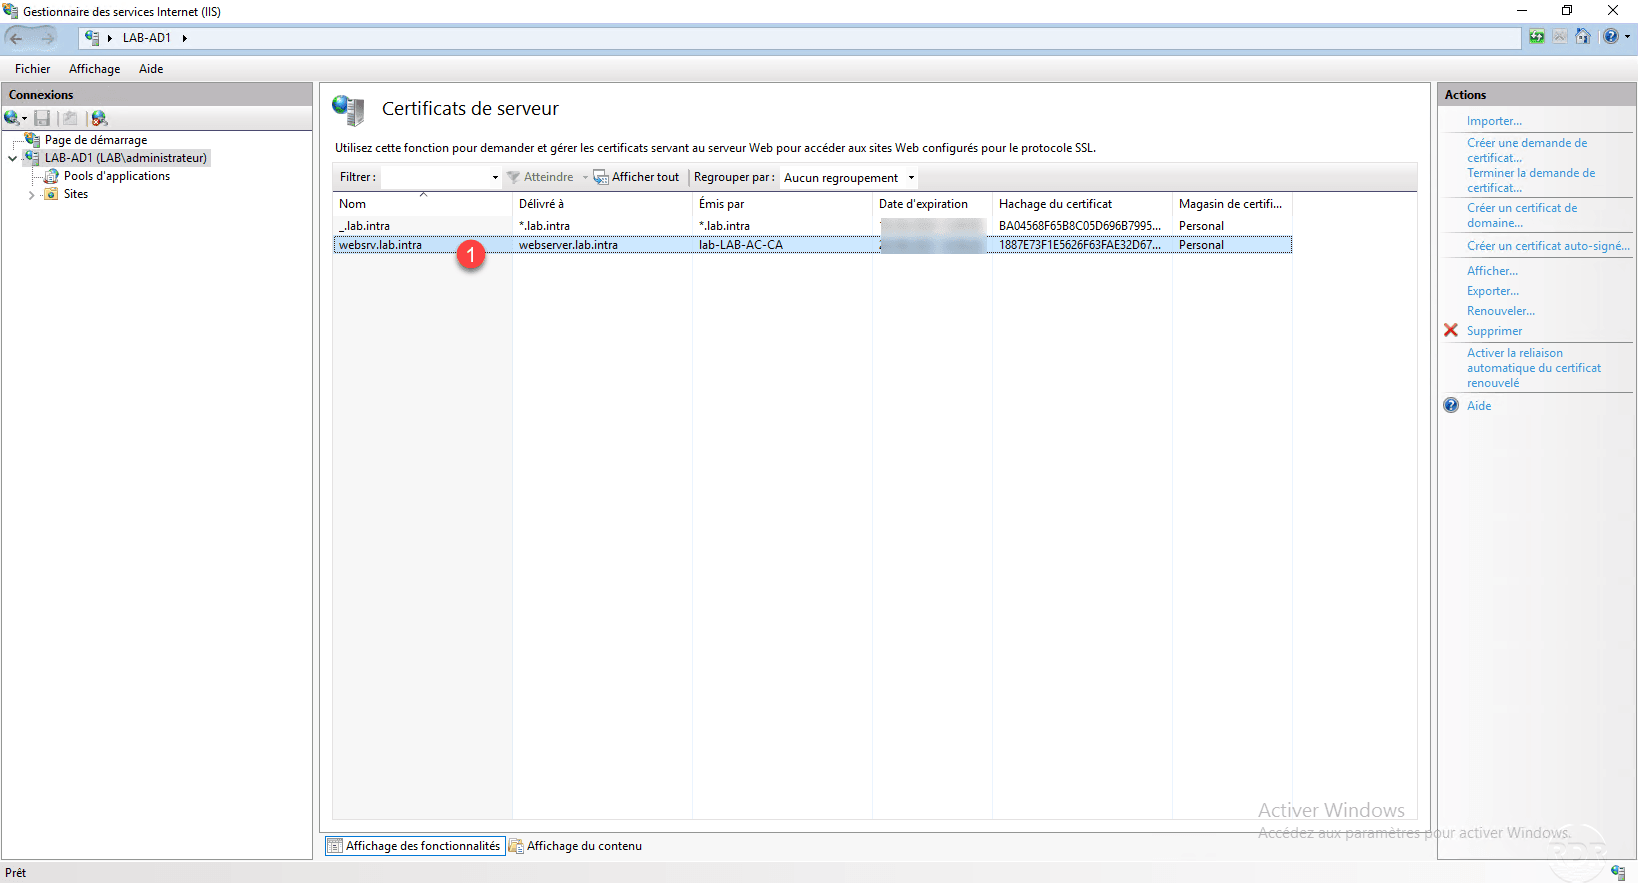
The certificate is also available in the Certificates Issued from Certification Authority store.
Make a custom certificate request
Now that we have seen how to make certificate requests for computers and web sites in IIS, we will now see how to make a custom certificate request with multiple DNS names and IP addresses.
From the Certificates console of a domain member computer, go to the Personal / Certificates 1 folder. Right-click in the display area and go to All Tasks 2 / Advanced Operations 3 and click Create Custom Request 4 .

When launching the wizard, click Next 1 .
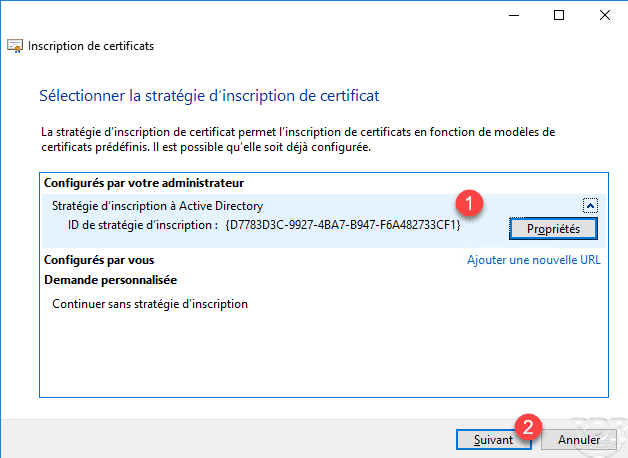
Select the Active Directory Enrollment Policy 1 and click Next 2 .
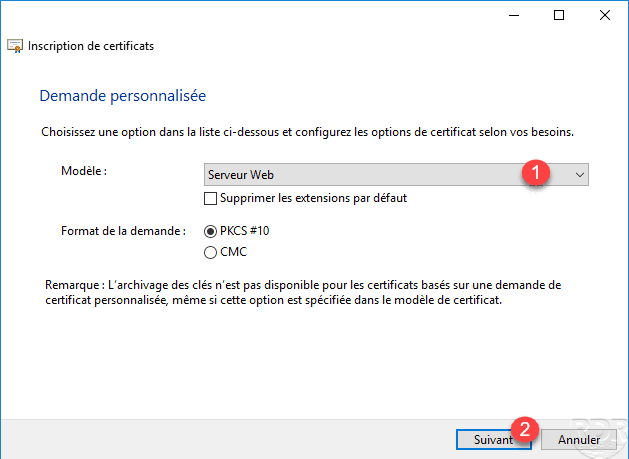
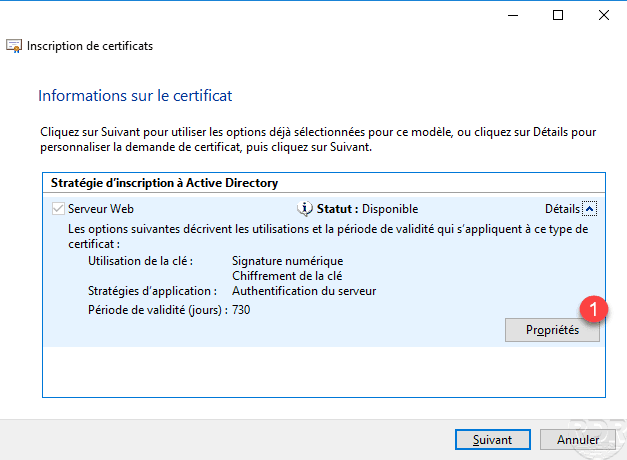
Choose model 1 (Web Server) and click Next 2 .
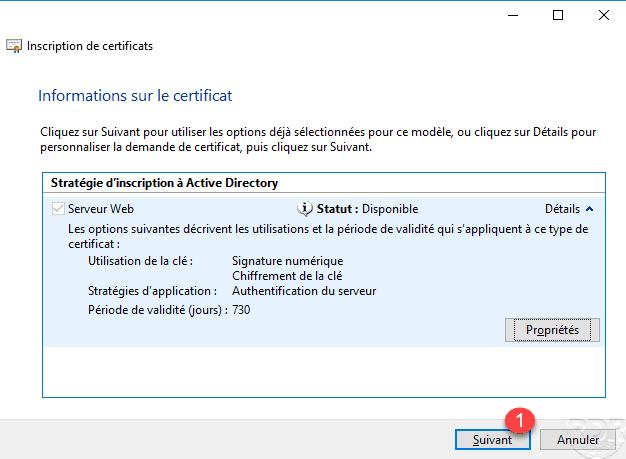
A summary of the certificate template is displayed, click Properties 1 .
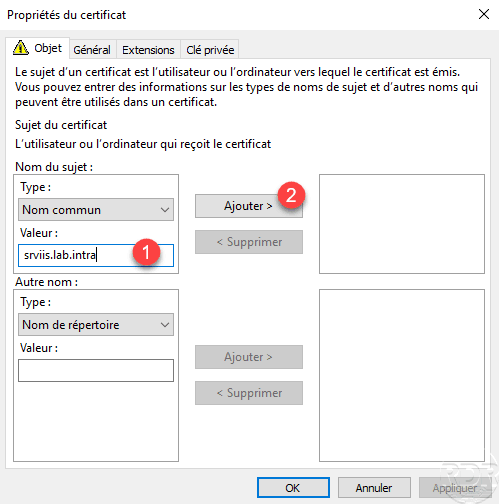
Configure the common name of certificate 1 and click on Add 2 .
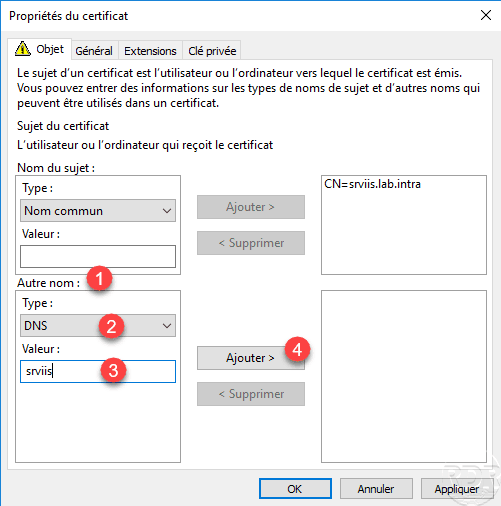
Now that the common name is added, in the Other Name 1 section, select the DNS type 2 , enter the desired name 3 and click on Add 4 .
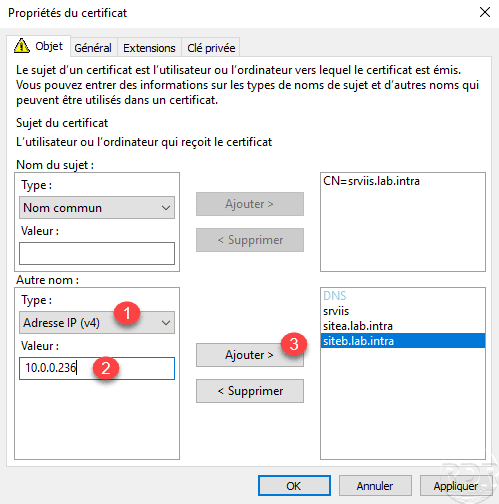
As you can see below, it is possible to add several DNS names. We will now add an IP address, select the type IP address (v4) 1 , indicate the IP address 2 and click on Add 3 .
Now that the IP address is added, click Apply 1 and OK 2 to validate the certificate information.

Click Next 1 to continue the request.
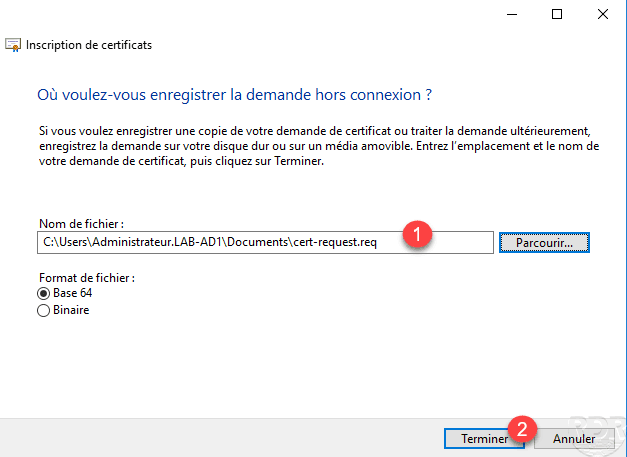
Enter the location and file name 1 (CSR) to save the request and click Finish 2 .
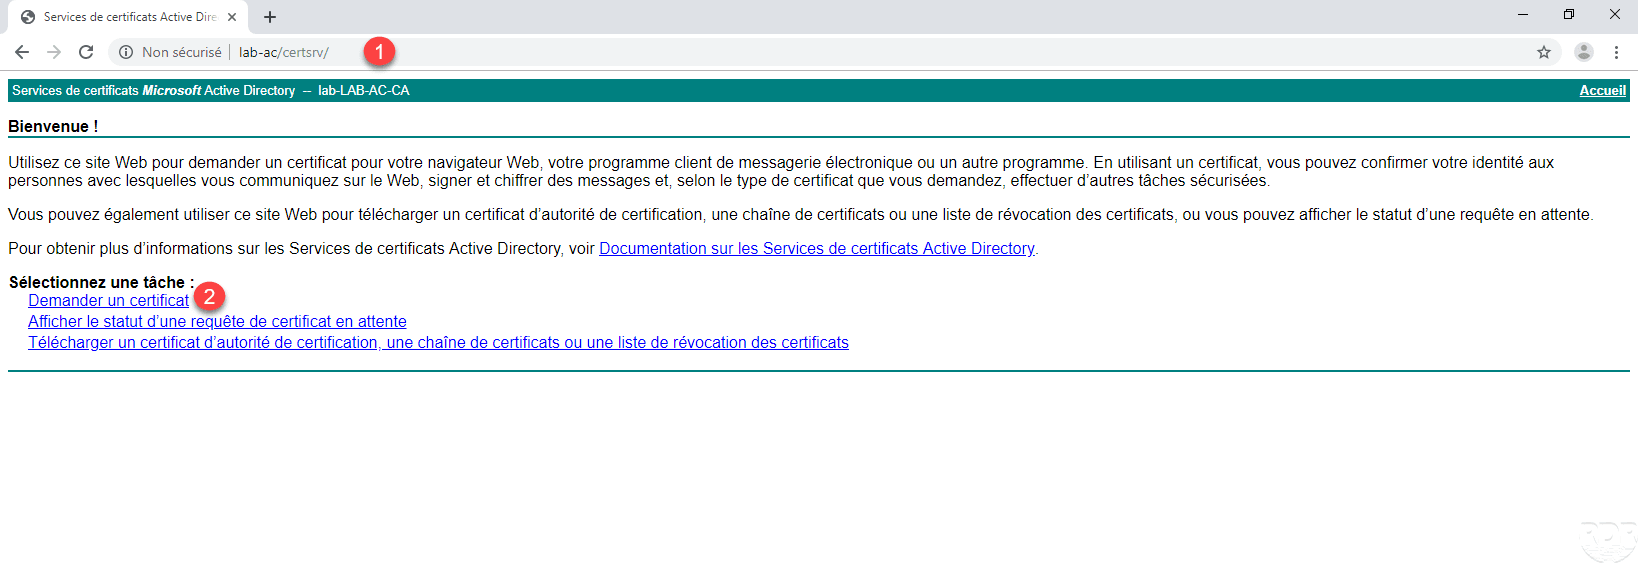
The request file has been generated, the application must now be submitted to the enterprise CA. Open an internet browser and enter the url http: // server-name / certsrv / 1 . Click on the link Request Certificate 2 .
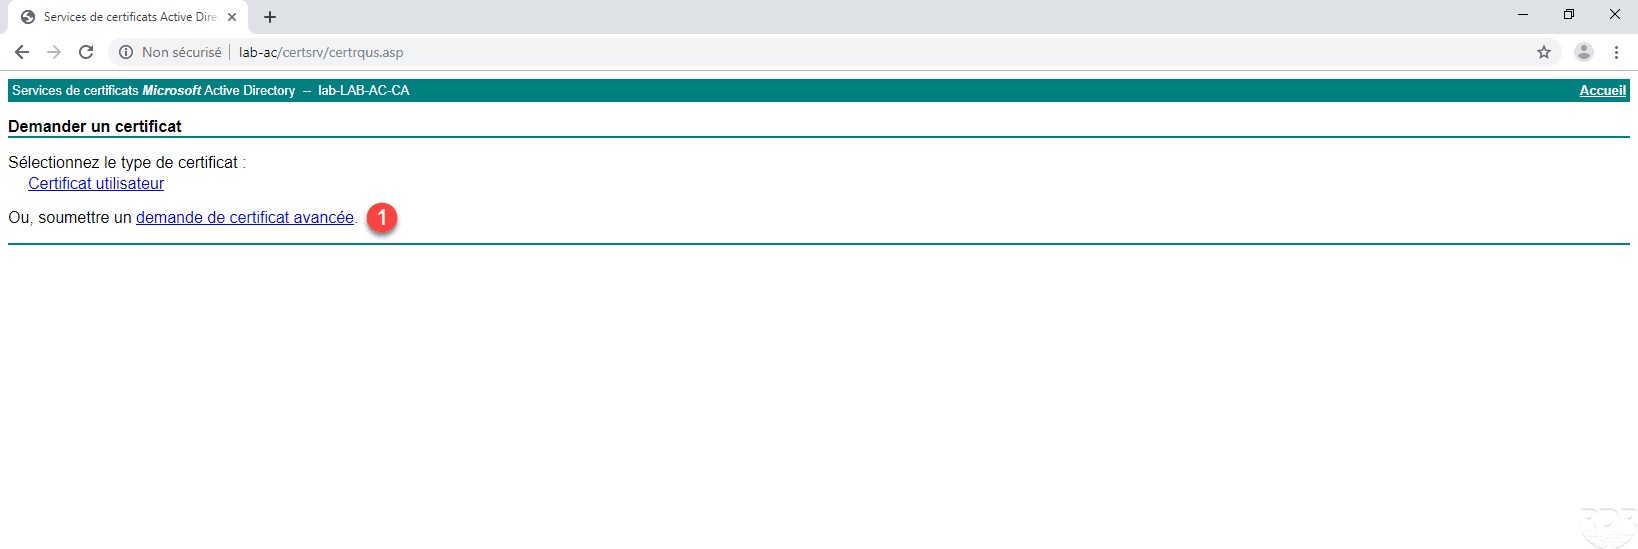
Click on advanced certificate request 1 .
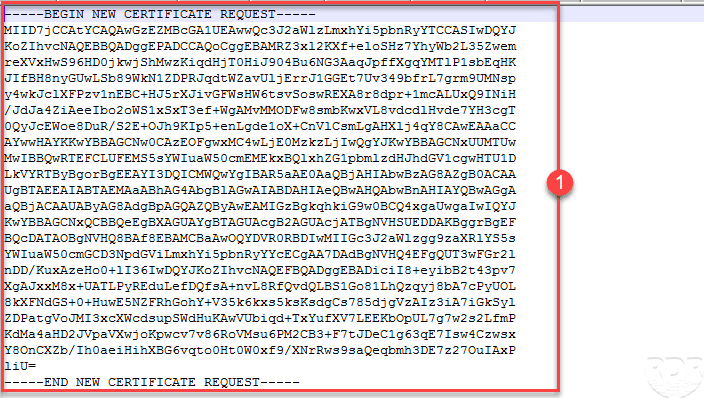
Open the query file with a test editor and copy the string 1 .
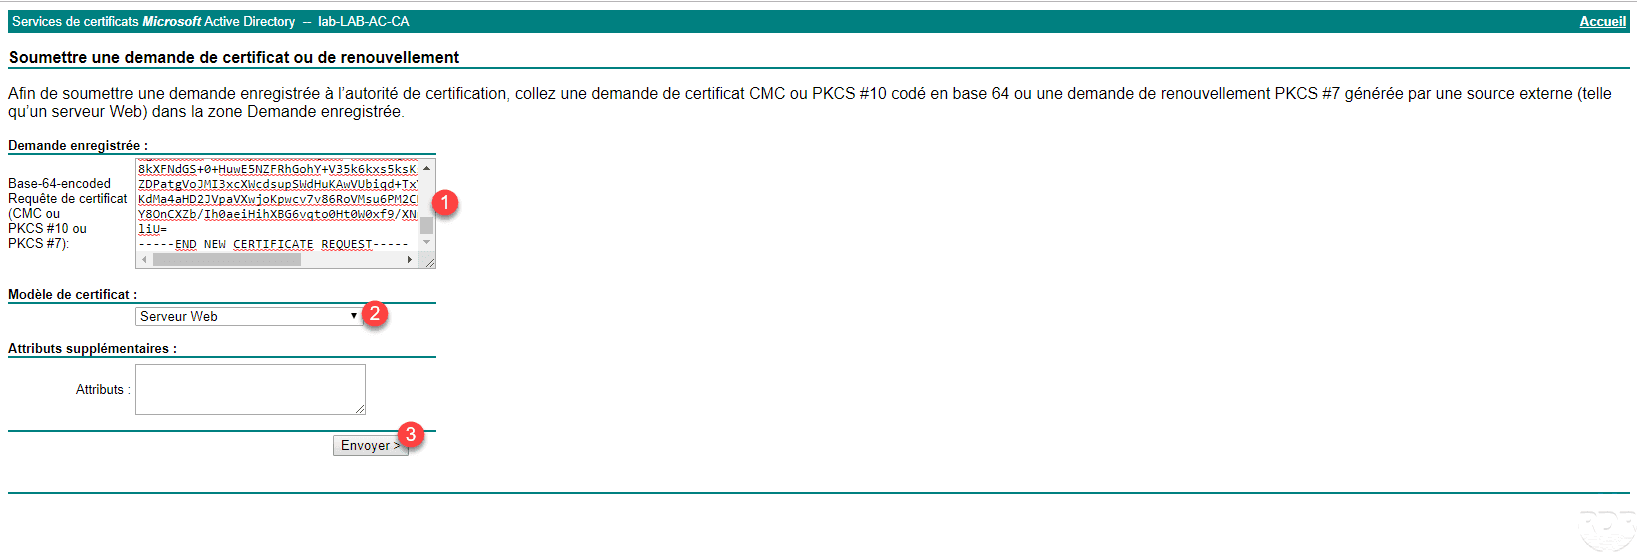
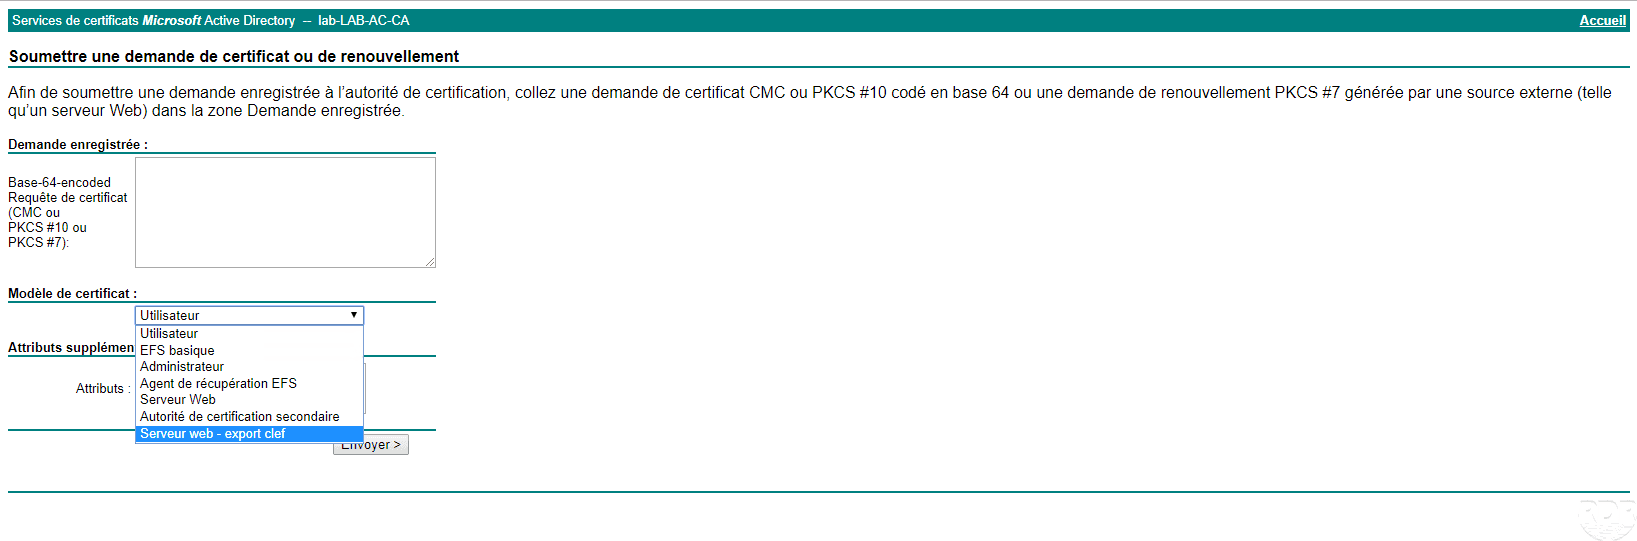
Paste the request 1 in the field Registered application, choose the template 2 and click on Send 3 .
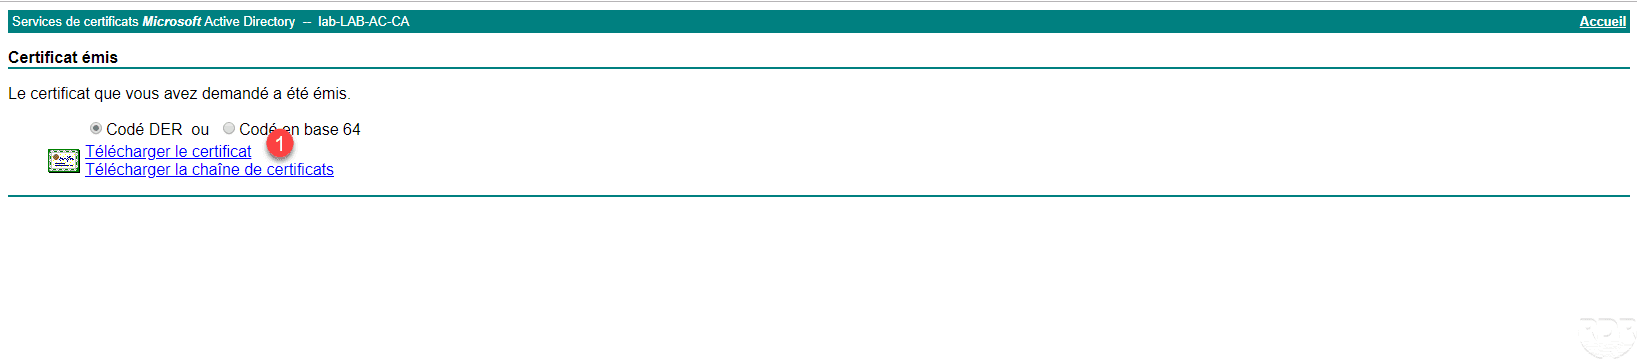
Retrieve the certificate by clicking Download Certificate 1 .
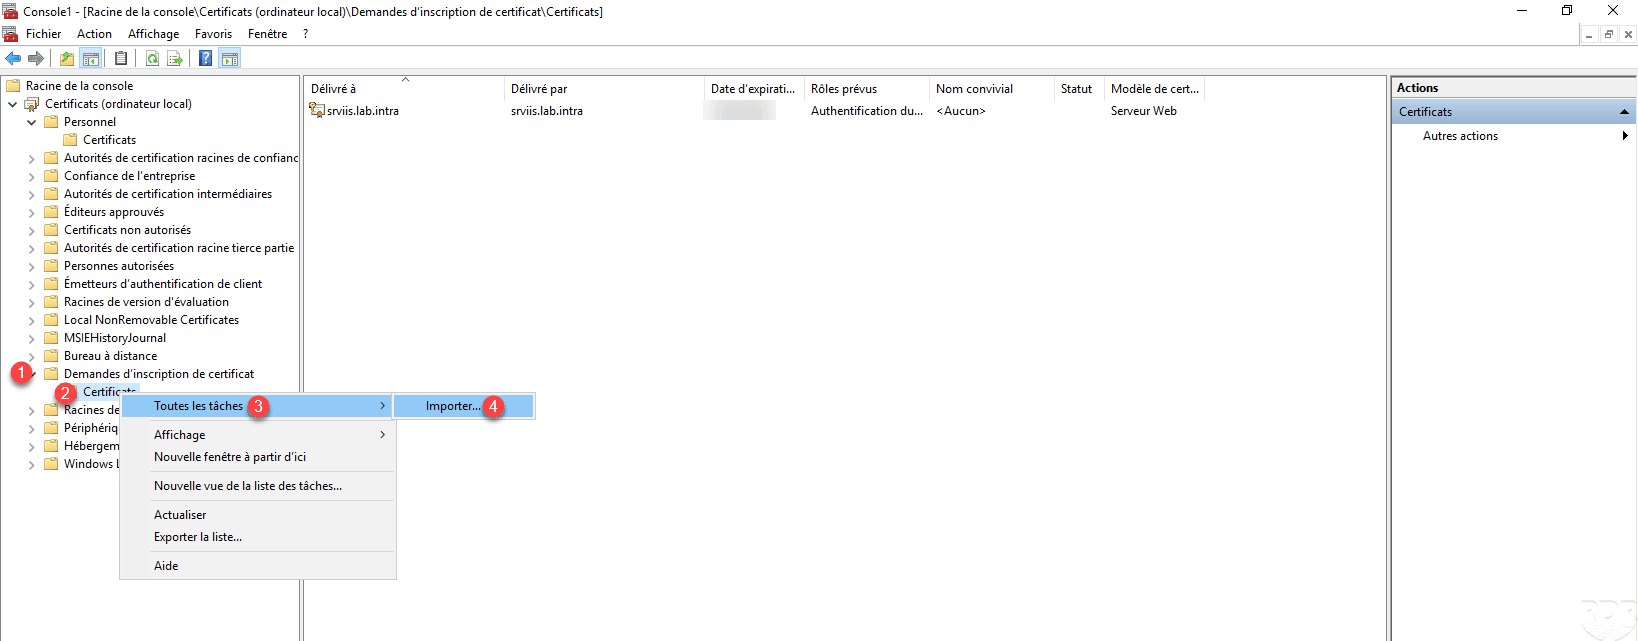
Return to the Certificates console, go to Certificate Application 1 / Certificates 2 , right click on then All 3 / Import 4 .
When launching the wizard, click Next 1 .
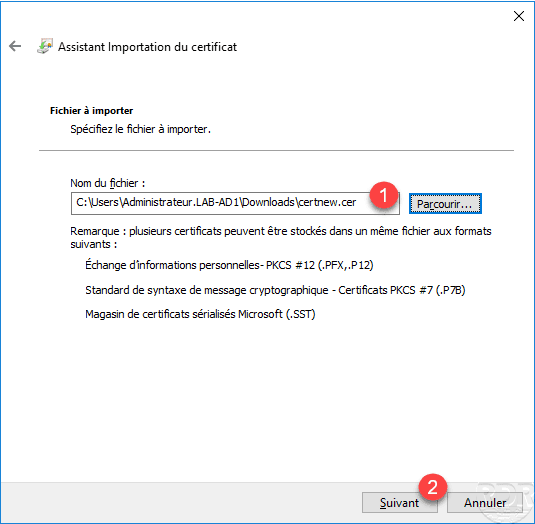
Select the downloaded certificate 1 and click Next 2 .
Leave the store, click Next 1 .
Click on Finish 1 to finish the import.
The certificate is generated and we see that it has been issued by the enterprise certification authority.

You can now move the store certificate to Personal.
It is not possible by default to export the certificate with its private key, it is necessary to modify the model.
Create a certificate template
In this part, we will see how to create a model of certificate based on an existing model, we will modify the server model in order to export the private key to install it for example on an off-domain IIS server.
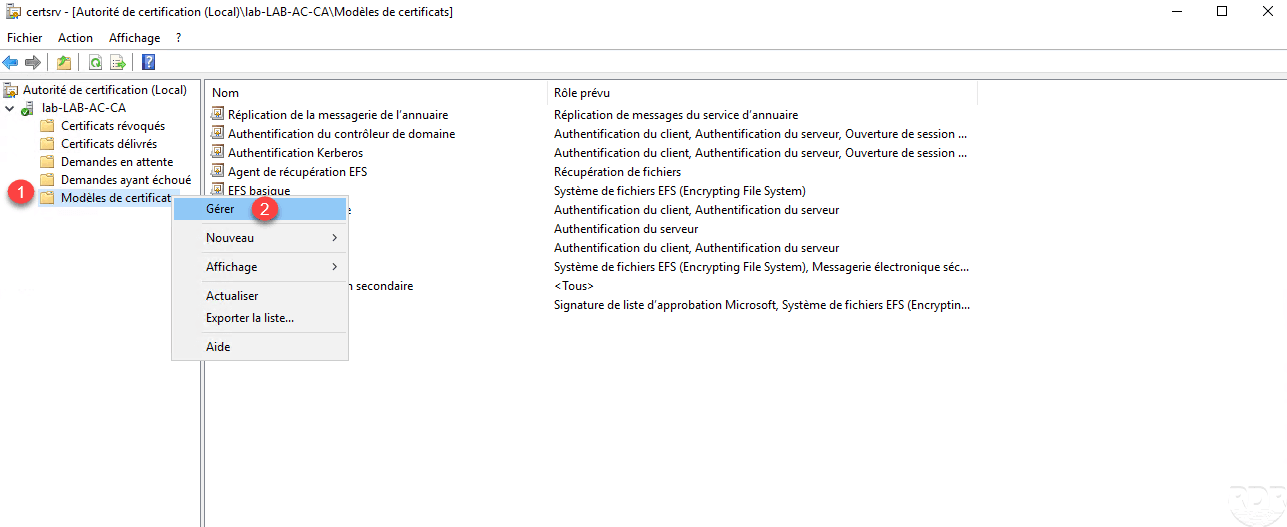
Open Administration Administration Console, right click on certificate store 1 and click Manage 2 .
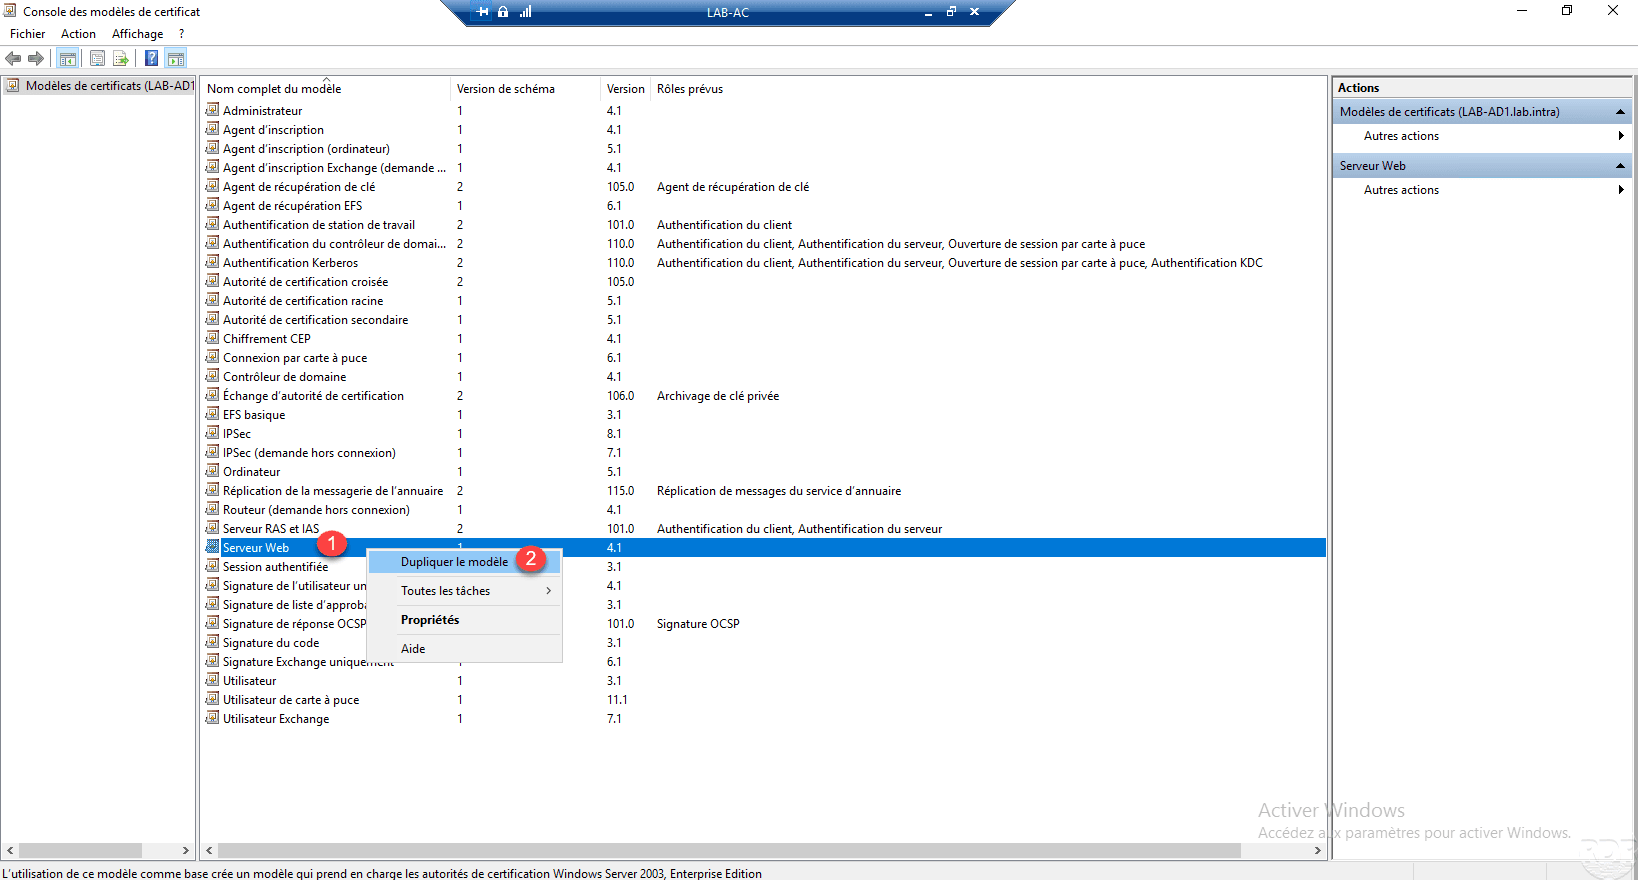
Right click on the model 1 and click on Duplicate the model 2 .
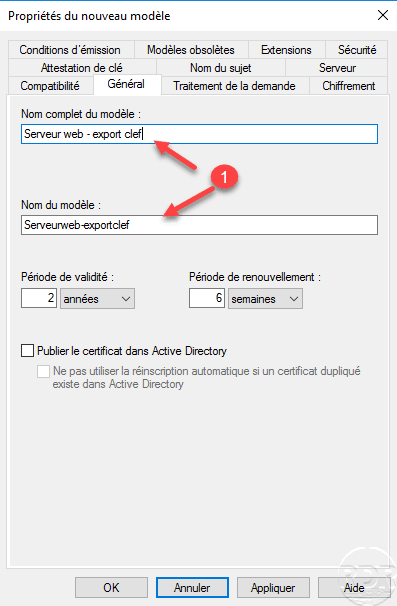
Name the model 1 .
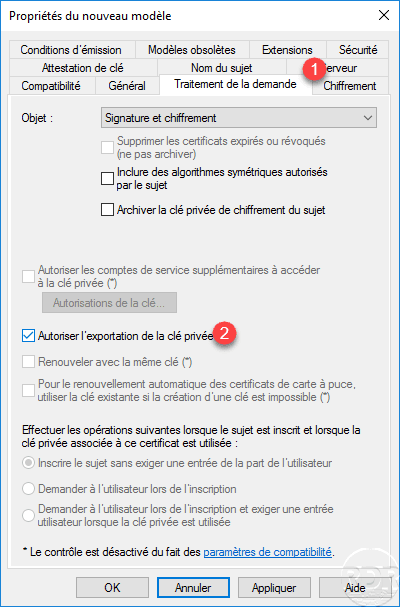
Go to the Processing tab of the 1 request and check the box Allow the export of the private key 2 .
Once the template is configured, click Apply and OK to save the changes.
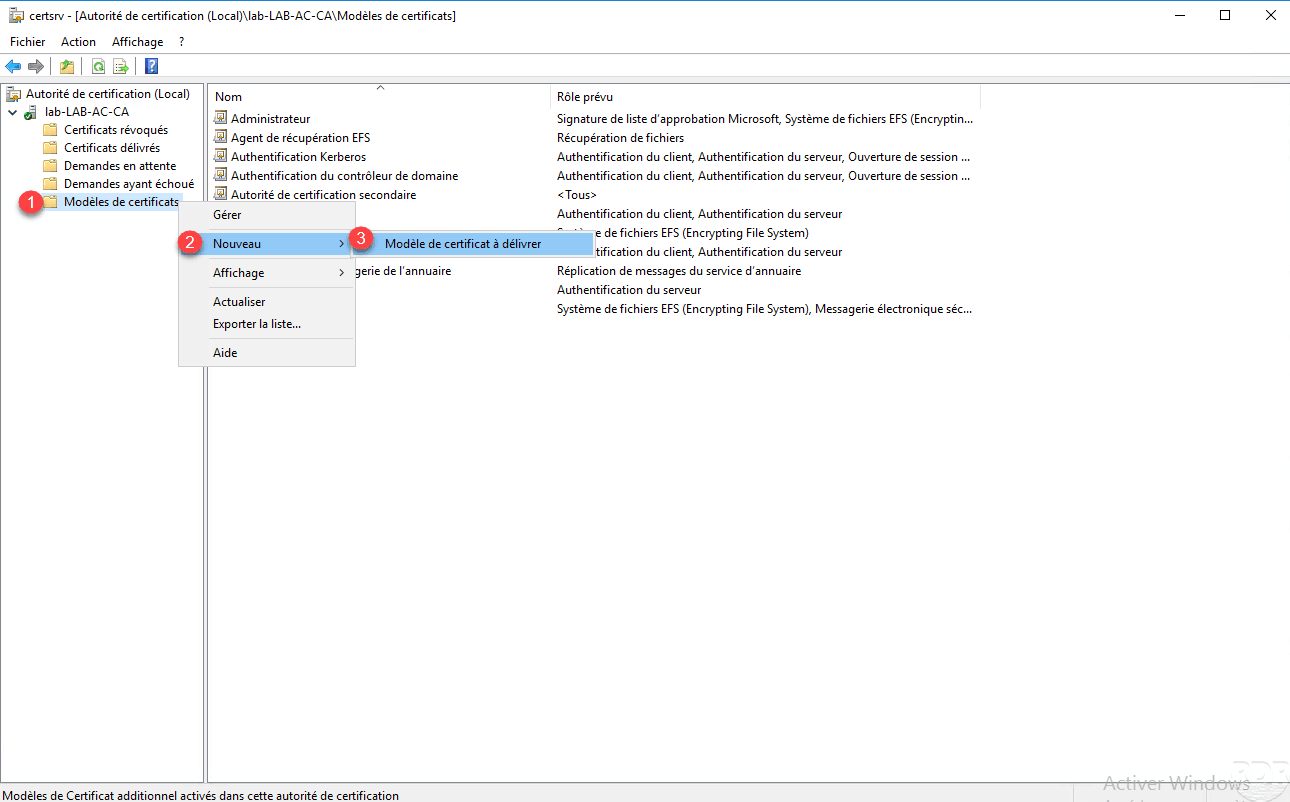
Back on the CA Administration Console, right click on the Certificate Template 1 folder then go to New 2 and click Certificate Template to Issue 3 .
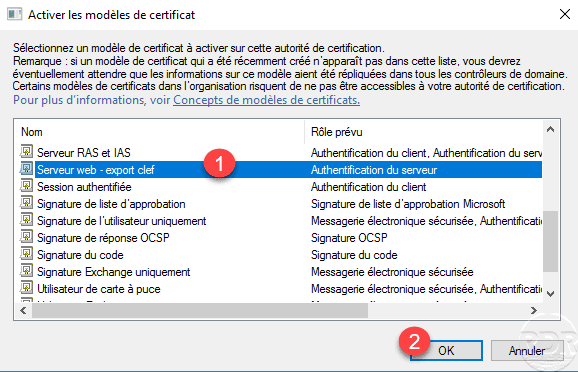
Select model 1 and click OK 2 .
The template is added to list 1 .
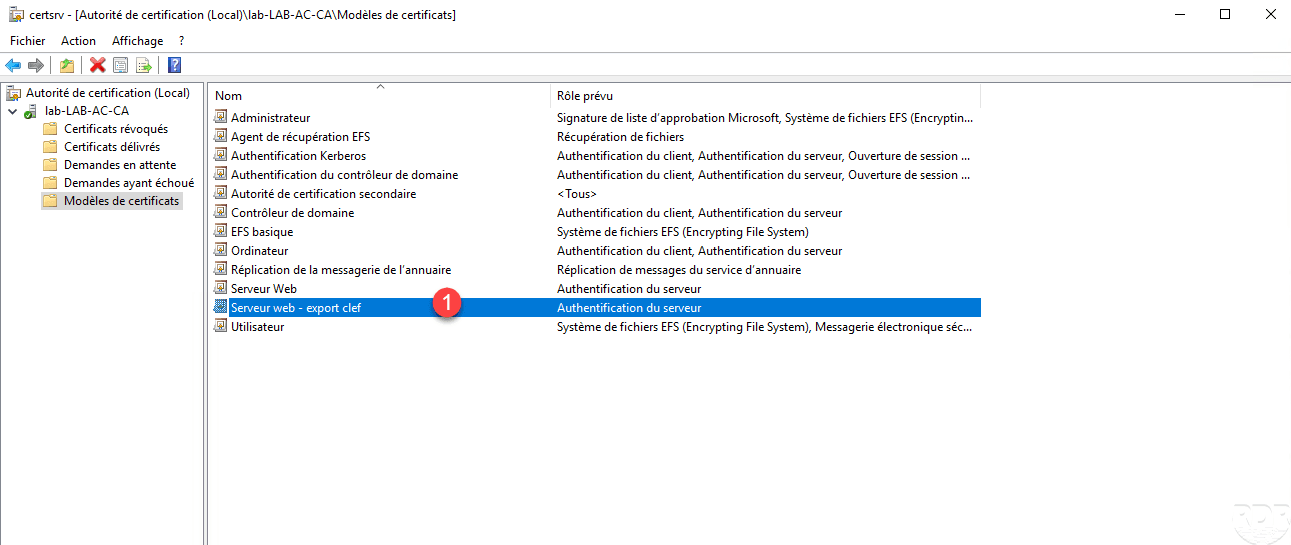
It is also available in requests.
Automatic registration of user certificates and computers – AutoEnroll
In this part, we will see how to generate certificates automatically for the posts and computers of the domain by GPO.
Prerequisites
For user certificates some prerequisites are needed for this to work.
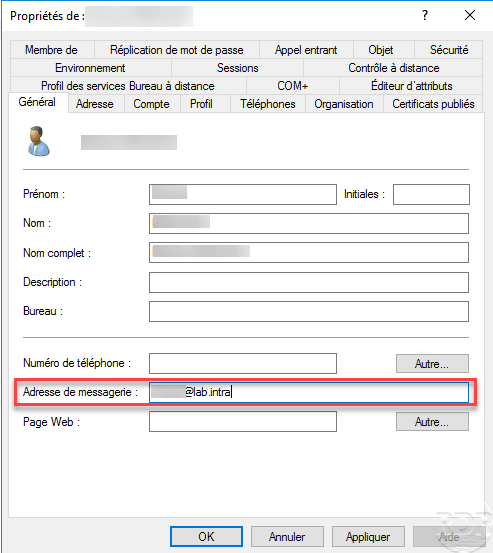
It is necessary that the e-mail field in the Active Directory is filled because the certificate relies on it.
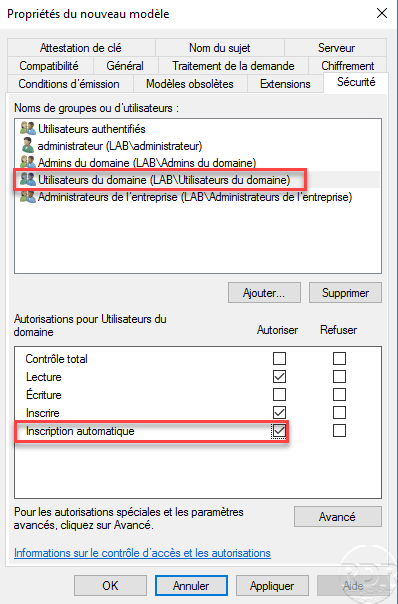
Create a certificate template based on the Users template by allowing automatic registration for domain users.
Group Policy – GPO
Create a new GPO and place there at the root of the domain to reach all computers and users.
Computer settings
Activation of automatic registration
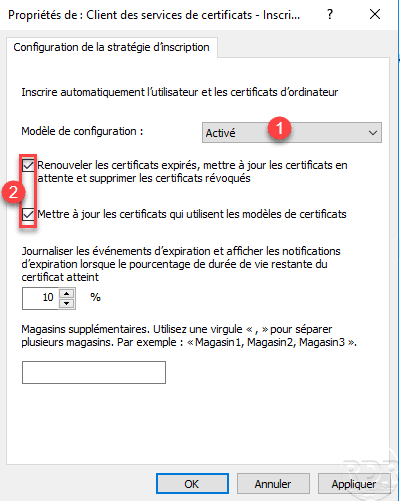
Computer Configuration / Policies / Windows Settings / Security Settings / Public Key Policies / Certificate Services Clients – Automatic Registration.
Activate 1 the parameter and tick the two boxes 2 .
Configuring the certificate template
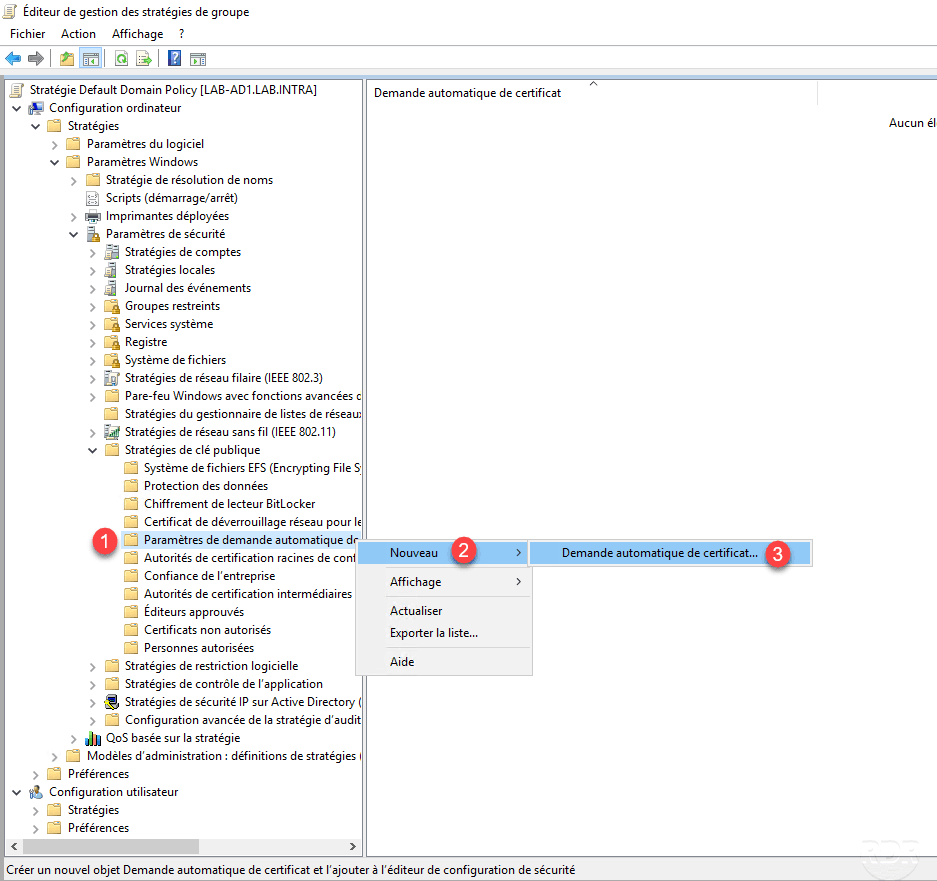
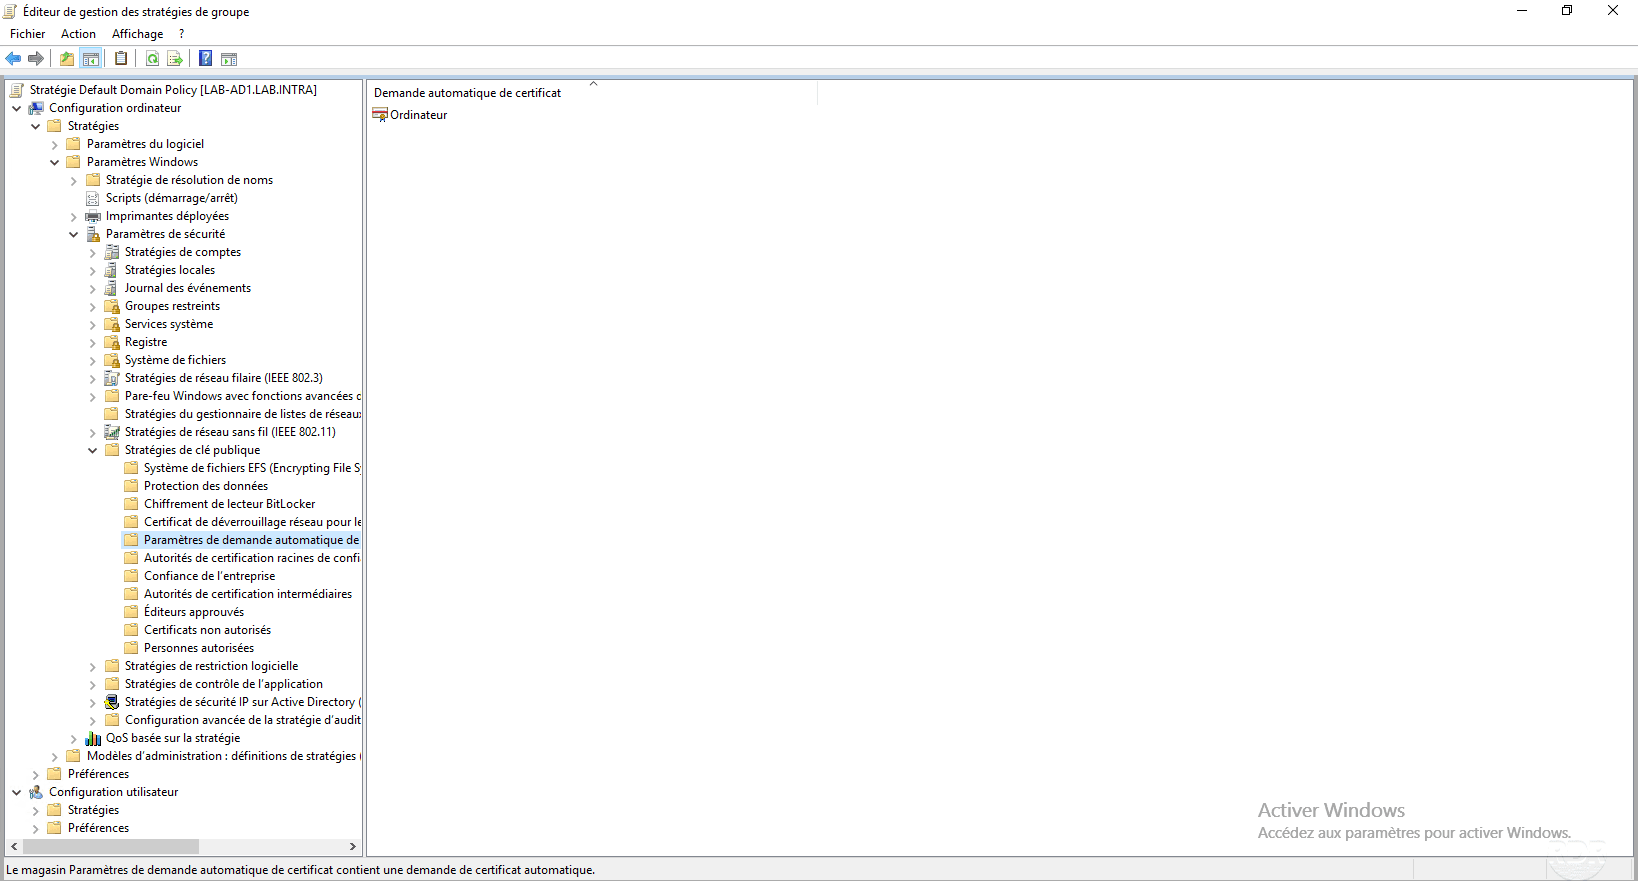
In Computer Configuration / Policies / Windows Settings / Security Settings / Public Key Policies, right-click on Automatic Certificate Request Settings 1 then go to New 2 and click on Automatic Certificate Request 3 .
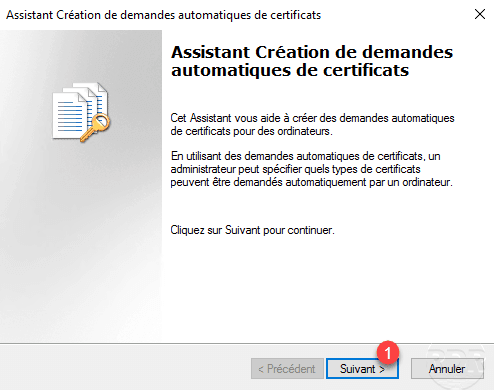
When launching the wizard, click Next 1 .
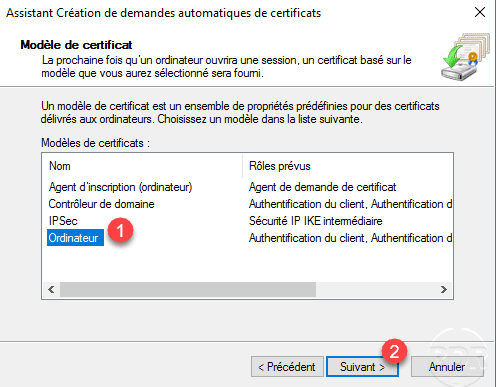
Choose Computer 1 and click Next 2 .
Click Finish 1 to exit the wizard and confirm the settings.

The template has been added to the automatic request.
User settings
Activation of automatic registration
User Configuration / Policies / Windows Settings / Security Settings / Public Key Policies / Certificate Services Clients – Automatic Registration.
Activate 1 the parameter and tick the two boxes 2 .
Validate automatic registration
Validate automatic registration…
Back up the certification authority
From the Administration Console, right-click on server 1 , go to All Tasks 2 and click Save Certificate Authority 3 .

When launching the wizard, click Next 1 .
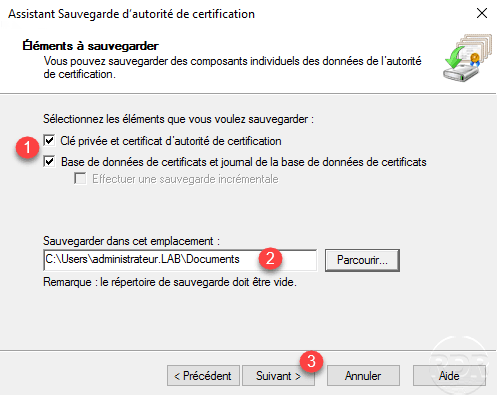
Select the items 1 to save, indicate the save location 2 and click Next 3 .
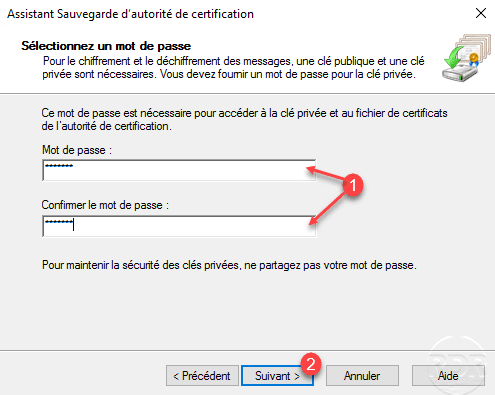
Enter a password to access the private key 1 then click Next 2 .
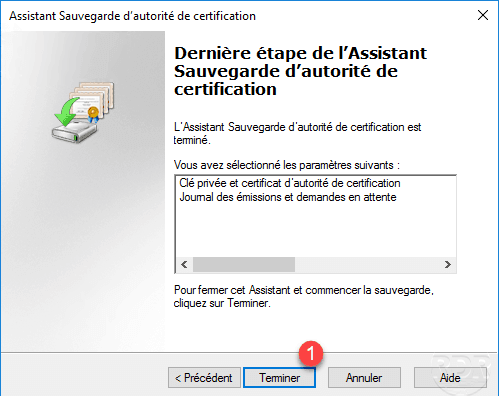
Click Finish 1 to close the wizard and perform the backup.
Check that the backup has done well by going to see the files.