Table of Contents
Introducing DaRT
DaRT (Diagnostics and Recovery Toolset) is a component of the Microsoft Desktop Optimization Pack (MDOP) that is available to customers who subscribe to Software Assurance (SA).
DaRT allows you to create a bootable environment (WinPE) that integrates Windows diagnostic and troubleshooting tools like:
- Registry Editor
- File Explorer
- Disk scan
- Change local account password
- Antivirus scan
- Uninstalling updates
- …
It also allows you to take control of the WinPE and therefore integrated into the MDT boot environment, it is possible to take control of the computer being deployed.
Prerequisites
To create the bootable environment (WinPE), it is necessary to have:
The viewer (software that allows you to take the hand) does not require special prerequisites.
Installing DaRT
After downloading the ISO MDOP, mount it and go to the DaRT folder and then to the folders corresponding to the version and language you want. Run the file msi 1 to start the installation.

When launching the wizard, click Next 1 .
Accept the license agreement by clicking the I accept 1 button.

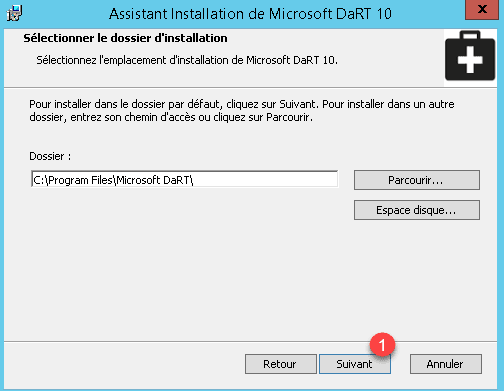
If necessary, change the installation path and click Next 1 .
Select the components to be installed 1 and click Next 2 .
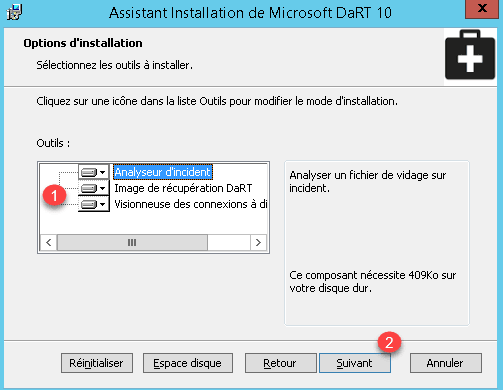
Available components vary if ADK is installed or not.
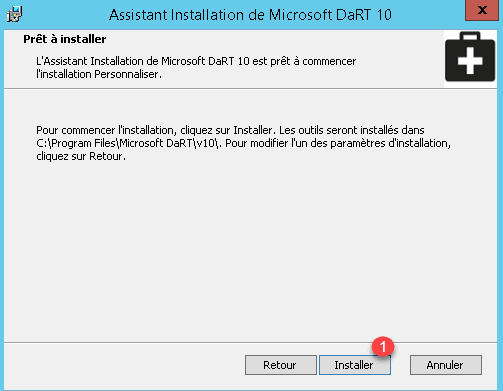
Start the installation by clicking Install 1 .
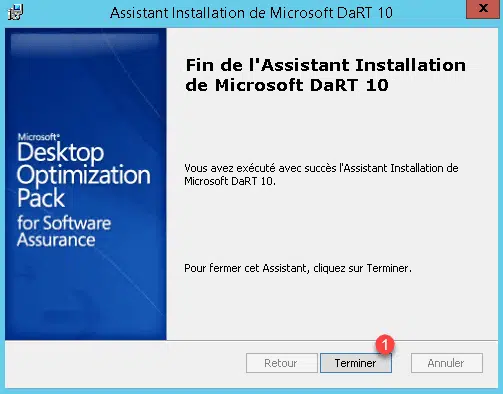
When the installation is finished, exit the wizard by clicking Finish 1 .
The following 3 shortcuts have been added to the menu and allow the use of DaRT.

Creating the WinPE environment
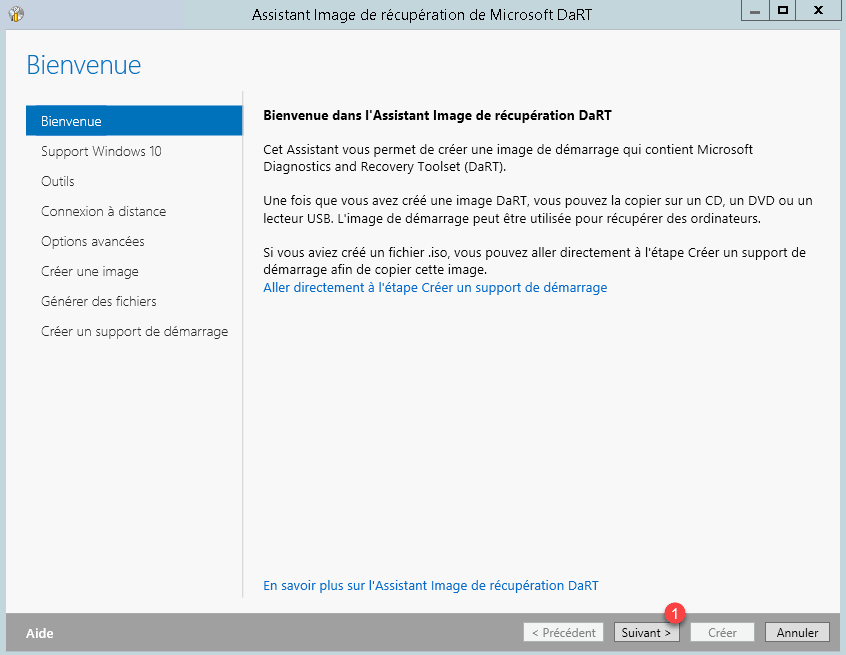
Now that DaRT and ADK are installed, we will create the WinPE environment. Mount ISO on the computer and launch Recovery Image … When launching the wizard on the Welcome screen, click Next 1 .
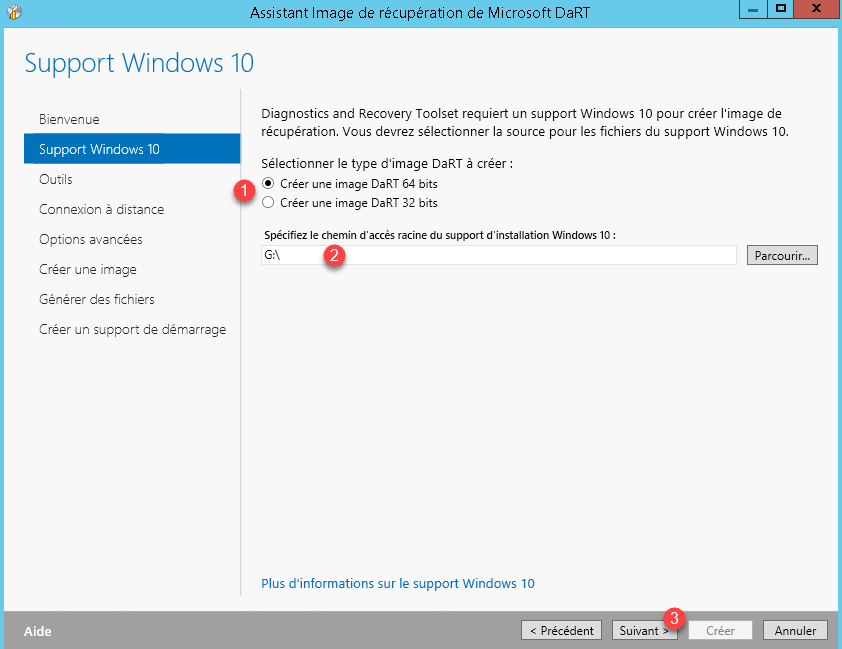
Choose the version of WinPE 1 , indicate the drive letter of ISO Windows 2 and click Next 3 .
Choose the tools to integrate 1 and click Next 2 .

Configure the listening port for the remote connection tool and click Next 1 .

It is possible to add drivers to the WinPE image, click Next 1 .
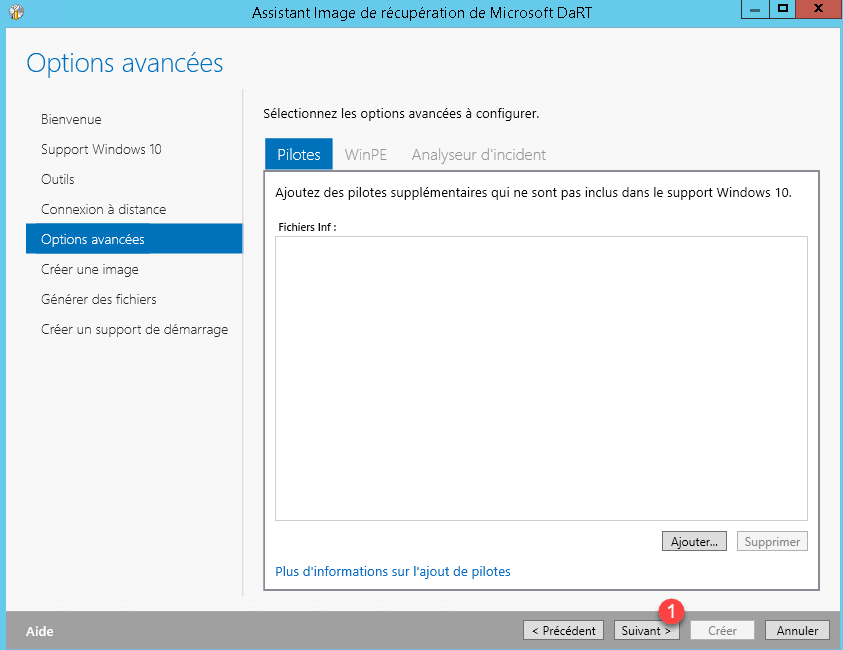
If you use the image generated on WDS, note that it is possible to add drivers after generation from WDS.
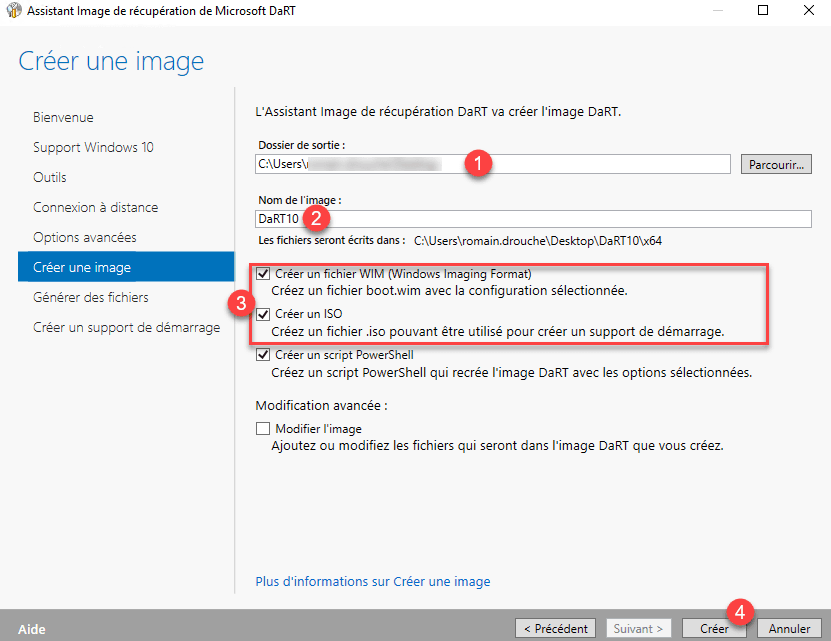
Configure the image registration folder 1 , change its name if necessary 2 , select the output formats 3 and click Create 4 .
Wait during the generation …
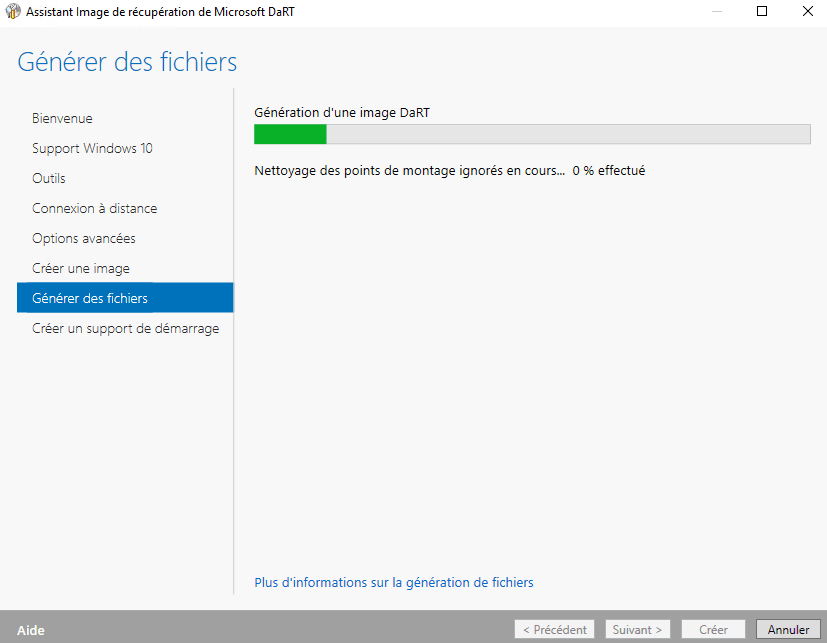
The generation is complete, click Next 1 .

It is possible at the end of the wizard to create bootable media (CD / DVD / USB), click Close 1 .
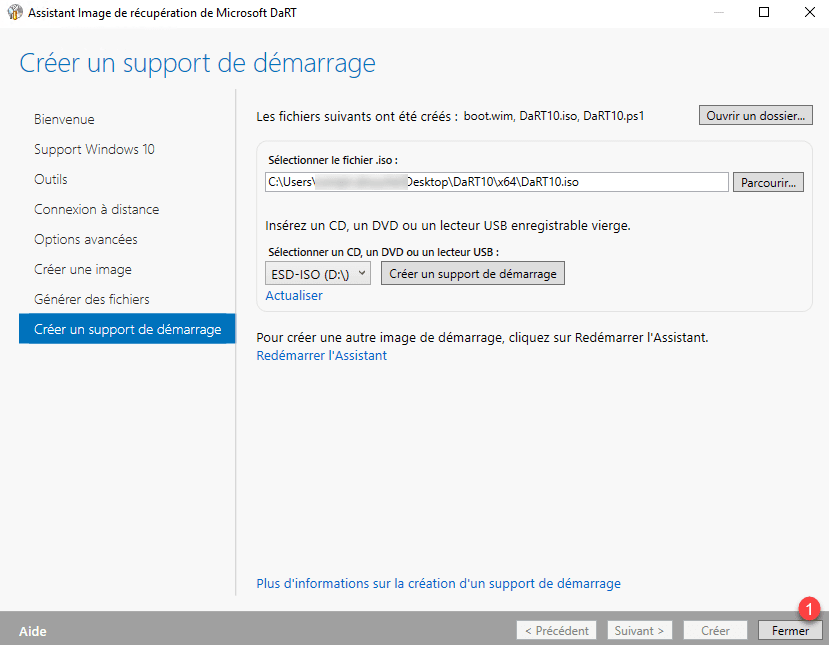
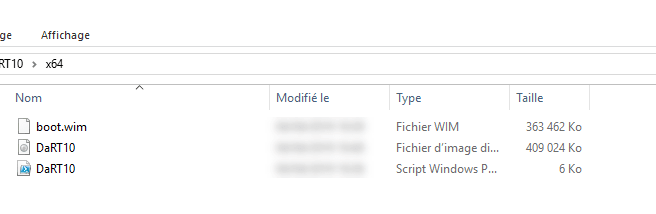
Check in the output folder configured that the files are created correctly.
Use the WinPE image on WDS
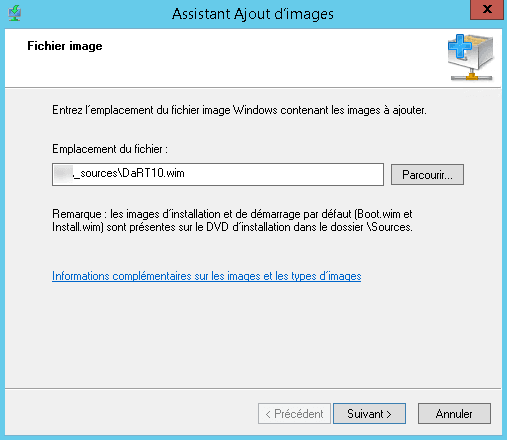
If you have a WDS server available, copy the WIM file on it and add the image as a boot image.
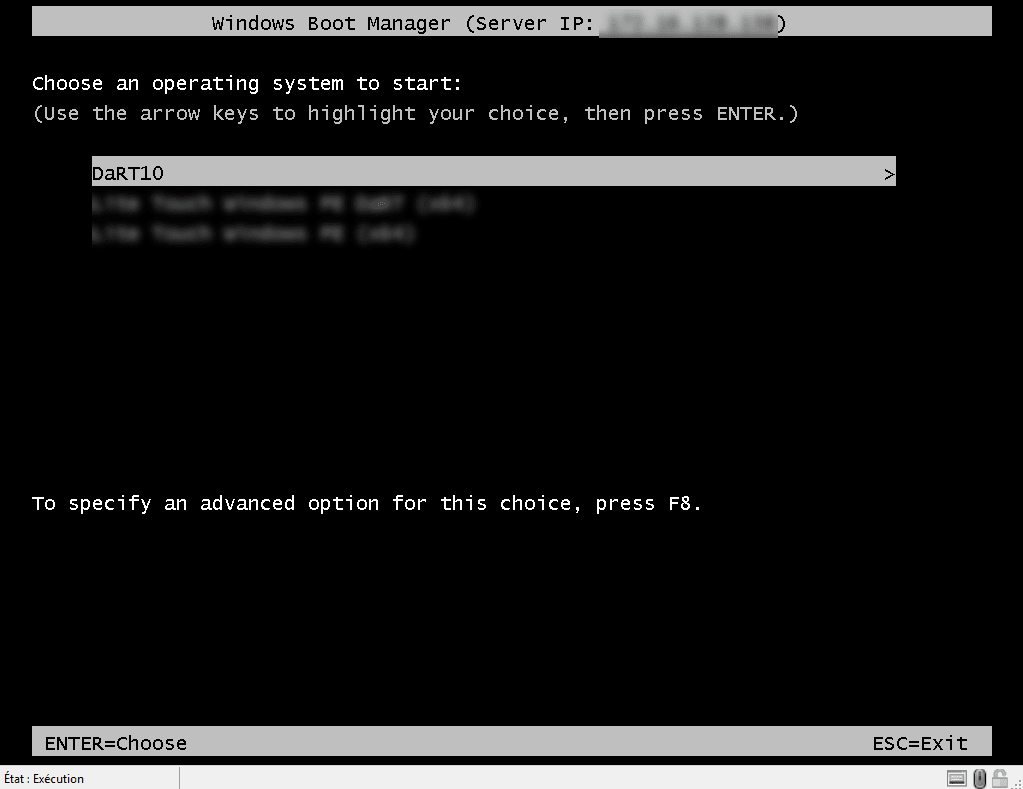
Once the image is added with a post start in PXE (F12) and select the image DaRT.
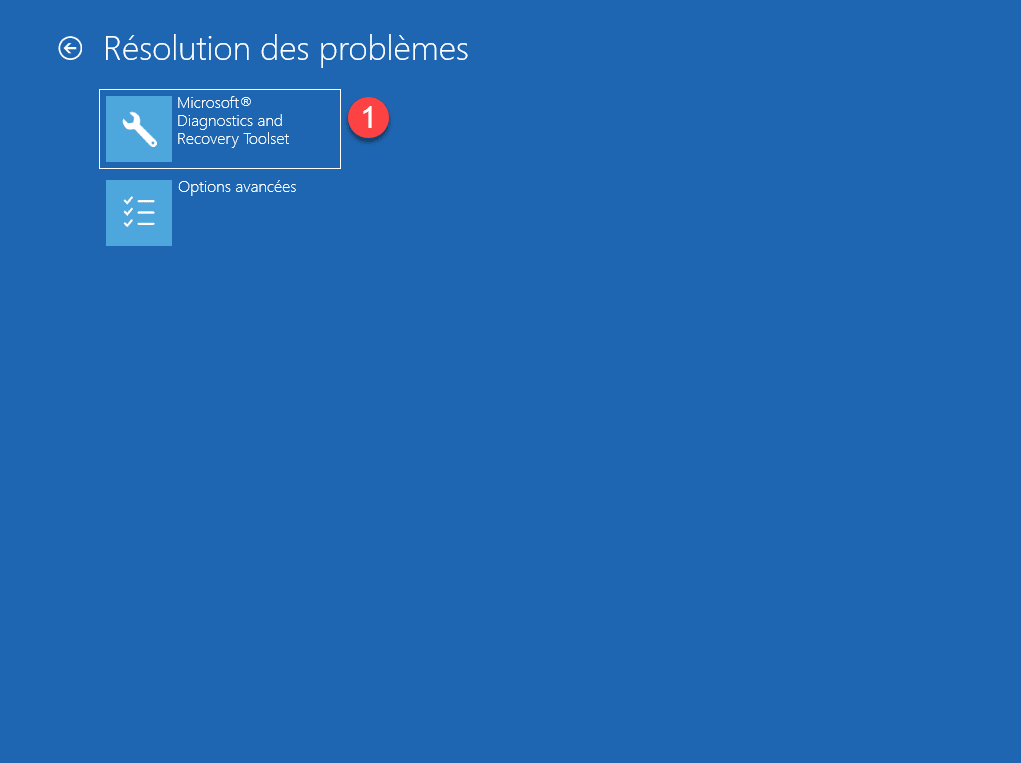
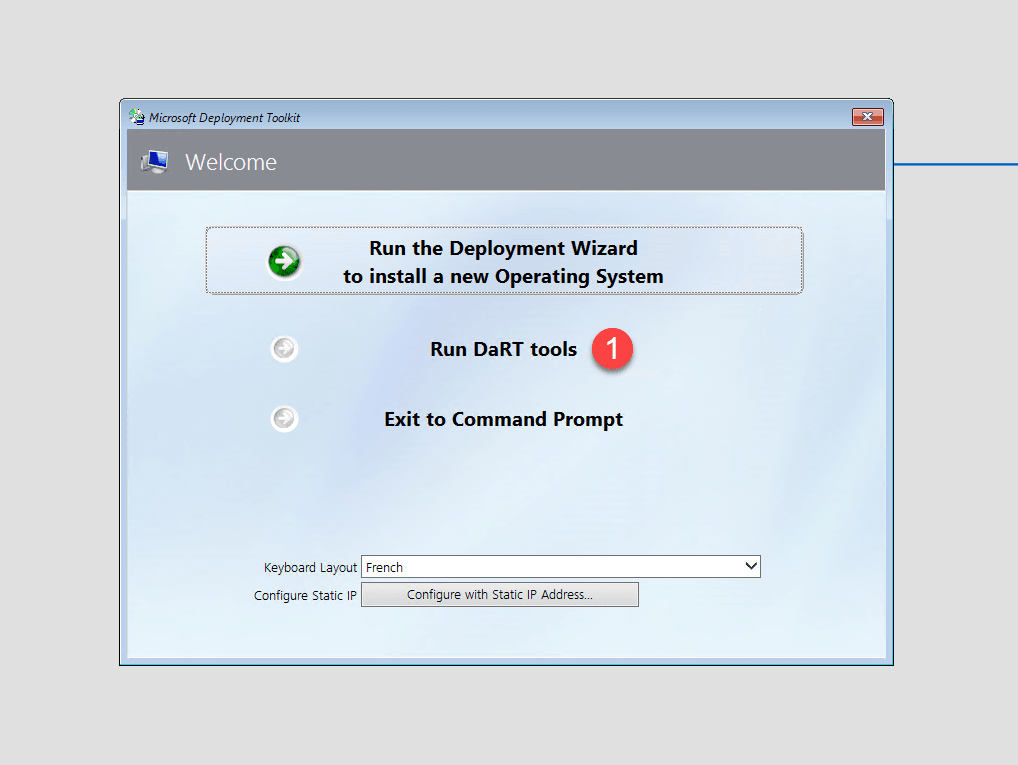
Once the environment is loaded, click on Troubleshooting 1 .

Click Microsoft Diagnostics And Recovery Toolset 1 to access the available tools.
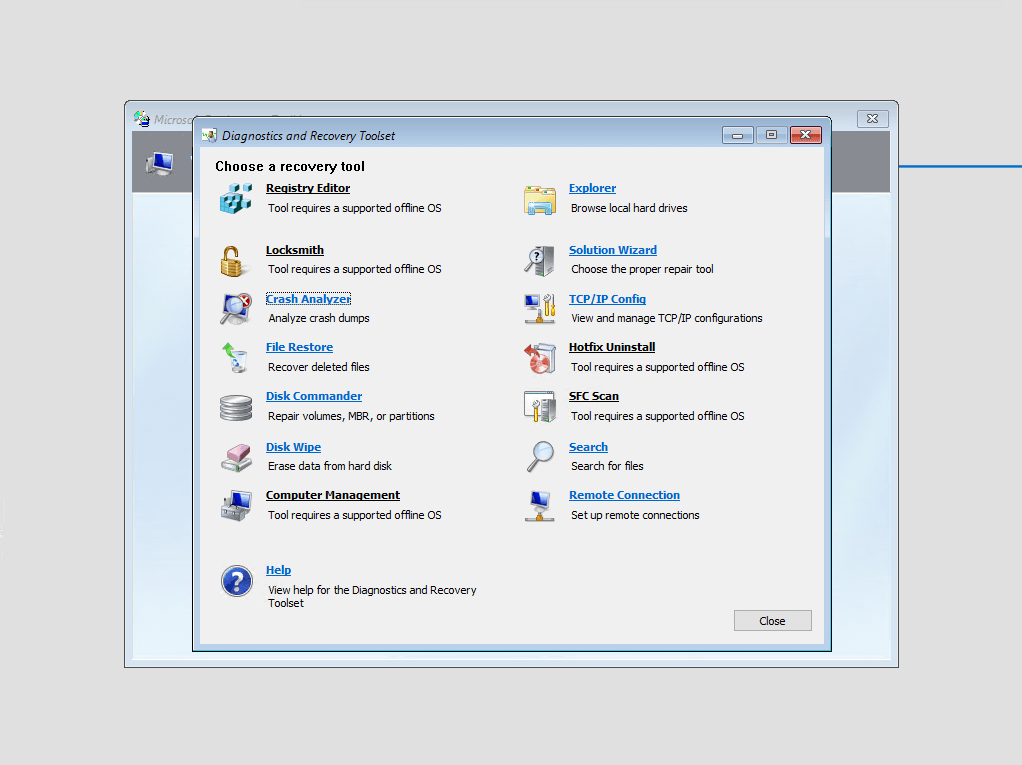
The list of available tools is displayed, all you have to do is troubleshoot.

Integration of DaRT with MDT
In order to take control of the station being deployed, the monitoring must be activated.
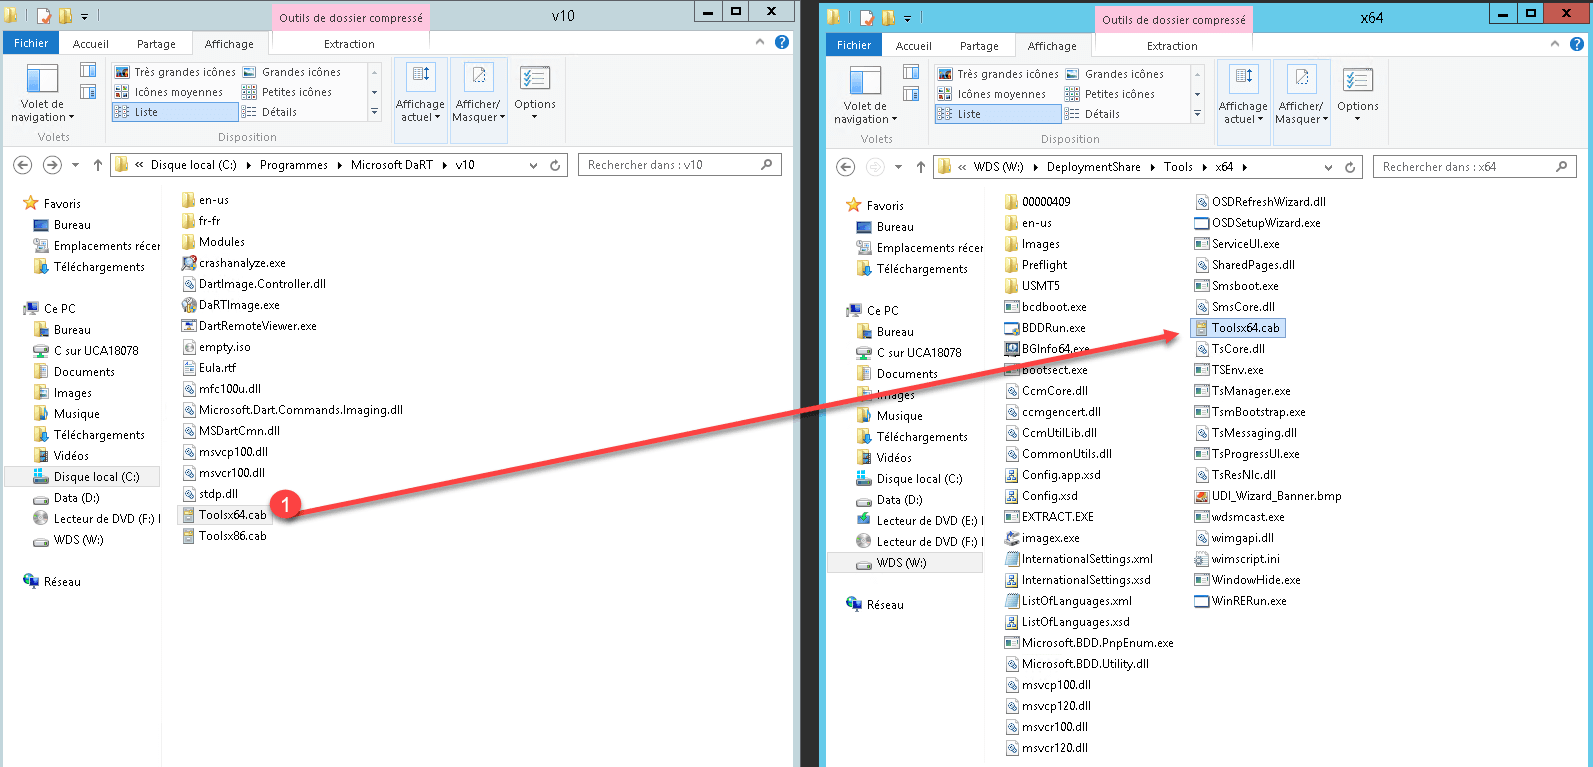
From the directory where DaRT is installed, copy the Toolsx64.cab 1 file to the MDT DeployementShare / Tools / x64 folder. If you also use the 32bits version do the same in the x32 folder.
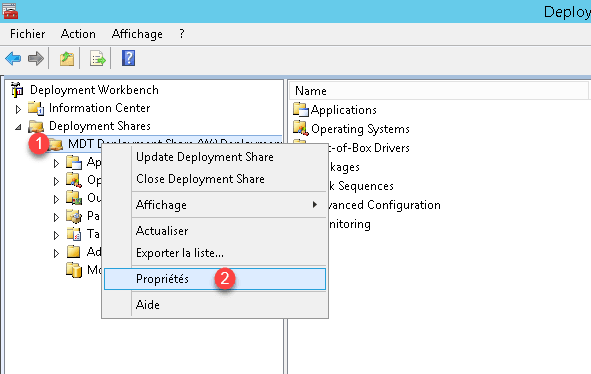
Now you have to regenerate the WinPE image, right from the MDT console, right click on Deployment Share 1 then click on Properties 2 .
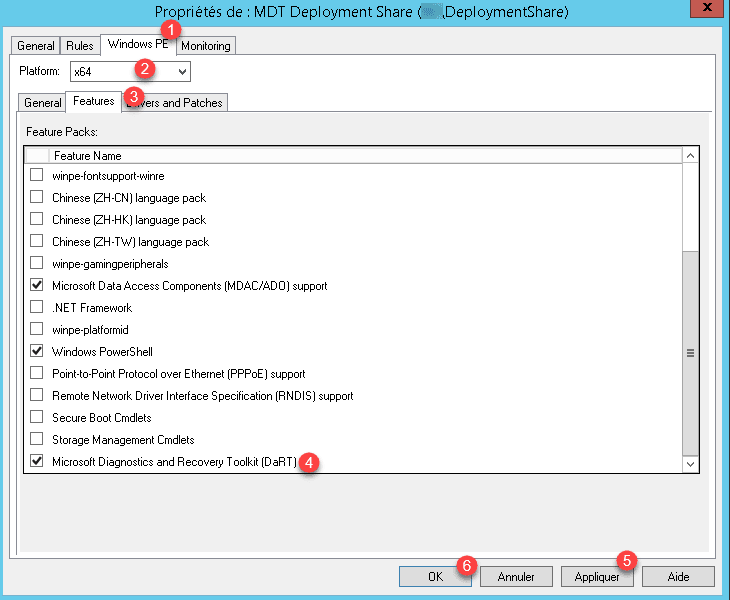
Go to the Windows PE tab 1 , select the desired platerform 2 , in the Features part 3 check the Microsoft Diagnostics and Recovery Toolkit (DaRT) 4 and click on Apply 5 then 6 .
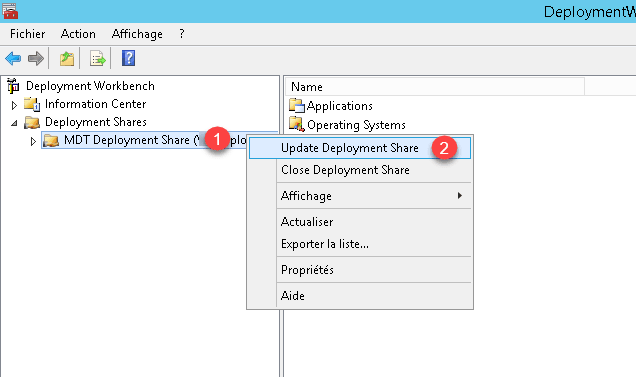
Generate the WinPE image, right click on Deployment Share 1 and click Update Deployment Share 2 .
The WinPE generation wizard is displayed, at each step click on Next 1 .
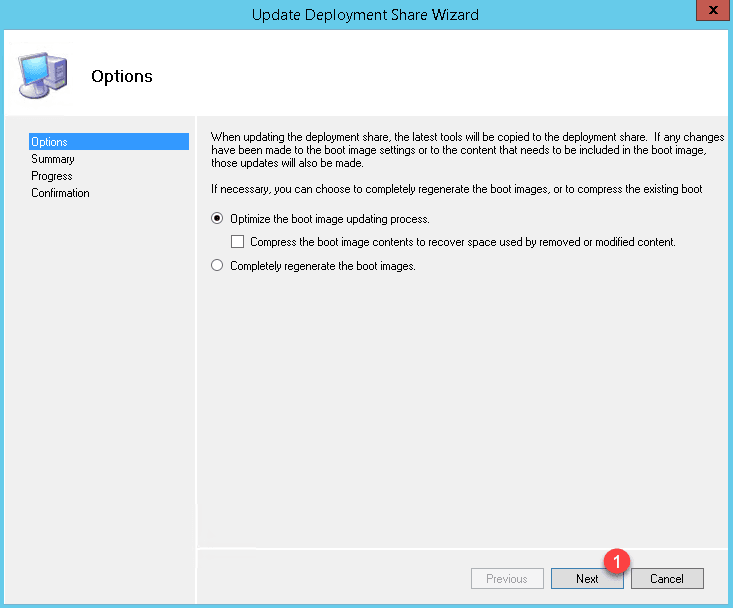

Wait while generating the WinPE image …

Once the image is complete, close the wizard by clicking Finish 1 .

Add or replace the image on the WDS server.
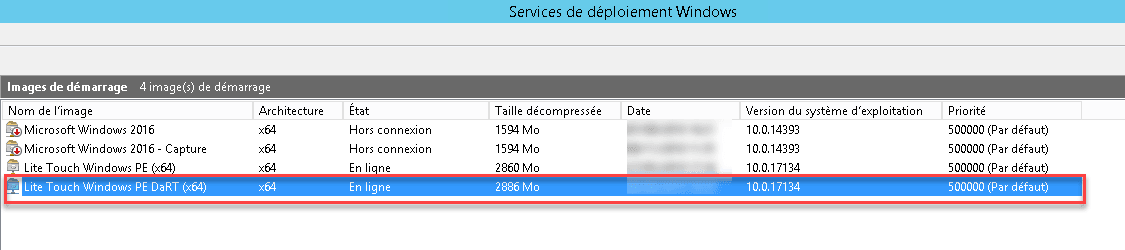
Now start a post on the generated image, at launch we can now see the access or tools DaRT 1 .
The list of tools is displayed.
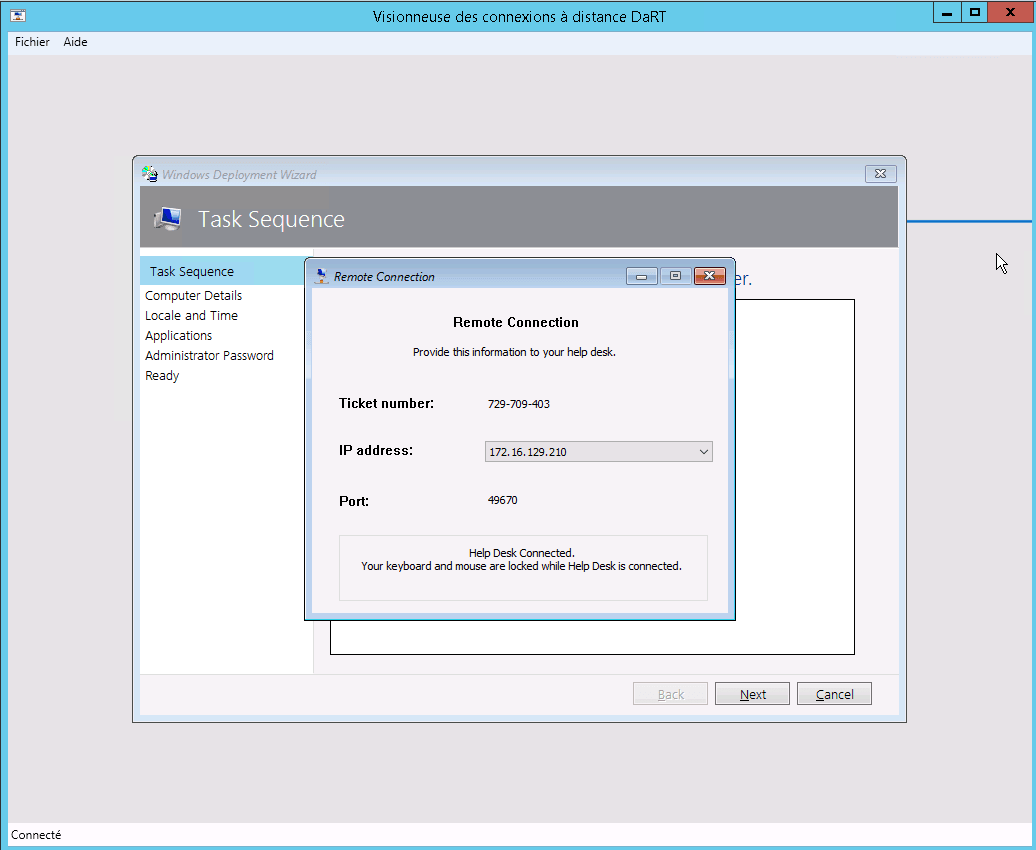
If you start a deployment and go to the Monitoring part of the MDT console and open the properties of the computer being deployed, you can take control by clicking the DaRT Remote Control button 1 .
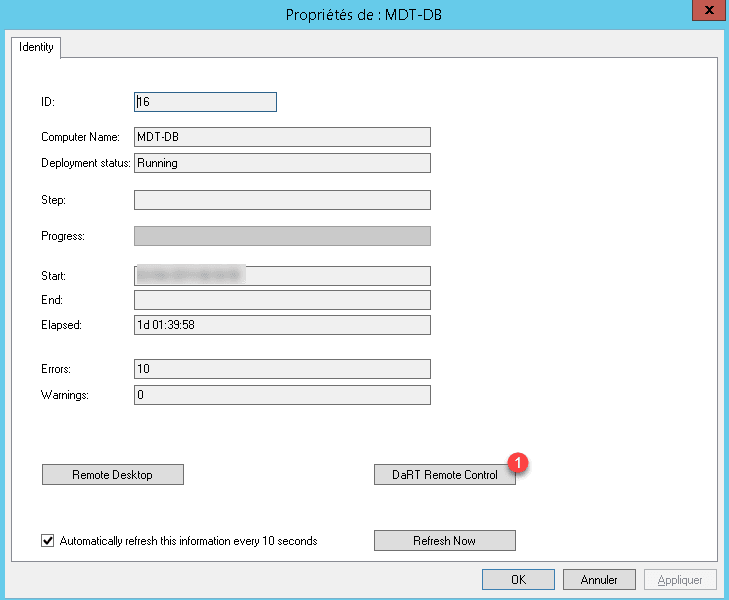
You can control the deployment without needing to be in front of the post.