In this tutorial, I will explain how to install WSL (Windows Subsystem for Linux) on Windows 11 to allow you to run a Linux distribution (Ubuntu) directly on Windows.
WSL (Windows Subsystem for Linux) allows you to run a distribution like Linux under Windows (10 and 11) under dual boot.
This feature allows you to have Linux as if it were installed on Windows, which is useful for running containers for example.
Table of Contents
Installing WSL and Ubuntu
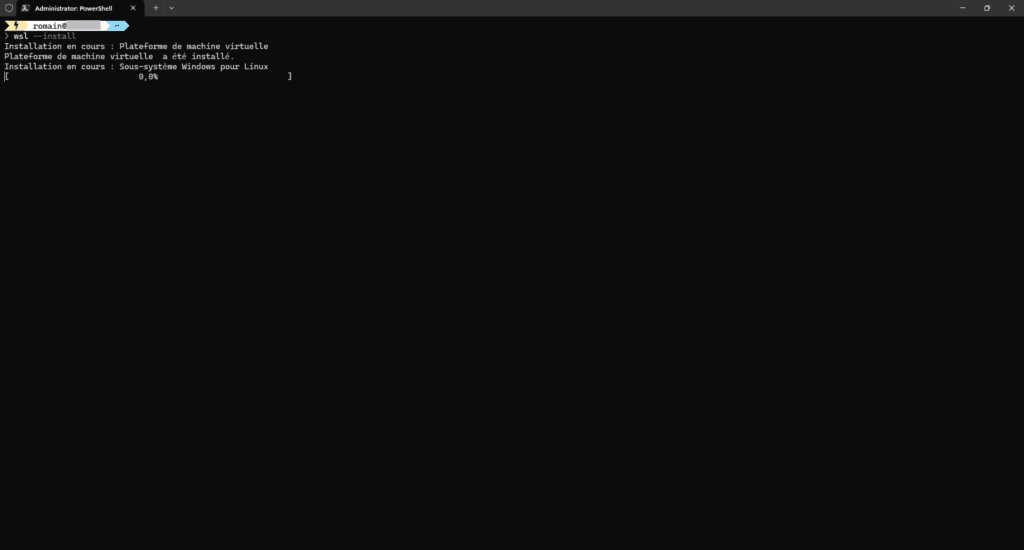
Launch a PowerShell command prompt as an administrator and enter the following command:
wsl --install
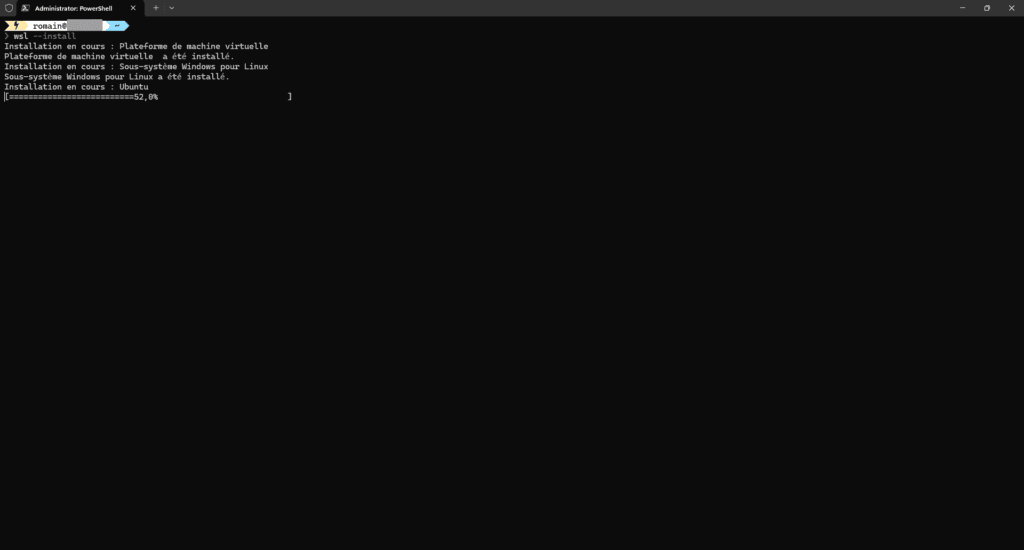
Please wait while installing….
WSL is installed.
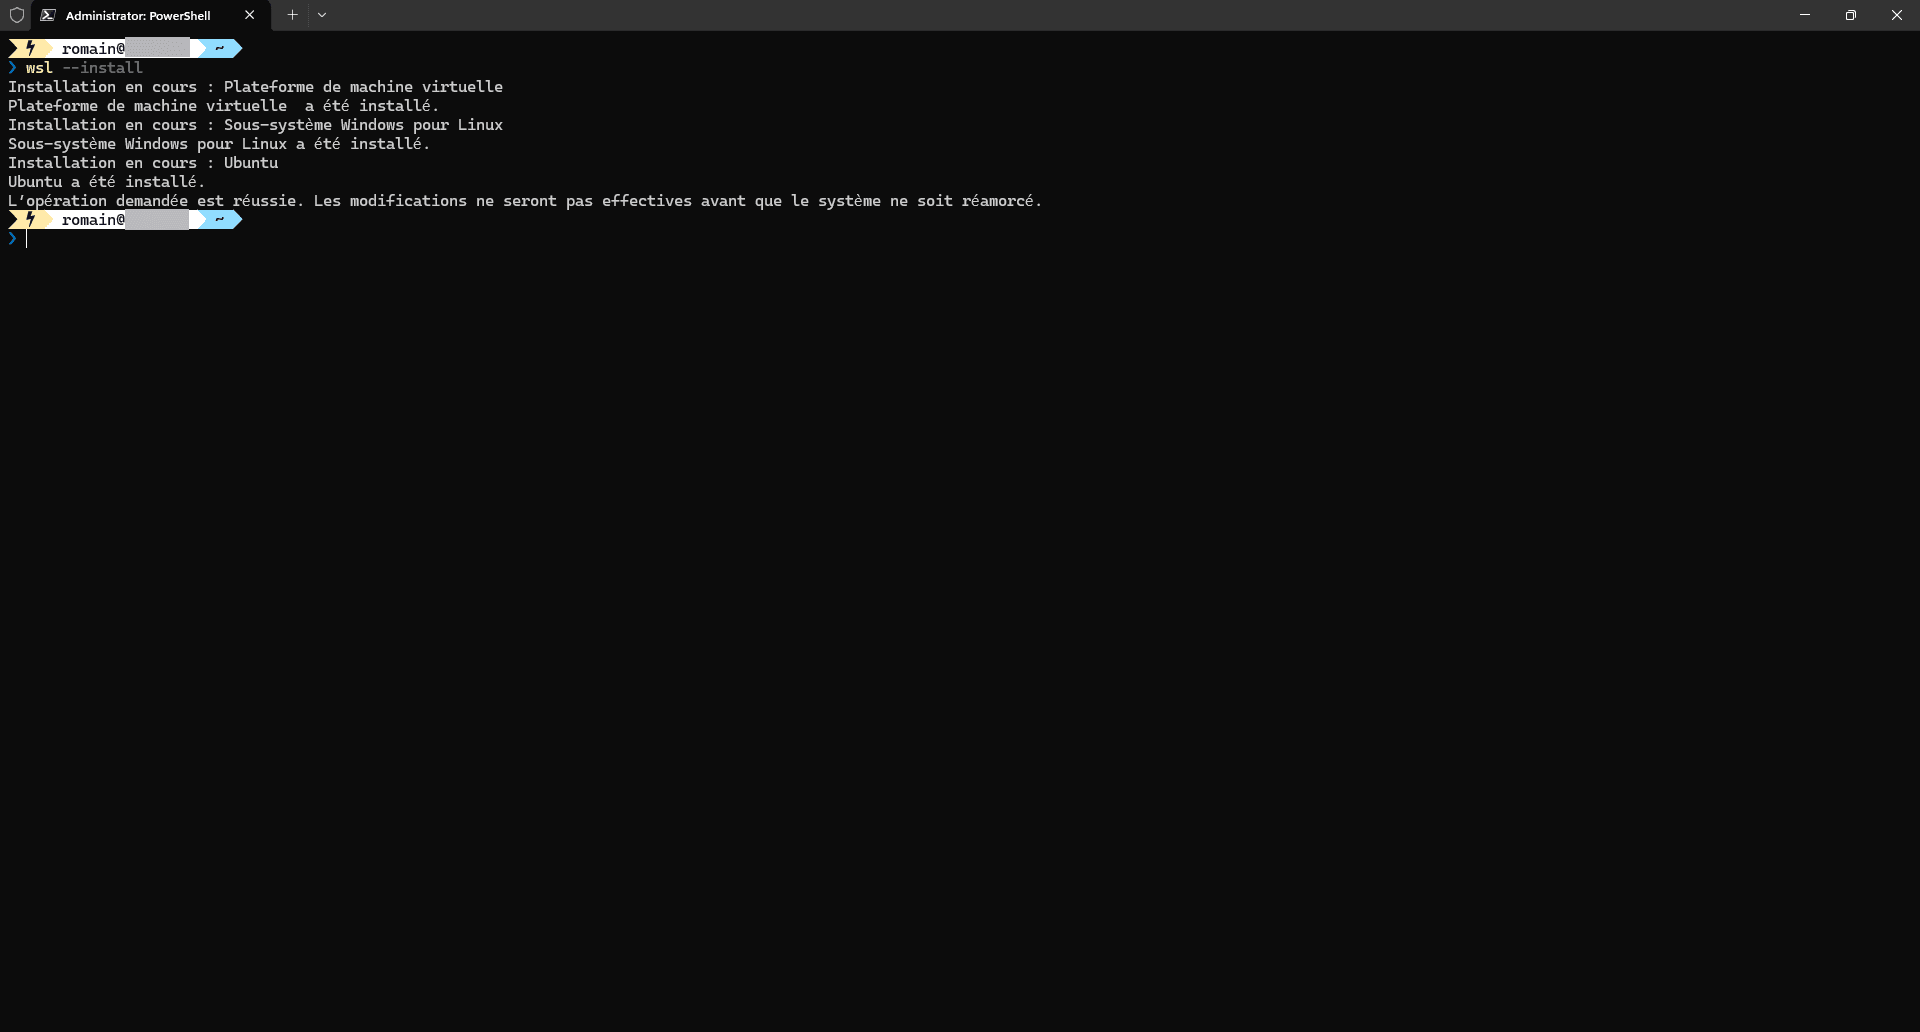
To complete the WSL installation, Windows must be restarted:
Restart-ComputerWhen installing the WSL feature, Ubuntu is installed by default.
After rebooting, the terminal should open indicating that Ubuntu is being installed…
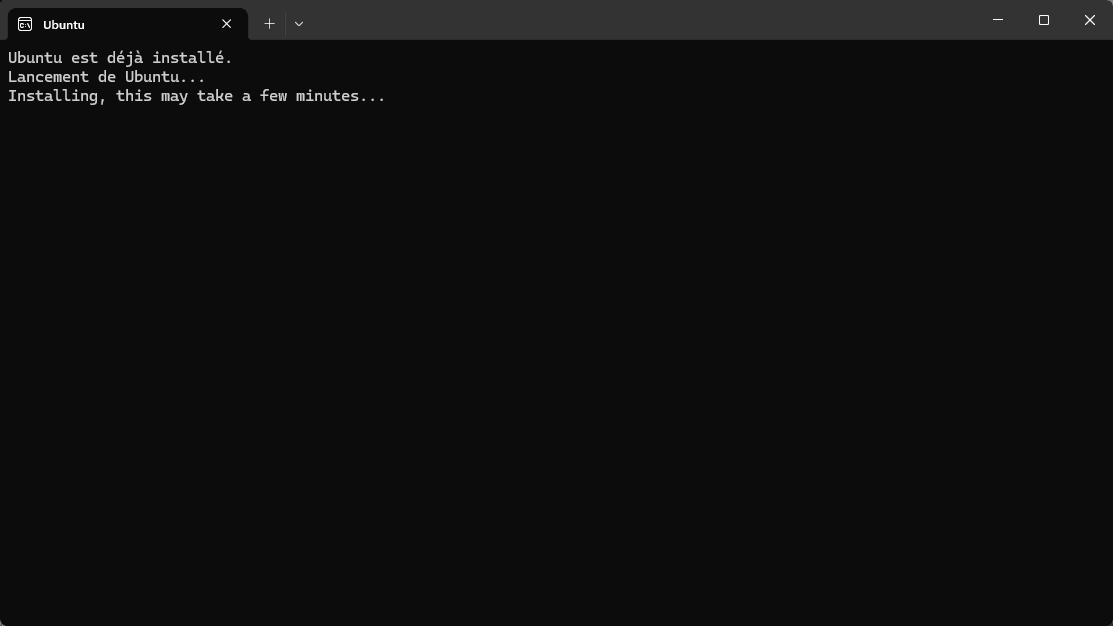
Please wait while Ubuntu is installed on Windows 11.
To complete the Ubuntu setup, you will need to configure the user, enter a username and password.
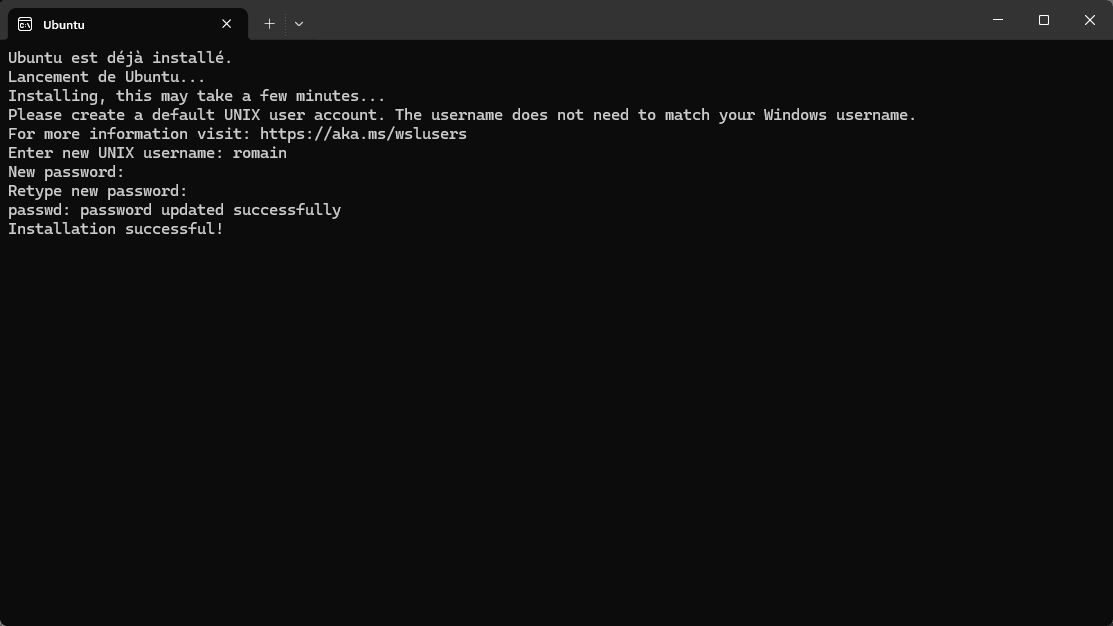
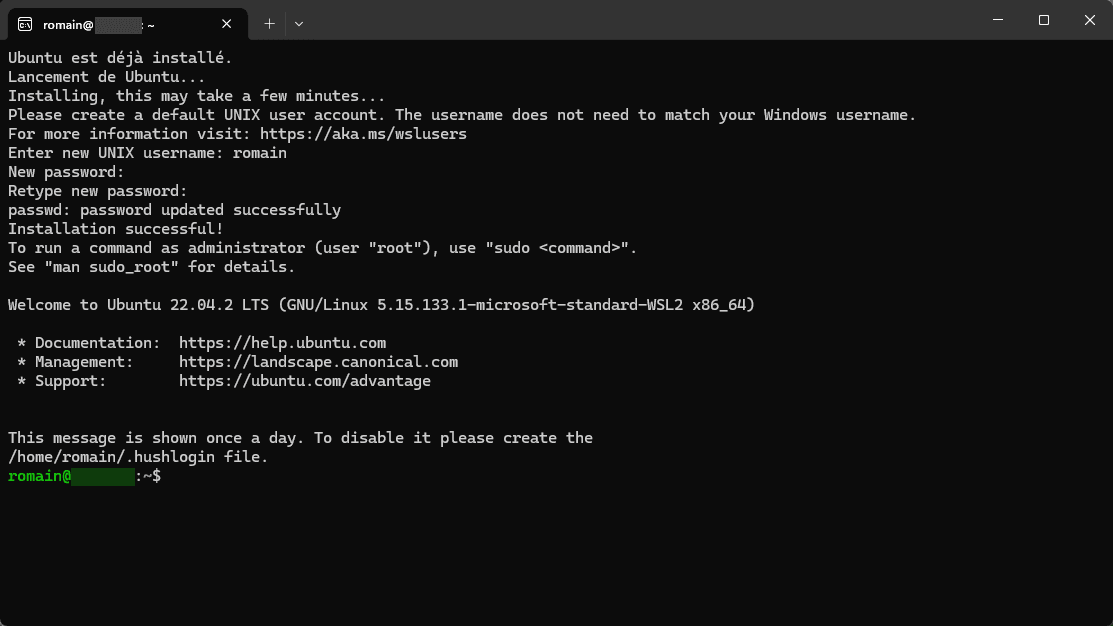
Once the installation is complete, you arrive at a terminal.
Access Ubuntu
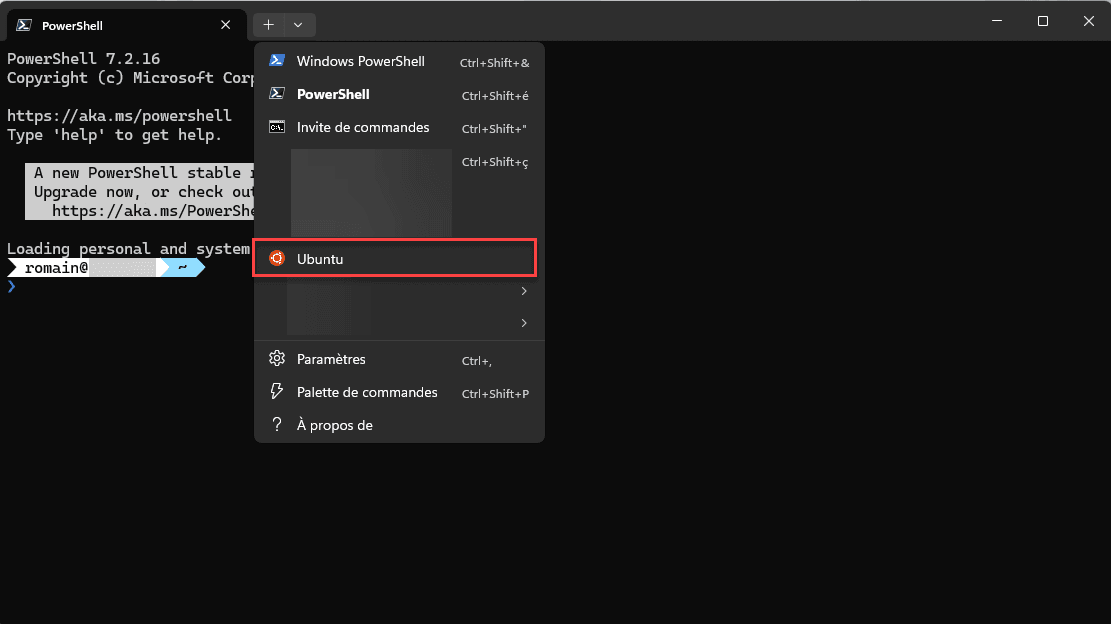
Pour accéder à Ubuntu depuis Windows 11, ouvrir le Terminal Windows.
In the profile list we find Ubuntu.
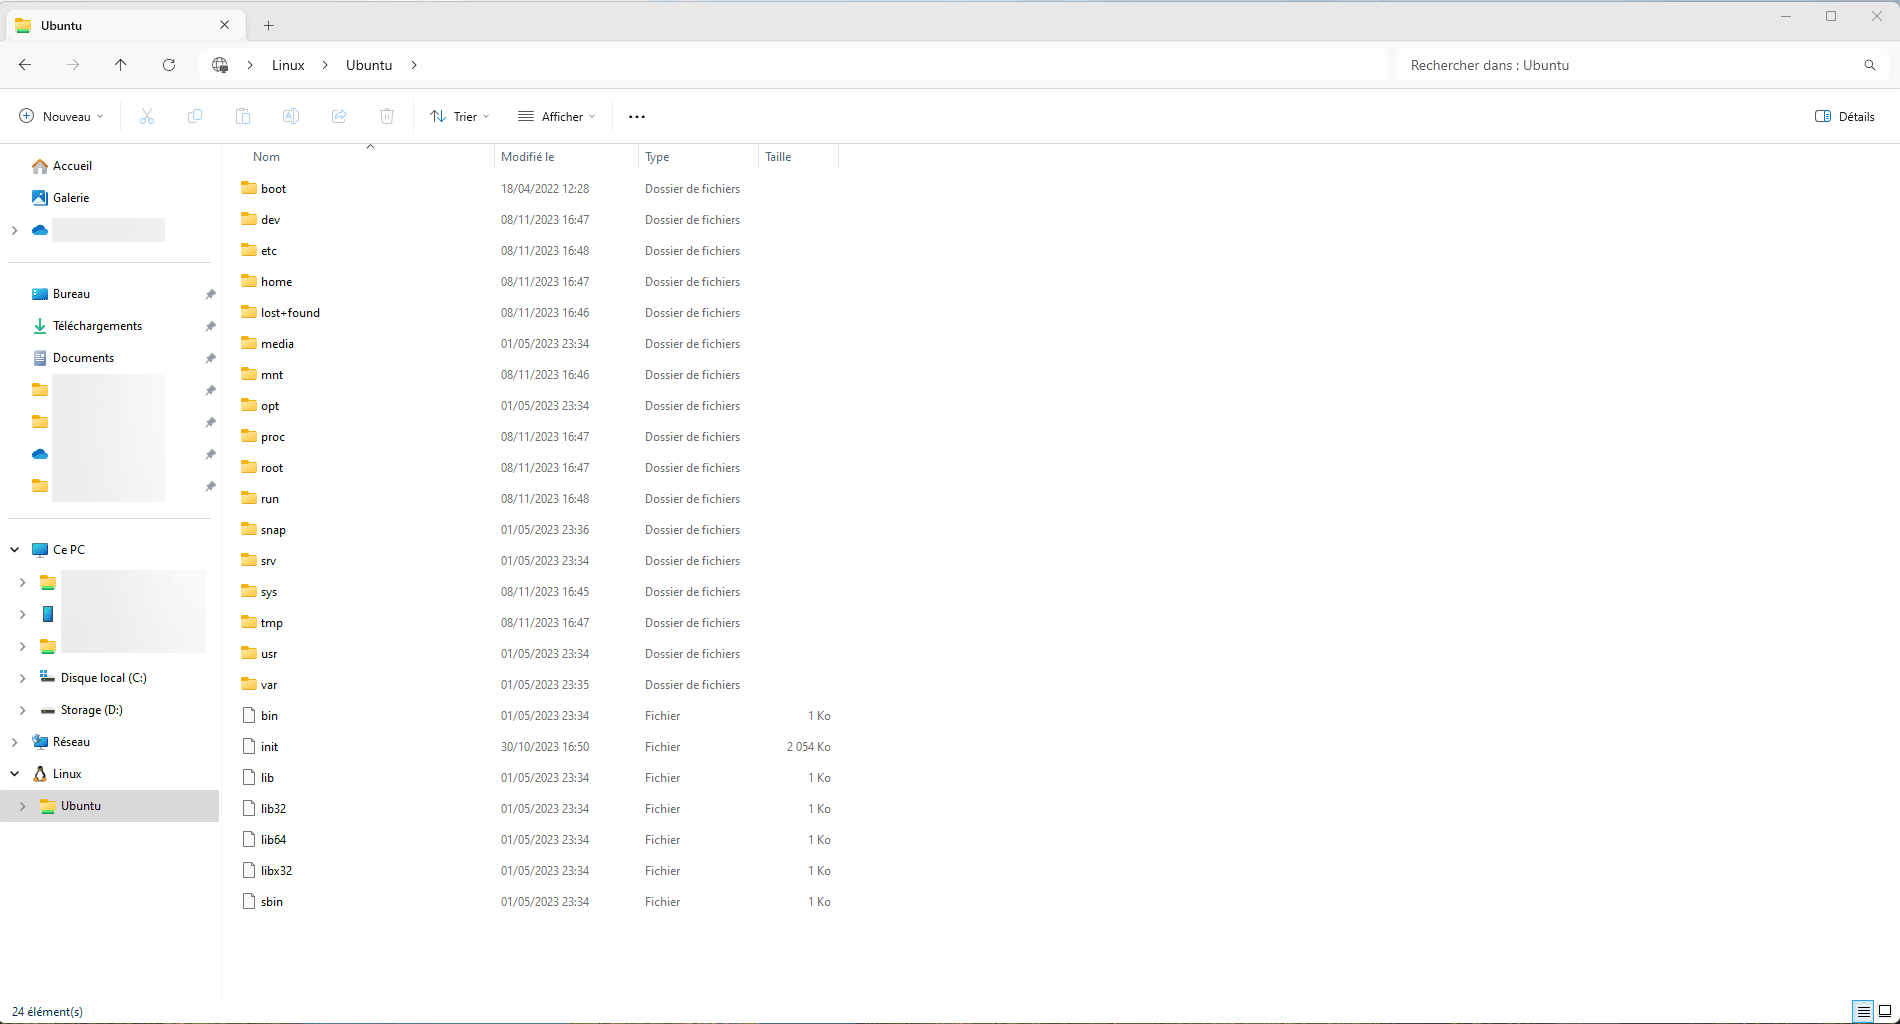
Access the Ubuntu tree from Windows 11
From File Explorer, you can access the folders and files of WSL distributions installed on Windows.
Now you know how to install WSL on Windows 11 and run a Linux distribution.
