This article describes how to use multiple WDS servers on a single network.
This solution is undocumented by Microsoft, it is possible to have multiple WDS servers active on the same network.
To enable this feature, it is necessary to add a registry key to each PXE server. During boot, it will be possible to press the [F11] or [F9] key depending on the client (Legacy or UEFI) to discover all the servers available on the network.
The operations are to be performed on each WDS server, the client will start on the first server that responds.
Table of Contents
Configuration
Open the registry editor (regedit) and go to the following location:
HKLM\SYSTEM\CurrentControlSet\Services\WDSServer\Providers\WDSPXE\Providers\BINLSVC
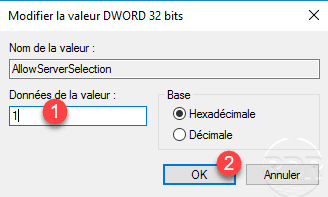
Double-click the AllowServerSelection 1 key to modify it.

Change the value to 1 1 and click OK 2 .
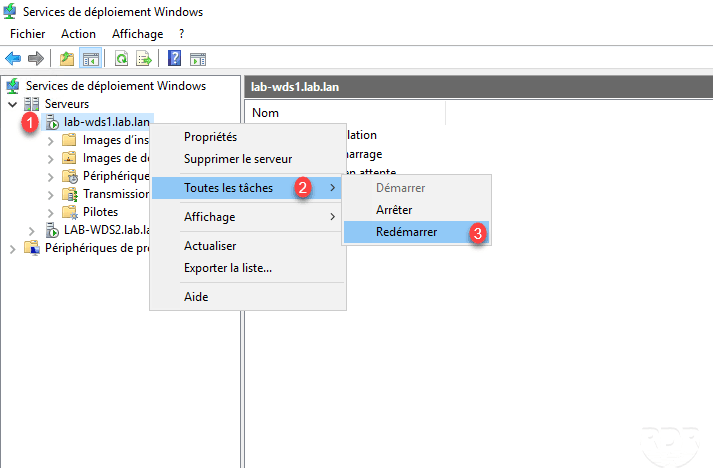
From the Windows Deployment Service Console, restart the WDS services. Right click on server 1 , go to All tasks 2 and click on Restart 3 .
Repeat the operation on the other WDS server(s).
Results
Legacy Bios
When starting on the PXE, it is possible to press [F11] to choose another server.

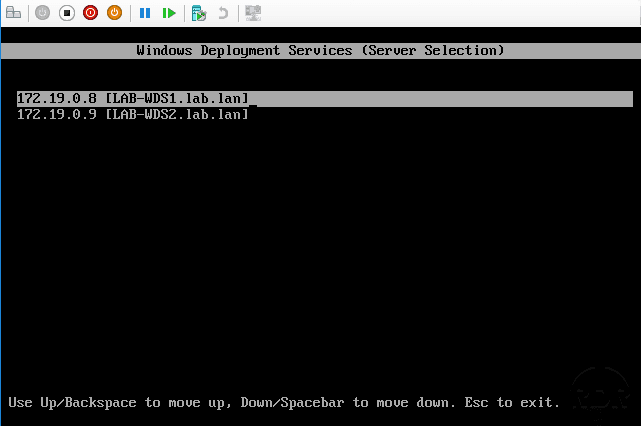
The discovered servers are displayed, select the server with the up / down arrows and validate by pressing [Enter].
UEFI Bios
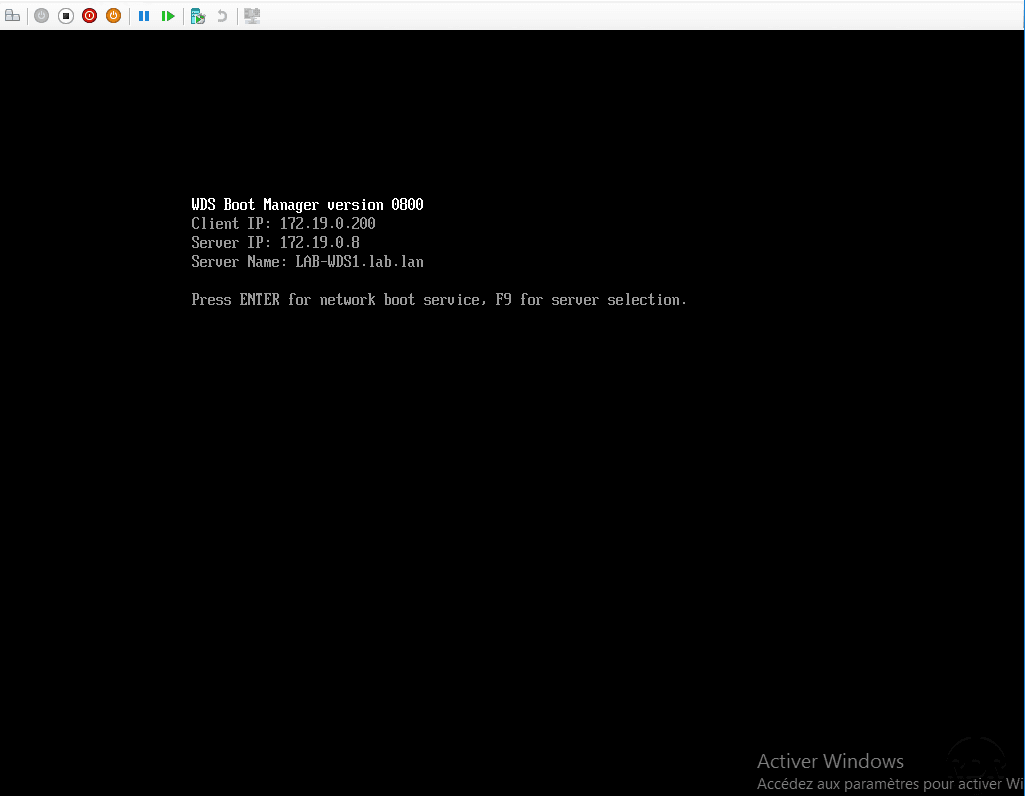
When confirming the start on the network, press the [F9] key.
Wait while discovering the available PXE servers on the network.
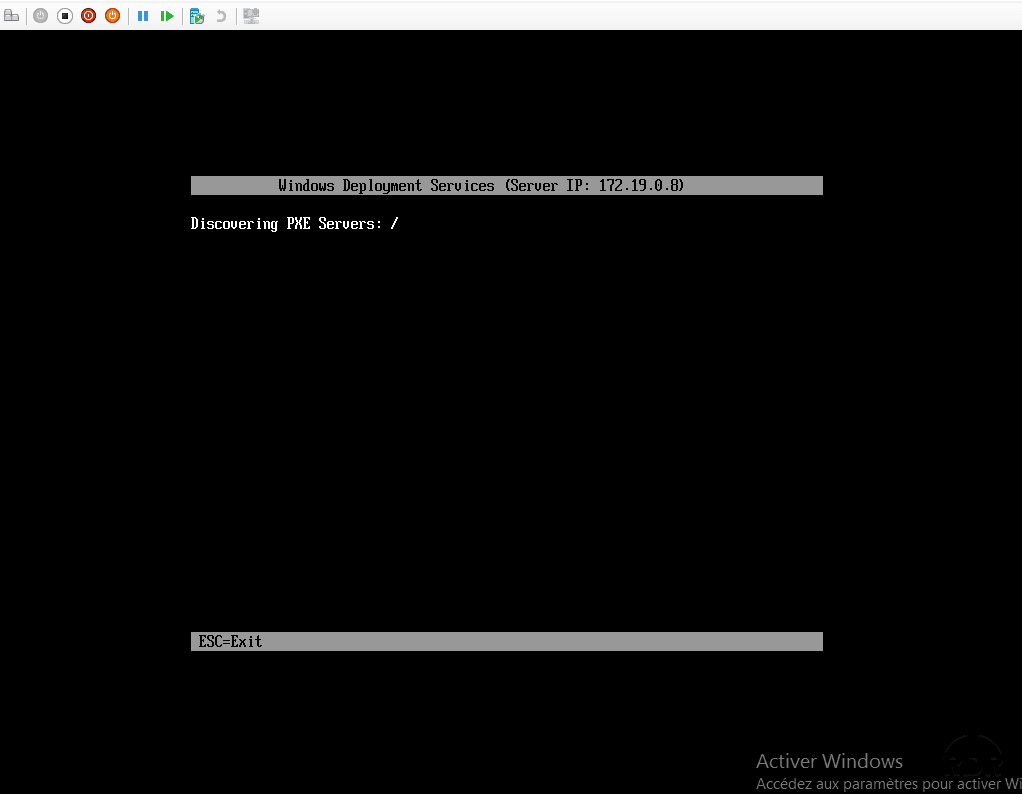
Once the servers are discovered, select in one with the up / down arrows and press [Enter] to validate the choice.

