Table of Contents
Introduction
In this article, we will see how to configure the DHCP service so that you can use WDS to install Windows on computers with UEFI enabled, which is the case for Generation 2 virtual machines on Hyper-V.
In a “standard” Active Directory deployment where DHCP and WDS services are installed on different servers that are members of the domain, no configuration is required to boot on the network (PXE) with computers that do not use UEFI.
In an environment where multiple configurations coexist, a DHCP server configuration is required for the network boot to work without the need to disable UEFI on computers
DHCP service configuration
Option 60 – PXEClient
Option 60 must be added to the DHCP server only if it has the WDS role installed.
By default this option is not available the list.
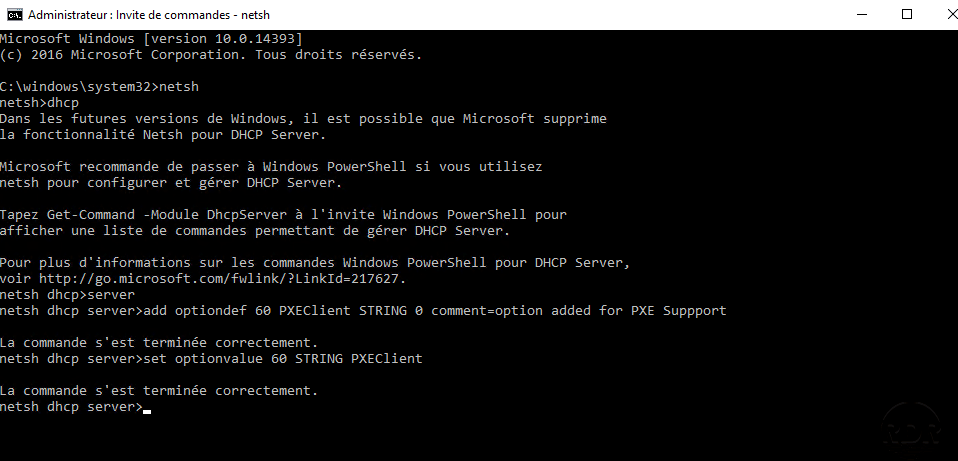
To add it open a command prompt as administrator on the DHCP server and enter:
netsh
netsh>dhcp
netsh dhcp>server
netsh dhcp server>add optiondef 60 PXEClient STRING 0 comment=option added for PXE Support
netsh dhcp server>set optionvalue 60 STRING PXEClient
Which gives in image :
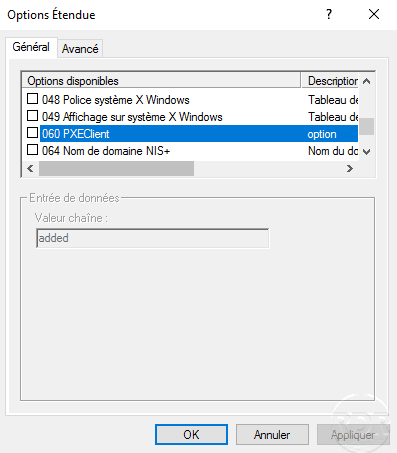
Check that option 60 has been added, in my case it was added directly to the server options.

If it is not added directly, check in the options that it is present :
Configuring a UEFI Provider Class
The classes allow users and providers to create policies based on the DHCP lease request or identification, which will allow us to identify the request from a UEFI PXE boot.
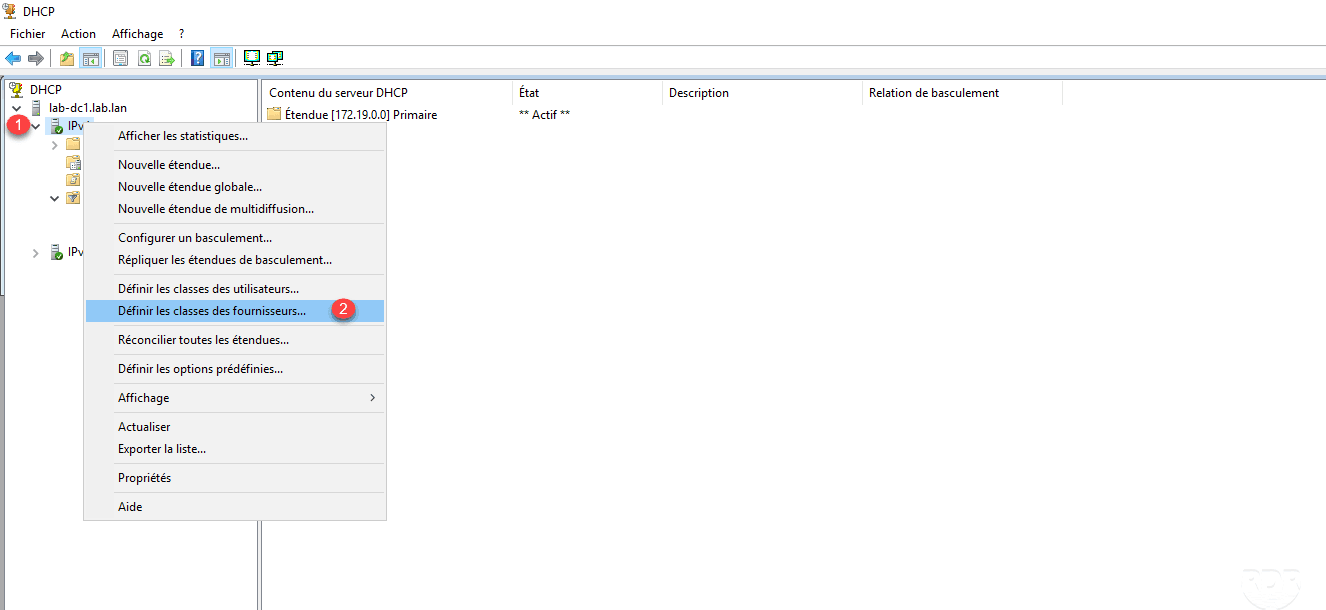
On the DHCP console, right-click on IPv4 1 and click on Define provider classes 2 .
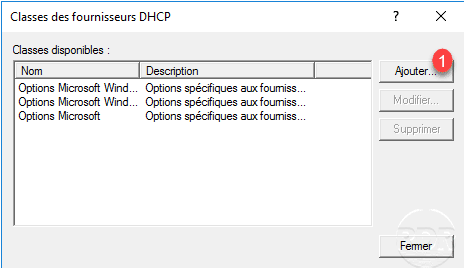
Click on Add 1 to define a class.
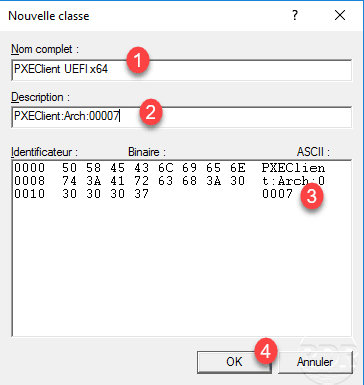
Name the new PXEClient class UEFI x64 1 , in the Description area 2 and ASCII 3 enter PXEClient:Arch:00007 and click on OK 4 .
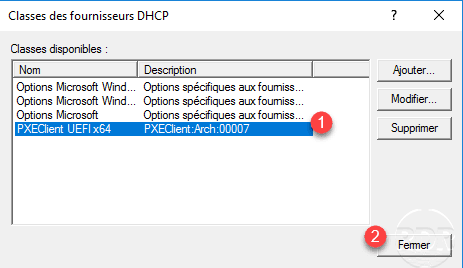
The class is added 1 , click Close 2 .
Configure a policy
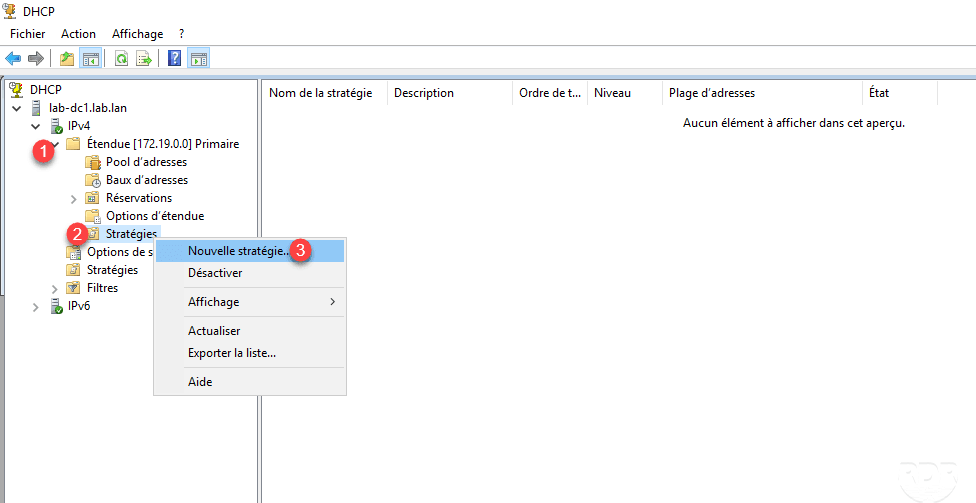
On the DHCP console, expand the scope 1 where the policy is to be created, right click on Strategies 2 and click on New Policy 3 .
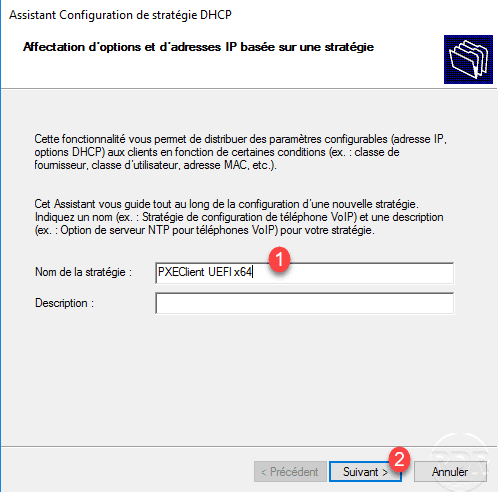
Name strategy 1 and click Next 2 .
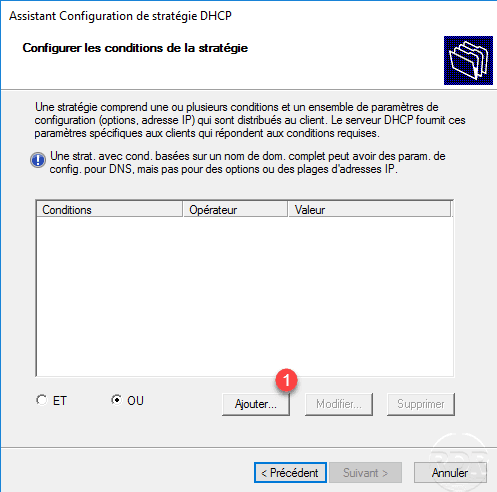
We will now indicate the conditions of the strategy, click on Add 1 .
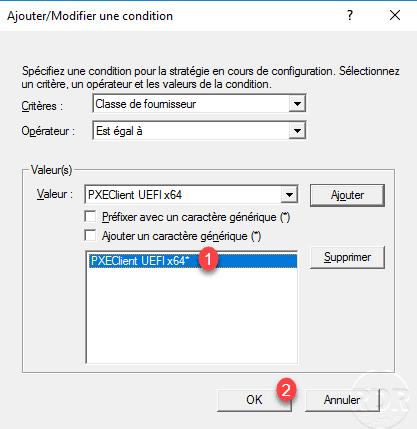
Configure the condition as shown below:
- Criteria: Provider Class 1
- Operator: Is equal to 2
- Value: select the supplier class previously added 3
- Check the box Add a wildcard (*) 4.
Click on Add 5.

The value is added 1 , click OK 2 .
The condition of the policy has been added to identify UEFI x64 PXE requests. Click Next 1 .

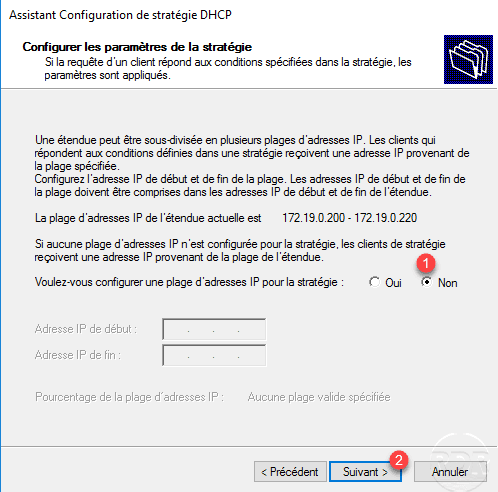
It is possible to configure an IP range in the scope for the policy if you wish. Select the option No 1 and click Next 2
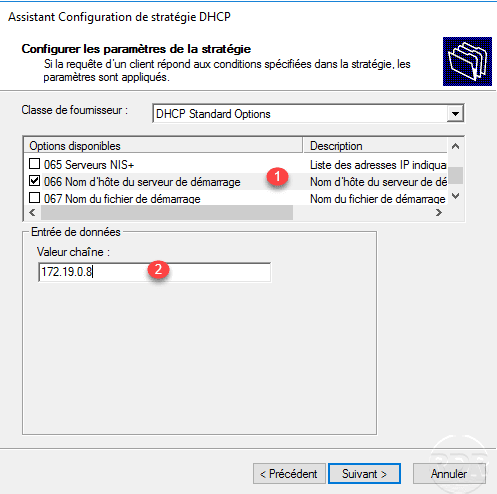
Now, we will configure DHCP options 66 and 67 to indicate the PXE server and the boot file.
Check option 66 1 and indicate the IP address of WDS server 2 .
Check option 67 1 and indicate boot file 2 . For a WDS server and UEFI boot x64 enter: bootx64 wdsmgfw.efi. Click on next 3 .
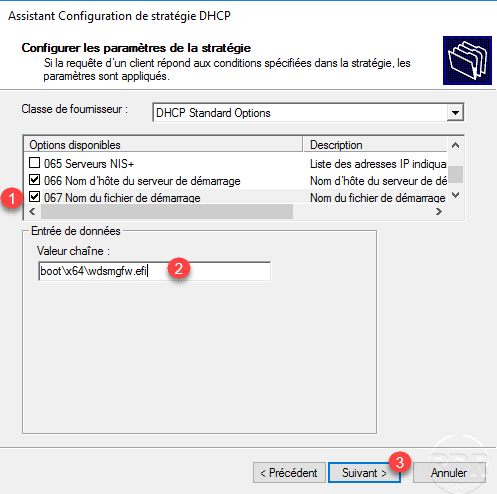
The different boot images are located in the RemoteInstall Boot <version> * folder on the WDS server.
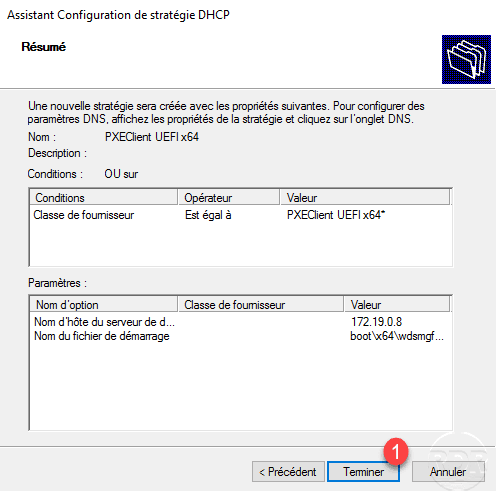
A summary of the strategy is displayed, click Finish 1 to validate the addition.
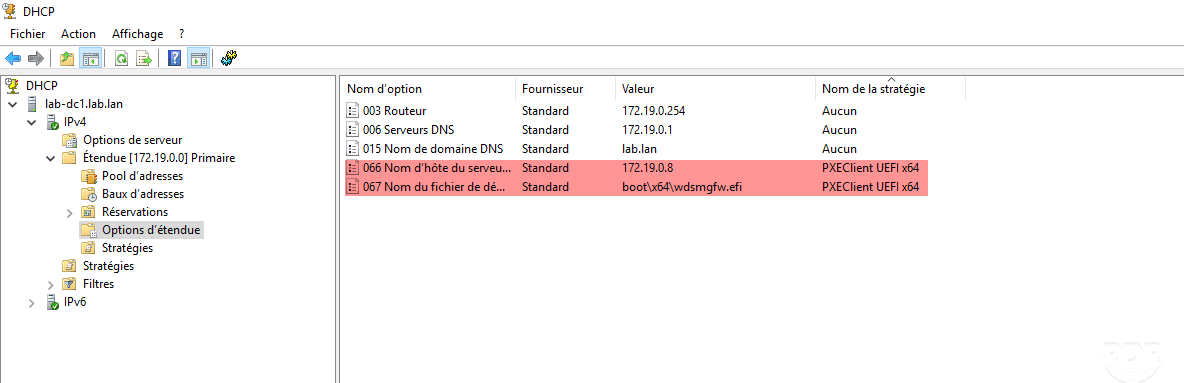
The policy is added to the DHCP scope.

The options configured in the policy are also visible in the extended options.
Conclusion
WDS services do not normally require DHCP configuration, and by experience the PXE boot responds more quickly with this configuration on machines with UEFI enabled.
