In this tutorial, we will see how to create a user on a QNAP NAS.
Users are usable on the rights of shared folders and also in add applications.
1. Go to the administration interface and open Control Panel 1 .
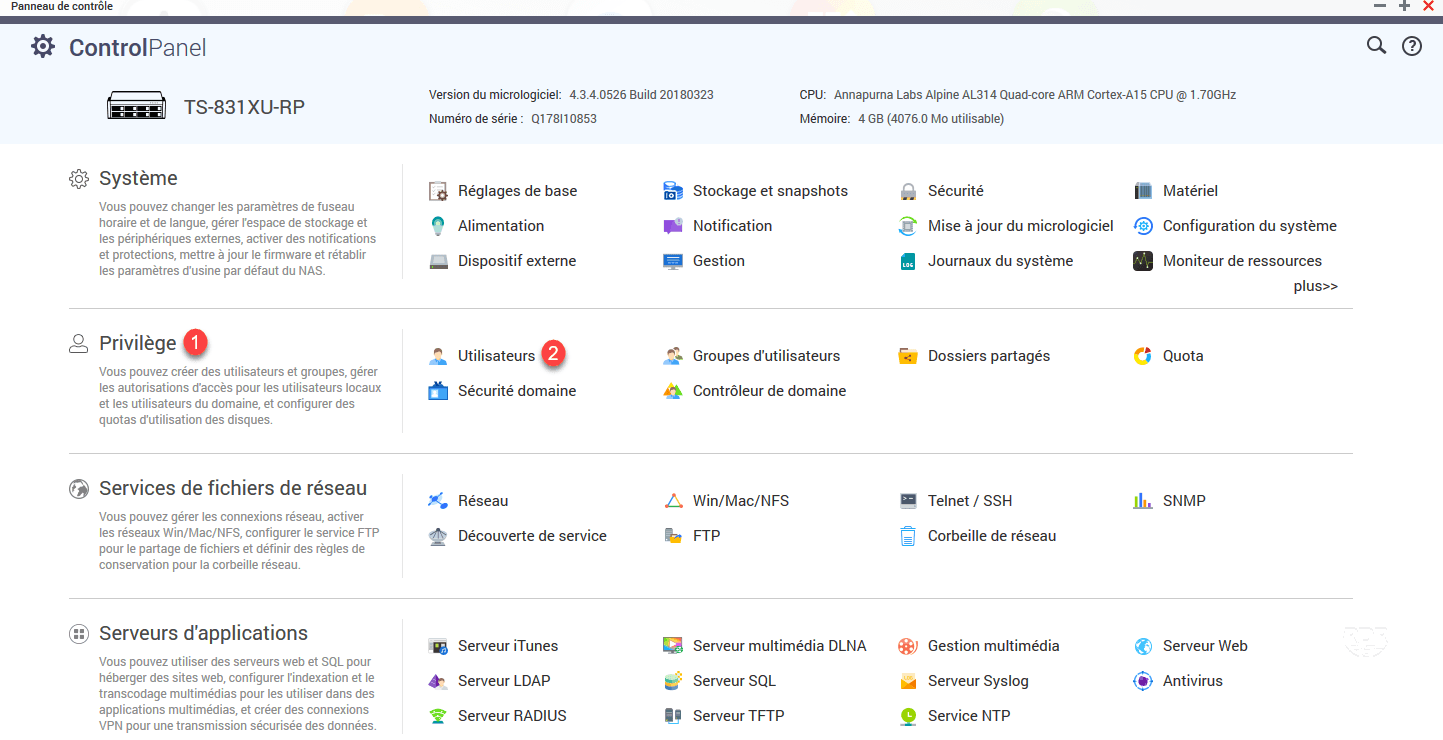
2. In the Privilege 1 section, click on Users 2 .
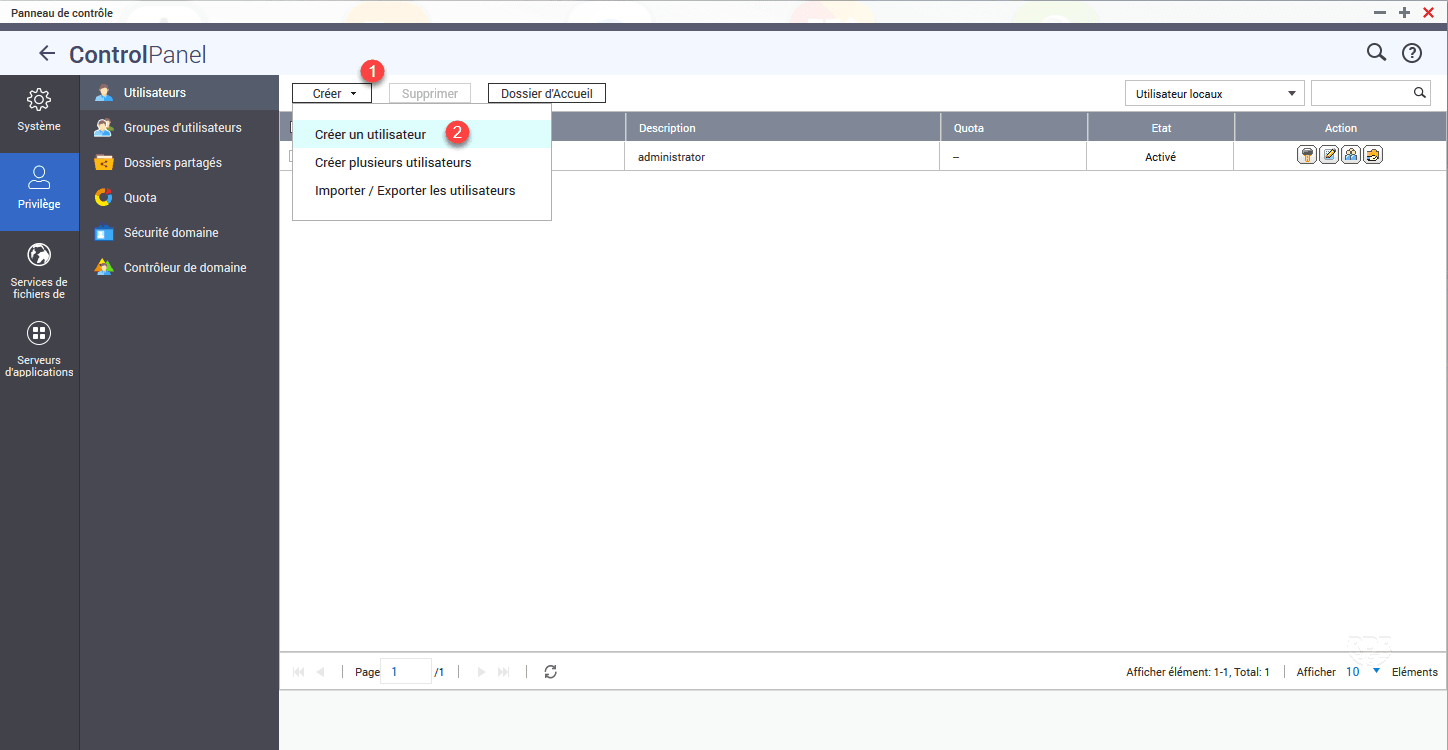
3. Click Create 1 then Create a user 2 .
4. At the very least enter your Identifier 1 , password 2 and click Create 3 .
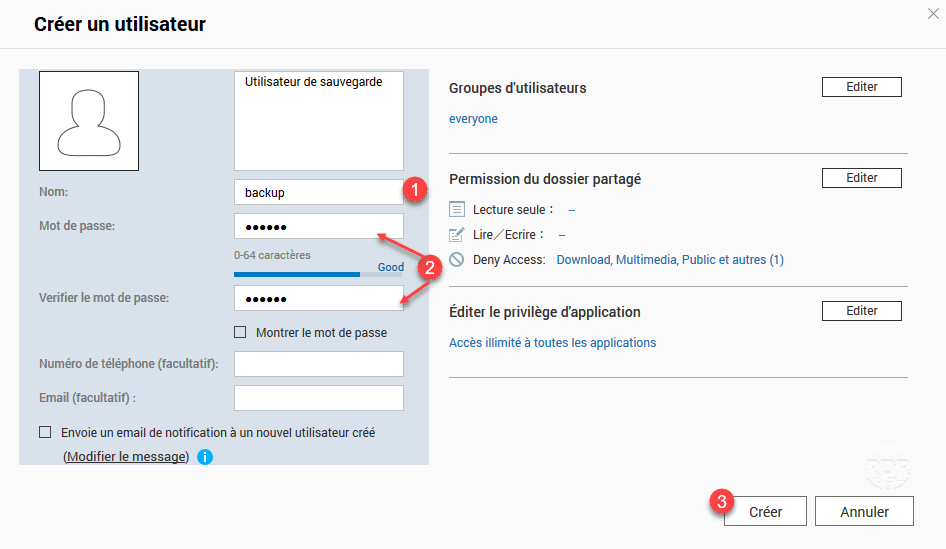
5. The user is created.
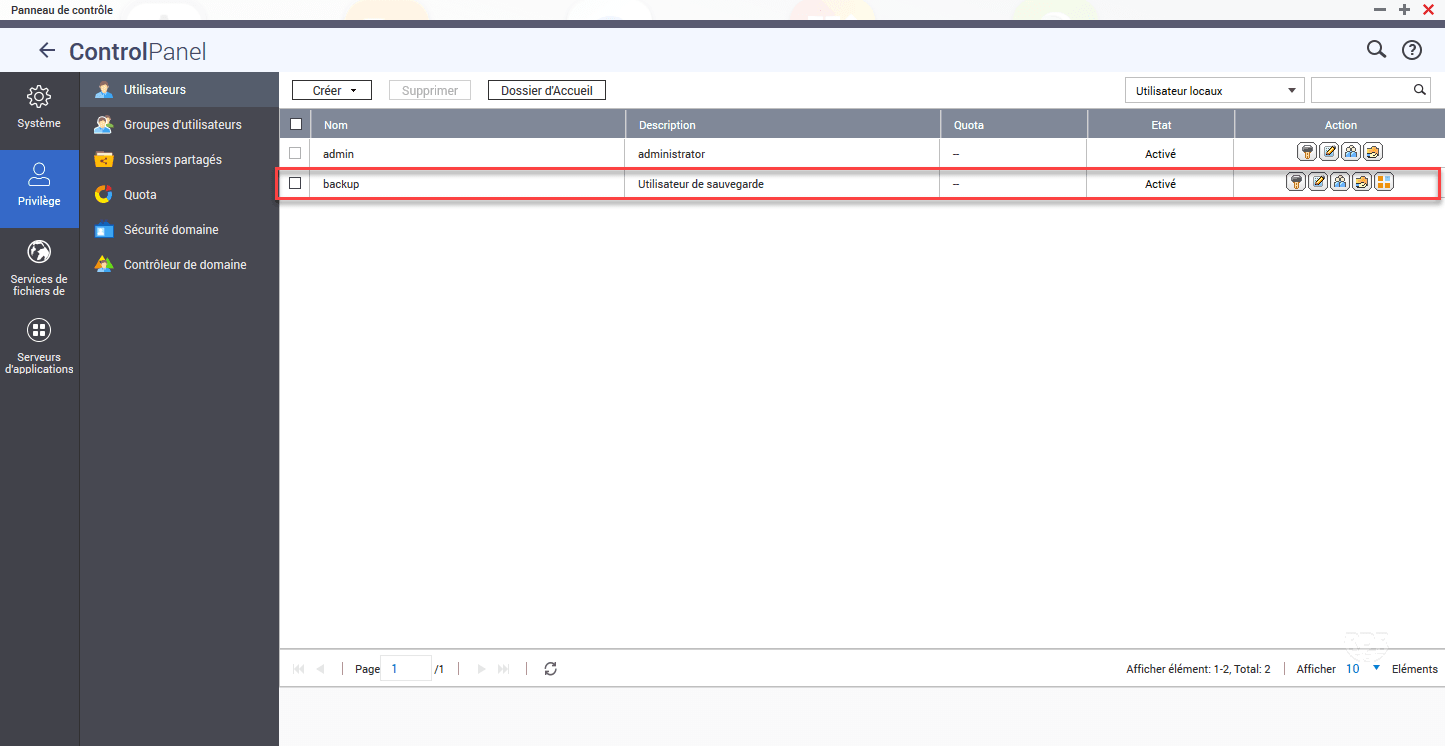
The user will now be available in the different shares and application to assign permissions. When using multiple users with the same rights, I recommend the user group user.
