Presentation of the Network Teaming
Teaming consists of grouping several network cards into a single virtual card. This technology allows depending on the configuration of the association to set up fault tolerance, load balancing between physical cards and increased throughput.
With the arrival of Windows 2012, this feature became native to Windows, before it had to go through the driver / software suite of the network card provider, which implied that all the network cards of a server are from the same manufacturer and that teaming is supported by the cards. With the Windows teaming, we overcome all these limitations.
Preparation
Before starting teaming, I advise you to identify the network cards on the server by naming them.

Configuring a network adapter association
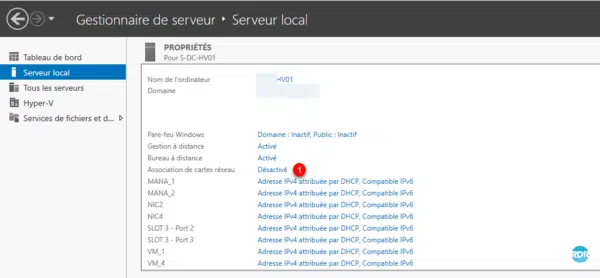
From the Server Manager, click Disabled 1 at NIC Association Level.
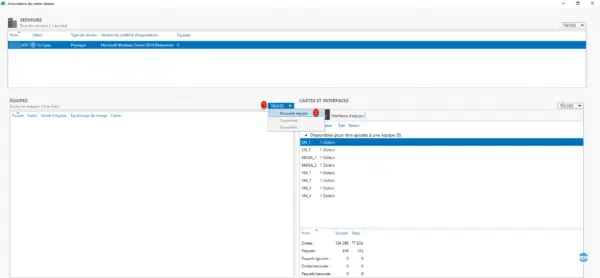
The teaming administration console is displayed, click on TASKS 1 / New team 2 .
Name the virtual card 1 , select the maps members of the team 2 . Choose Independent switch mode 3 , select Dynamic 4 for load balancing mode and None 5 for Network pending field. Finally click OK 6 .
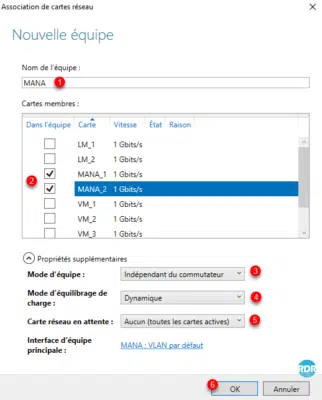
For more information on team mode and balancing mode I invite you to read the documentation Microsoft.
Wait while creating the network card team.
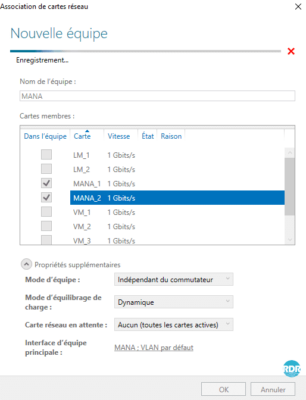
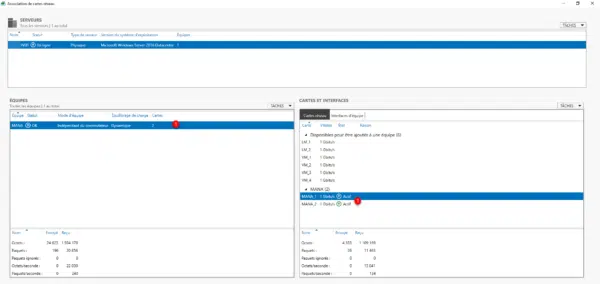
Once created, the team is visible 1 in the console. It is possible that all cards will become active after a few seconds.
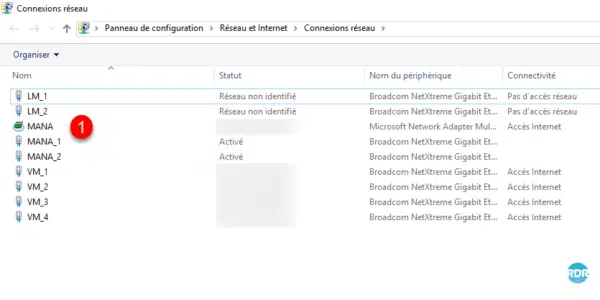
Open network connections, a new network card representing teaming is added 1 . The IP configuration of the server must be done on this card.
Since Windows Server 2016 with the Hyper-V role, it is possible to create networks Teaming the virtual switch level: Switch Embedded Teaming (SET).


