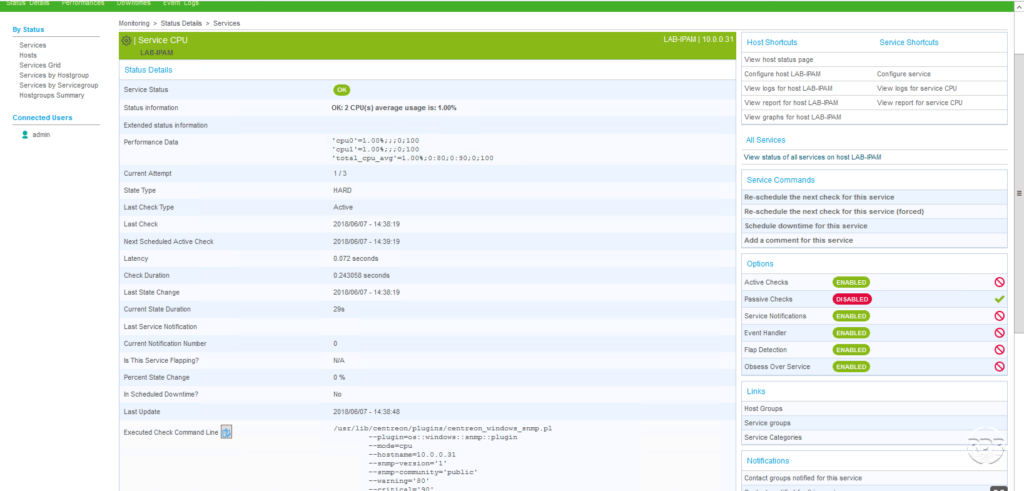
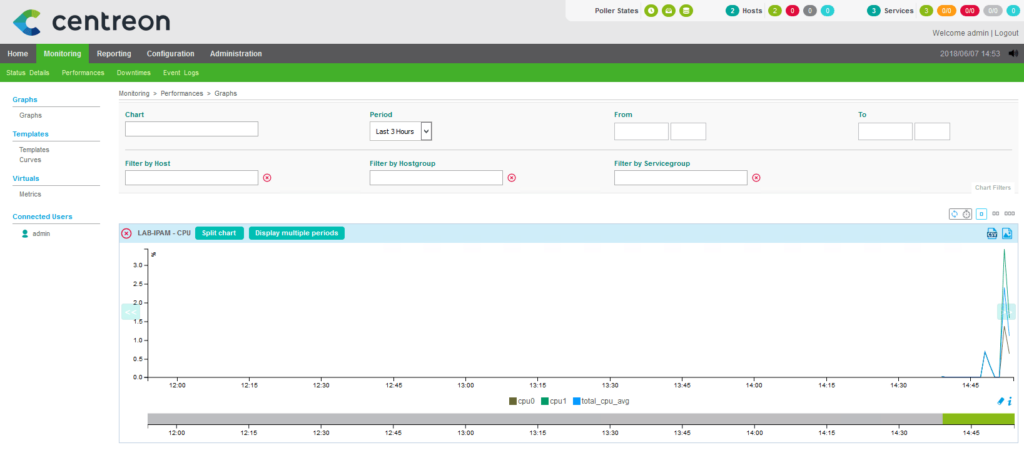
In this tutorial, we will see how to set up Centreon, which is a Linux (CentOS) monitoring solution.
The points addressed are the following:
- Distribution installation
- Installation of Centreon
- Configuration Centreon
- Supervision of a switch and a Windows server.
Installation of the distribution by an ISO
1. Start on the ISO.
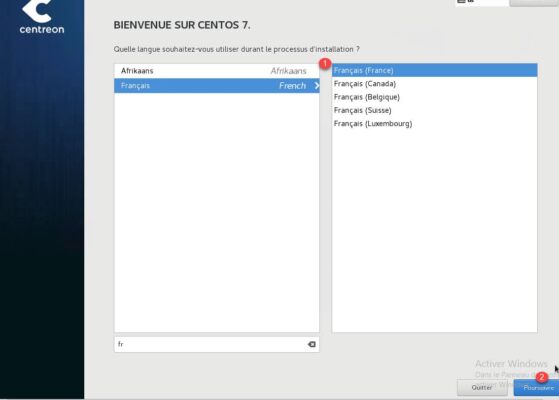
2. Select CENTOS language 1 and click on Continue 2.
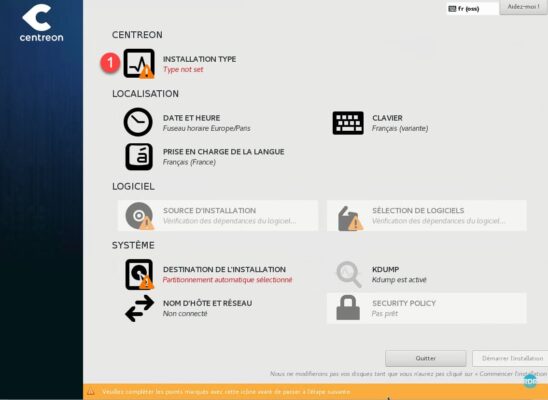
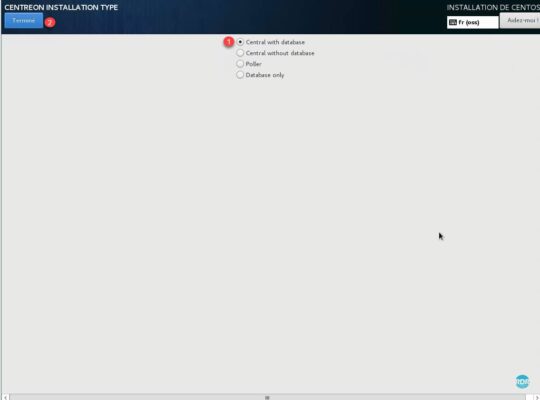
3. Click INSTALLATION TYPE 1.
4. Choose option 1 : Central with database and click Done 2.
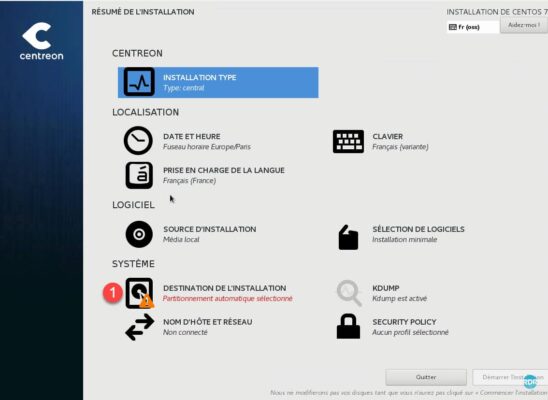
5. Configuring Partitioning, click on DESTINATION OF INSTALLATION 1.
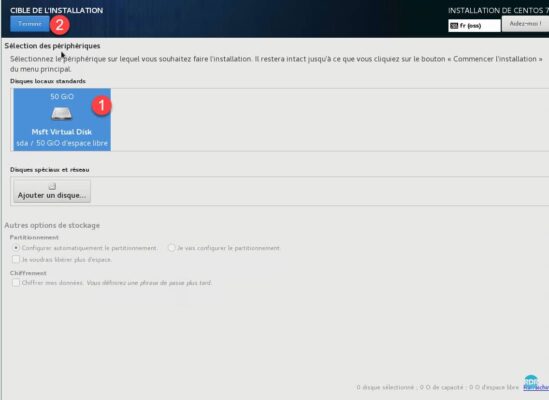
6. Select Disk 1 and click Done 2.
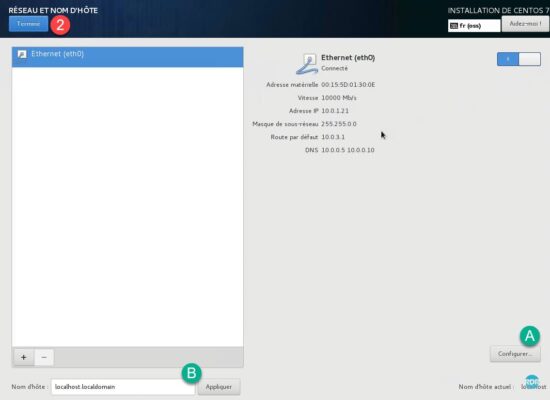
7. Configure the network by clicking on HOST NAME and NETWORK 1.
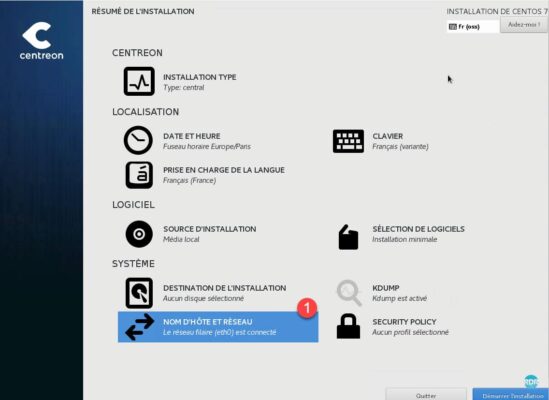
8. Adapt the A / B configuration according to the environment. Click Done 2 to go back.
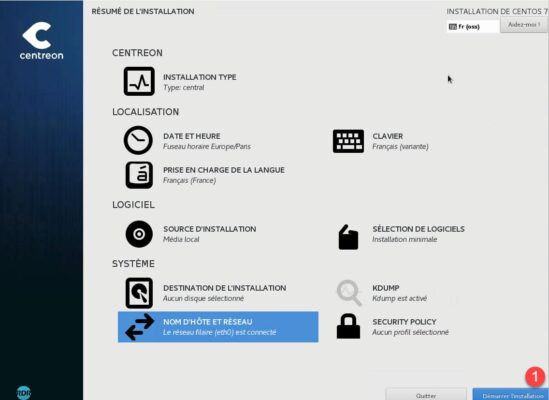
9. Click Start Installation 1.
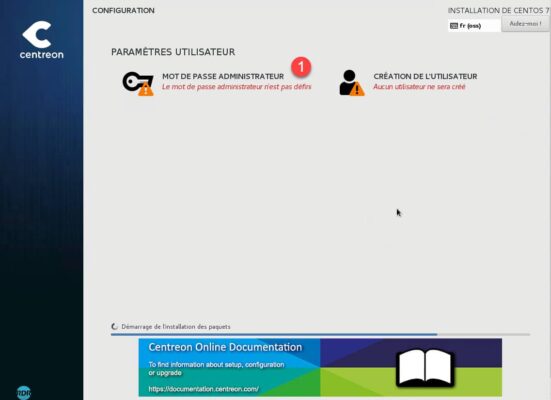
10. Click on ADMINISTRATOR PASSWORD 1.
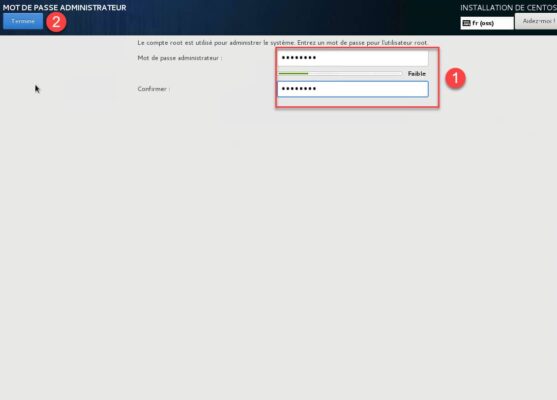
11. Set password 1 and click Done 2.
12. Wait …
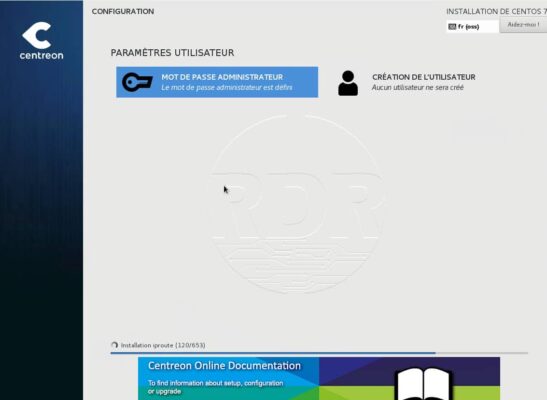
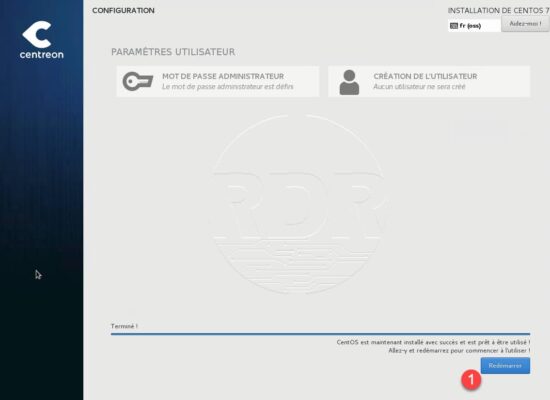
13. Once you have installed CENTOS, click on the Restart 1 button.
Centreon installation
1. Launch an internet browser and enter the server’s IP address or DNS name.
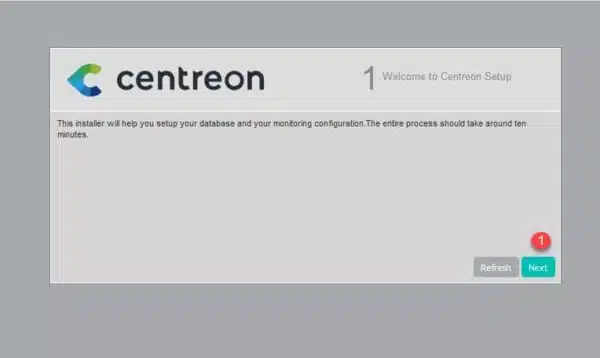
2. Click the Next 1 button.
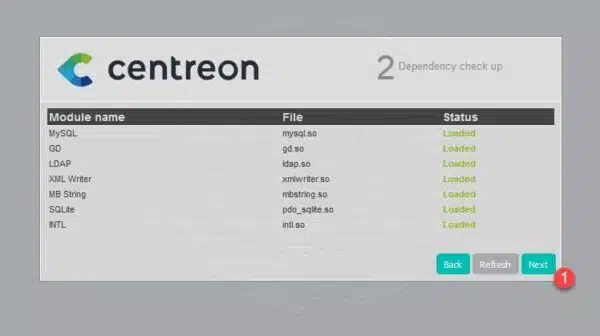
3. The installation script verifies the presence of the necessary modules for proper operation, click on Next 1.
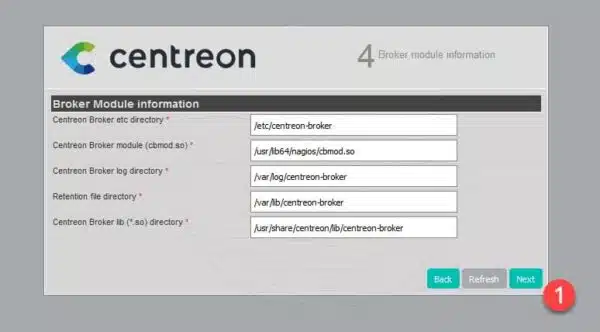
4. Click Next 1.
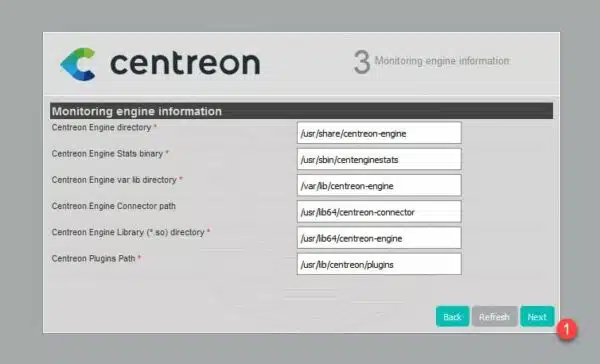
5. Click Next 1.
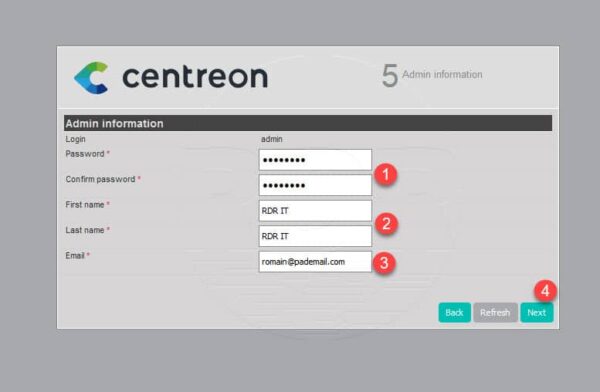
6. Enter Password 1 of the Centreon web interface Admin account, your first and last name 2, your e-mail address 3 and then click Next 4.
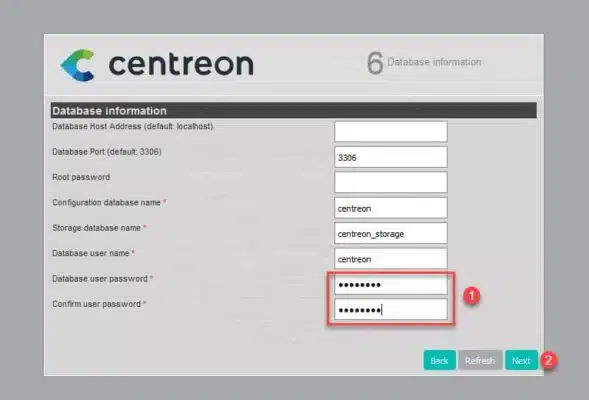
7. Set the password for the database user to connect to the database 1 and click Next 2.
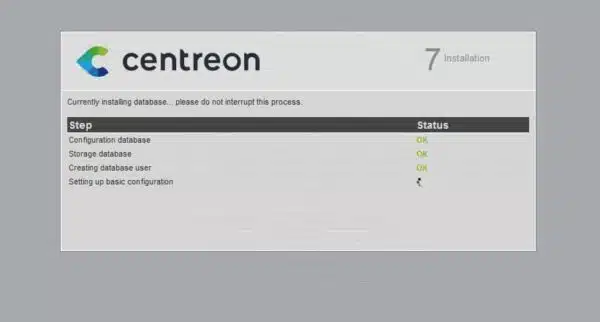
8. Install the database, wait during the process.
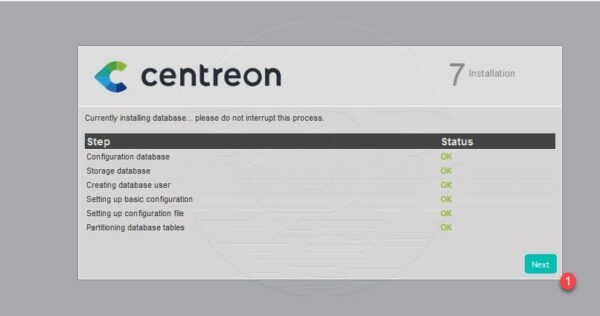
9. The database is installed, click Next 1.
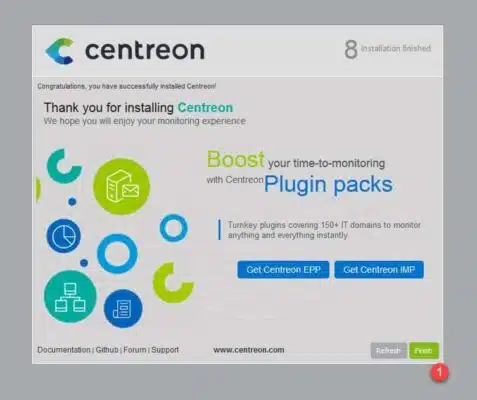
10. The installation is complete, click on Finish button 1. You will be redirected to the login form.
Configuration Centreon
Poller configuration
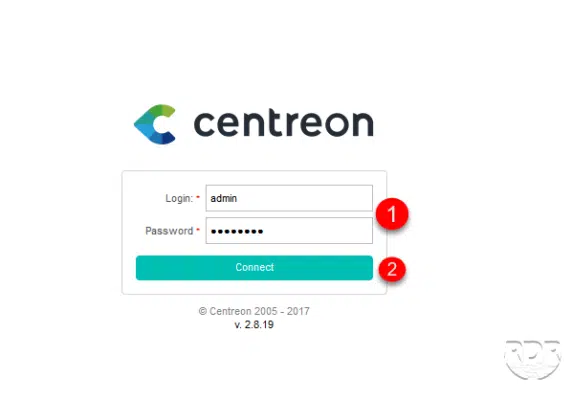
1. Go to the Centreon web interface, enter the login / password 1 configured during the installation and click on Connect 2.
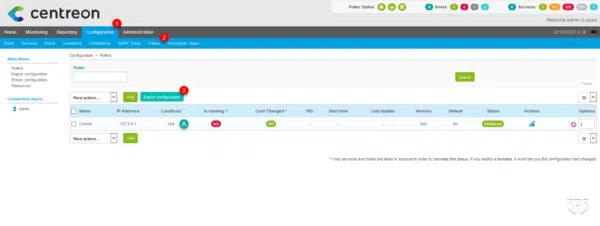
2. On the interface, click Configuration 1 / Pollers 2. The default poller is not running A. Click on Export configuration 3 to access the parameters of the Poller.
3. In Pollers, select Central 1, tick Actions 2, Method choose Restart 3 and click Export 4.
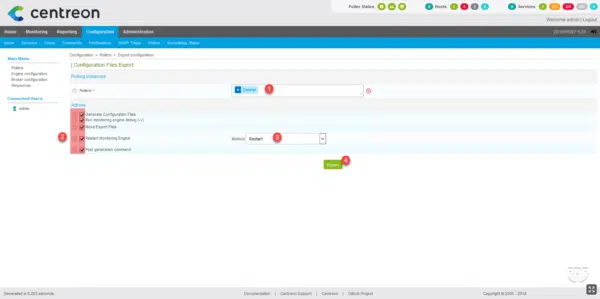
This action will create a first configuration to poll and start it.
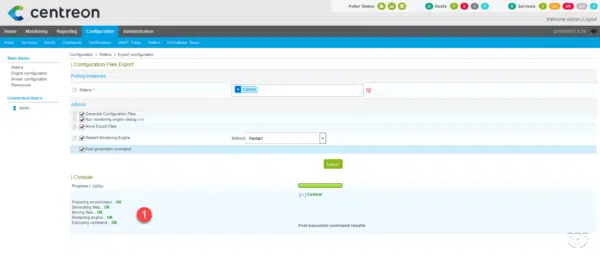
4. The result of the export is displayed 1.
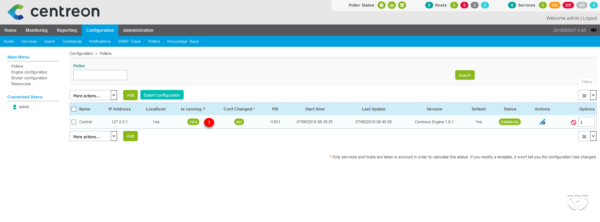
5. Return to Pollers list, Is running should switch to YES 1.
Installing the Plugin Packs
When installing Centreon, it is delivered without sensors. In this part, we will see how to install Centreon’s default sensor pack.
1. Click on Administration 1 / Extensions 2 and then on centreon-pp-manager 3.

2. Click the Install Module 1 button.

3. At the end of the installation of the pp manager, the page is reloaded on the list of modules. The installed column is now marked Yes 1.

4. Go now to Configuration 1 / Plugin Packs 2. On this page is available the set of supervision sensor plugins. By default, there are 10 packs of available, to get the others, you have to subscribe to a subscription.
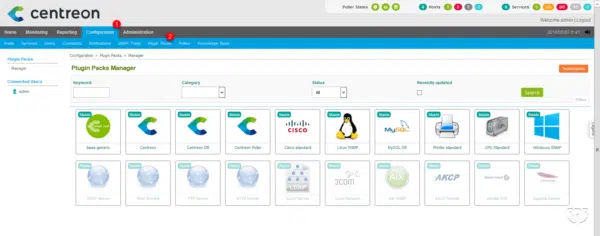
5. Move your cursor over a plugin and click on the + 1 installed.
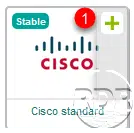
6. Install the available plugins.

Centreon is now operational and can receive equipment to supervise.
Monitoring equipments
In this part, we will see the setting up of equipment supervision (Switch and Windows Server) under Centreon.
Centreon uses the SNMP to interrogate the equipment, it must be ensured that the hardware to be supervised is configured correctly (snmp activated, authorized Centreon ip and configured community).
Supervision is done in two stages, first you have to create the host (Host) and then add the sensors (Services).
Each creation / modification / deletion of hosts or services, it is necessary to regenerate the configuration of the poller:
1. Go to Configuration 1 / Pollers 2 and click Export configuration 3.

2. Select the poller 1, tick the boxes of actions 2 a method 3 to apply the configuration and click on Export 4.

3. The result of command 1 is displayed under the Export button. The changes are made to the poller, wait for the result in case of equipment supervision.

Switch (HP)
Adding the host
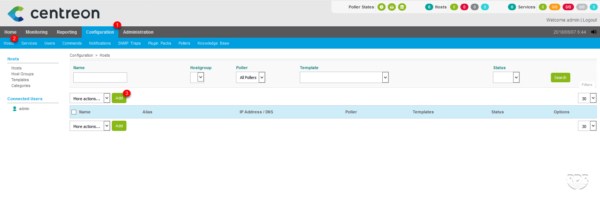
1. Click on Configuration 1 / Hosts 2, on the page click Add 3 to declare a device.
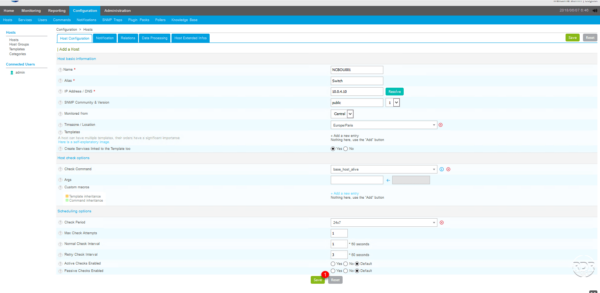
2. Enter the necessary information (name, ip, community snmp, …) to the supervision of the switch and click Save 1.
3. Generate the configuration of the Poller.
4. Go to Monitoring 1 / Status Details 2 / Hosts 3. If nothing is displayed select All 4 in Host Status. The switch is displayed 5 with its status.

Adding services
In this part, we will add traffic sensors on the ports of the switch. It uses the SNMP protocol configured when adding the host.
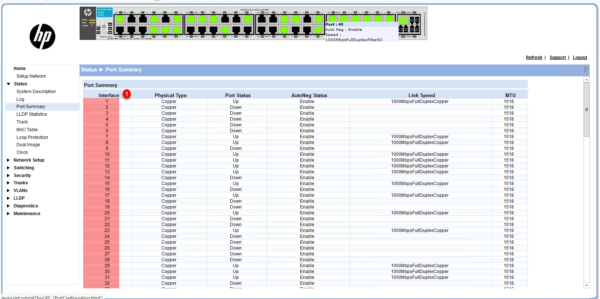
Before adding the services, it is necessary to look at how the equipment names the interfaces 1.
1. Click on Configuration 1 / Services 2 / Add 3.

2. Fill out form 1 by selecting the OS-Linux-Traffic-Generic-Id-SNMP sensor and enter the port number to monitor A and click Save 2.
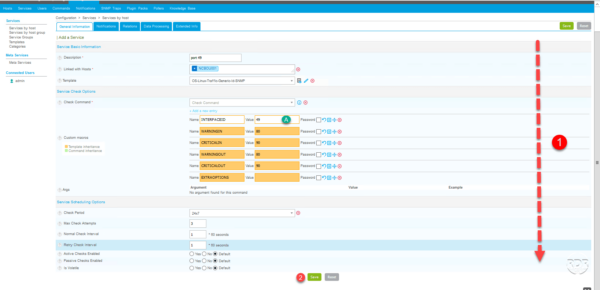
Repeat the operation for all ports to monitor.
3. Generate the configuration of the Poller.
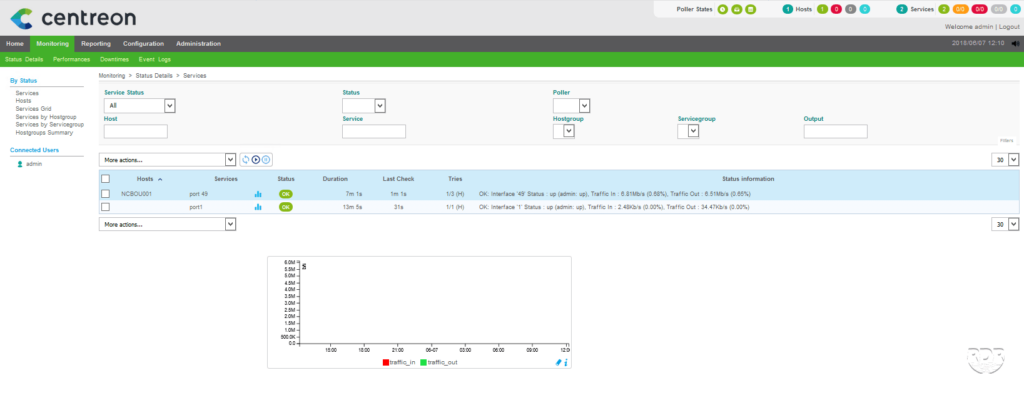
4. Go to Monitoring 1 / Services 2 to see the ports of the configured switches. If the display is blank, check the Service Status (A) filter

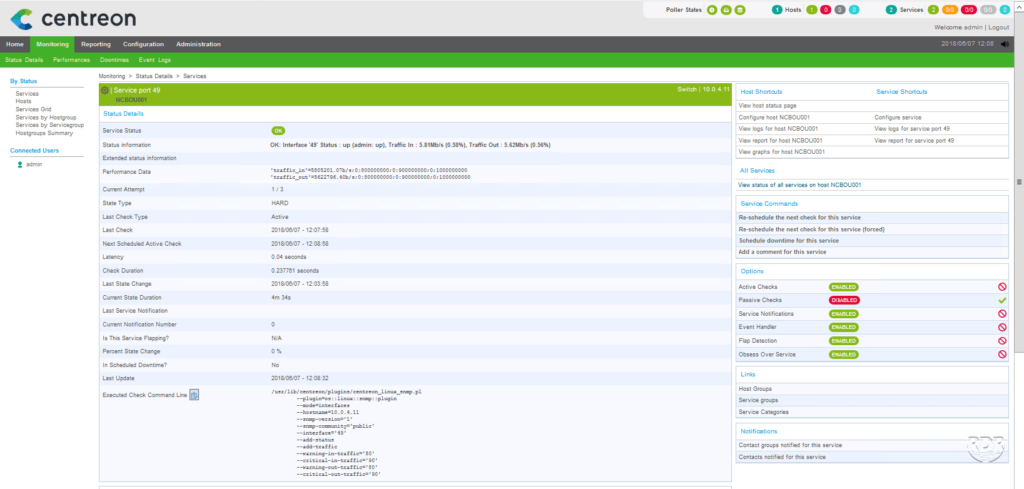
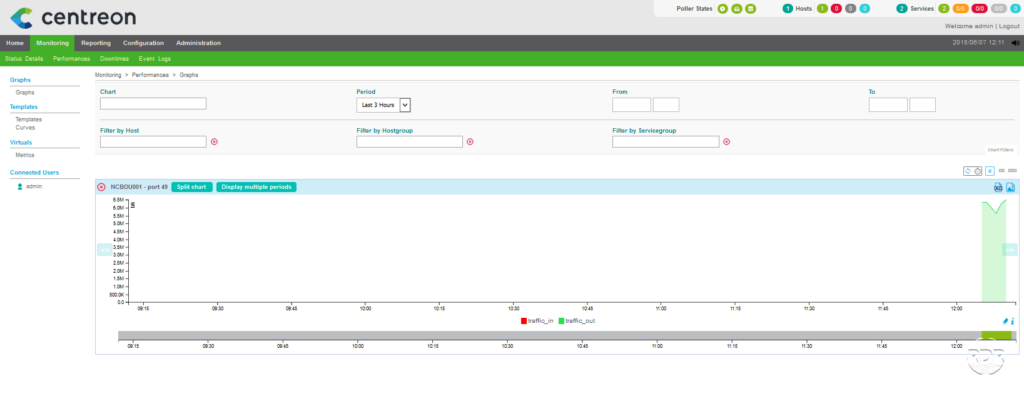
5. Information available for a service :
Windows server
Before adding a Windows server in Centreon, you must install and configure the SNMP service.
Adding the host
1. Click on Configuration / Hosts, on the page click Add to declare a device.
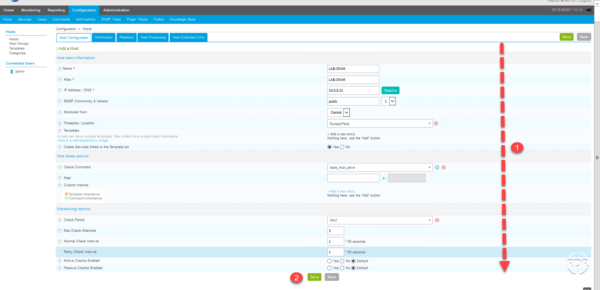
2. Enter the necessary information (name, ip, snmp community, …) to the server 1 supervision and click Save 2.
3. Generate the configuration of the Poller.
Adding services
The sensors available for Windows servers start with OS-Windows- *
1. Click on Configuration / Services / Add.
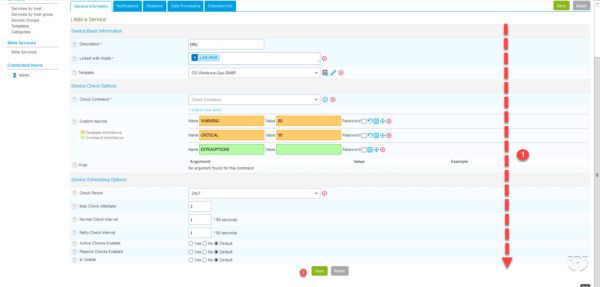
2. Fill out the form 1 and click Save 2.
3. Generate the configuration of the Poller.
4. Overview of the CPU sensor:

