In this tutorial, we will see how to use ZFS as a storage system on Proxmox.
What is ZFS?
Before starting this tutorial, we will see what ZFS (Zettabyte File System) is.
In reality ZFS is a file system, but as you will see in its presentation, ZFS is much more than that, it is even considered as a storage system.
ZFS was originally developed by Sun Microsystems in the early 2000s to evolve file systems that had not evolved for several decades.
Here are some features of ZFS:
- Physical disk management
- Data integrity checks
- Compressions
- Encryption
- Snapshot
- …
ZFS works with Pools of physical disks that are grouped with a RAID system to allow data redundancy and ensure their security in the event of loss of one or more physical disks in the Pool.
If you want to know more about ZFS, here are some links that cover the subject (in French) to become unbeatable:
- https://fr.wikipedia.org/wiki/ZFS
- Qu’est-Ce Que Le Système De Fichiers ZFS ? sur OSNET
- ZFS, vous connaissez ? Vous devriez !
ZFS dans Proxmox
The good news is ZFS is natively integrated into Proxmox and fully manageable from the web interface, we will not see a command line in this tutorial 🙂
As for CEPH, the only prerequisite is to present the server disks directly to Proxmox without going through the RAID card (JBOD)
Below, the physical disks of the server which are presented directly:
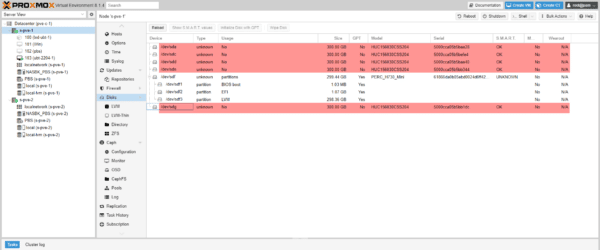
As you can see, I have 5 physical disks.
If you wish to set up virtual machine replication between two Proxmox hosts, the use of ZFS is prerequisite in order to be able to take snapshots.
Configure a ZFS volume in Proxmox
We will start by creating a Disk Pool in Proxmox which will then be added to the available storage.
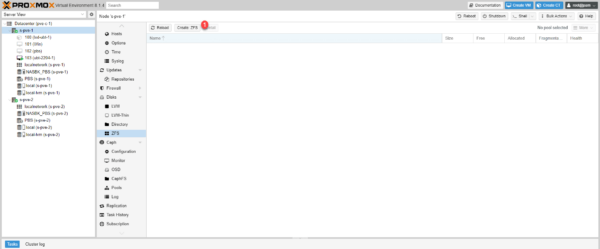
From a Proxmox server, go to Disk / ZFS and click on Create: ZFS 1.
Name the pool 1, select the desired RAID type 2, configure compression 3, select the disks that will be added to the pool 4 and click on the button Create 5.
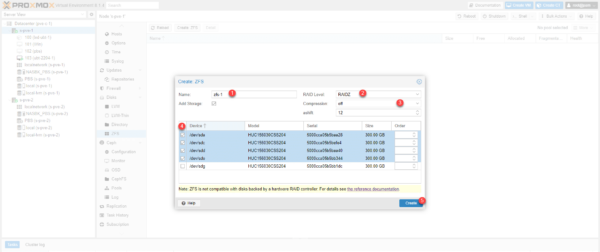
Here I chose the RAID level RAIDZ which corresponds to RAID5 and I voluntarily deactivated compression because these are mechanical disks and this will reduce the CPU load on the server.
Here you will find explanations on RAID levels.
Wait while the Pool and storage are created.
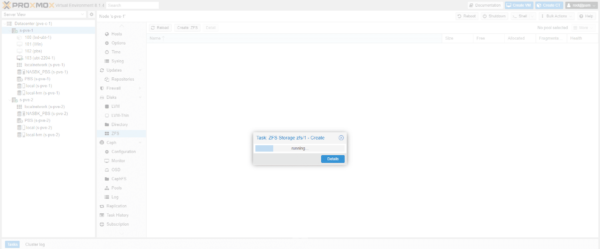
ZFS Pool 1 is created and we can see that storage 2 has been added to the Proxmox server.
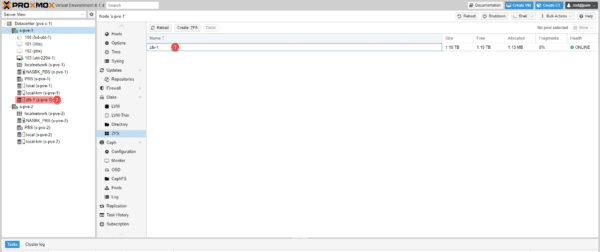
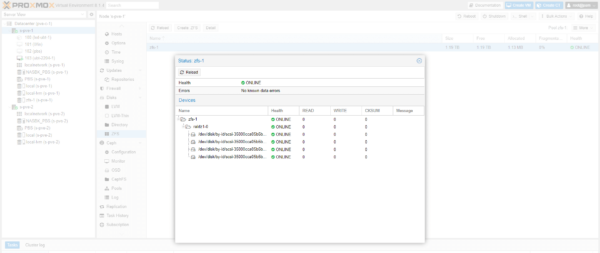
On the capture, we can see that the Pool is almost 1.2TB which corresponds to 4300 GB, however the available storage is less due to the parity disk 3300GB or 900GB.
If we look at the detail, we can see the disks that make up the Pool and their health status.
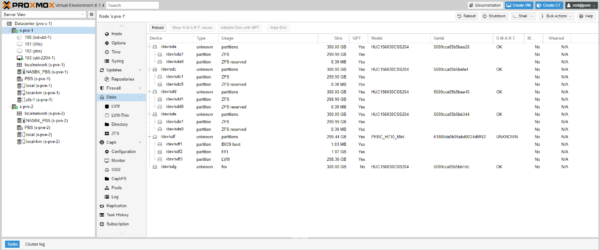
From the physical disk management, you can see the disks assigned to the ZFS Pool.
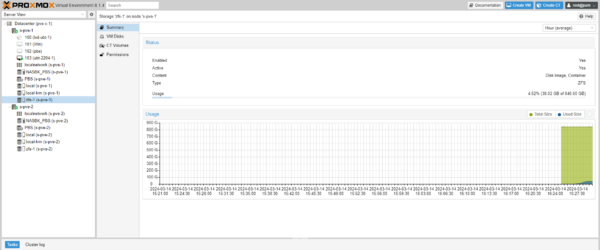
If we go to the storage that was added from the ZFS Pool, we can see that the type is ZFS and as mentioned above, the total available storage is 840 GB.
Use ZFS storage
It’s quite simple, when creating a virtual machine or an LXD container, simply place the virtual disk(s) on ZFS type storage.
If you already have VMs, it is possible to move the virtual disks.
