In this tutorial, we will see how to use the Firewall functionality integrated into Proxmox to secure virtual machines and manage network flows.
Presentation of the firewall in Proxmox
Proxmox allows you to manage a Firewall at the Hypervisor level which allows you to manage network flows at the levels:
- From the Data Center
- Proxmox servers
- Virtual machines and containers (LXD)
This configuration can be done at 3 different levels:
- Datacenter
- Servers
- VM and CT
In this tutorial, I will mainly develop at the VM and CT level.
The advantage of managing the firewall at the hypervisor level makes it possible to make any modifications to the firewall options at the Windows or Linux level ineffective.
Configuring the Firewall in Proxmox
When installing a Proxmox server, by default the Firewall is not activated, we will start by activating it.
In Proxmox at the Datacenter level, we will find the configuration and global options.
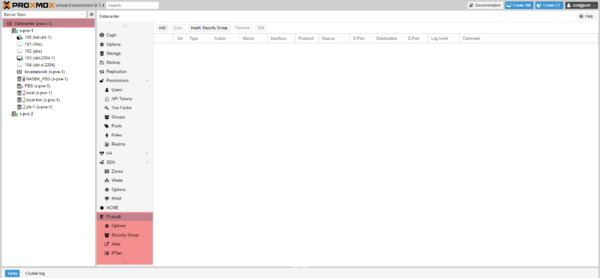
By going to Options, we can see that the firewall is not activated.
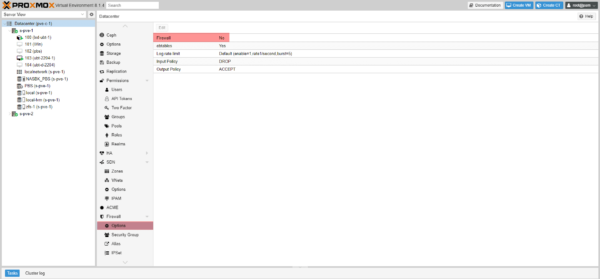
As access to the Proxmox administration interface is in a separate VLAN with a physical Firewall, I will change the incoming traffic rule to authorize all traffic by default. If you do not want to make this modification at the end of the tutorial, I will give you the ports to configure for Proxmox hosts.
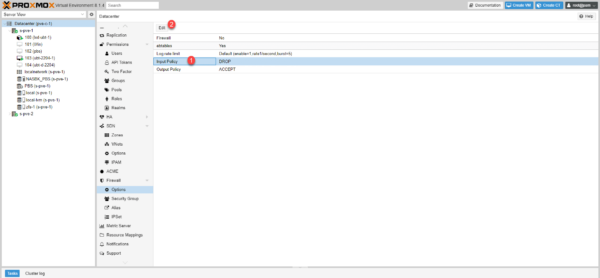
Select Input Policy 1 and click Edit 2.
Select ACCEPT 1 and click OK 2.
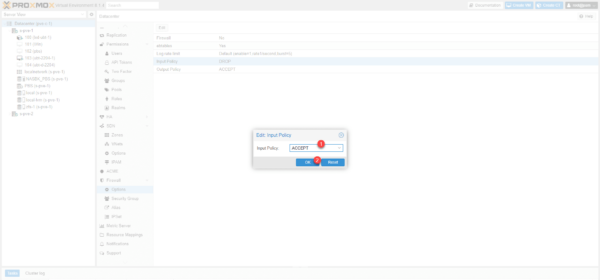
All incoming traffic is allowed.
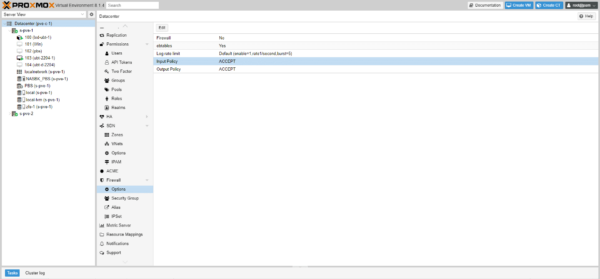
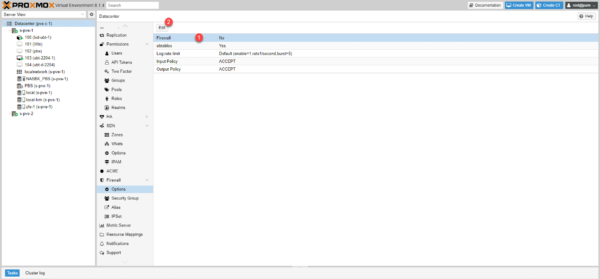
Now that we have no more risk of cutting our hand on the server, we will activate the Firewall, select Firewall 1 and click on the Edit 2 button.
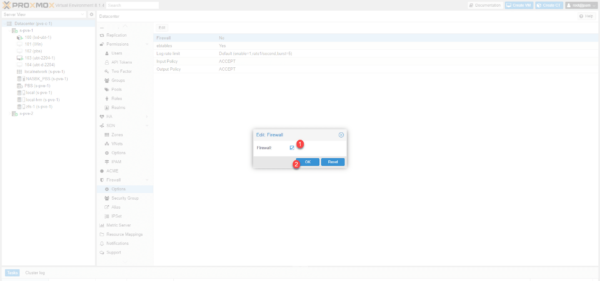
Check the box 1 to activate the Firewall and click on OK 2.
The Firewall is activated at the Datacenter level.
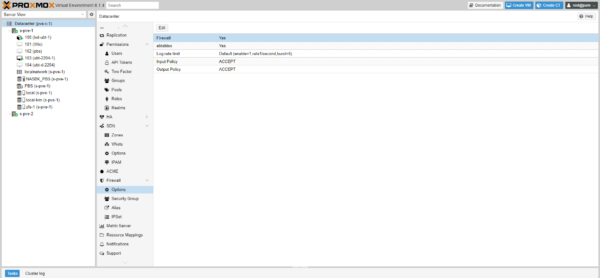
Before going any further, check on a server that the firewall is activated (by default it is activated).
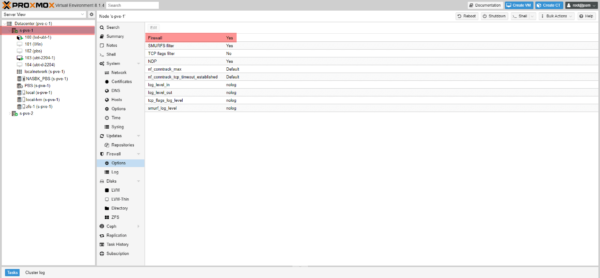
We are ready to use the Firewall at the virtual machine level.
Enable and configure the Firewall on virtual machine
We will now see how to configure and activate the firewall on a virtual machine in Proxmox.
To illustrate this tutorial, we will activate SSH access to a virtual machine with the Proxmox Firewall.
As we can see, the Firewall is not activated by default.
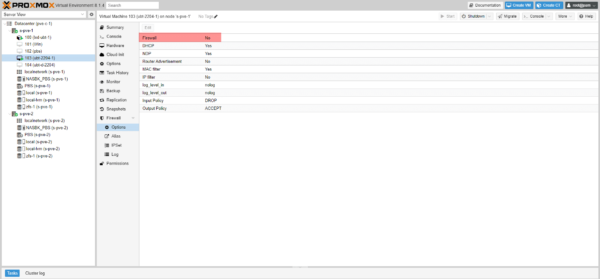
Before activating the firewall, you must check that the network card has the option to activate, the firewall option must be set to 1.
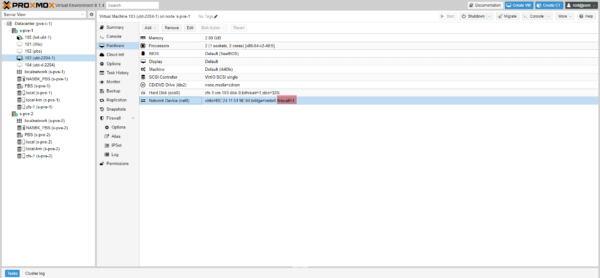
If this is not activated, you must check the Firewall box in the card settings.
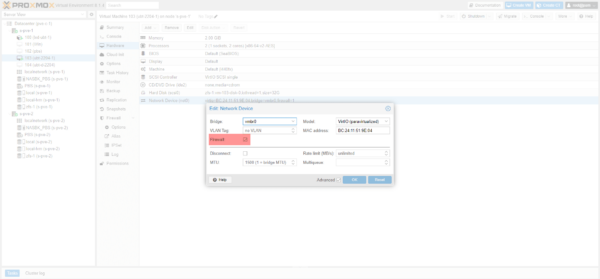
In the VM options, go to Firewall / Options, select Firewall 1 and click on Edit 2.
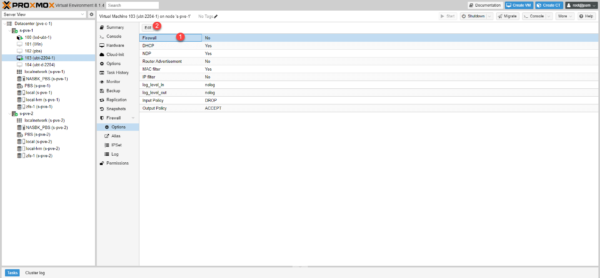
Check the box 1 and click OK 2.
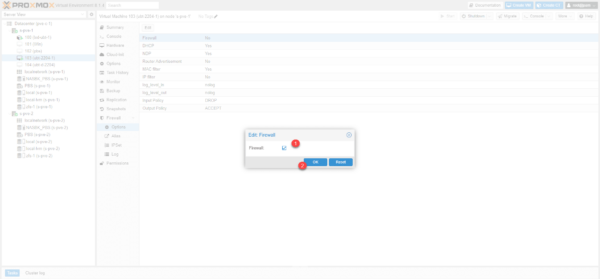
The Firewall is activated and as we can see by default incoming traffic is rejected.
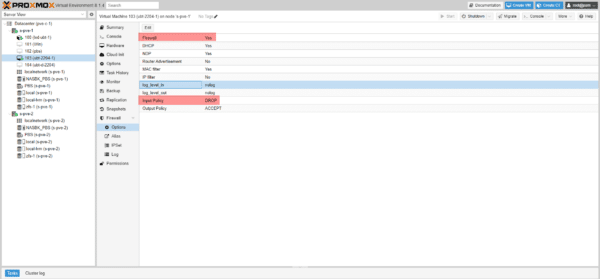
To test the operation, when trying to connect via SSH to the virtual machine, the connection is not established with a timed out error, the firewall has done its job.

We will now create a rule in the virtual machine’s Firewall to authorize SSH connections (22).
Go to Firewall 1 at the virtual machine level and click on Add 2.
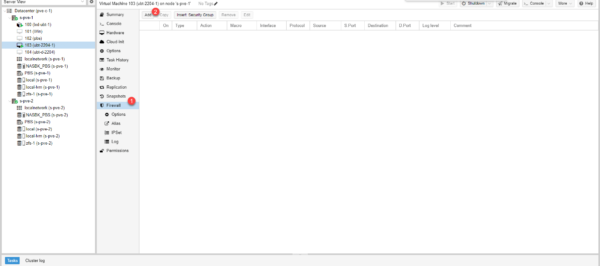
Configure a rule to allow traffic on port 22 inbound 1 and click Add 2.
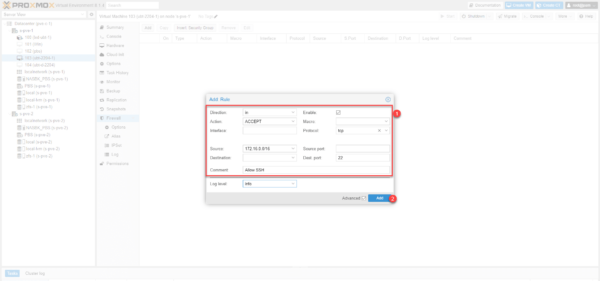
Configure a rule to allow traffic on port 22 inbound 1 and click Add 2.
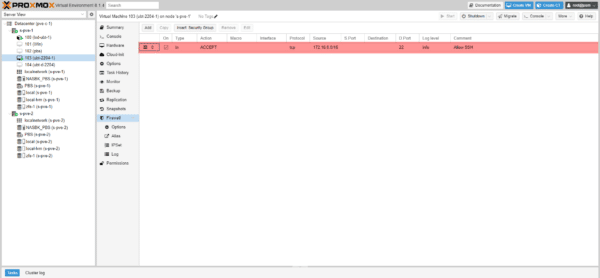
The rule is added for the virtual machine.
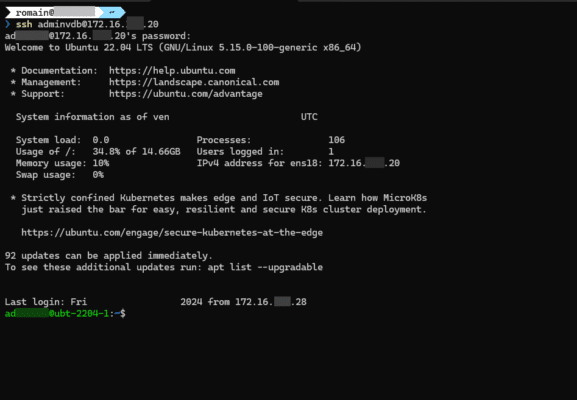
This time I can connect via SSH to the virtual machine.
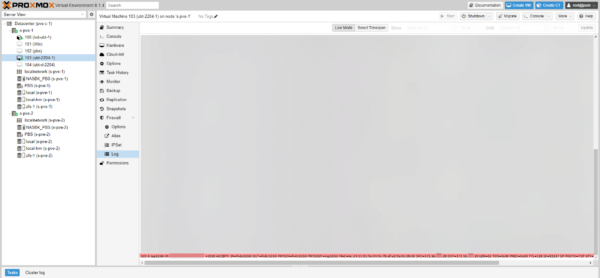
In the Log part of the Firewall, we find the connection.
You know how to create a firewall rule for a virtual machine.
Create a rule template
We will see how to do it for a virtual machine, it is possible to optimize the management of rules by creating a model and then applying it to a model.
This management is done at the Datacenter level.
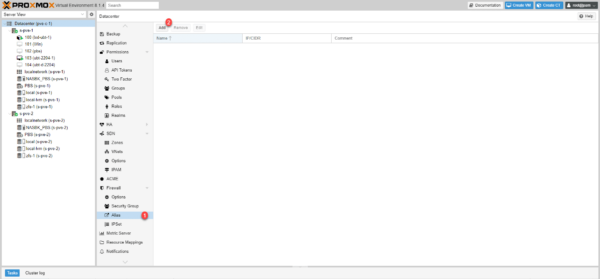
To begin, we will record the network range that we will authorize, at the Datacenter level, go to Firewall / Alias 1 and click on Add 2.
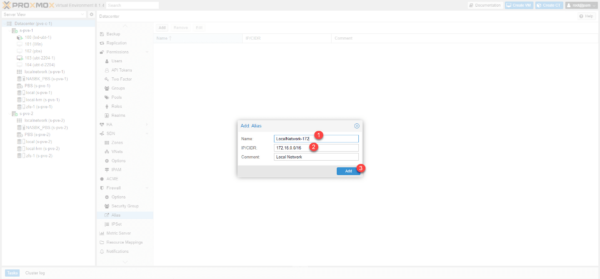
Name the alias 1, enter IP or CIDR 2 and click Add 3.
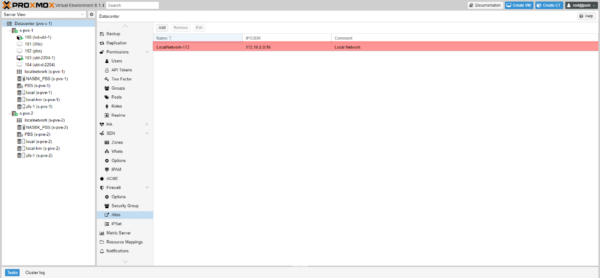
The Alias is created.
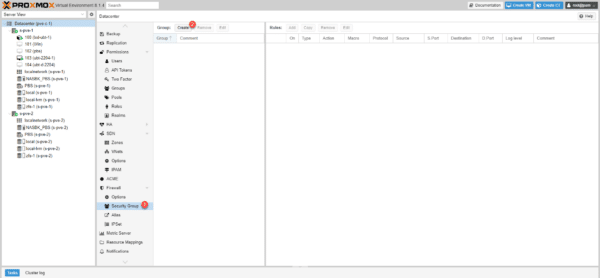
Go to Security Group 1 and click Create 2.
Name the group 1 and click on the Create 2 button.
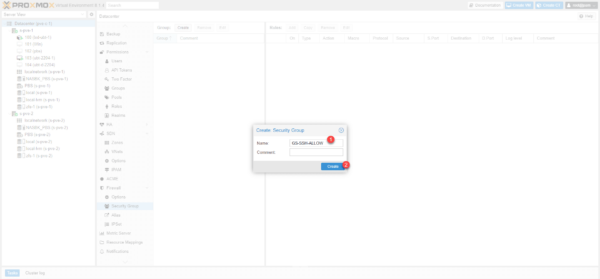
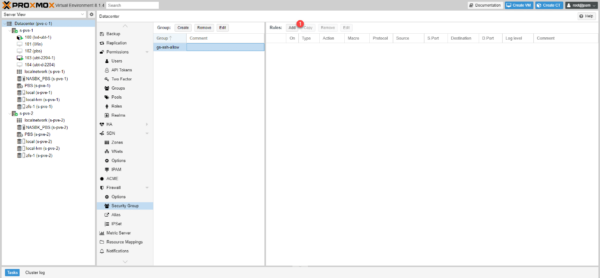
We will now add a rule to this group, click on the Add 1 button.
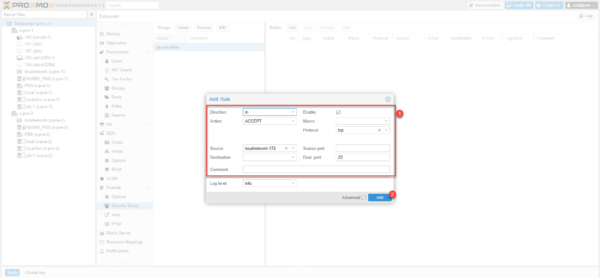
Configure rule 1 to allow SSH connections by selecting the alias in the source field then click Add 2 to create and add the rule to the group.
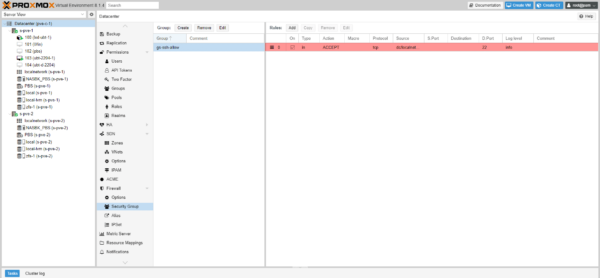
The rule is added to the group.
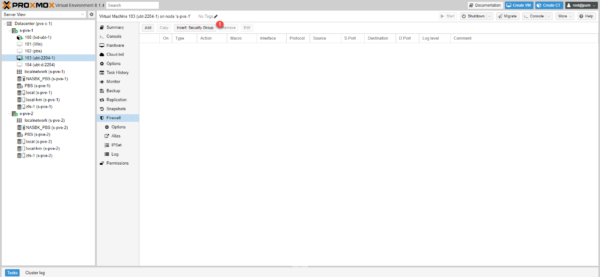
To add a rule to a VM’s firewall, click Insert: Security Group 1.
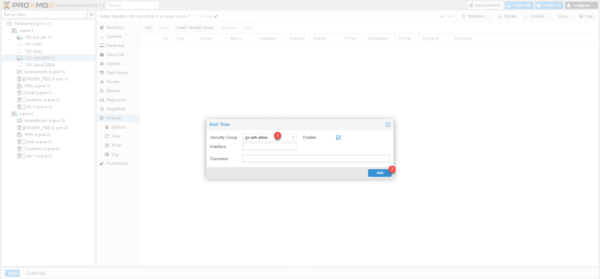
Select group 1 and click Add 2.
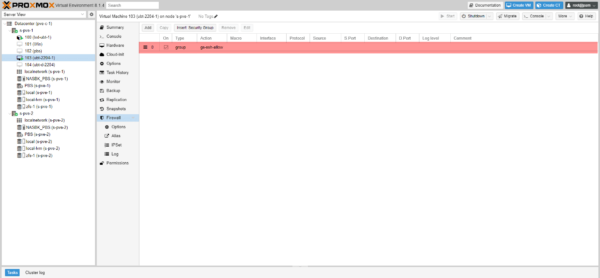
The rule group is added.
Supplements
Ports for Proxmox servers
| Description | Protocole | Ports |
|---|---|---|
| Web interface | TCP | 8006 |
| VNC Web console | TCP, WebSocket | 5900 – 5999 |
| SPICE proxy | TCP | 3128 |
| sshd | TCP | 22 |
| rpcbind | UDP | 111 |
| corosync cluster traffic | UDP | 5405 – 5412 |
| live migration | TCP | 60000 – 60050 |
Disable the firewall from the configuration file
In the event of a configuration error, if you have lost control of the server, it is possible to deactivate the firewall from the following file: /etc/pve/firewall/cluster.fw by modifying the value of enable: 1 to 0.
You now know how to use the Proxmox firewall to secure virtual computer traffic.


This doesn’t work for CT’s. Even though I’ve enabled firewall as described, and have the firewall on my CT set to DROP input, I can still access its ports from other external machines.