In this tutorial, I will explain how to install Proxmox on a physical server.
I used a DELL server and performed the installation through the iDRAC console.
Regarding the configuration of the server, it has 2 CPUs, 32GB of RAM and 8 hard drives.
The disk configuration is as follows:
- Creating a RAID 1 with 2 disks for Promox operating system, a virtual disk is created by the RAID controller
- 5 hard drives that will be presented directly to Proxmox for Ceph storage configuration
- 1 spare disk
To get started, download Proxmox available here : https://www.proxmox.com/en/downloads/proxmox-virtual-environment/iso
Then create a bootable key with Rufus.
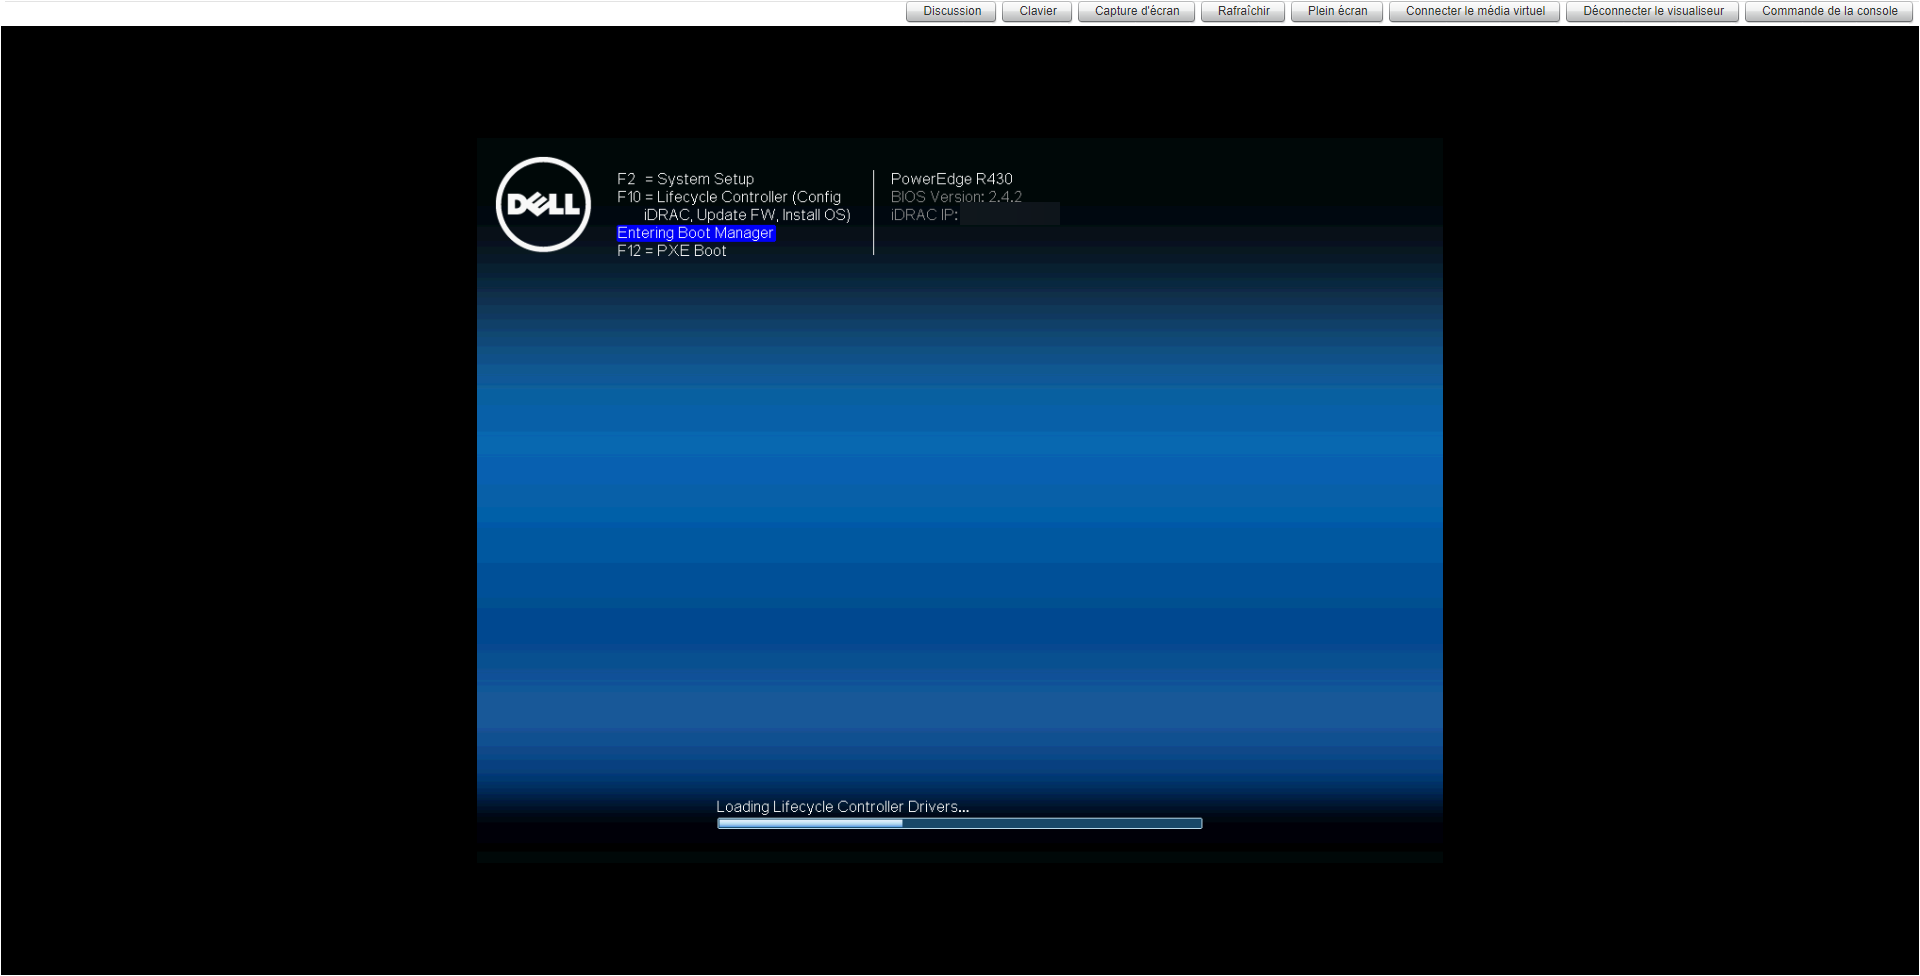
When starting the server enter the Boot Manager.
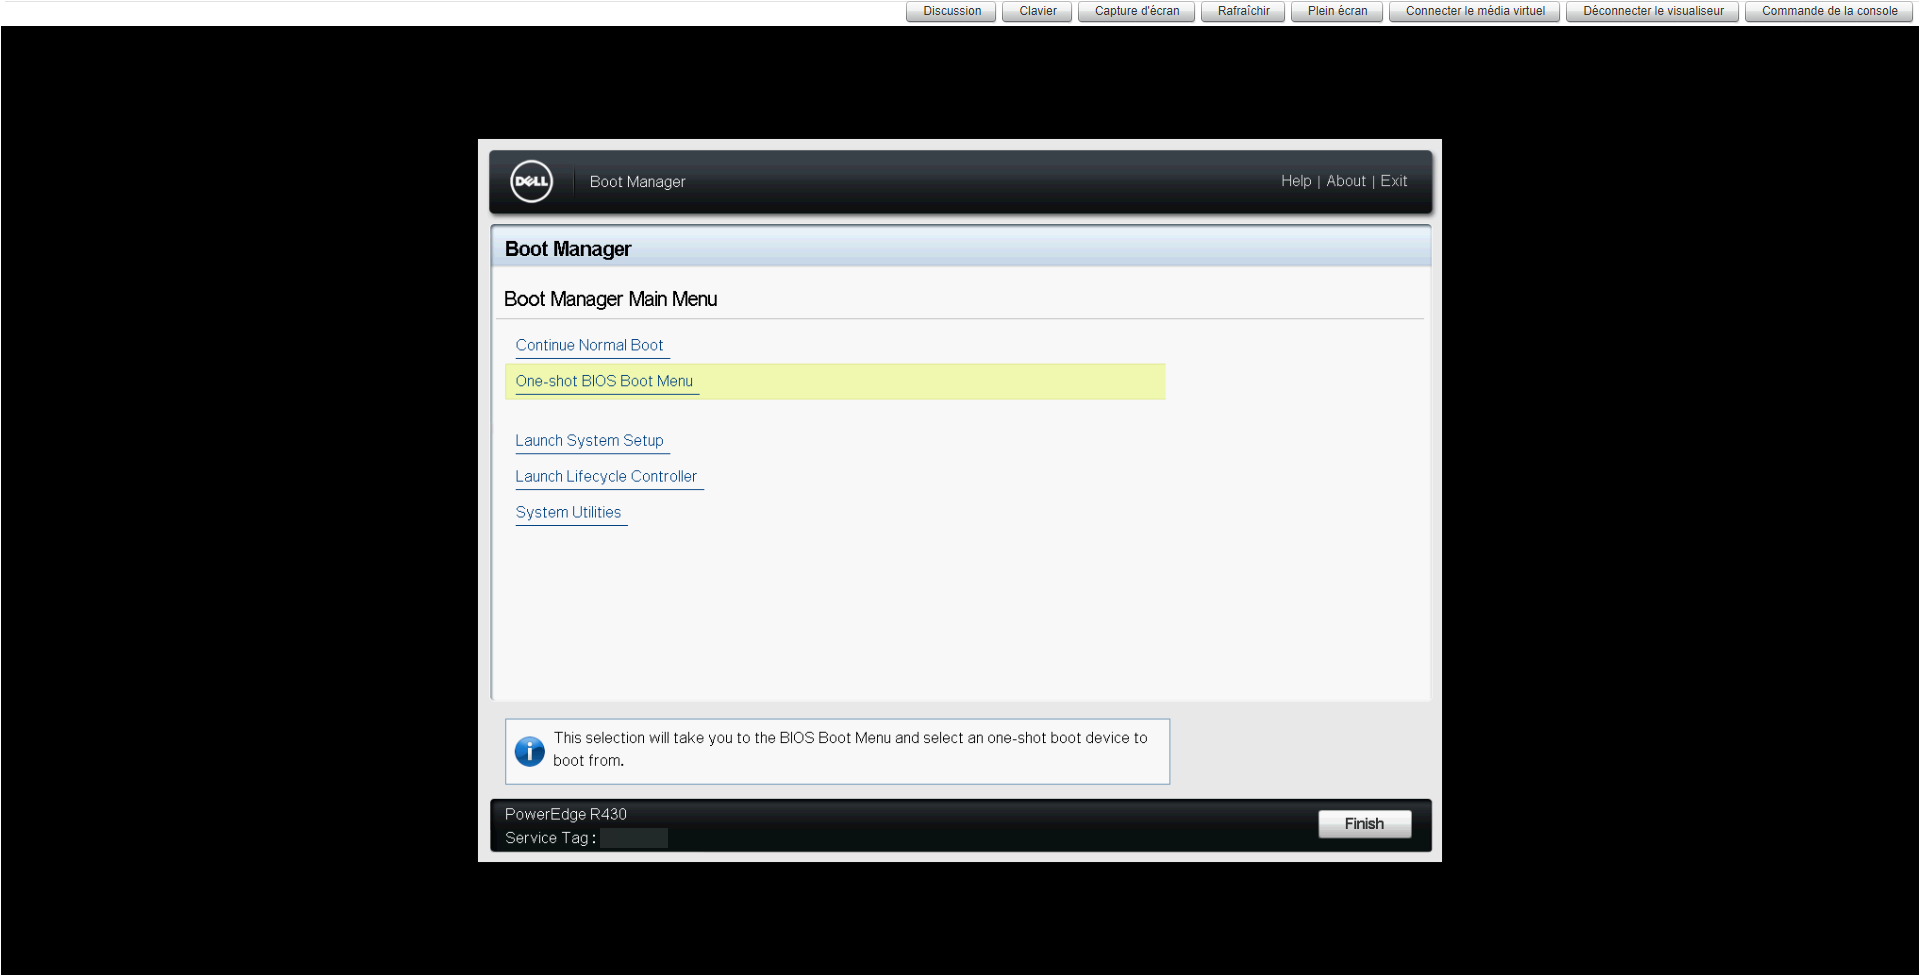
Choose One-shot BIOS Boot menu.
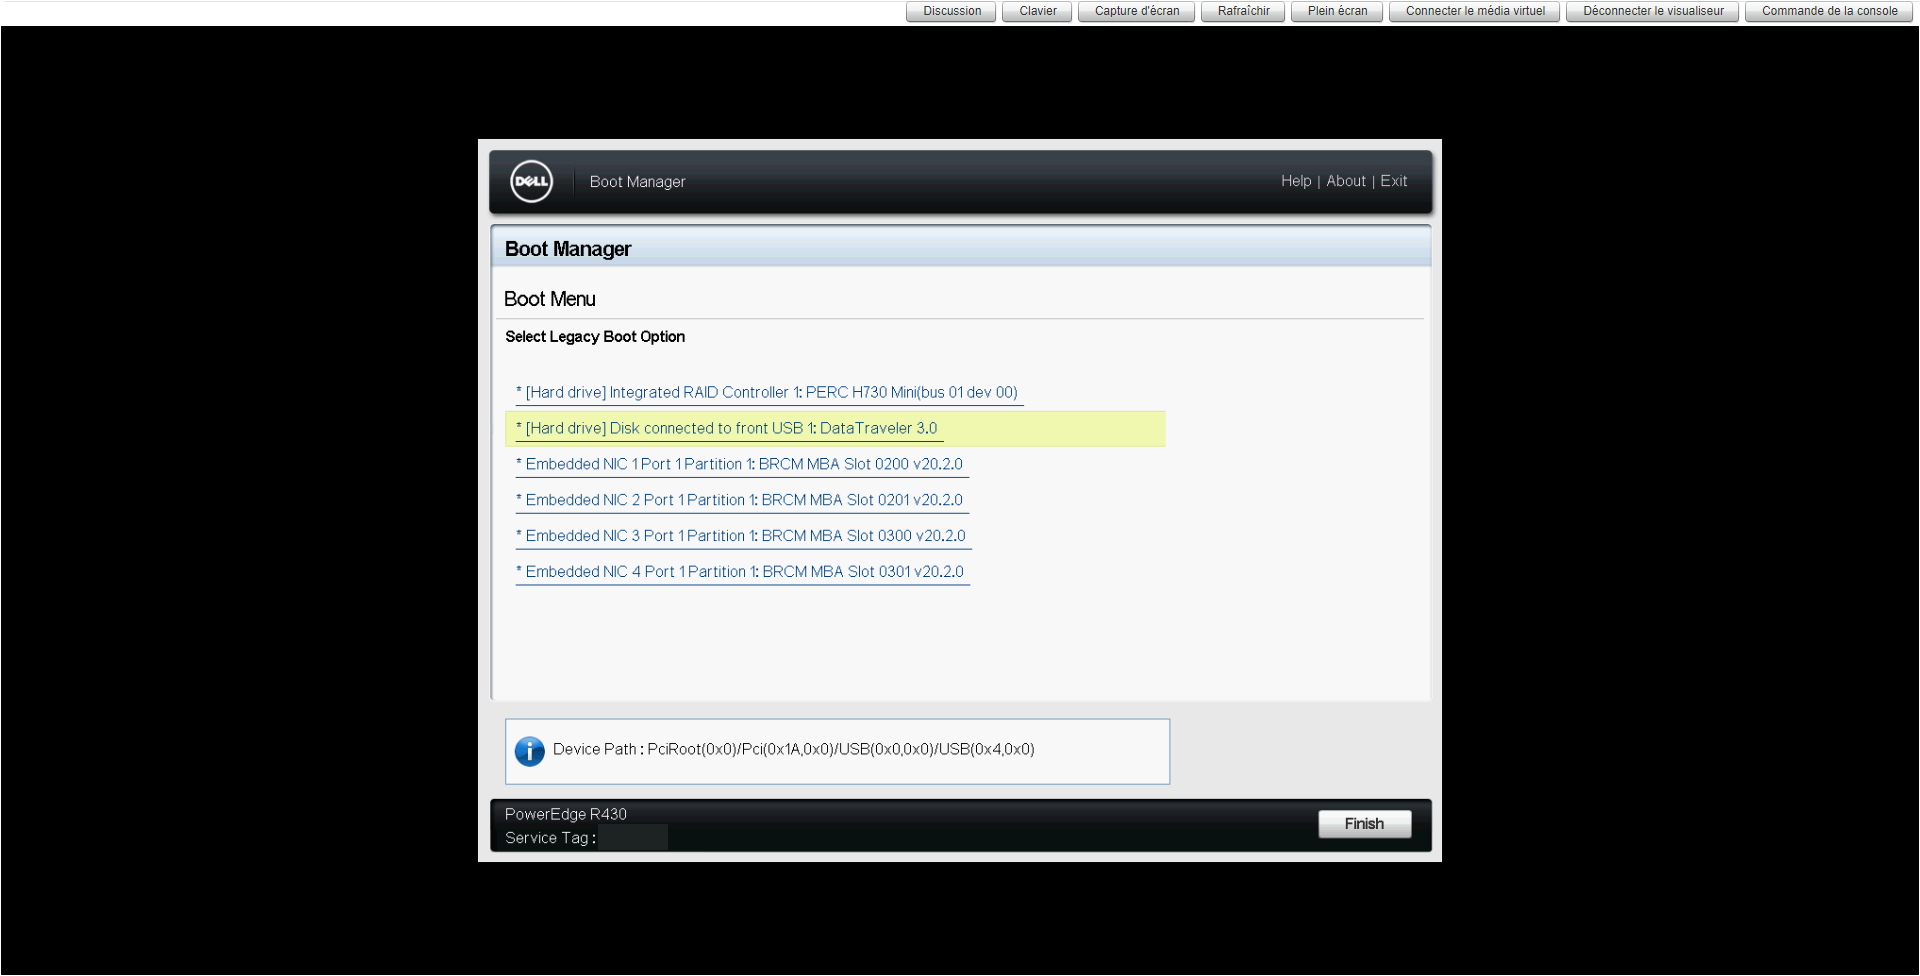
In the list of devices, choose the USB key.
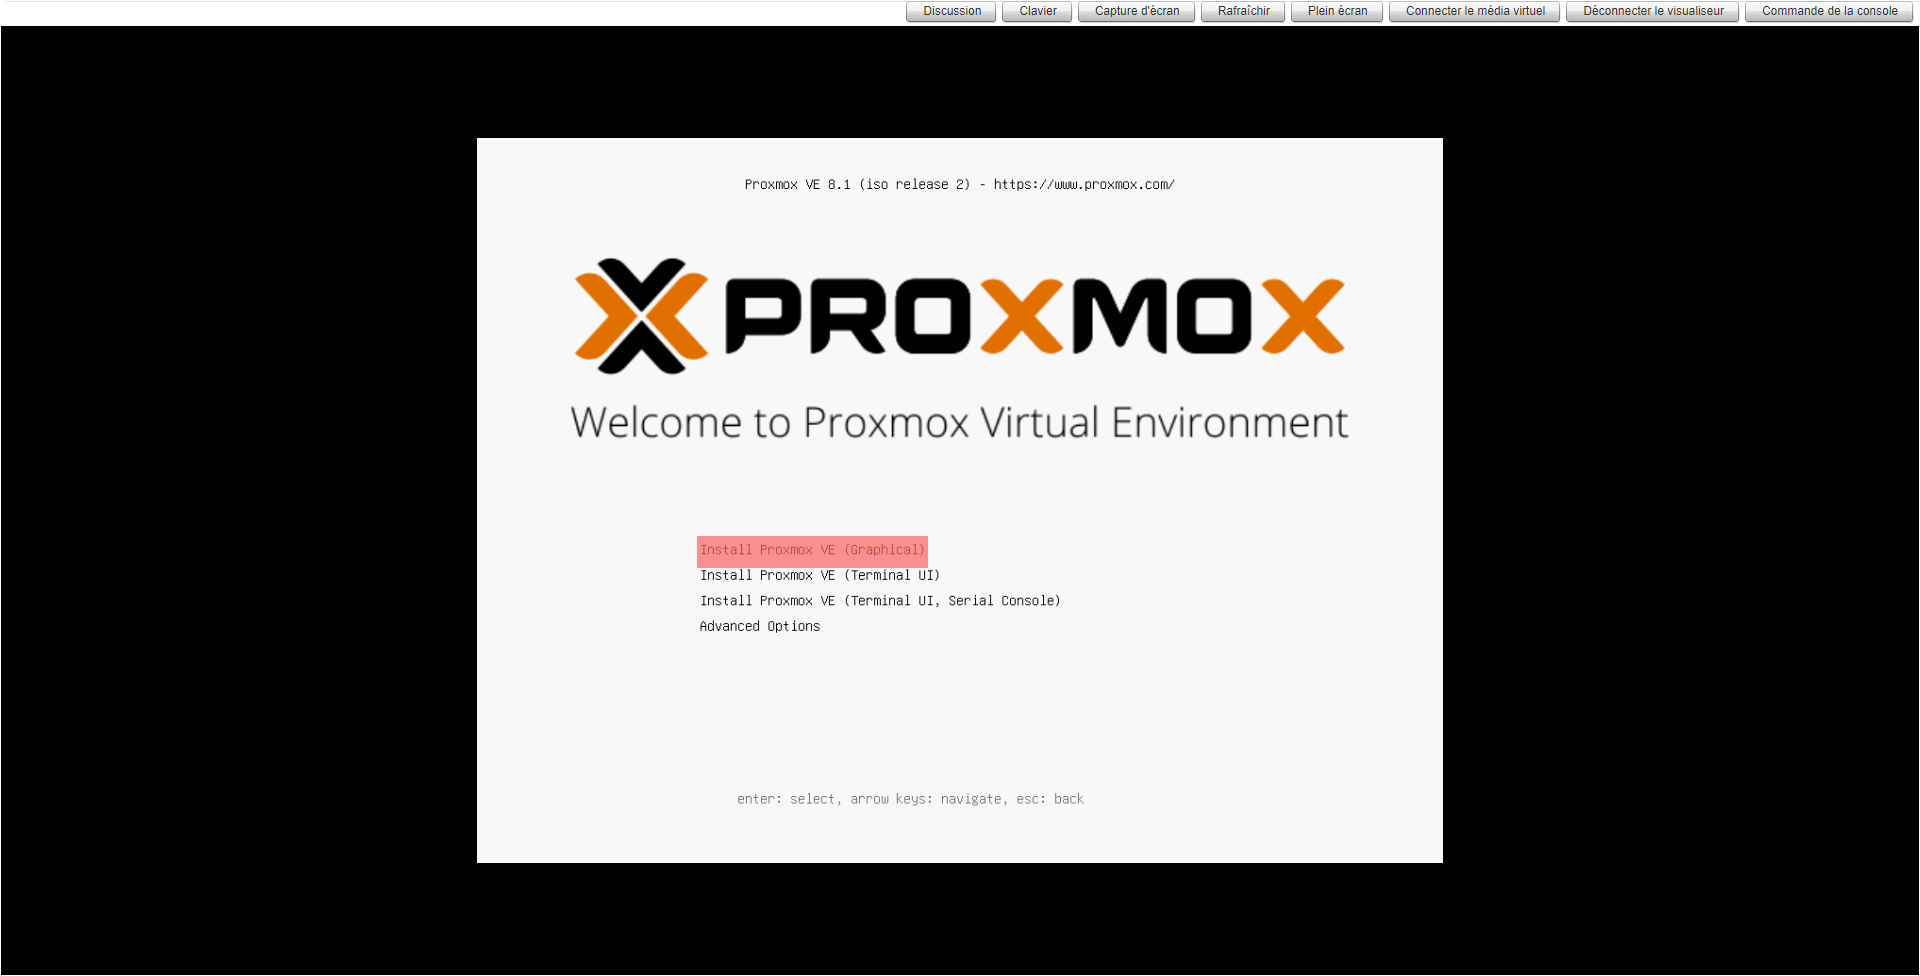
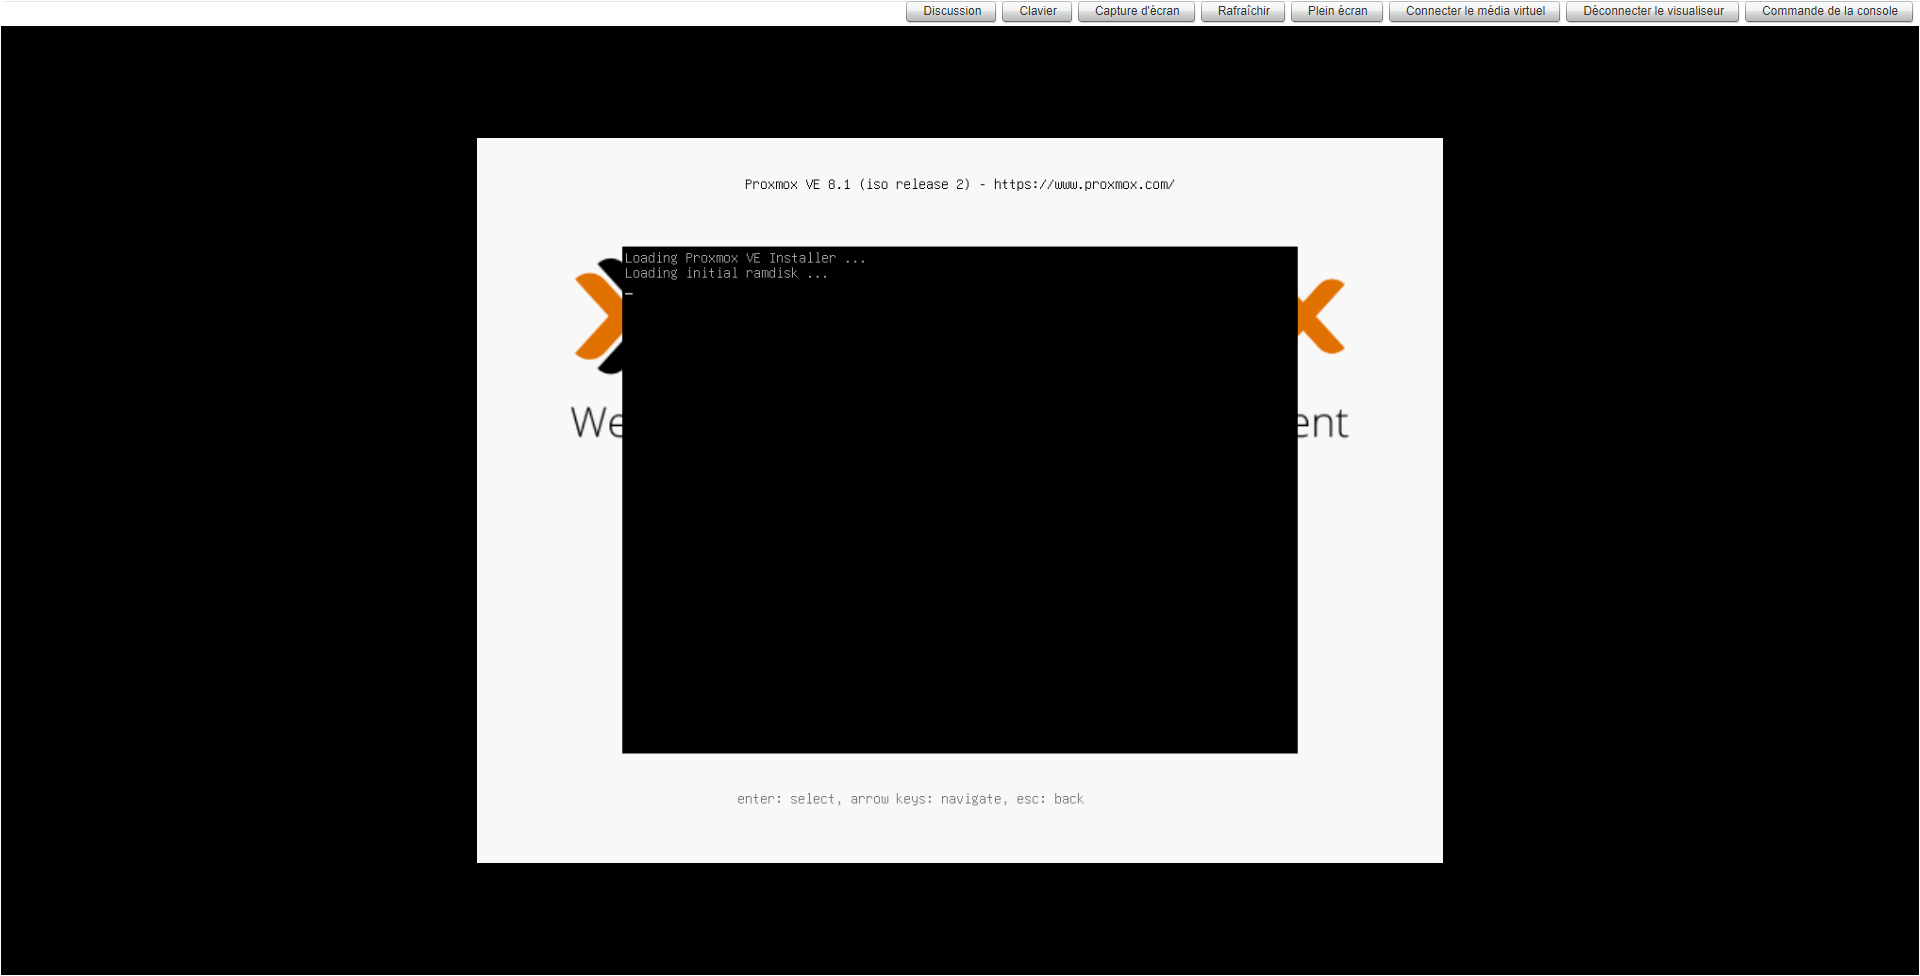
After booting from the USB key, you arrive at the Promox installation wizard, choose the Install Proxmox VE (Graphical) installation.
Wait while the installation wizard loads…
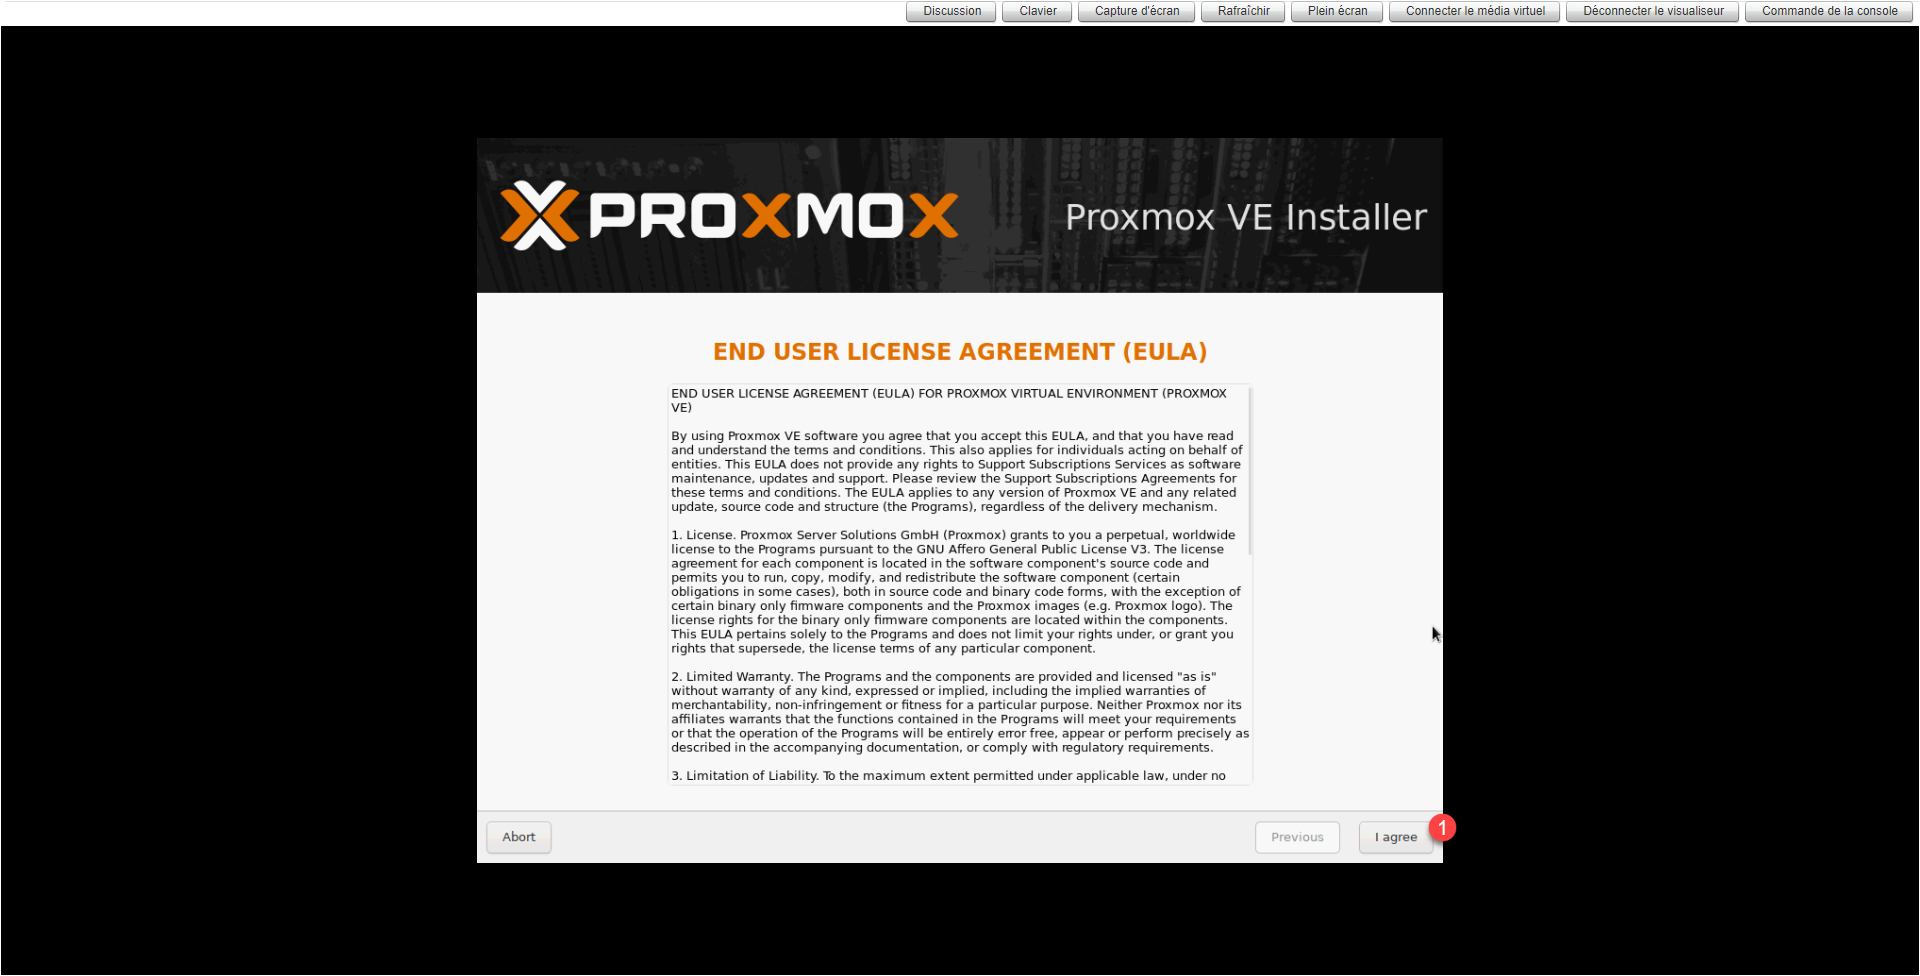
Start by accepting the license by clicking on I Agree 1.
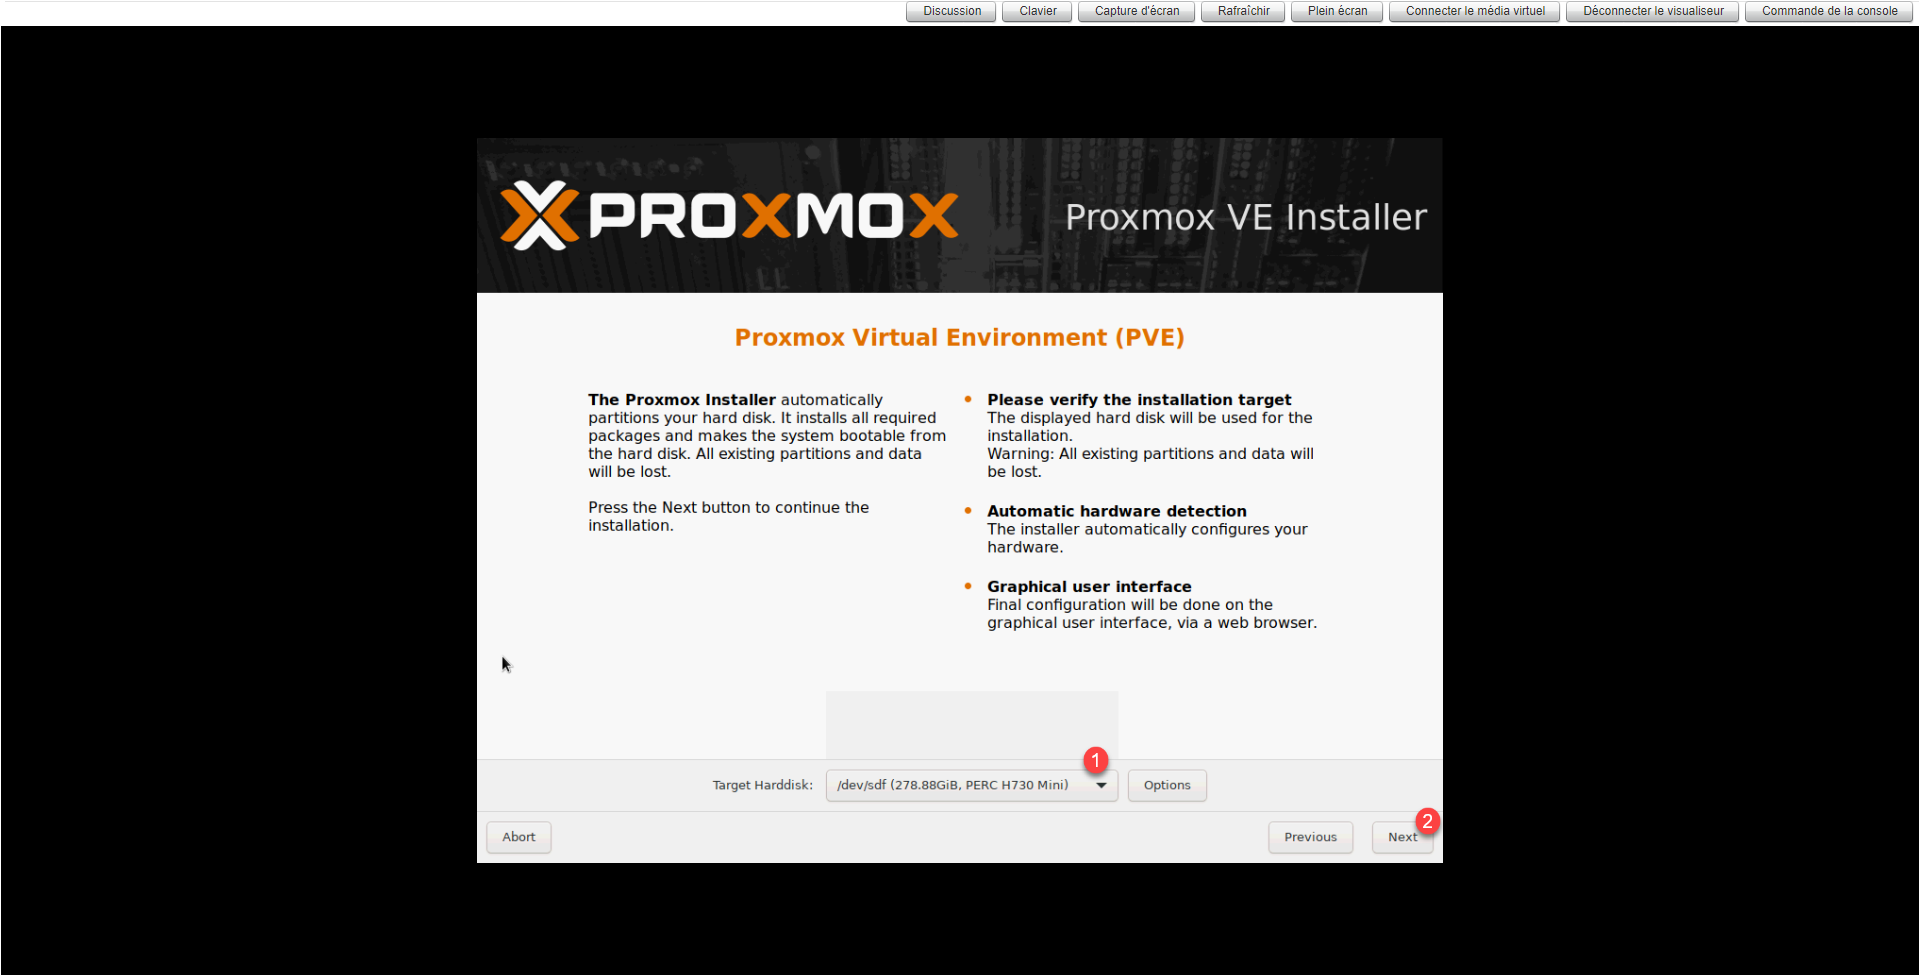
If you have several disks, the Proxmox installation wizard asks you to select disk 1, here I chose the disk created on the RAID controller, then click on Next 2.
Select country 1 to automatically configure the Time Zone and keyboard and click Next 2.
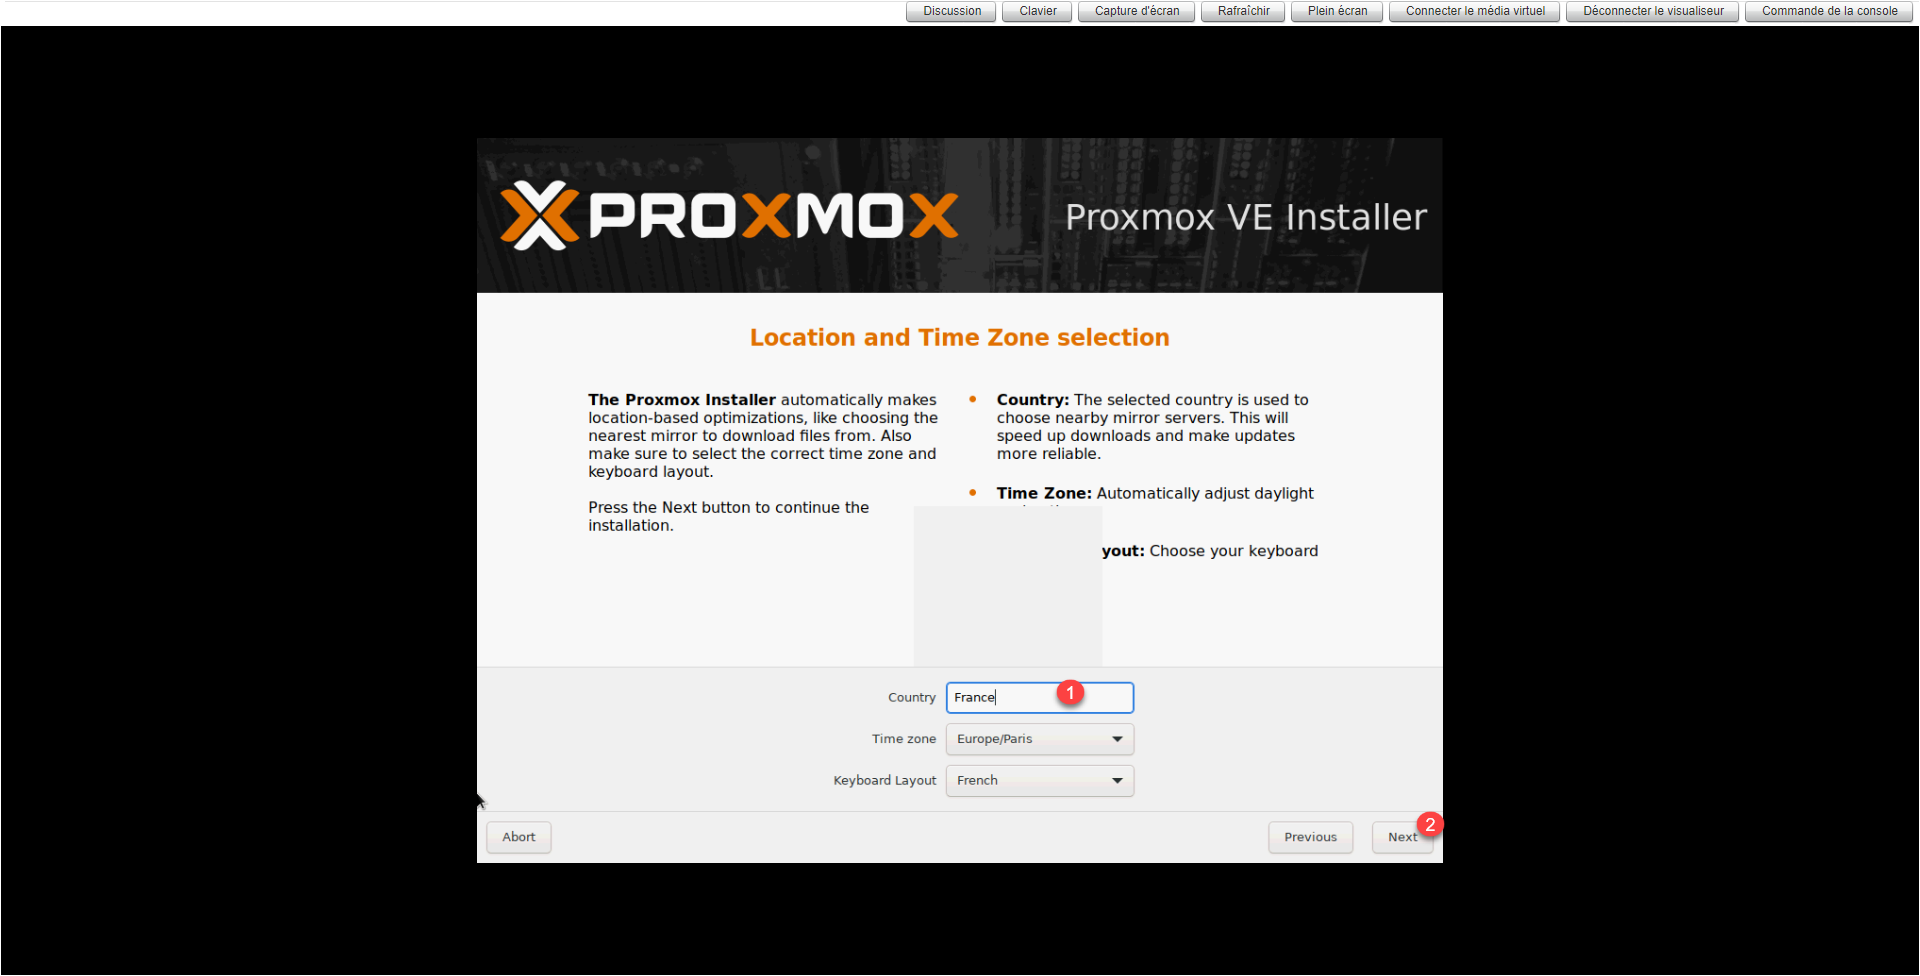
If necessary change the time zone and keyboard layout.
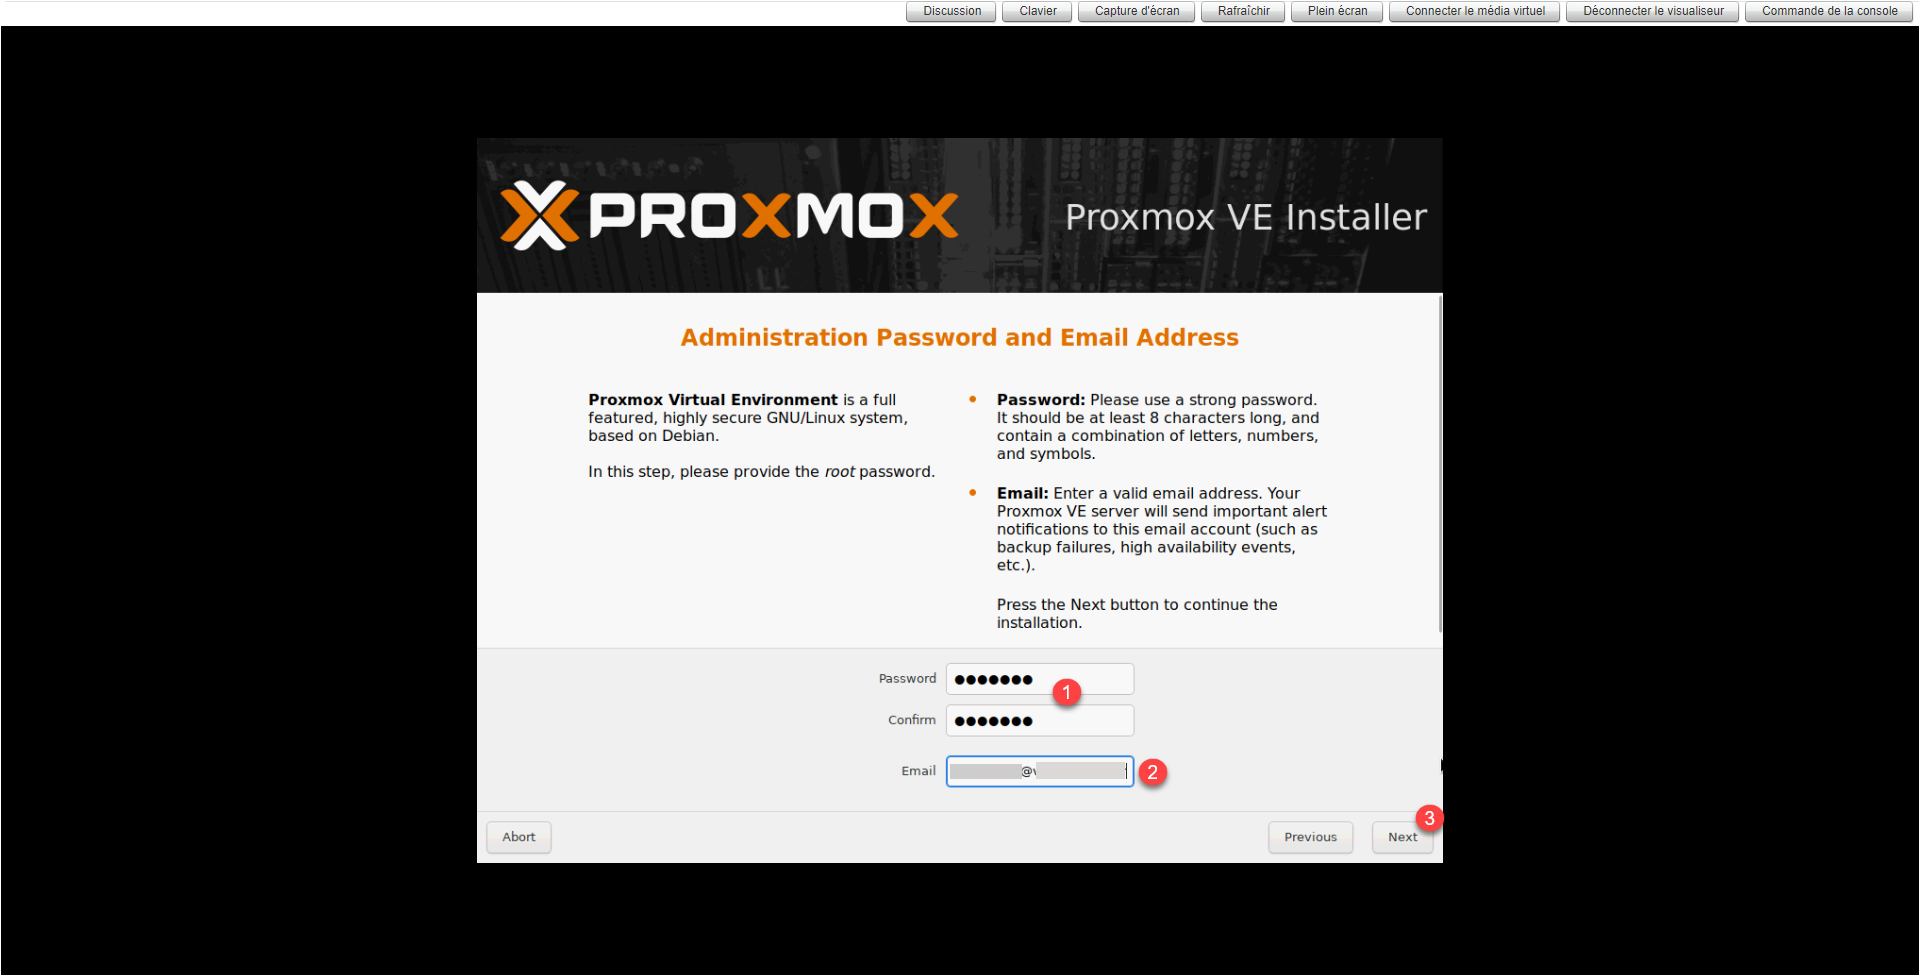
Enter the root account password 1 and an email address 2, this is mandatory and click on the Next 3 button.
Select the management network card for Proxmox 1, enter the machine name in FQDN format 2 then enter the IP configuration of the card 3 and click on Next 4.

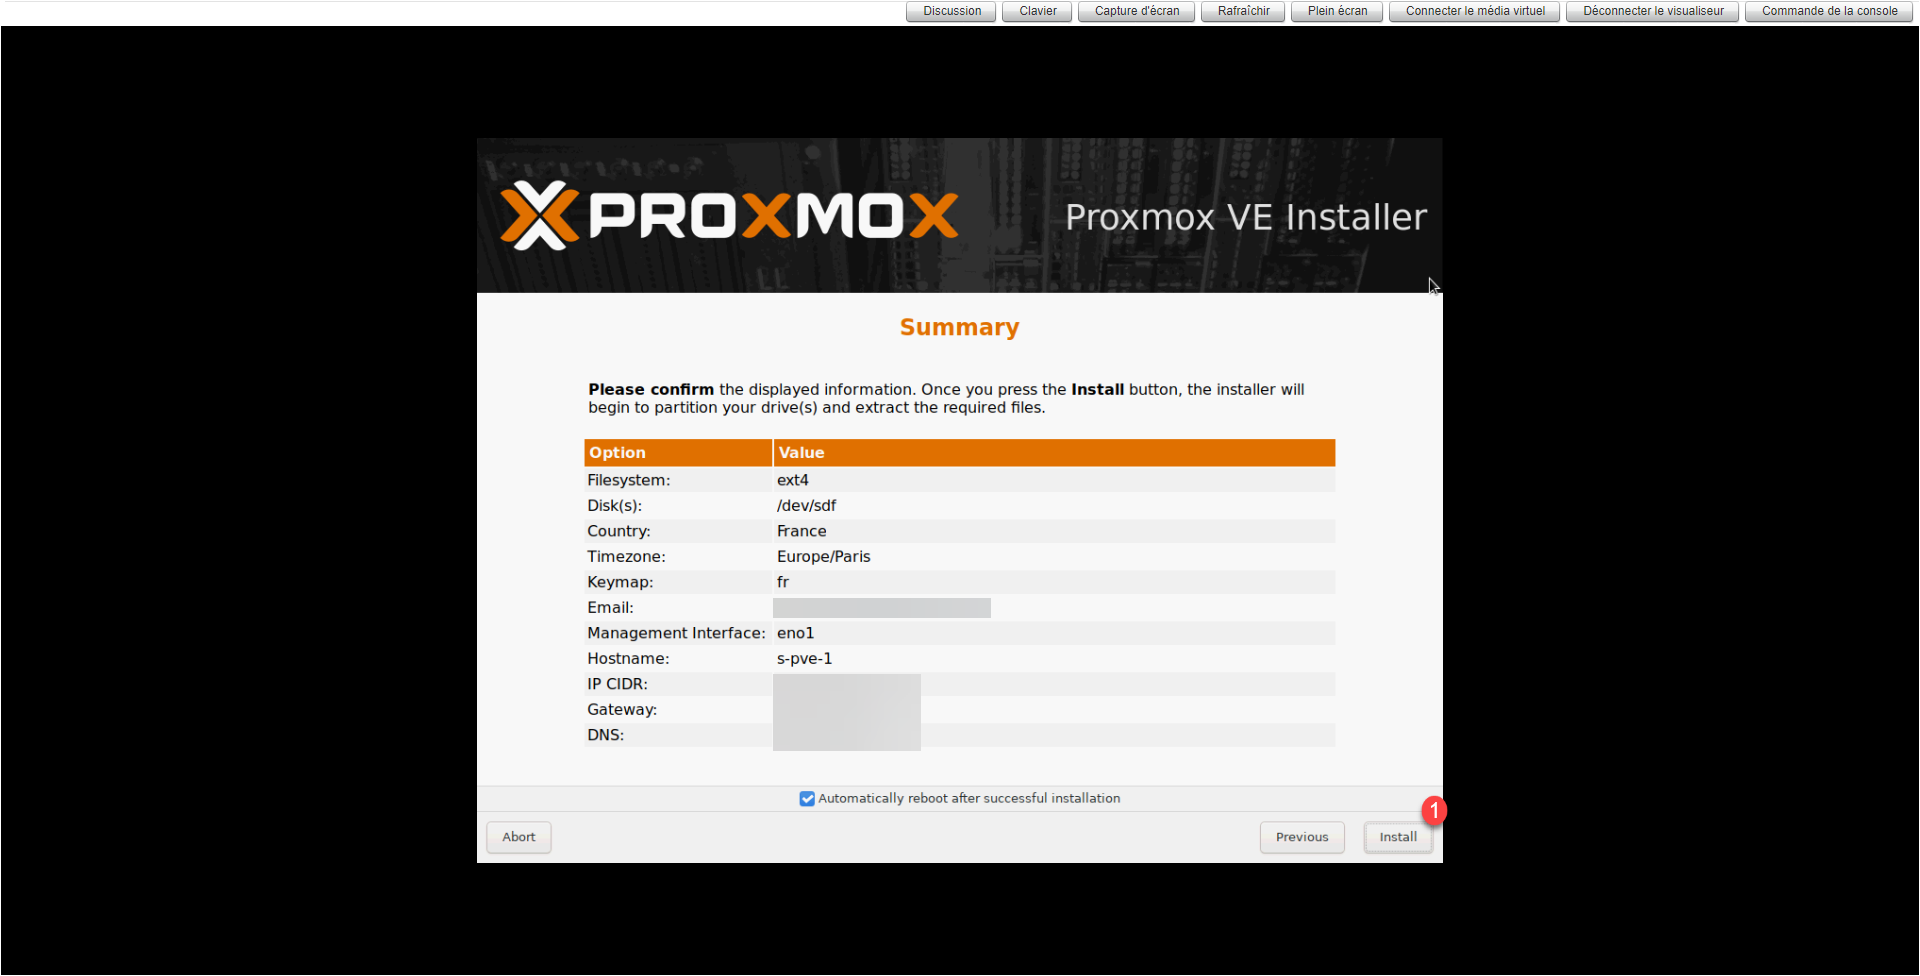
A summary of the configuration is displayed, click on Install 1.
Wait while installing…
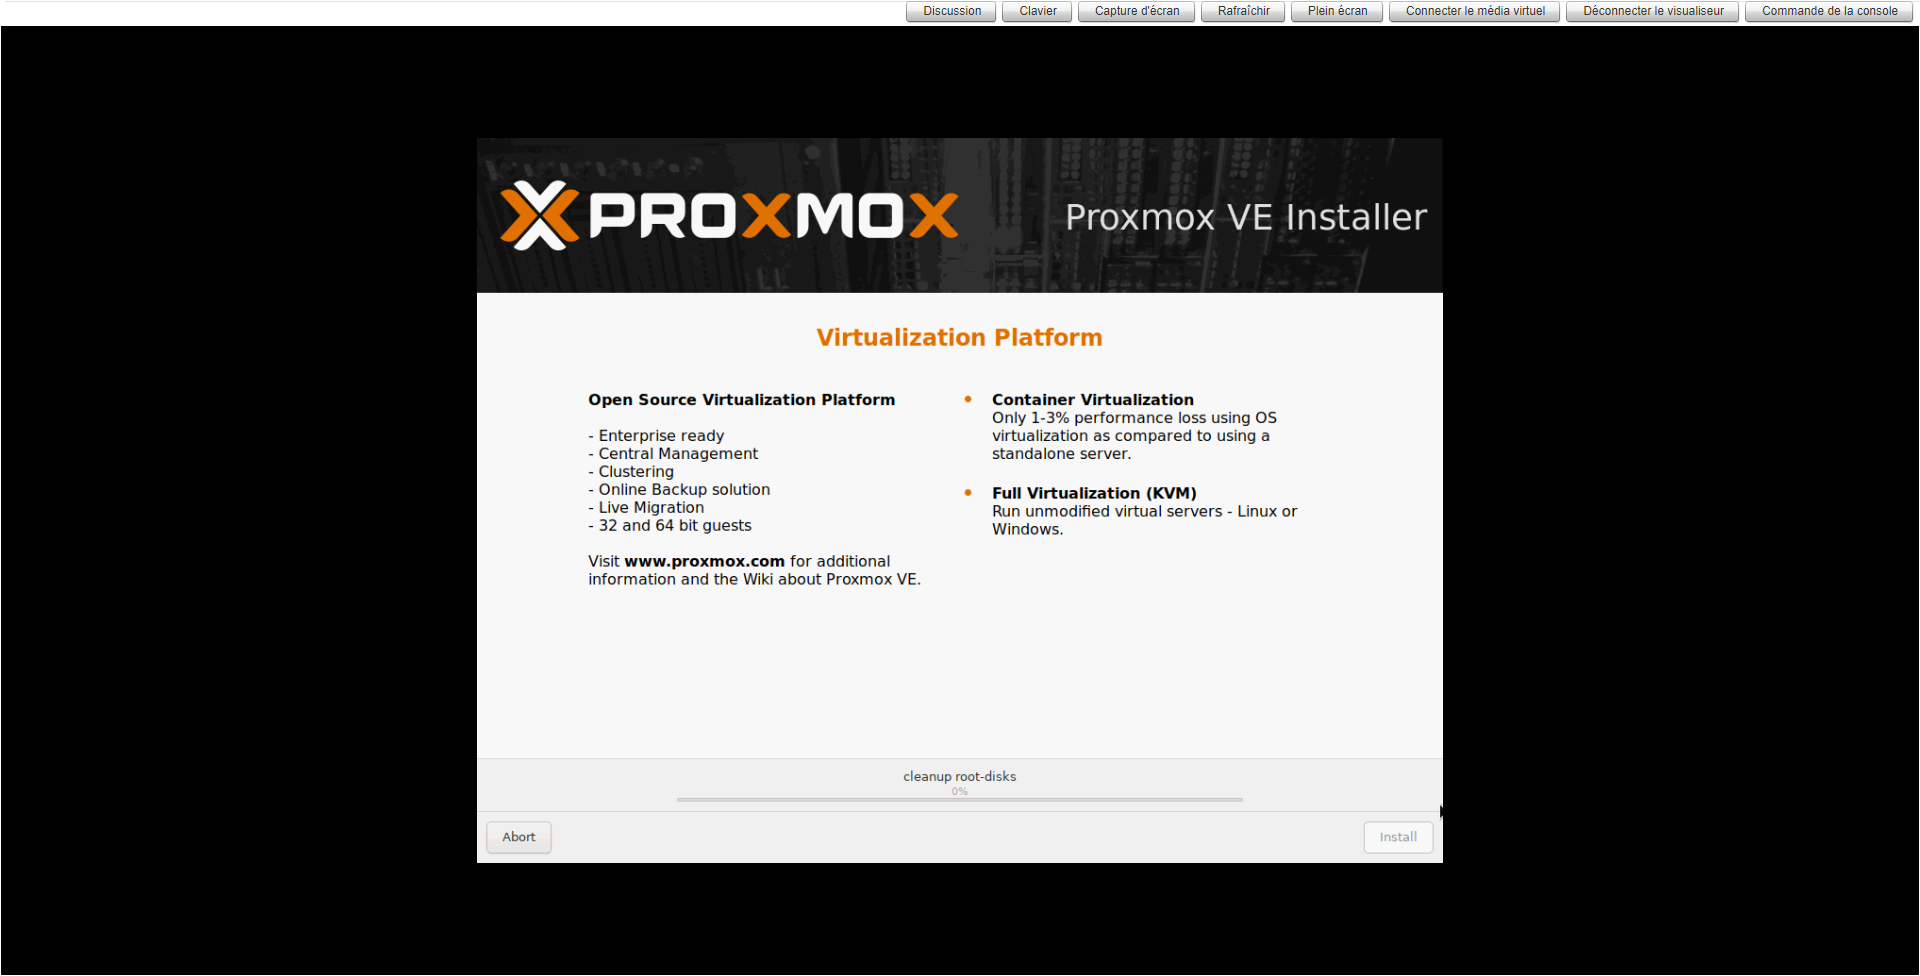
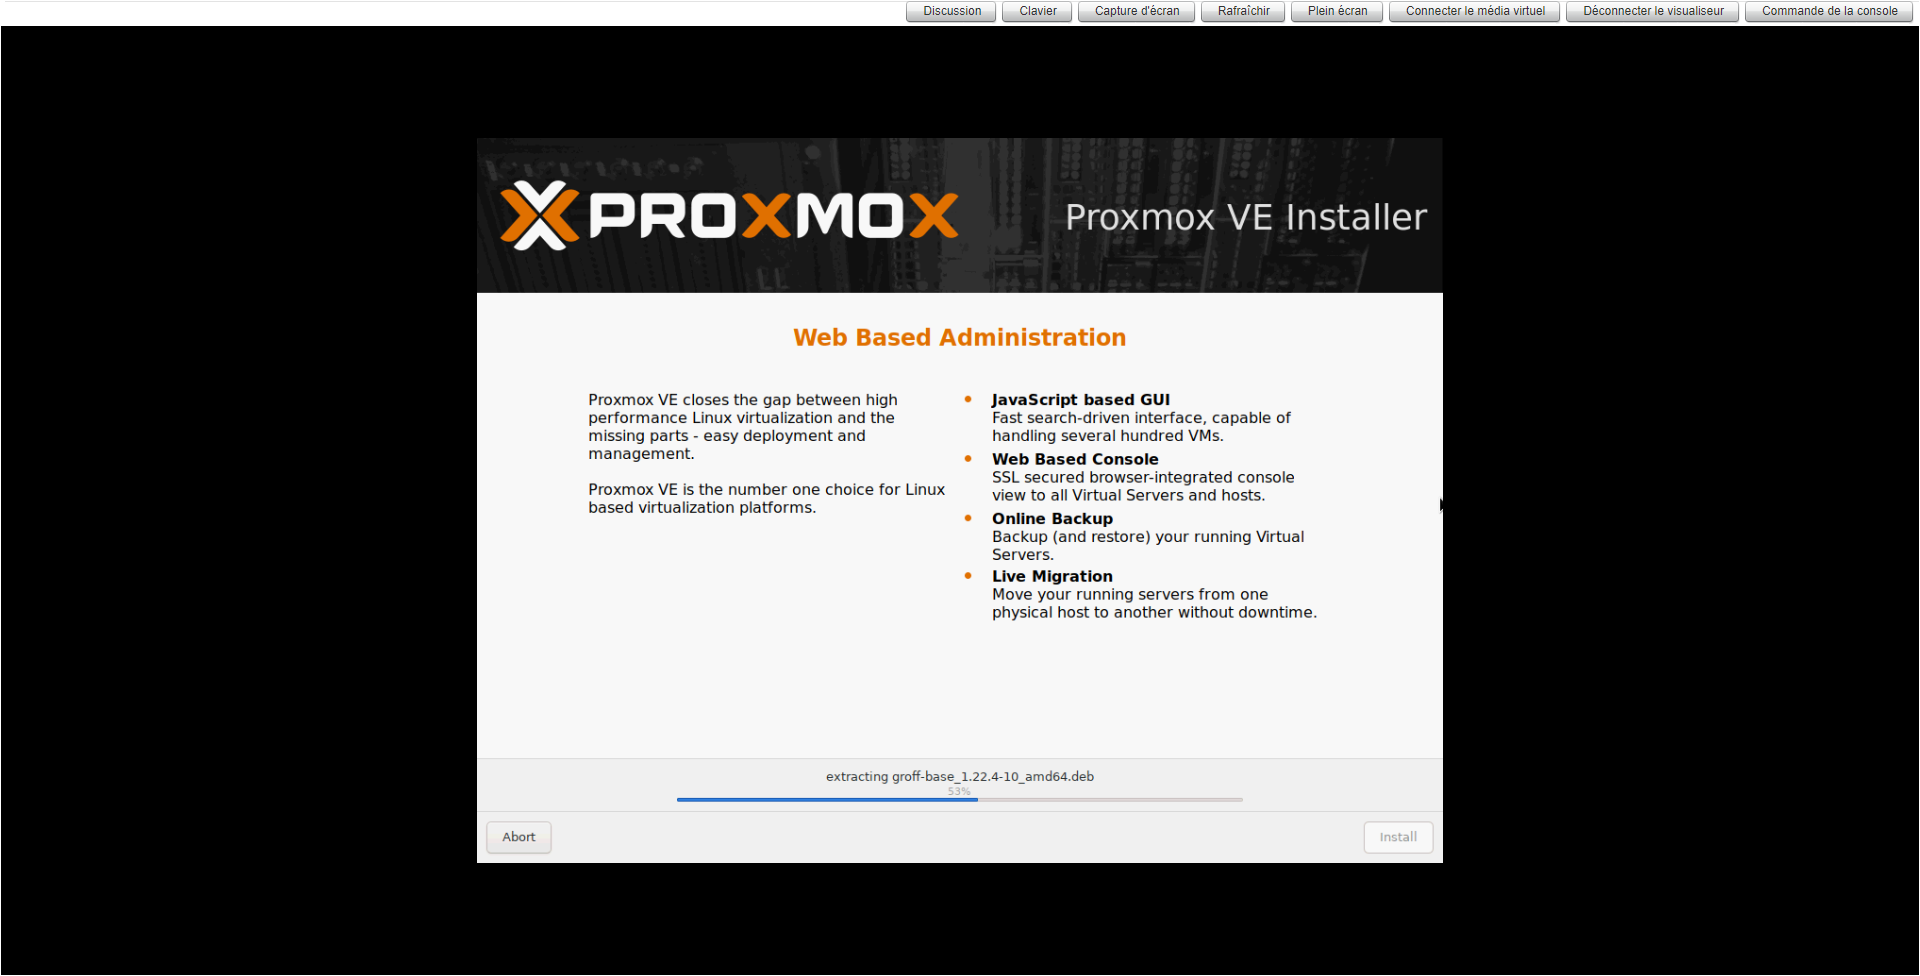

The installation is quite quick, you will barely have time to go have a coffee
At the end of the installation, the server restarts, when you get the prompt to identify your Proxmox is ready.
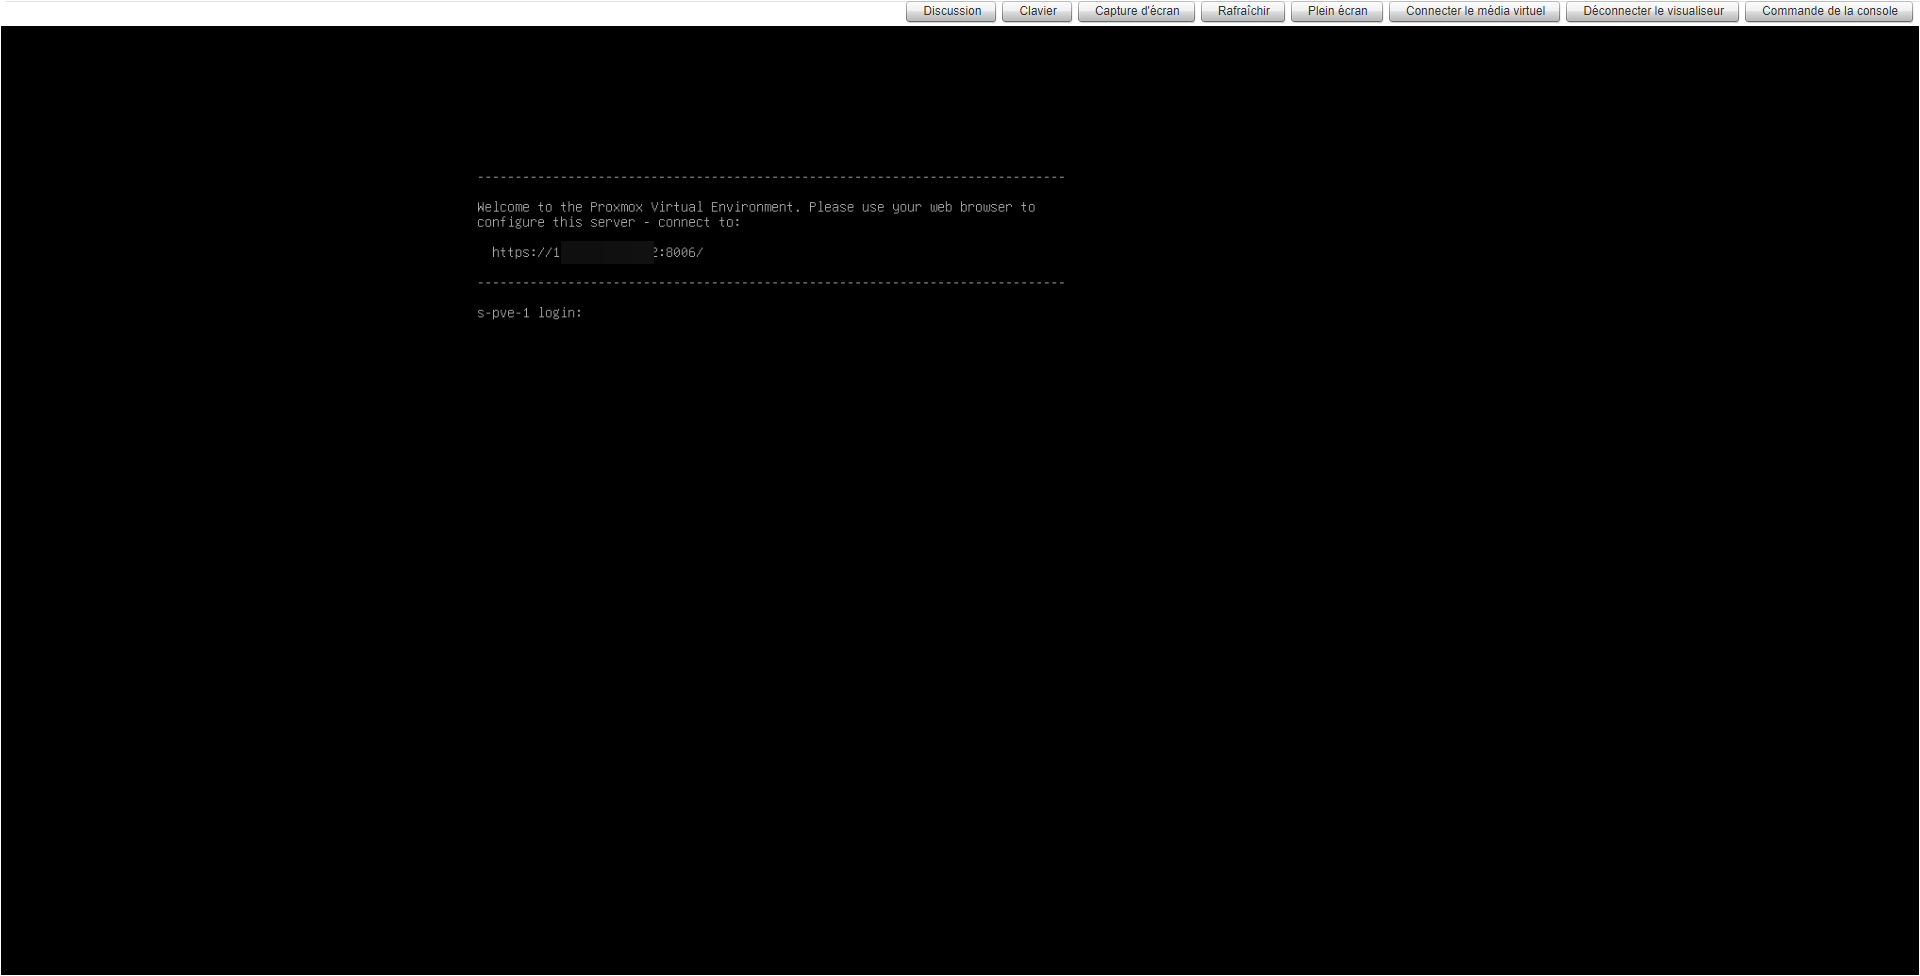
From a browser go to the administration interface: https://ip-proxmox:8006/. Username: root / Password: the one indicated during installation.
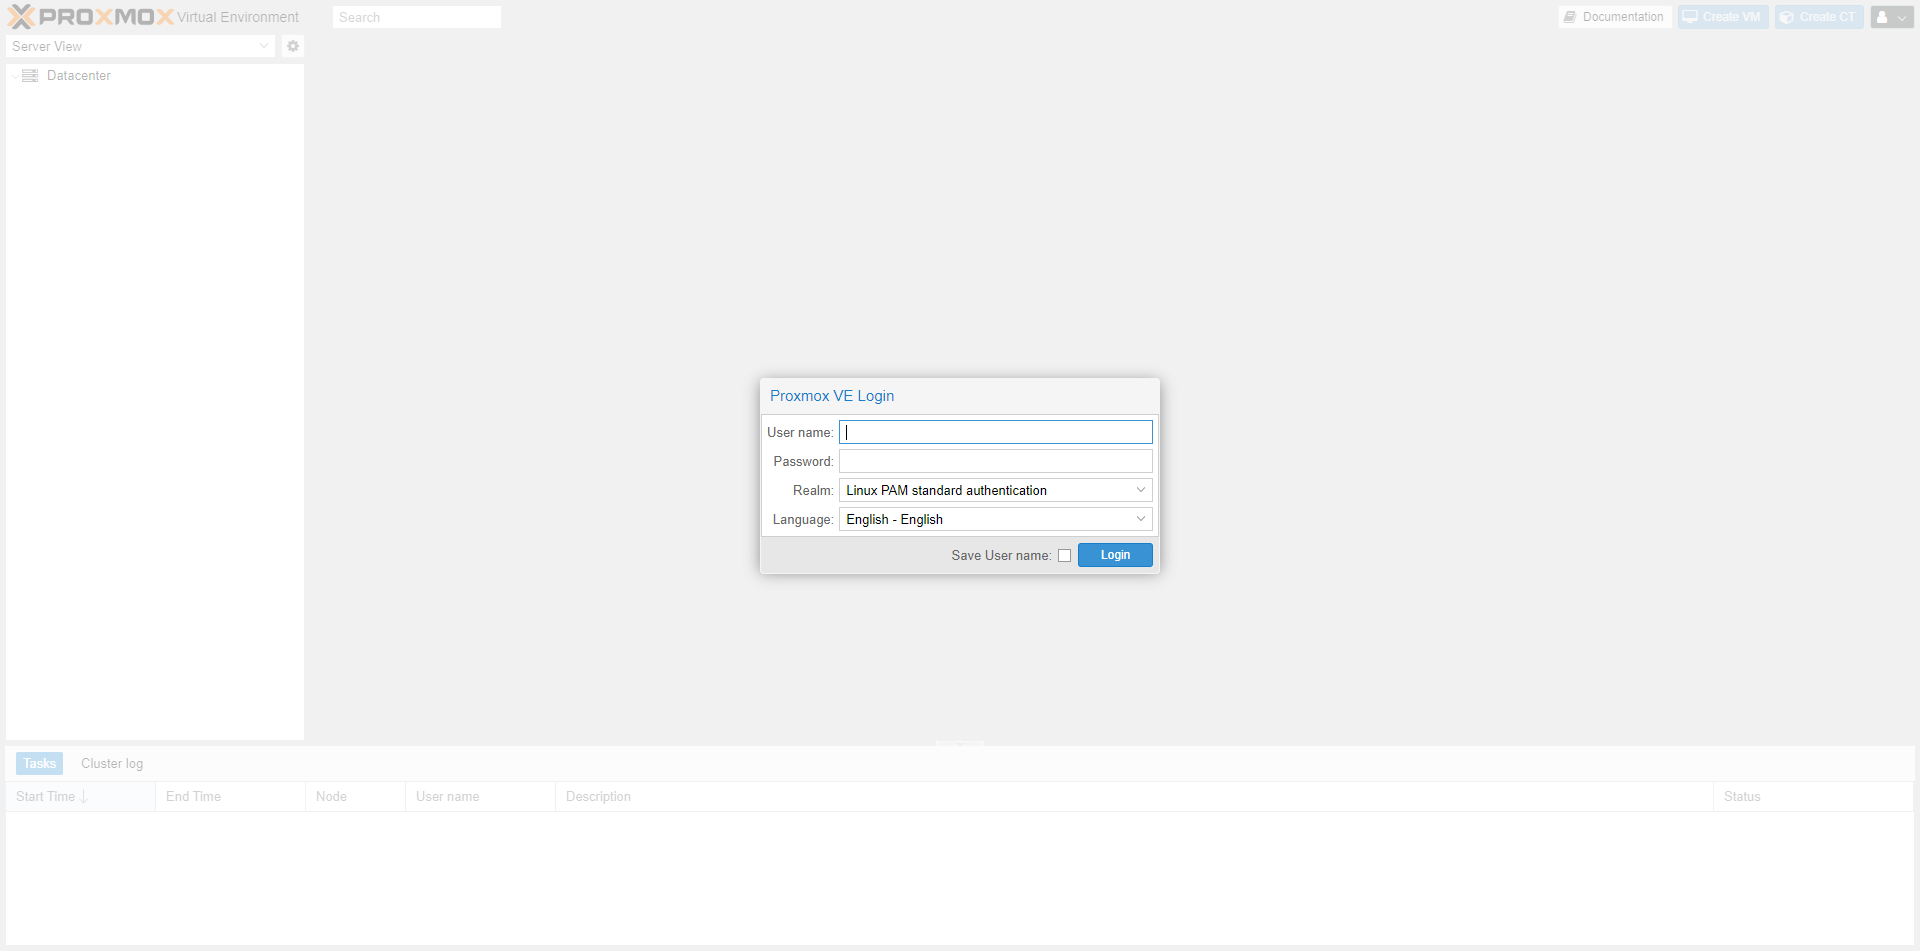
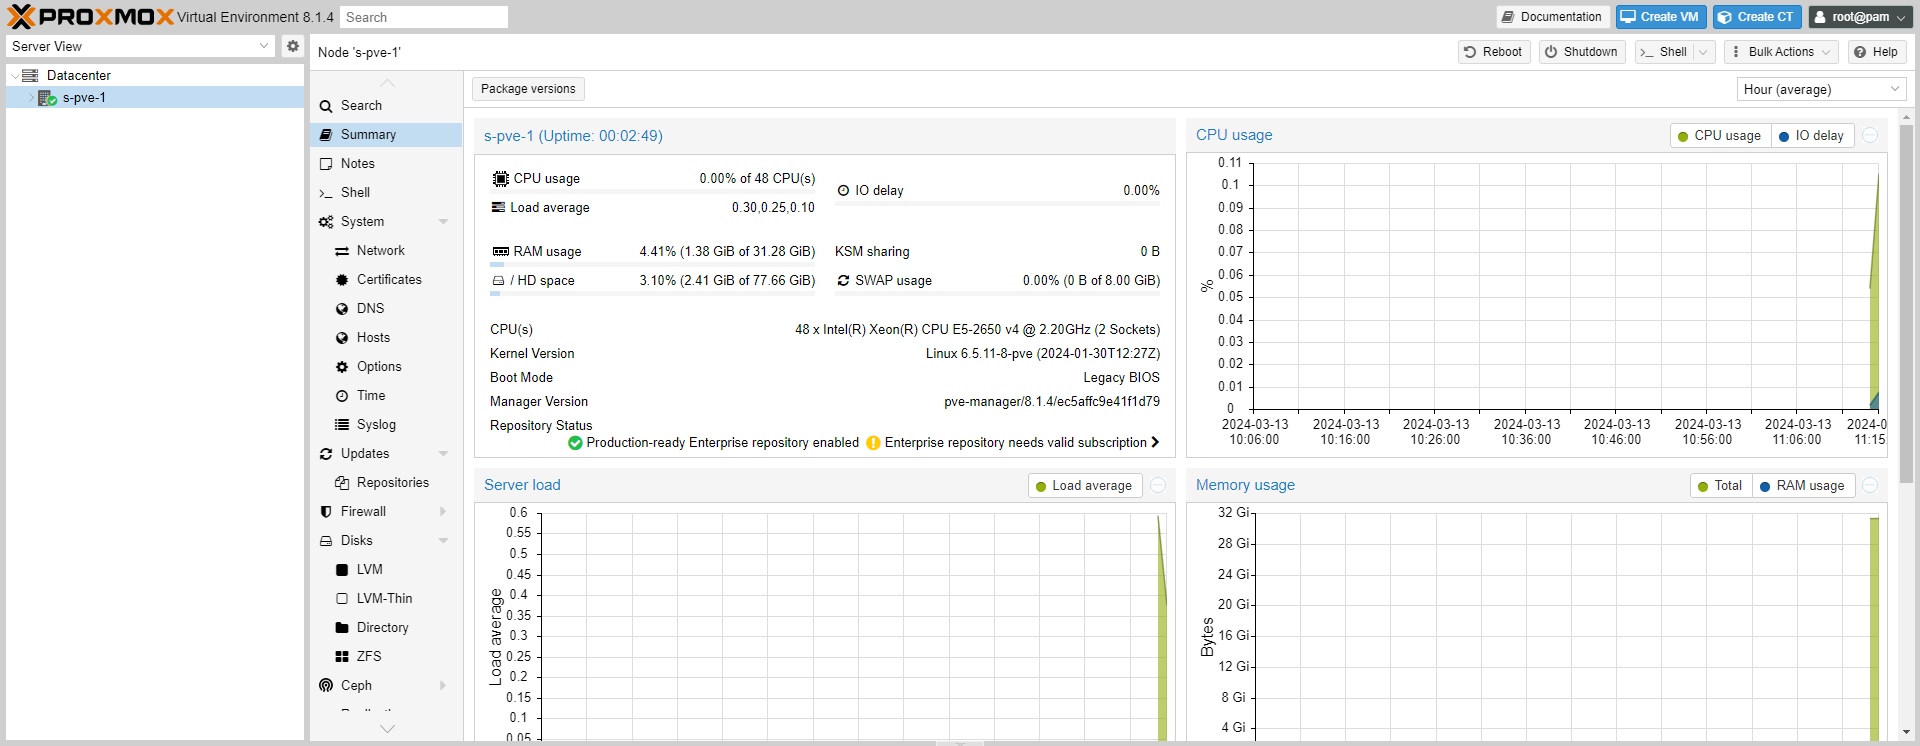
We are connected to the Proxmox VE administration interface.
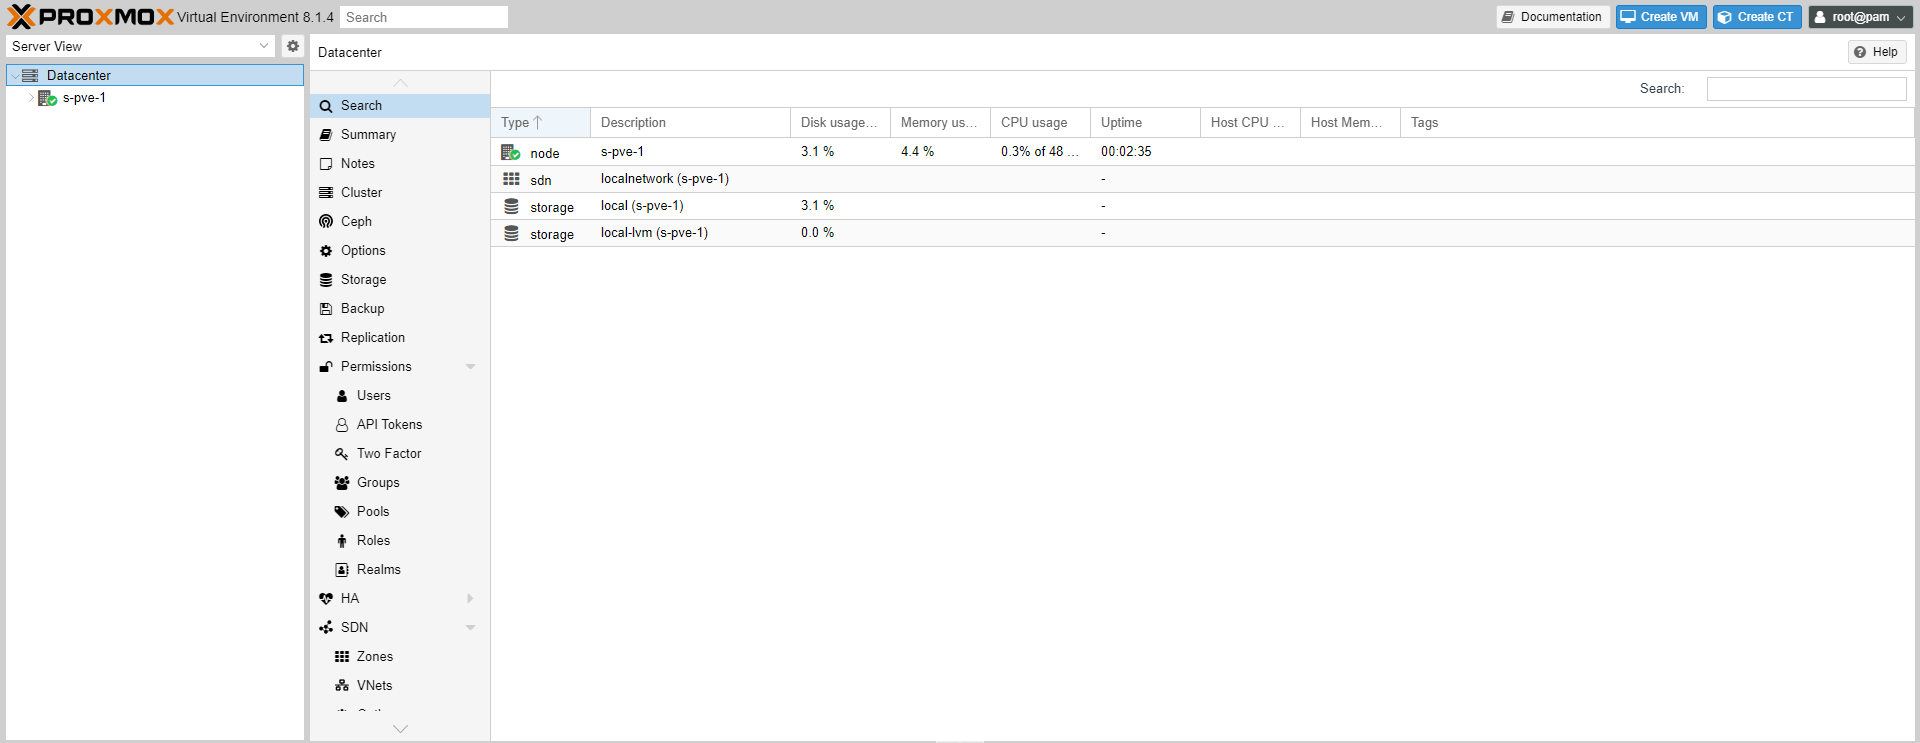
By default, two storages are created which will allow the storage of ISO files and virtual machines.
Here is the server summary.
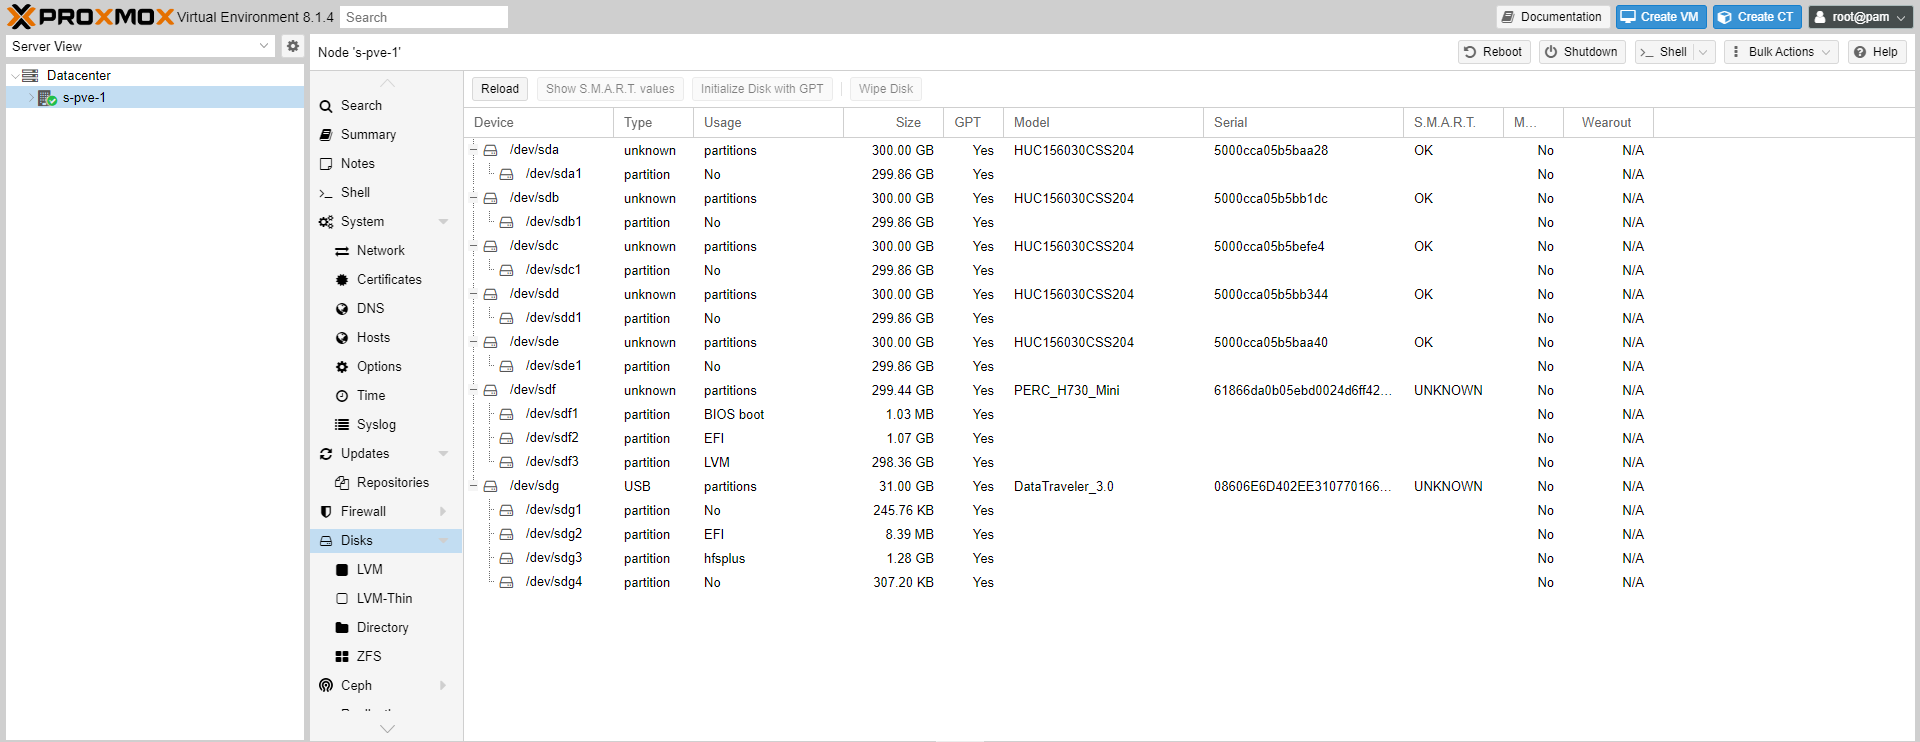
In the disk management, I also find the 5 disks which will be used for Ceph storage.
In this first tutorial dedicated to Proxmox, we saw how to install it on a physical server.
In a future tutorial, we will see how to set up a Proxmox Cluster using Ceph to set up a Hyperconverged infrastructure.
Other tutorials on Proxmox will also follow how:
- Creating VMs
- LXD container creation
- Using Cloud-Init
- …
