In this “how to” tutorial, I will explain how to install the Windows Terminal application available on Windows 10.
Before launching into the “technical” part, I will first introduce you to Windows Terminal.
Windows Terminal is an application which groups together all the command windows (CMD, PowerShell, WSL) in a single application and which allows tabbed browsing as in Internet browsers, which allows in an application to have several PowerShell windows for example what is practical on a daily basis. It is also possible to customize the application by adding, for example, fast SSH connections to other computer equipment.
Open Microsoft Store
From the Start menu, open the Microsoft Store application.

Search for Windows Terminal in the store
In the search box at the top right, search for Windows Terminal then click on the application or access its page.

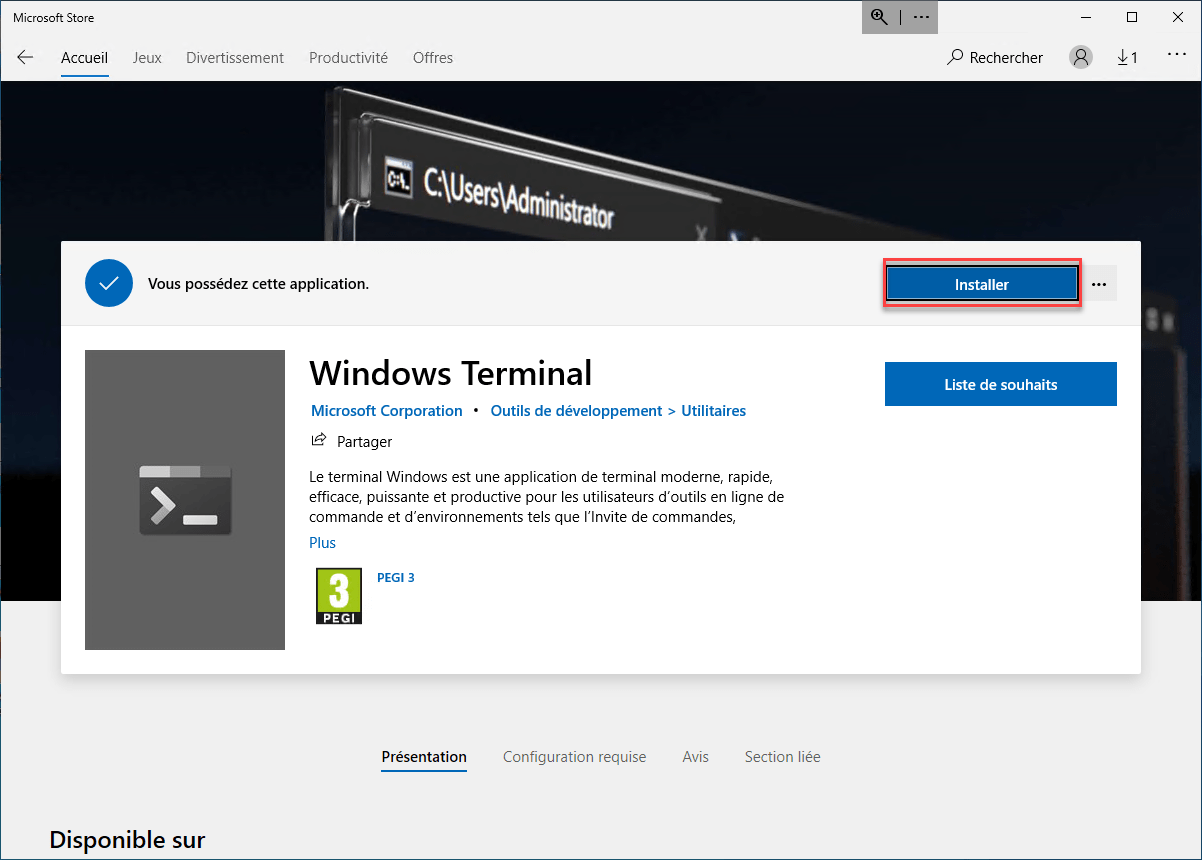
Install Windows Terminal
On the application page, click on the Install button.
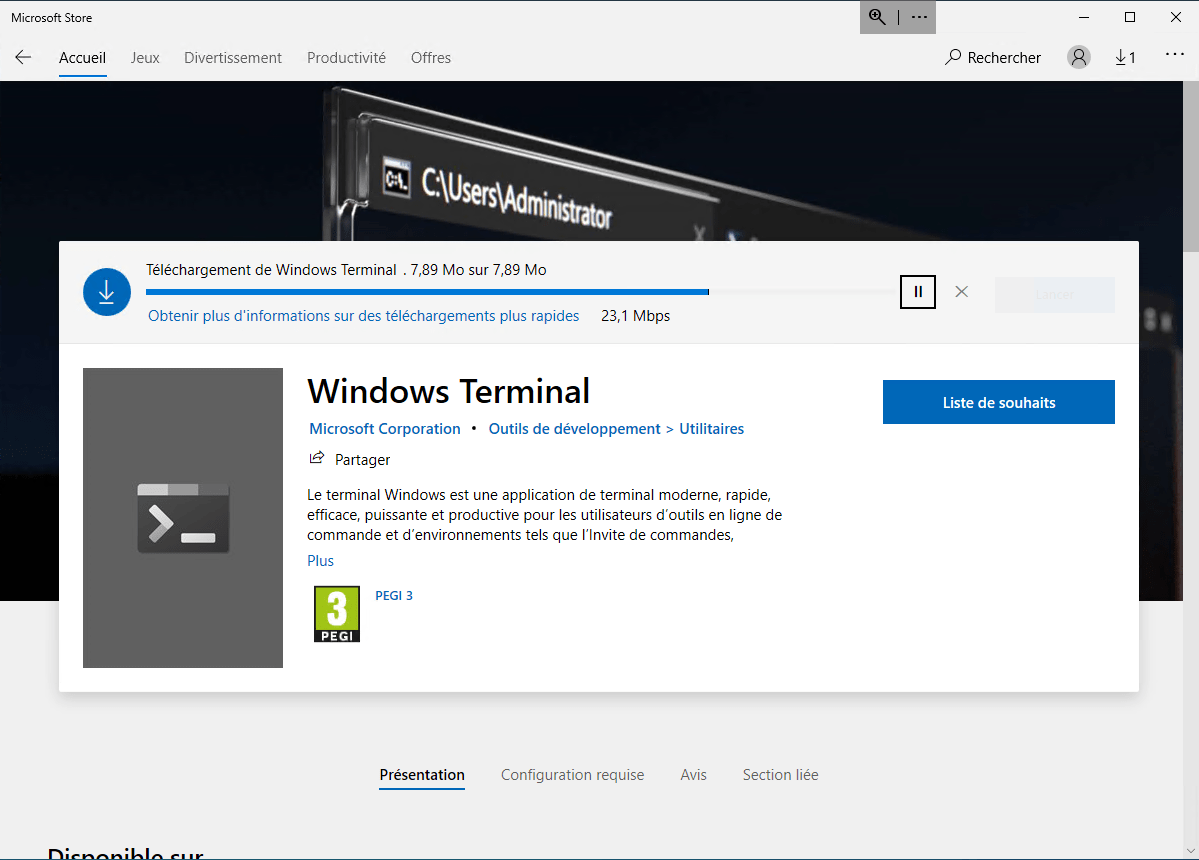
Wait while downloading and installing
Wait while Windows Terminal is downloaded and installed on your computer.

Launch Windows Terminal
Once the application is installed, click on the Launch button to open it.
Subsequently, you will find Windows Terminal in the Start menu
Use Windows Terminal
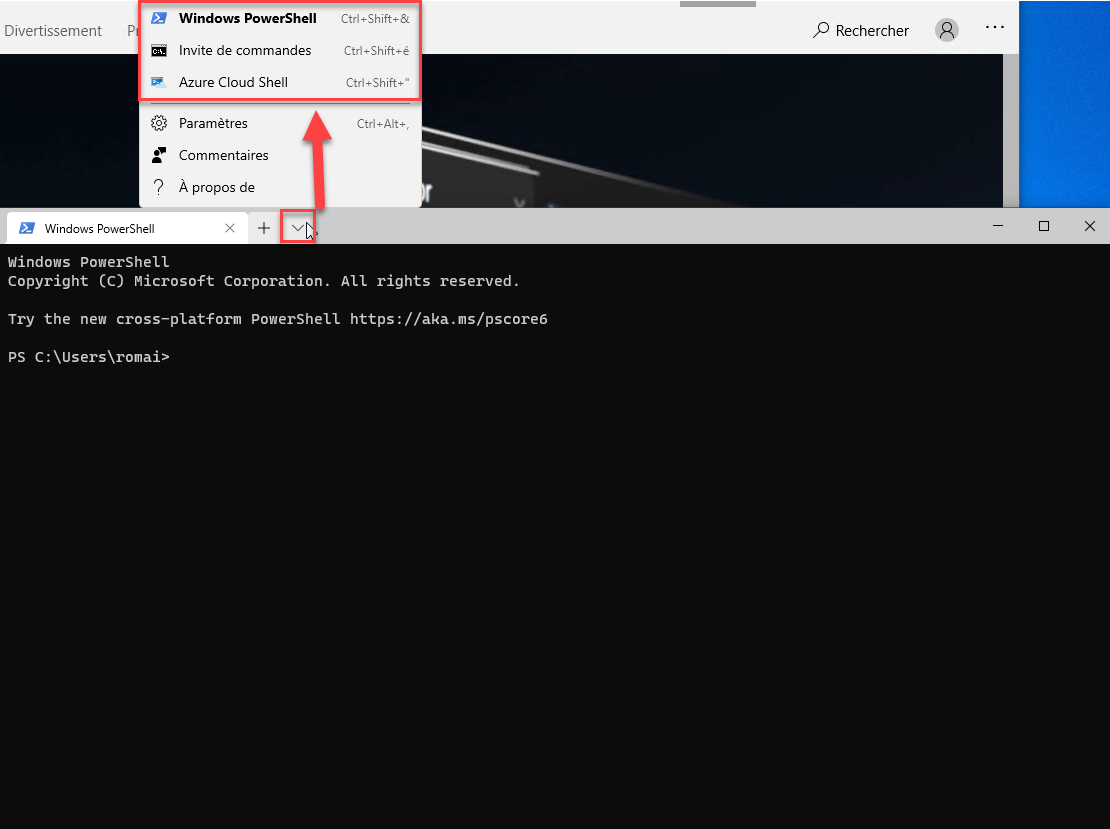
On launch Windows Terminal opens with a PowerShell prompt.

To open another console, in a new tab, click on the chevron at the top right of the last tab then click on the type of console you want to open it.
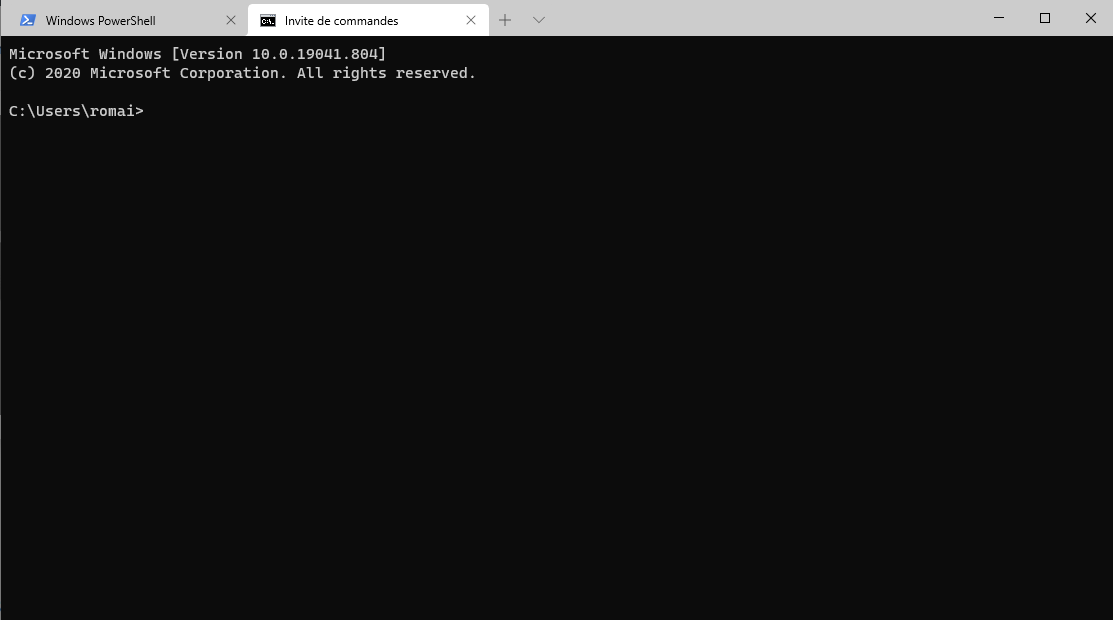
The command prompt is opened in another tab.