In this tutorial, I will explain how to deploy an RDS farm with Windows Server 2025 to provide a Remote Desktop or RemoteApp environment.
Deploying an RDS (Remote Desktop Services) environment in an enterprise can have several uses:
- Using “thin” clients which are terminals that will only allow connection to Remote Desktop services, this allows having a single Desktop environment to maintain, everything is centralized.
- Provide a working environment for small, remote internal sites, avoiding the need to deploy servers.
- Provide a controlled and centralized teleworking environment
- RemoteApp application deployment, which avoids having to install the application on several company computers, this solution facilitates production implementation and also software maintenance
- …
Since Windows Server 2012R2, the deployment of RDS environments, particularly RDS Farms, has been simplified; everything is done from Server Manager.
Table of Content
Prerequisites
We will start with the prerequisites necessary for deploying an RDS environment.
The first thing to have is the RDS CALs (licenses), it is necessary to have as many as different users who will connect to the Remote Desktop environment, that is to say that if you have 50 different users, you have 50 RDS CALs even if the maximum number of simultaneous users is 20.
You must be in an Active Directory domain.
Regarding the number of servers, you need at least 3:
- The broker, which will be the conductor of the RDS environment, will allow the configuration and management of the connections of the different users to the collections, in a restricted environment, we also install the license server on this server.
- Remote Web Access and Gateway: This server will share two services, the first will provide a Web portal that will allow access to the different collections to connect to a remote desktop or a published application, the second service allows publishing the connections using a Web service in HTTPS (443)
- Remote Session Host: This server will have the function of providing the working environment (Desktop) where the application, the final connection of the user is made on this server.
In this tutorial, I chose to use 4 servers for the RDS environment by installing 2 remote session host servers.
You will also need storage space for UPDs (User Profile Disks) which will contain user profiles, allowing you to retrieve the users’ Windows environment at each login.
Ideally, you will need a certificate for the remote access server and RDS gateway and a DNS record for web access.
Finally, if you install applications, they must be installed on all of the Remote Session Host servers that make up the collection.
What is a collection?
As you may have read several times I used the word Collection, if you are not familiar with the RDS environment, you must be wondering what I am talking about…
A collection is a set of Remote Session Host servers that will provide either a Remote Desktop or RemoteApp service.
A broker can manage multiple collections, but a remote Session Host server can only be part of one collection.
Preparing the environment
Before starting the installation, we will prepare the environment for the deployment of our RDS farm with Windows Server 2025.
Start by setting a DNS record for web access, in the tutorial I will use the following url: gw.rdr-it.lab

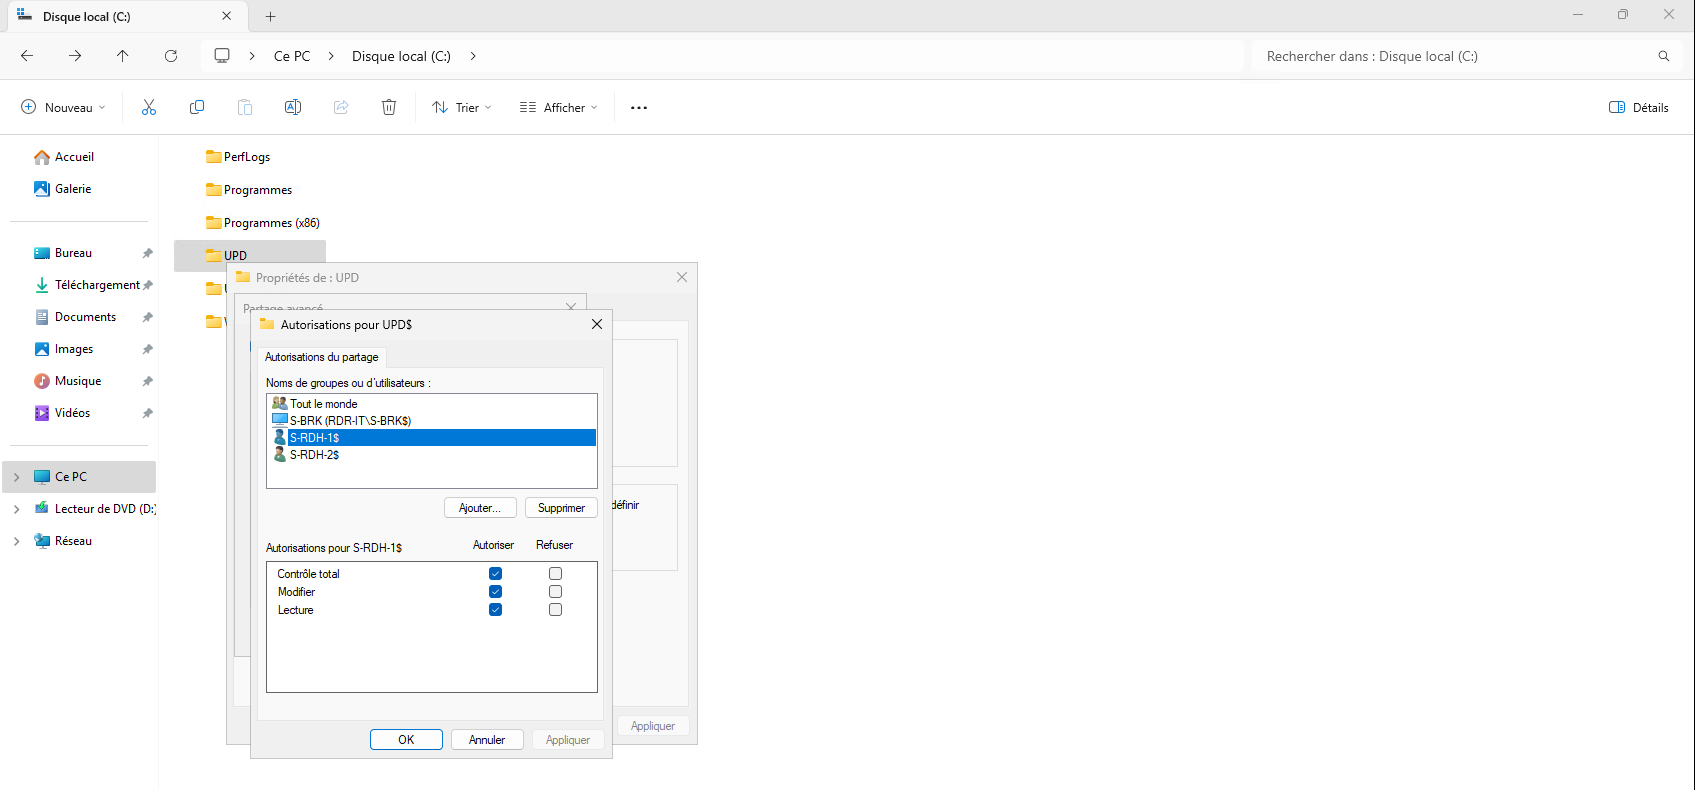
On a file server, create a share for storing Profile Disks (UPD) with the correct rights, SMB and NTFS permissions must grant full control to the Brokers server and Remote Desktop Host servers.

If you plan to use a self-signed certificate, meaning it does not come from an internal or external certificate authority, it is necessary to generate a certificate using PowerShell, because the certificate generated by the wizard does not work with the new restrictions on web browsers.
On a server, start by opening a PowerShell command prompt as an administrator, then enter the following command, adapting the DNS name (-DnsName).
New-SelfSignedCertificate -FriendlyName gwrds -DnsName gw.rdr-it.lab -CertStoreLocation Cert:\LocalMachine\My -KeyUsage DigitalSignature
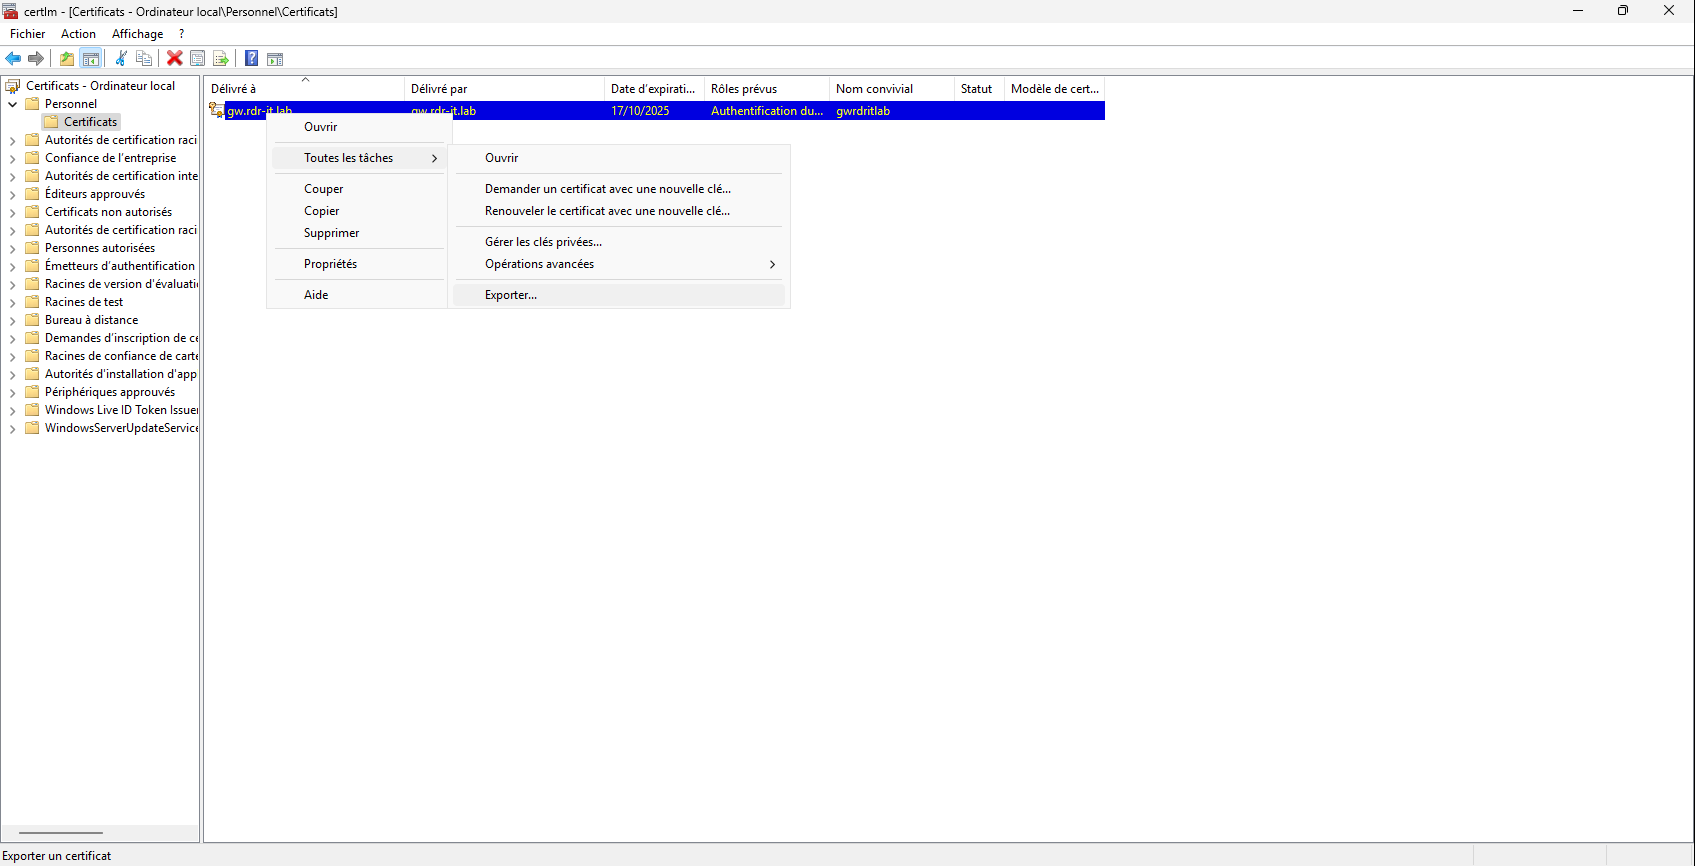
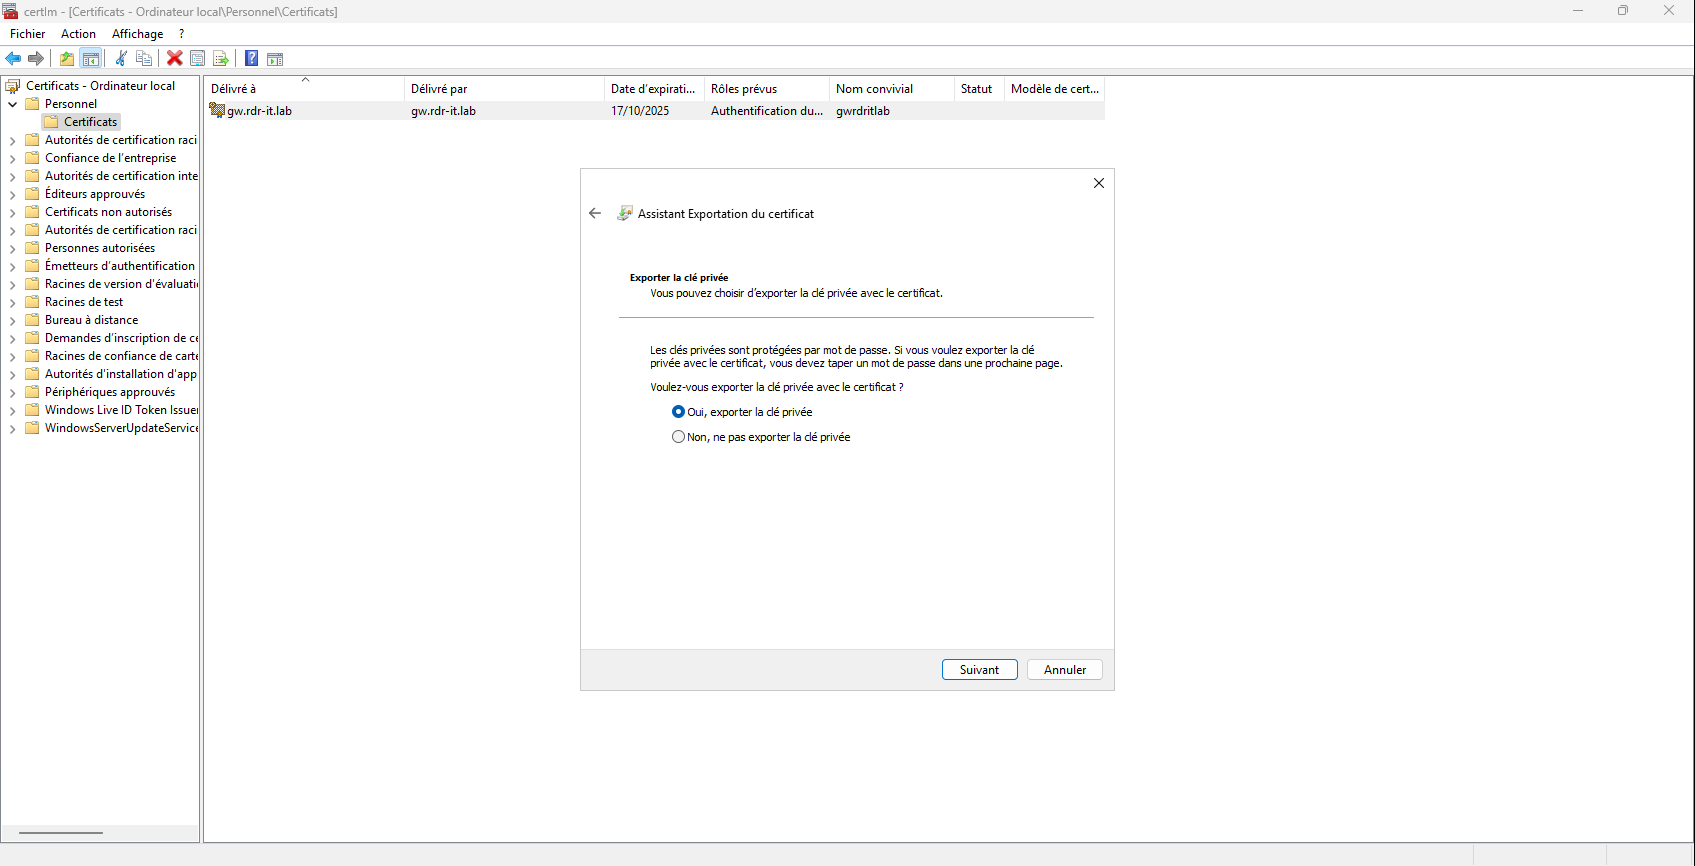
Once the certificate is generated, open the certificate management console at the Computer level and then export the certificate with its private key in .pfx format.
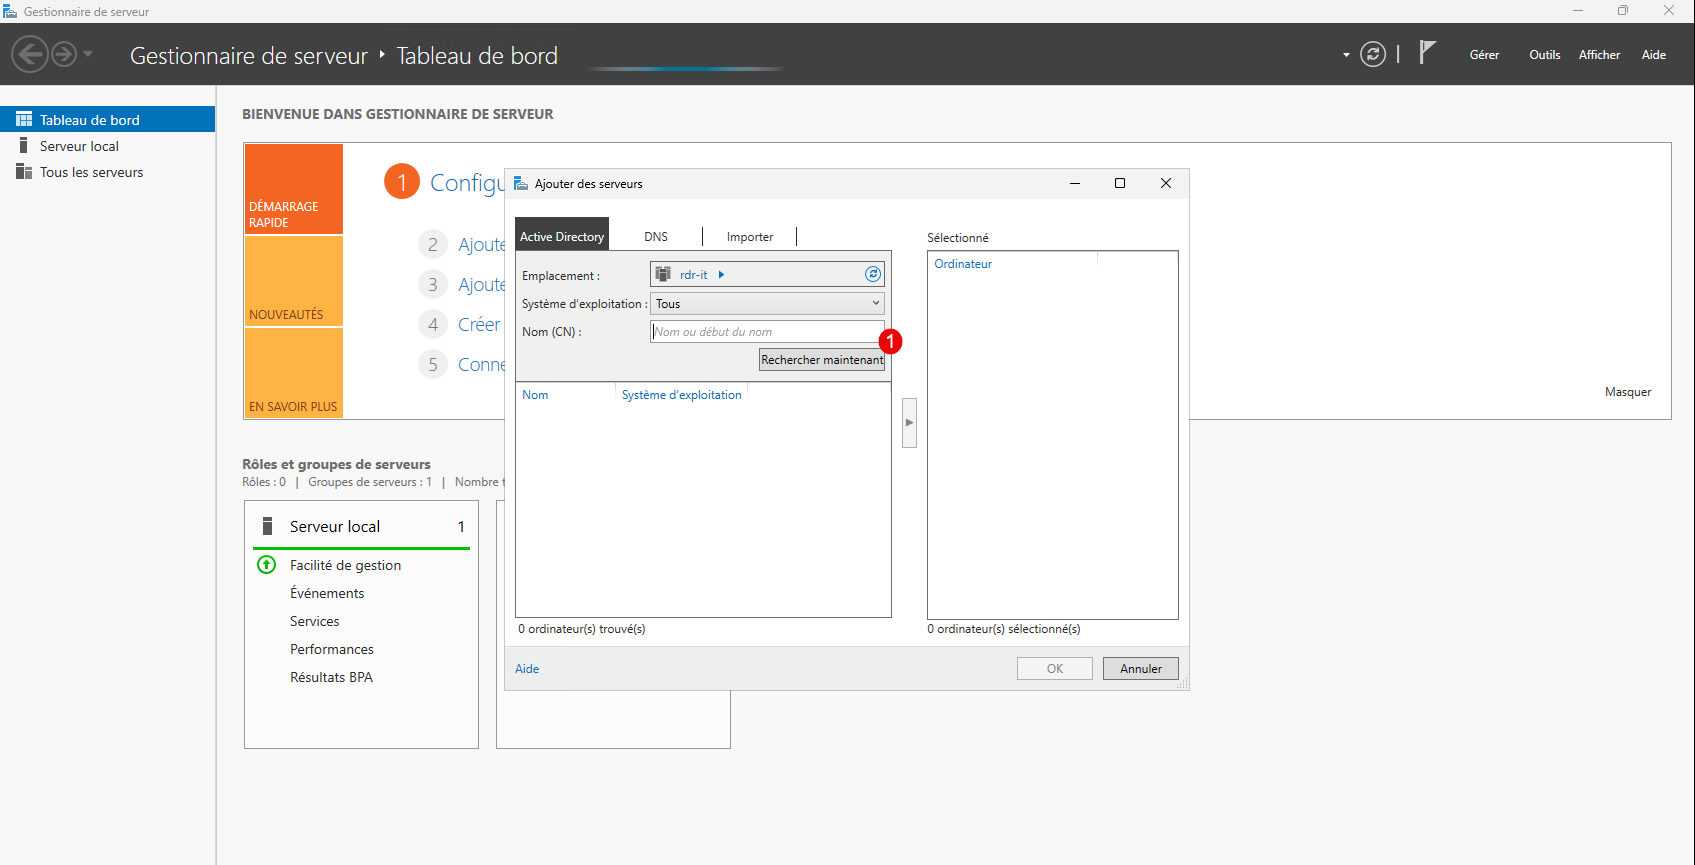
To complete this preparation from the Broker server, add all the servers that will make up the RDS deployment in the Server Manager.
Click on Add more servers to manage 1.

Click on the Search Now button 1.
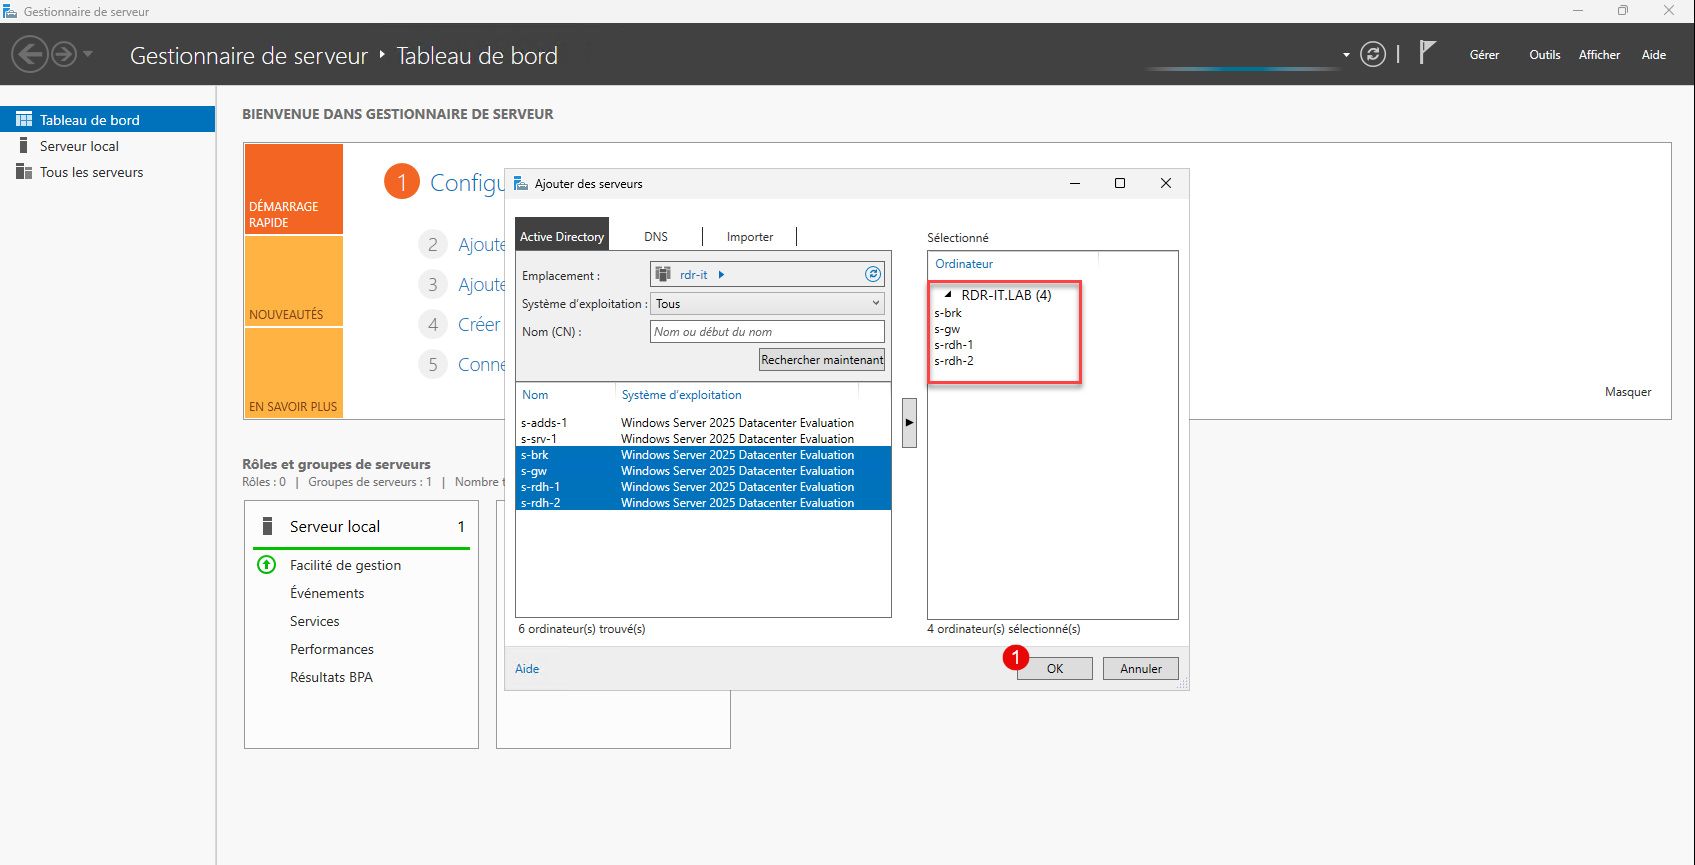
The servers are displayed, select the servers that are in the RDS deployment 1 then click on the arrow 2 to move them into the selection.

The servers are selected, click on OK 1 to validate the action and close the window.
Go to All Servers and verify that the information is coming back to the console.
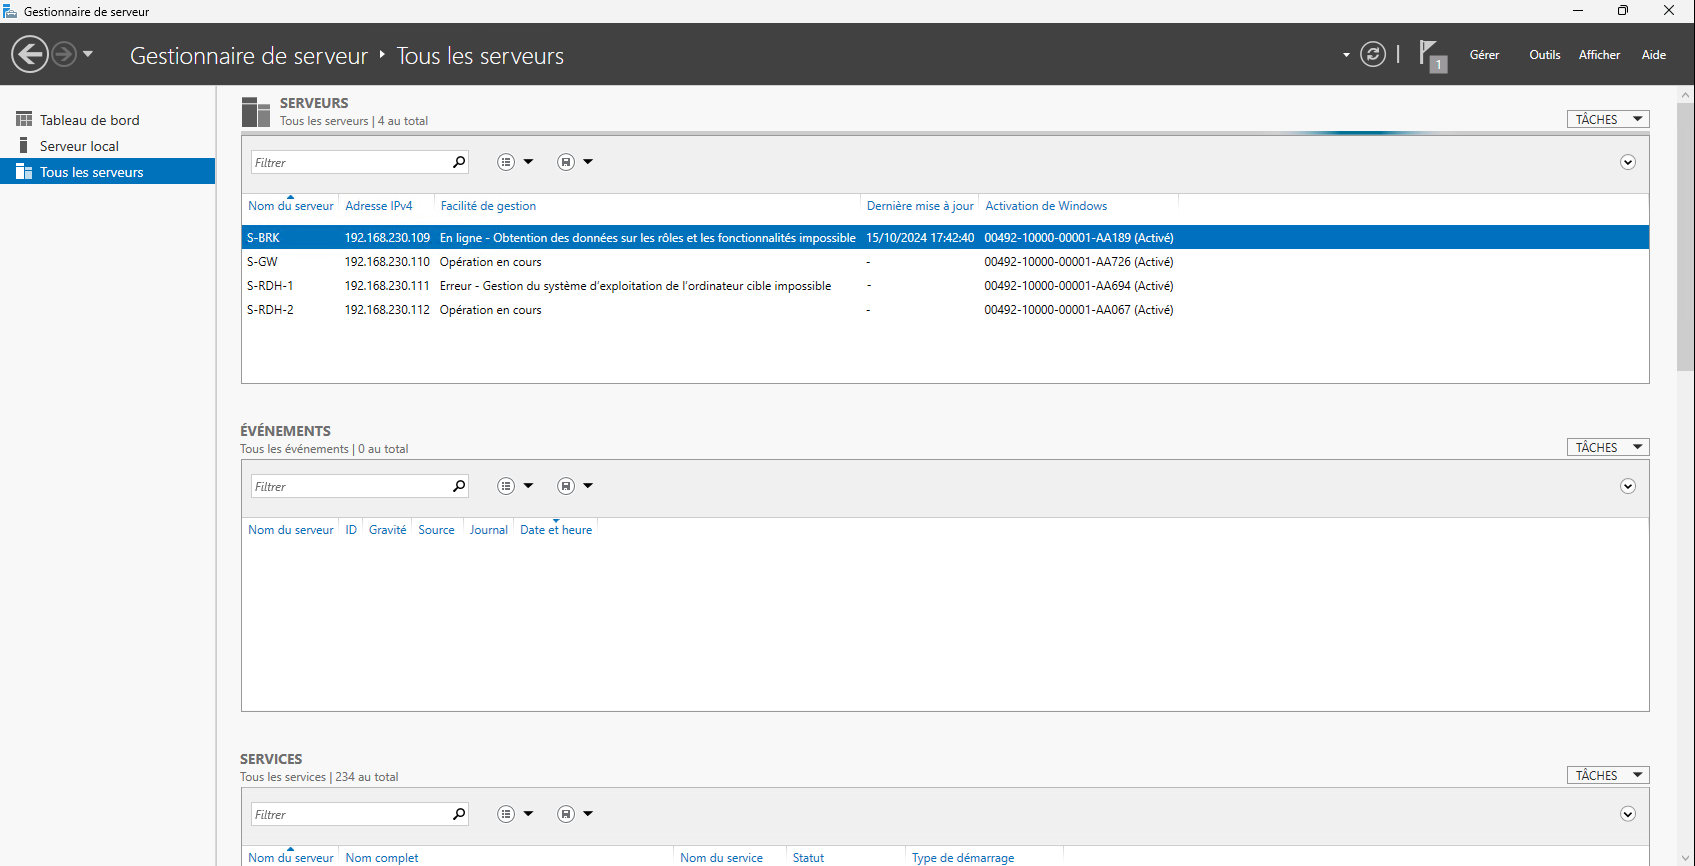
We are now ready to install the roles on the different servers.
Installing roles on servers for RDS deployment
In this part, we will install the following roles:
- Broker
- Web Access
- Remote Session Host
The Remote Desktop Gateway role will be installed afterward.
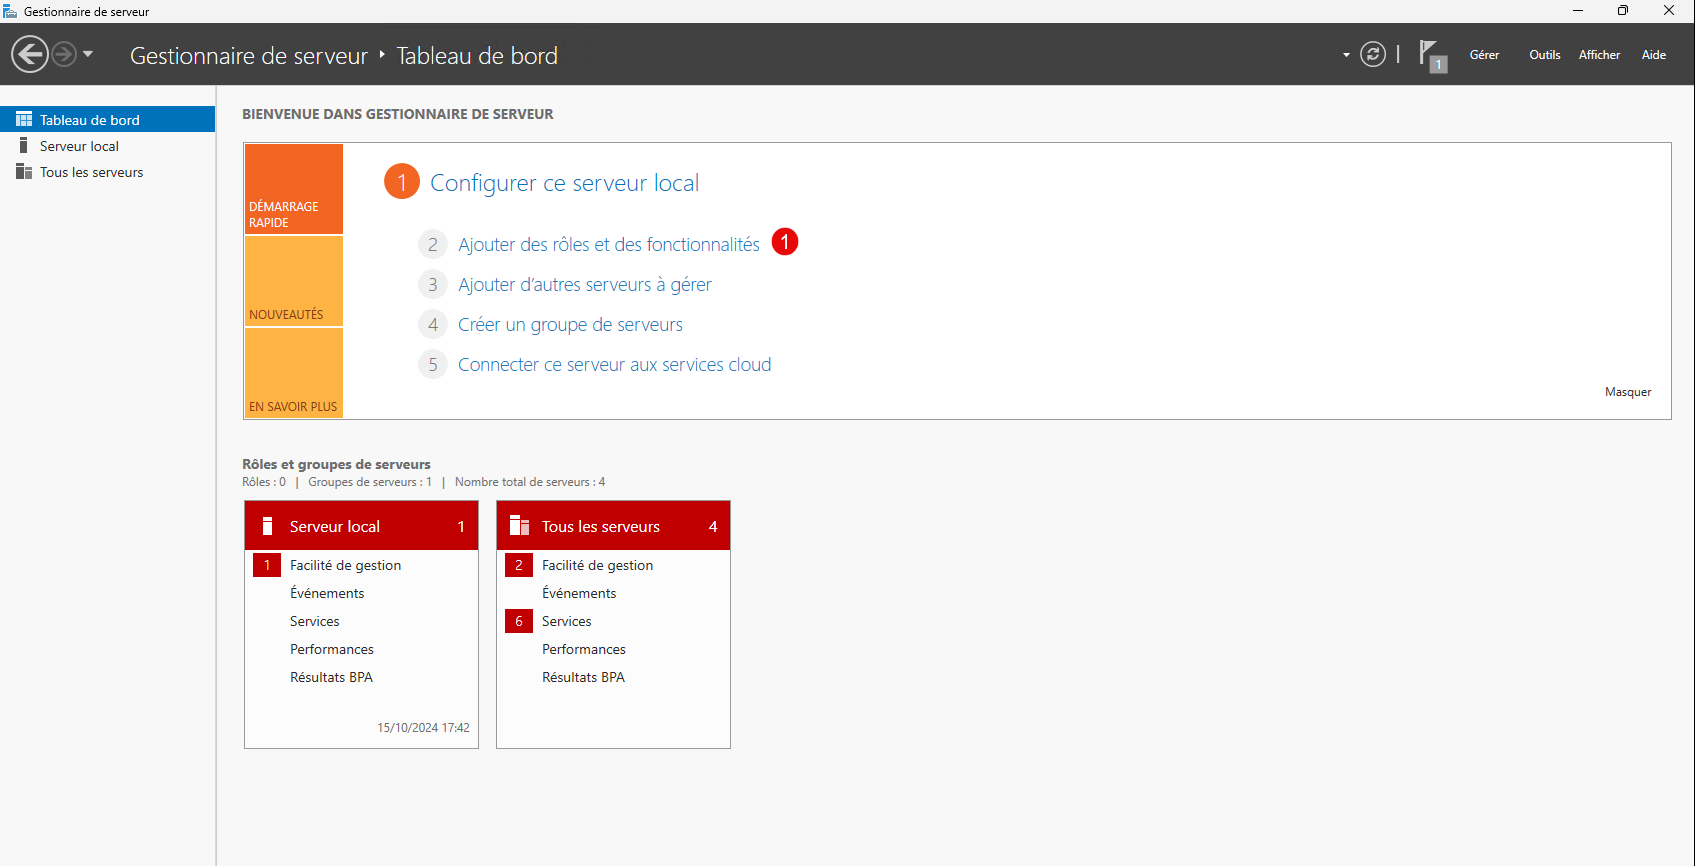
Still on the server that will have the Broker role, go to the Dashboard then click on Add roles and features 1.
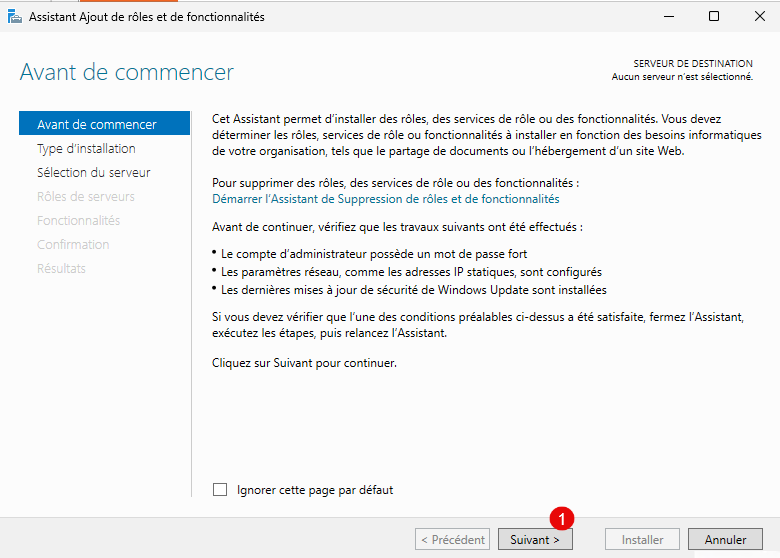
When the wizard starts, click on the Next button 1.
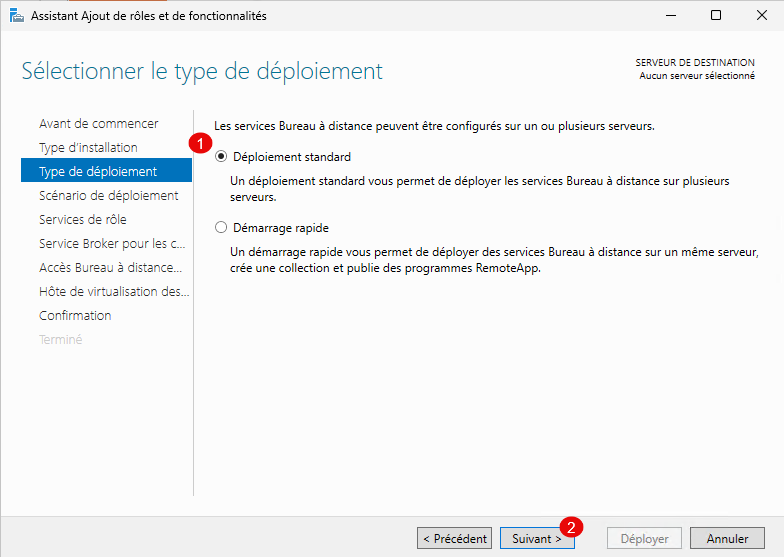
Choose the installation type: Remote Desktop Services Installation 1 then click Next 2.

Choose Standard Deployment 1 and click Next 2 again.
Here we will choose the scenario: Deployment of session-based desktops 1 then click on Next 2.

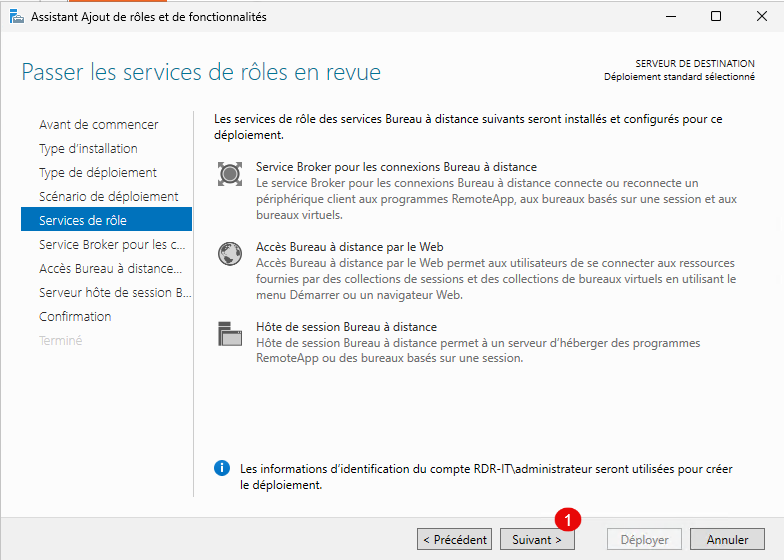
A summary of the different roles is presented to you, click on Next 1.
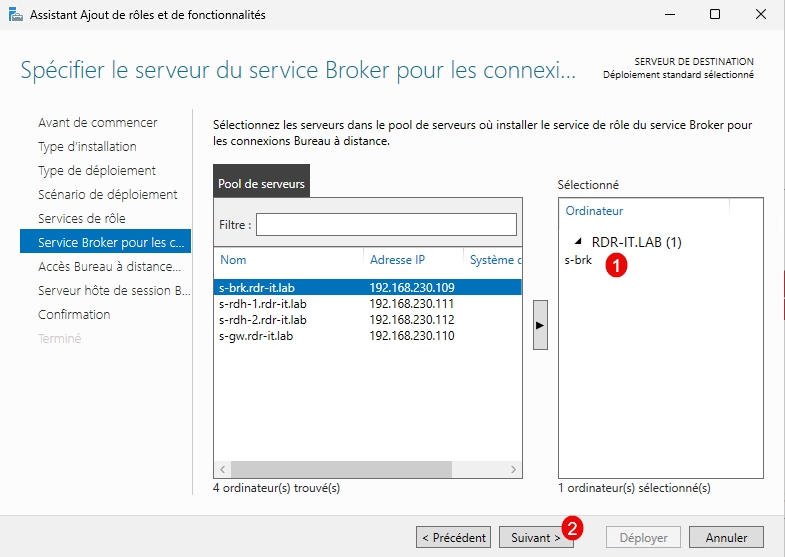
Selecting servers for different roles is done in the same way as adding servers in the Server Manager console.
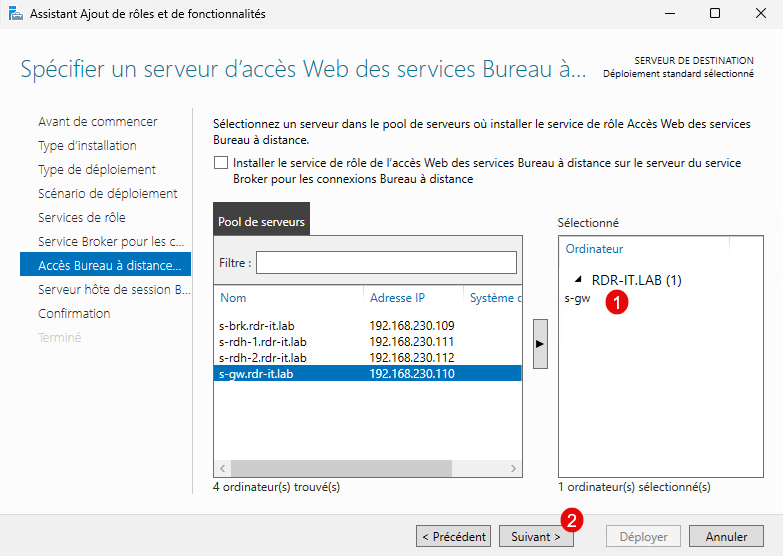
The first role to configure in the wizard is the Broker server, select the server where the Broker role will be installed 1 then click Next 2.
Do the same for the Web Access role, select server 1 and click Next 2.
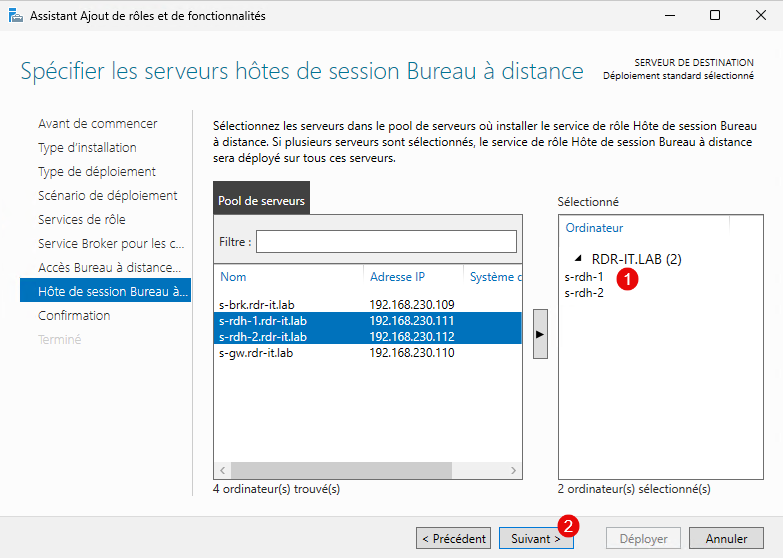
Select Remote Desktop Session Host servers 1 and then click the Next button 2.
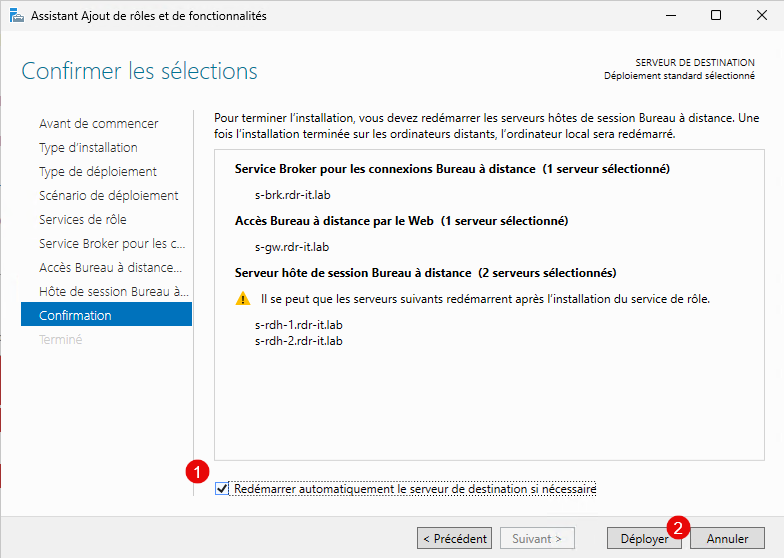
Check the box: Automatically restart the destination server if necessary 1 then click on the Deploy button 2.
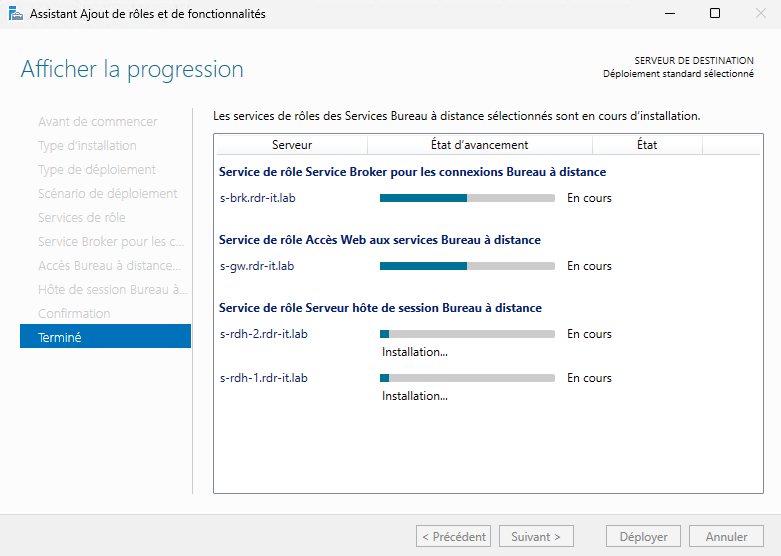
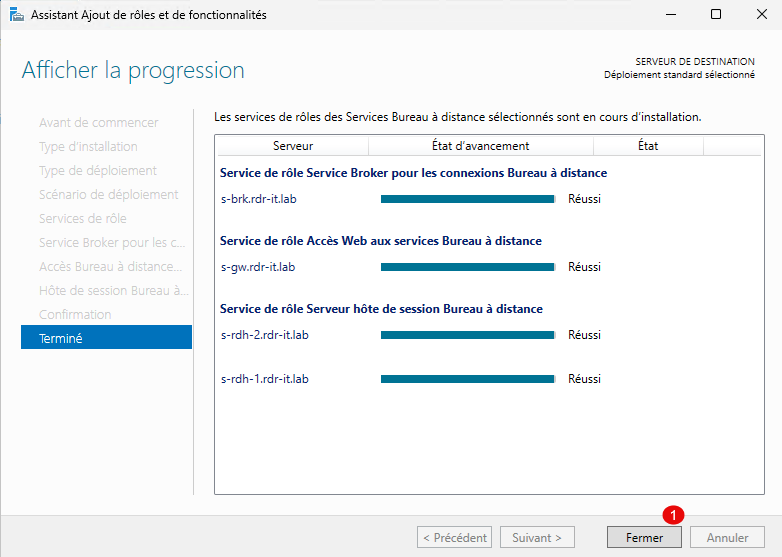
Please wait while the roles are installed on the different servers…
Once the installation is complete, exit the wizard by clicking the Close button 1.
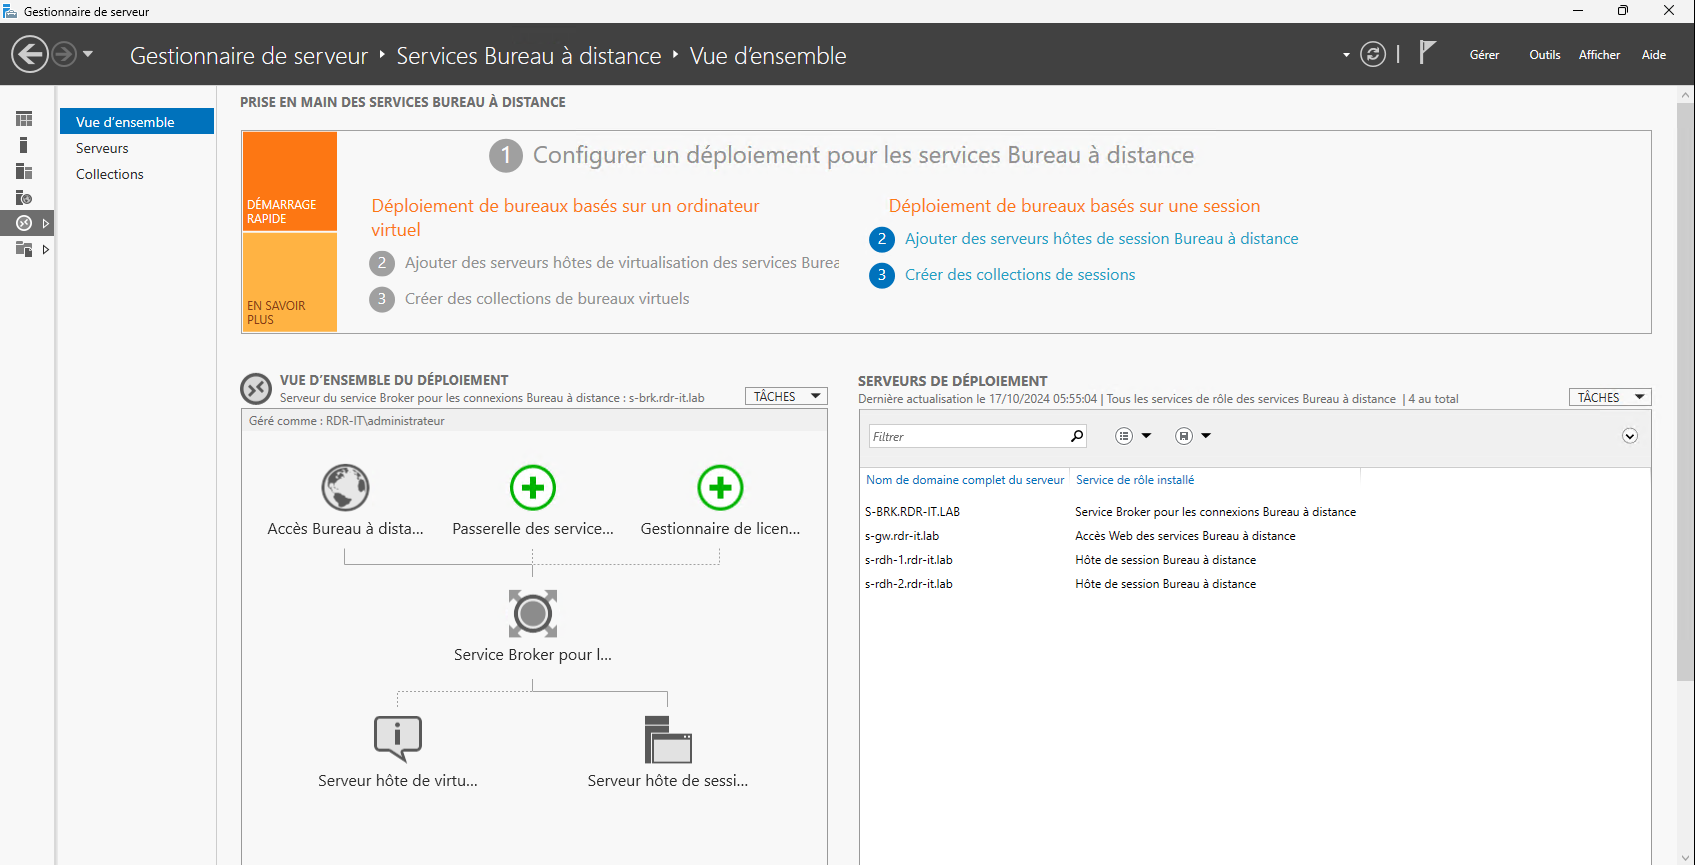
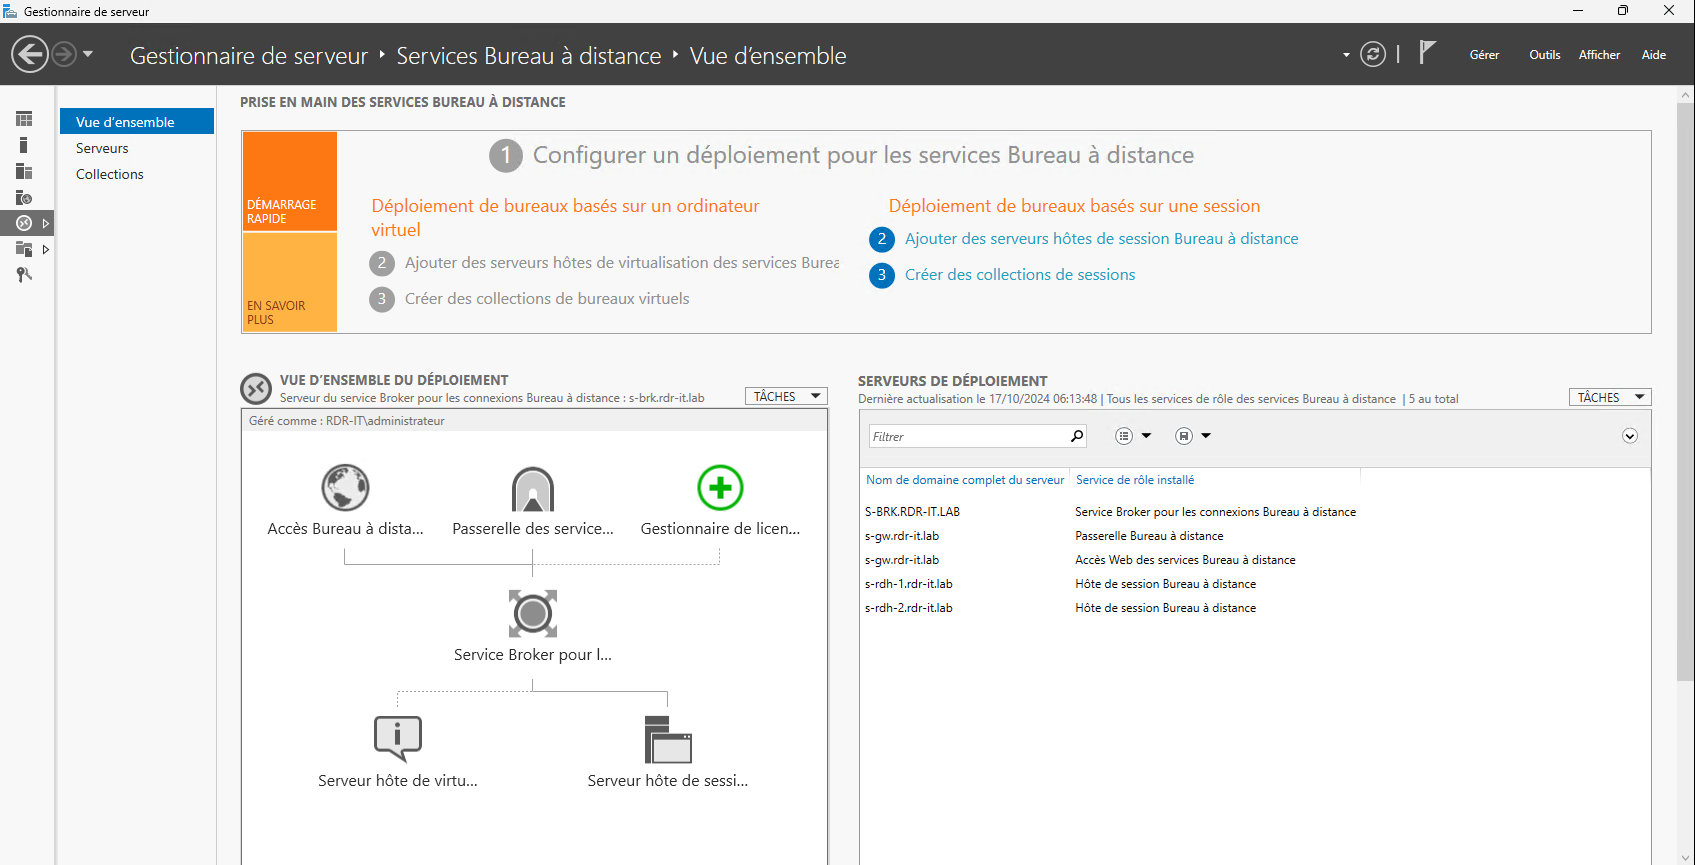
Now on Server Manager, you have a Remote Desktop Service section that will allow you to manage the RDS deployment.

Install the Remote Desktop Services Gateway
We will now install the last service we are missing, which is the Remote Desktop Services Gateway.
Although it is not mandatory, it can be useful in several cases:
- Access to Remote Desktop services from the Internet via port 443 (HTTPS), which allows access on most Wi-Fi points
- Fine-tune service connections by applying policies
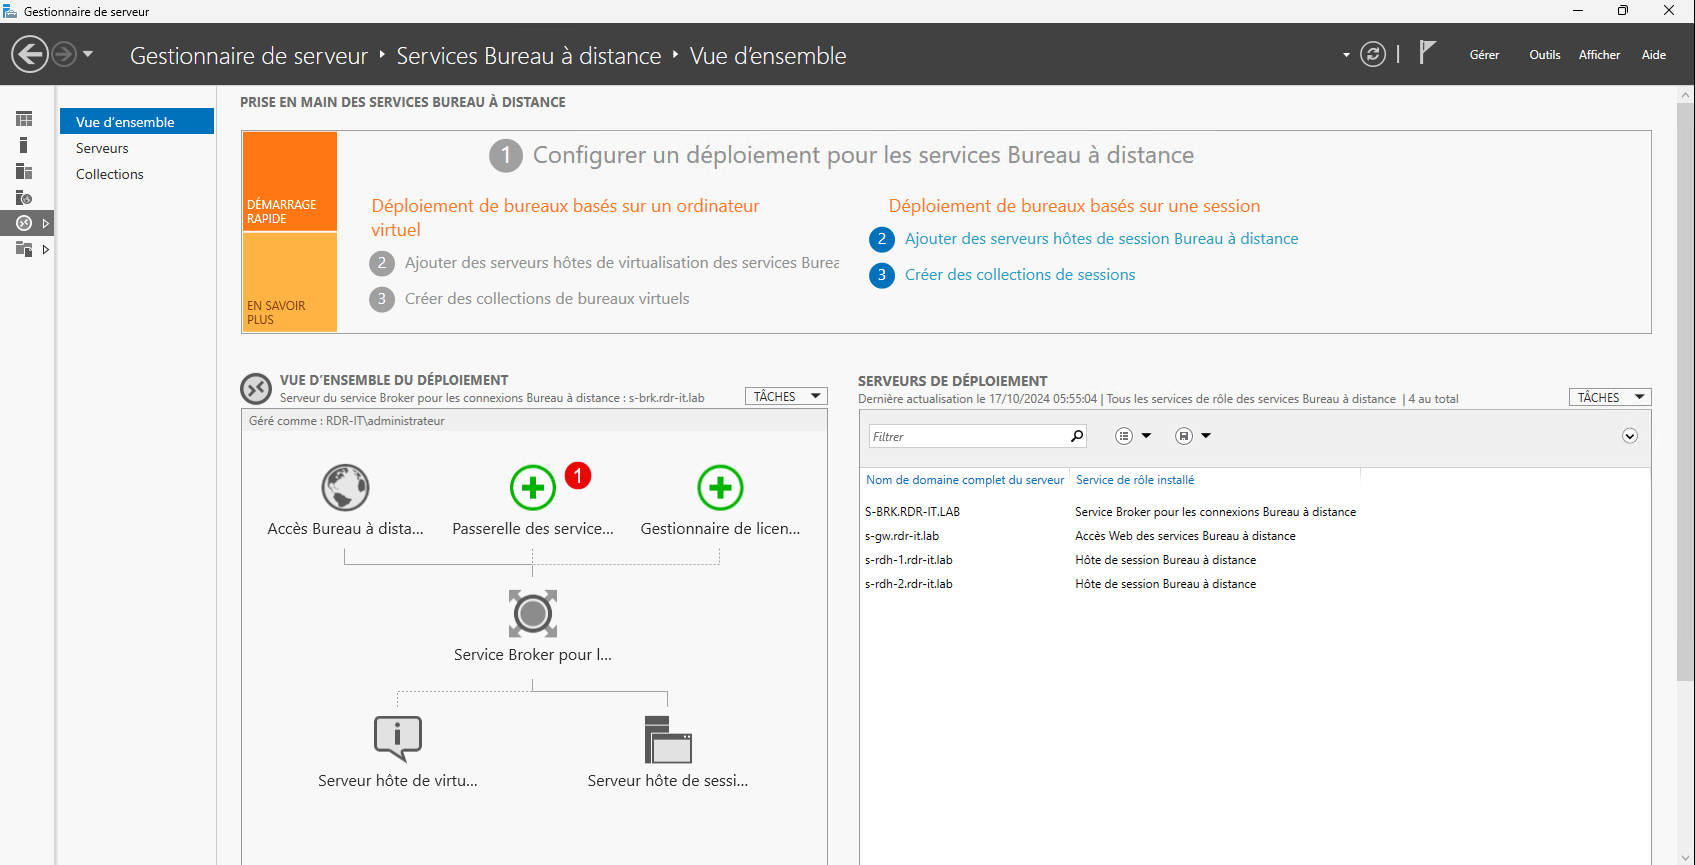
From the Remote Desktop Services overview in Server Manager, click Remote Desktop Services Gateway 1.
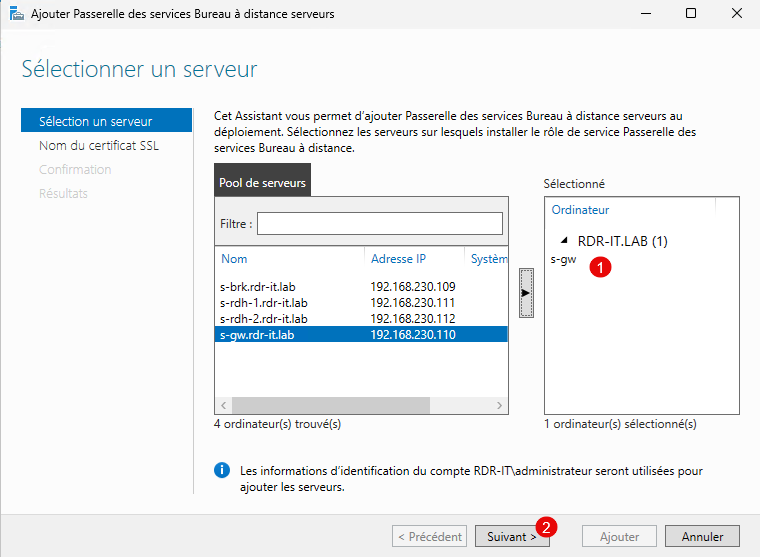
When launching the wizard, select the server 1 where the role will be installed and click Next 2.
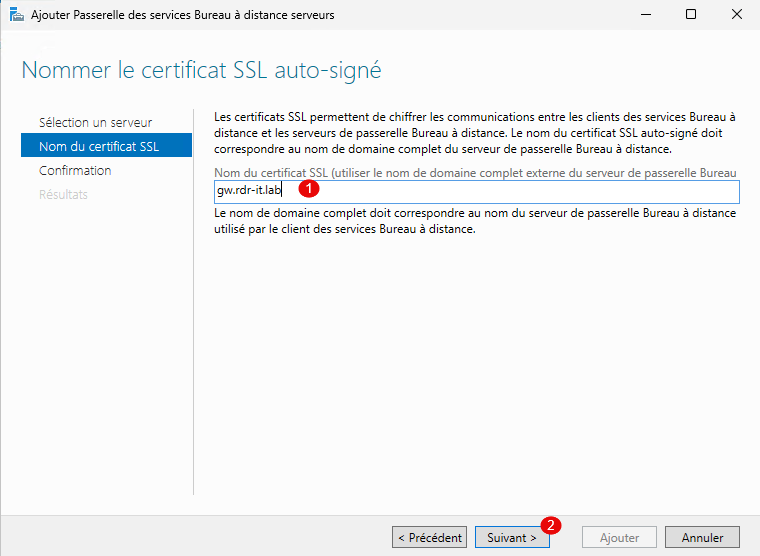
Enter the DNS name of the certificate 1 then click Next 2.
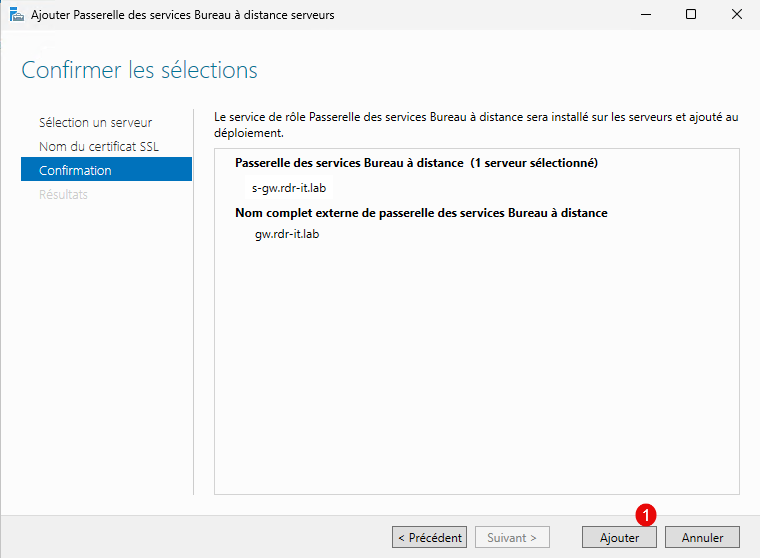
The action summary is displayed, click on Add 1.
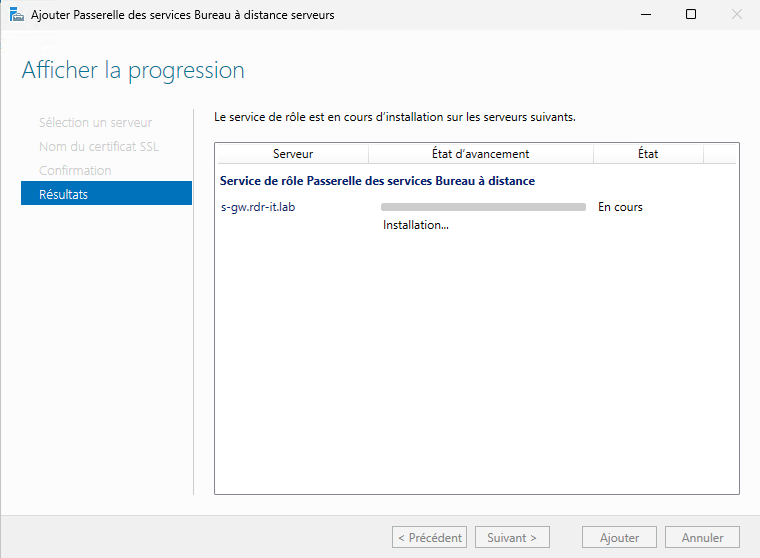
Please wait while installing…
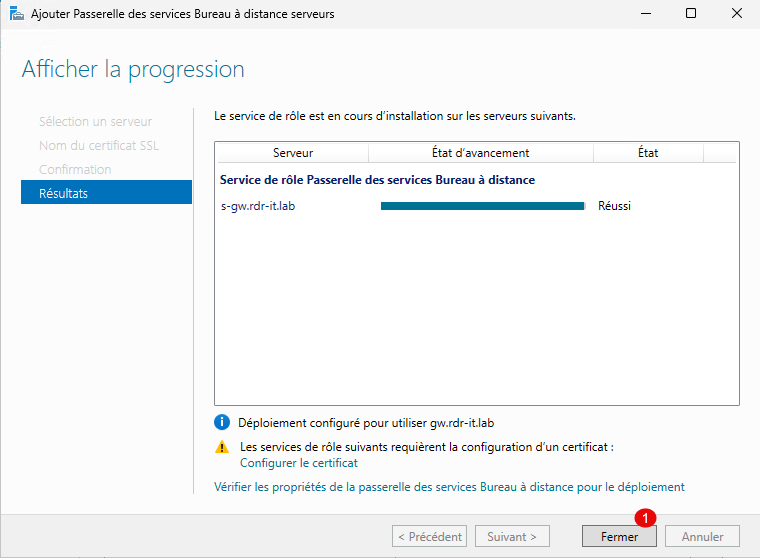
When the installation is complete, click the Close button 1.
On the overview, we can see that the Gateway is available.
Configure Web Access and Gateway SSL Certificate
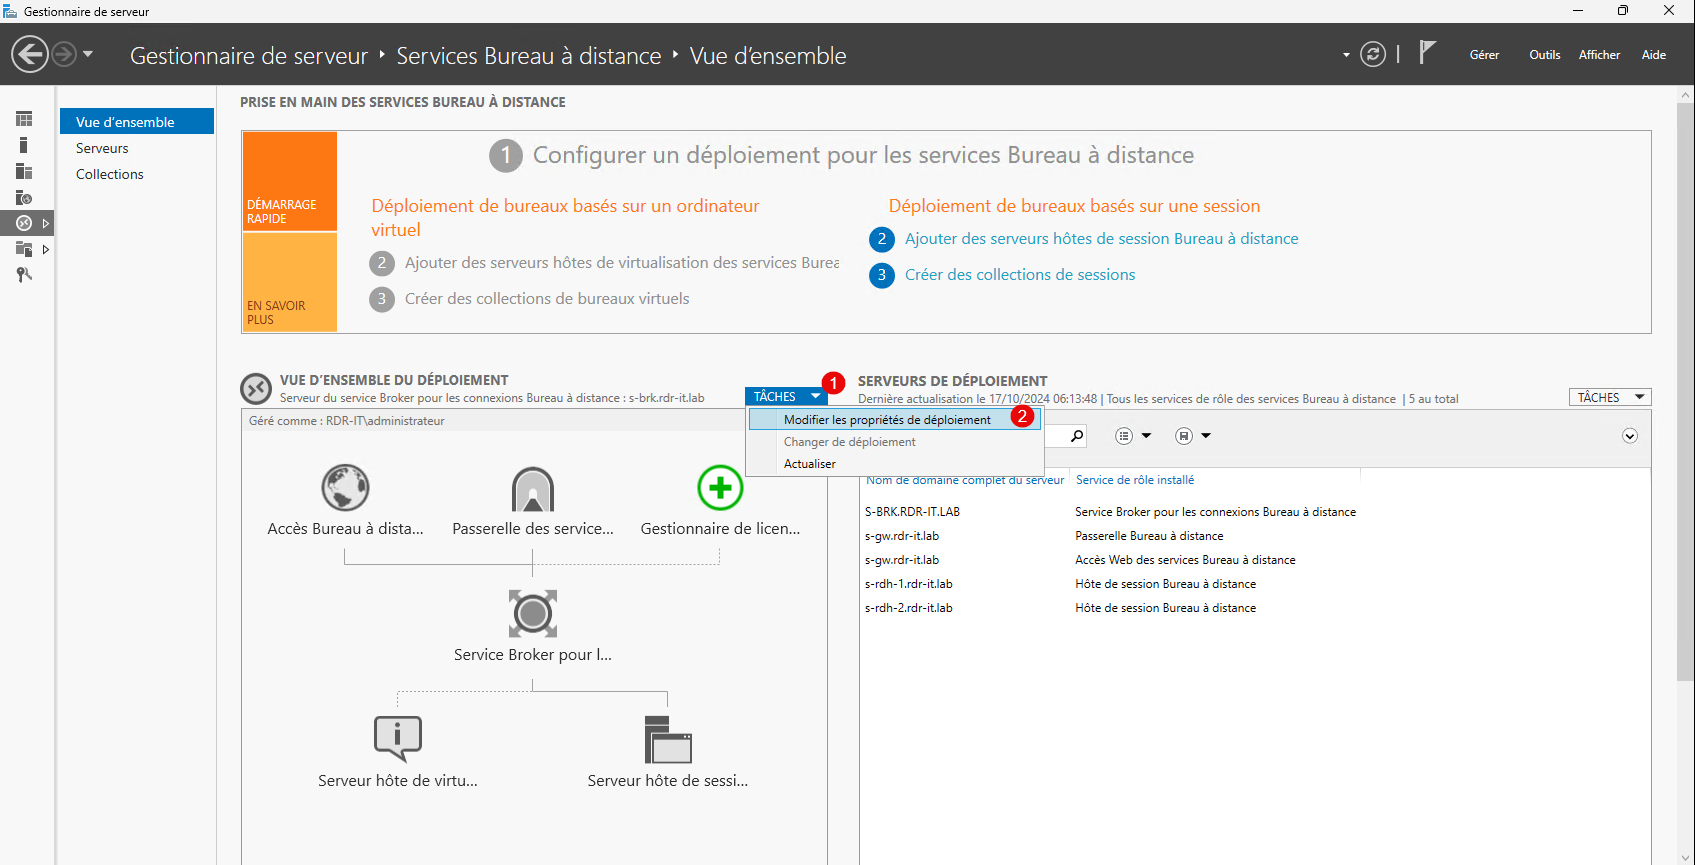
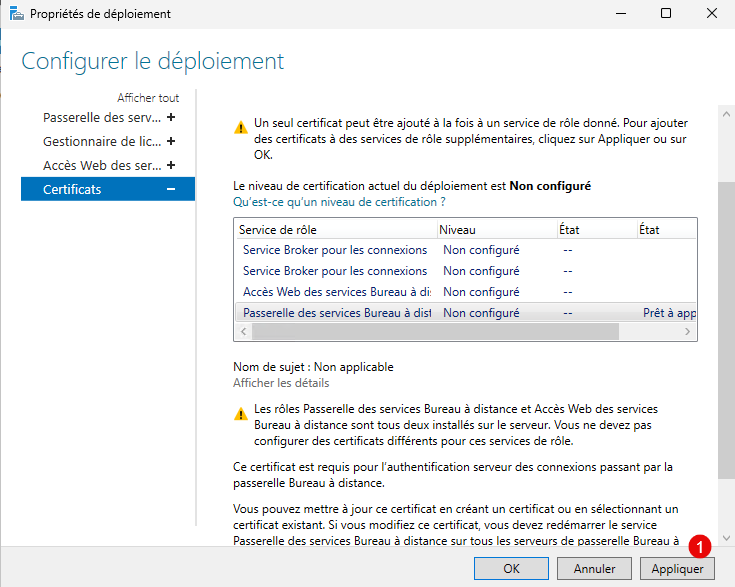
At the overview level, click on TASKS 1 then on Edit deployment properties 2.
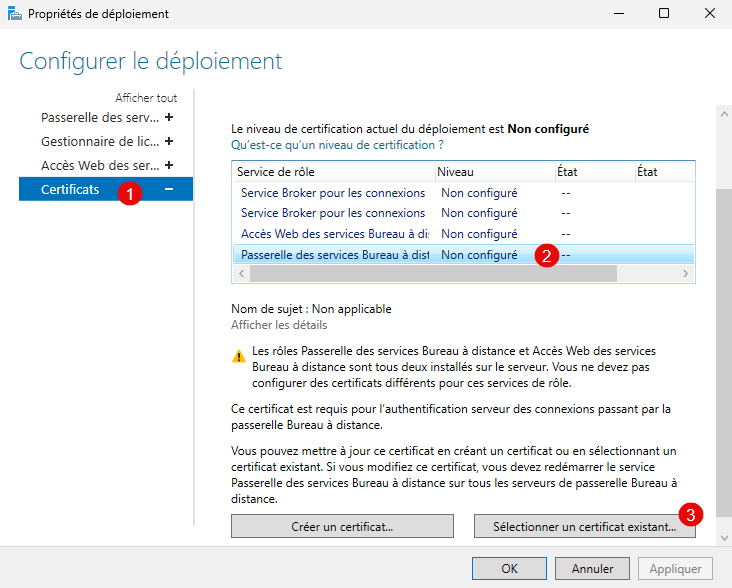
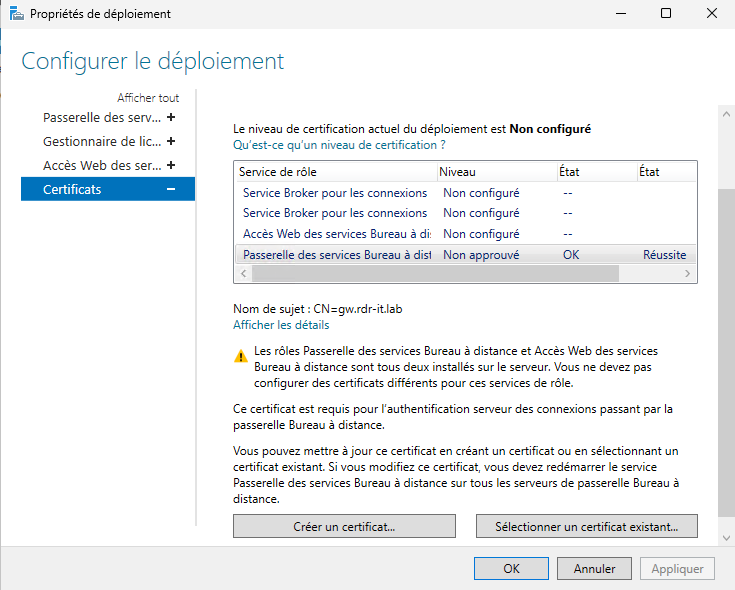
Go to the Certificates section 1, select Remote Desktop Services Gateway 2 and press the Select an existing certificate button 3.
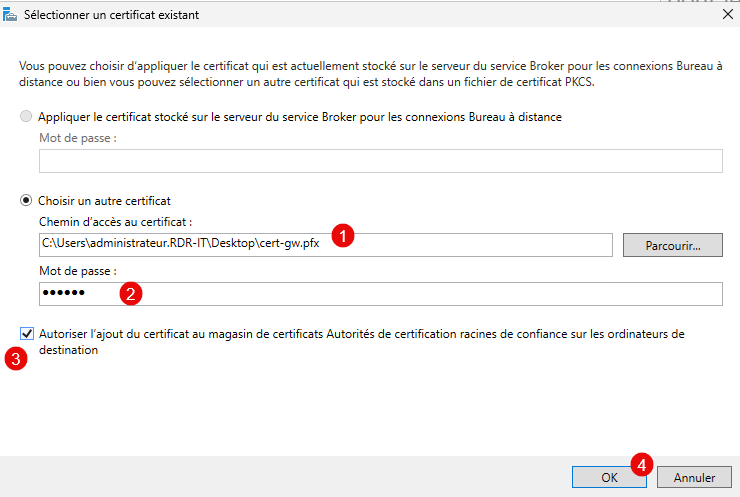
Select the certificate .pxf file 1, enter the password 2, check the box 3 which allows the certificate to be added to the Root Certification Authority certificate store and click OK 4.
Then click on the Apply button 1.
The certificate is configured for the Remote Desktop Services Gateway.
Do the same with Remote Desktop Services Web Access.

If you use a self-signed certificate, you will have to deploy it on all computers, otherwise you will not be able to use RDS services. The following tutorial explains how to do this via GPO: GPO: deploy a certificate.
Configure a collection
Dans ce tutoriel, on va voir comment configurer une Collection pour déployer un bureau.
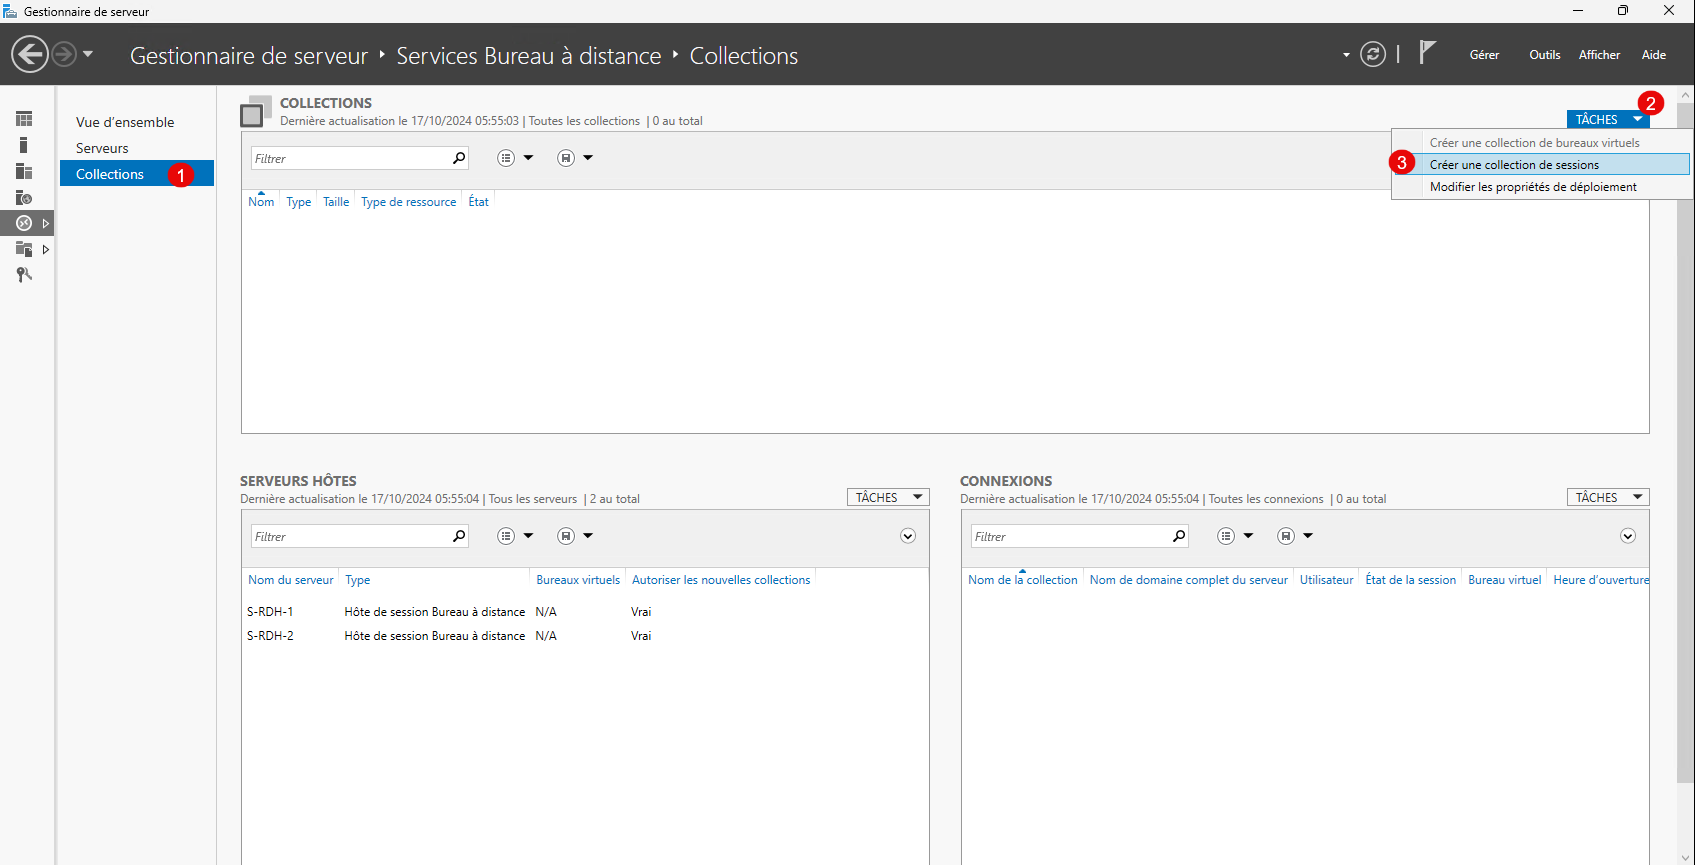
Still from the Broker, go to Collections 1, click on TASKS 2 then click on Create a session collection 3.
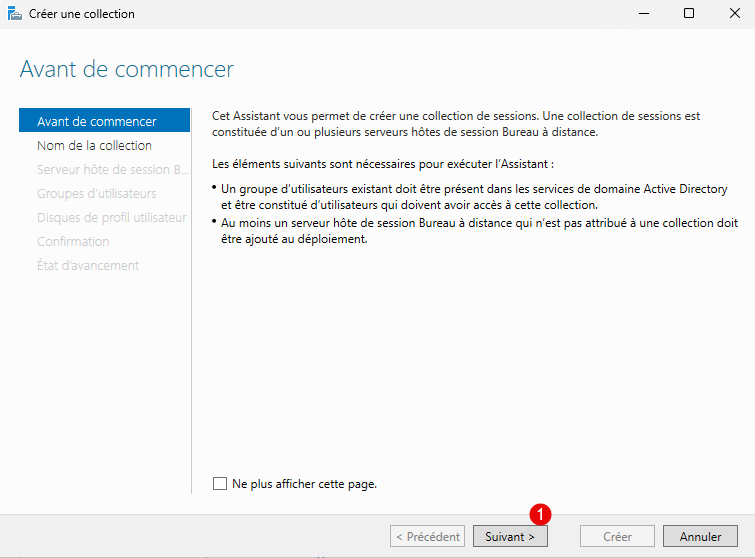
When launching the wizard, some explanations about the collections are given to you, click on Next 1.
Name the collection 1, this name will be visible on the web access and click on the Next button 2.

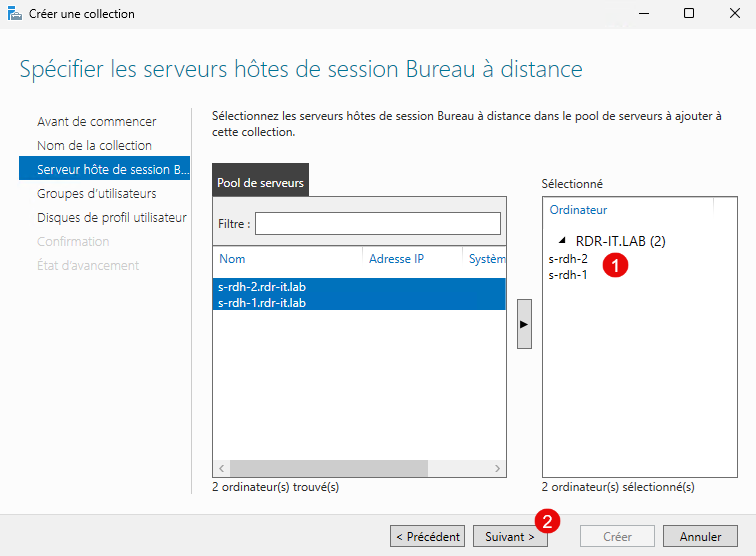
Select the Remote Desktop Session Host servers 1 that will be in the collection and then click Next 2.
Here you can specify one or more user groups 1 allowed to log in, by default all domain users are selected, click Next 2.

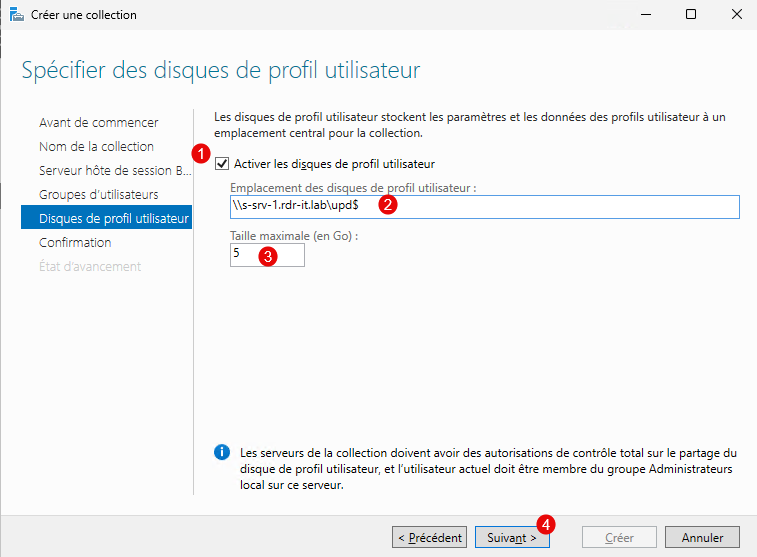
Enable User Profile Disks 1, specify the UNC* path to the share 2, configure the size 3 and then click Next 4.
UNC Path
If you plan to deploy multiple collections, you should store the user profile disks in a subfolder on the share, which gives you \server\share$\collection
UPDs are specific to each collection and have the user’s GUID as their file name, so if the folder is shared across all collections, there may be file locks if a user logs into multiple collections simultaneously, and as a result the user will be on a temporary profile.
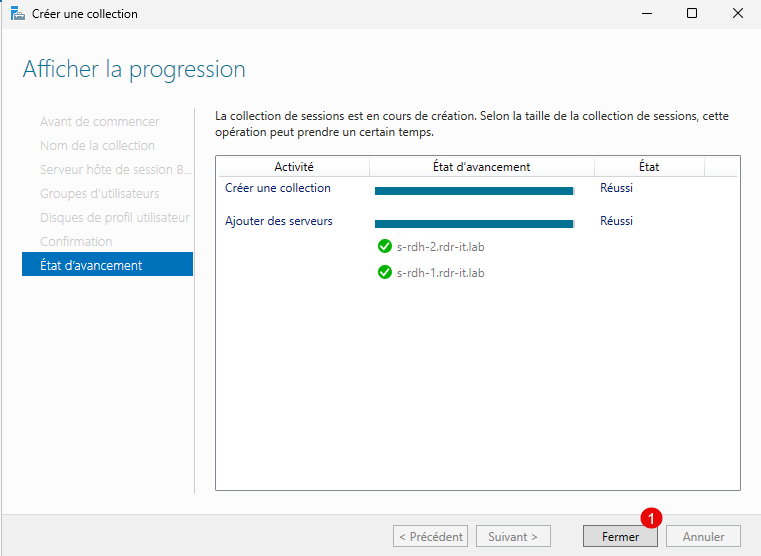
To finish, click Create 1.

Once the collection is created, exit the wizard by clicking on Close 1.
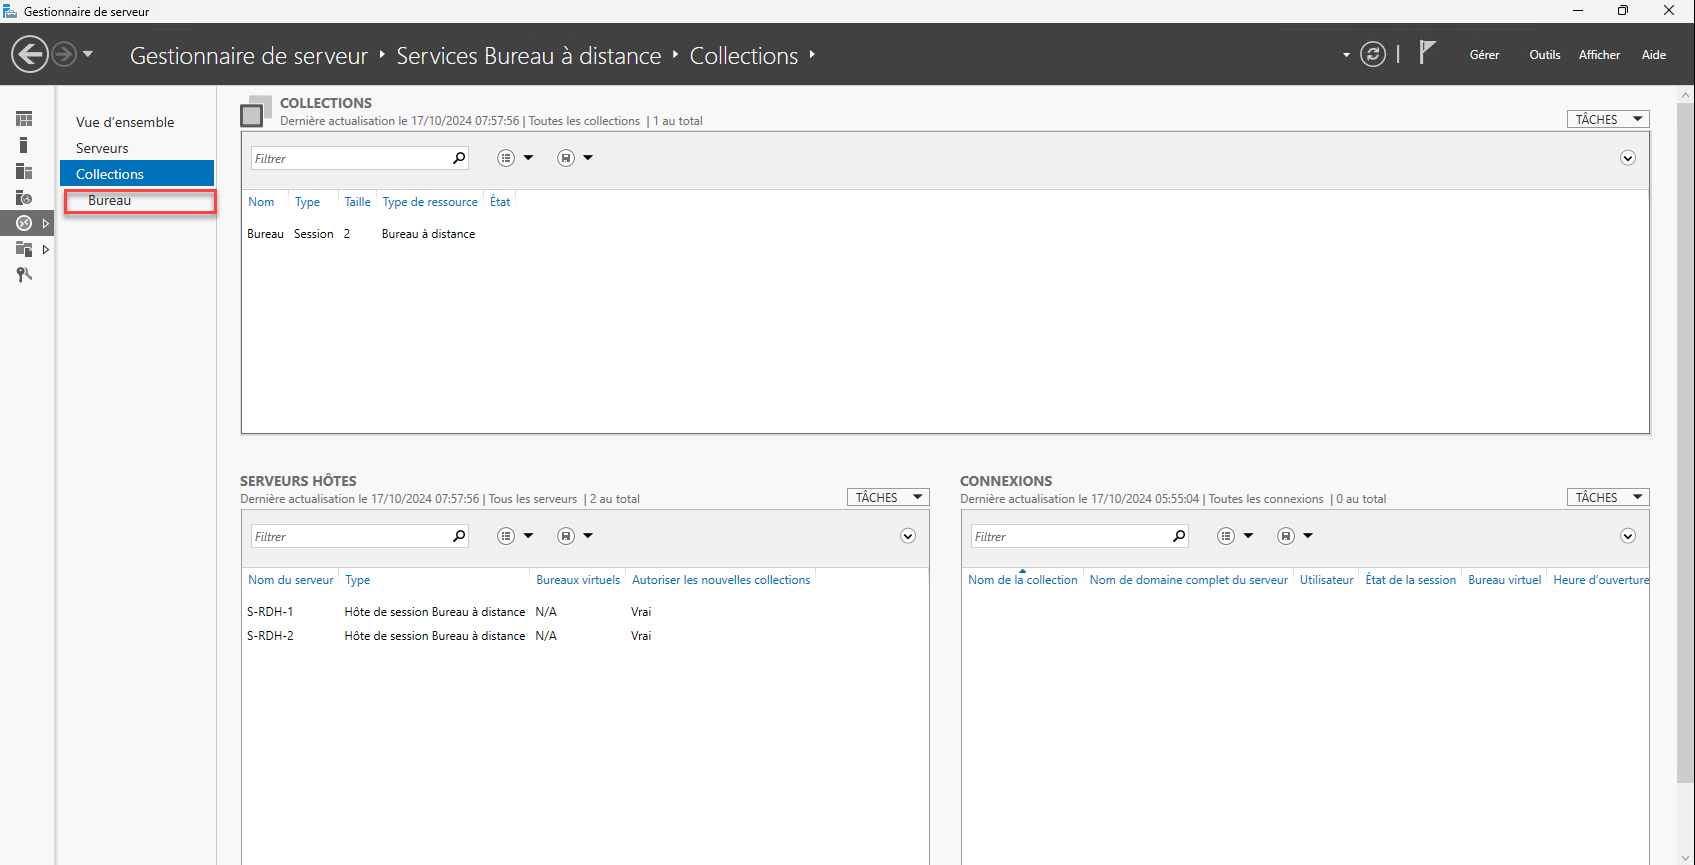
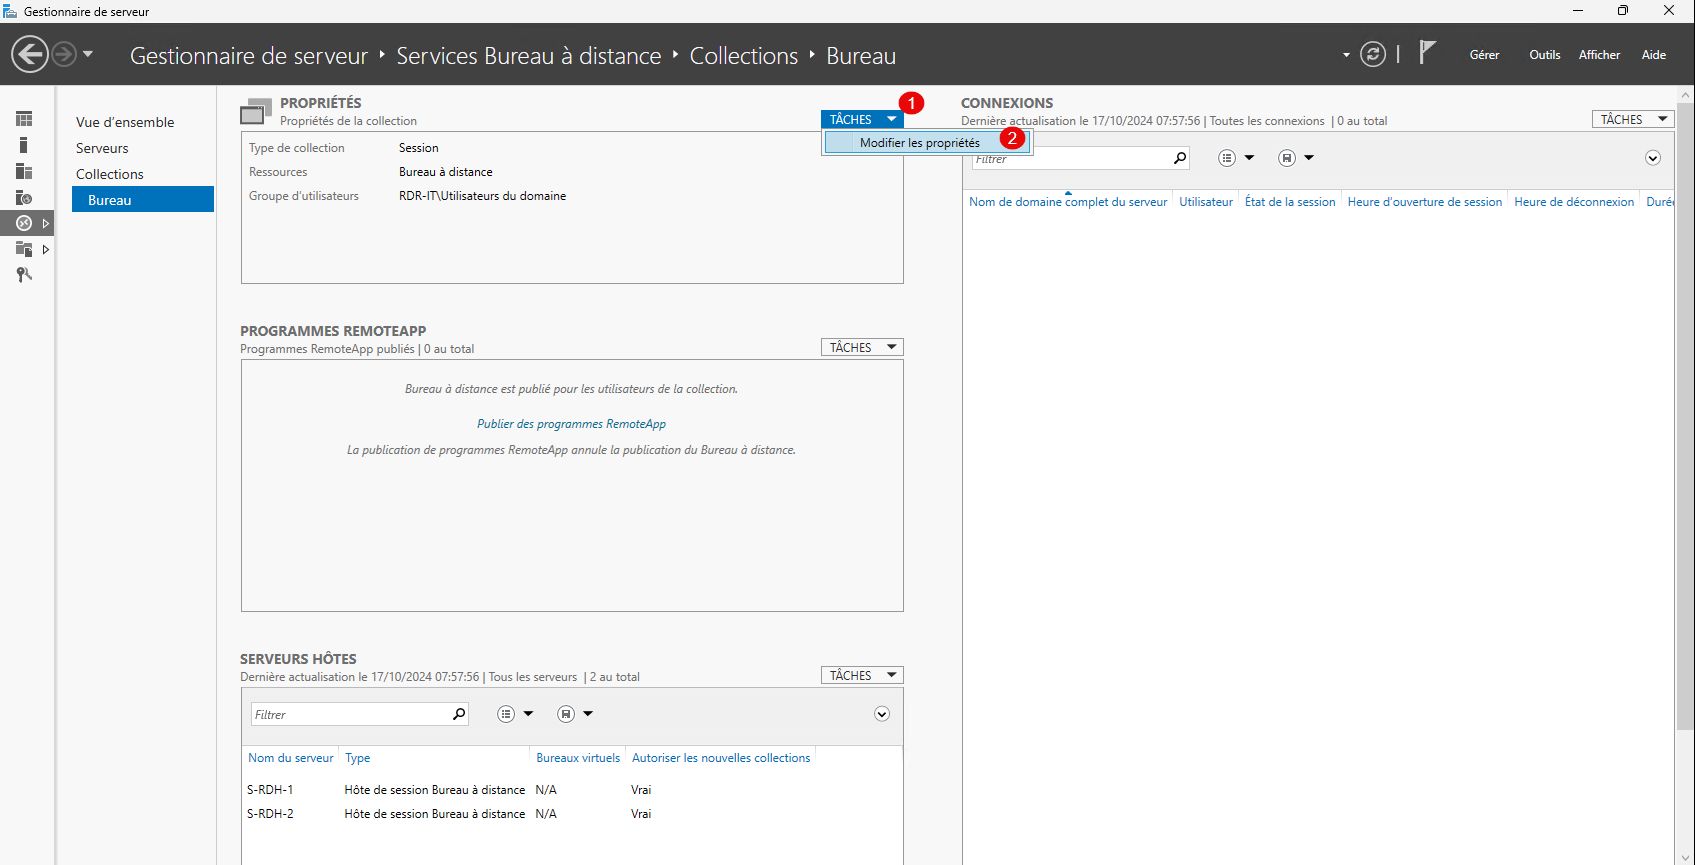
On the Server Manager we find our collection:

From the collection view, it is possible to modify the settings, click on TASKS 1 then on Modify properties 2.
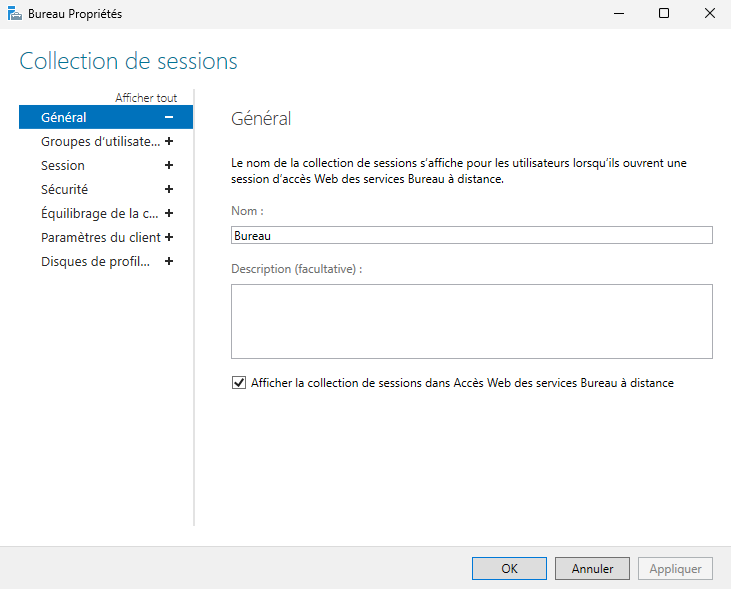
Here is an overview of the available settings:


Everything is now ready!
Test the Remote Desktop Environment
From a web browser, go to the following URL: https://dns-name/rdweb, log in with a user account.

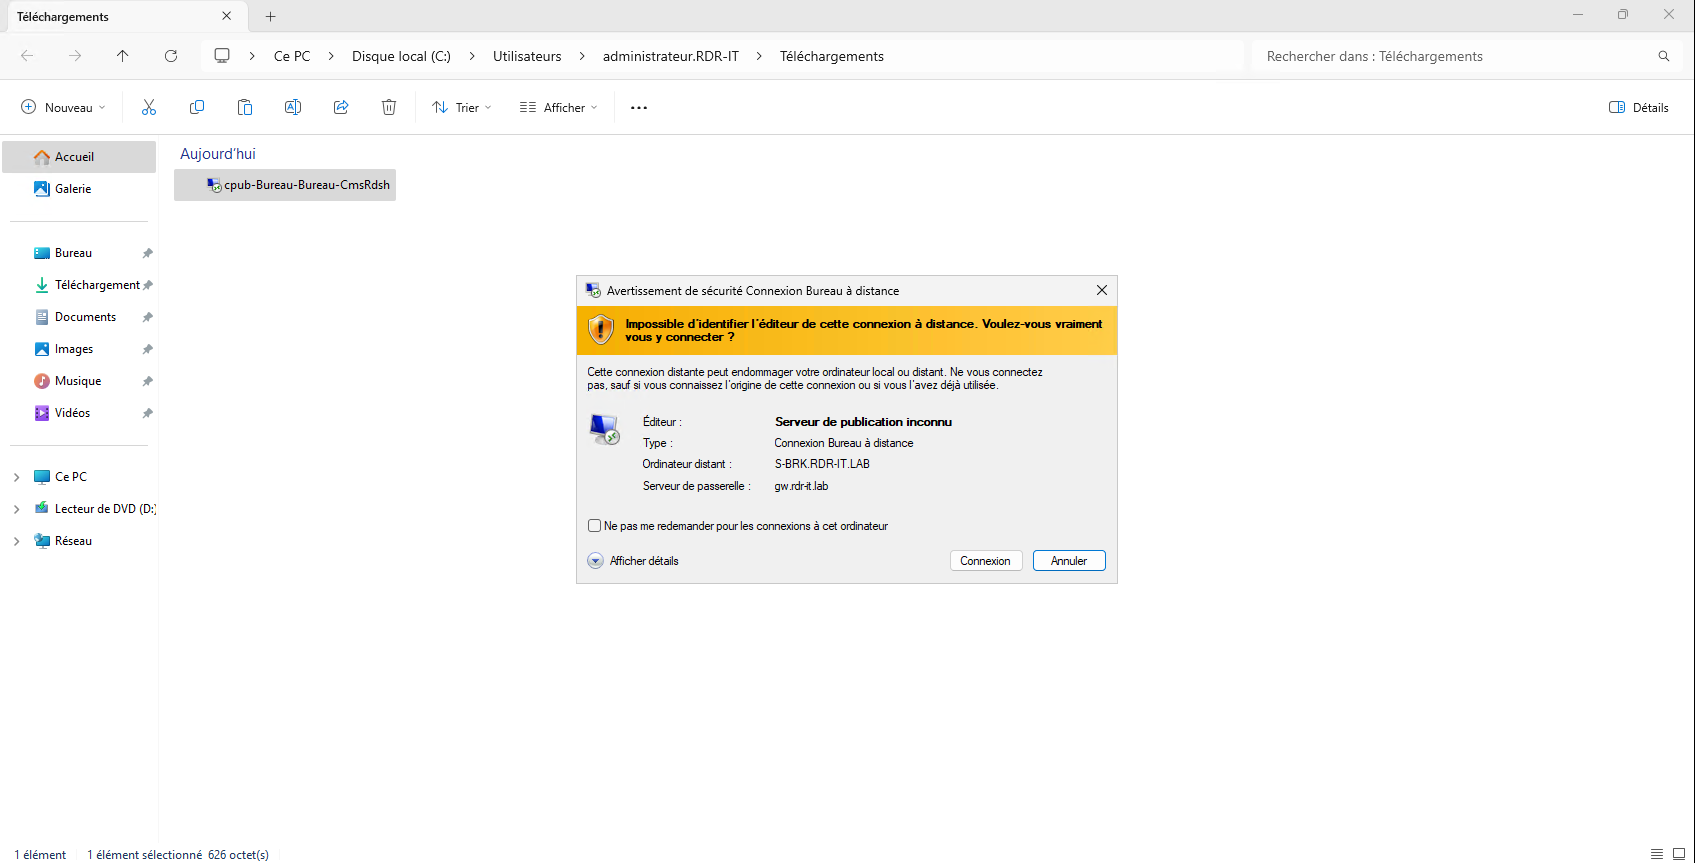
Once connected, you will see the list of available RemoteApp connections and applications. Click on the collection icon to download the RDP file.

Once downloaded, run the RDP file, on the first window click on Connection then enter your credentials.
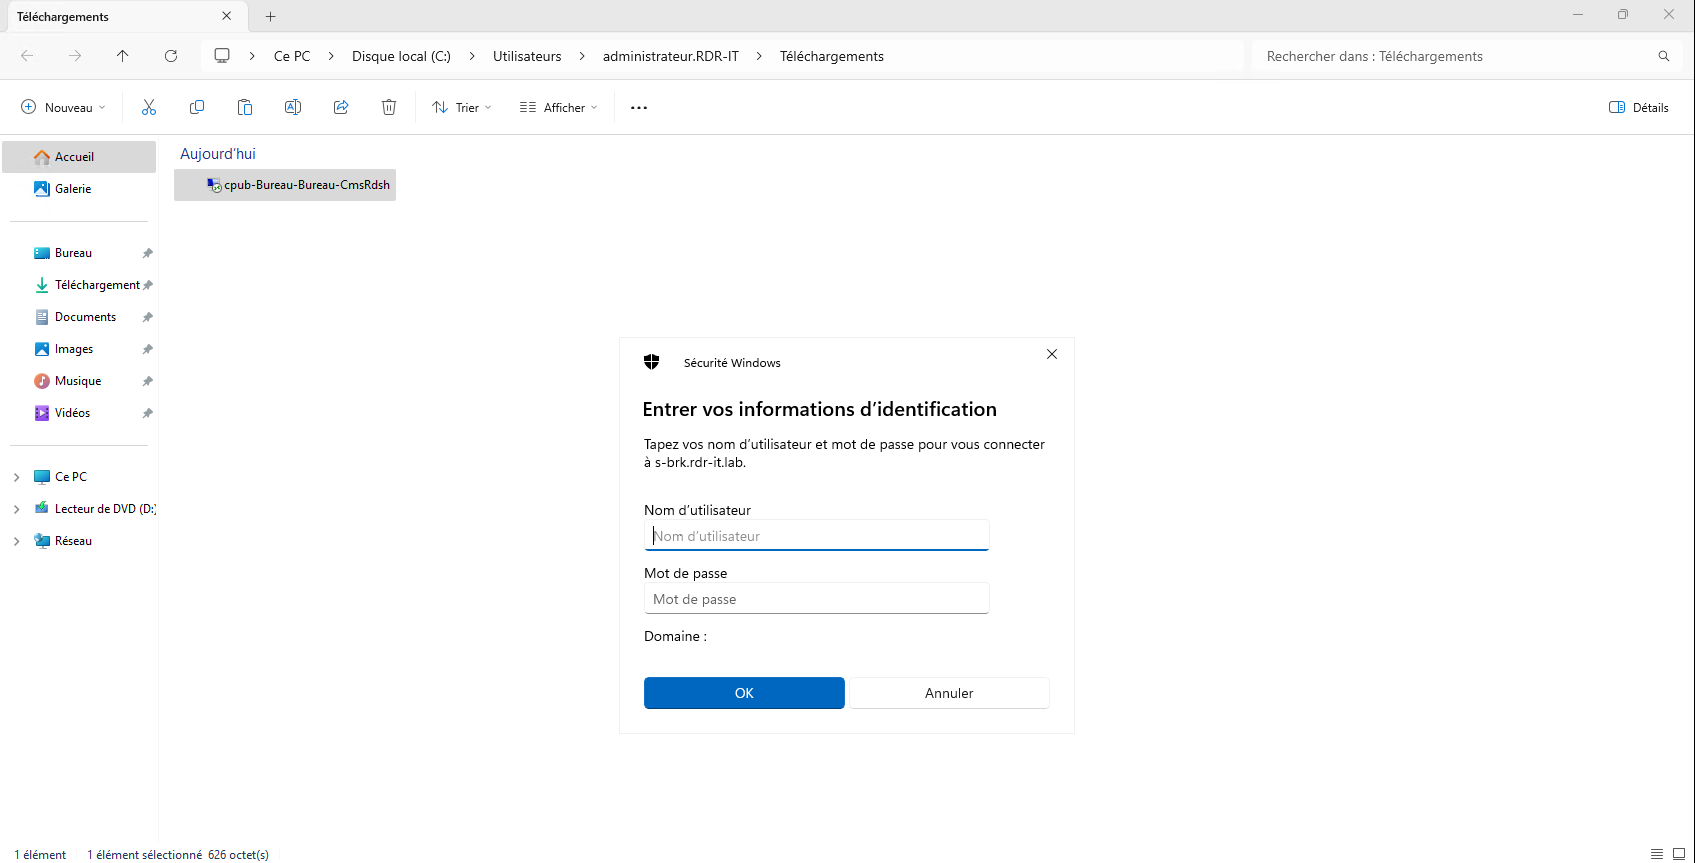
Please wait while logging in…
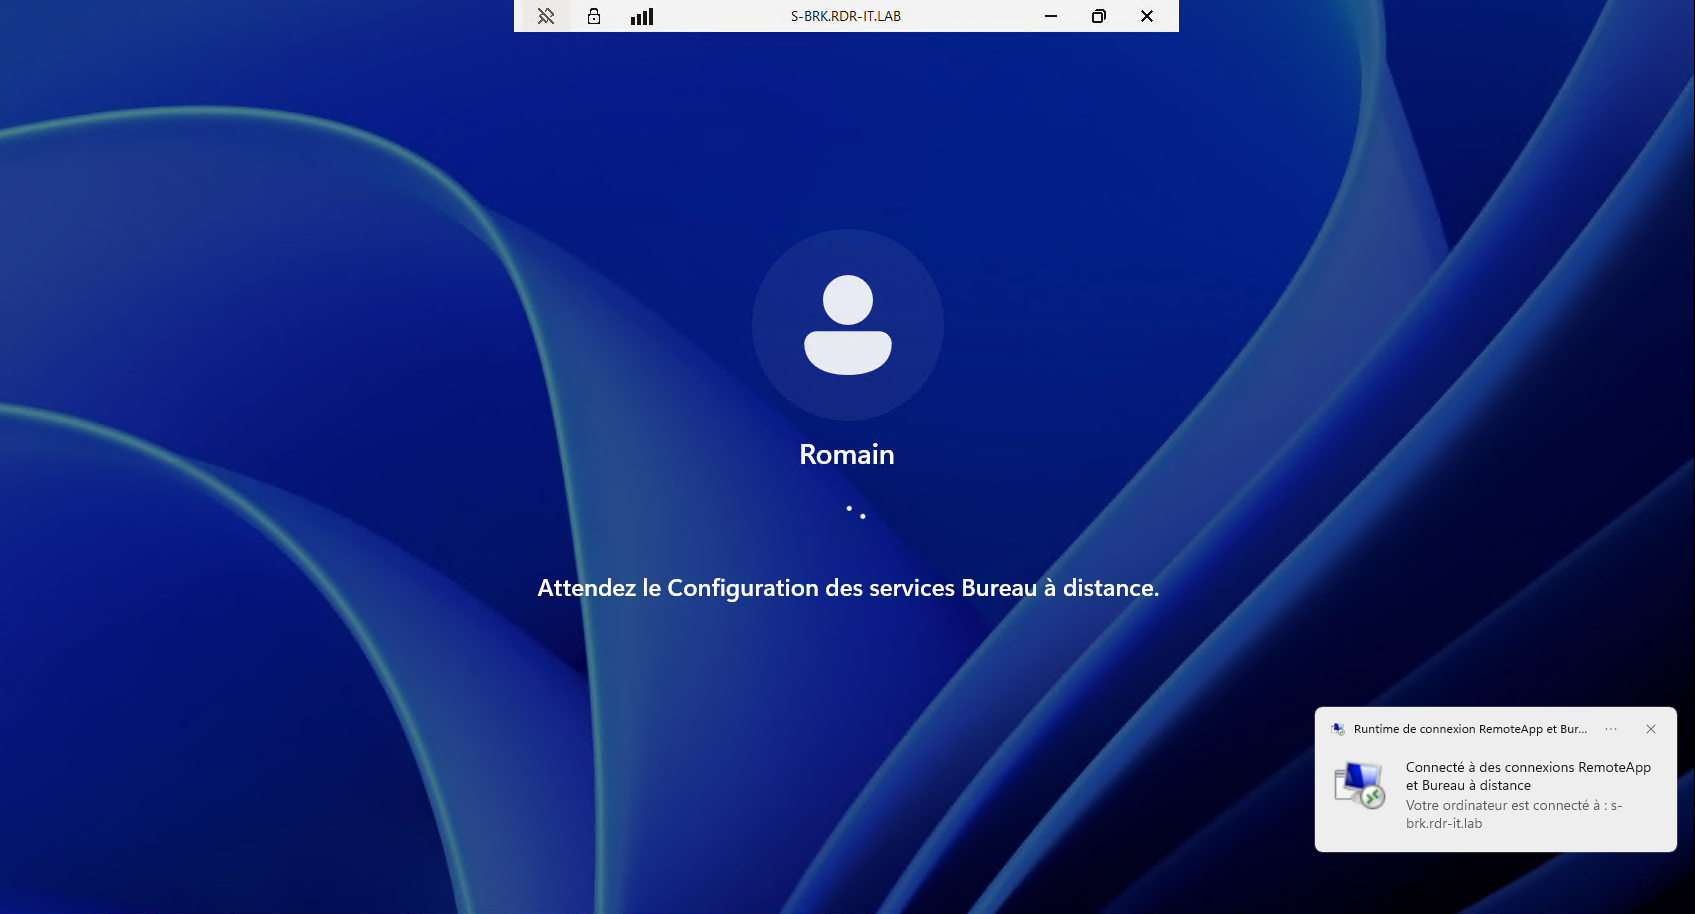
By the way, we can notice that the connection is made on the broker and not on a Remote Desktop Session Host server, which is normal.
The session is open, I can now work on the Remote Desktop session.

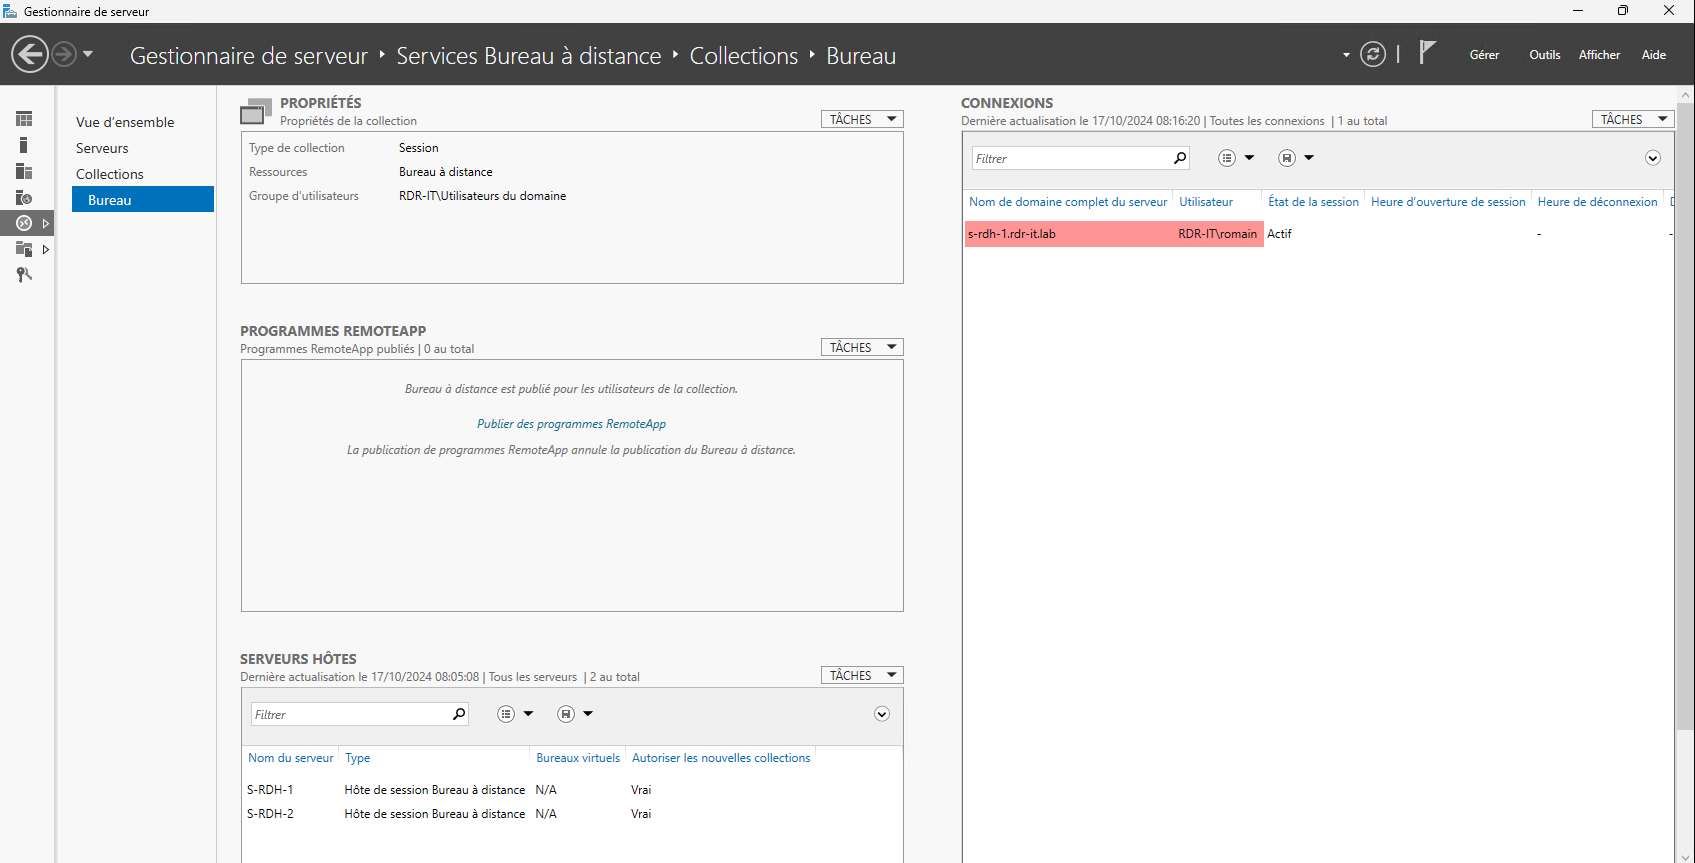
If we look at the broker, we can clearly see the active connection on the s-rdh-1 server.
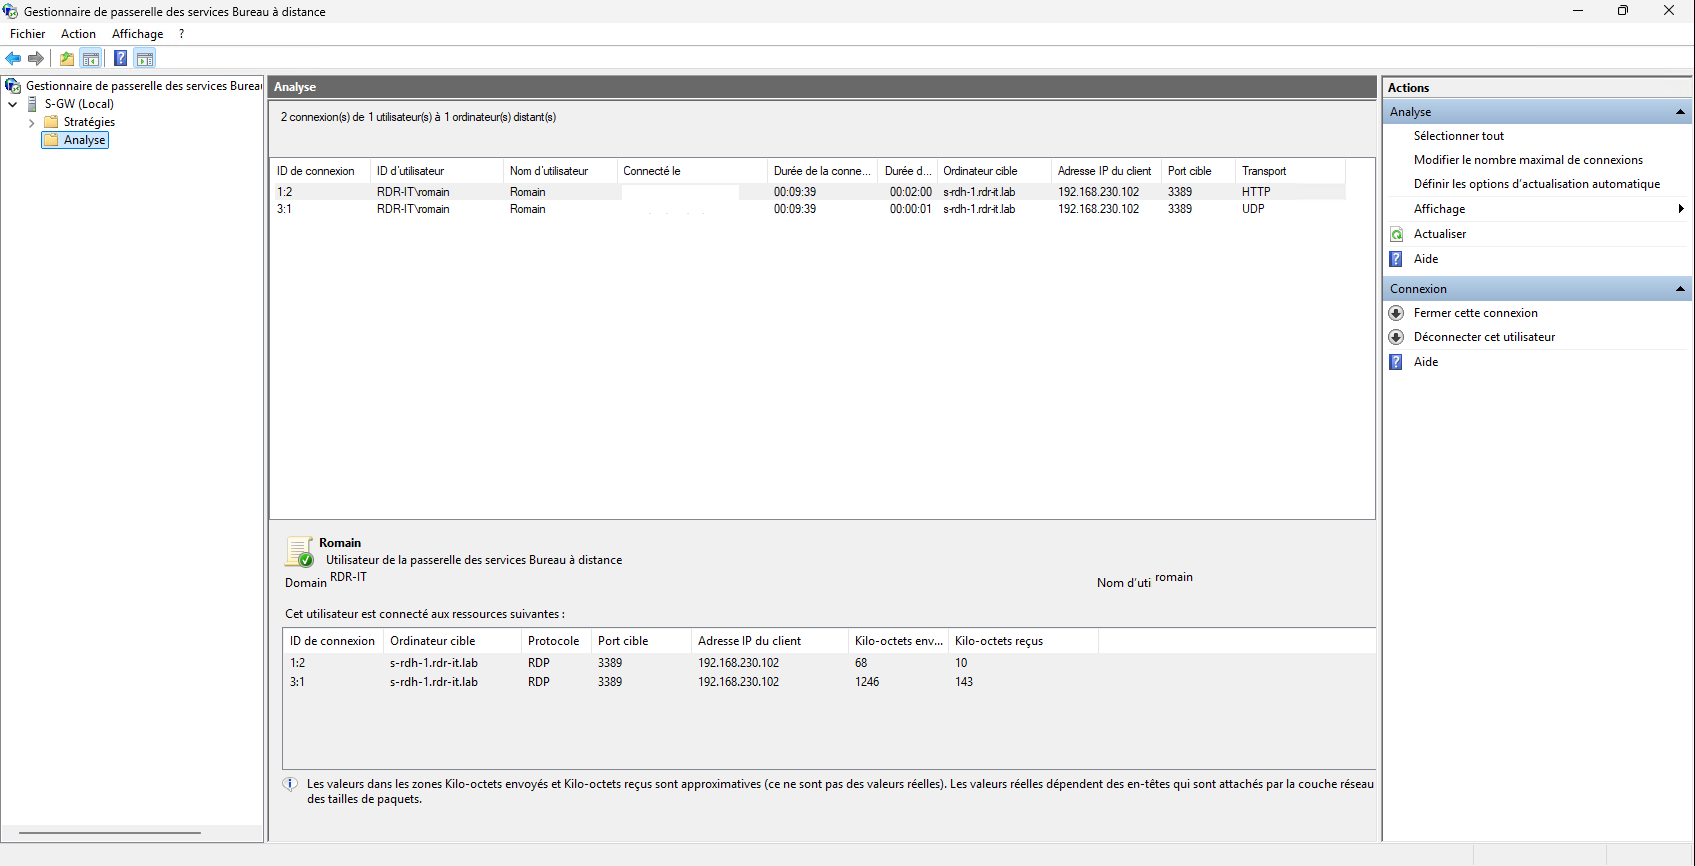
On the Remote Desktop Services Gateway management console, you can also see the connection.
And finally, we can see that the profile disk has been created on the share.

You now know how to deploy an RDS farm with Windows Server 2025. In this tutorial, I have not covered all aspects of Remote Desktop deployment, such as RemoteApps or setting up the license server. If you want to learn more about this topic, I invite you to read this tutorial: Deploy an RDS farm on Windows Server
You will also find here many articles dealing with remote desktop on Windows Server.
