In this tutorial, I will walk you through how to configure an IP address and DNS servers using PowerShell.
The first step will be to retrieve the Index from the card. Enter the following Cmdlet to display the computer’s network cards:
Get-NetAdapter

We will therefore configure the card which has Index 2.
IP address configuration
To configure the IP address, the subnet mask and the gateway, we will use the New-NetIPAddress cmdlet with several parameters.
-InterfaceIndex : interface number retrieved with the Get-NetAdapter command
-IPAddress : IP address that will be assigned to the card
-PrefixLength : size of the subnet mask in bits (24 = 255.255.255.0)
-DefaultGateway : IP address of the default gateway
Which give :
New-NetIPAddress -InterfaceIndex 2 -IPAddress 10.100.0.49 -PrefixLength 24 -DefaultGateway 10.100.0.254
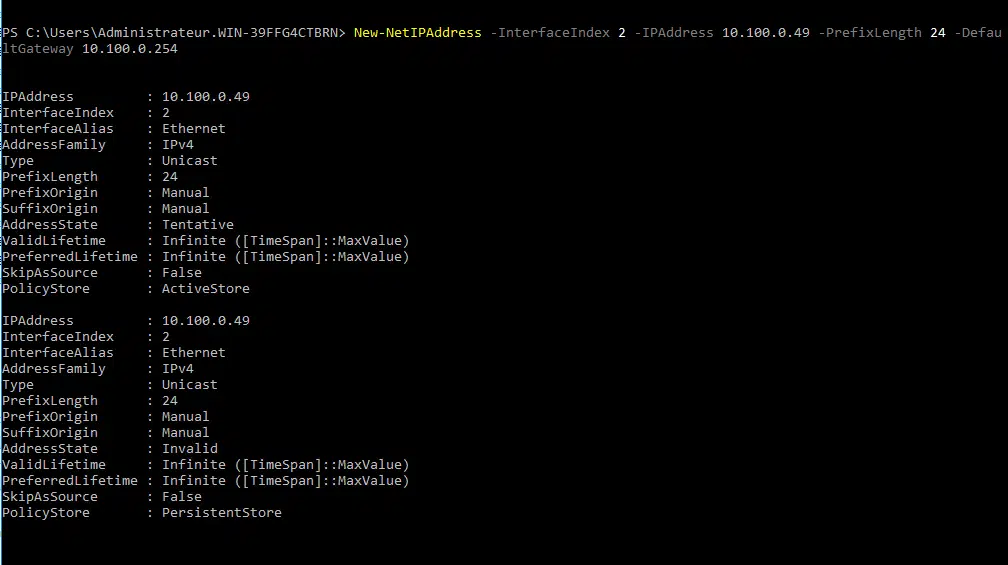
If the command is correct, it returns the IP configuration
Configure DNS
Now you have to indicate the DNS servers with the Set-DnsClientServerAddress cmdlet.
We will use it with two parameters which are:
-InterfaceIndex : as for the previous command, we indicate the number of the card
-ServerAddresses : where we will indicate the DNS server (s), to pass several DNS servers, you must use a array (“IP_SRV_DNS_1″,IP_SRV_DNS_2”)
With a DNS server:
Set-DnsClientServerAddress -InterfaceIndex 2 -ServerAddresses 10.100.0.1
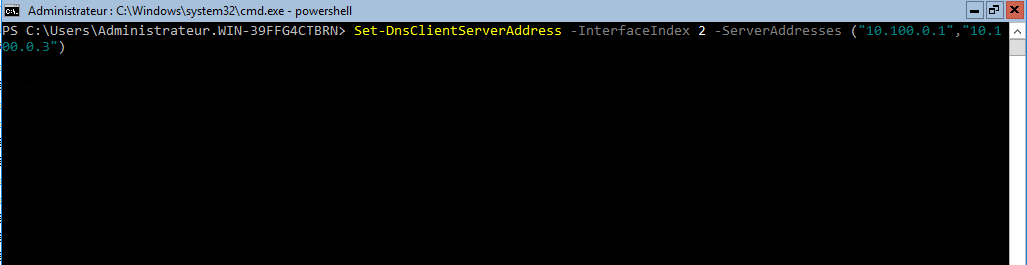
With multiple DNS servers
Set-DnsClientServerAddress -InterfaceIndex 2 -ServerAddresses ("10.100.0.1","10.100.0.3")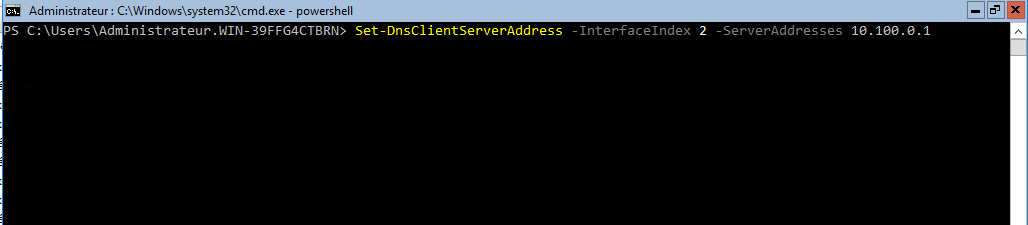
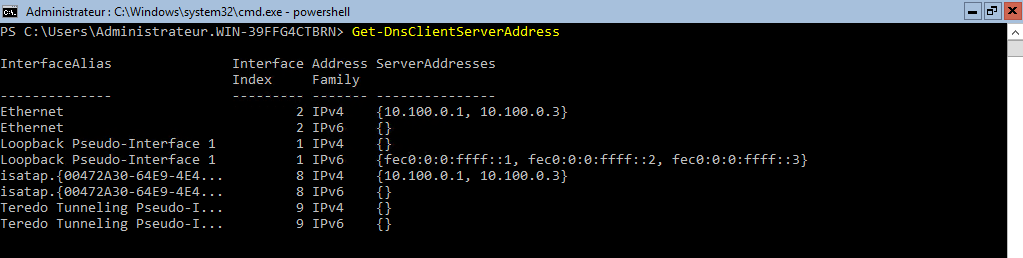
The execution of the order does not return a confirmation. To check that this has been taken into account, the Get-DnsClientServerAddress cmdlet returns the configuration of the DNS servers.
For summary
1. Get-NetAdapter : to retrieve the identifier of the network card.
2. New-NetIPAddress : to configure the IP address, subnet mask and default gateway.
3. Set-DnsClientServerAddress : to configure DNS services.
