In a previous tutorial, I explained how to protect your Linux servers with Crowdsec in order to block “malicious” traffic.
For almost 2 months now, the Crowdsec version has been available for Windows.
If you are not yet familiar with Crowdsec, here is a brief presentation:
Crowdsec will analyze different log files (Web, firewall, SSH, applications…) in order to detect different attacks and set up a blockage (firewall rule, Captcha…). Its operation is similar to Fail2Ban well known to Linux users, the added value of Crowdsec is to be “collaborative”, blocked IP addresses are shared between different Crowdsec users (it’s a bit like lighthouse calls on the road).
At the time of writing this tutorial, the Windows version is still in alpha, I’ve been testing it for 2 months and I haven’t had any particular problem.
Before you start installing Crowdsec, a few prerequisites are necessary:
- Windows Firewall must be enabled in order to block IPs.
- Logs must be enabled on the firewall
- The Dotnet SDK 6.0.2 must be installed.
The tutorial program:
Table of Contents
Installing the Dotnet SDK 6.0.X
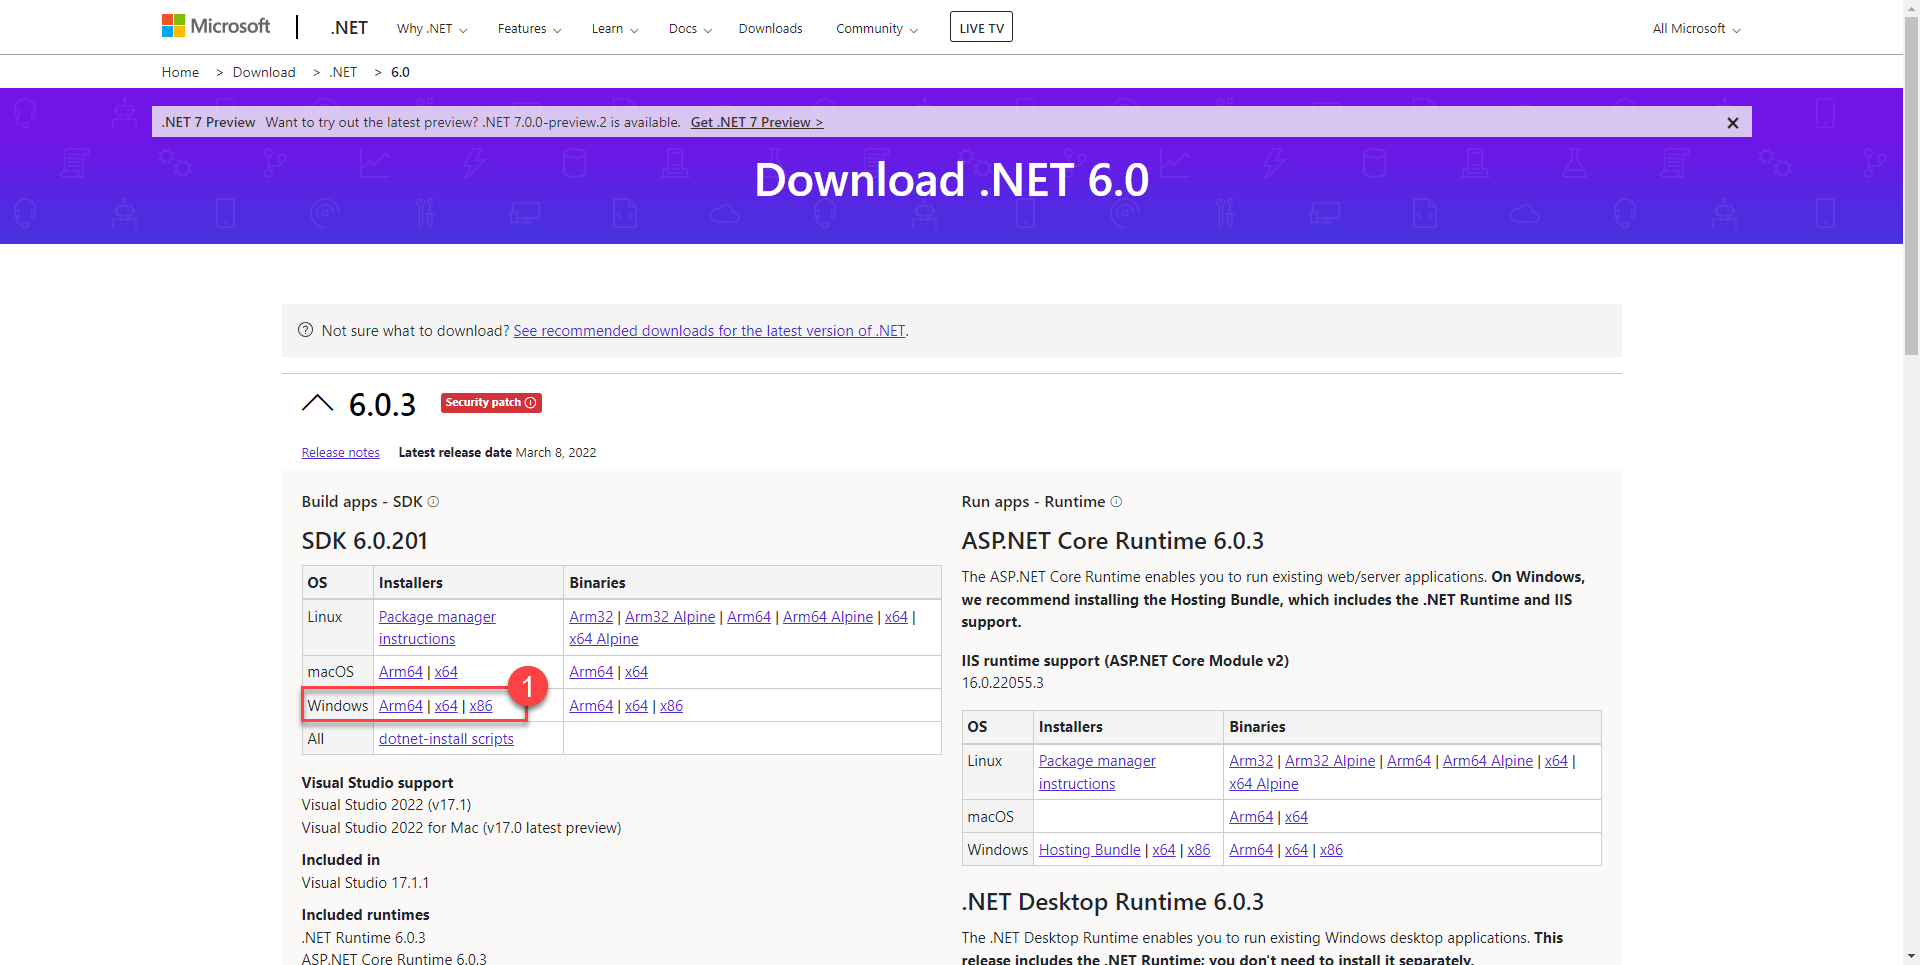
Go to next url : https://dotnet.microsoft.com/en-us/download/dotnet/6.0
On the page, download the installation file 1 corresponding to the architecture of your Windows server.
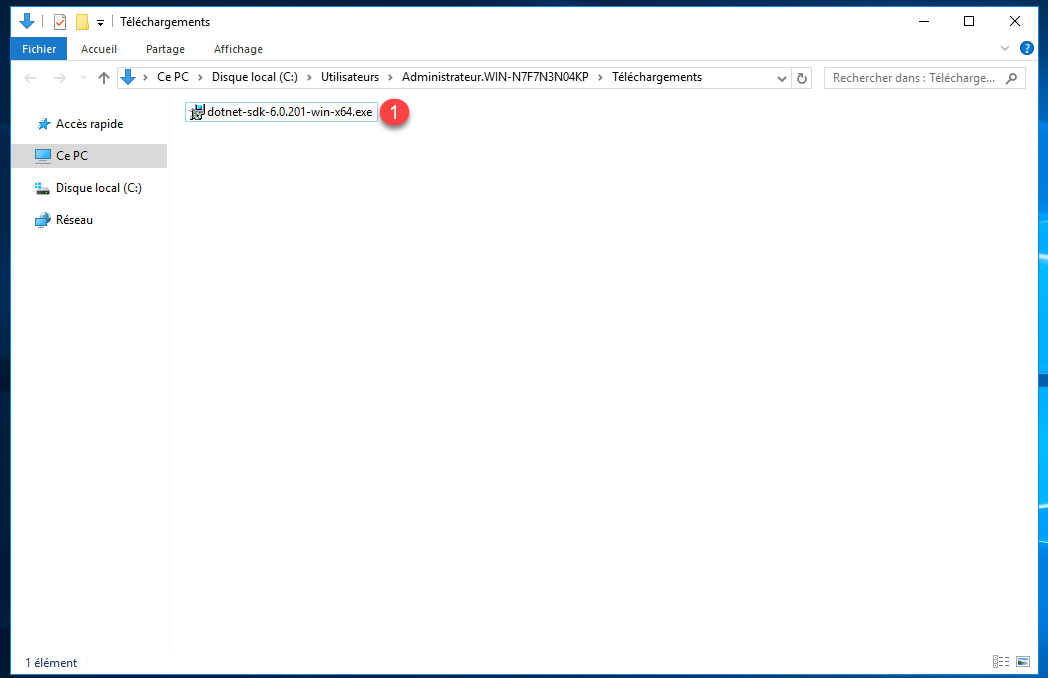
Launch the executable 1 download.
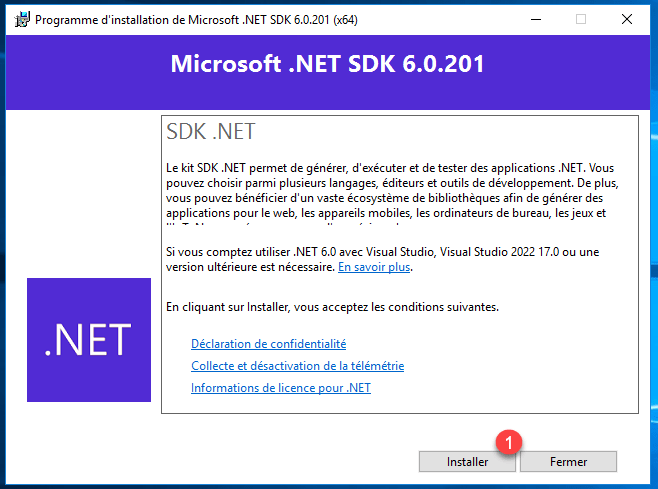
When the wizard is launched, click on Install 1.
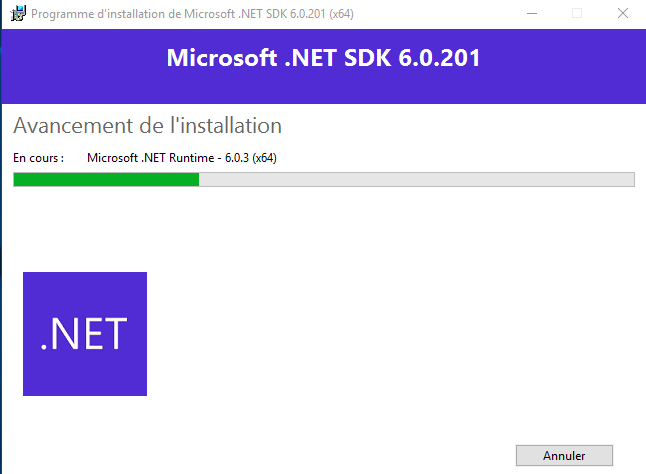
Wait during the installation (less than 5 minutes).
Once the installation is complete, click Close to exit the wizard.

The software prerequisites are satisfied, we will move on to installing Crowdsec on the Windows server.
Installing Crowdsec on Windows
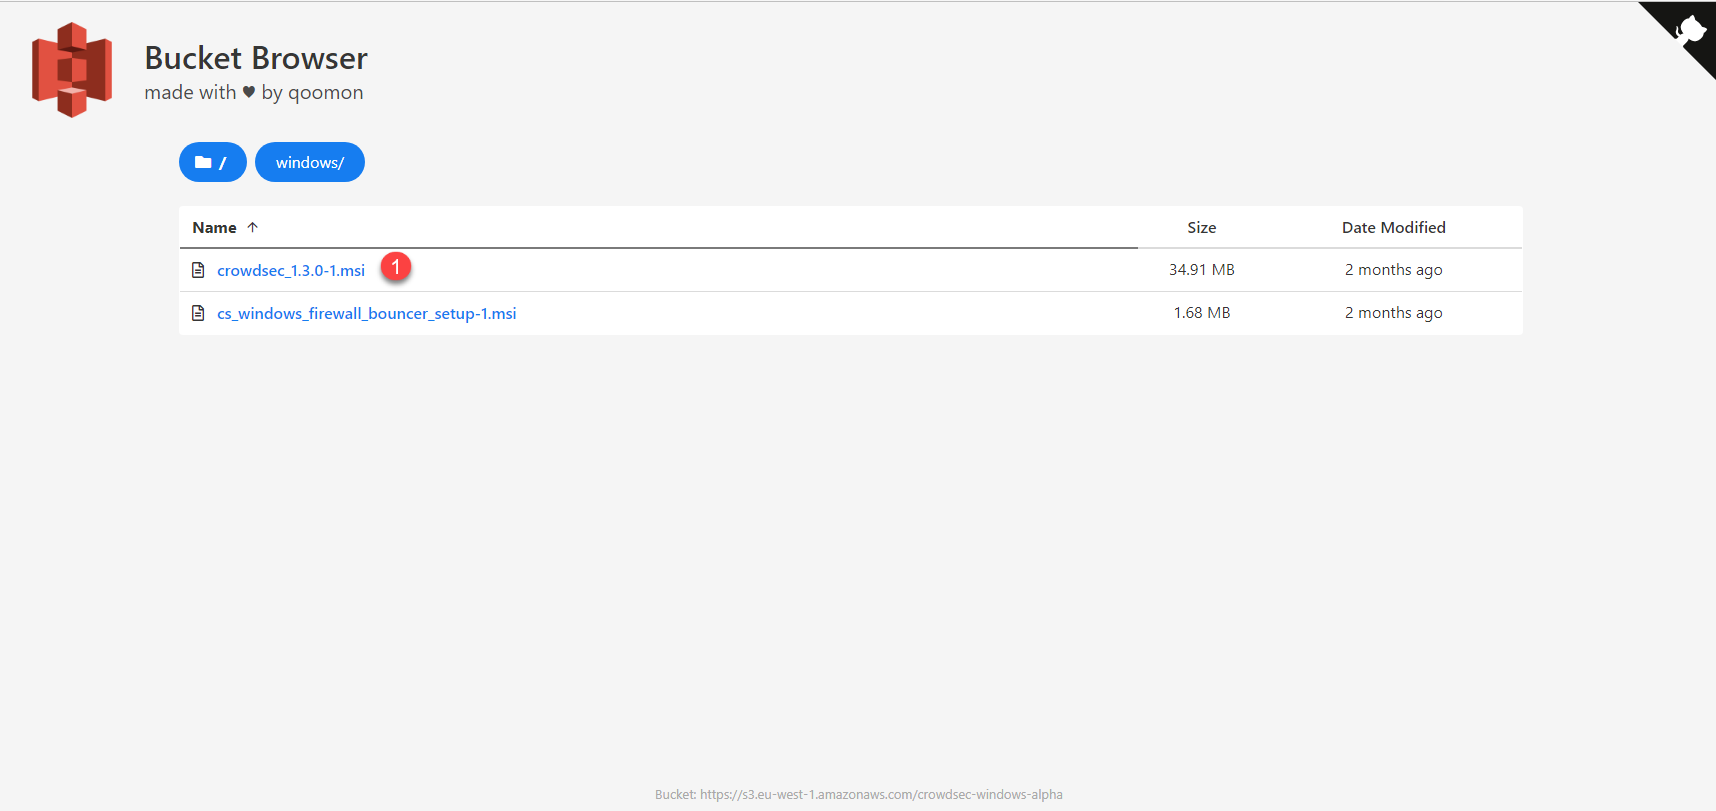
Start by downloading the installation file found here : https://alpha-packages.crowdsec.net/#windows/
The link is subject to change
Download the file crowdsec_*****.msi 1.
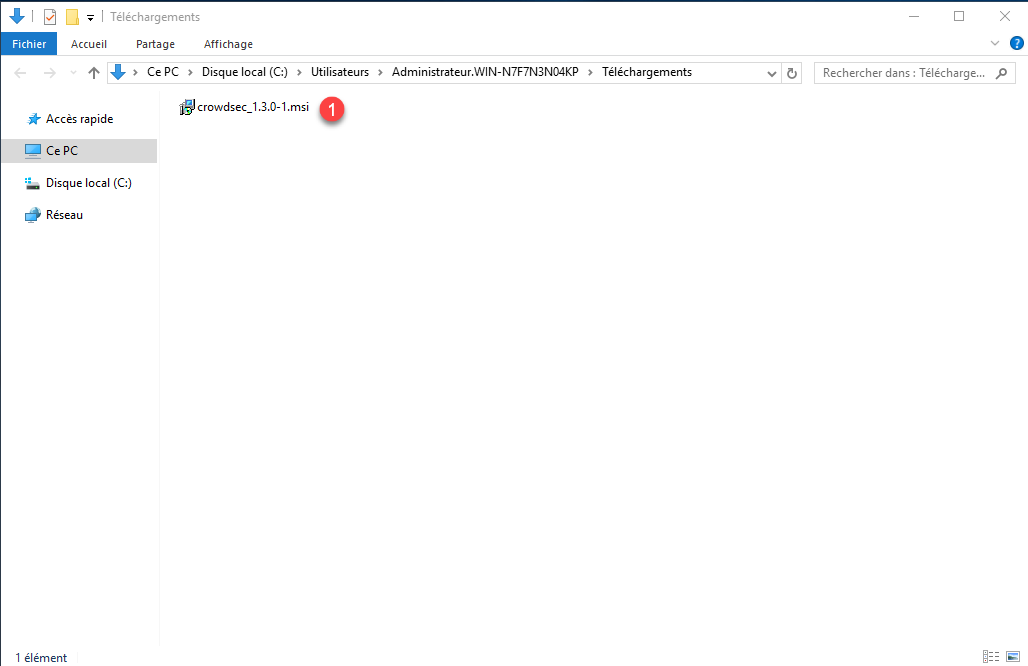
Run the downloaded file 1.
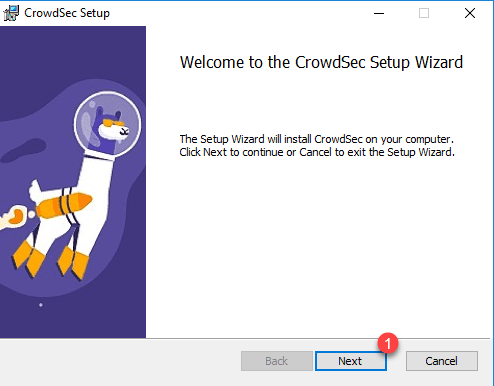
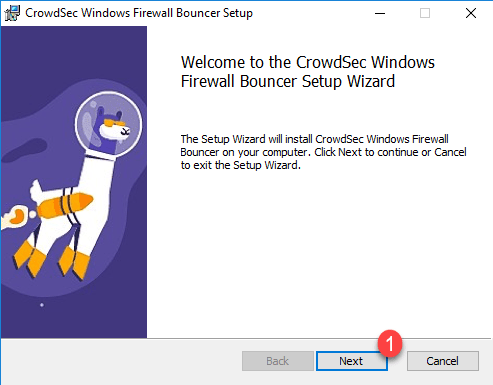
When launching the Crowdsec installation wizard, click on Next 1.
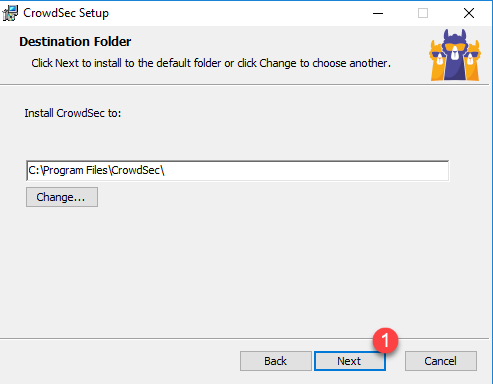
The second step of the wizard allows you to define the installation path, if you do not wish to change it, click on Next 1.
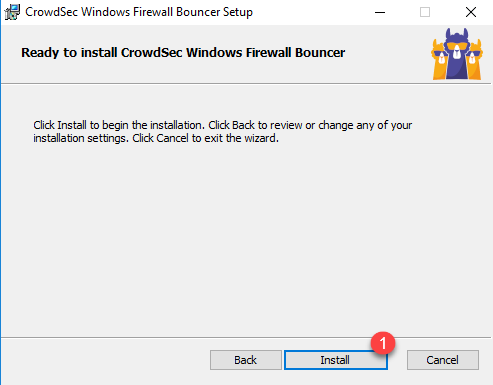
Then click on the Install 1 button.
Wait while installing Crowdsec…
Once Crowdsec installation is complete, click Finish to close the wizard.
Crowdsec is installed, before moving on, we will make sure it is working properly.
Open a command prompt as an administrator.

Enter the command below:
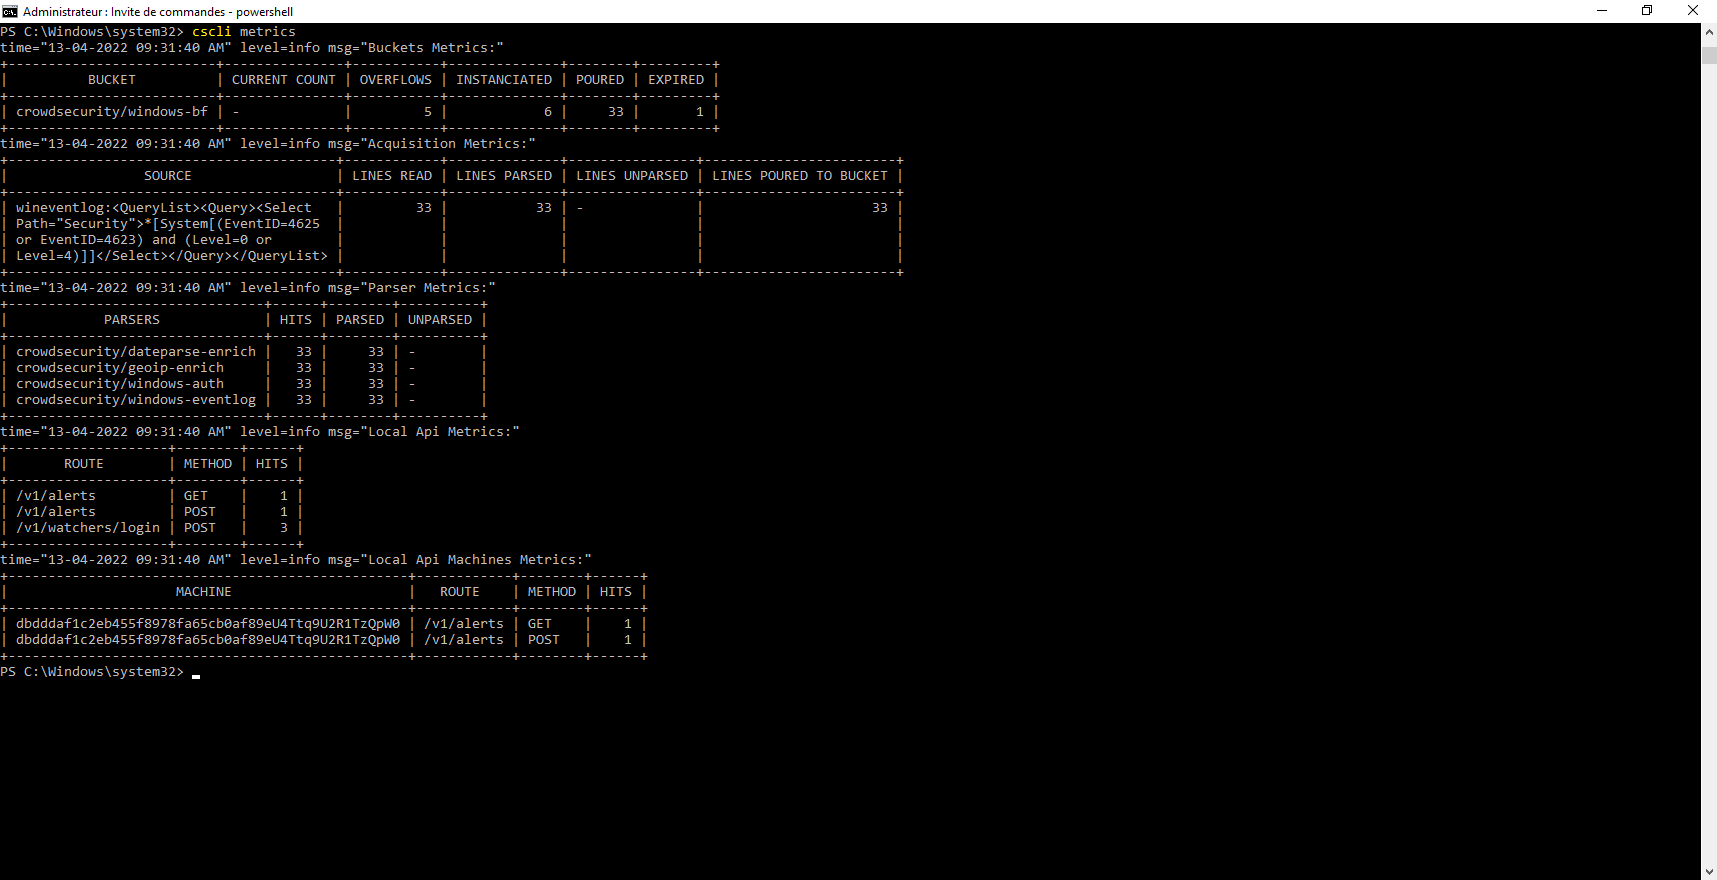
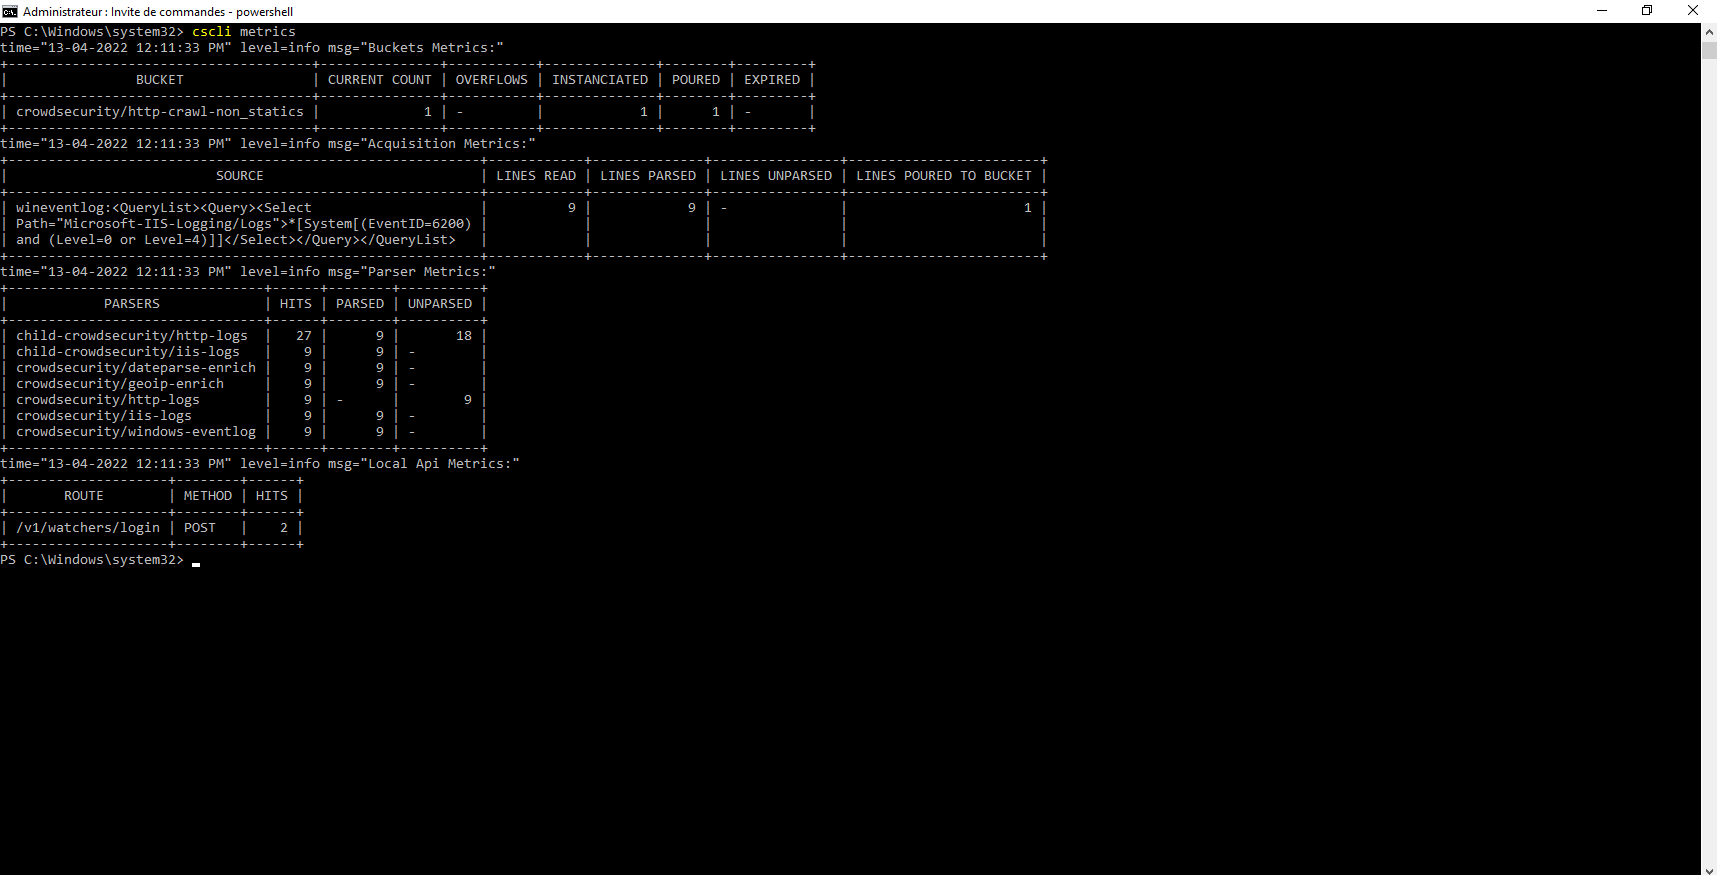
cscli metricsThe command should return something like this:
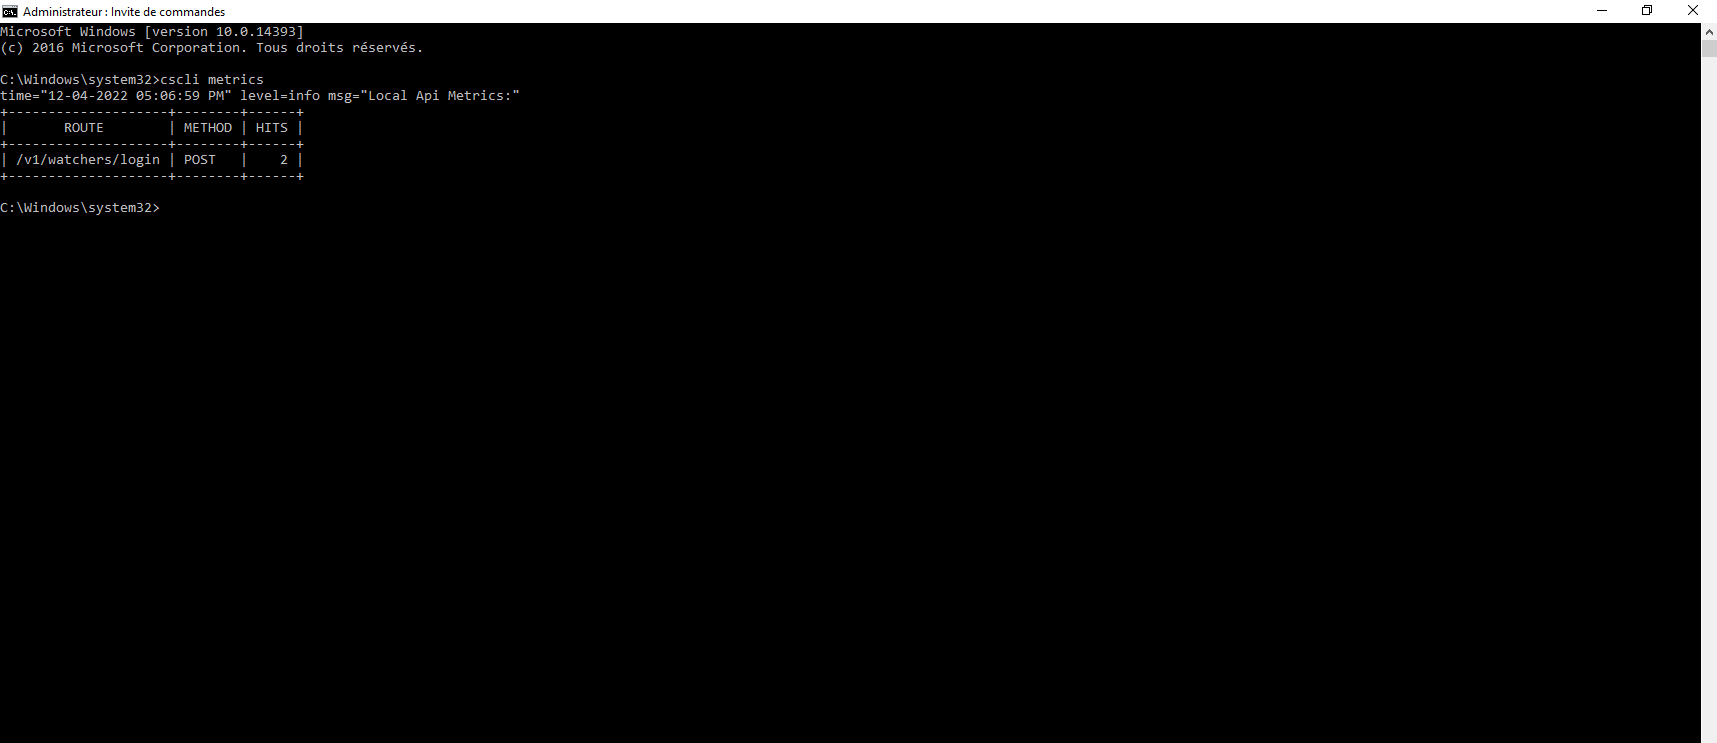
Crowdsec runs on our Windows server.
Configuring Crowdsec
Before moving on to installing the bouncer to block traffic, we will move on to configuring Crowdsec and Windows so that we can detect traffic.
On Windows, we have two main sources of log-level analysis:
- The log files as on Linux, which can be for example the files of the firewall, IIS …
- Windows Event Viewer
When installing Crowdsec, it will detect the components installed on the server and download the scenarios accordingly.
Use the command below to display them:
cscli scenarios list
On the capture below, we can see that the windows-bf scenario is installed, it allows to detect brute force authentication by analyzing the event viewer.
This scenario is part of the collection crowdsecurity/windows. To display the list of installed collections, enter the command below:
cscli collections list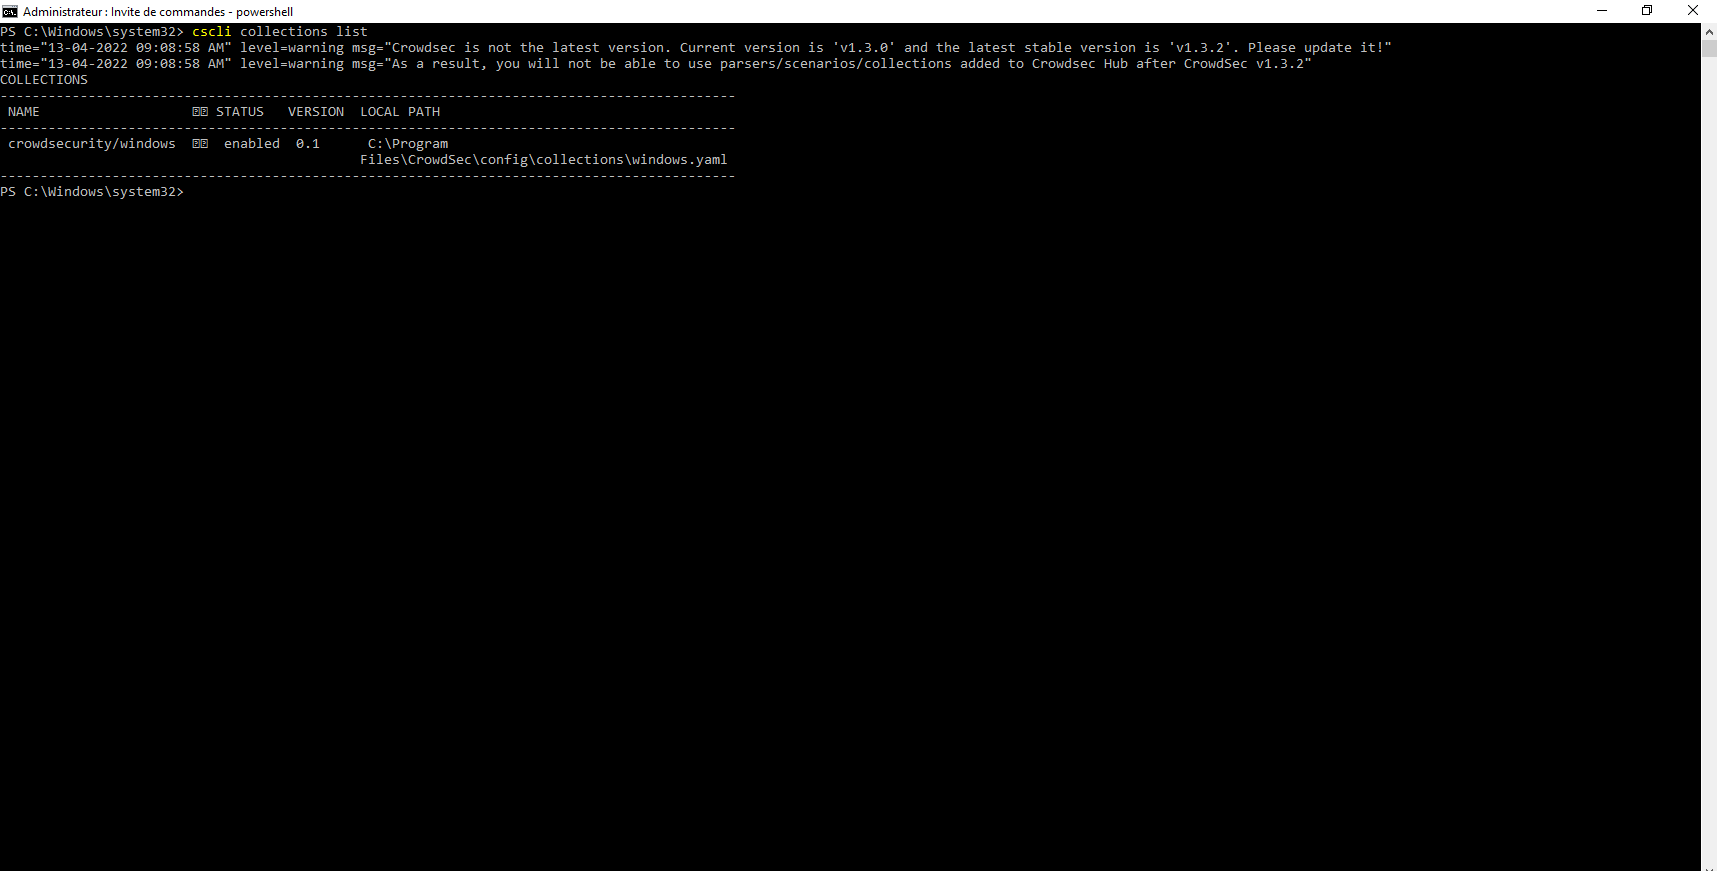
To see where Crowdsec collects items, open the file C:\Program Files\Crowdsec\Config\acquis.yaml.
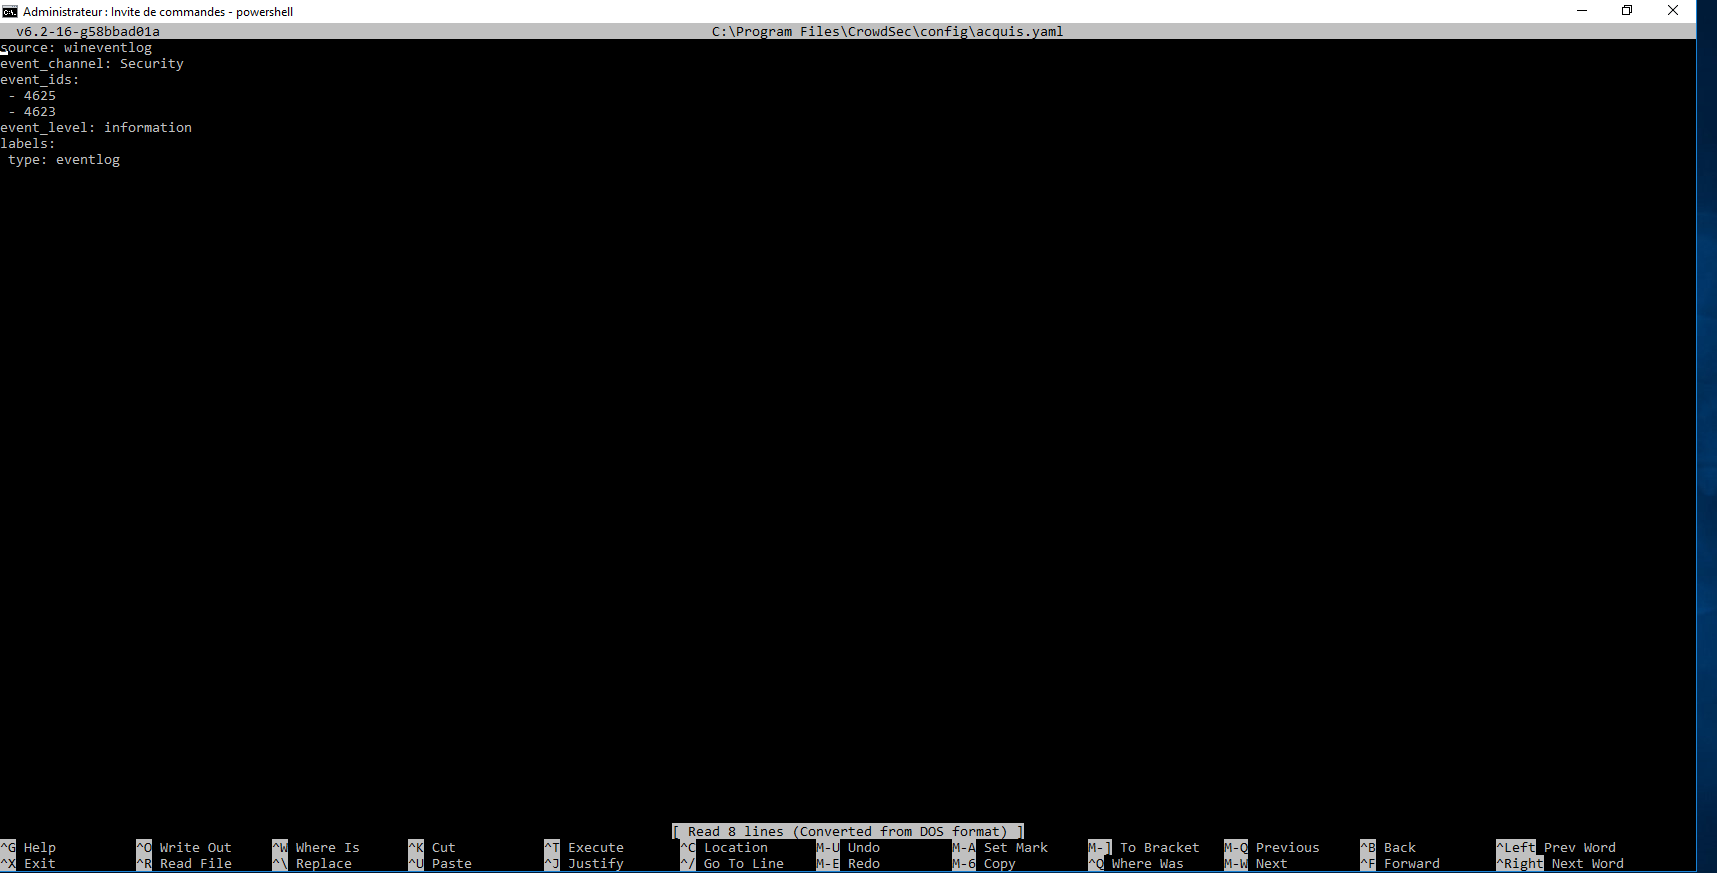
For the moment Crowdsec, uses the Event Viewer (wineventlog) source, in the Security log (Security) and searches for events with id (event_ids) 4625 and 4623, which record authentication failures.
Here is an example of an event 4625 :
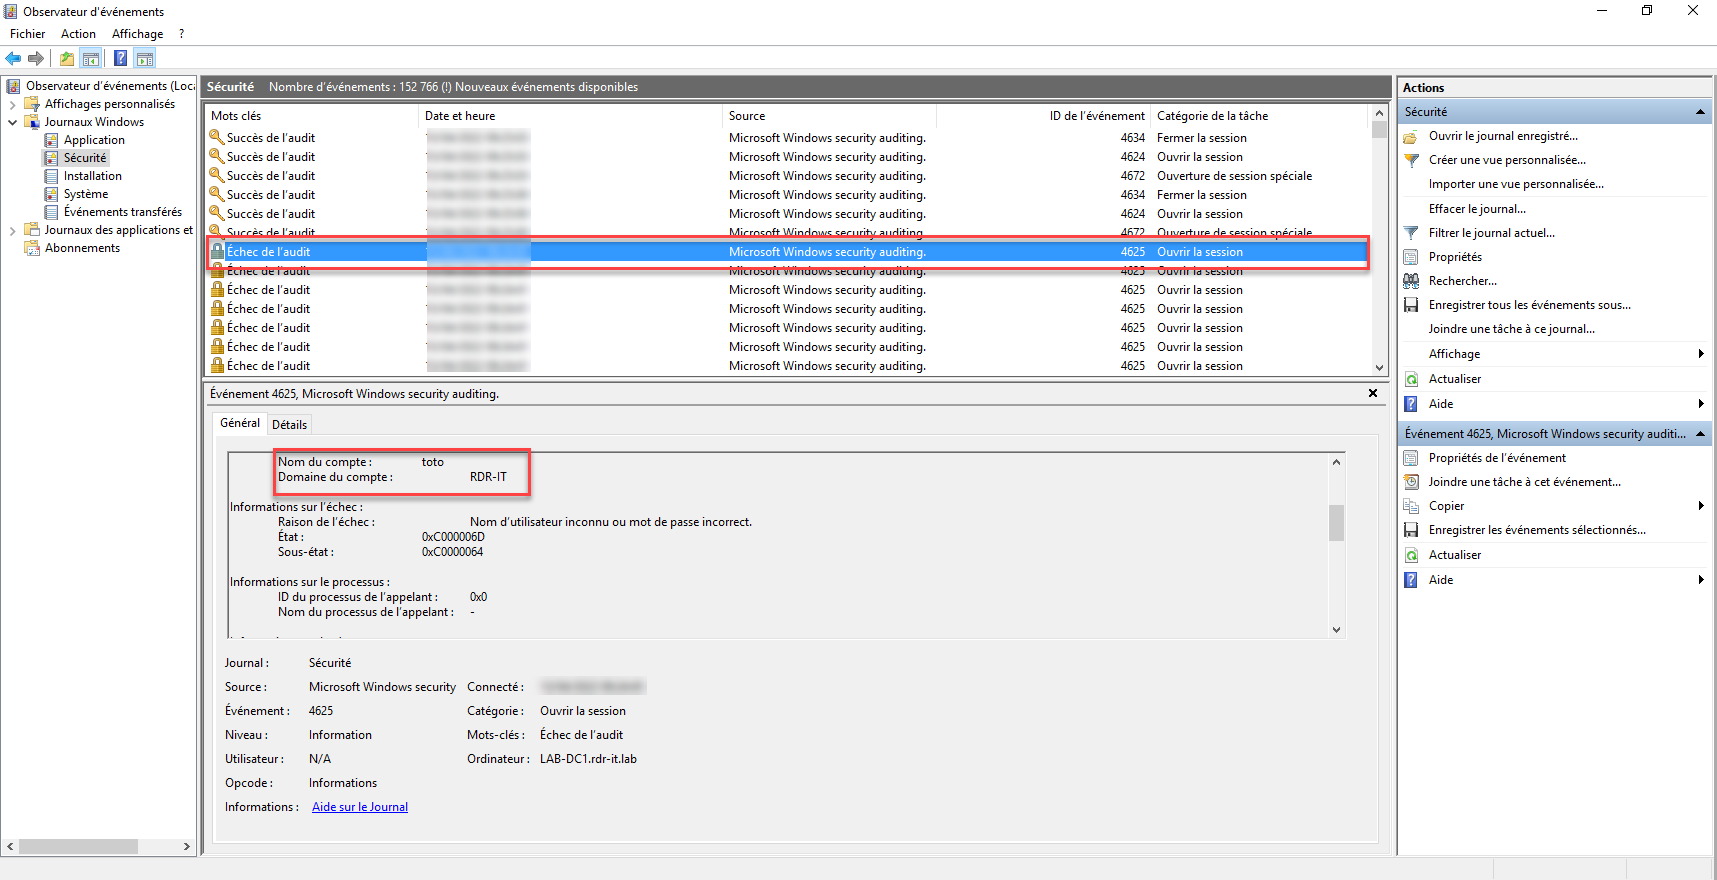
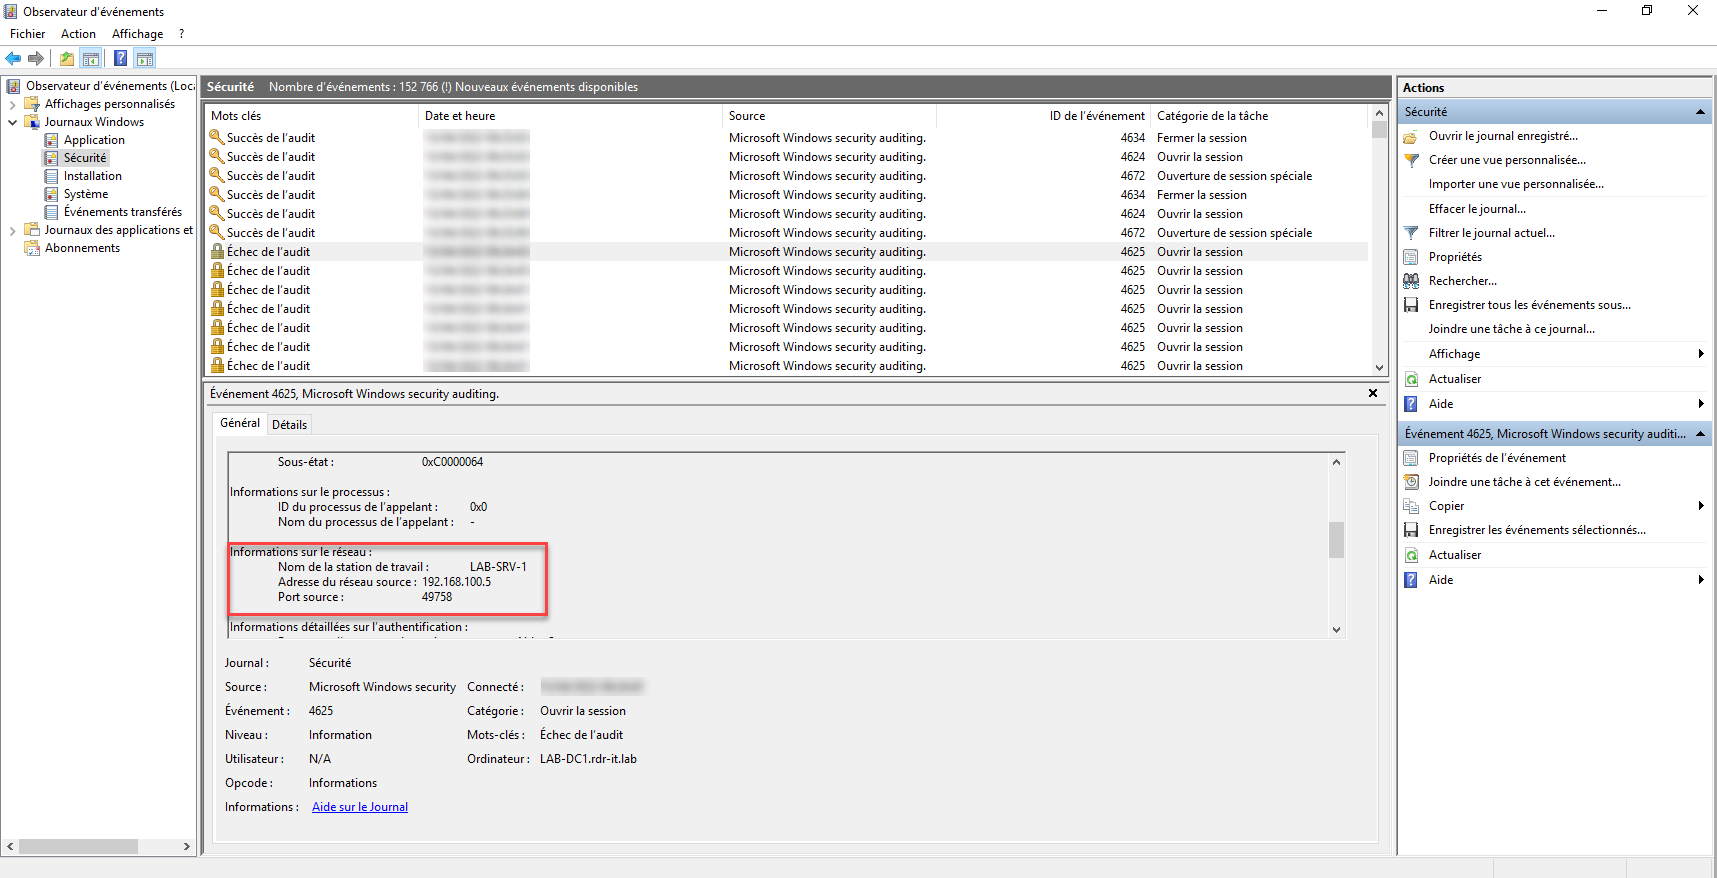
From another computer (192.168.100.5), I tried to access a share with user foo which does not exist.
On we look at the metrics of Crowdsec with the command: cscli metrics, we see that Crowdsec has processed the event.
We can also see that Crowdsec has made the decision to block the ip, to do this use the command:
cscli decisions list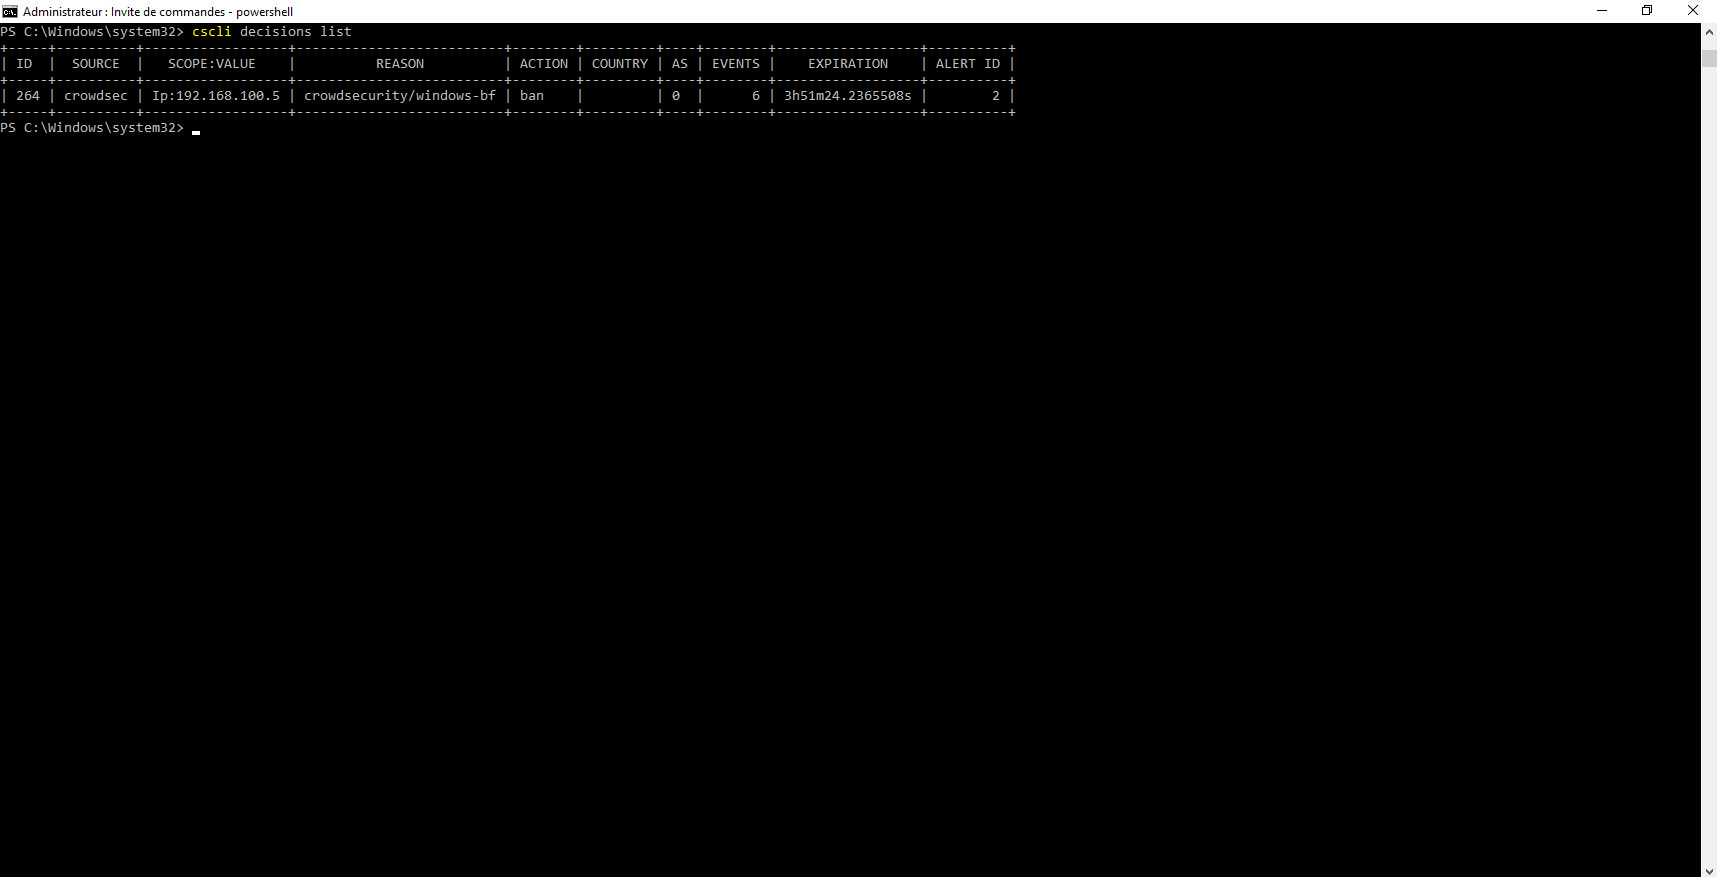
For the moment, this decision has no consequence, because we don’t have a bouncer.
For brute force management, it is managed by default, we will now see the firewall and IIS part.
Port Scan Protection
Here I am talking about a protection that does not work well because the Windows firewall logs very little DROP.
Like brute force attacks, this protection can be activated on all servers, the goal will be to detect port scans and then block IP addresses.
This protection is based on the logs of the Windows firewall, so you must have the firewall activated and not have a rule that authorizes all traffic, because the goal will be to detect packet DROP.
From the control panel, go to the Windows firewall settings and click on Advanced settings 1.
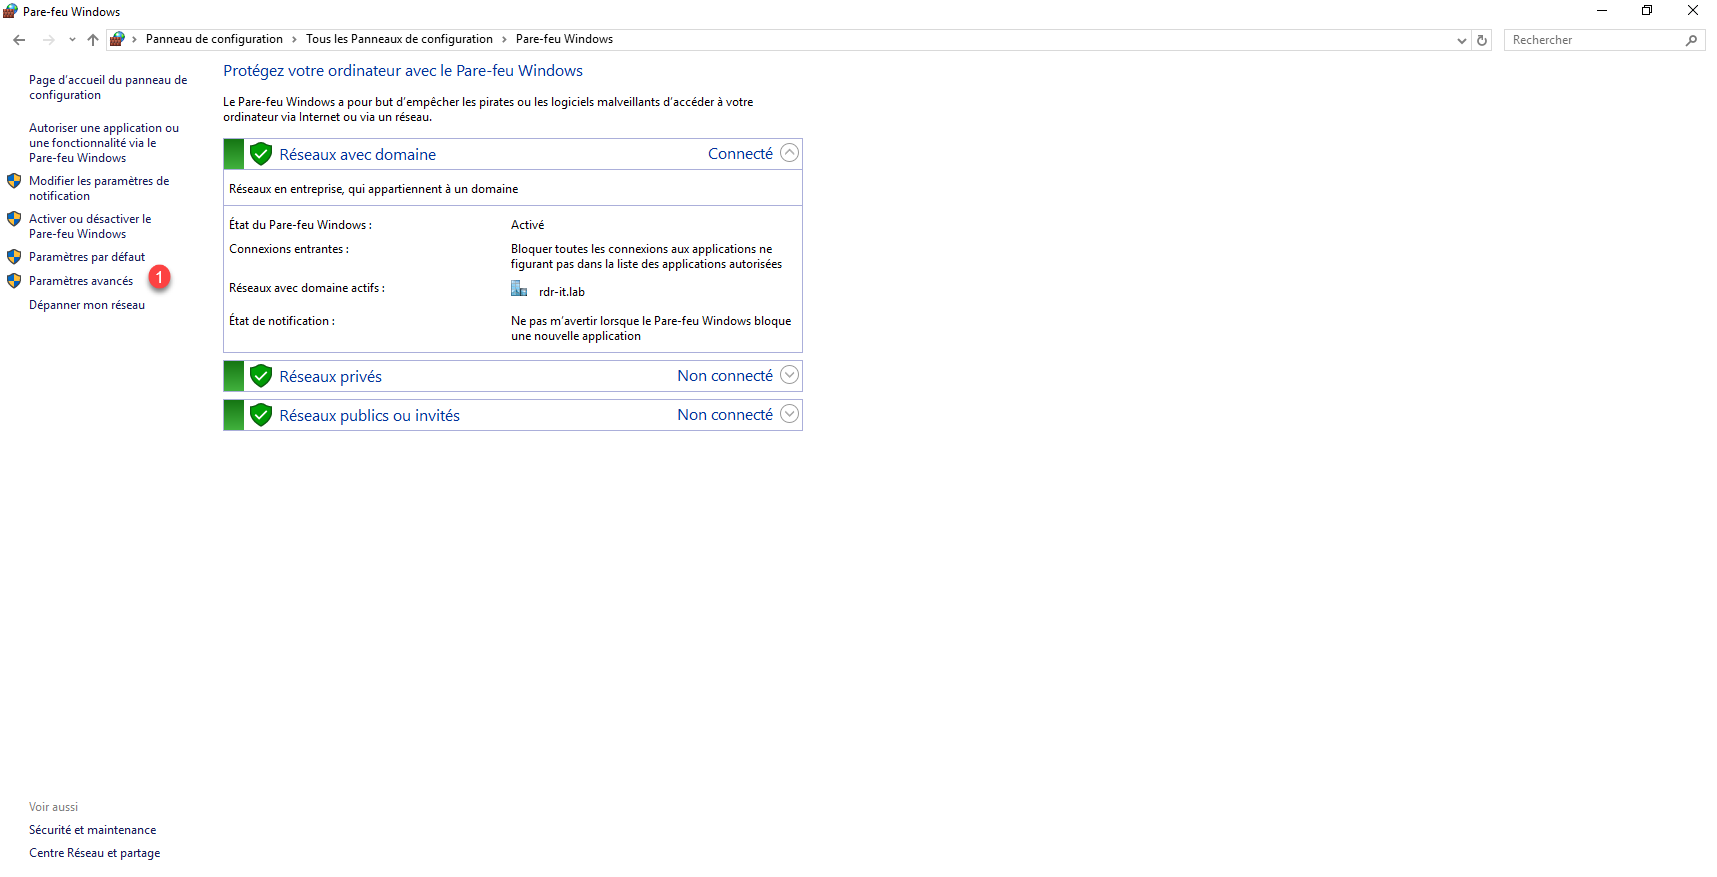
By the way, we can see the firewall of my Windows server is activated
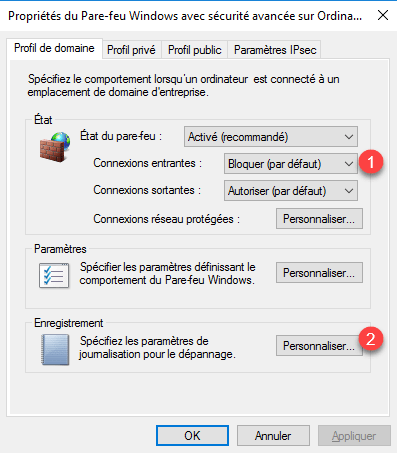
We will check that the firewall is well configured, that is to say that it blocks incoming connections that do not have a rule that authorizes traffic and that the recording of logs is configured.
Click Windows Firewall Properties 1.

The configuration being identical for all profiles, I only go in this tutorial, you show the verification on the domain profile, you must also check the private and public profiles.
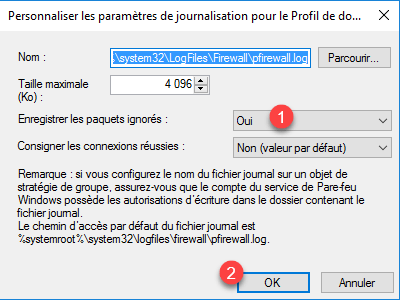
In the Status part, check incoming connections are blocked by default 1, if not, select Block (by default), then click on the Customize button 2 in the Recording part to configure the logs.
Change to Yes 1 the Log ignored packets option then click on OK 2 to validate the parameters and close the Windows Firewall Properties.
Restart the Windows Firewall service:
Restart-Service MpsSvcIn order to test the correct functioning of the configuration, on the server where Crowdsec is installed open the log file in continuous reading:
cd C:\Windows\System32\LogFiles\Firewall
cat .\pfirewall.log -wait -Tail 20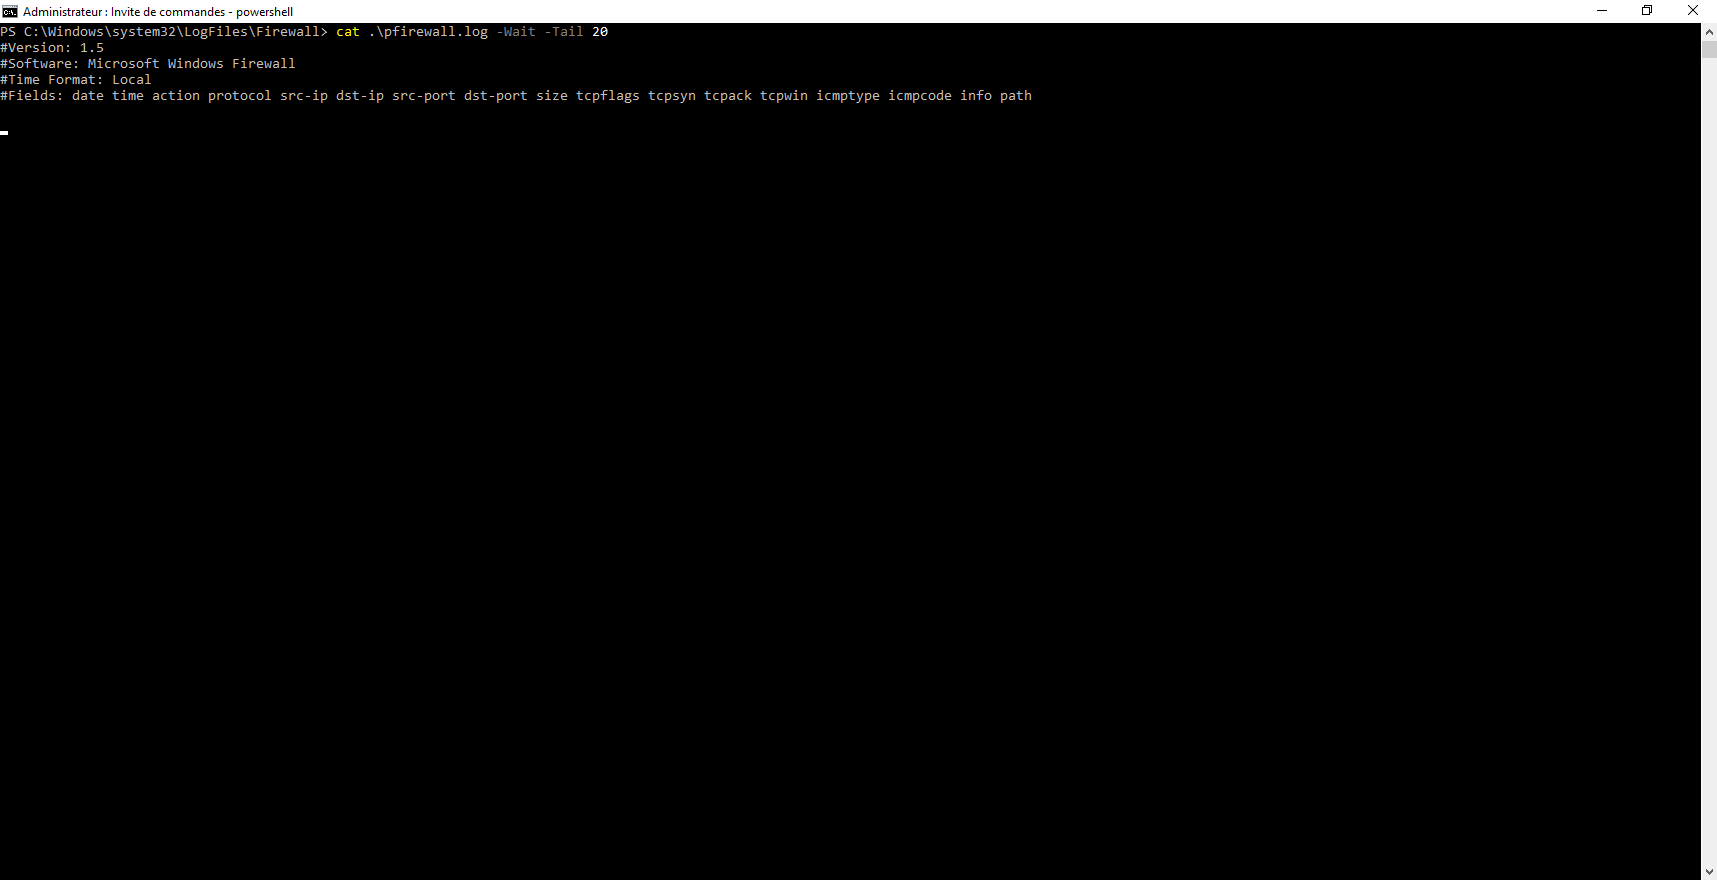
Normally you should get UPD packet DROPs, unfortunately the Windows Firewall logs are very poor, there is very little to see by TCP DROP, which makes port scan detection difficult.
Now that everything is configured, we must install the collection windows-firewall.
In the command prompt enter:
cscli collections install crowdsecurity/windows-firewallBefore restarting the service, we will tell Crowdsec to read the logs from the pfirewall.log file.
Open file C:\Program Files\Crowdsec\Config\acquis.yaml.
In the file add:
---
filenames:
 - C:\\Windows\\System32\\LogFiles\\Firewall\\pfirewall.log
labels:
 type: windows-firewall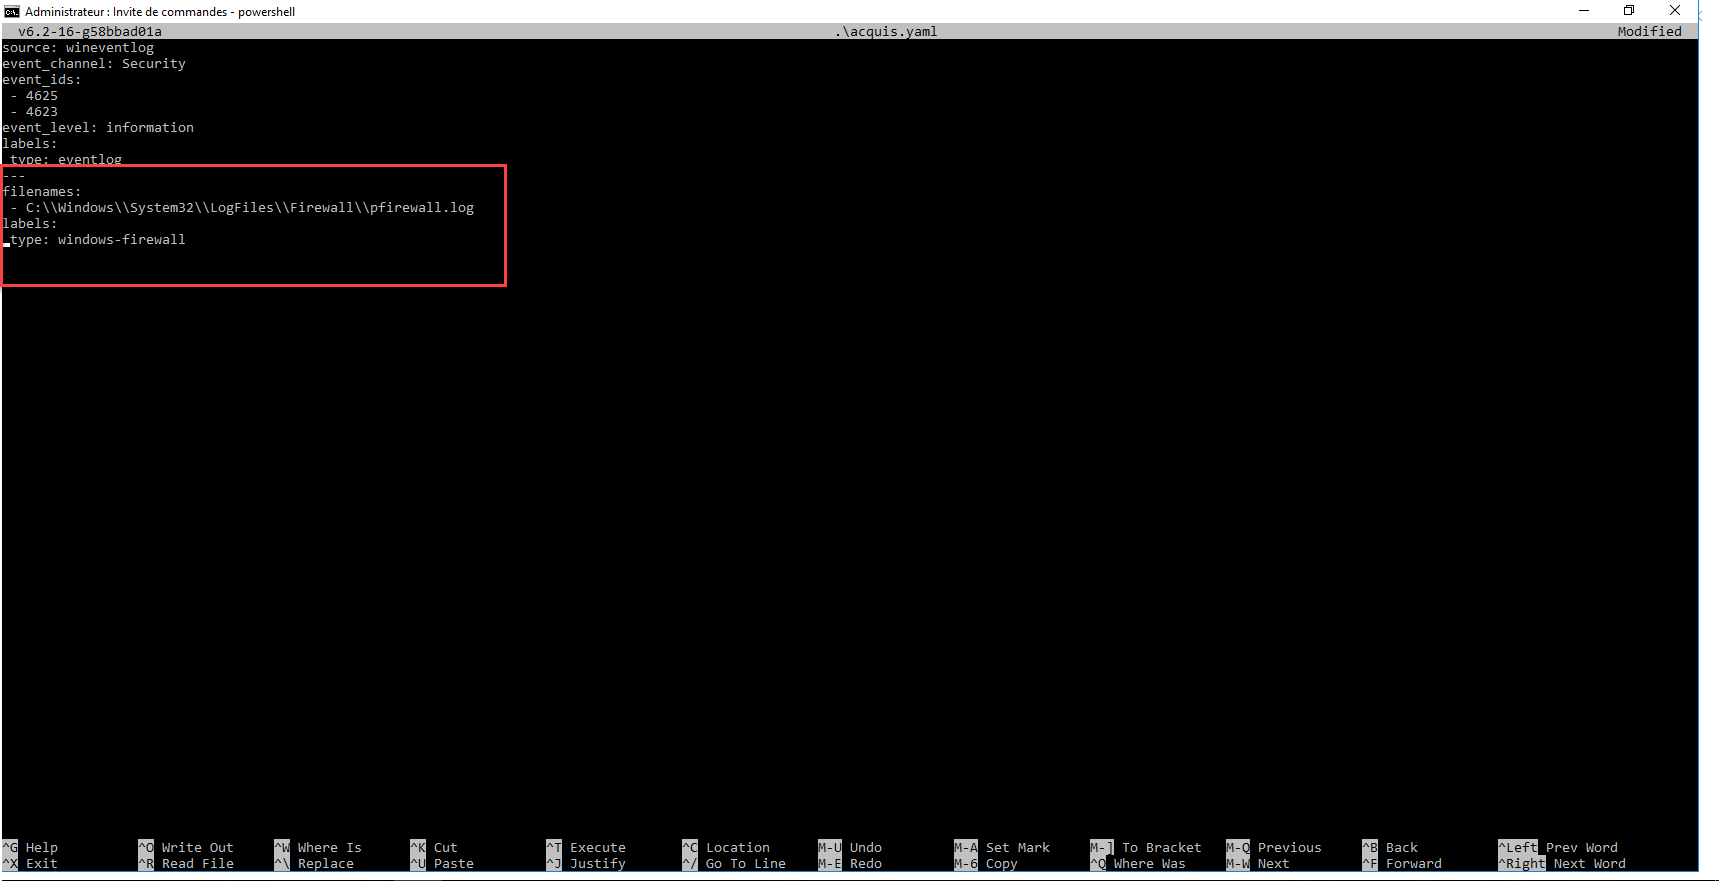
Save the file and restart the Crowdsec service to take it into account.
Restart-Service CrowdsecIIS Web Server Protection
If you have already read my tutorials on Crowdsec, you know that I like it for the protection of web servers (Apache, Nginx), with the port to Windows, we have the possibility to protect the Windows IIS web server.
After installing Crowdsec on your IIS Web server, you must install the collection IIS.
Enter the following command:
cscli collections install crowdsecurity/iisBefore restarting Crowdsec, we will go to the IIS logs configuration.
Open the IIS console, go to sites hosted on the IIS server and click on Logging 1.
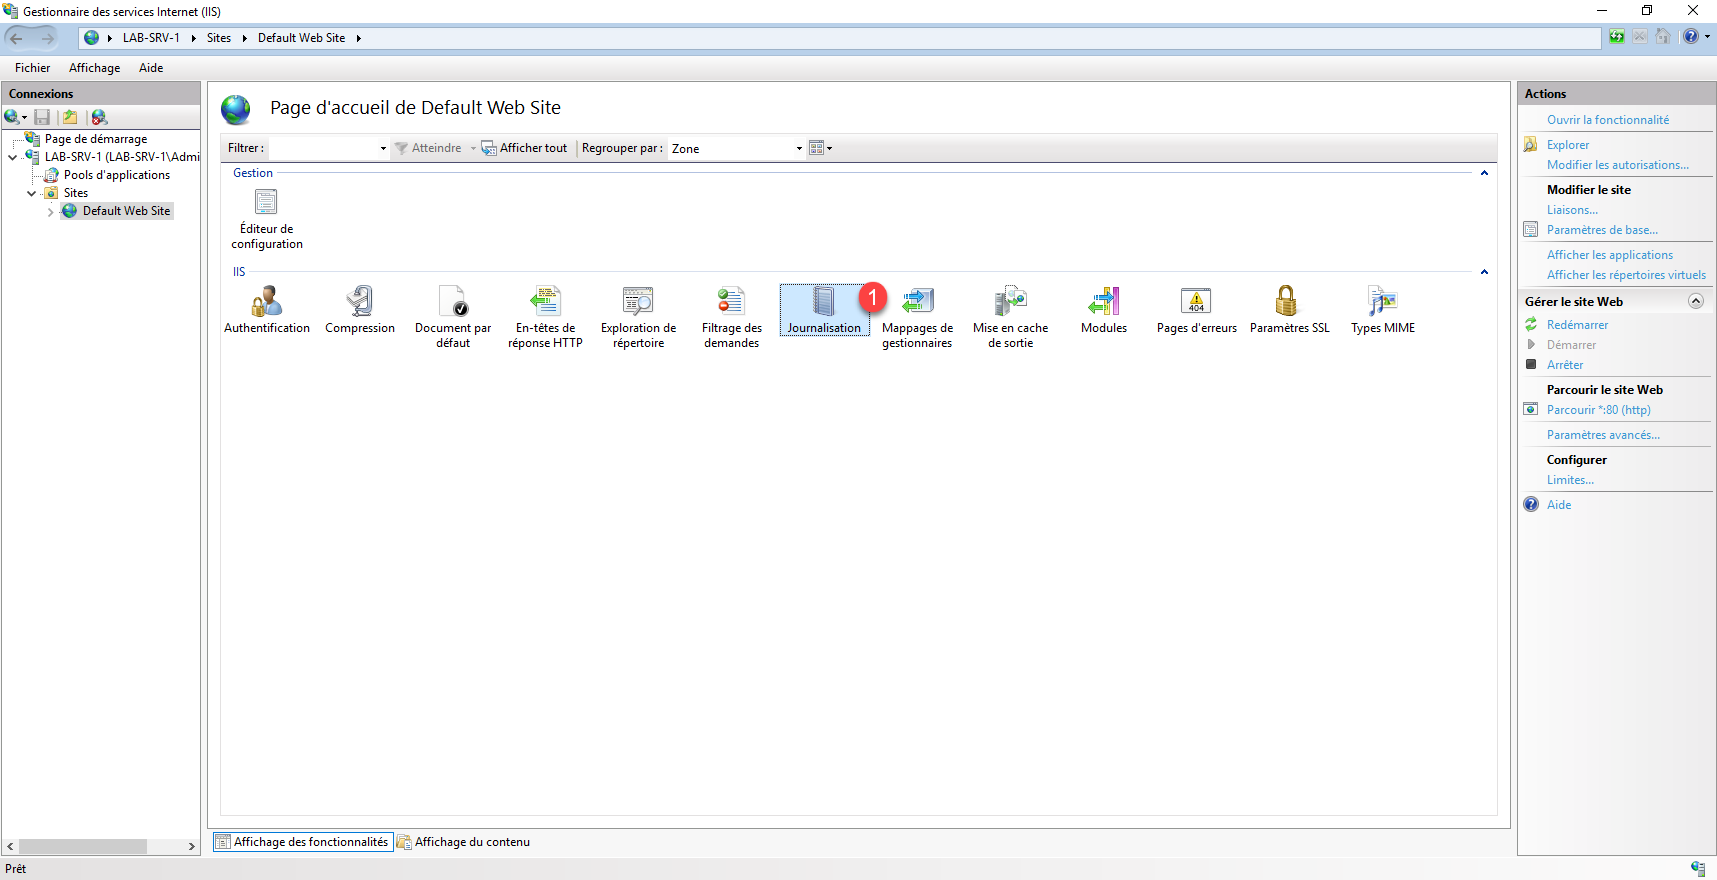
IIS offers two logging modes:
- Log file – Log files, which is located by default in C:\inetpub\logs\LogFiles\W3SVC<ID_SITE>\u_ex<DATE>.log
- ETW Event – Events in Windows Event Viewer
It is even possible to combine the two.
Crowdsec supports both solutions, namely that there is a small subtlety, the logs in the event viewer are recorded directly, while the logs in the file are written every minute.
For my part, I have a preference for the event viewer which is in real time.
In the logging configuration, choose the mode that suits you.
At the level of the event observer, we find the logs in the Microsoft-Windows-IIS-Logging/Logs log which is located: Logs of applications and services / Microsoft / IIS-Logging / Logs. The one must be activated, right-click on it and click on Activate Log
Personally I advise you to activate the 2, the ETW events for real-time processing with Crowdsec and the files to have a history and/or a posteriori processing with ELK for example or a stats tool.
Remember to adjust the size of the log according to your needs
We will now tell Crowdsec to read the IIS logs, open the file Open the file C:\Program Files\Crowdsec\Config\acquis.yaml. and add one of the options below for log collection.
Log file:
---
use_time_machine: true
filenames:
  - C:\\inetpub\\logs\\LogFiles\\*\\*.log
labels:
  type: iis
ETW event:
---
source: wineventlog
event_channel: Microsoft-IIS-Logging/Logs
event_ids:
 - 6200
event_level: information
labels:
 type: iis
Once the acquired.yaml file has been edited, restart the Crowdsec service:
Restart-Service CrowdsecAccess the protected site and then check with the cscli metrics command that the configuration has been taken into account.
Crowdsec analyse les logs IIS.
Installation of the bouncer firewall for Windows
All we have to do now is set up the bouncer in order to block the attackers.
Download the Bouncer file here : https://alpha-packages.crowdsec.net/#windows/
Run the file, when launching the wizard click on Next 1.
Then click on Install 1 to confirm the installation of the Bouncer.
Wait during the installation (it’s quite fast) …

Once the installation is complete, close the wizard by clicking on Finish 1.
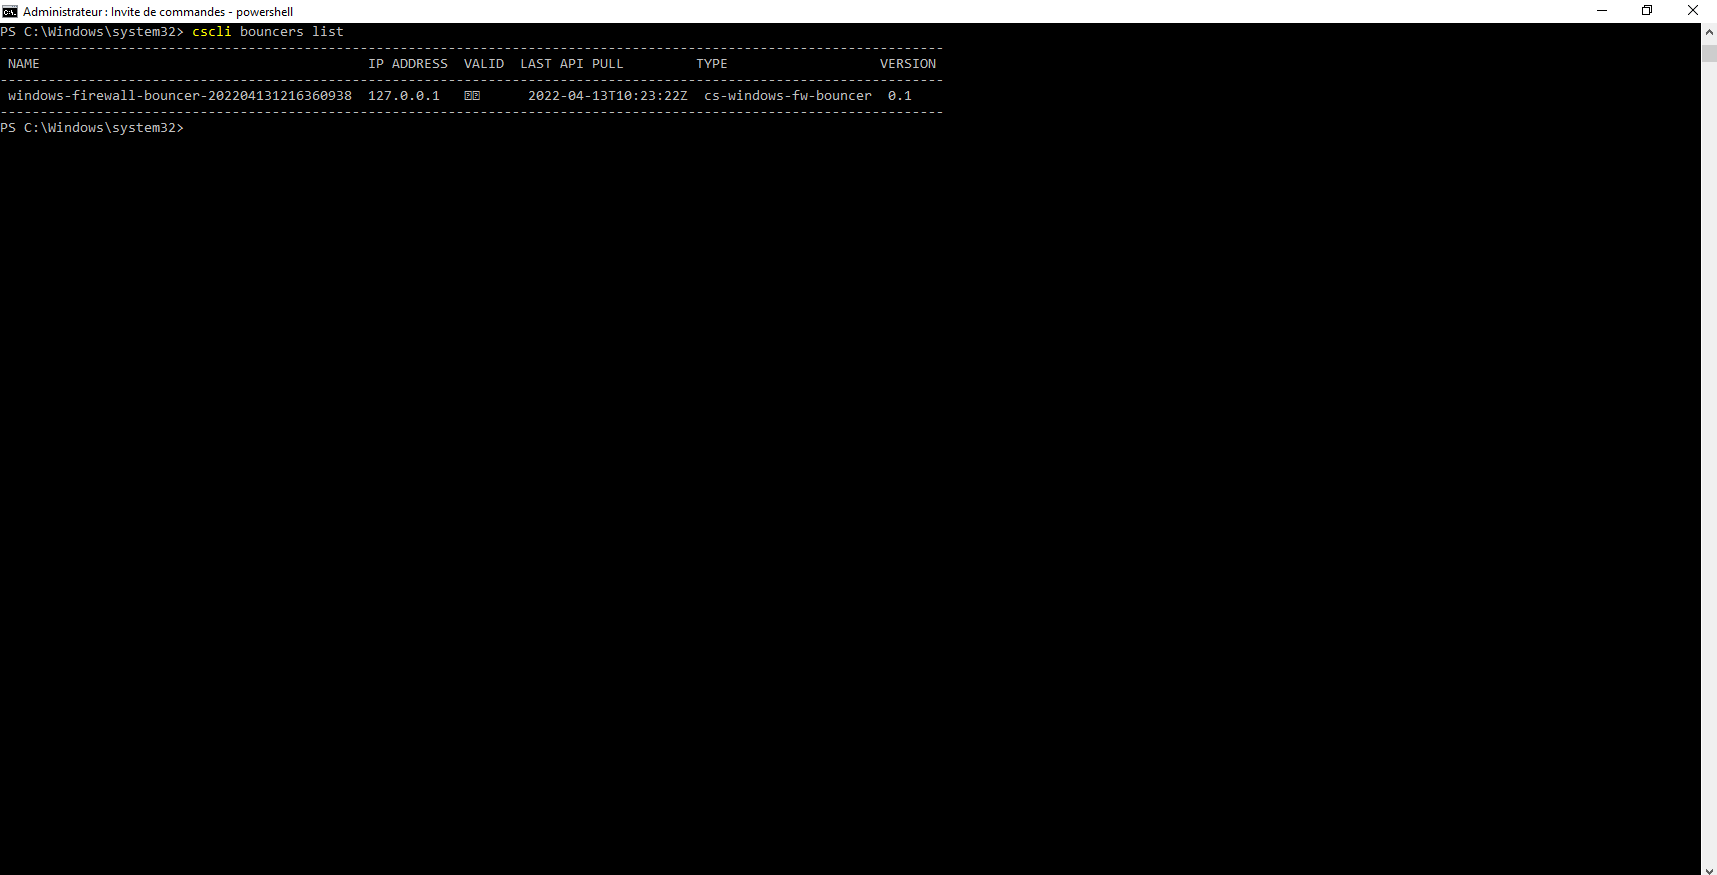
The bouncer is installed, check that the service is started:
Get-Service cs-windows-firewall-bouncerAlso check with the cscli bouncer list command that it is well registered in Crowdsec.
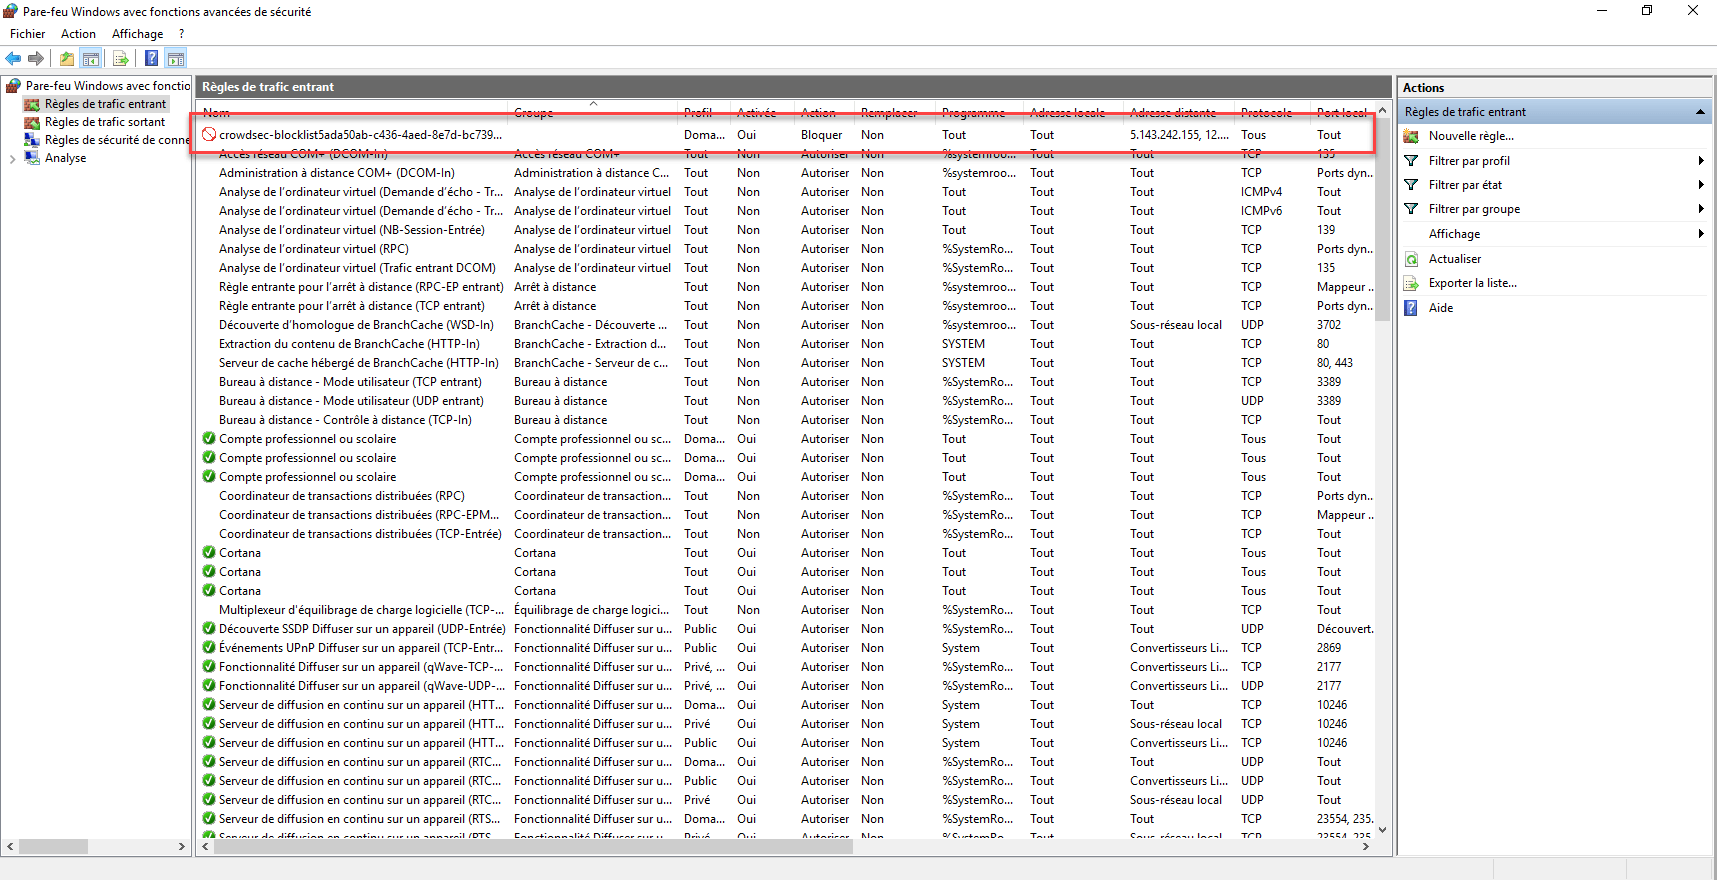
At the level of the Windows firewall rules, Crowdsec rules are added, which will contain the locally blocked IP addresses and also the list of community addresses.
Test IIS server protection with Nikto
If you want to test the protection of your IIS server, it is possible to use Nikto to “attack” your server.
From a Linux machine, install Nikto. Once installed, run the command below:
nikto -h http://<ip_webserver_iis>
Normally, you are blocked before the end of the Nikto tests
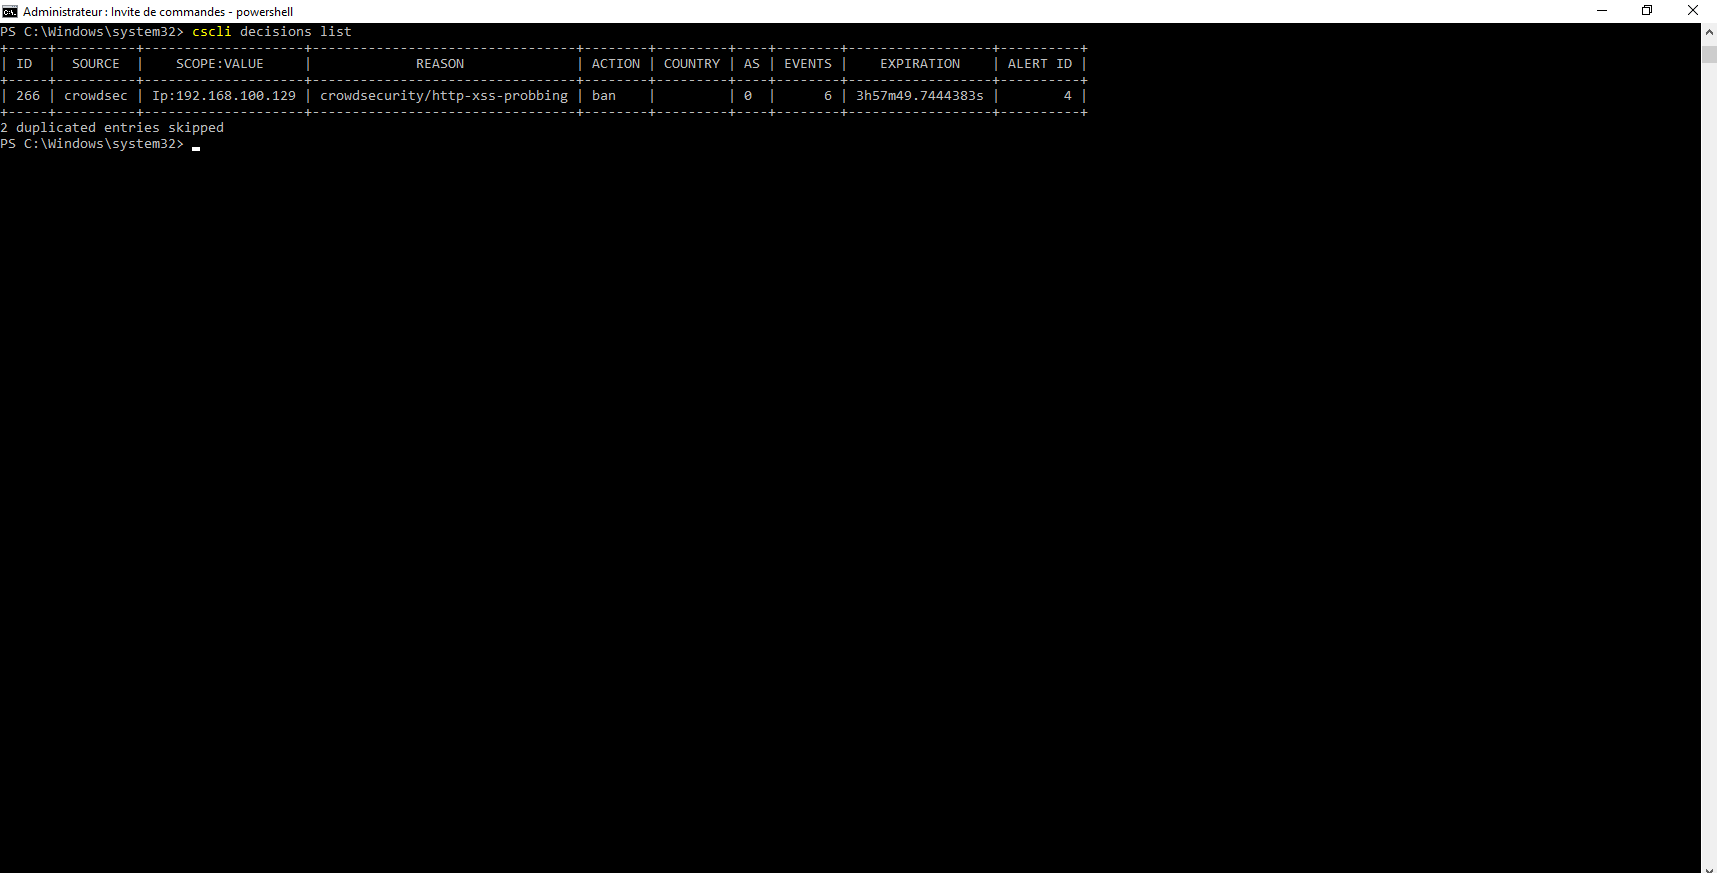
On the webserver, use the command cscli decisions list, you should see the IP address of your banned linux machine.
You now know how to protect your Windows servers with Crowdsec.
