In this tutorial, I will tell you how to export and import a scheduled task.
This tutorial applies to both Windows Server and the Desktop version (Windows 10).
To illustrate this tutorial, I will export a scheduled task that runs a PowerShell script that allows restarting a computer.
The scheduled task runs the ps-restartcomputer.ps1 script which is located in the C: \ Scripts location on Windows.
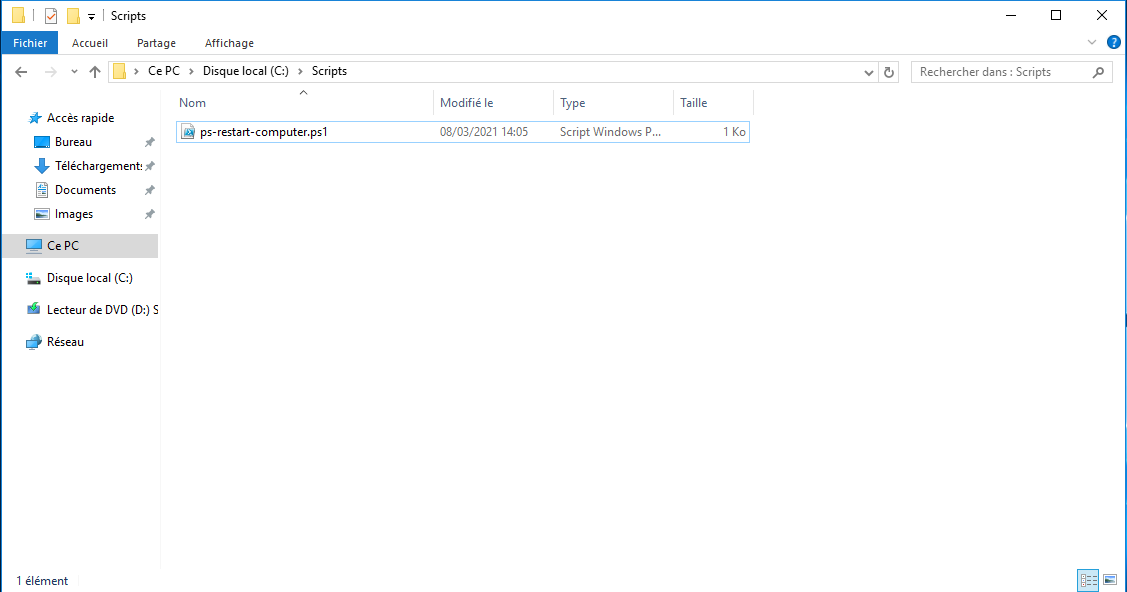
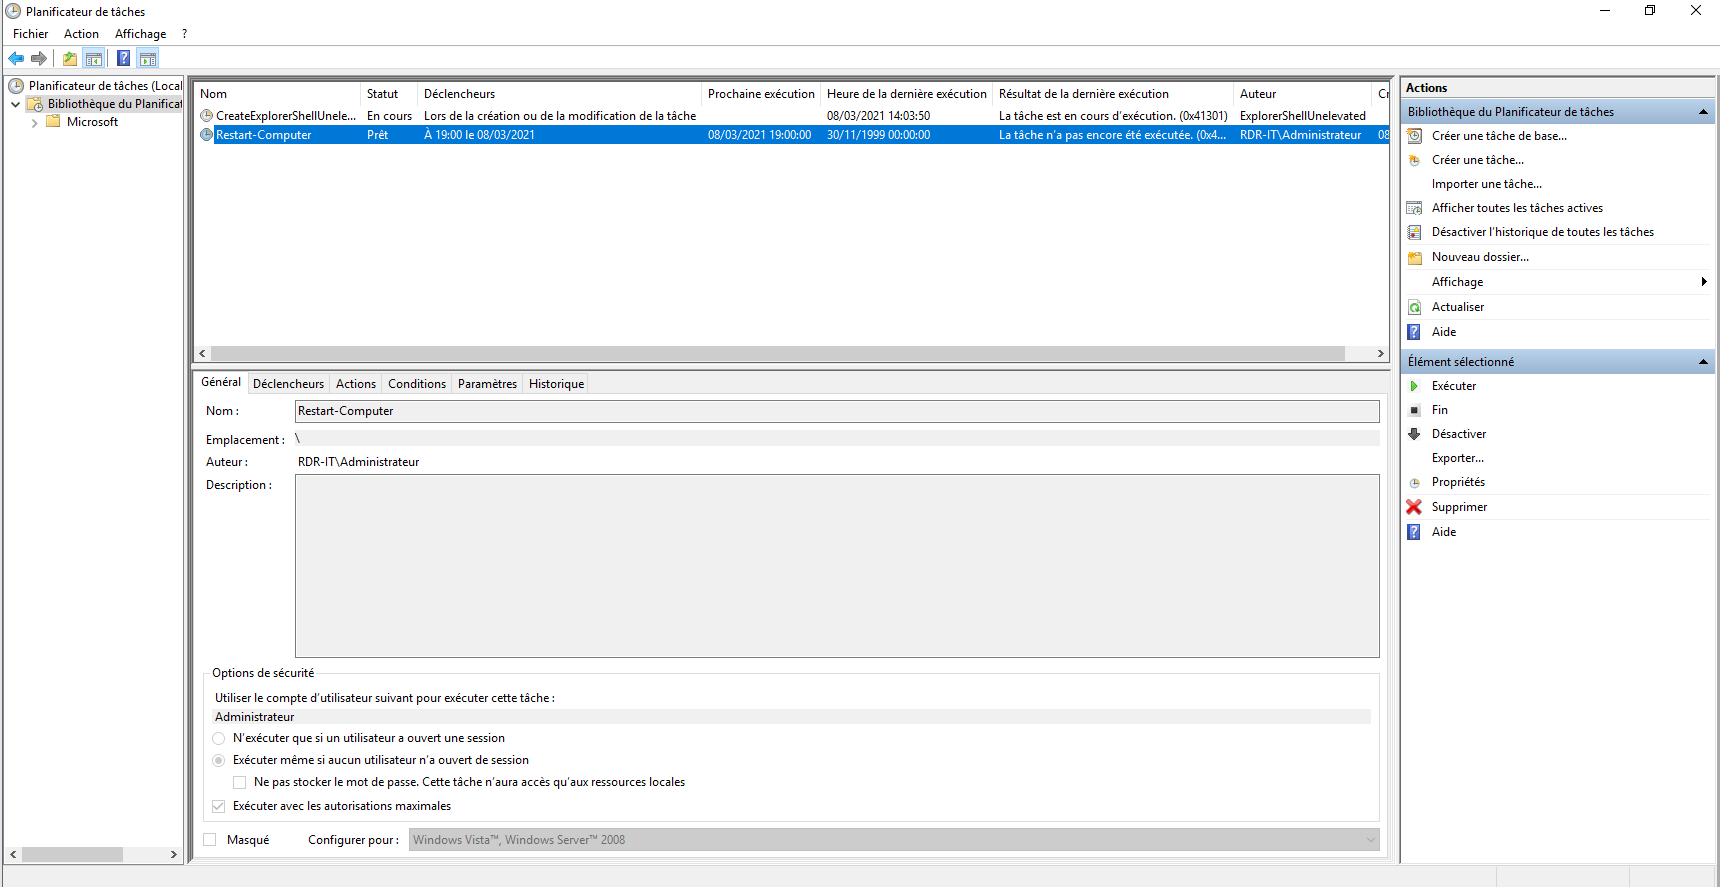
Table of Contents
Export a scheduled task
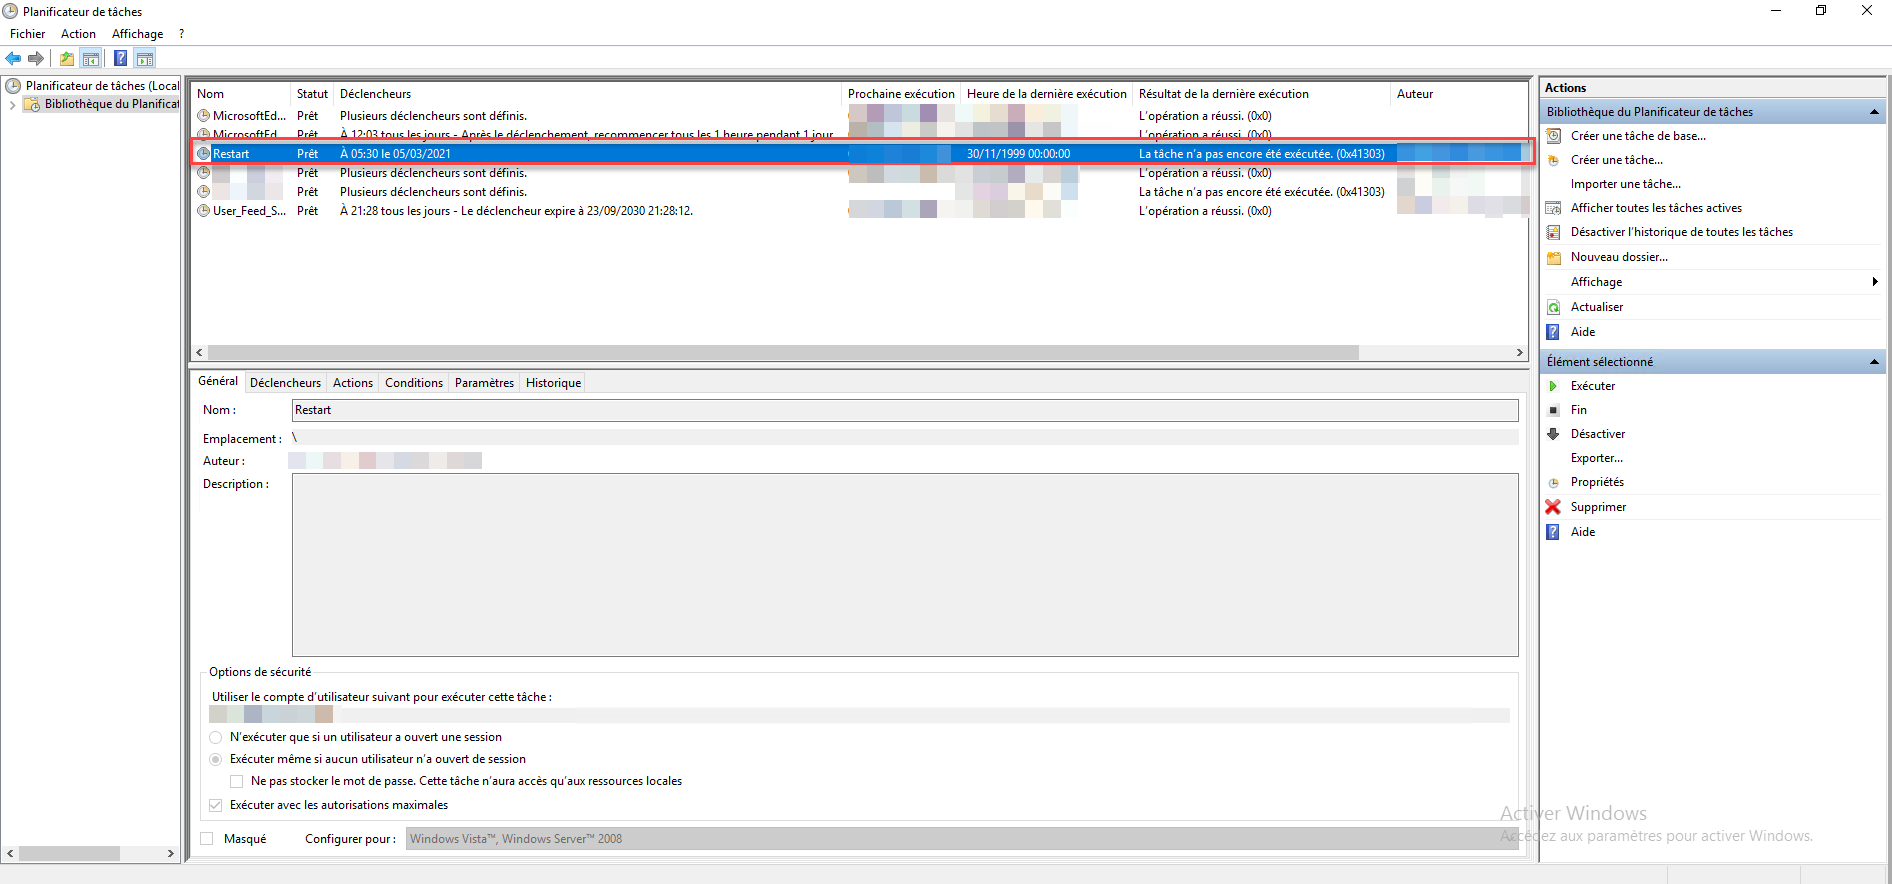
From the task planner, it is possible to export the tasks in XML format.
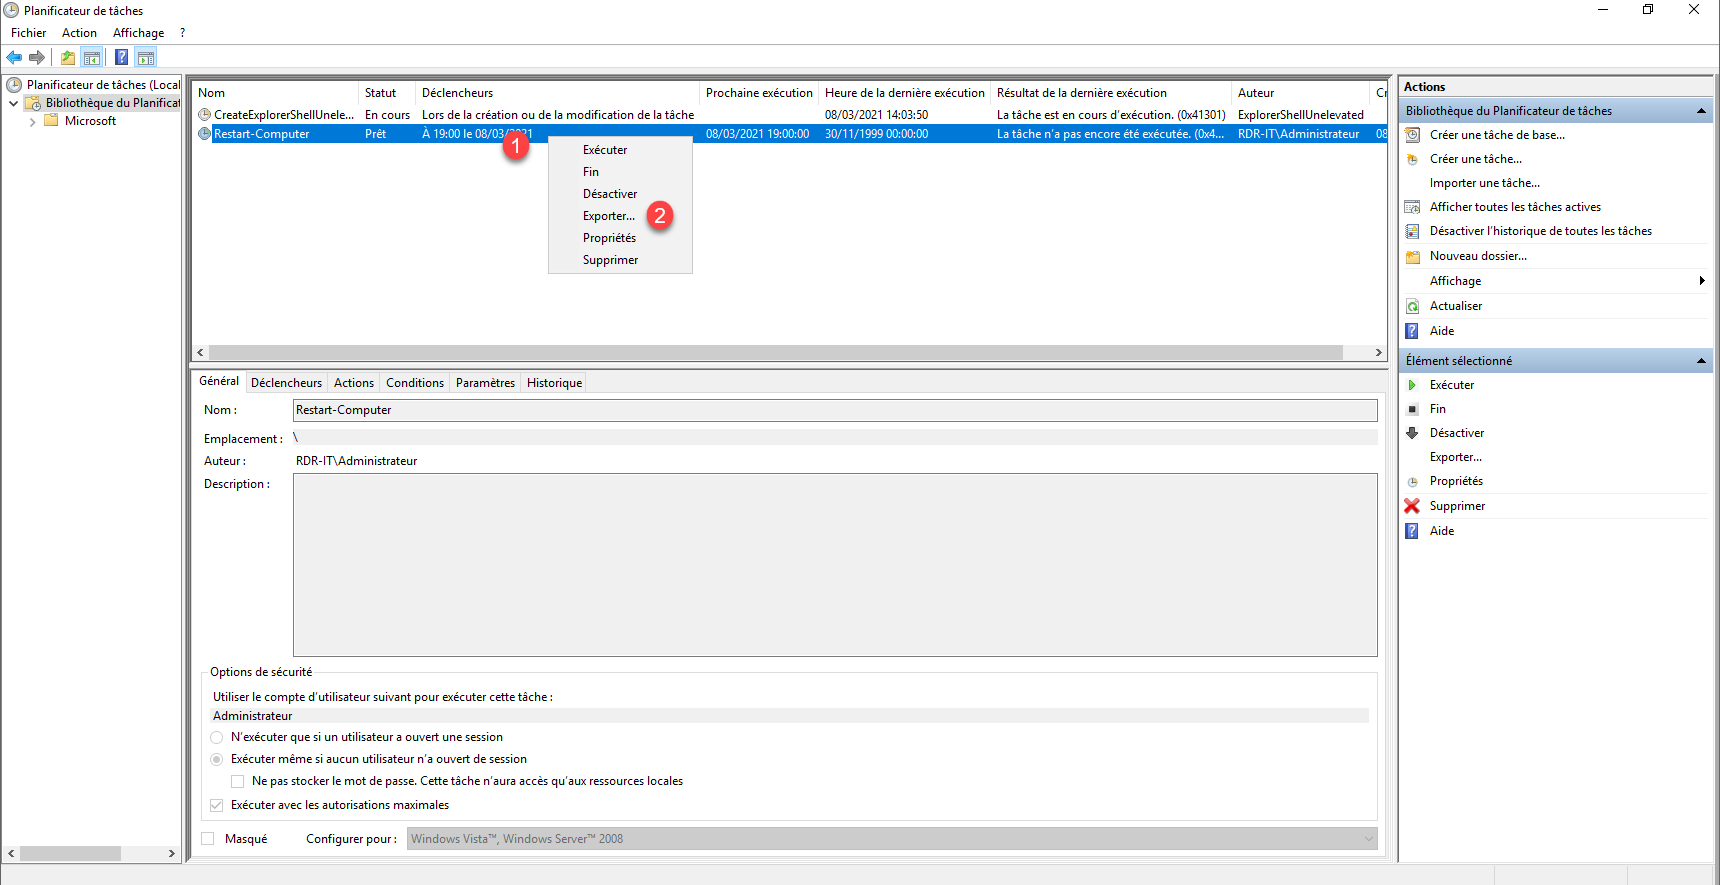
From the task planner, right click on task 1 and click on Export 2.
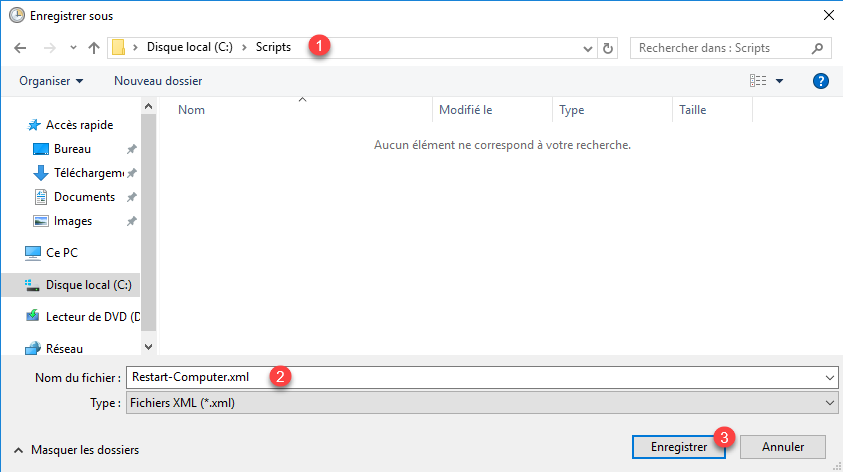
Go to the location where the xml file will be saved 1, name the file 2 and click on Save 3.
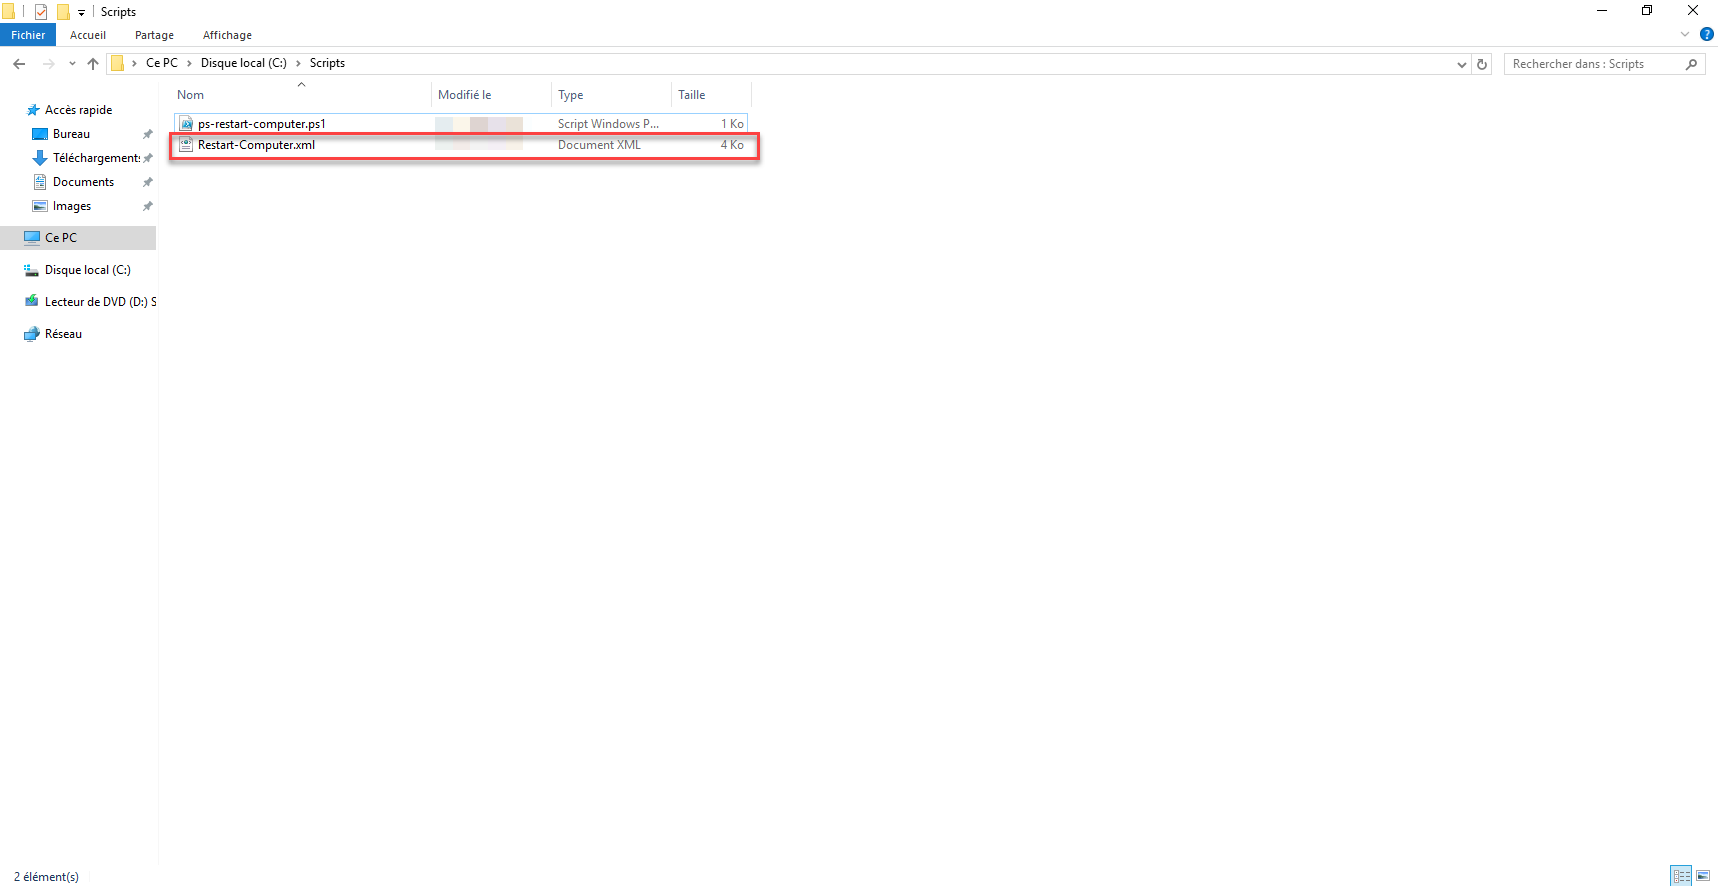
The task is exported, we find the xml file 1 in the folder.
You now know how to export a scheduled task, we are going to import.
Import a scheduled task
Before proceeding with the import of the scheduled task, you must ensure that the program or script is present in the same location on the computer where the task will be imported.
On the target computer, I created a script’s folder on the C: drive where I pasted the PowerShell file (and also the xml file).

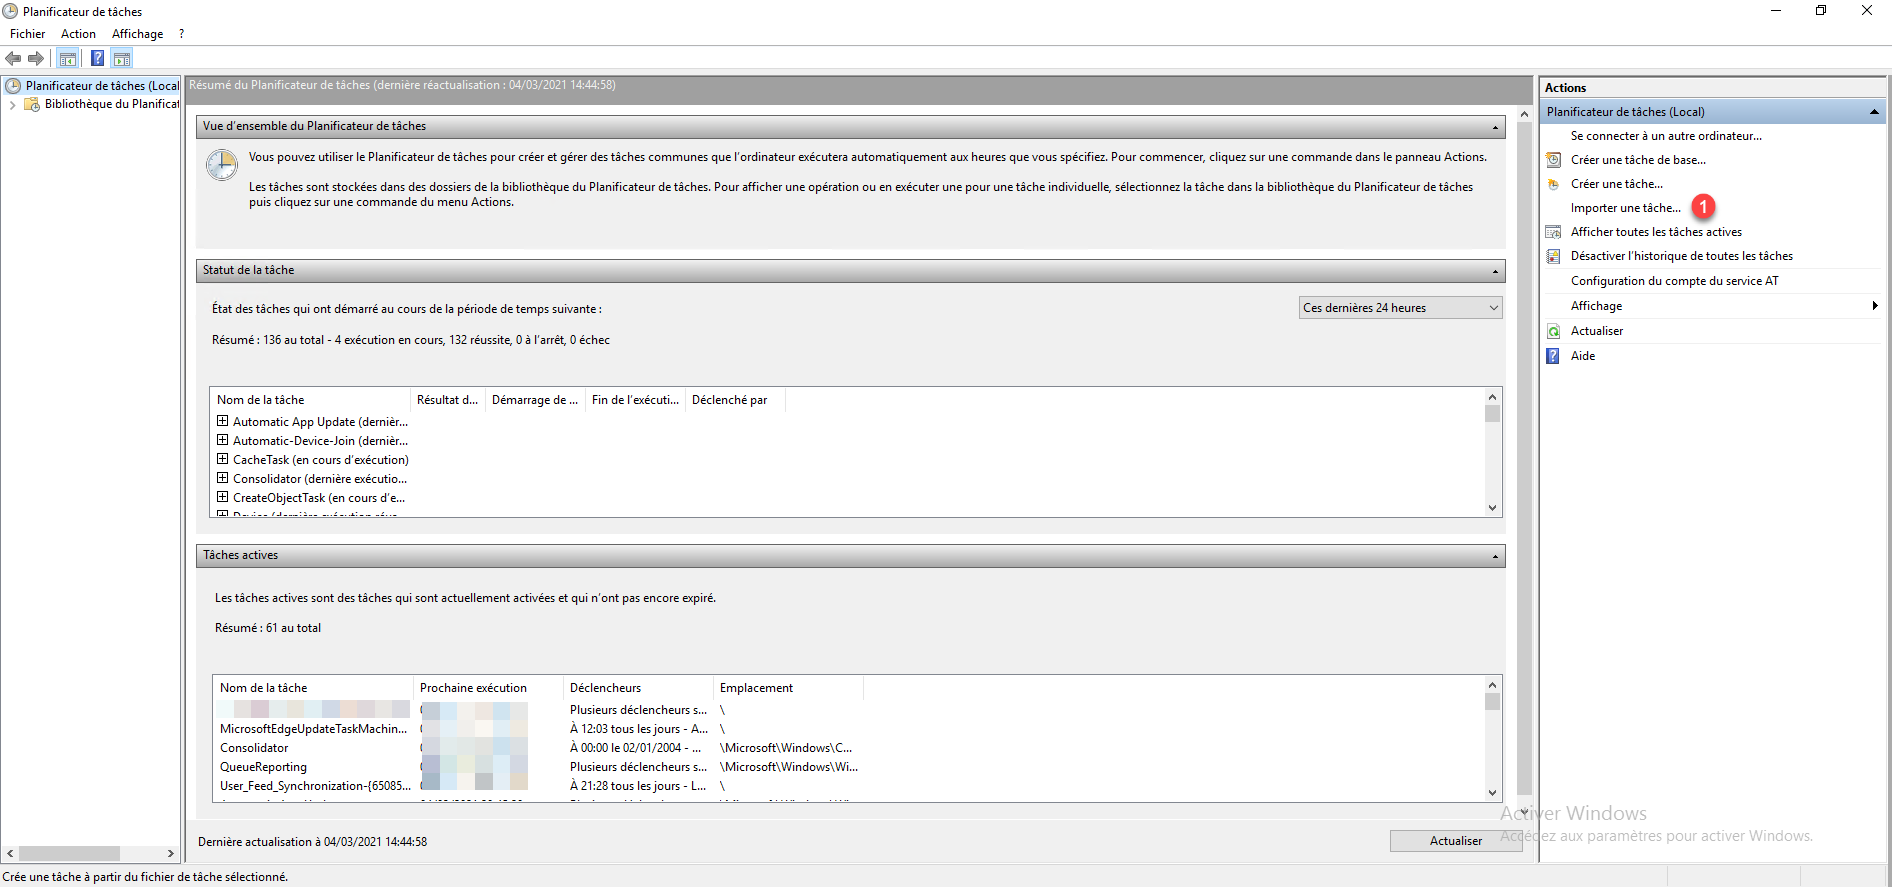
From the Task Scheduler, in the Actions menu, click on Import a task … 1.
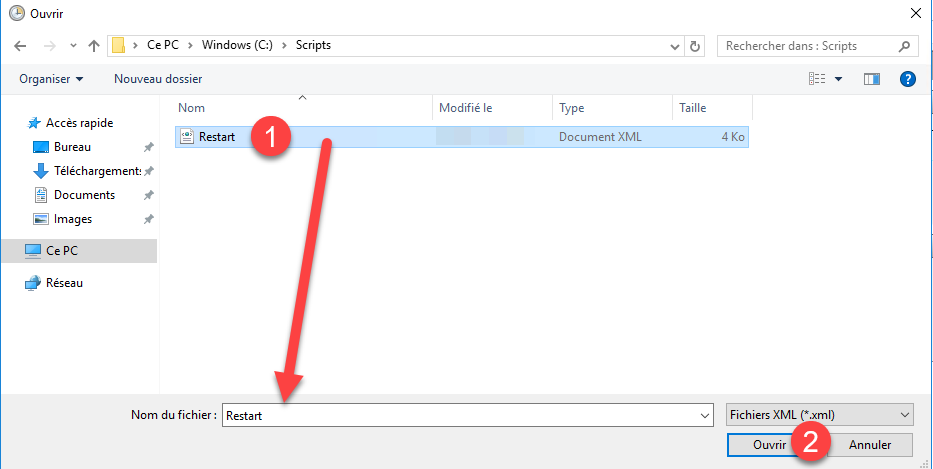
Go find and select the xml file 1 and click on the Open button 2.
The task creation wizard opens, it is configured with the elements of the xml file, click on OK 1 to create the task.
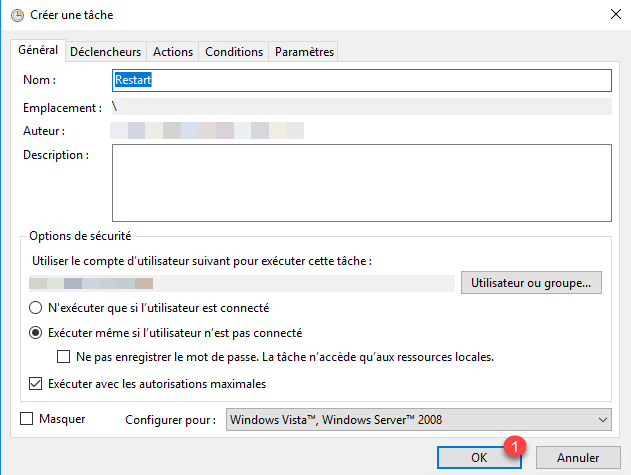
If the task requires credentials, enter the account password.
The task is imported.
This is useful if you need to create the same task several times on different servers.
In an environment with several dozen servers, I advise you instead to use a solution like Jenkins which allows you to centralize the management of your scheduled tasks and avoid this type of manipulation.
