In this tutorial, I will explain how to install and use Cyberpanel on Ubuntu, after its installation we will see how to install WordPress.
Table of Contents
Cyberpanel overview
In summary Cyberpanel is a web hosting management administration panel like Cpanel or Plesk.
The particularity of Cyberpanel is to be based on the Web server (Open) LiteSpeed which is a high-performance server and which offers free cache plugins for the biggest CMS (WordPress, Drupal …).
It is possible to have multiple versions of PHP on it, the versions of PHP for (Open) LiteSpeed are optimized and compile versions for the web server (LsPHP).
On the database side we find MariaDB and the possibility of having MemCached and Redis.
It is also possible to automatically generate Let’s Encrypt SSL certificates for configured sites.
Cyberpanel also allows you to set up a mail server with a Webmail.
You want to sell Web herbage, Cyberpanel allows you to get started without needing to acquire a license because it is free
Prerequisite
To complete this tutorial, you need a computer with a clean installation of Ubuntu, root access preferably in SSH or in console mode and the Internet.
Installing CyberPanel
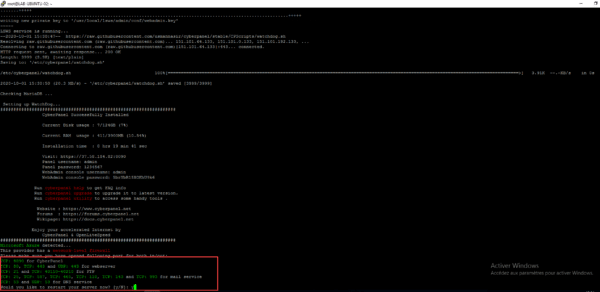
The installation of CyberPanel is very easy, you just need to pass a command line to launch a script, answer a few questions, wait a bit and that’s it.
Launch the CyberPanel installation script:
sh <(curl https://cyberpanel.net/install.sh || wget -O - https://cyberpanel.net/install.sh)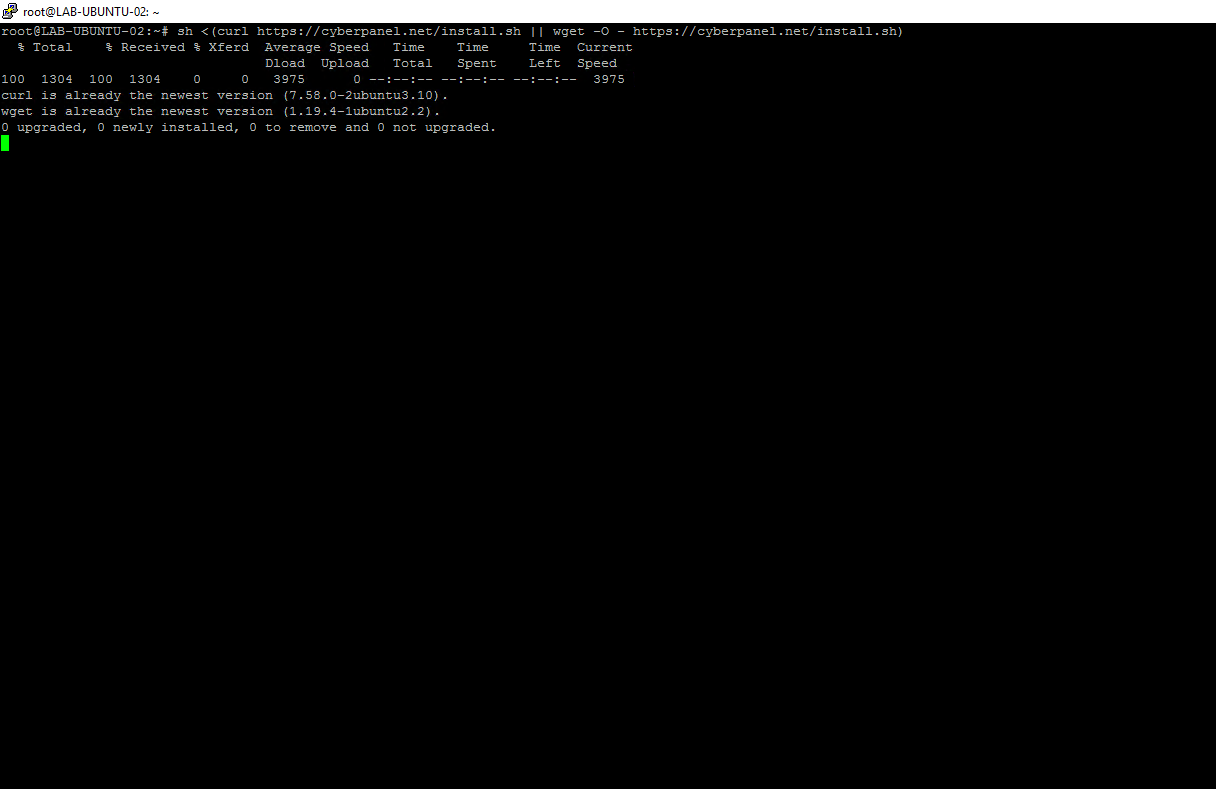
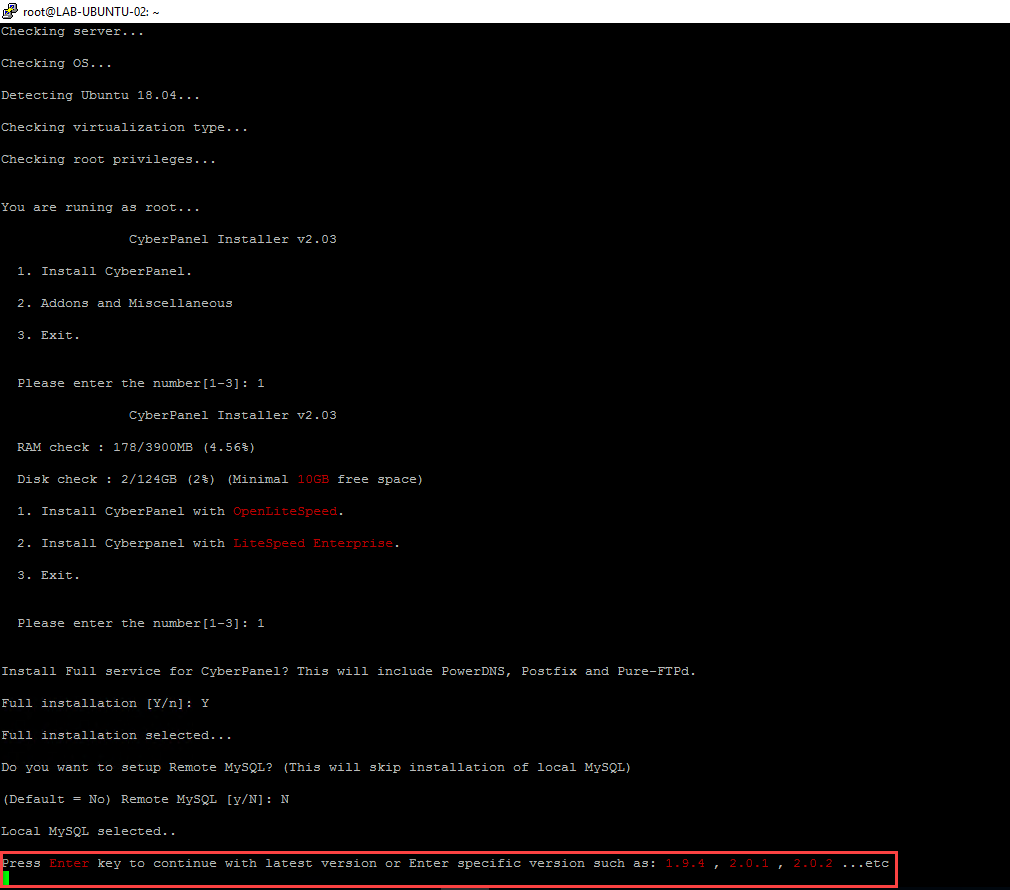
Here we go for a series of questions that will allow you to pre-configure CyberPanel. Each entry must be validated by pressing the Enter key.
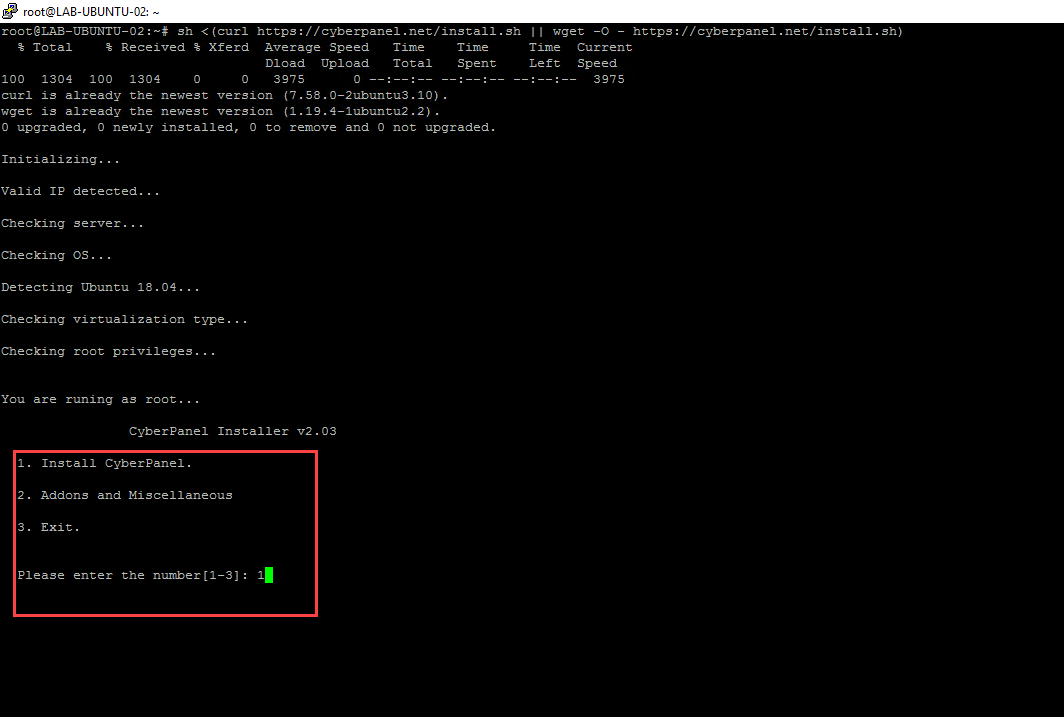
Make choice 1 to install CyberPanel.
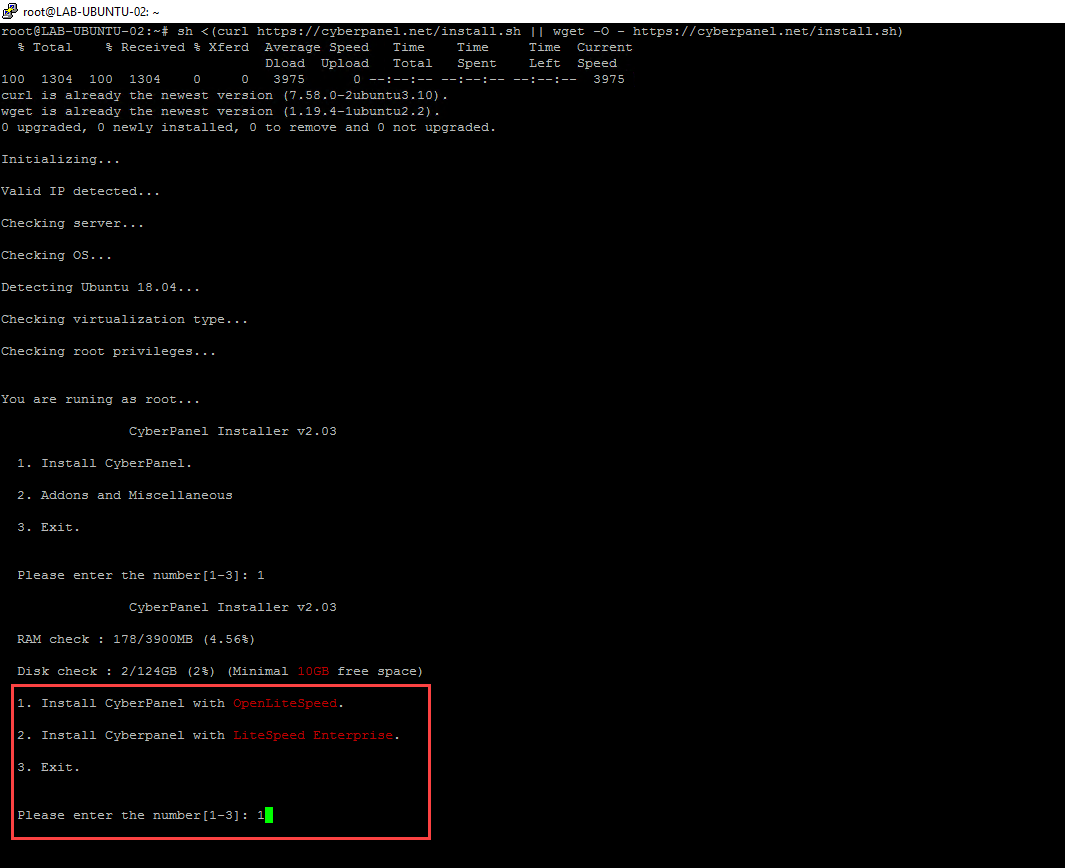
For the choice of the web server enter 1 to select OpenLiteSpeed.
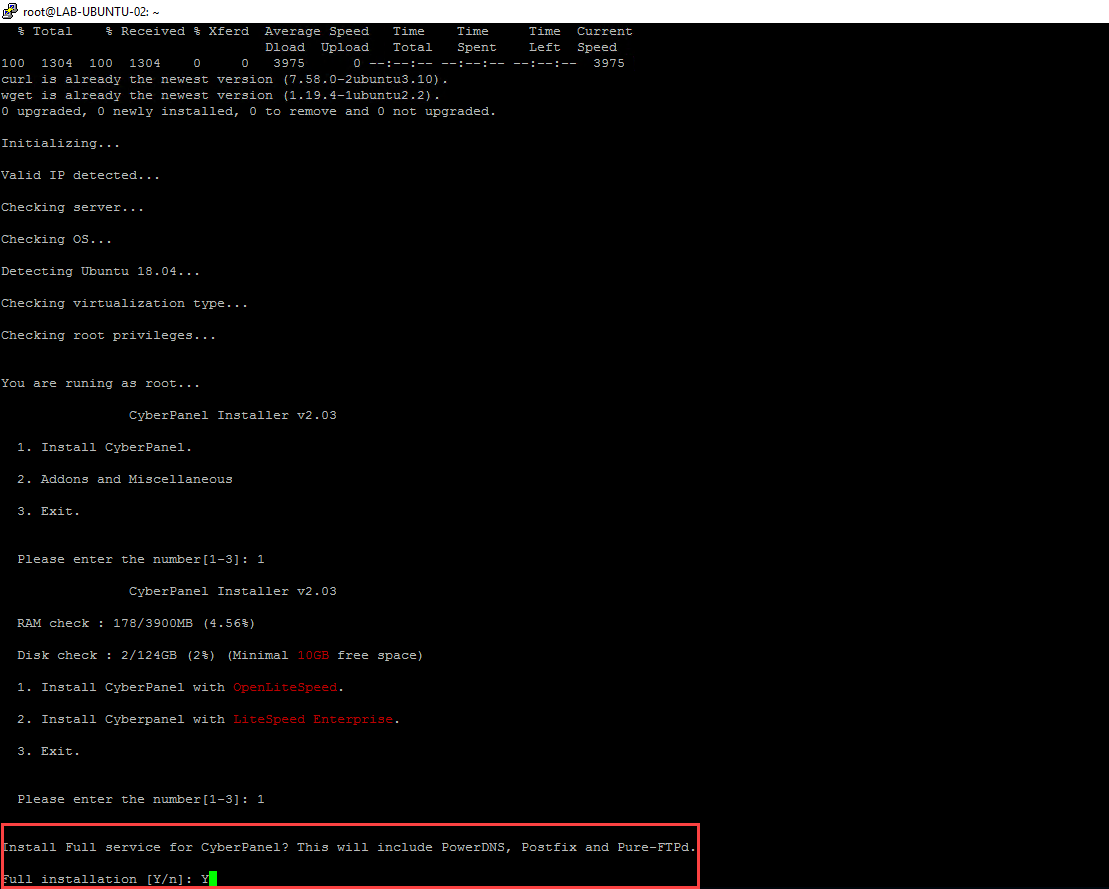
Enter Y and validate for a complete installation of CyberPanel with DNS, Email and FTP services.
You have to choose if you want to enable remote access to MariaDB server, I advise you not to enable remote access for security measures.

Press Enter to install the latest version of CyberPanel.
Configure the password for the Cyberpanel admin account, personally I leave the default password at installation and I change it afterwards through the web interface.

To install Memcached enter Y
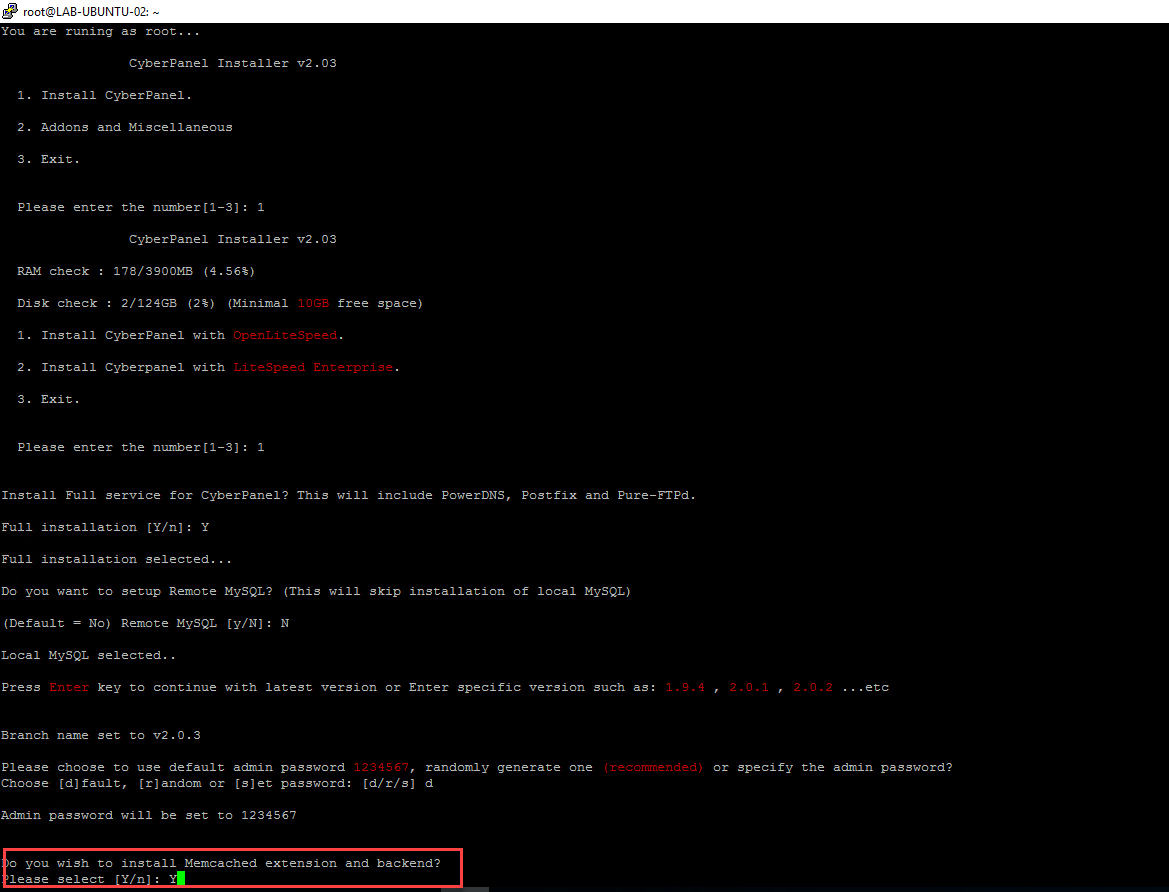
From experience, the installation of Memcached does not work correctly, I explain later in the tutorial how to do it.
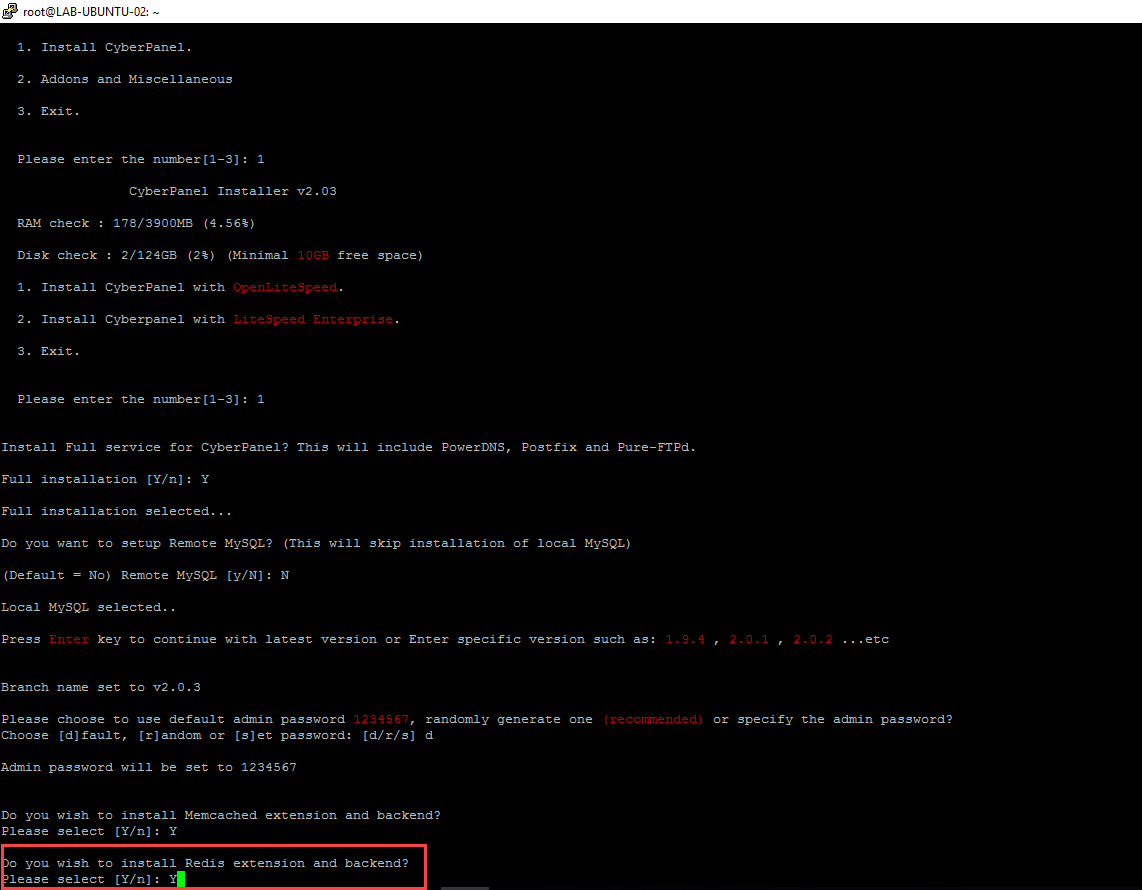
Do the same for the installation of Redis enter Y.
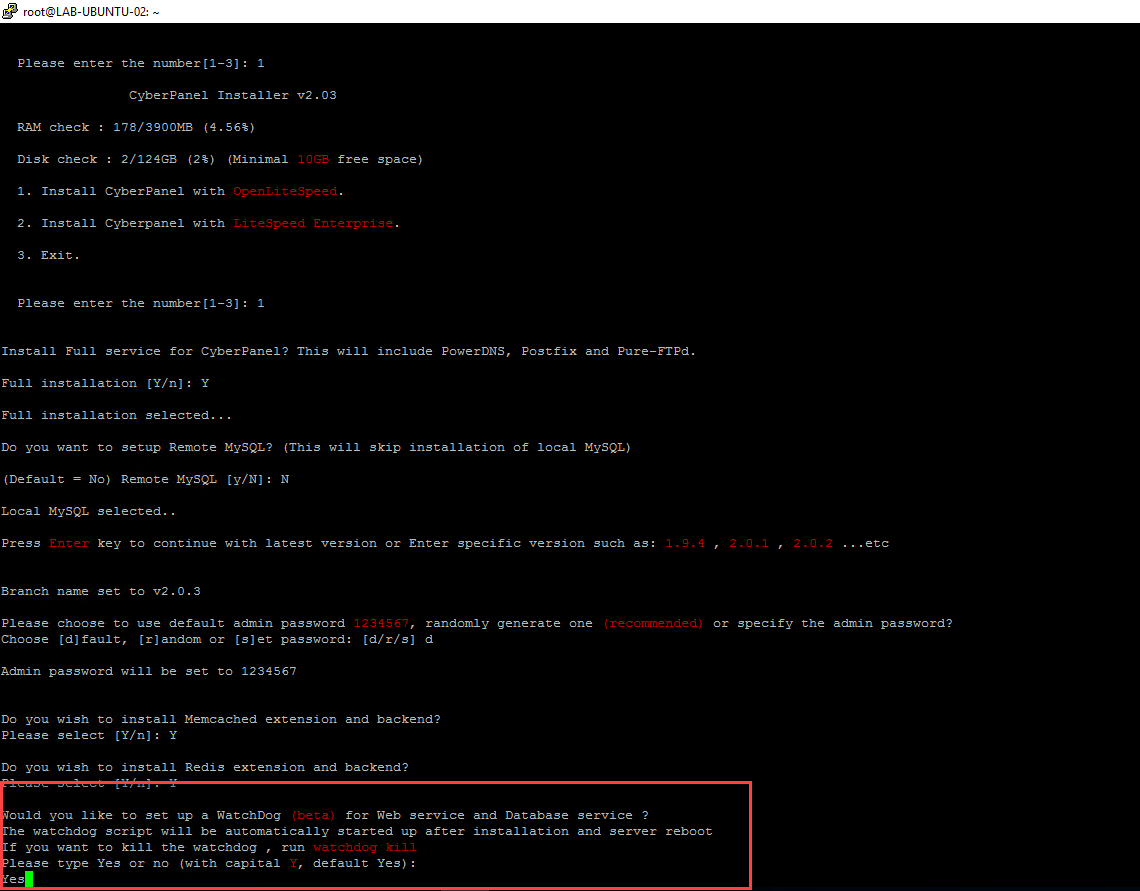
Enter Yes to install watchdog
Now be patient during the installation, the time will mainly depend on the speed of the Internet connection and the power of the server, about ten minutes.
When the installation is complete, the wizard displays a series of ports to open if a hardware firewall is present. The server must be restarted, enter Y to do so.
Install Memcached
This step is optional if you don’t need Memcached.
As the installation script may change, the Memcached installation may work in the future.
What you should know is that LiteSpeed has its own Memcached server which is optimized
Before starting the installation, test using the telnet command if Memecached is installed and functional:
telnet 127.0.0.1 11211
If the return of the command is telnet: Unable to connect to remote host: Connection refused, it means that the Memcached server is not available.
Install dependencies:
sudo apt-get install git build-essential zlib1g-dev libexpat1-dev openssl libssl-dev libsasl2-dev libpcre3-dev -y
Download LiteSpeed Memcached:
sudo wget https://github.com/litespeedtech/lsmcd/archive/master.zip
Unzip the archive:
sudo unzip master.zip
Go to the sources folder:
cd lsmcd-master
Prepare, compile and install LSMCD using the following commands:
sudo./fixtimestamp.sh
sudo./configure CFLAGS=" -O3" CXXFLAGS=" -O3"
sudo make
sudo make install
Start the service:
sudo systemctl start lsmcd
Activate automatic start:
sudo systemctl enable lsmcd
Check the service:
sudo systemctl status lsmcd.service
You can also re-test with telnet.
Using CyberPanel
Now that CyberPanel is installed, I will explain how to create a website (hosting) and install WordPress.
From an Internet browser, go to the address: https: // ip_server: 8090, 1, enter the admin user 2, the password 3 and click on Sign In 4.

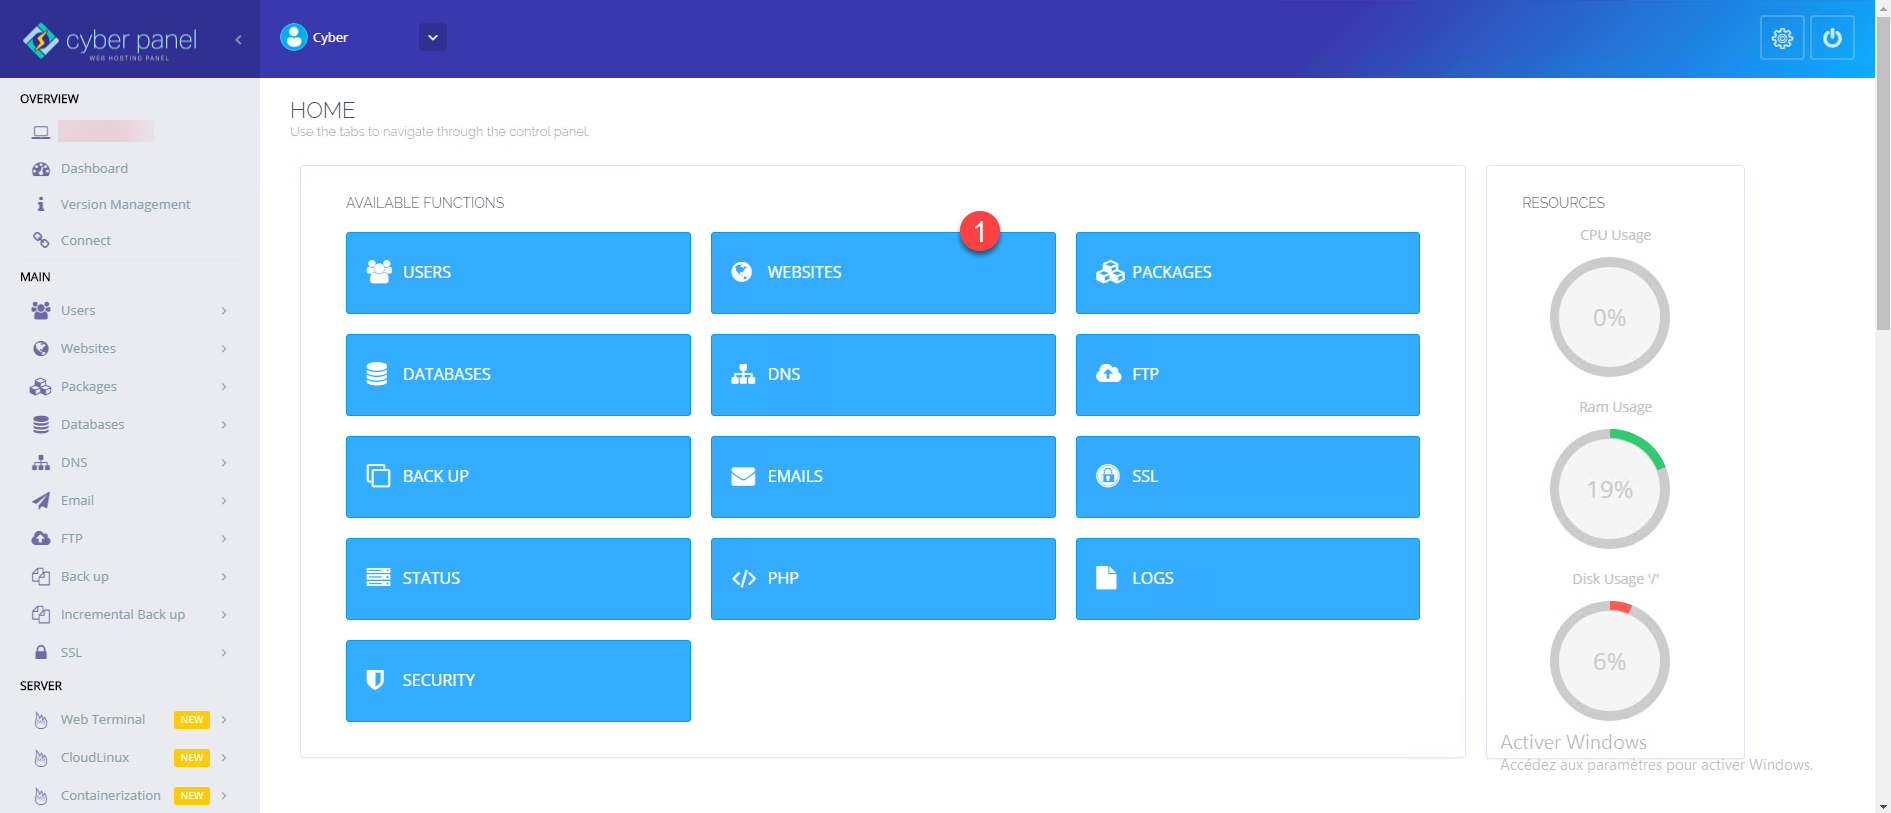
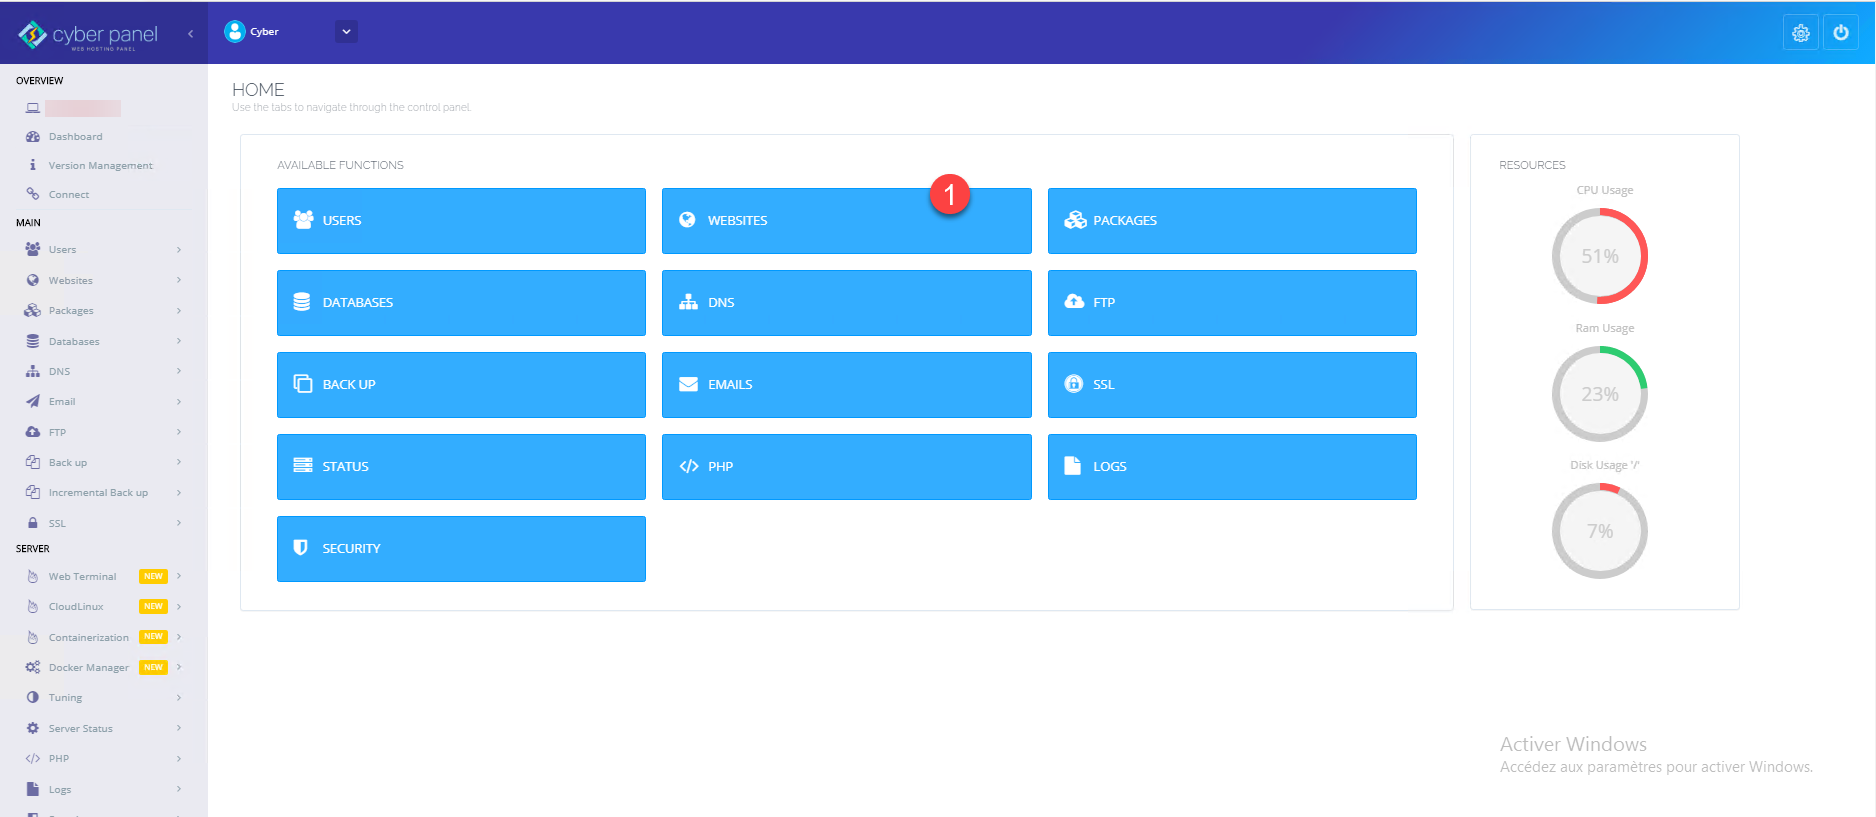
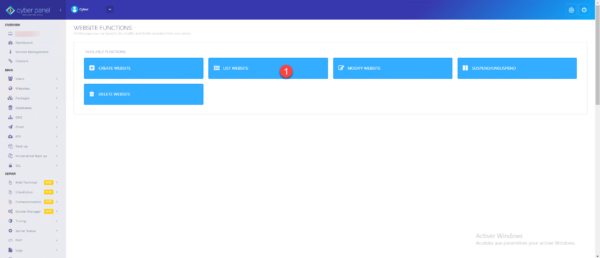
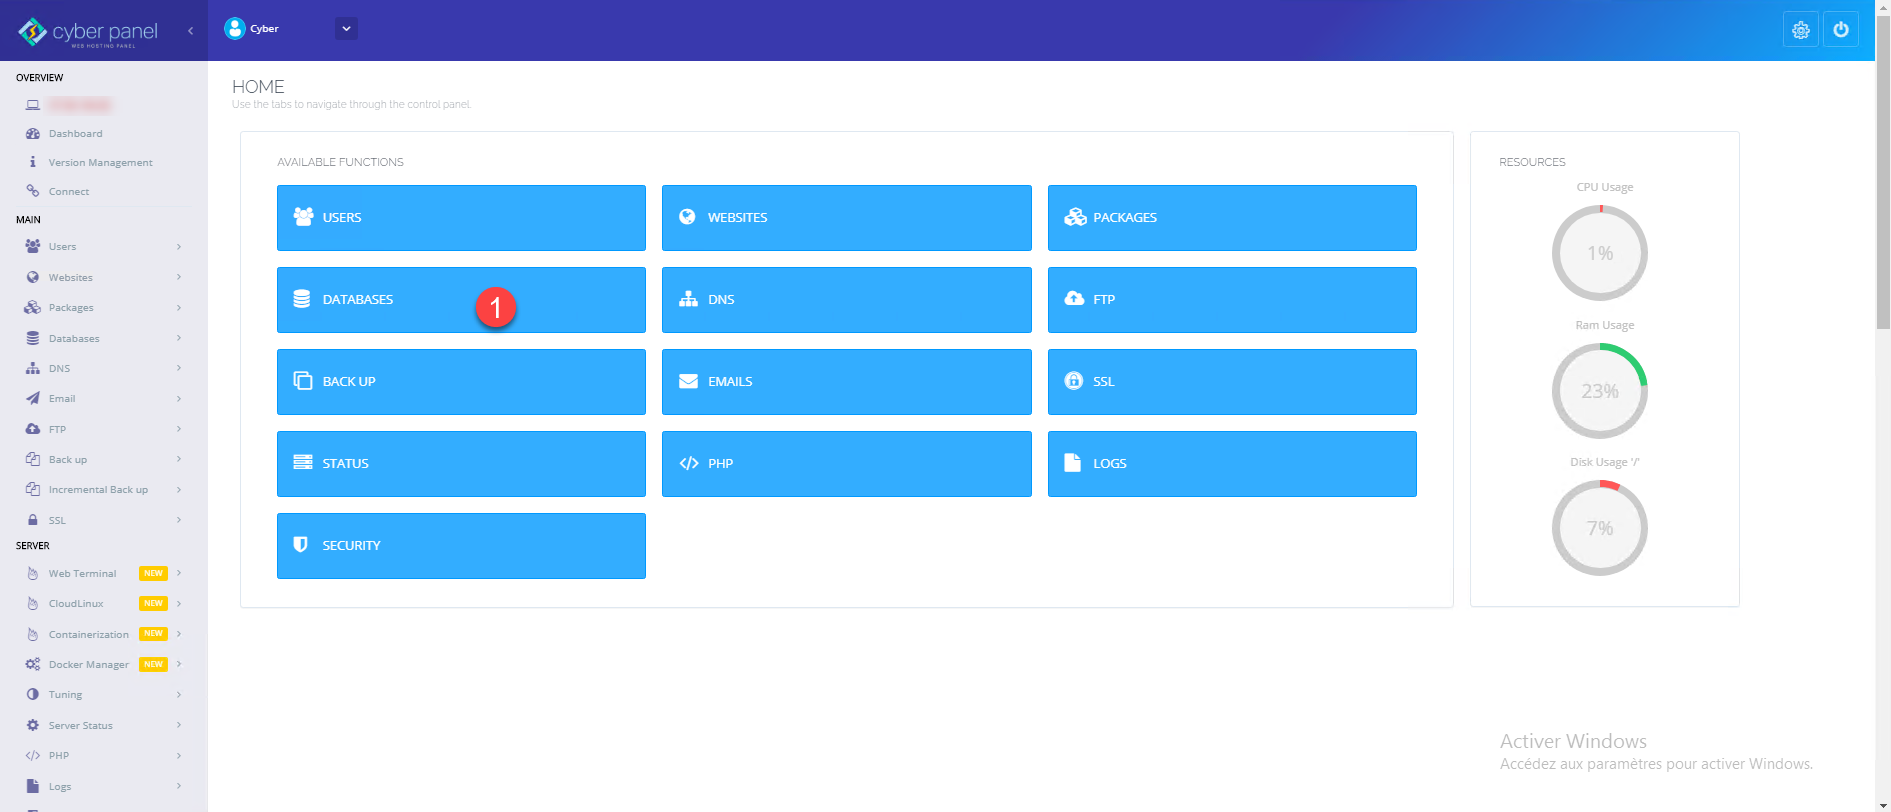
We arrive at the dashboard with access to the various functions 1 and overview of resources 2.

Create a site
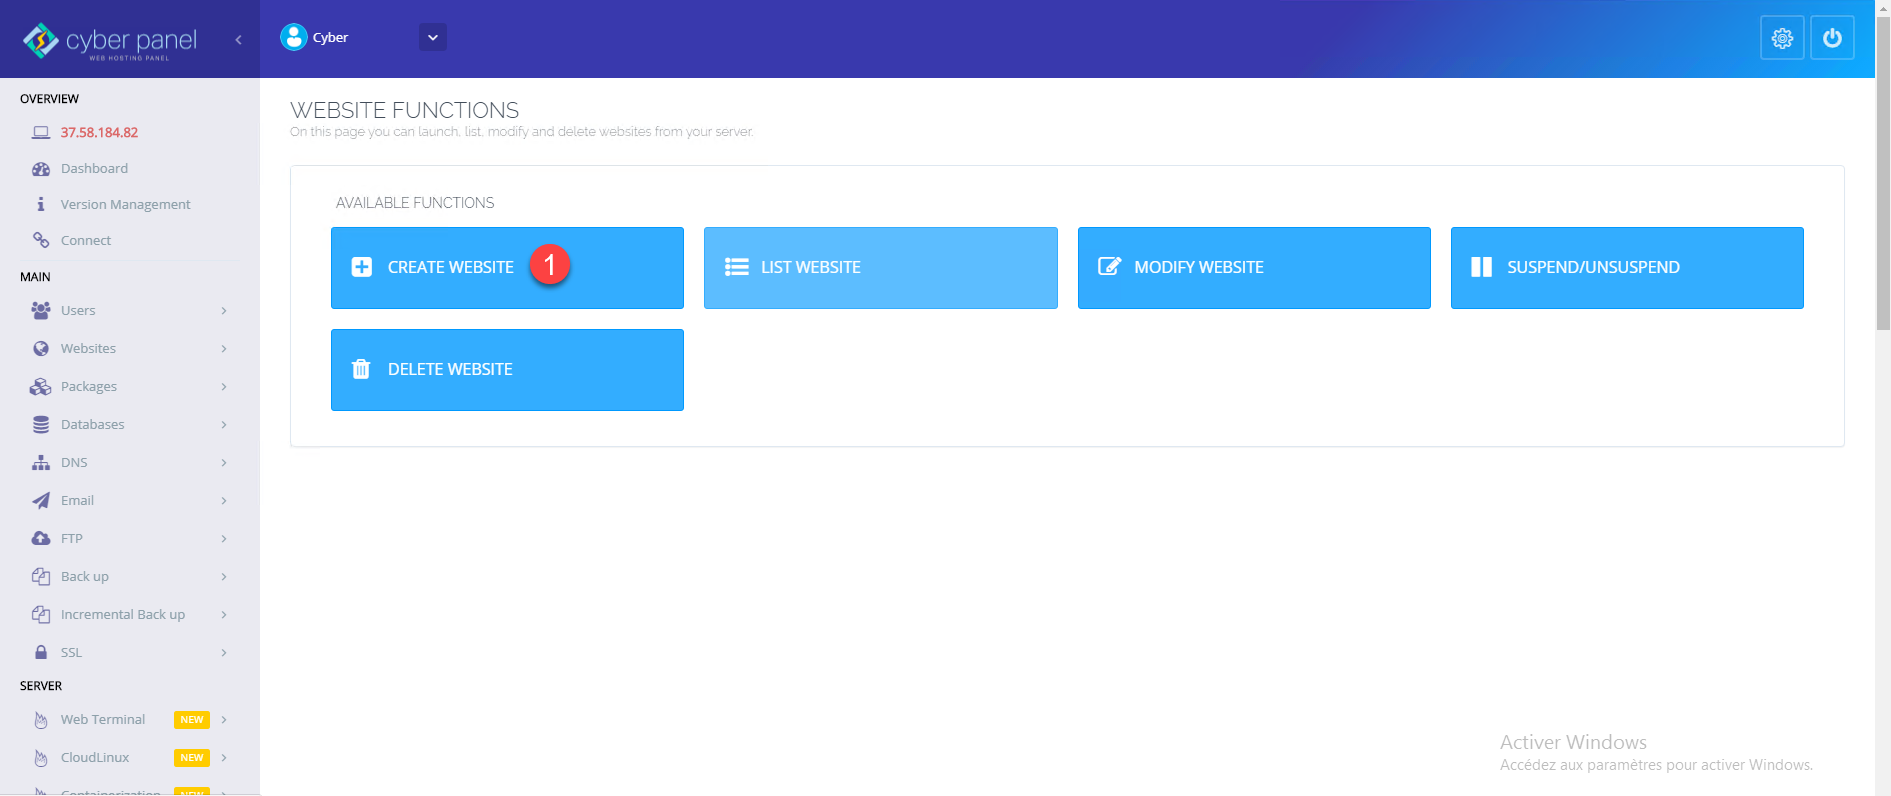
In this part, we will see the creation of a site, to create a site you need a (sub) domain to associate with it. From the dashboard click on WEBSITES 1.
Click on the CREATE WEBSITE 1 button.
Select the Package (corresponds to limitations linked to the site) 1, the user who owns the site 2, the domain name linked to the site 3, indicate an email address 4 then select a version of PHP 5. Validate the creation of the site by clicking on the Create Website 6 button.
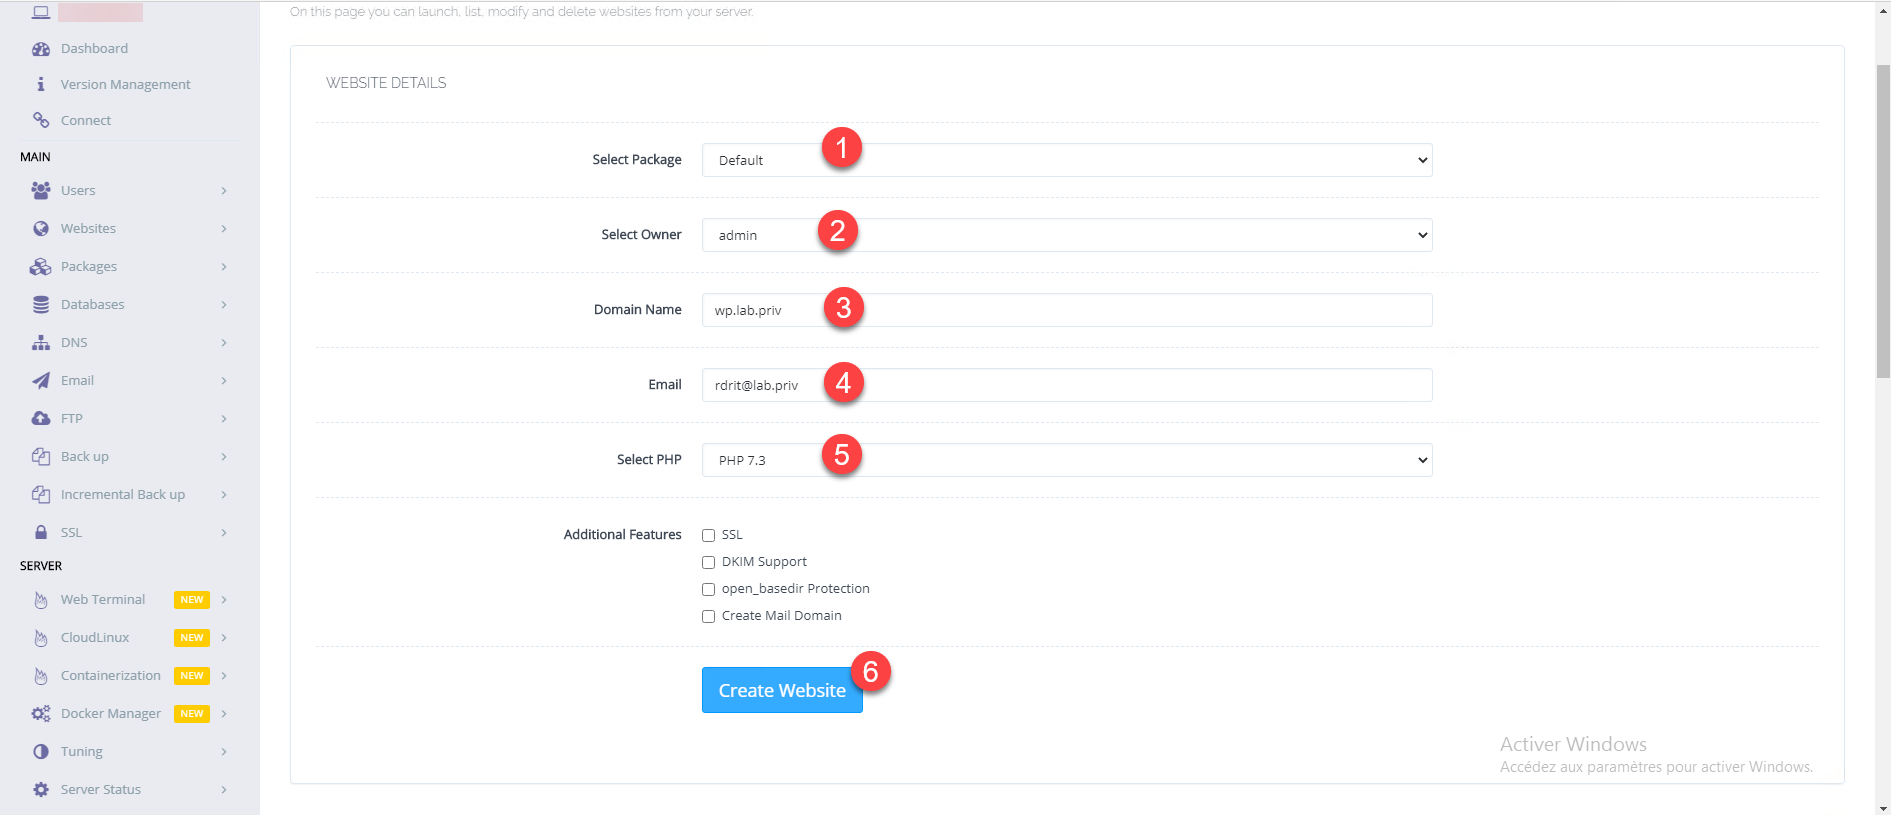
It is possible to create a Let’s Encrypt SSL certificate by checking the SSL option in the Additional Feature section. I didn’t do this for the tutorial because the domain used is not public and the domain is not published.
It is possible to generate the SSL certificate after creating the site by going SSL / Manage SSL
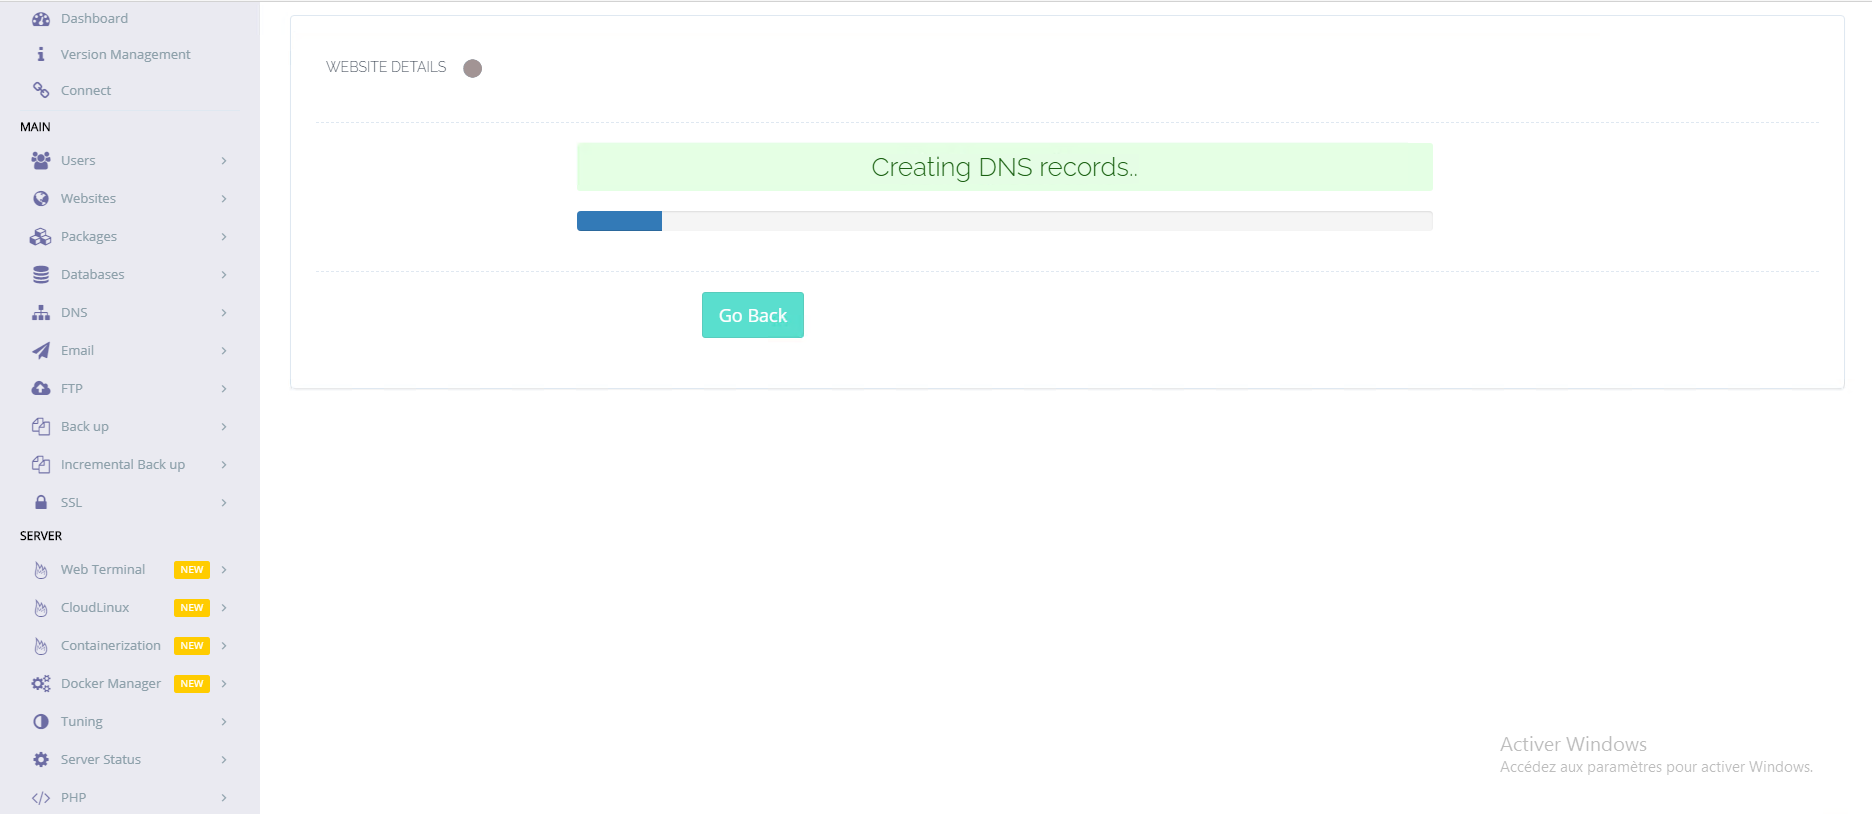
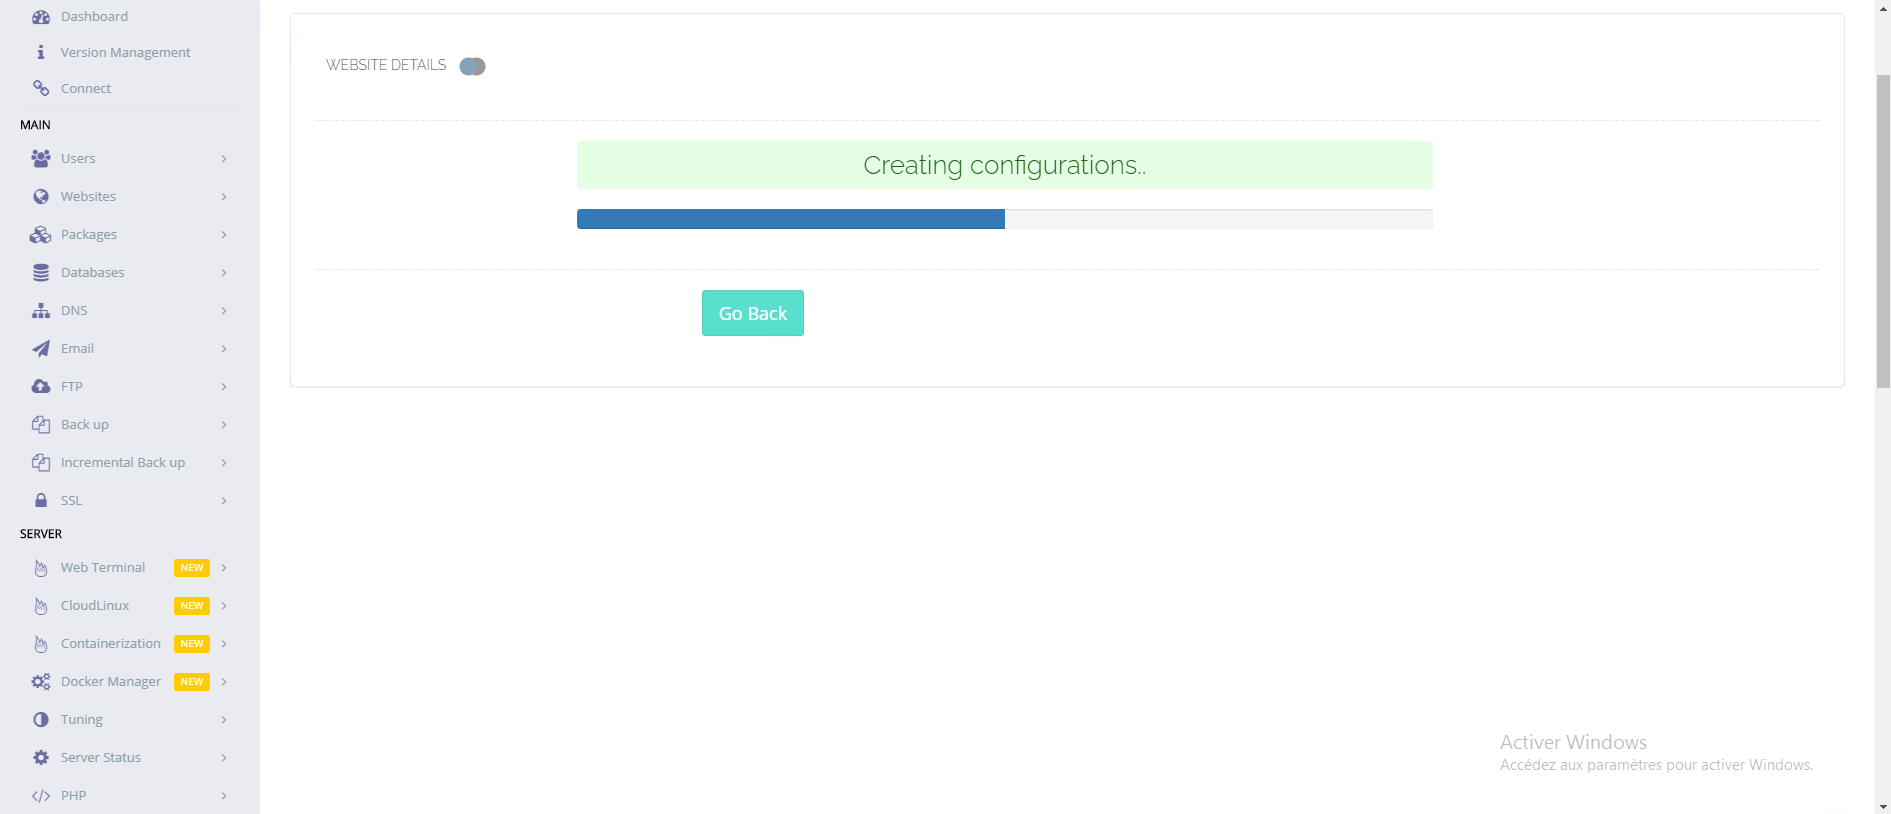
Wait while the website is configured …
The website is created. Click on Dashboard 1.
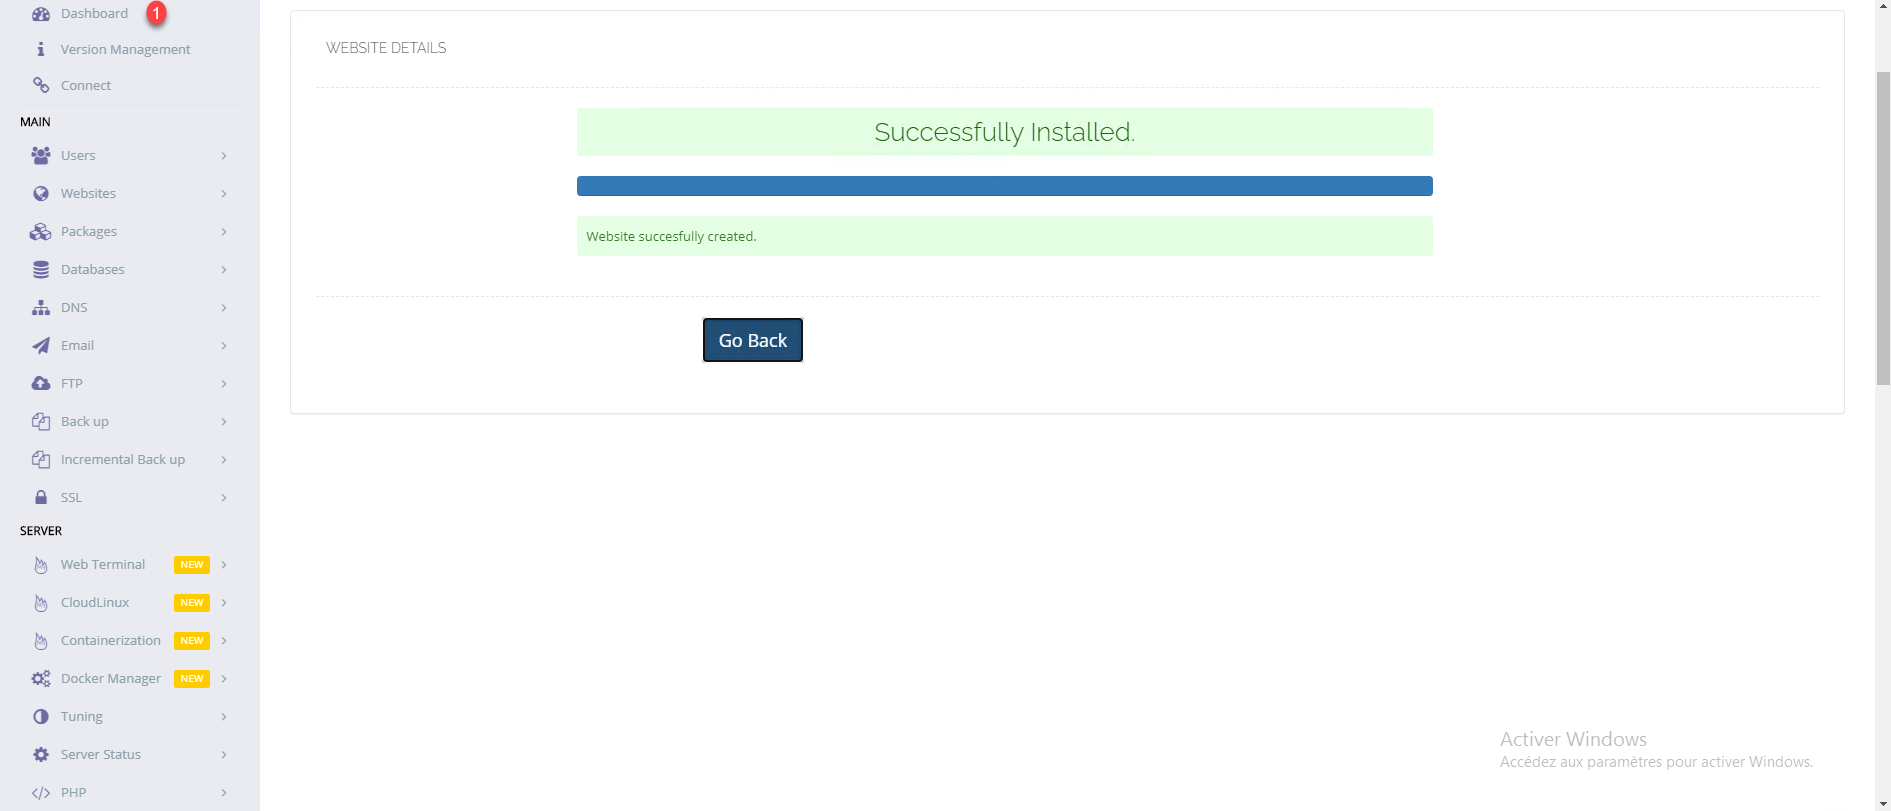
If you click on the Go Back button, you are returned to the site creation form with the information entered, a small bug in the interface.
Access the site
Back on the dashboard, click on WEBSITES 1.
Click on LIST WEBSITE 1.
The list of sites hosted on Cyberpanel is displayed, click on the Manage 1 link to access the settings.
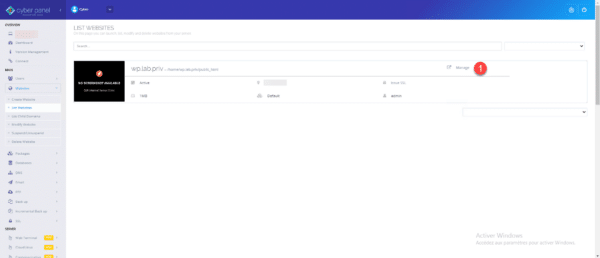
If you click on the site thumbnail it opens the site in a new tab and if you click on the file path it opens the file explorer.
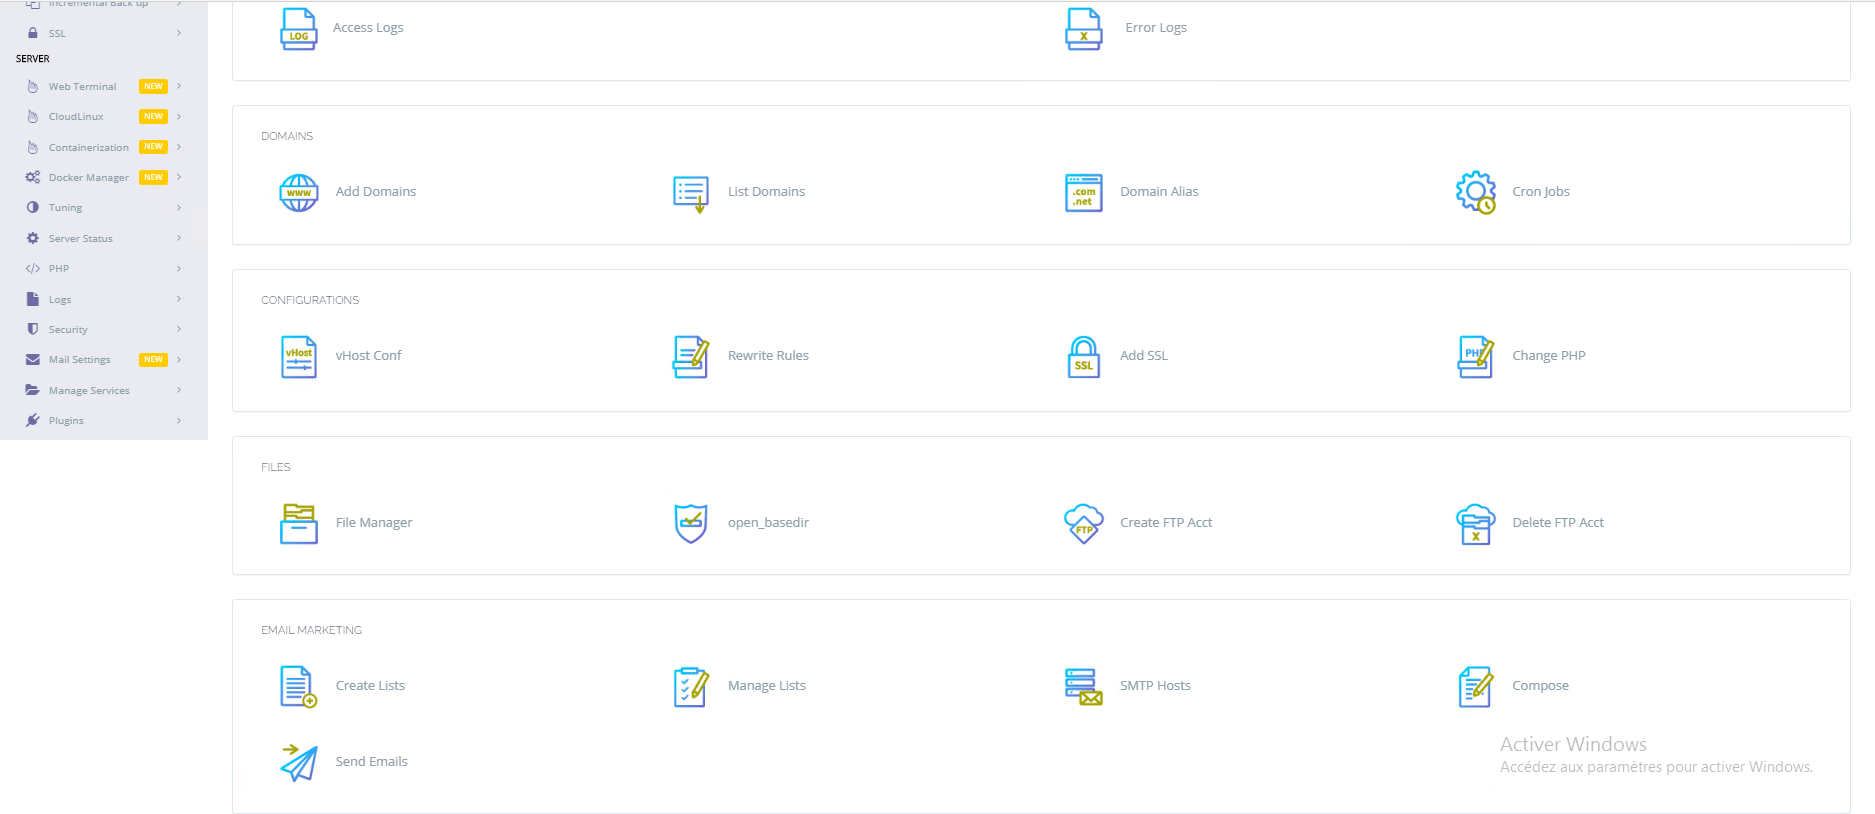
From this page, we can access the various parameters of the site, on the top part we find the use of allocated resources then below all the options and possible actions such as the creation of another site, configuration of crons …
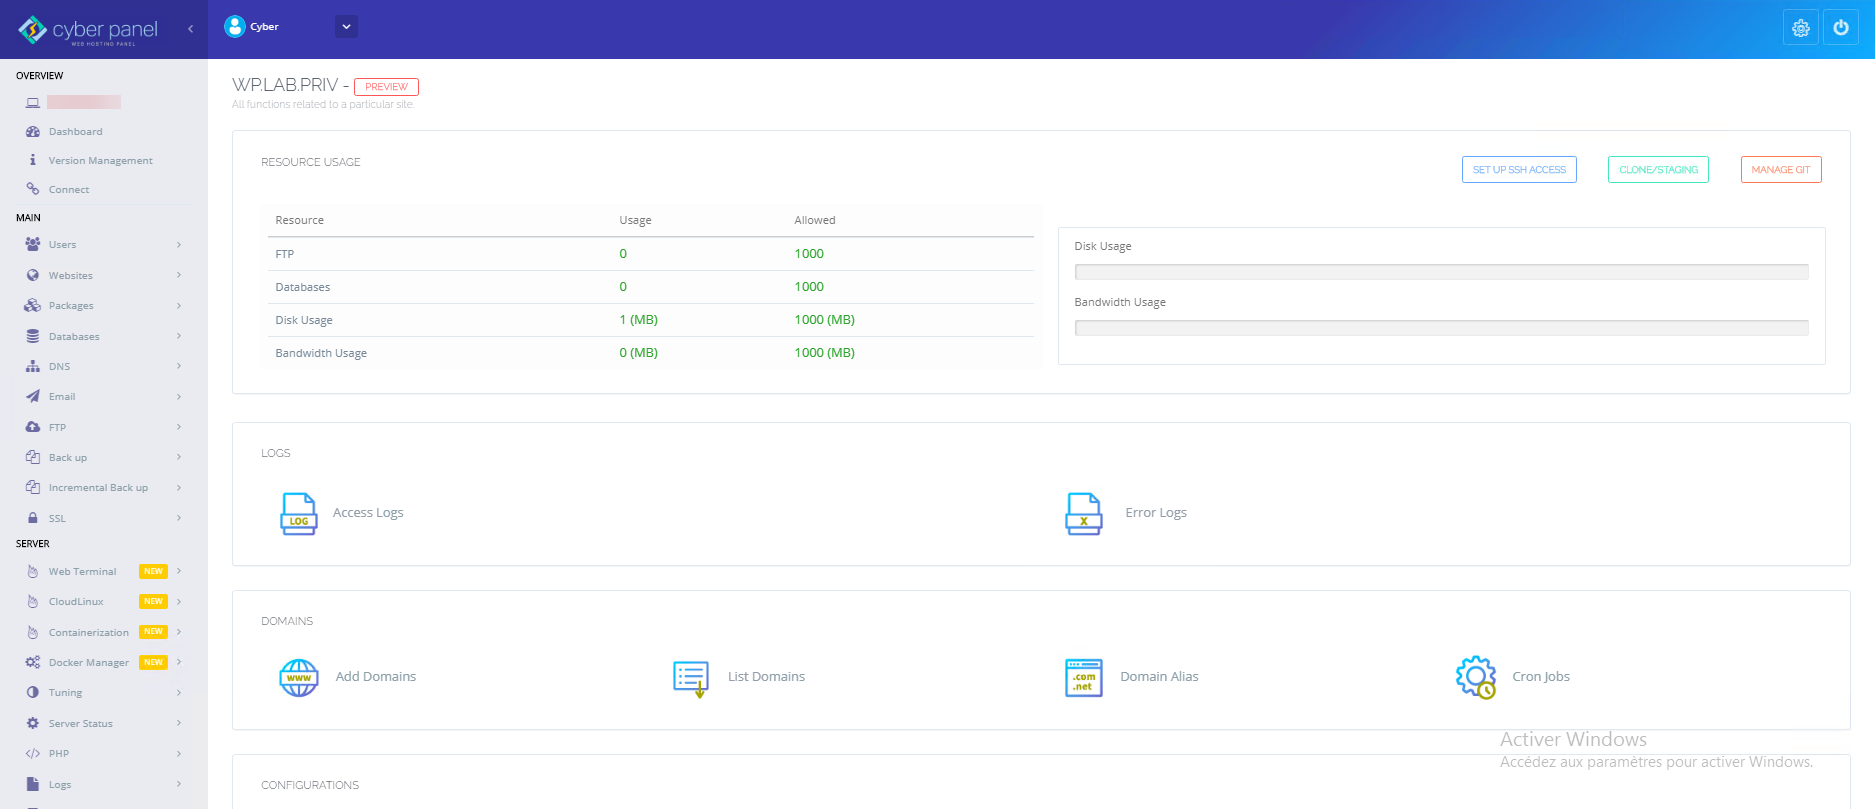

If you want to provide accommodation for third parties, consider a WEBSITE as a hosting account (tenant). It is then possible on a WEBSITE to configure other sites to host, whether as a subdomain to configure on the WEBSITE or another domain. To do this, simply click on Add Domains in the site settings (WEBSITE).
Install WordPress
In this part, we will see how to install WordPress automatically from the administration of a site.
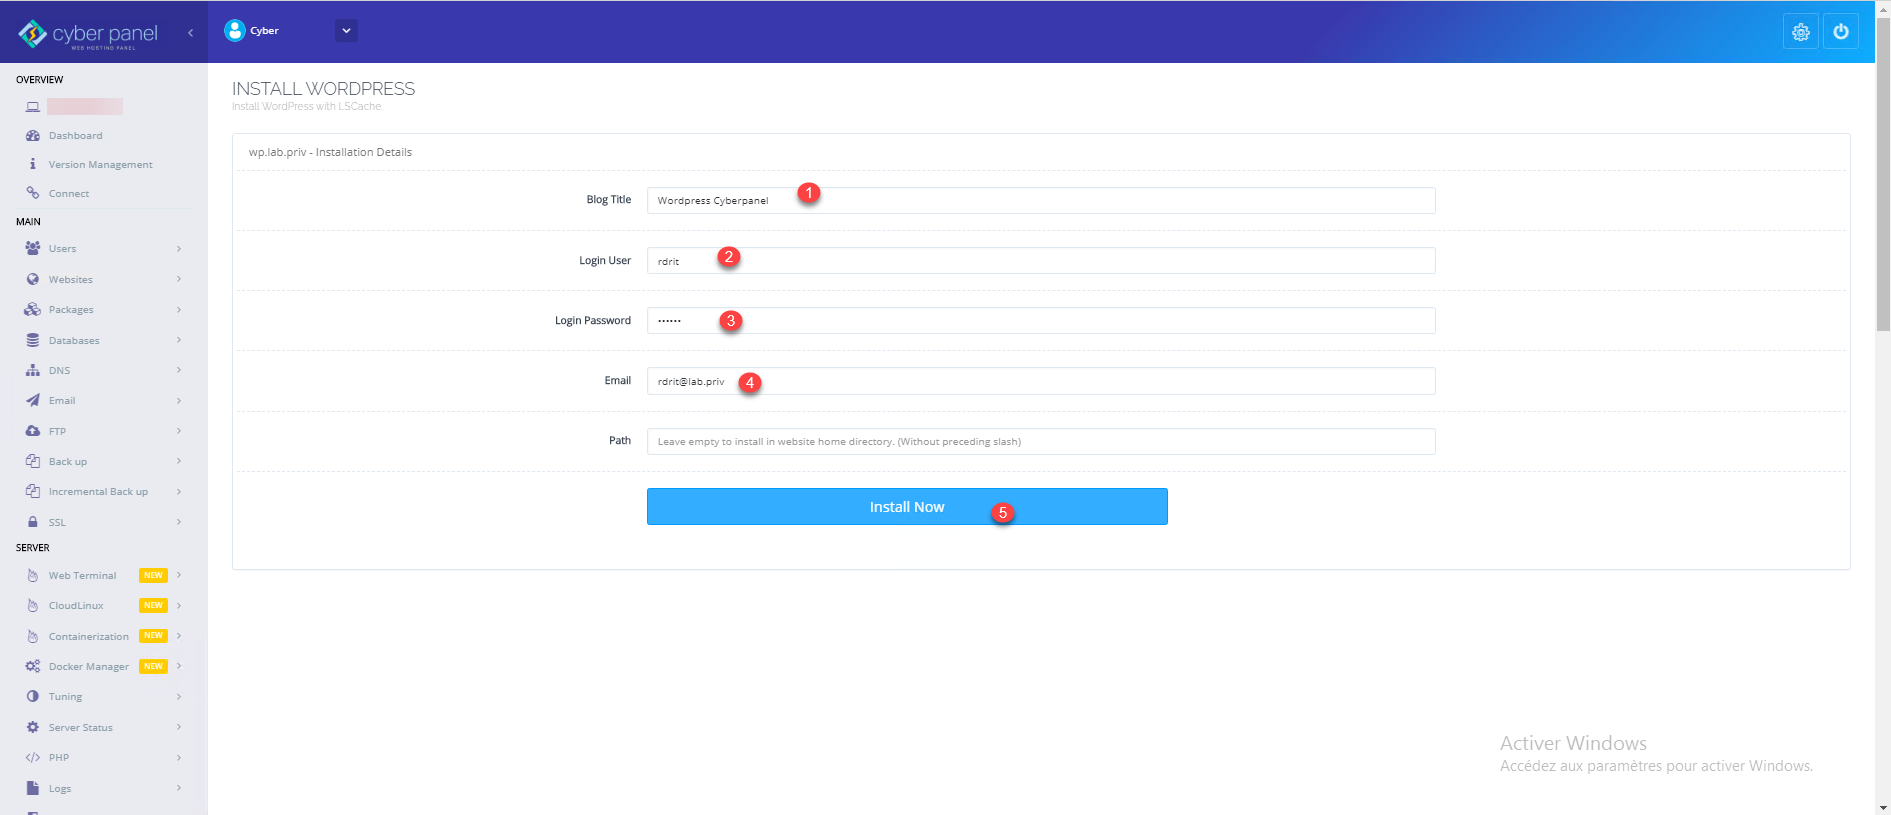
In the APPLICATION INSTALLER section, click on WP + LSCACHE 1.

Fill out the installation form indicating the blog title 1, the admin account ID 2, the password 3 and the email address 4. Once the form is completed, click on Install Now 5.
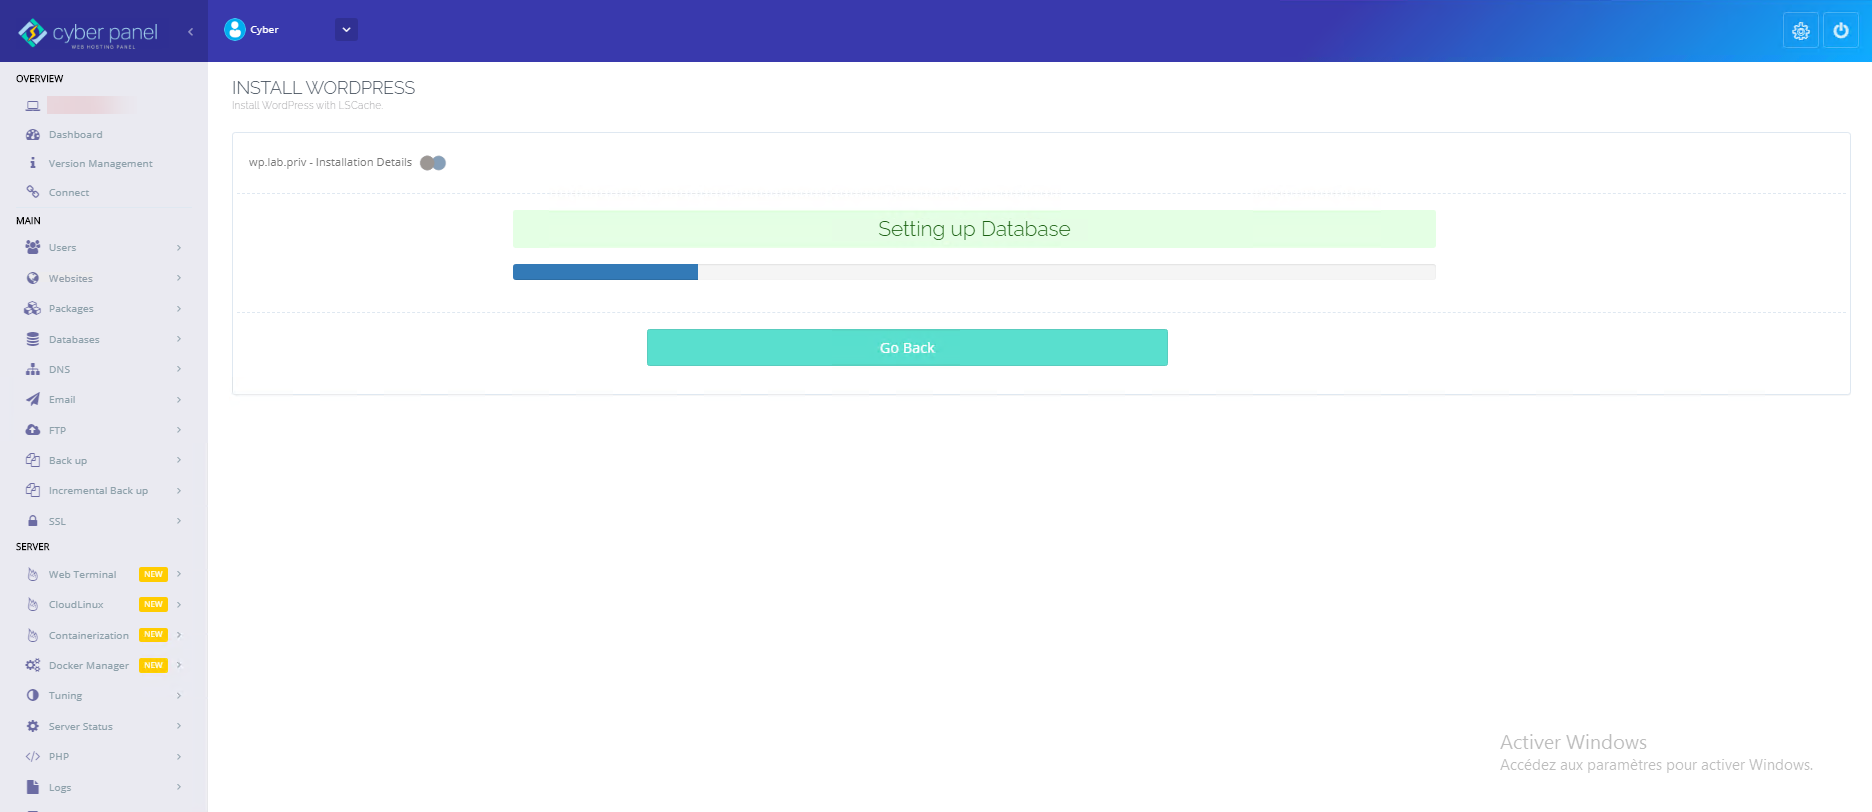
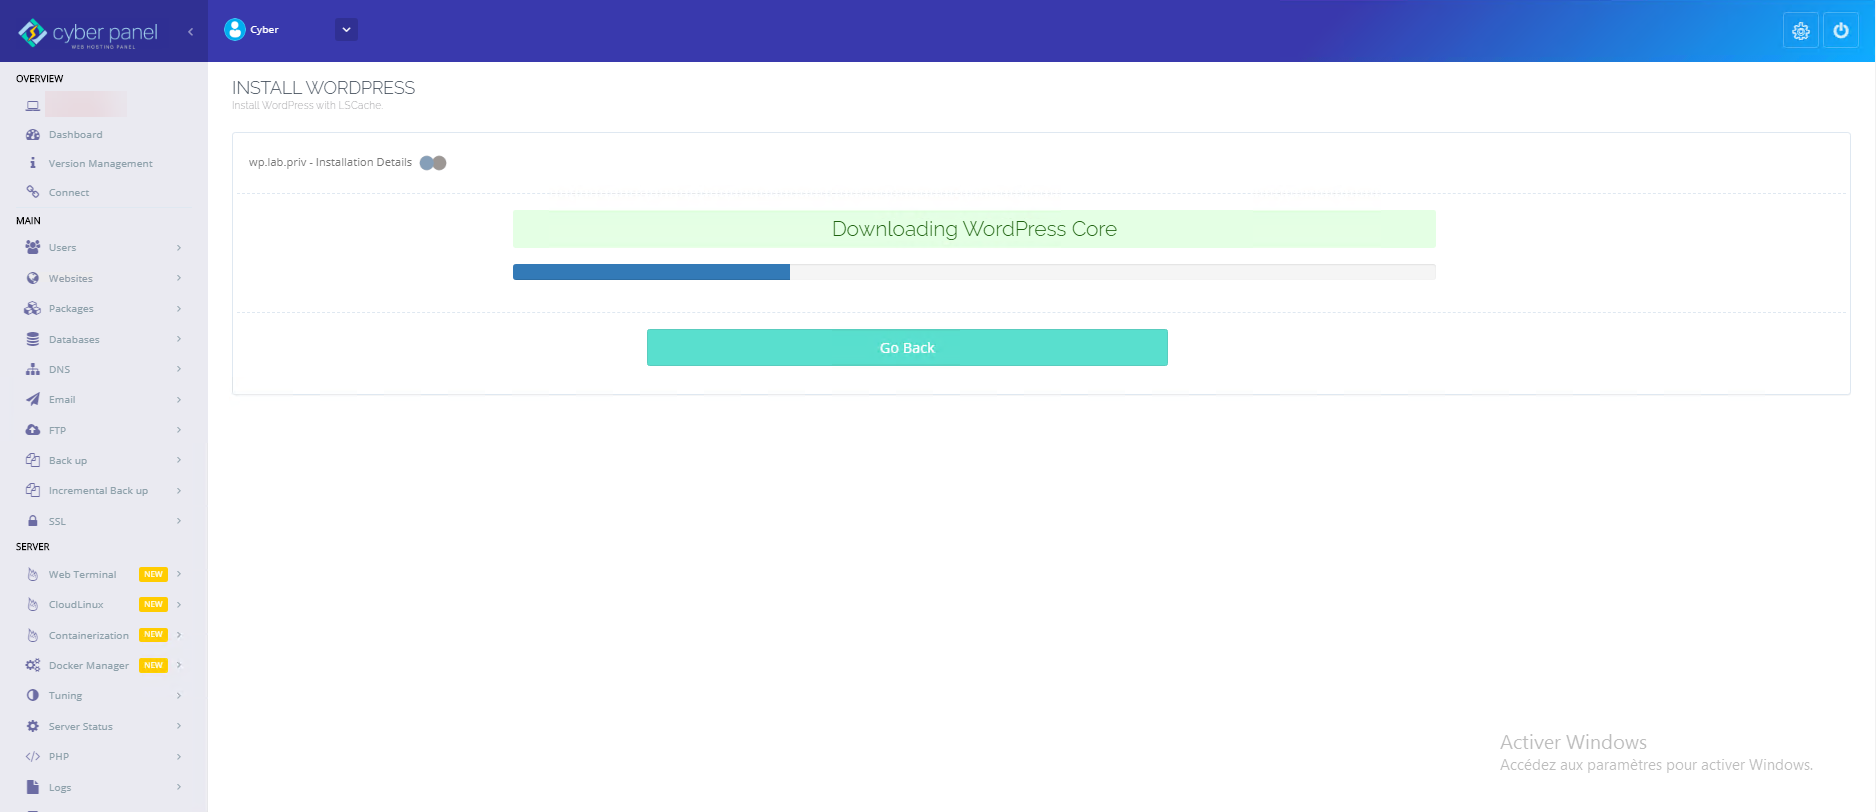
Wait while installing WordPress, during this operation a database will also be created for the site.
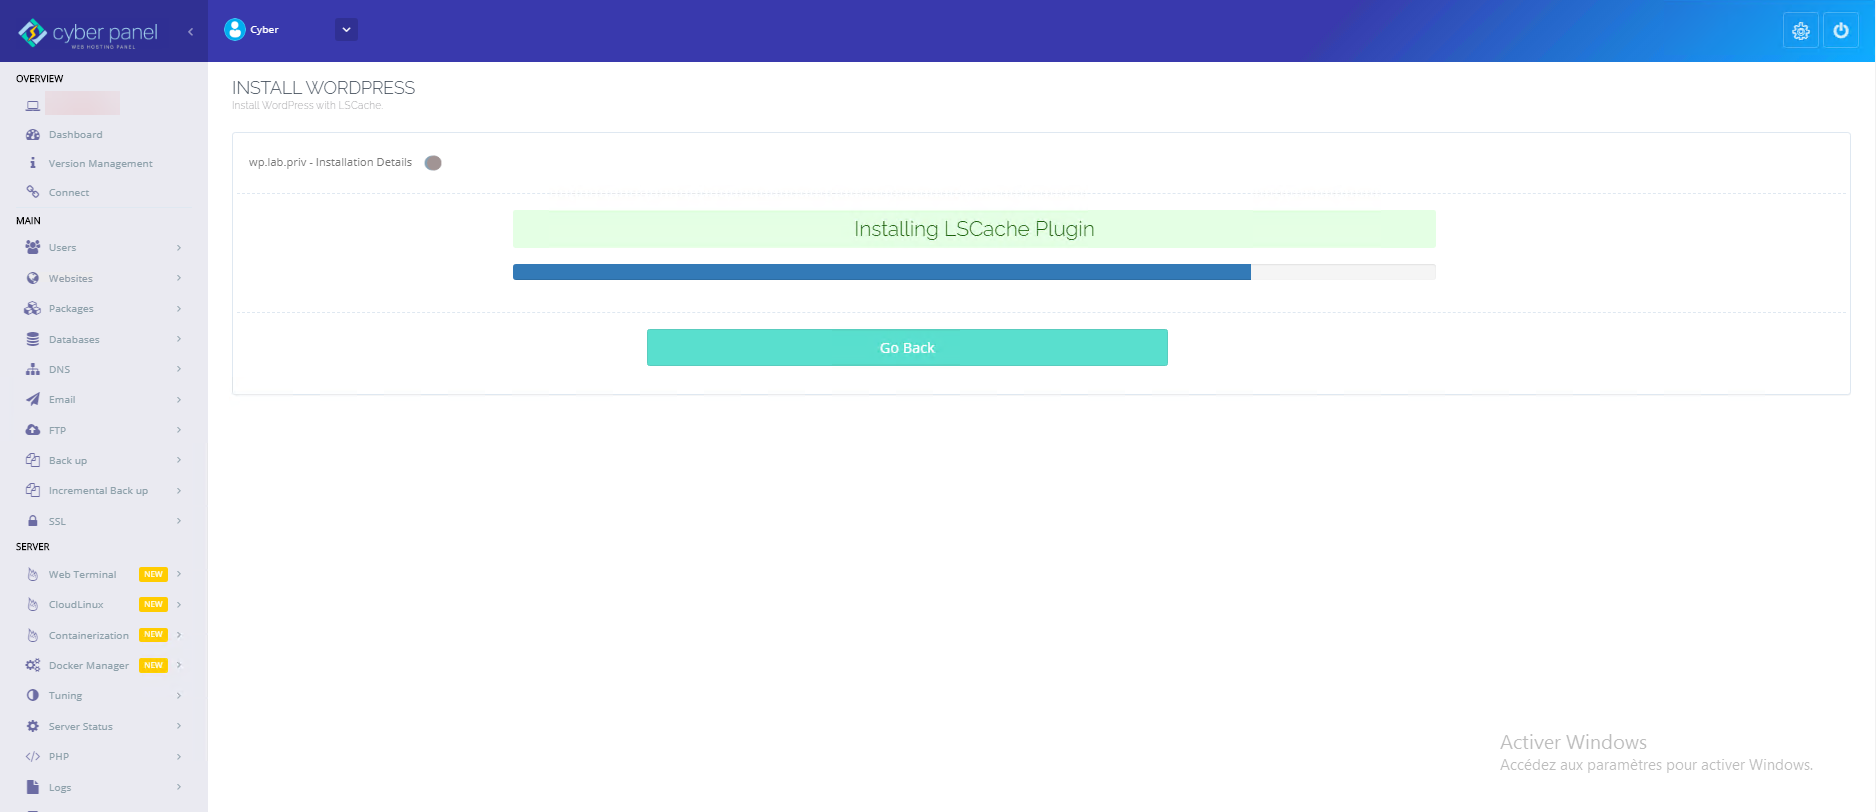
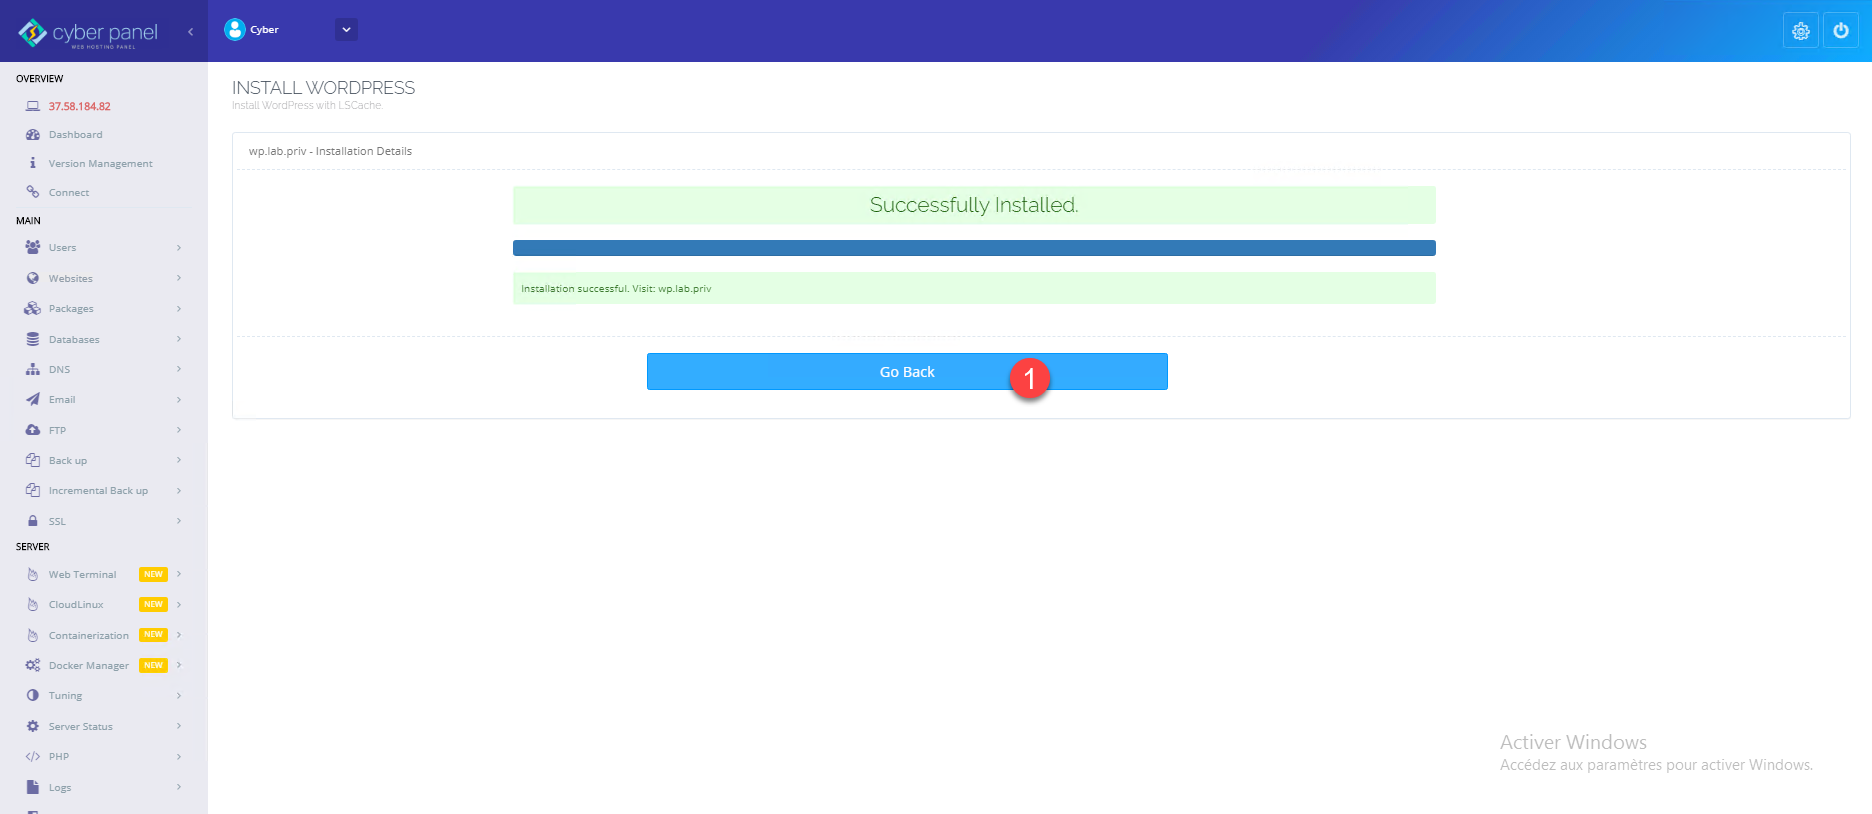
Once the installation is complete, click on Go Back 1 to return to site administration.
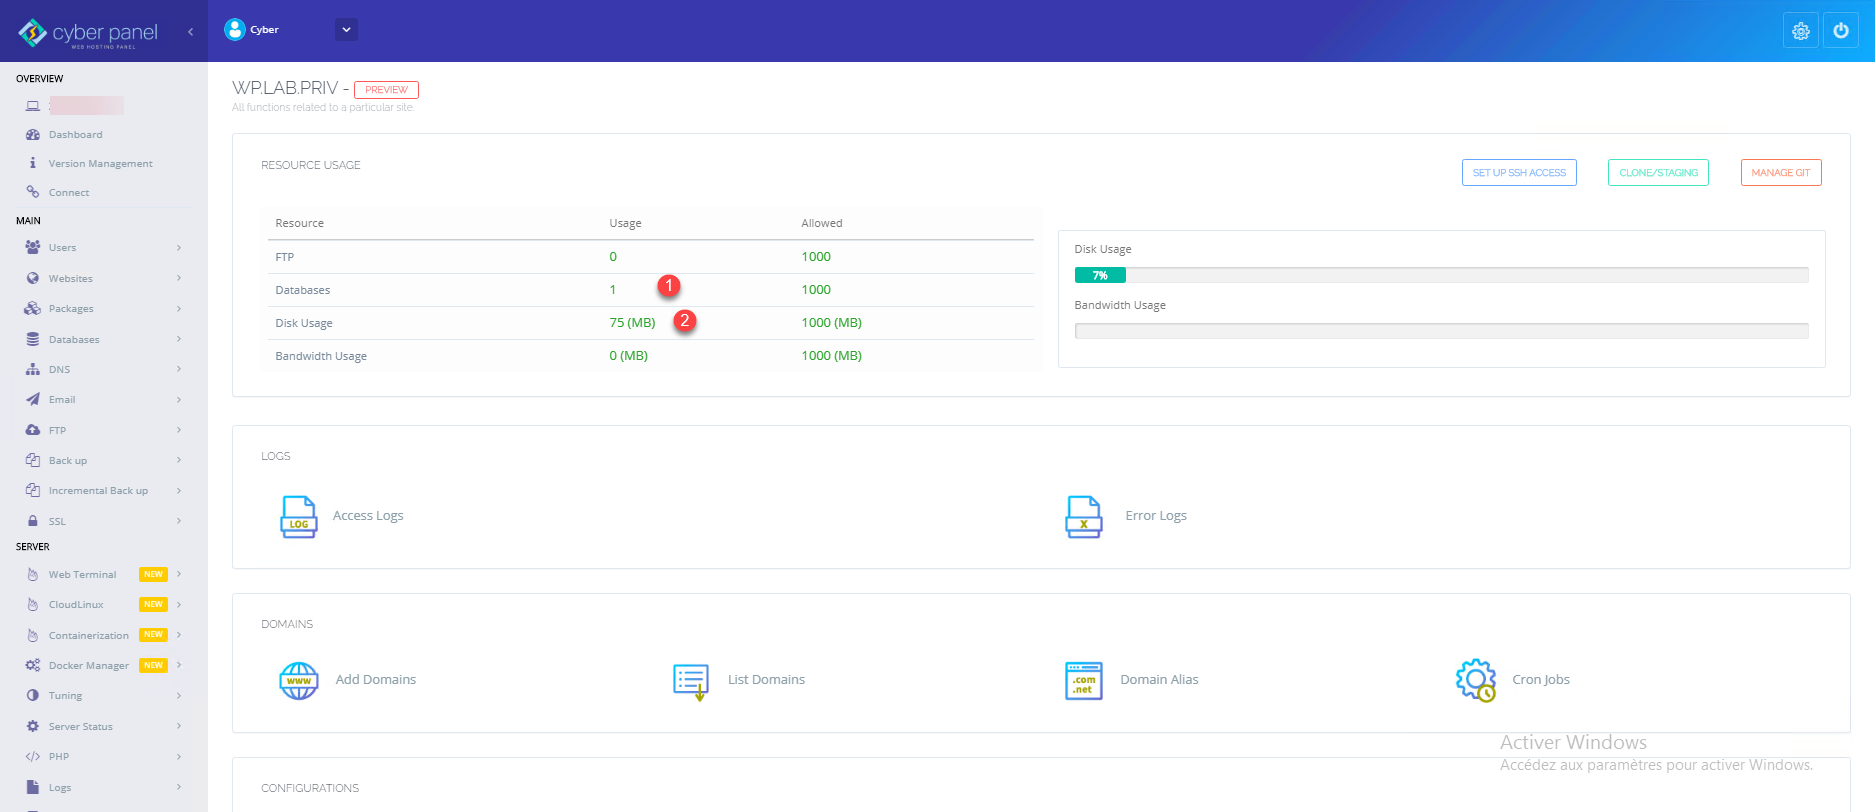
In the resources part, we can see that a database has been created 1 and that 75MB 2 are occupied on the allocated disk space.
Using the WordPress site
In this part, I will not go into detail on how to use your WordPress site but you will explain how to configure permalinks and URL rewriting.
Go to the administration of the WordPress site.
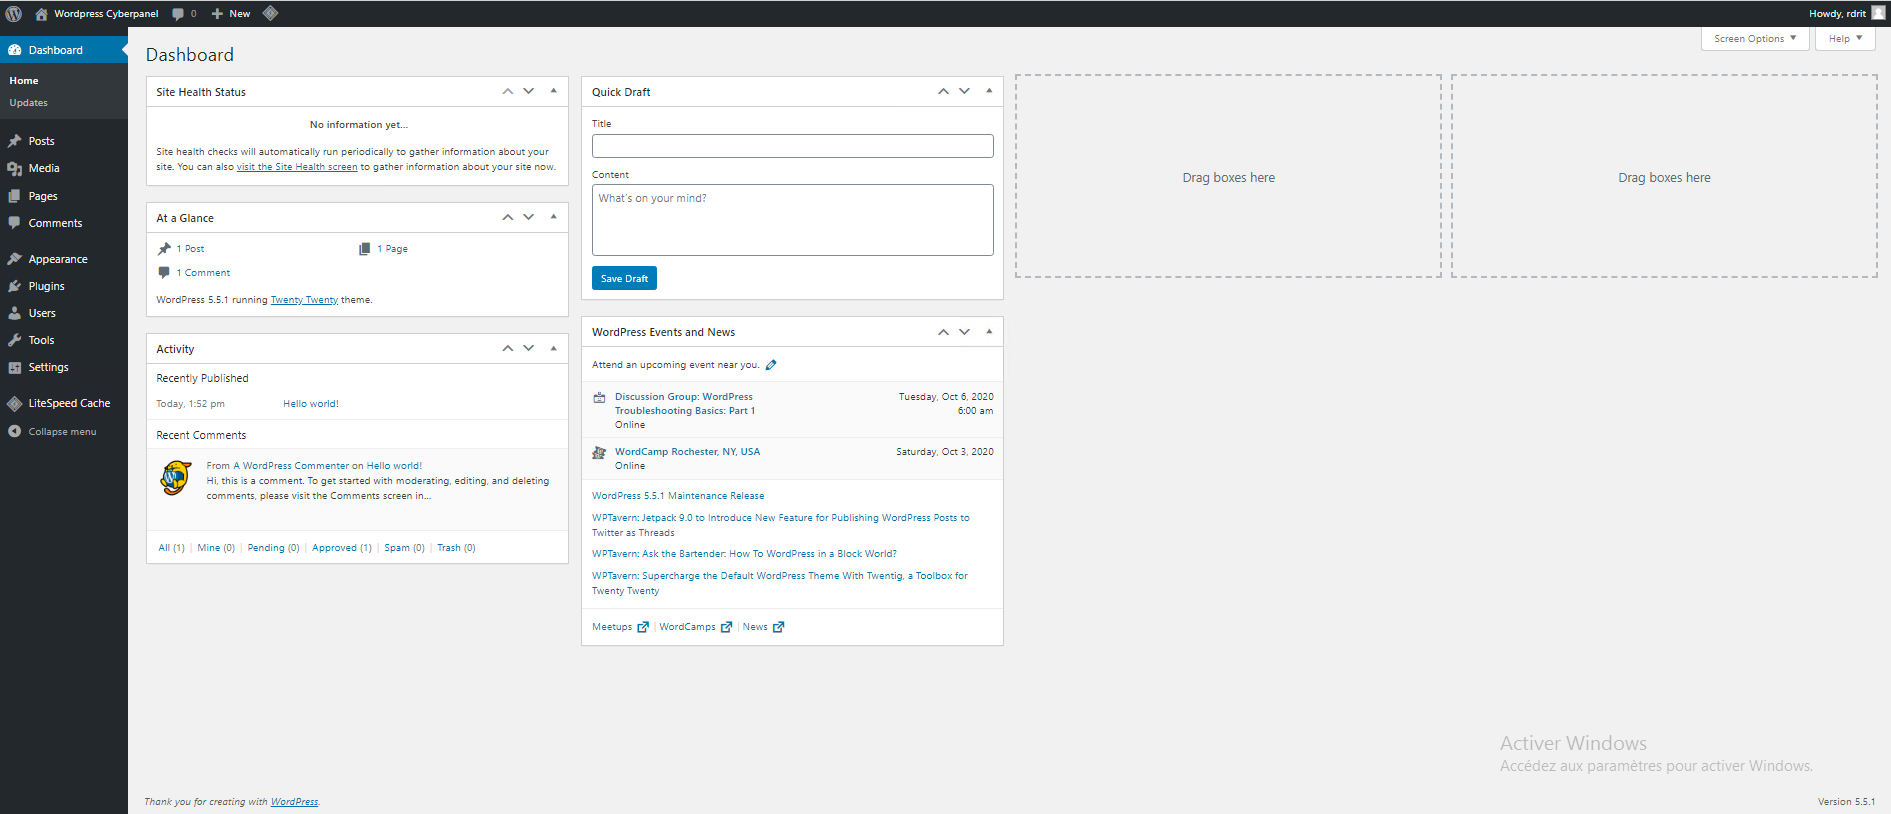
From the left menu, you can access the LsCache plugin which is a WordPress optimization plugin.
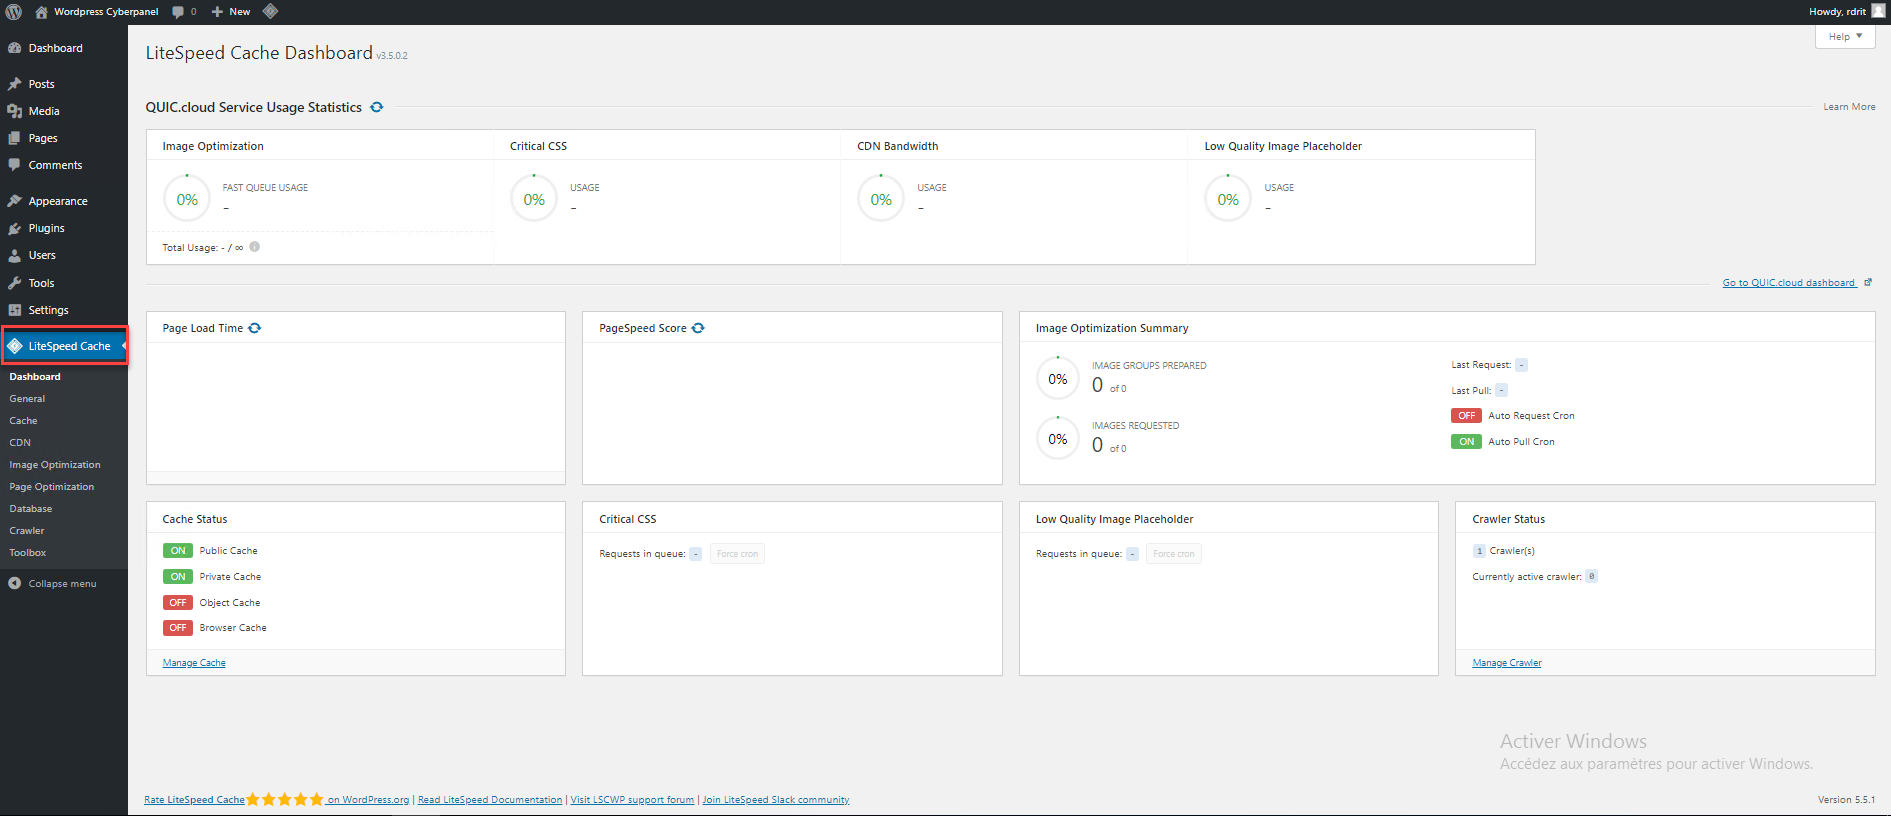
To configure the plugin, you can use the following tutorial (french) : LsCache : plugin de cache pour WordPress – Installation – Configuration – Test
To configure permalinks, go to Settings 1 / Permalinks 2. Choose a URL format 3 and click Save Changes 4.

Once the permalinks have been set, return to the CyberPanel interface in the site administration, click on Rewrite Rules 1 to open the configuration 2 and click on Save Rewrite Rules 3 .
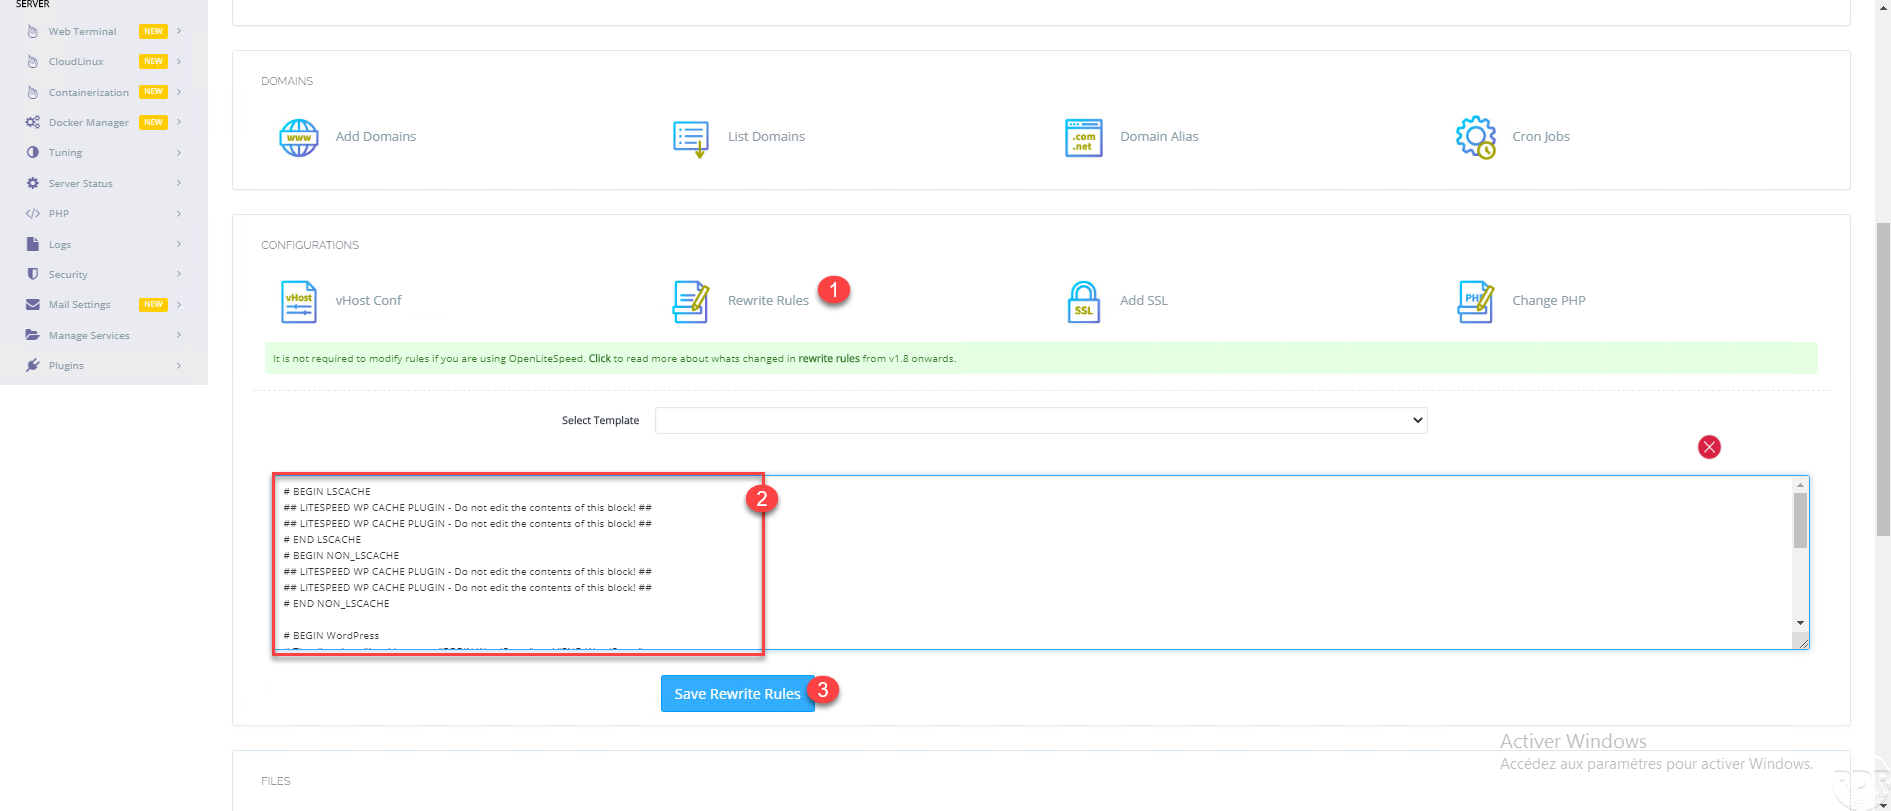
This is necessary for URL rewriting to work, because unlike Apache, OpenLiteSpeed reads the .htaccess file when the vhost is (re) started. Opening and clicking on the save button forces OpenLiteSpeed to take the .htaccess file into account.
Create an FTP account
In this part, I will explain how to create an FTP access.
On the dashboard, click on FTP 1.

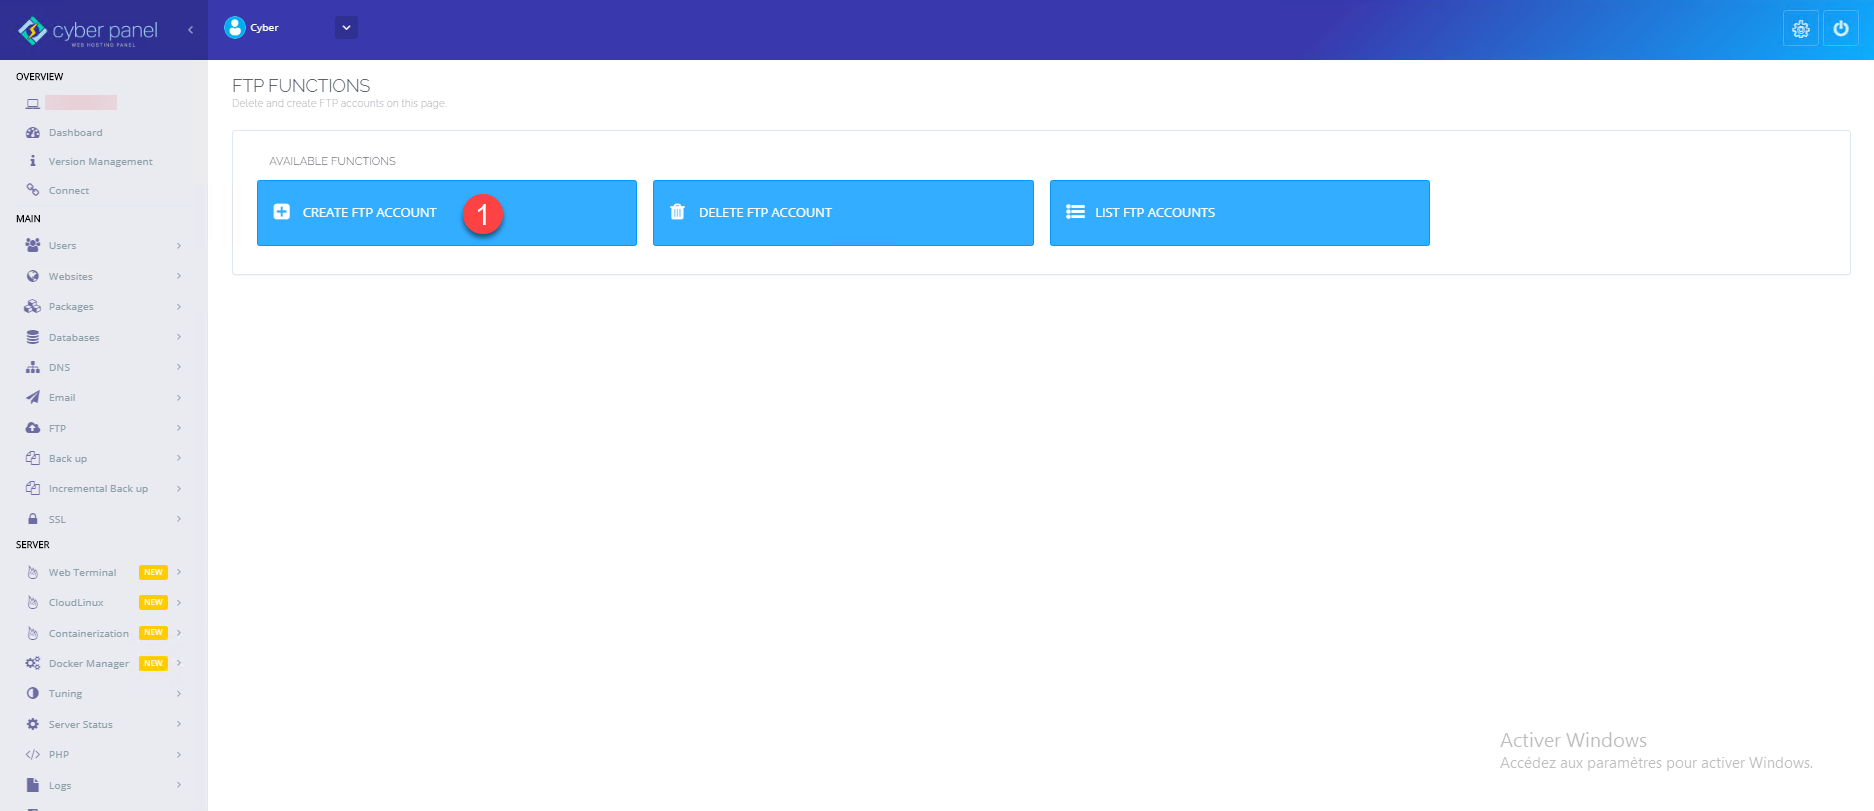
Click on CREATE FTP ACCOUNT 1.
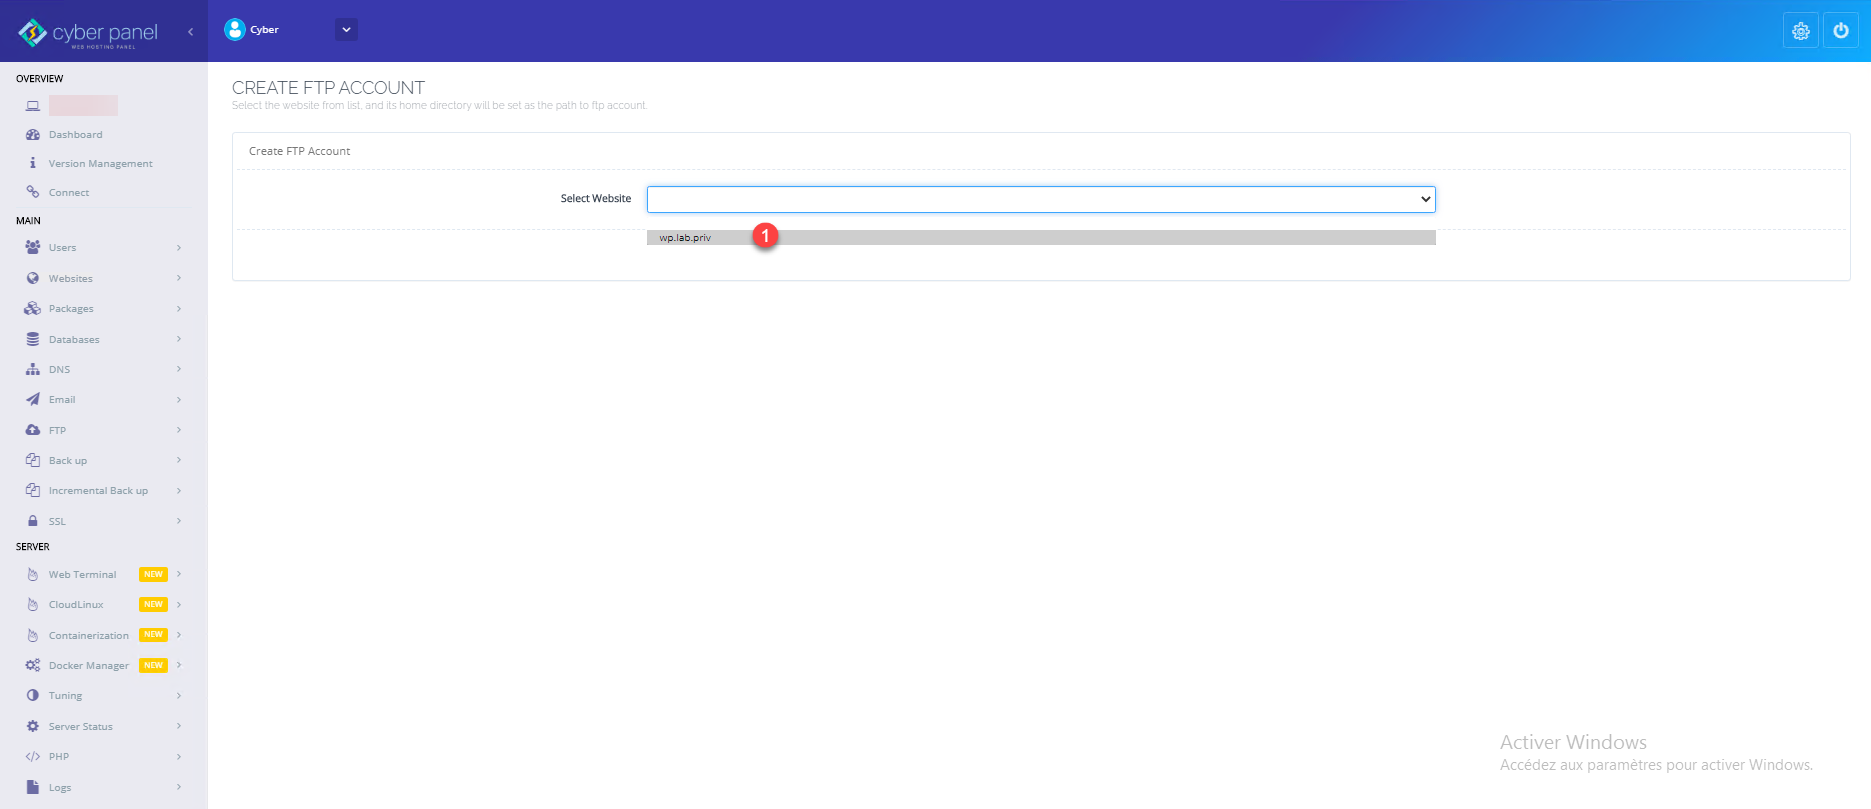
Select the site 1 which will be linked to the FTP account.
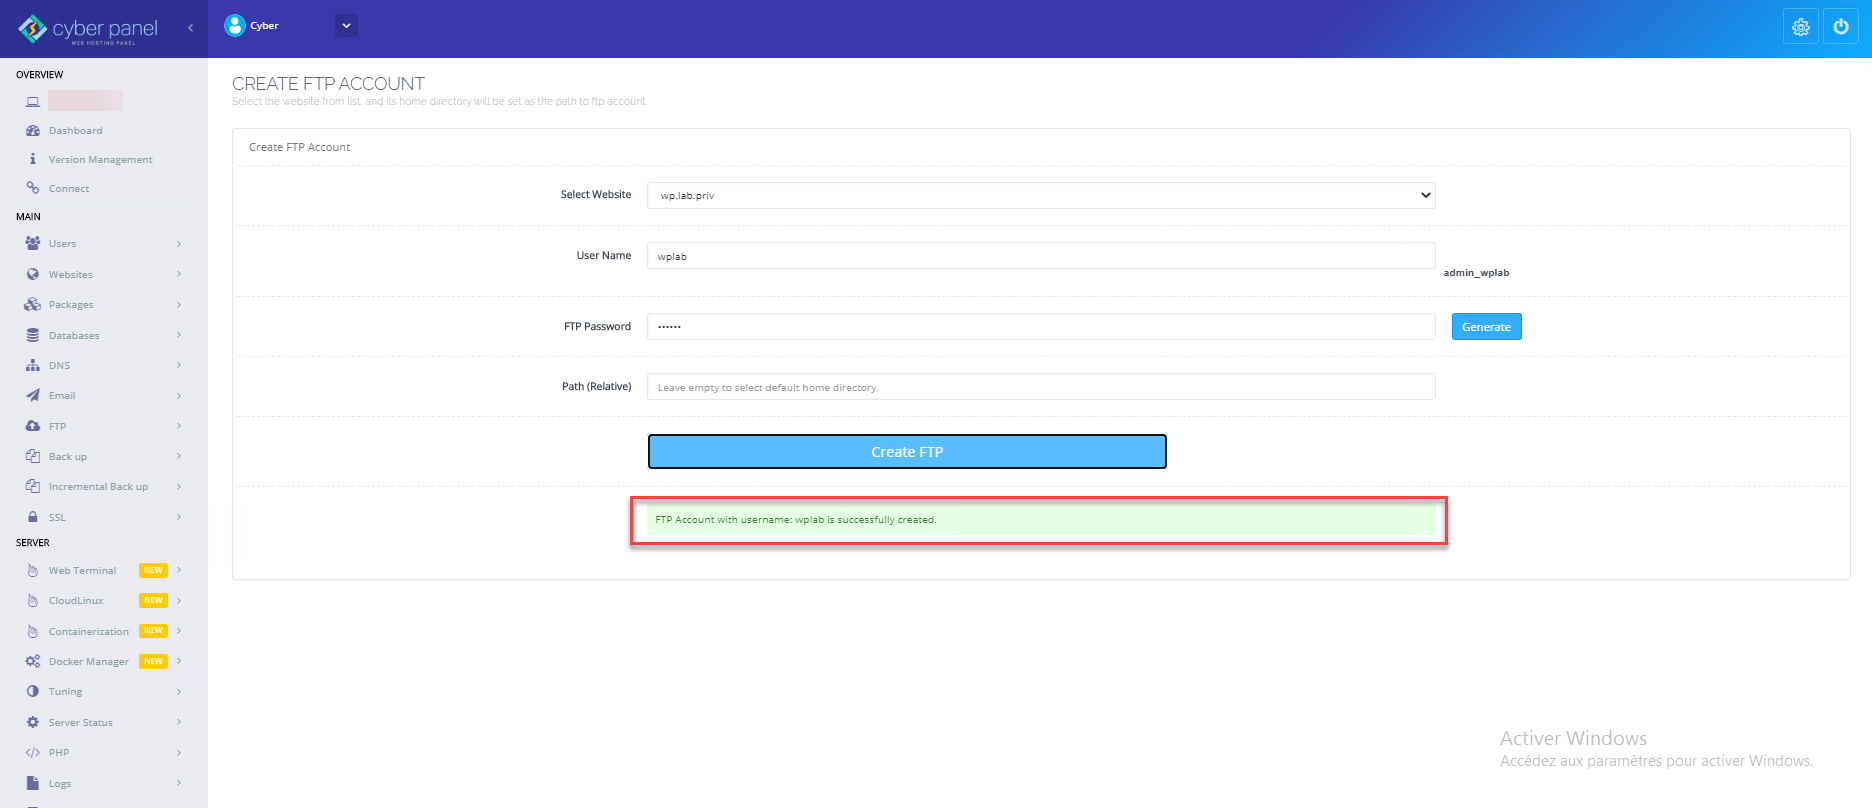
Enter the suffix of the FTP account 1, (the username is made up of admin_ + suffix), the password 2 and click on Create FTP 3.
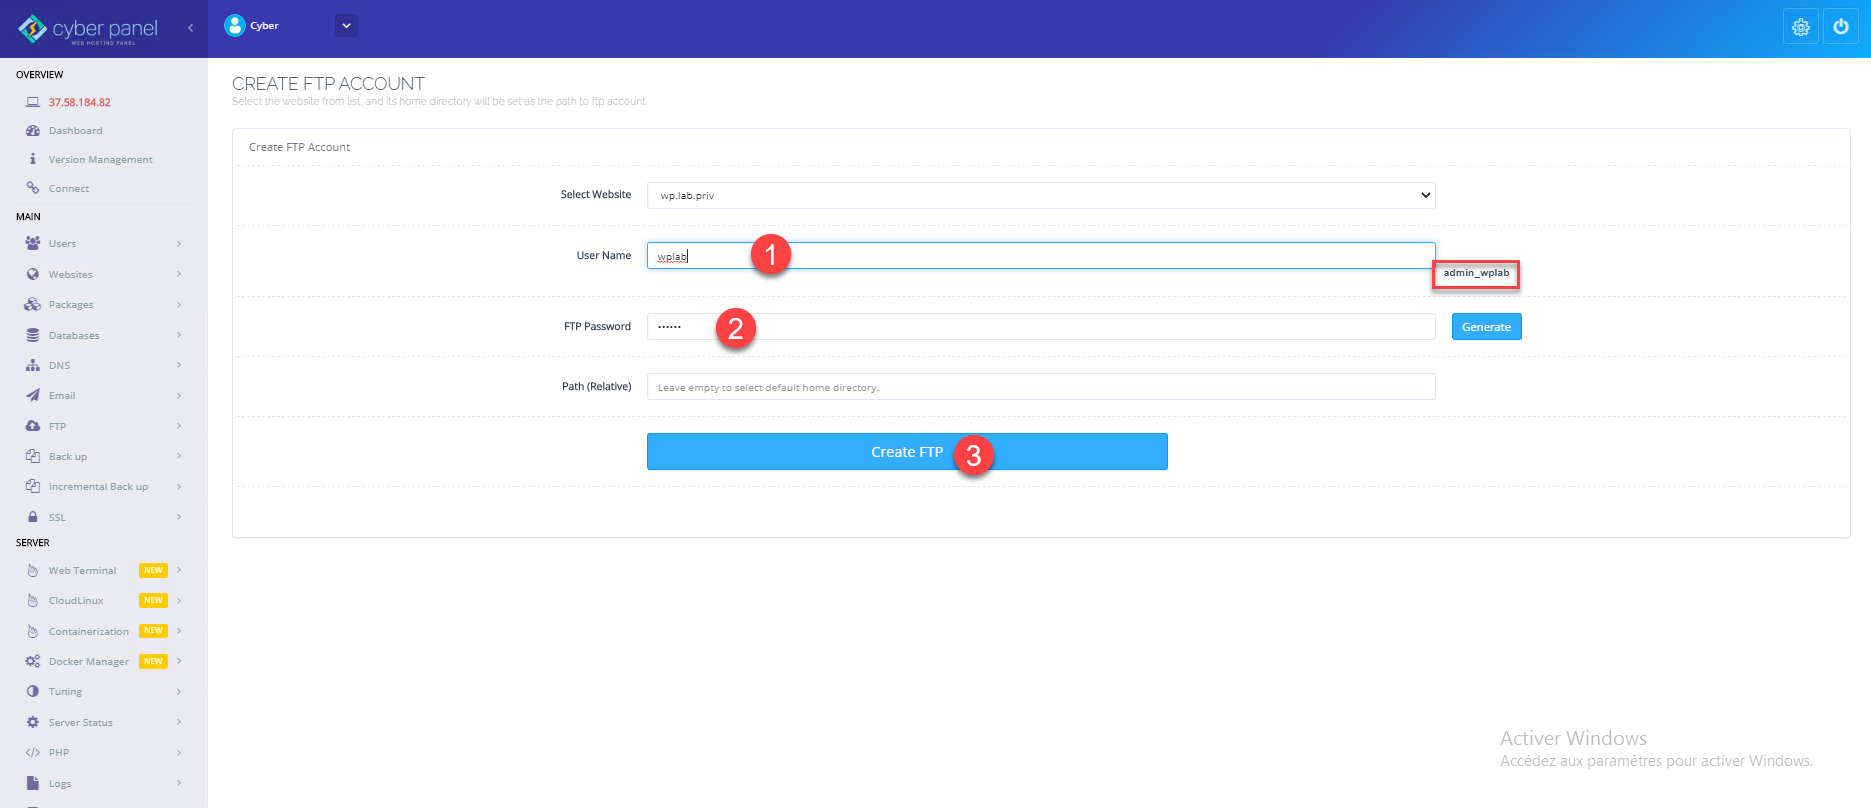
A configuration for creating the account is displayed below the form.
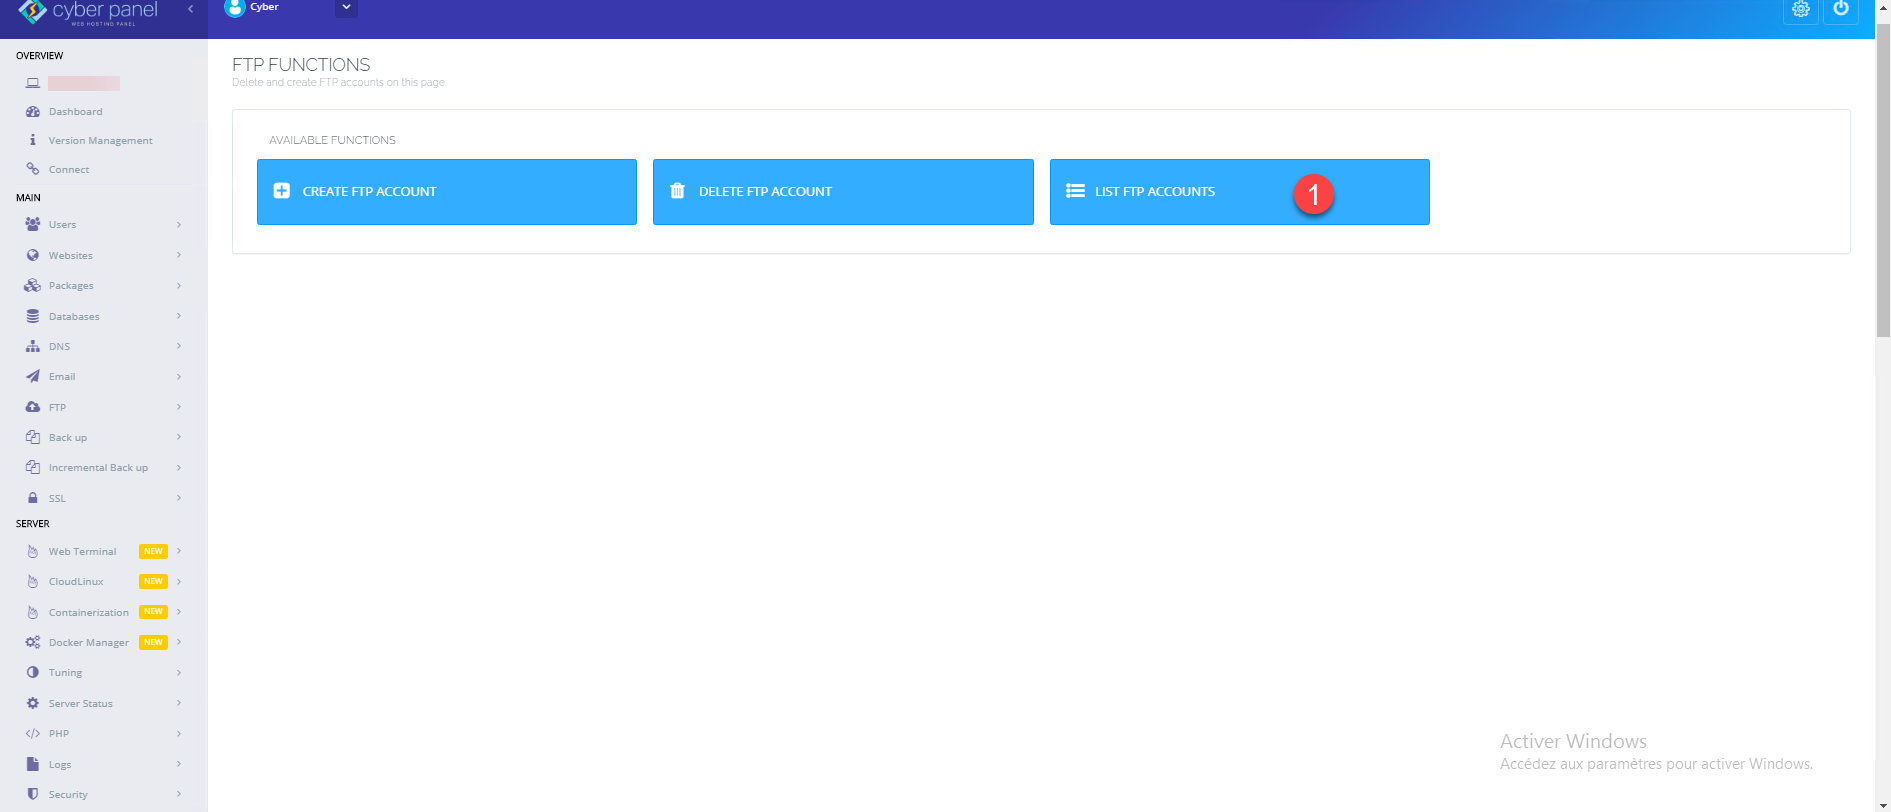
To display the list of FTP accounts, on the dashboard click on FTP as for creation then click on LIST FTP ACCOUNTS 1.
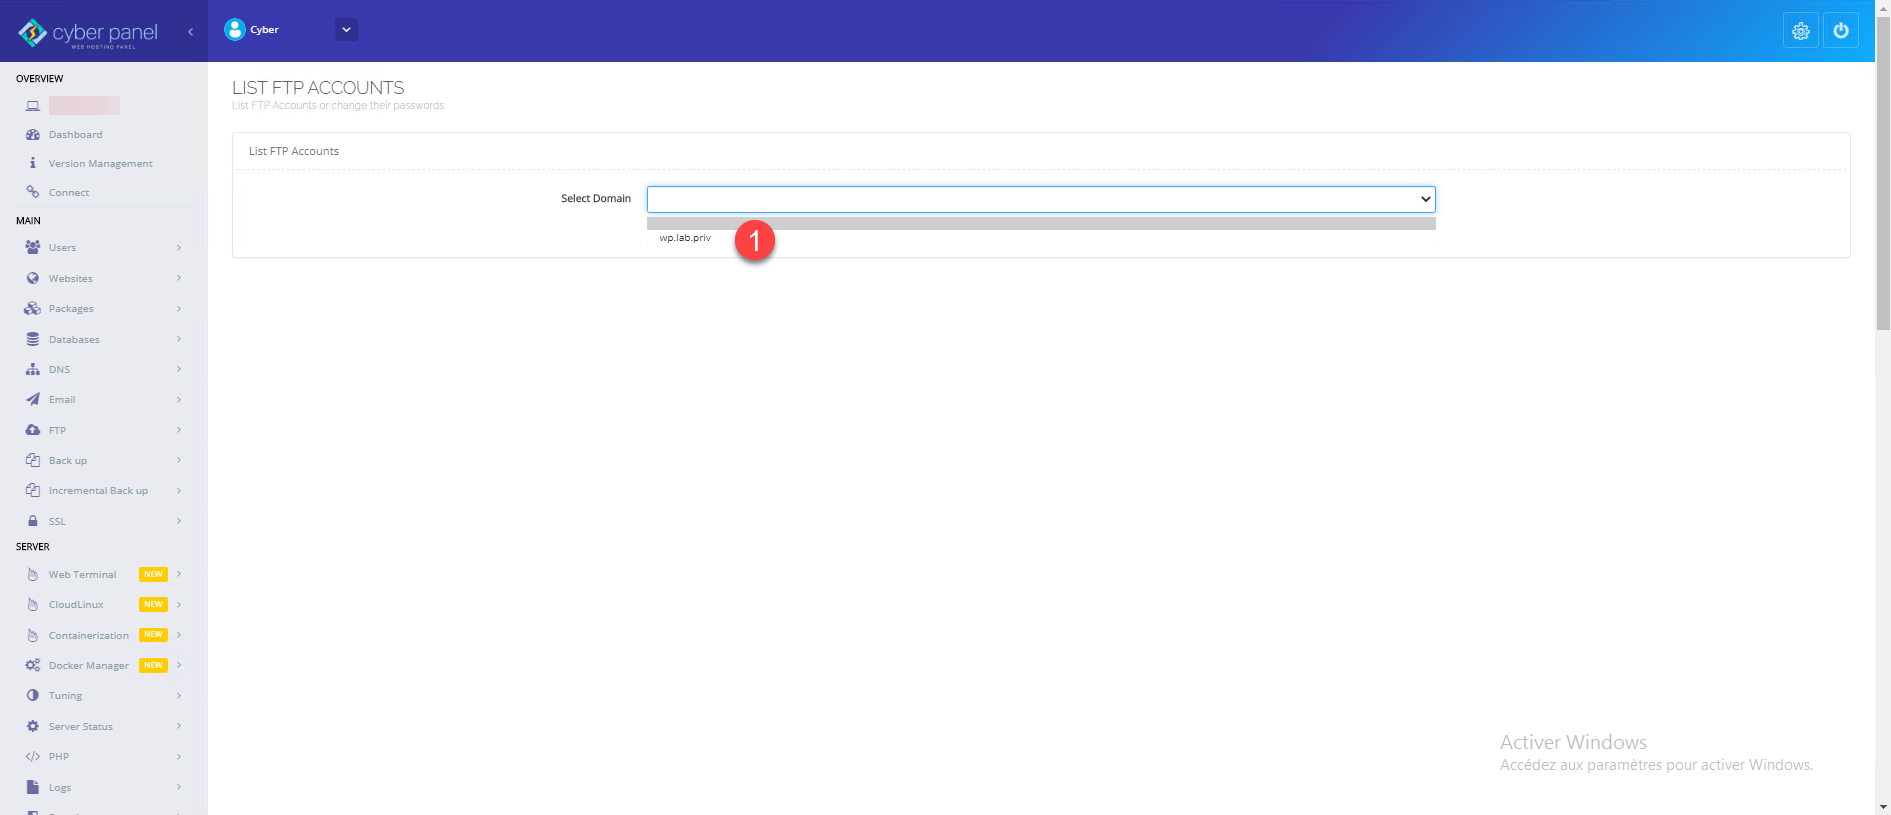
Select site 1 to display linked FTP accounts.
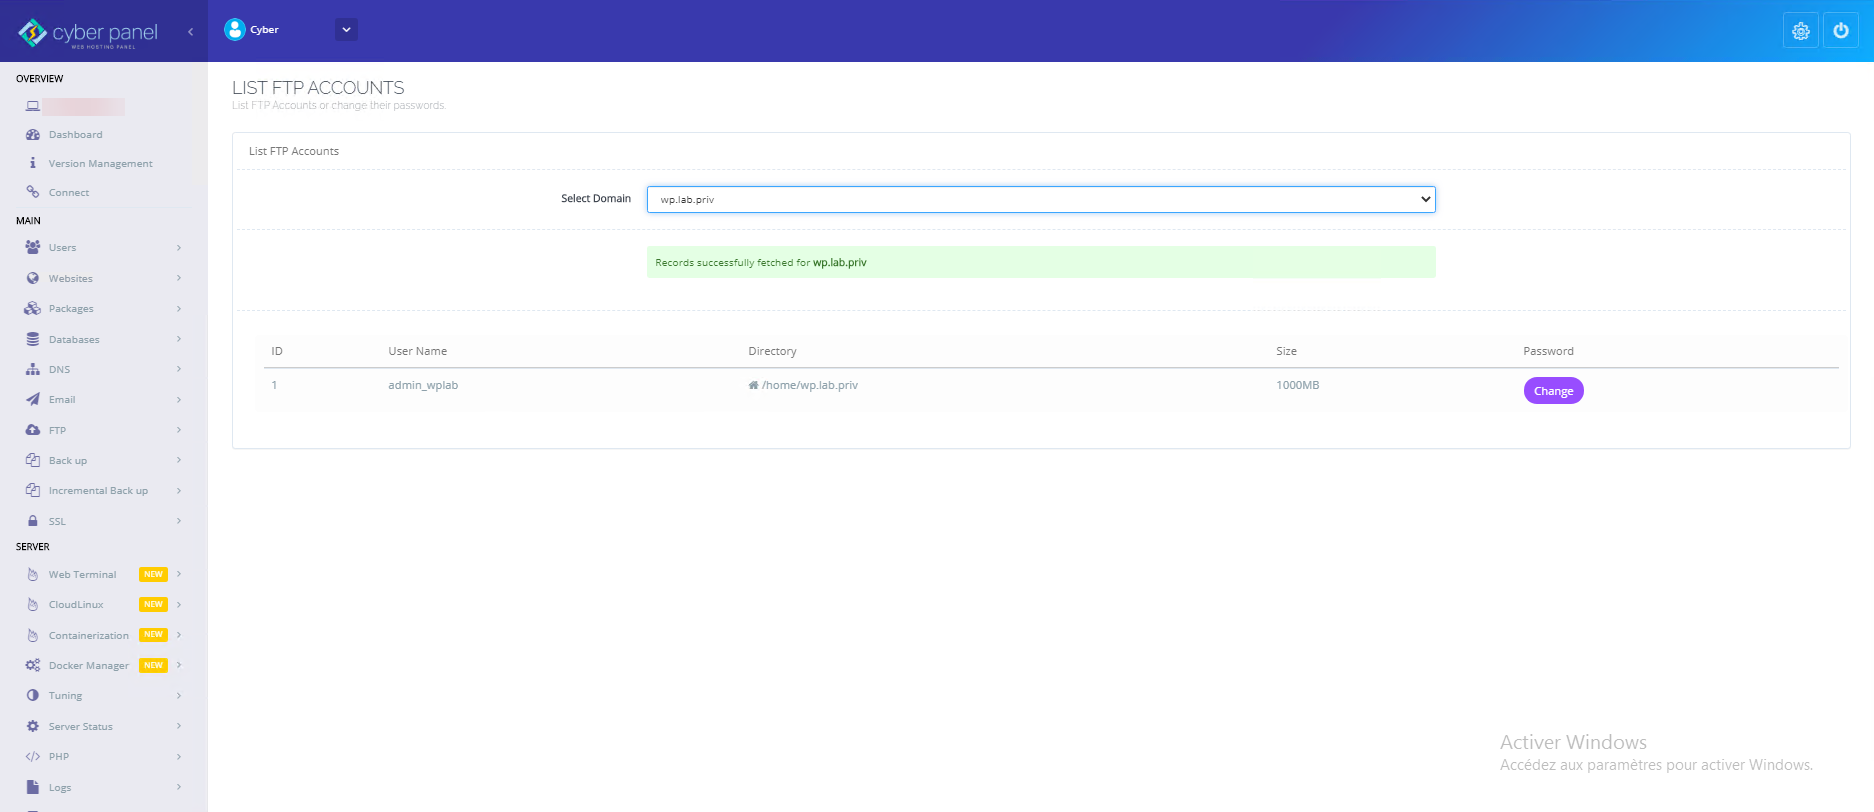
The list of FTP accounts linked to the site (hosting) is displayed, from this view you can see the path to the directory. It is also possible to change the password of the FTP account.
MariaDB Database
To access database management, from the dashboard click on DATABASES 1.
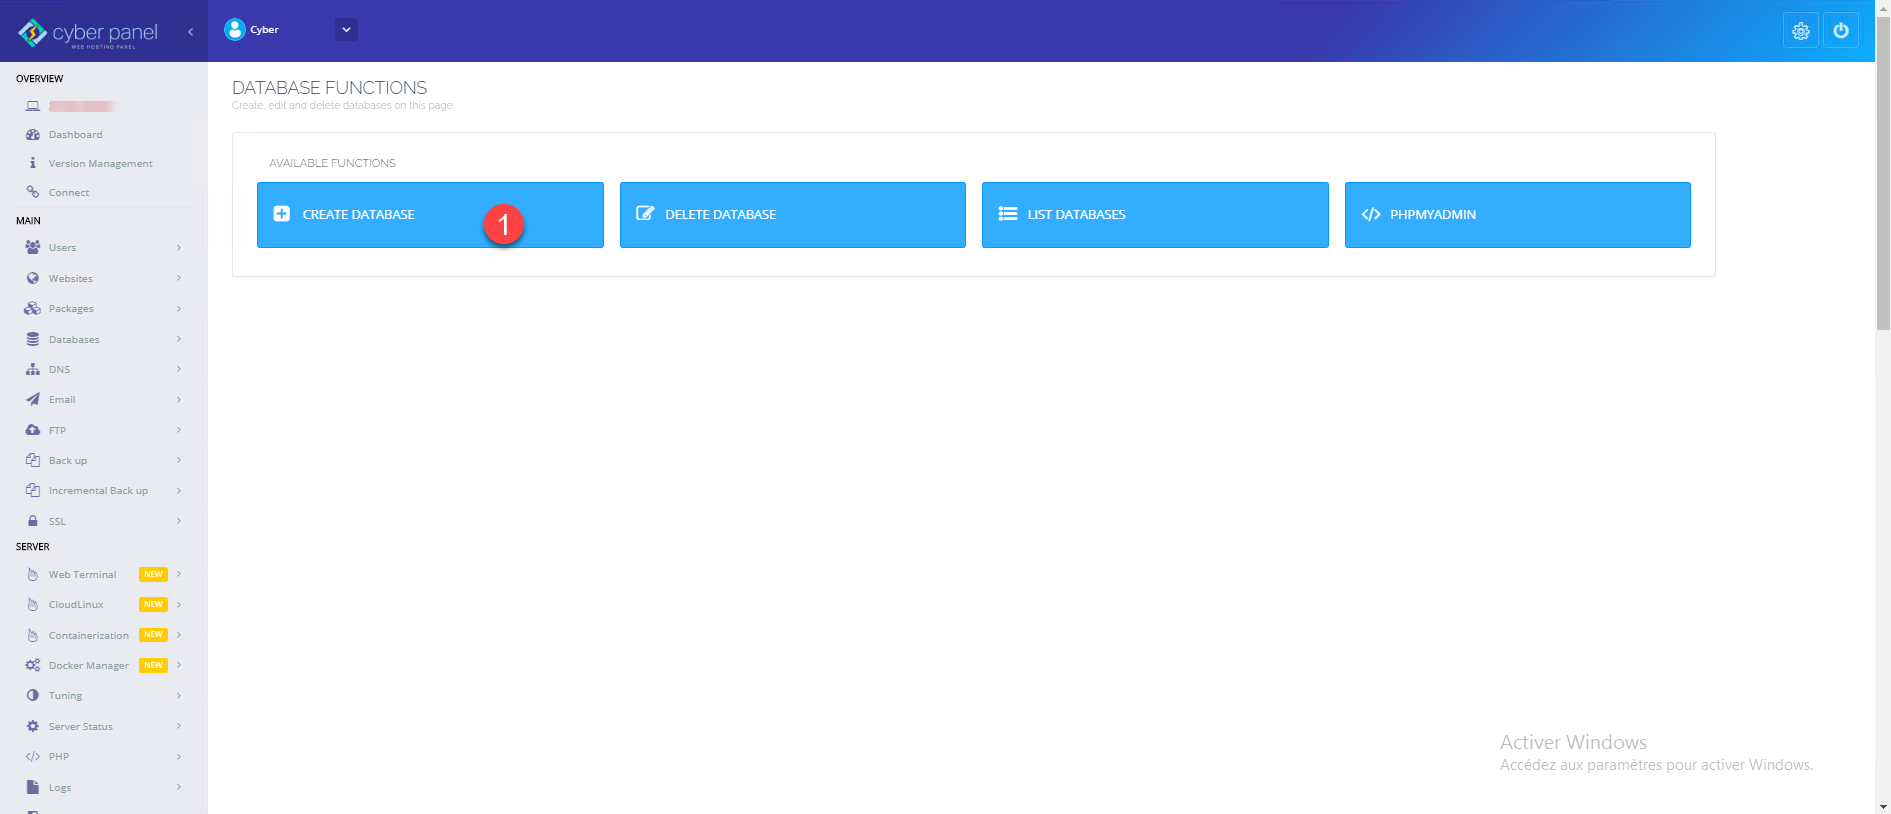
Create a database
Click on CREATE DATABSE 1.
Select the site (hosting) of the database 1.

Enter the suffix of the database 1 and this one of the user 2, then enter the password of the account 3 and click the Create Database 4 button.
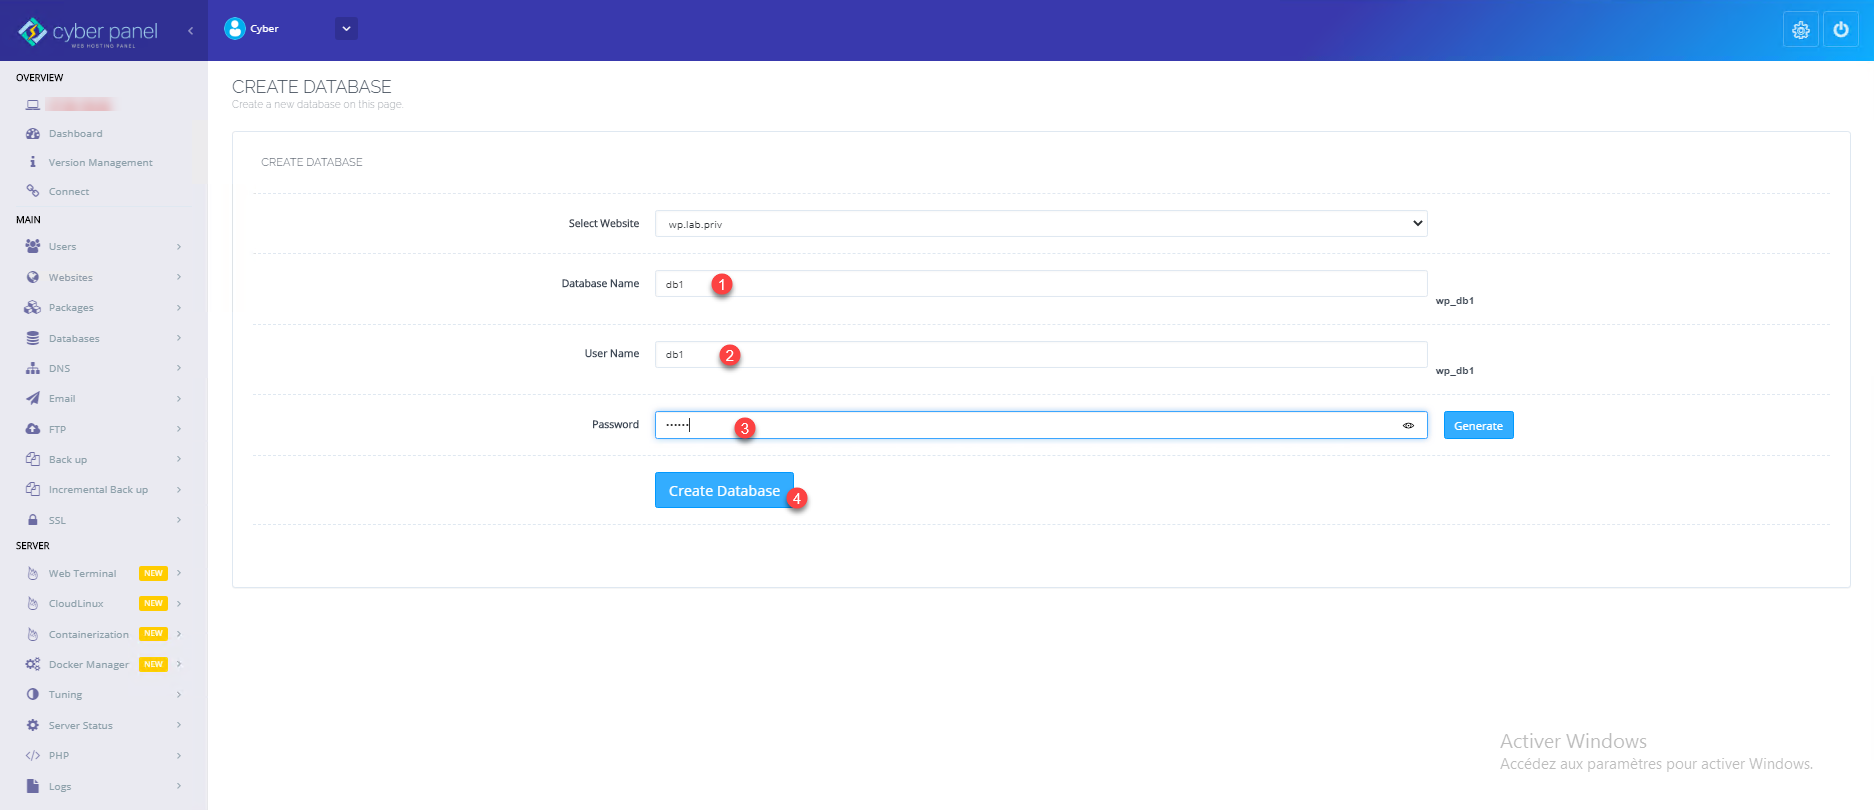
The database and the user are created, a confirmation message is displayed below the form.

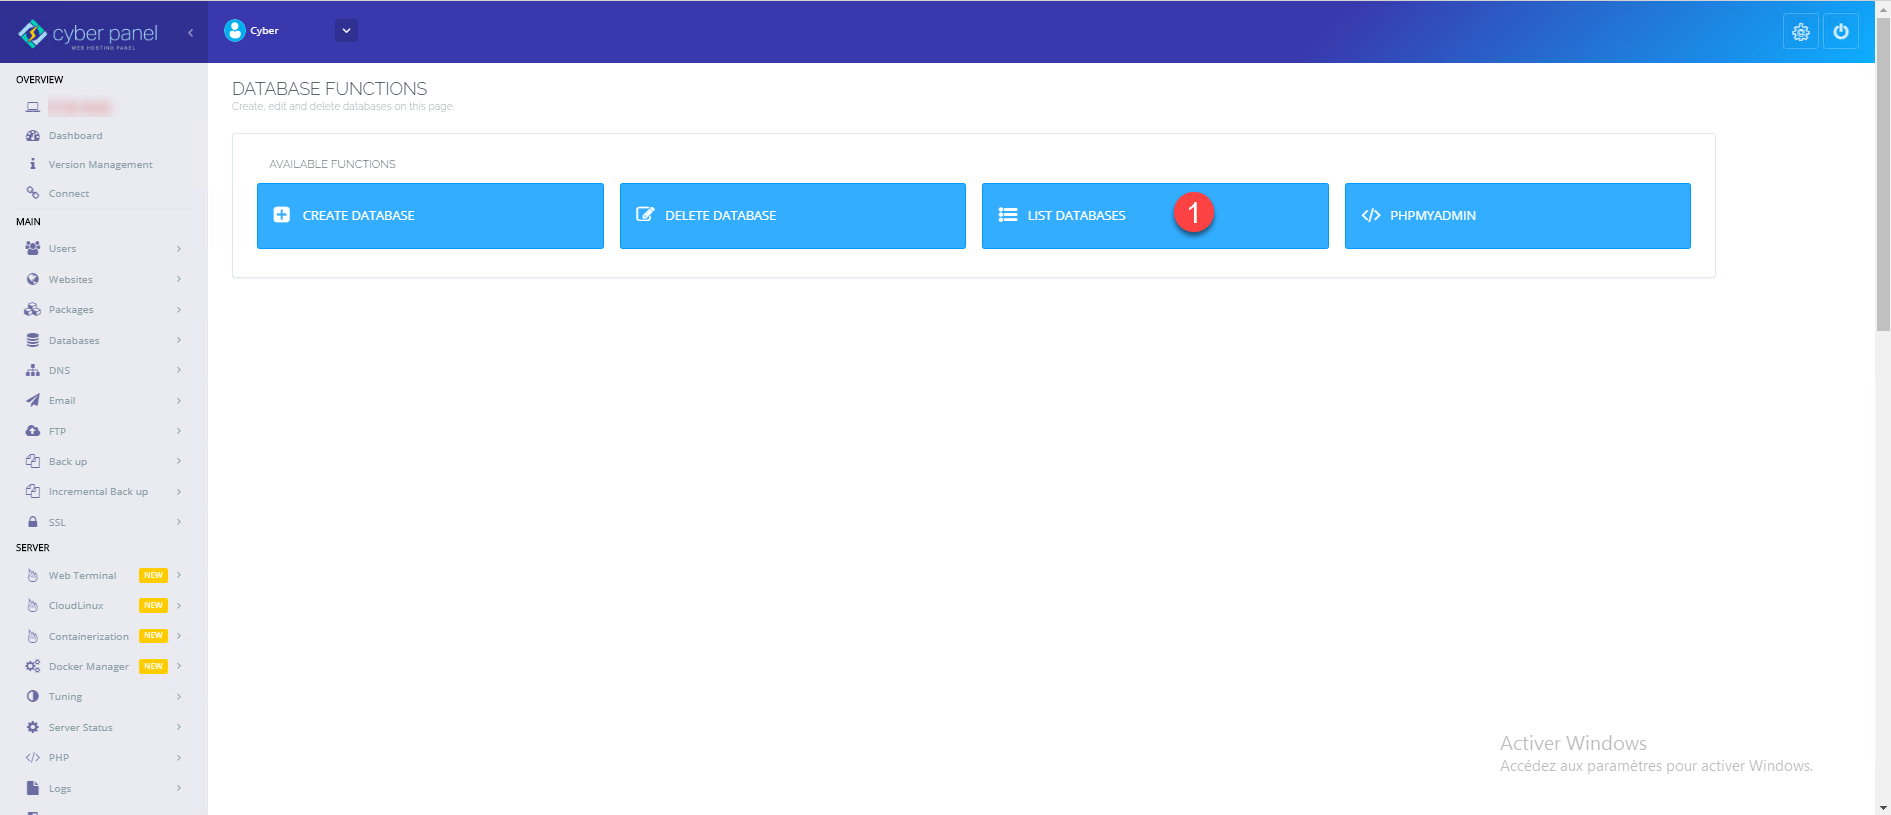
See the databases of an accommodation
To display the databases linked to an account, from the database management, click on LIST DATABASES 1.
Select the account 1.

The list of databases and linked users is displayed, it is possible to modify the account password from this page.

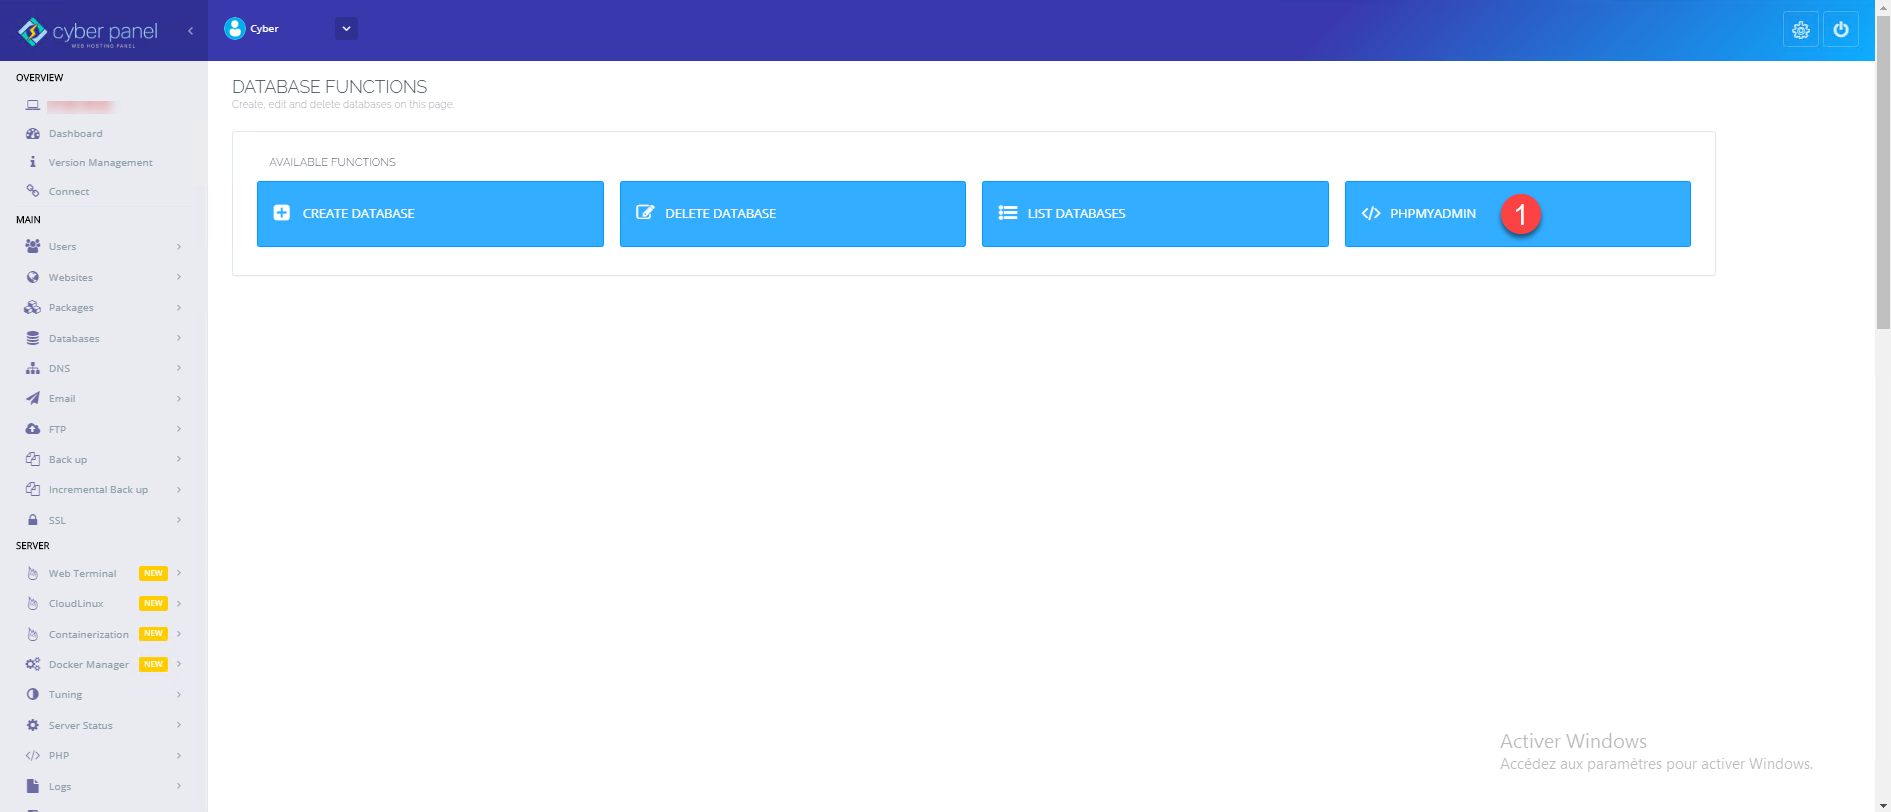
Access PHPMYADMIN to administer the databases
Cyberpanel integrates PHPMYADMIN to administer the databases.
From the database management, click on PHPMYADMIN 1.
Click on the Access Now 1 button to open PHPMYADMIN.
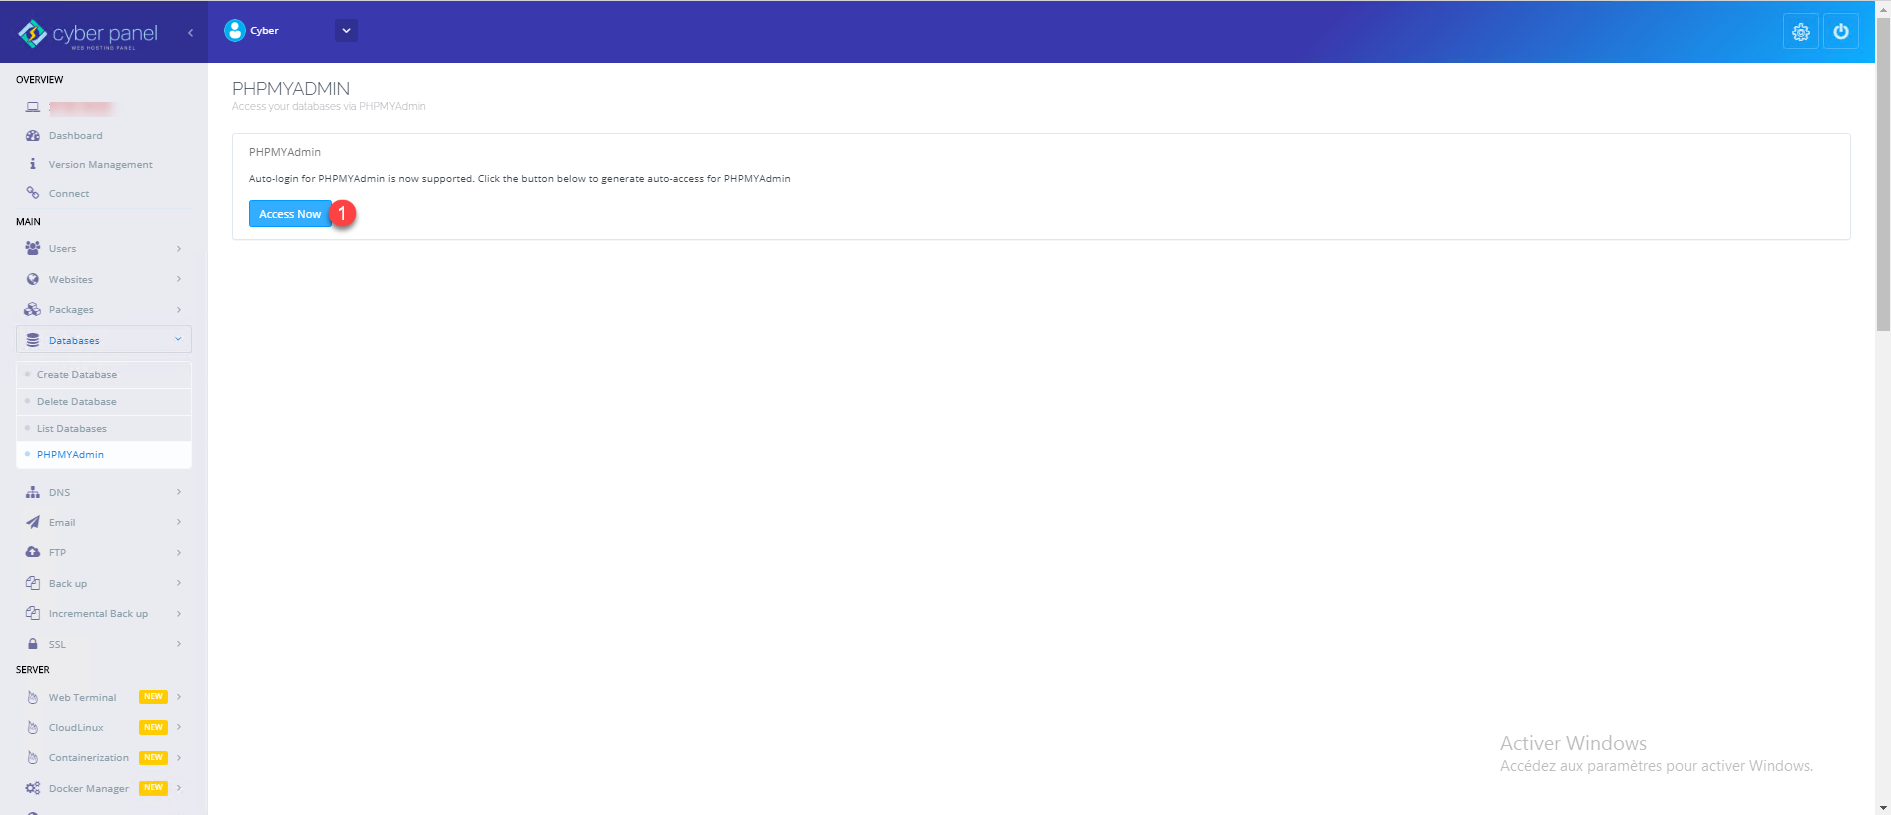
A new page opens on PHPMYADMIN with the possibility of administering the databases of the account.
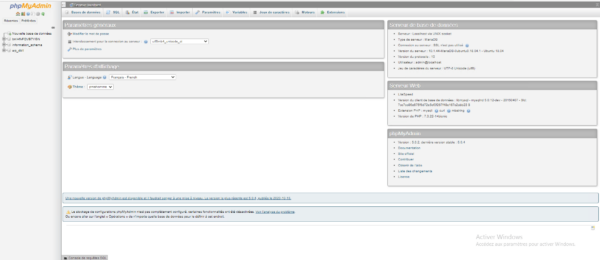
On the capture, you can see that I can access the 2 databases.
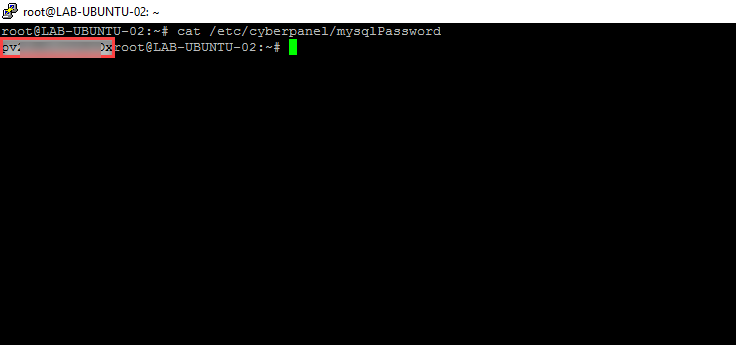
Find MariaDB root password
From an SSH connection enter the following command:
sudo cat /etc/cyberpanel/mysqlPasswordThe password is displayed on the next line.
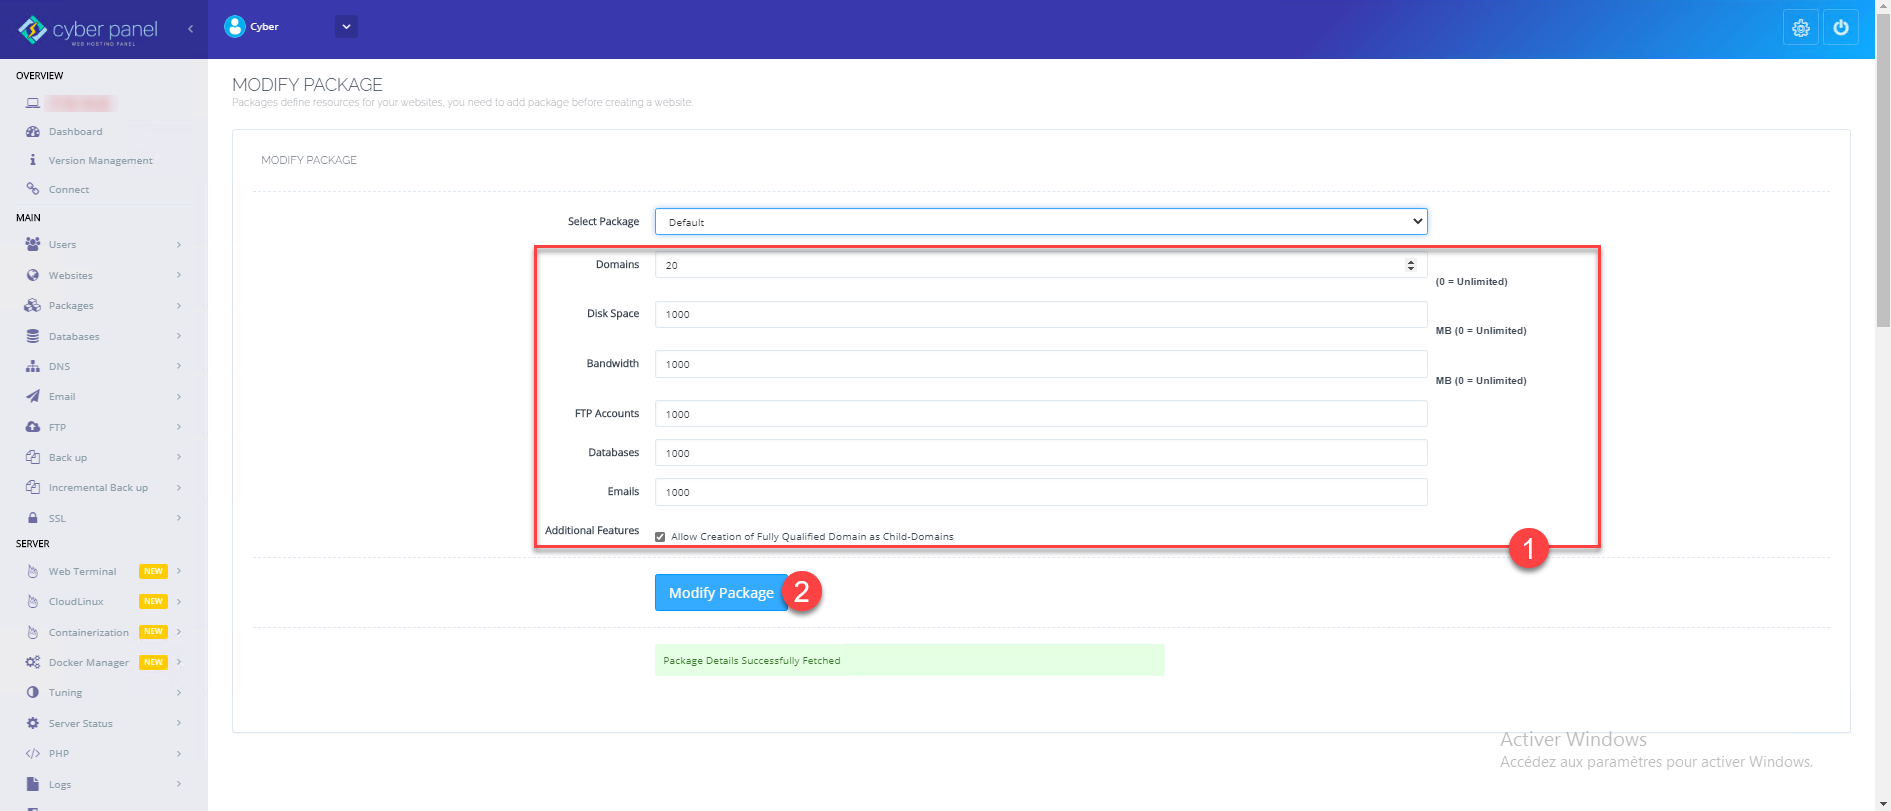
Modify the default package
The package is the configuration of limits related to a hosting account. Within these limits we find:
- Disk space
- Bandwidth
- The number of domains
- …
It is also possible to create other package according to the needs
From the dashboard, click on PACKAGES 1.

Click on MODIFY PACKAGE 1.

Select the package, here Default 1.

Adjust the limits according to 1 of the desired configuration and click on Modify Package 2.
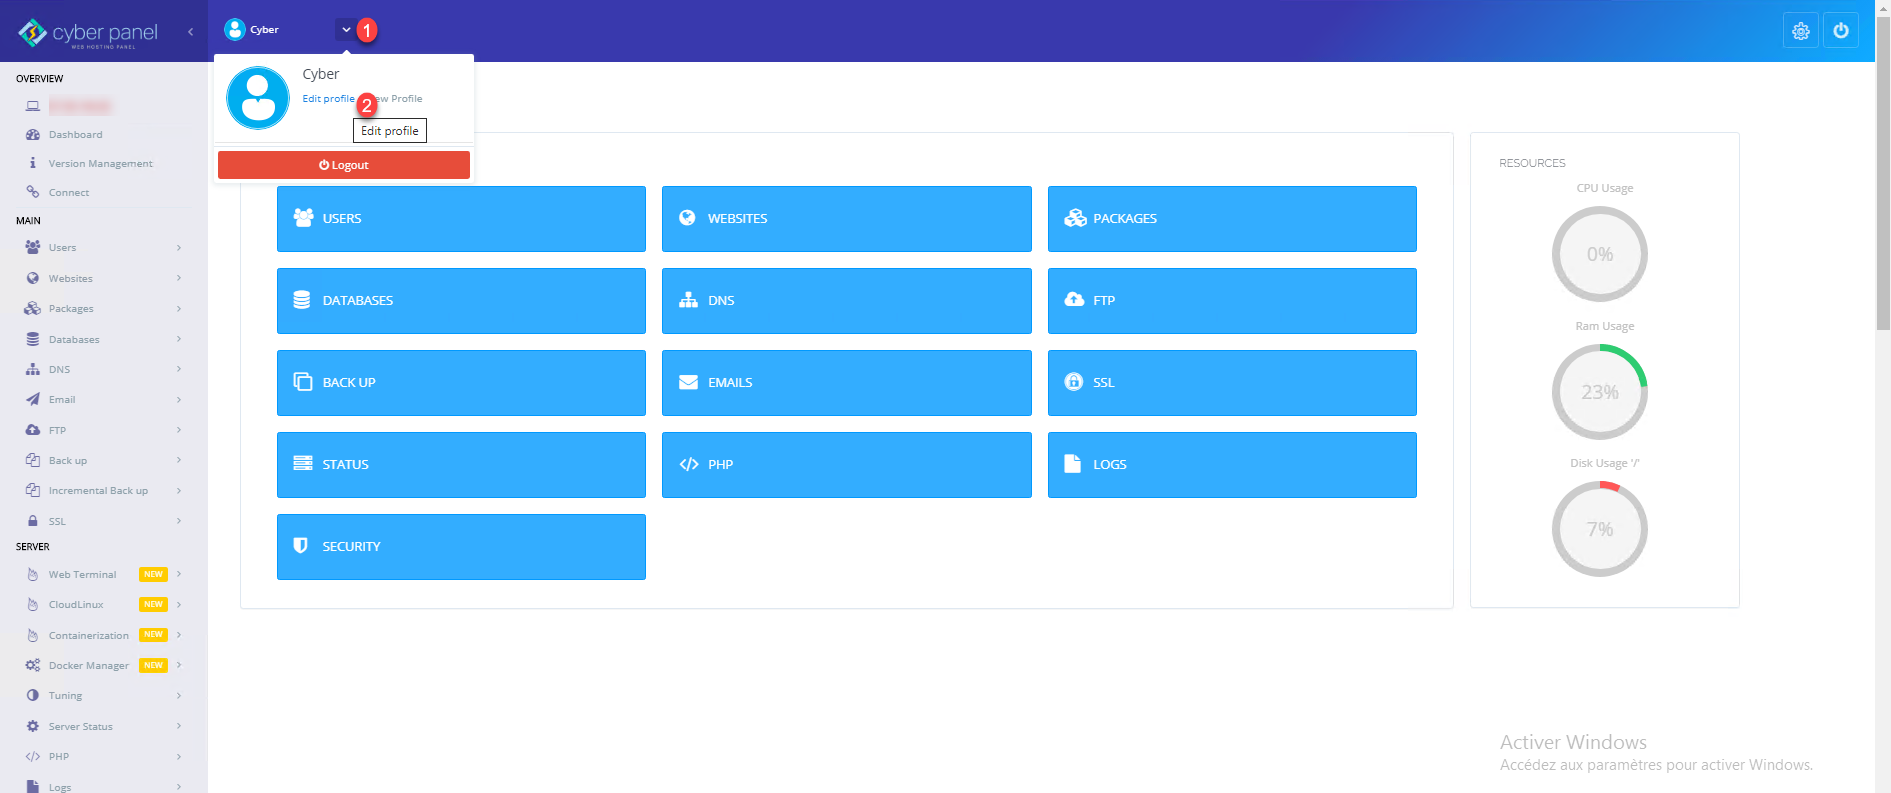
Change the password for the admin account
Click on the up arrow 1 at the name level and click on Edit profile 2.
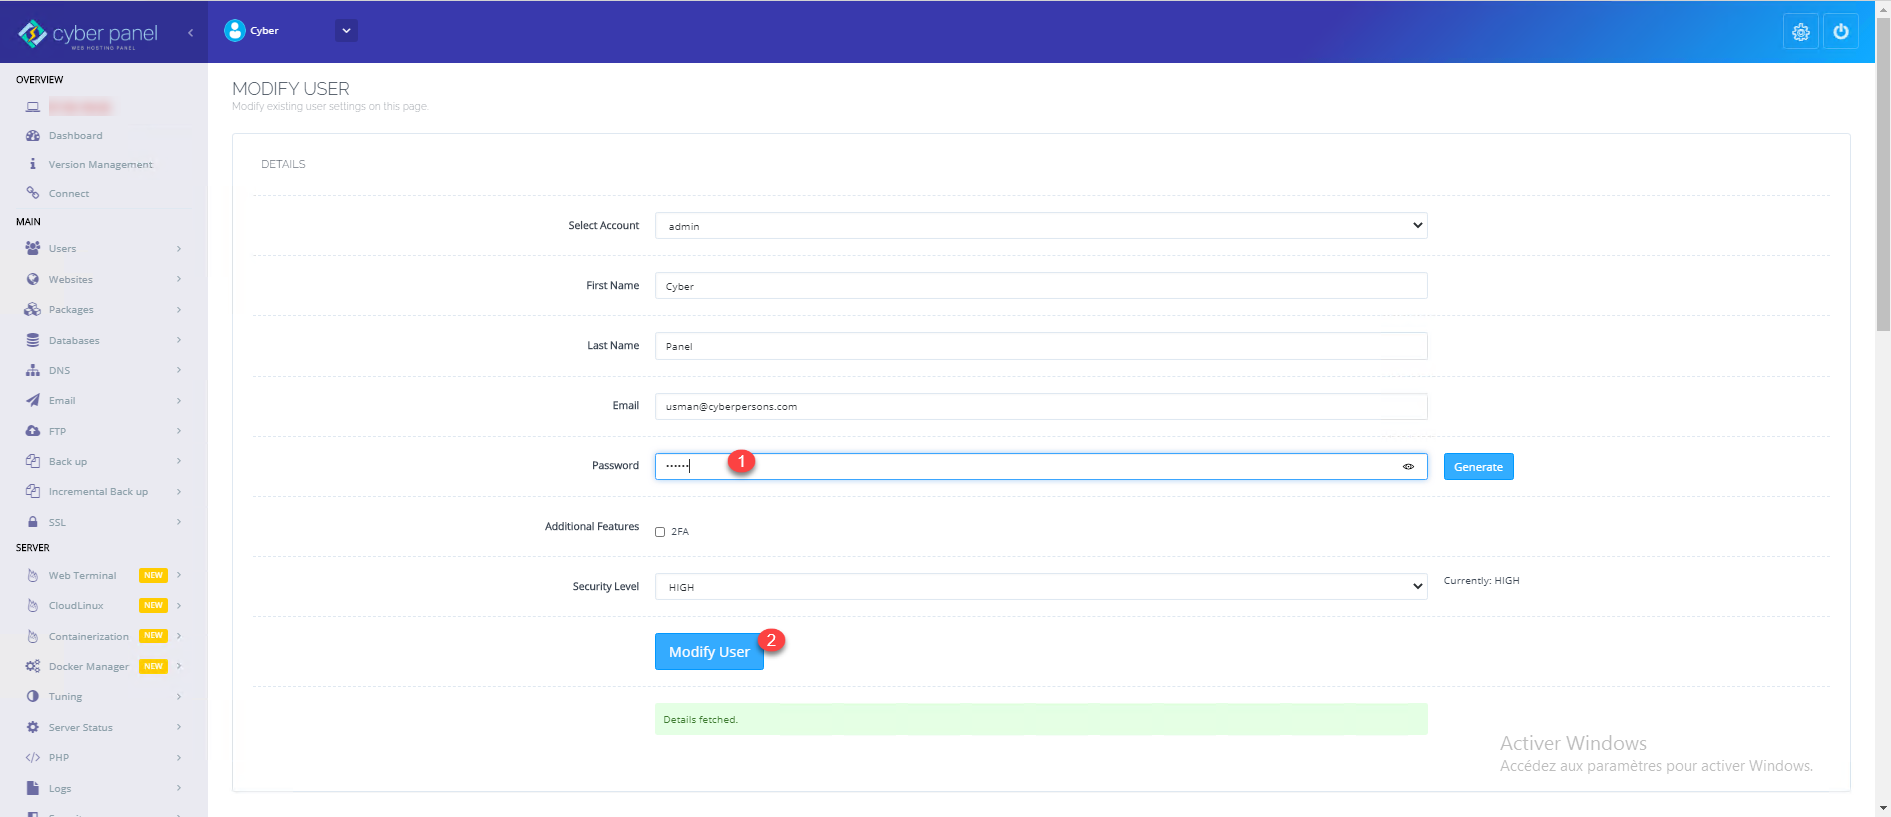
Select the admin account 1.

Select the admin account 1.
Configure and access the administration of (Open) LiteSpeed
A second administration area is available, which is linked to the LiteSpeed (Open) Web server.
It allows to configure LiteSpeed server and vhosts with more options.
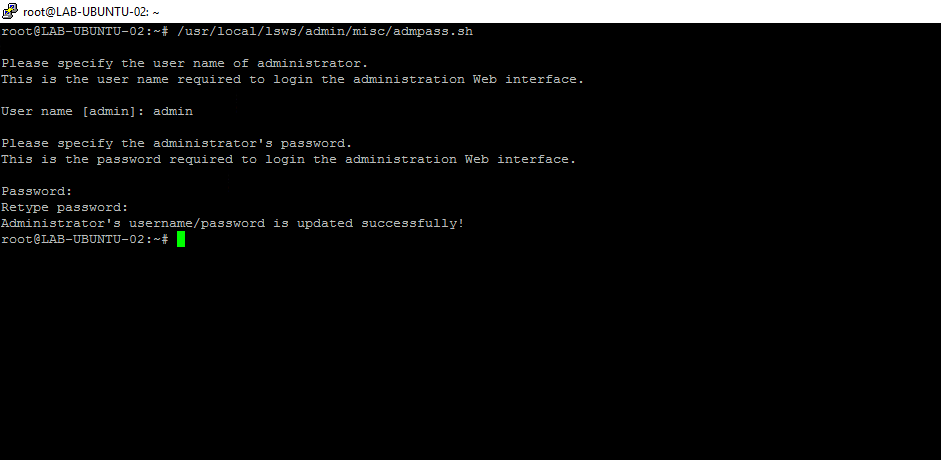
Configure the administration account
You must first configure the password for the admin account.
In SSH enter the command below to launch the script:
sudo /usr/local/lsws/admin/misc/admpass.shEnter the username of the admin account (by default admin) and the password twice.
Authorize access in the firewall
Cyberpanel integrates a firewall to increase the security level of the server, it is necessary to authorize access to port 7080.
From the Cyberpanel dashboard, click on SECURITY 1.

Click on FIREWALL 1.
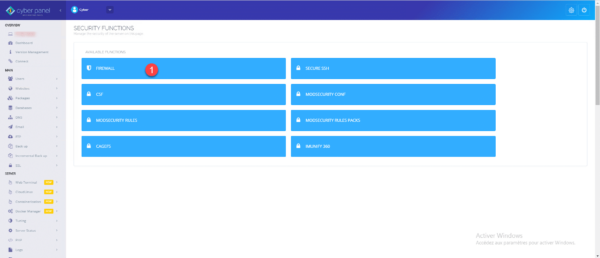
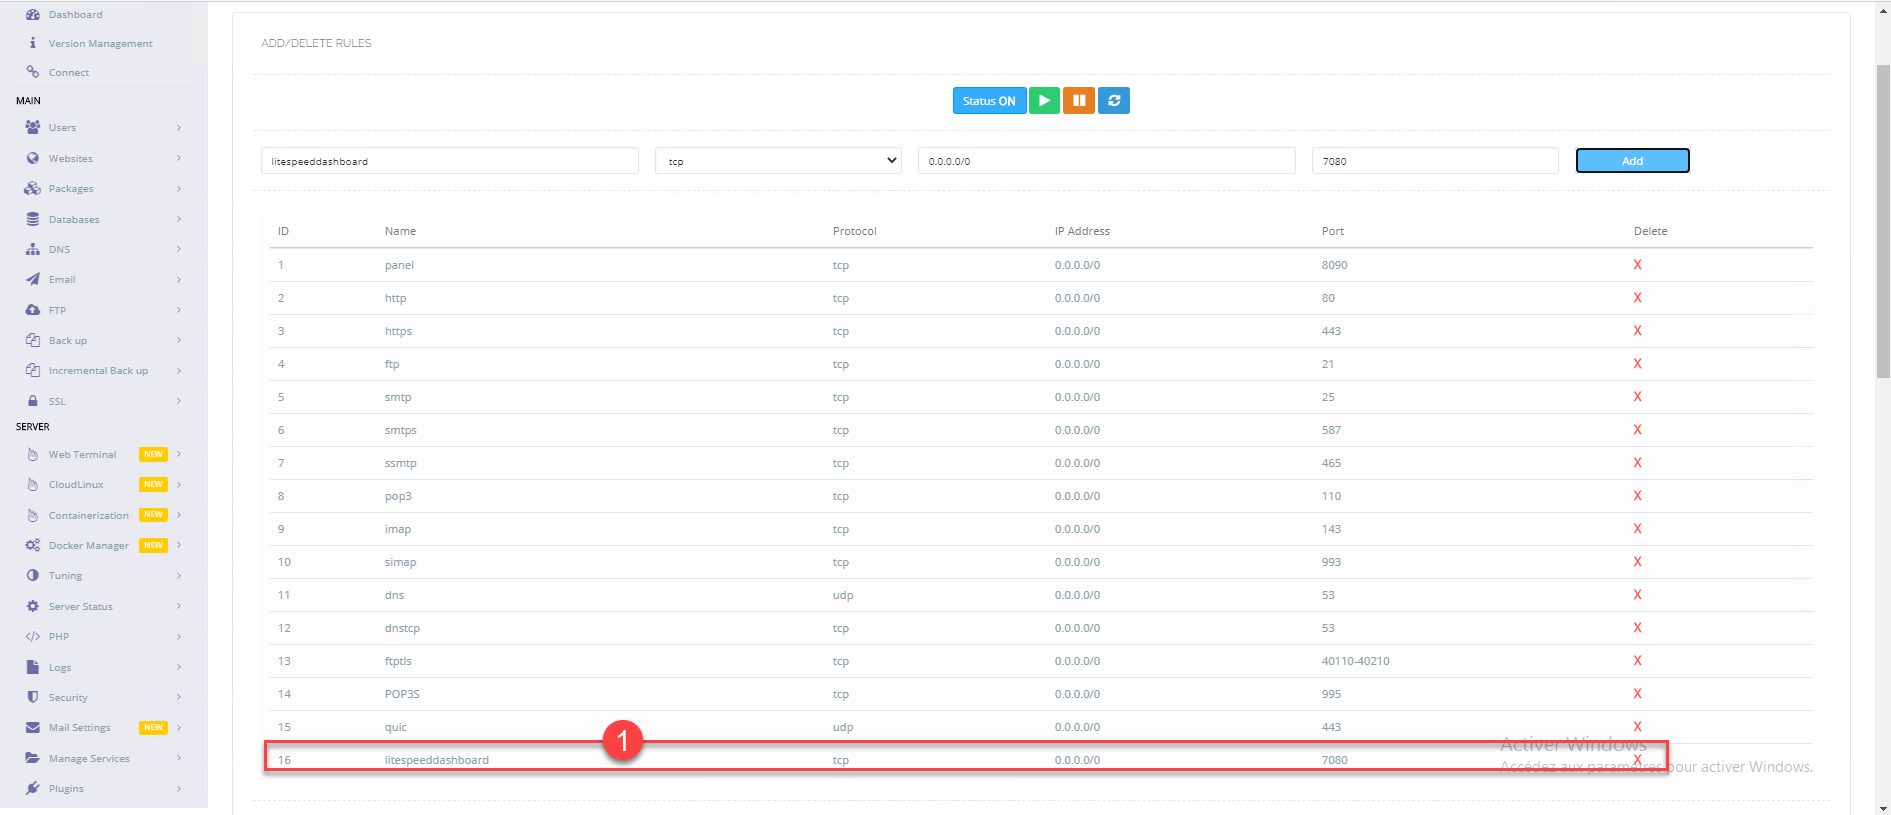
The list of rules is displayed, to create a rule you must complete the form above the table. Name the rule 1, select the TCP protocol 2, enter the address 0.0.0.0/0 3 to authorize all the IPs then enter the port 7080 4 and click on Add 5 to save the new rule in the firewall.

The rule is added 1, it is at the bottom of the table.
Access the LiteSpeed interface (Open)
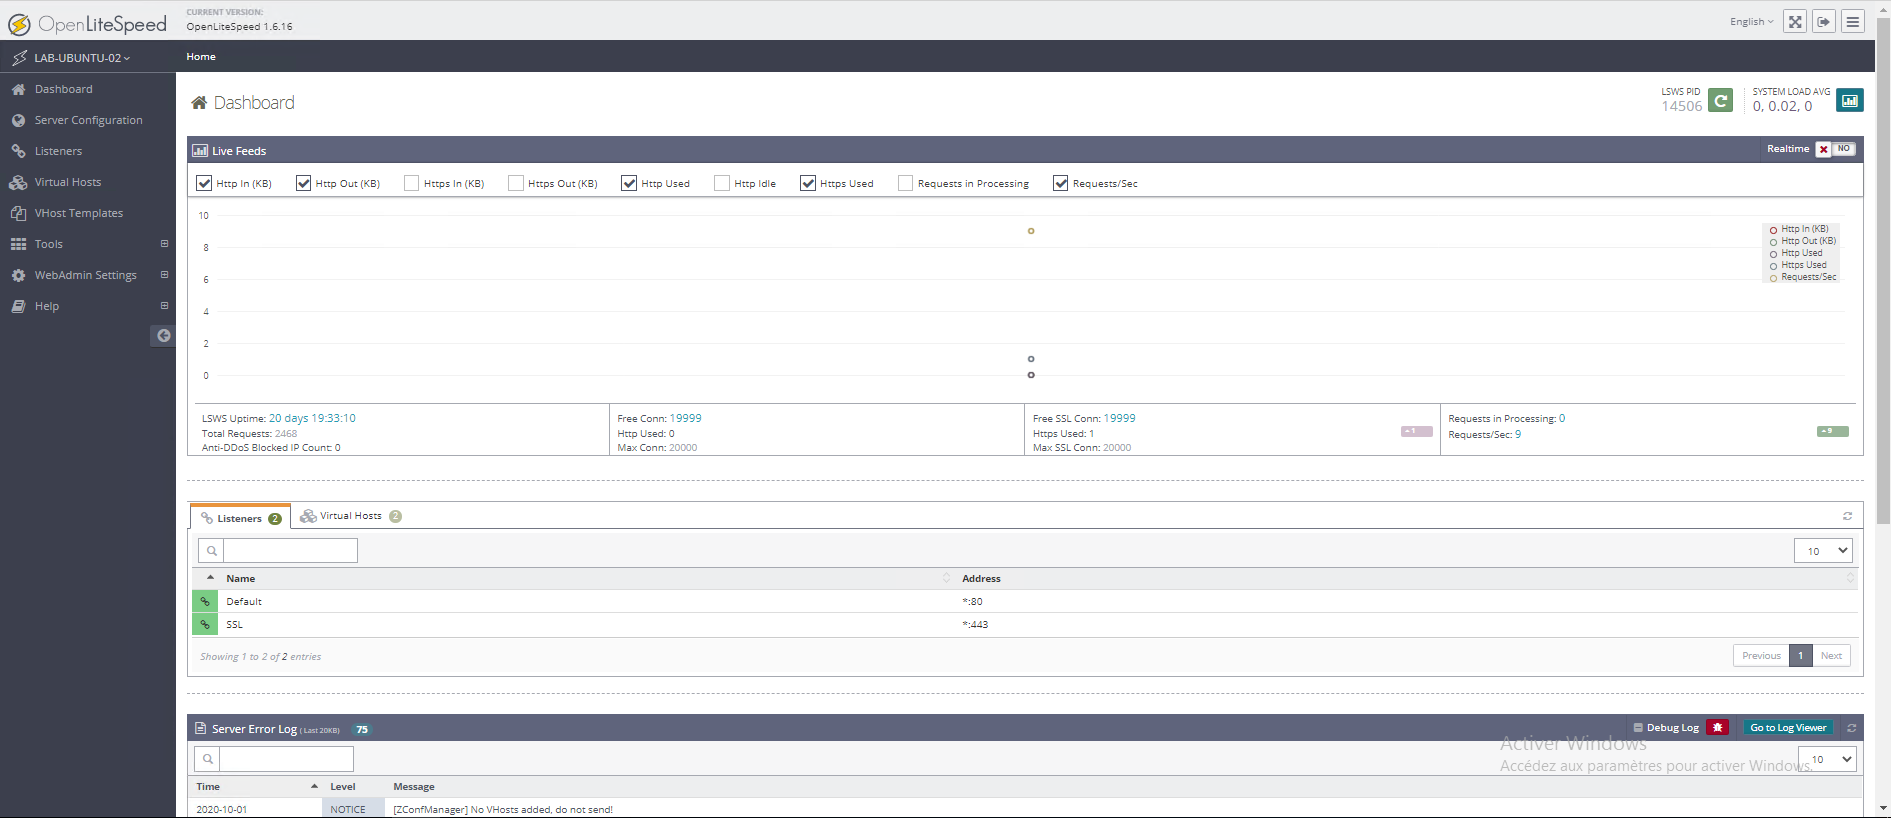
From an Internet browser, go to the address https: // ip_server: 7080. enter the user name 1, password 2 configured and click on Login 3.

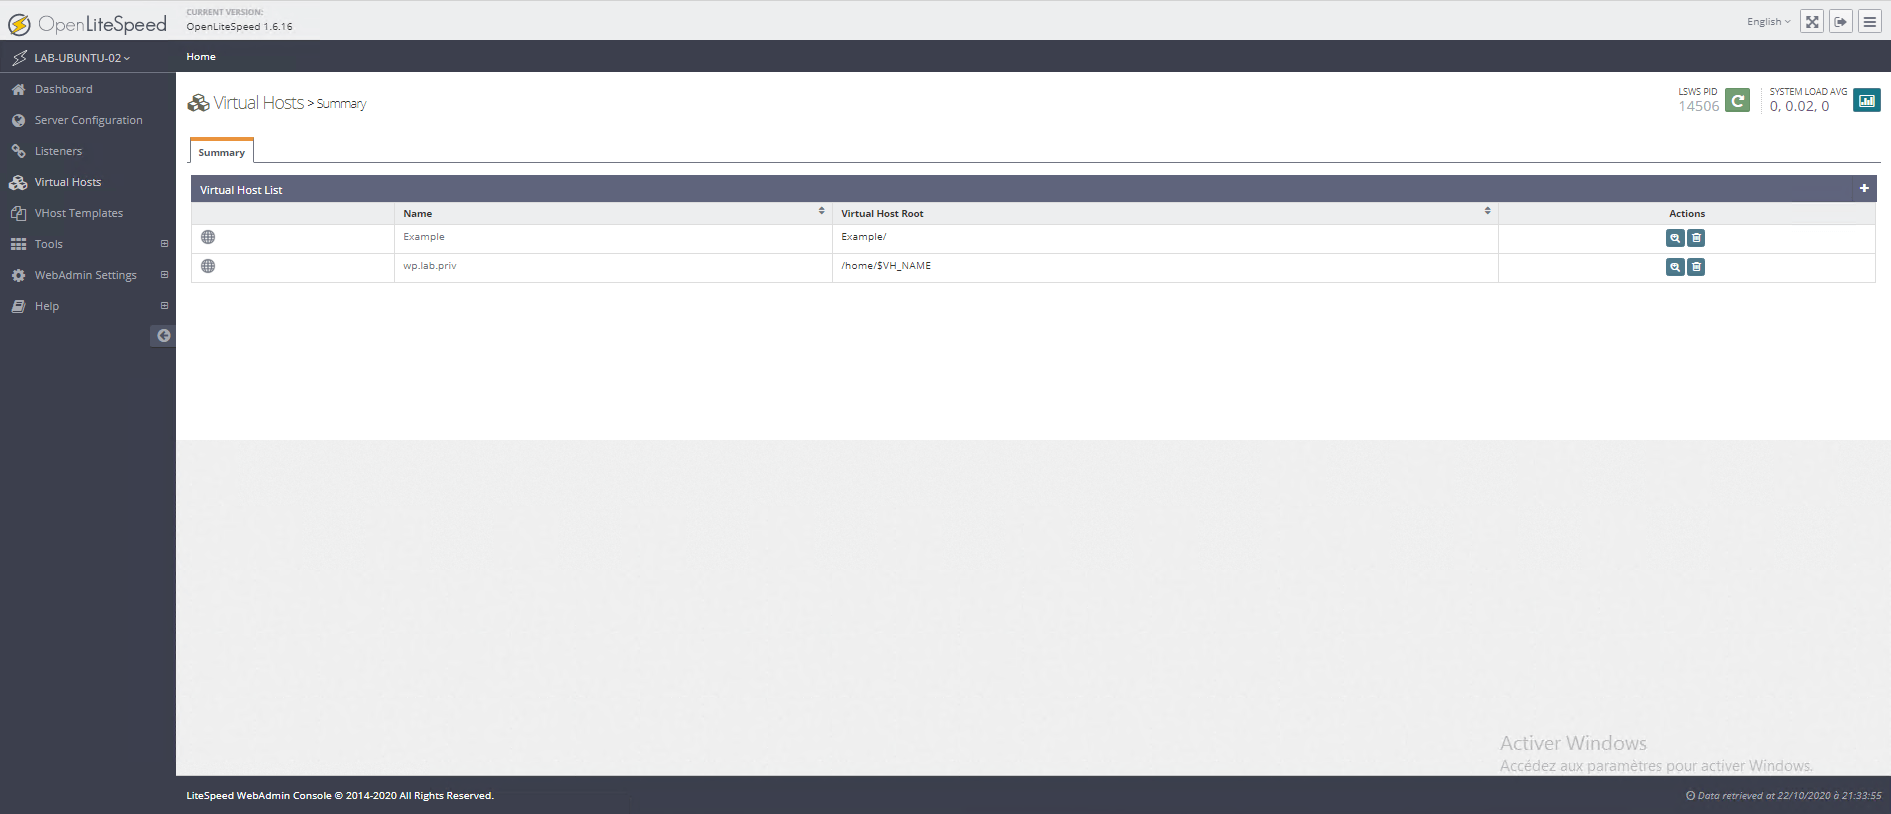
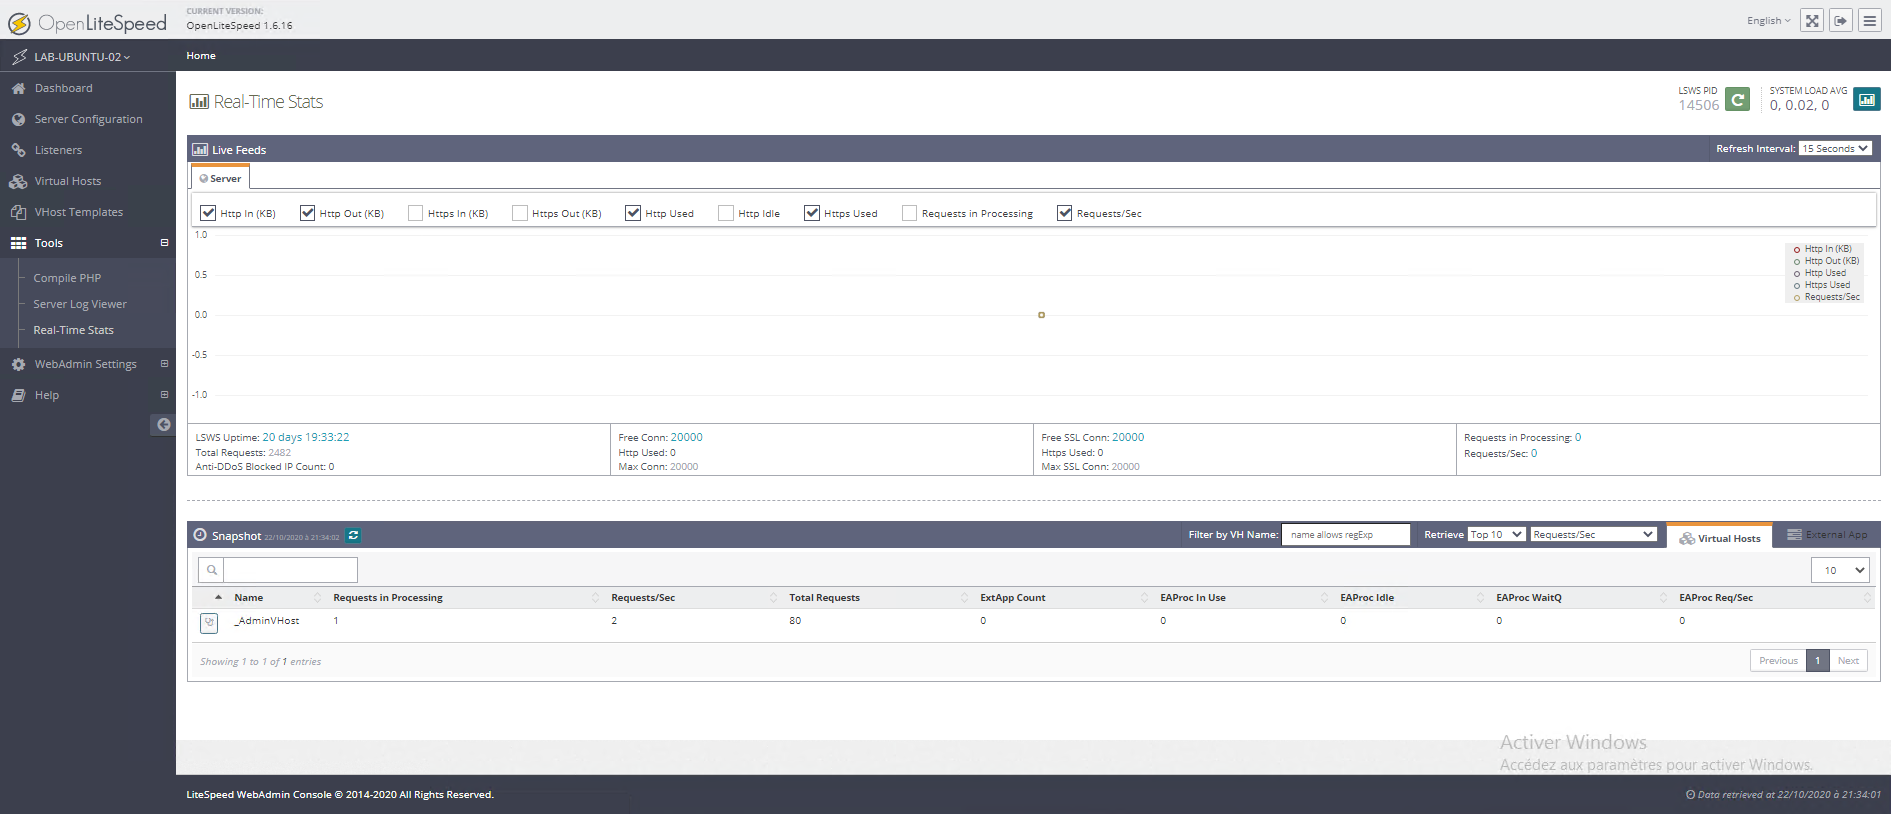
You arrive on the administration interface of the LiteSpeed Web server (Open):
Conclusion
This tutorial ends here, you should have all the information you need to familiarize yourself with Cyberpanel.
Personally, the discovery of Cyberpanel was for me a very good surprise because it allows to set up a complete Web server very easily and manageable with a graphical interface. The use of (Open) LiteSpeed engine also makes it very efficient.
I
