In this tutorial, I will explain how to install and configure the WP Rocket plugin on WordPress.
Sommaire
Introducing WP Rocket
WP Rocket is a paid plugin for WordPress which allows you to set up a caching and optimization system for the WordPress CMS.
The plugin is developed by the company SAS WP MEDIA which is a French company based in Lyon. The company has also developed another online image optimization plugin / service for WordPress under the name Imagify which also helps in the optimization of WordPress sites by compressing images to increase loading speed.
Back to WP Rocket which is the subject of the tutorial, I would say that the word that best describes the plugin is simplicity, something that we will see in the configuration later.
In terms of functionality we find the basic of what most available cache plugins offer such as W3 TOTAL CACHE or WP Fastest Cache, that is to say:
- Caching of pages by saving pages in html and gzip on the site.
- CSS optimization with Minification / Concatenation.
- Optimization of the JS with Minification / Concatenation and deferred loading.
- Lazyload of images which allows to load images for display (natively supported now in WordPress).
I believe that we have made more or less the tour of the main functionalities of the plugin.
Just for your information, I used this plugin for a year and a half on the rdr-it.com site.
We will now talk about the price, WP-ROCKET is available from $ 49 for a site, at this price you will also be entitled to a year of updates and support. It is sold as an annual subscription like most plugins.
Installing WP Rocket
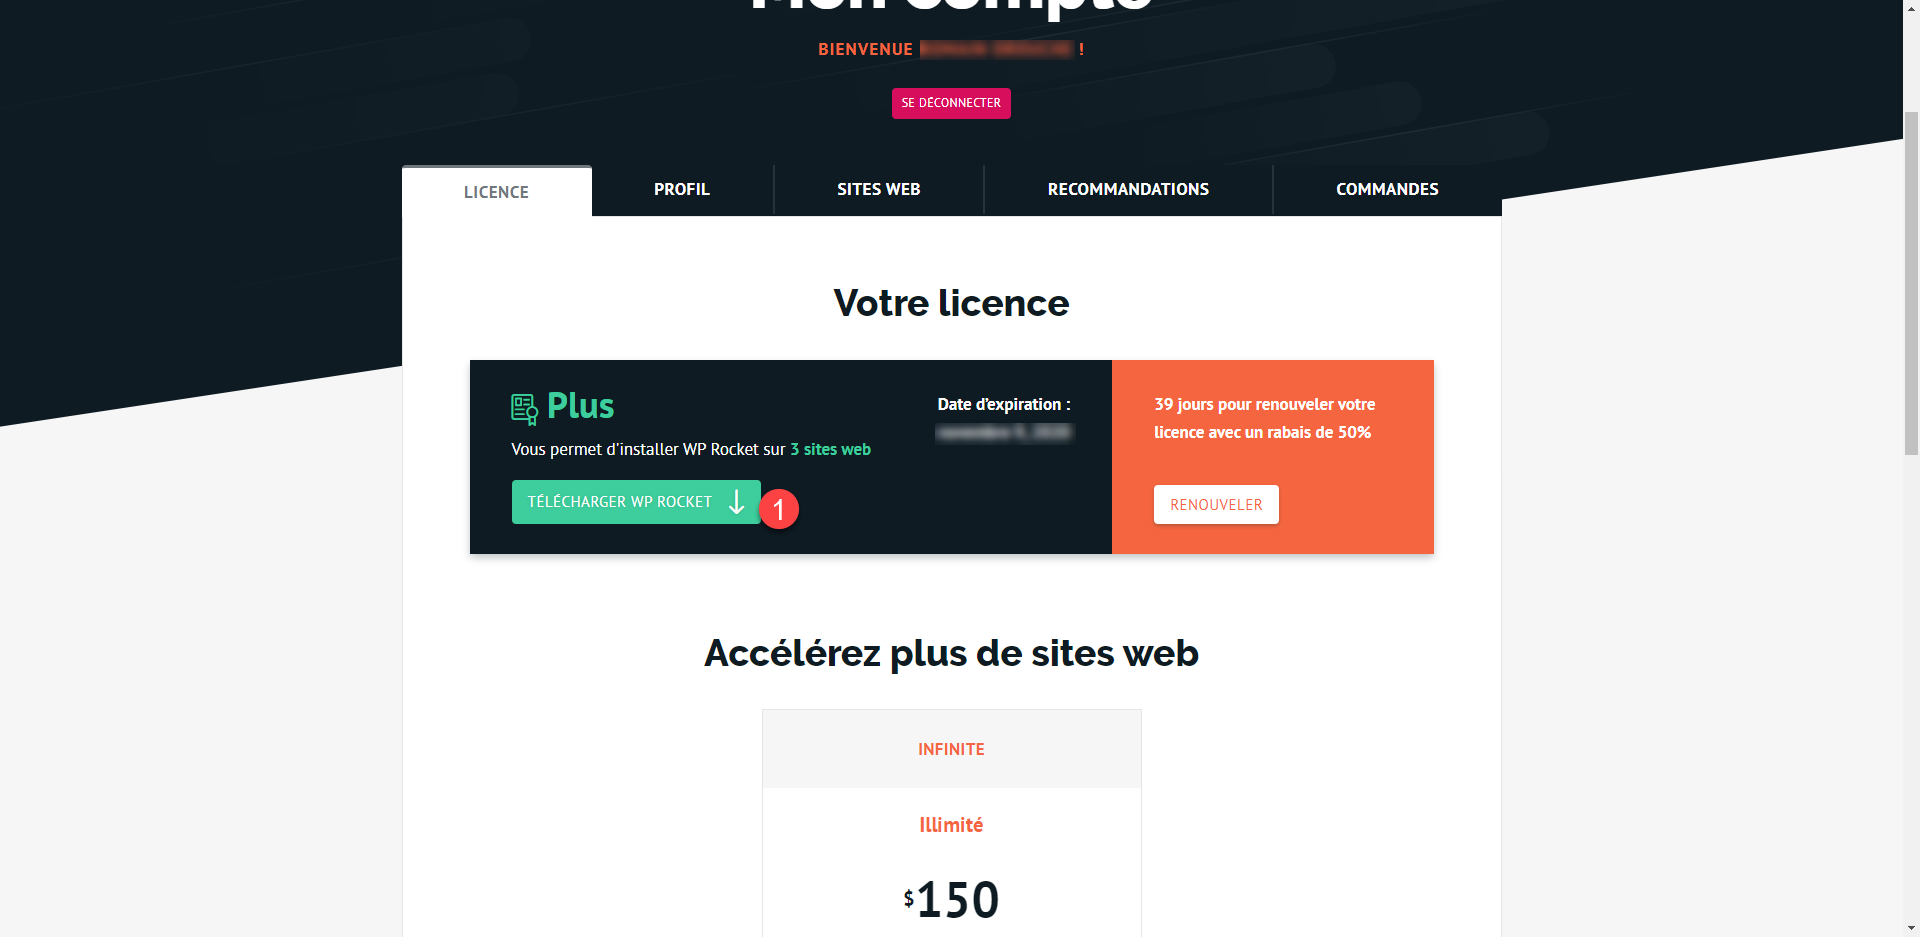
After making your purchase, you must download it from the site, it is not available through the WordPress interface.
On your account interface, click on the DOWNLOAD WP ROCKET 1 button.
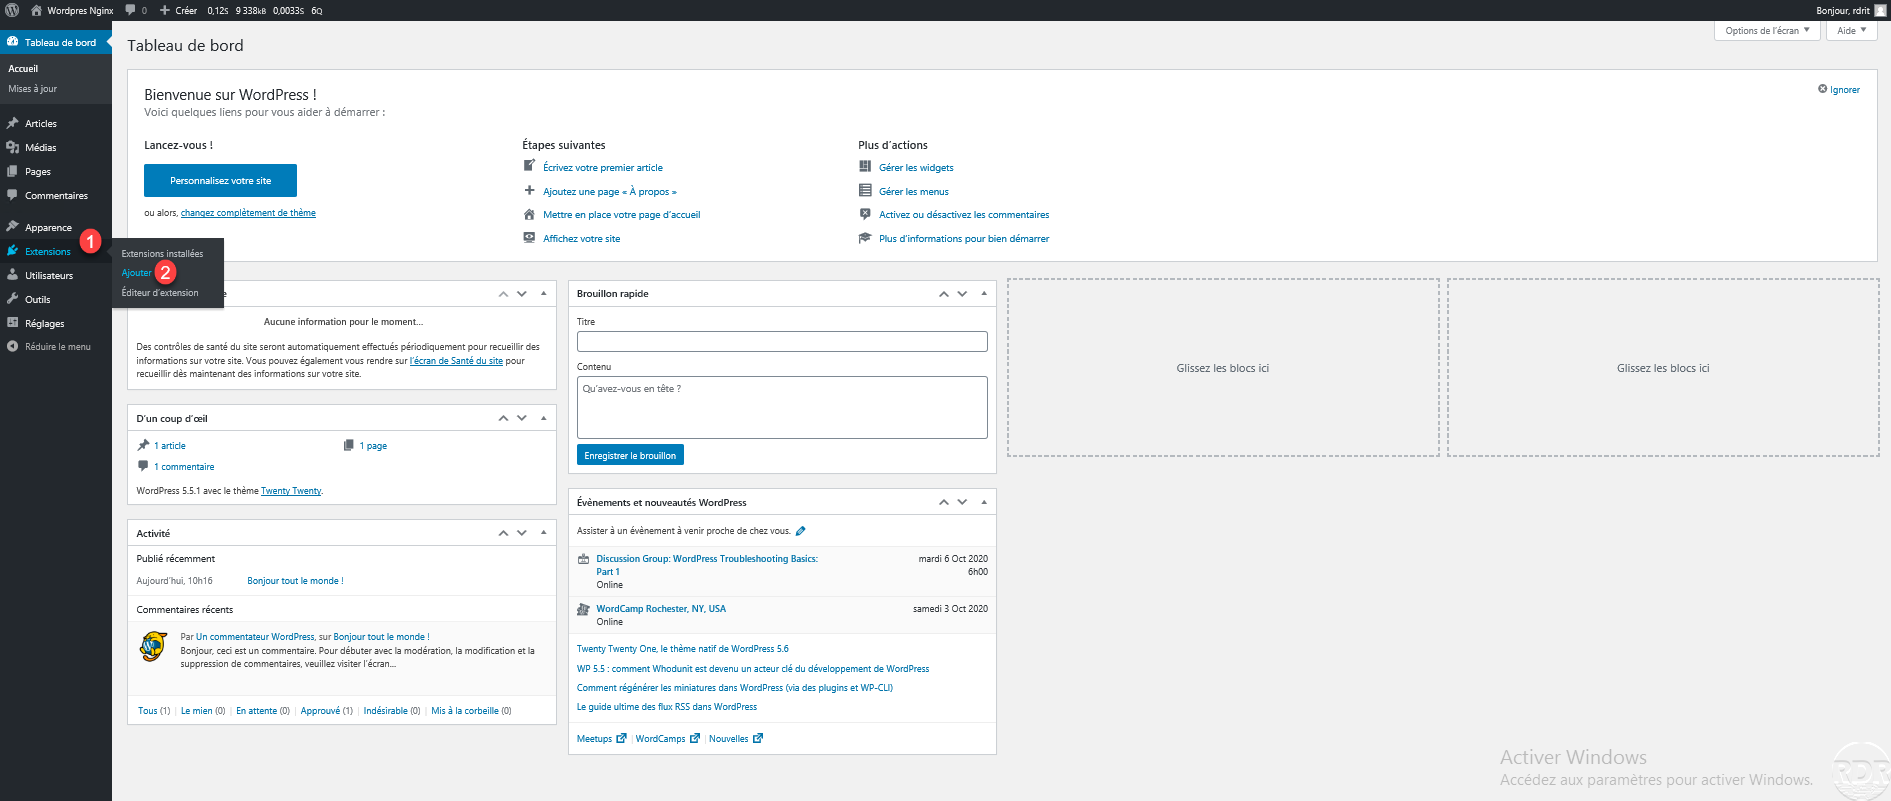
Once the archive has been downloaded, go to the administration interface of your WordPress site, in the menu go to Extensions 1 and click on the Add button 2.
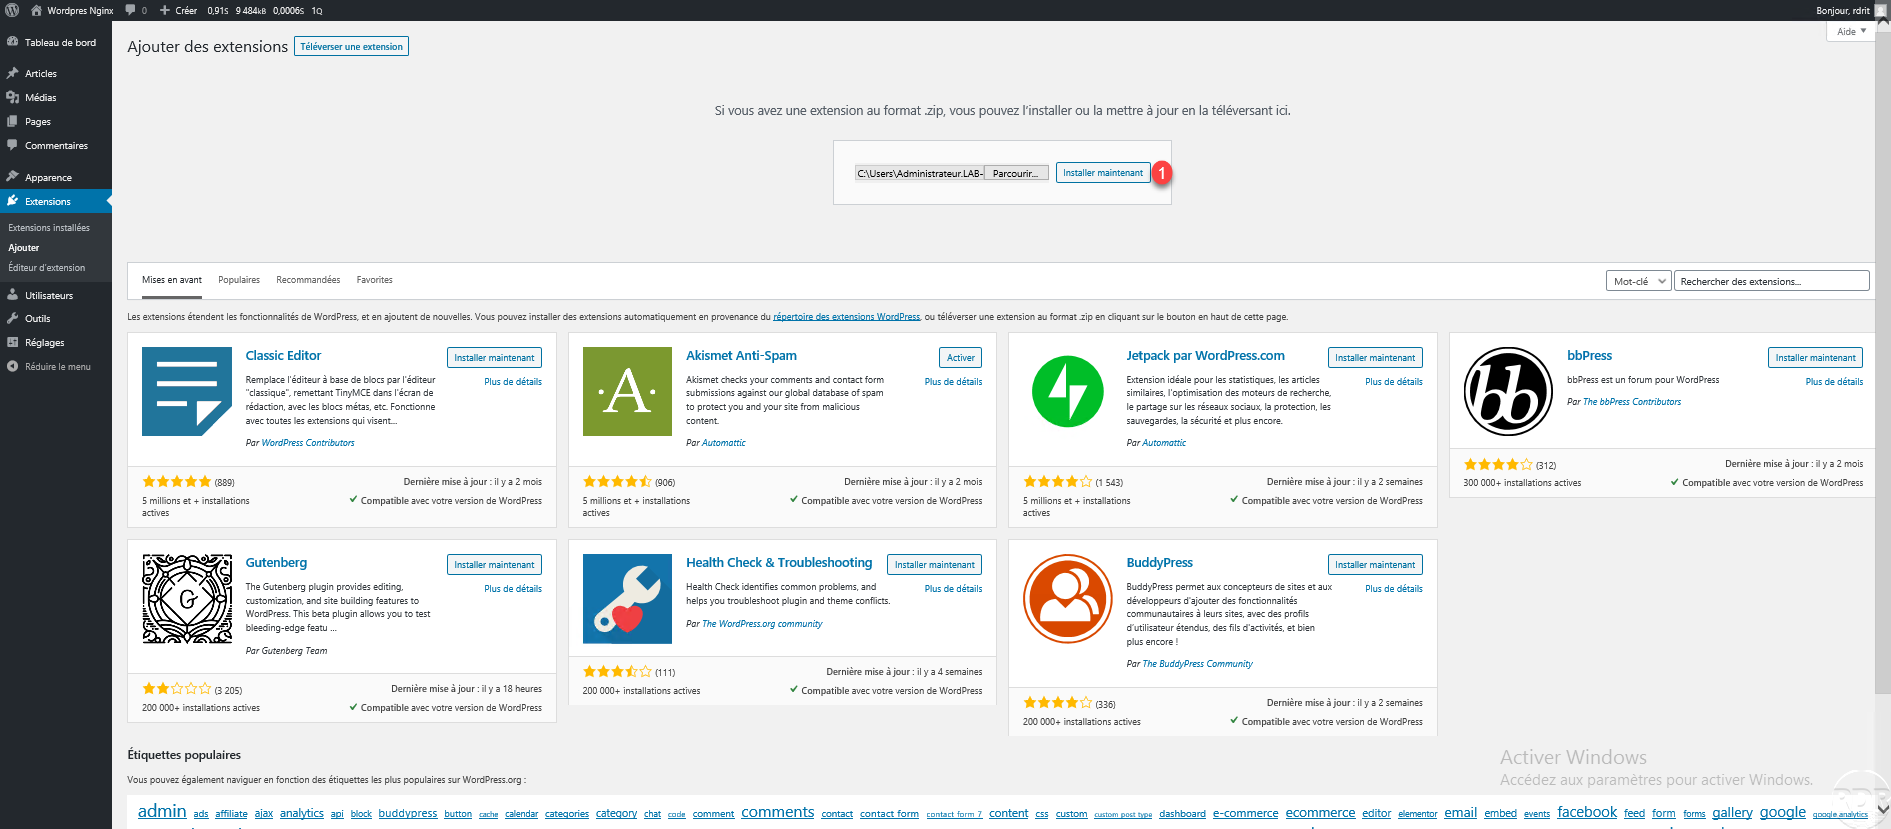
Click on the Upload extension 1 button.

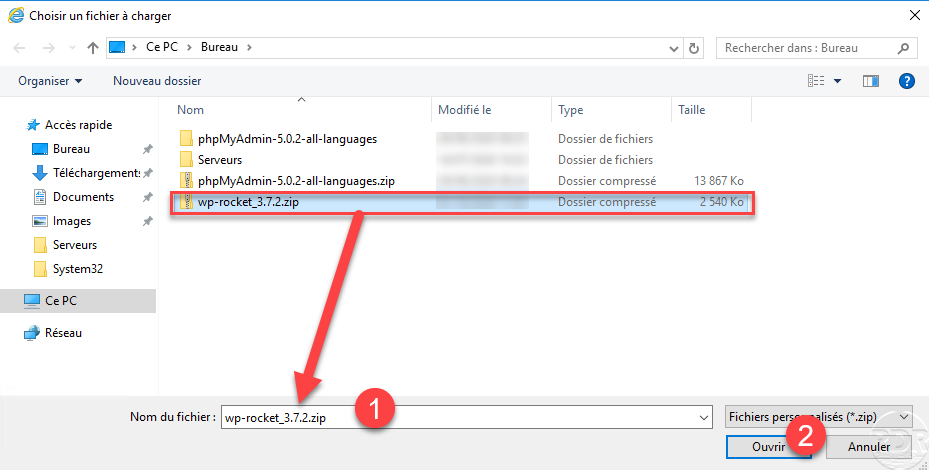
Click the Browse … 1 button.

Go to find the download archive, select 1 and click on Open 2.
Once you have selected the plugin archive, click on Install now 1.
Once the installation is complete, click on Activate extension 1.
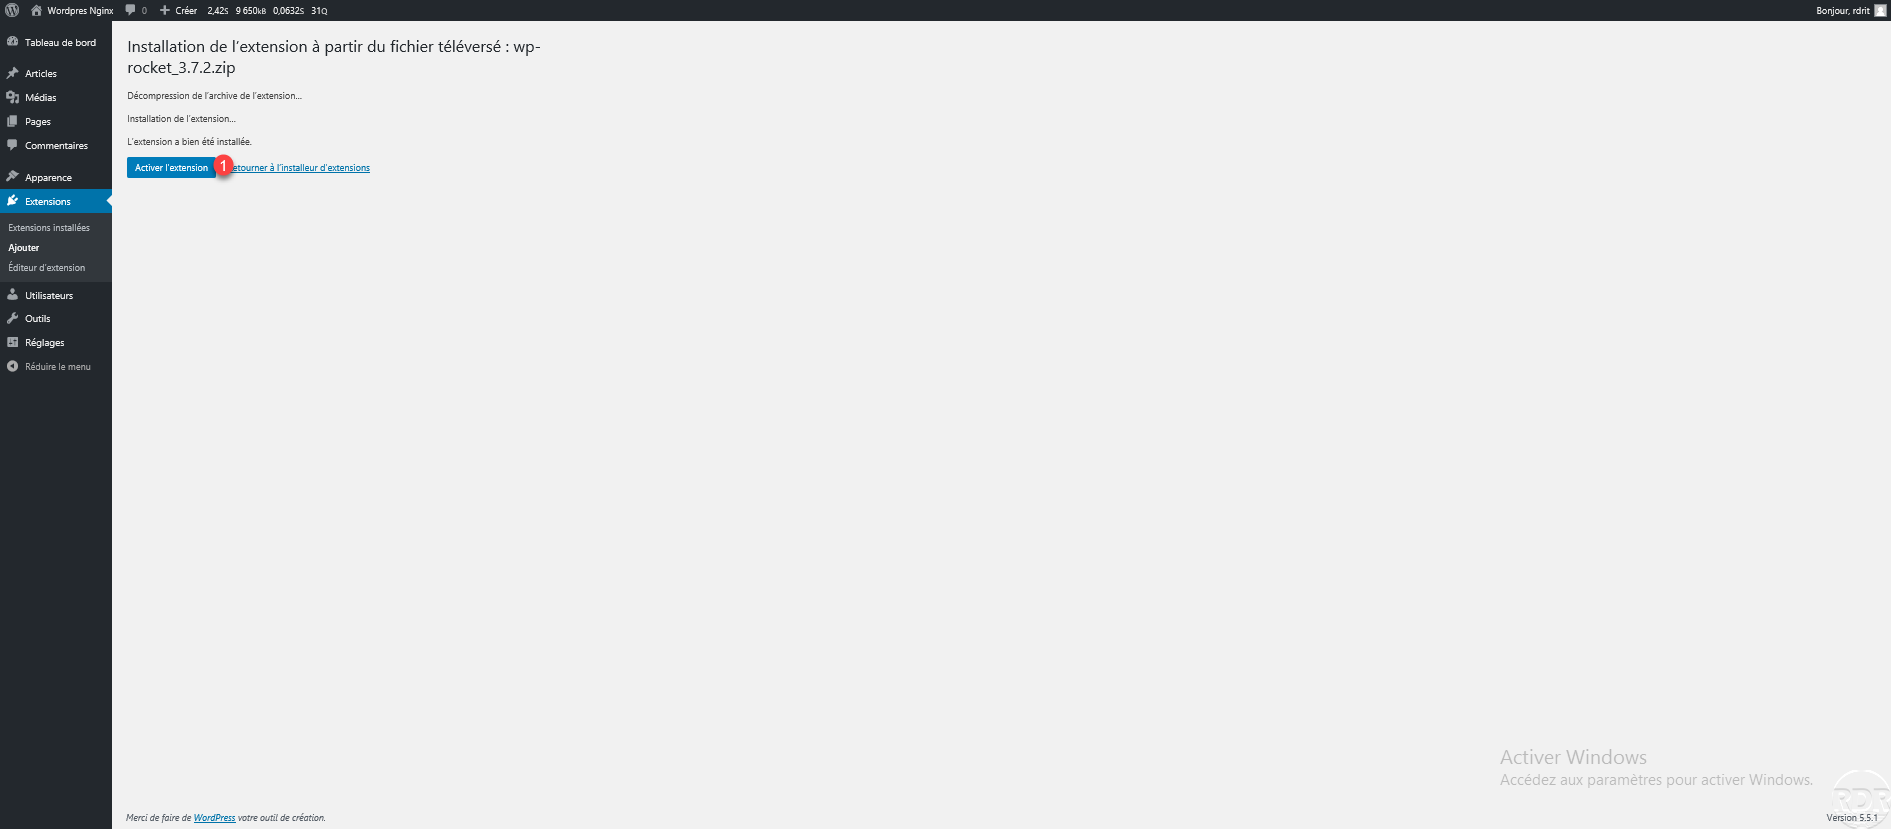
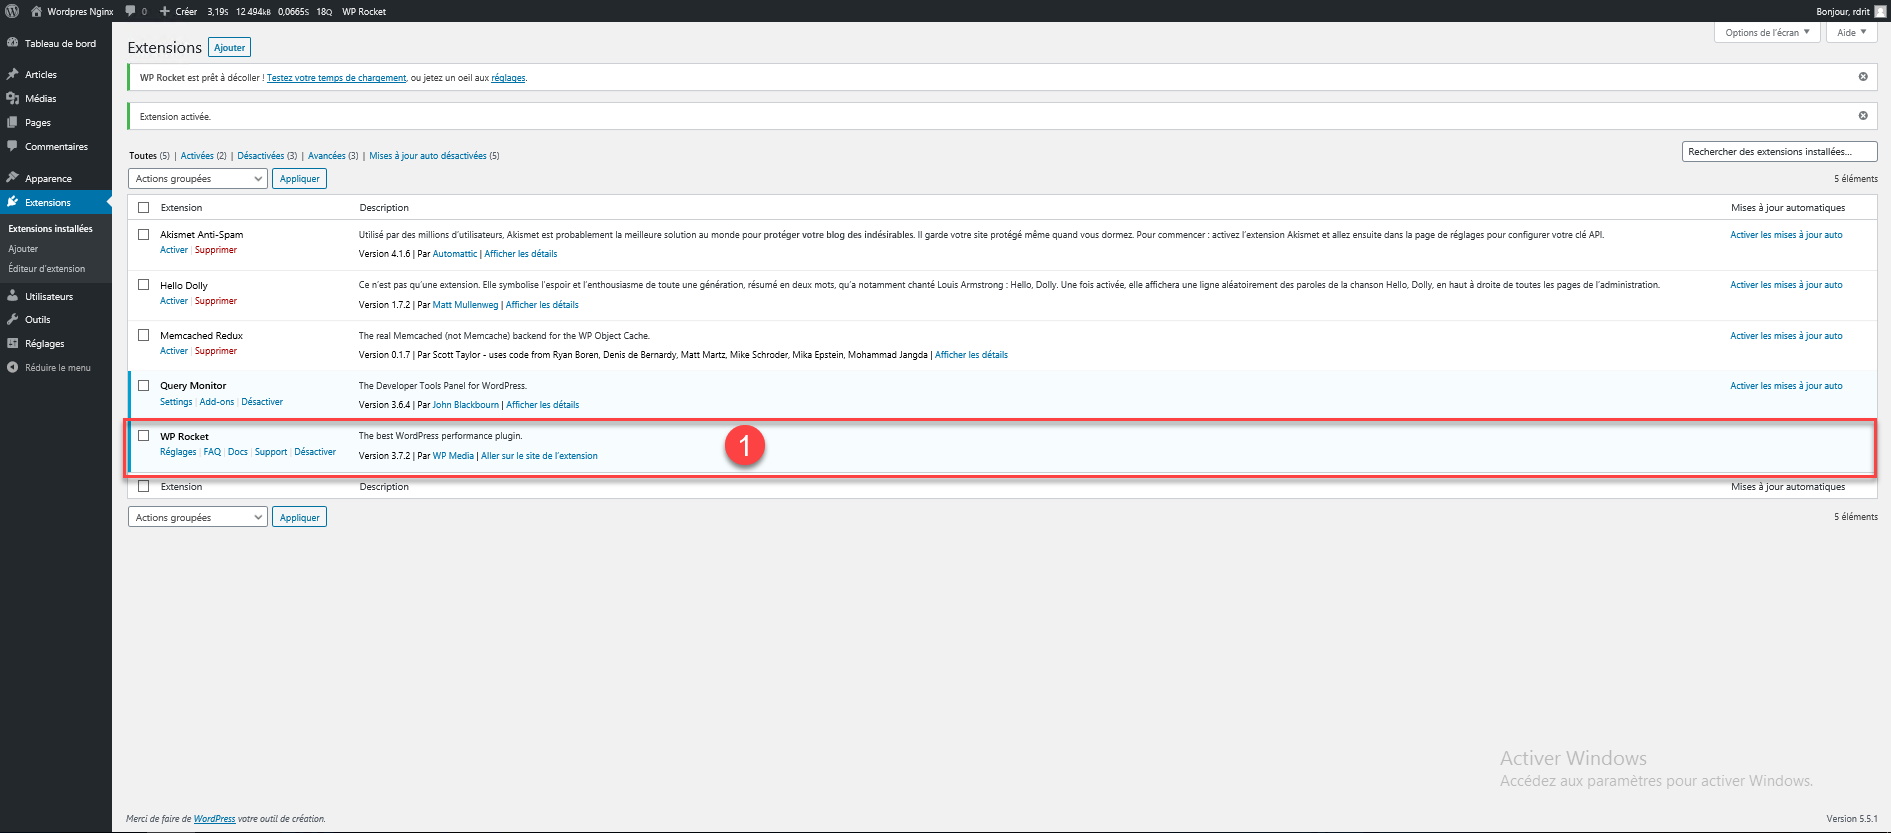
WP Rocket is installed and activated 1.
Configuring WP Rocket
We will now move on to the configuration of WP Rocket in order to optimize WordPress.
You will see the plugin’s administration interface is simple, which is its strength.
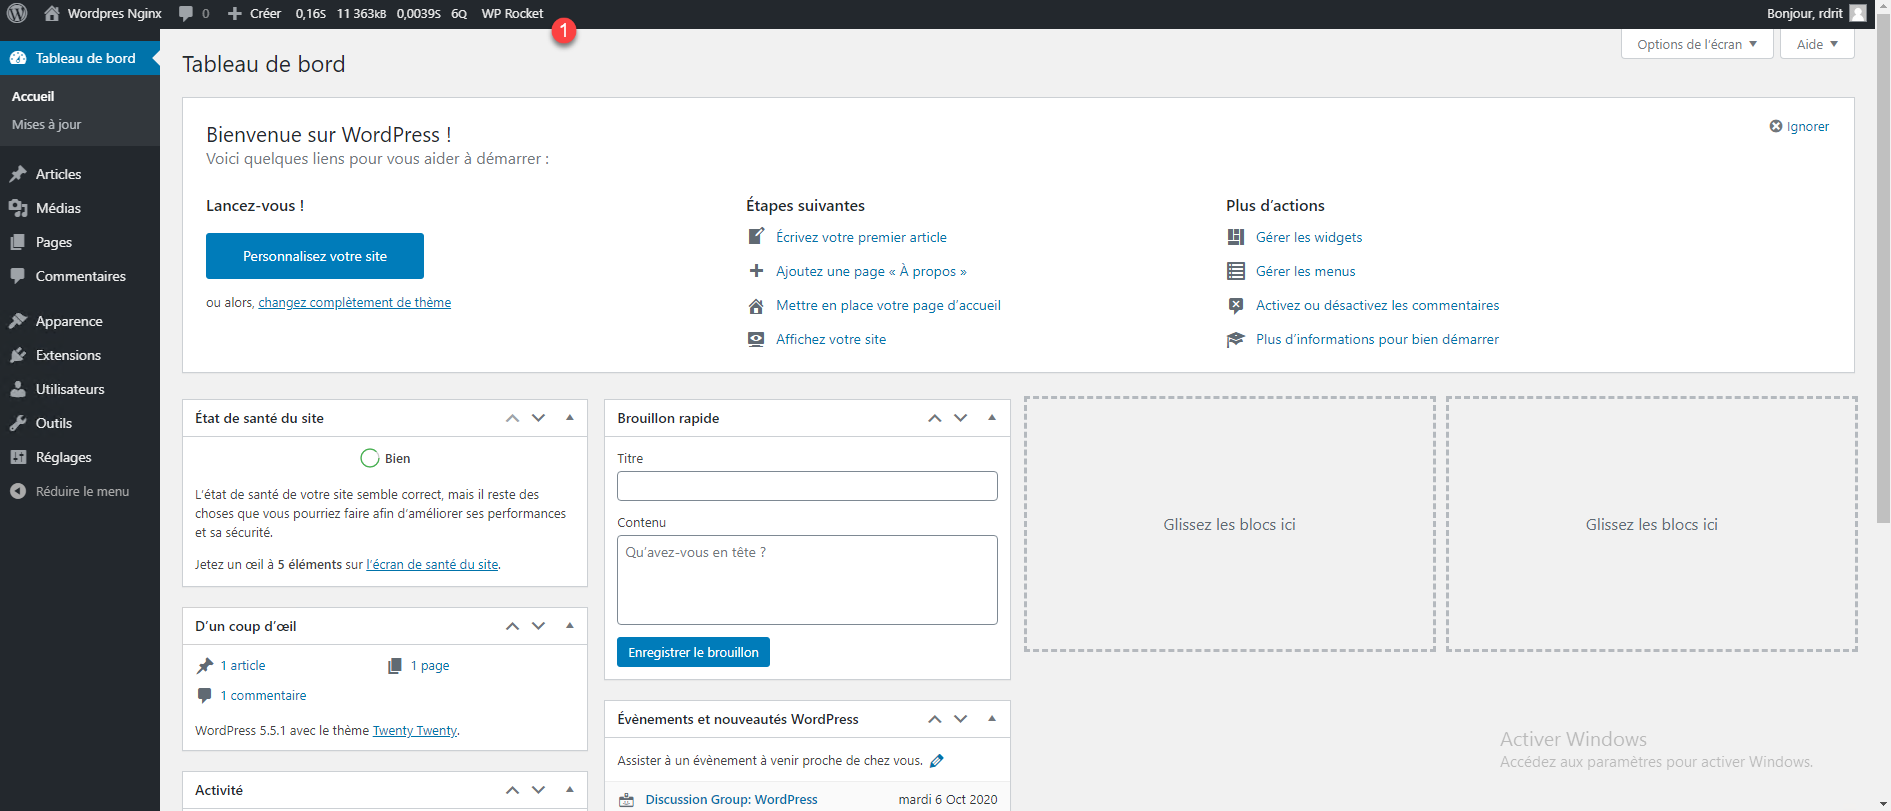
From the administration banner, click on WP Rocket 1 to access its Dashboard.
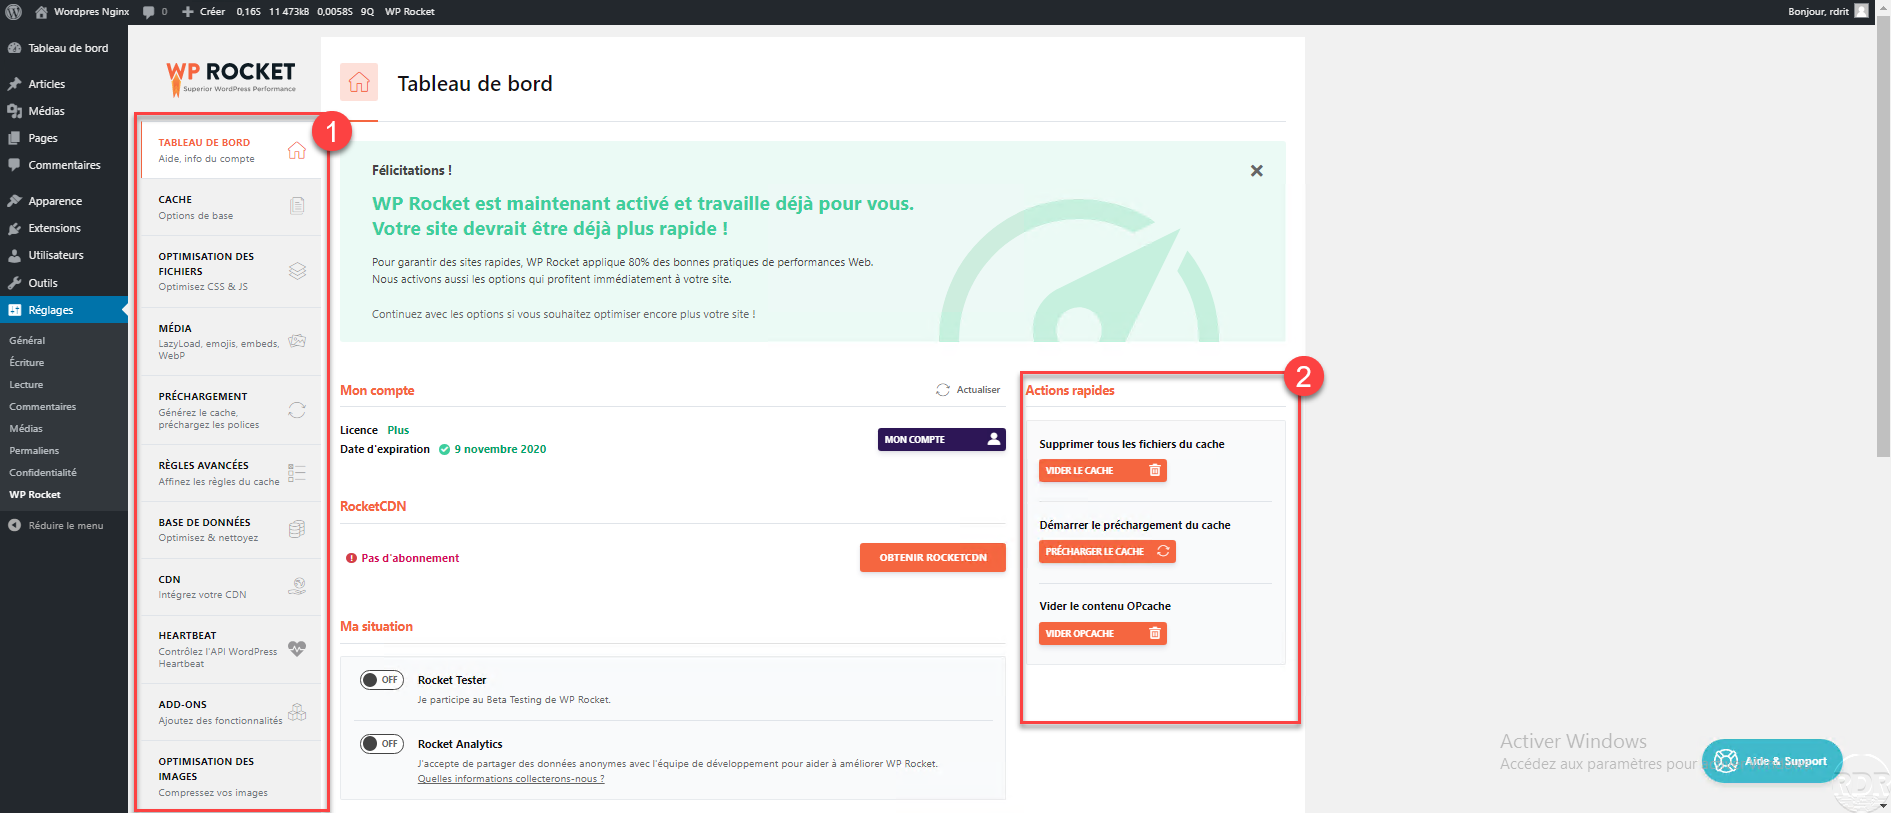
The plugin dashboard is simple and clear, it allows you to perform common actions 1 such as clearing the cache or regenerating it and access to the different options is done through the menu on the left 2> >.
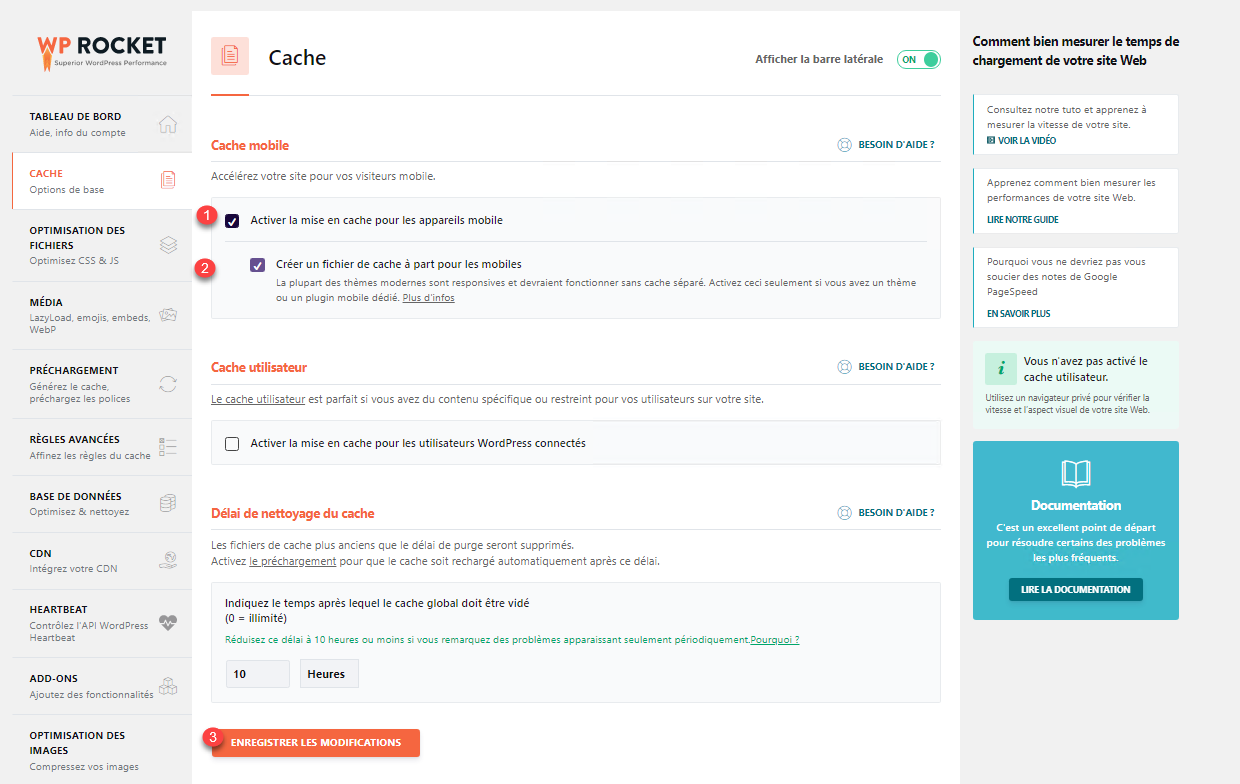
Cache
For the cache part, I simply enabled the mobile cache by checking the Enable caching for mobile devices 1 and Create a separate cache file for mobile 2 boxes. Click on SAVE CHANGES 3.
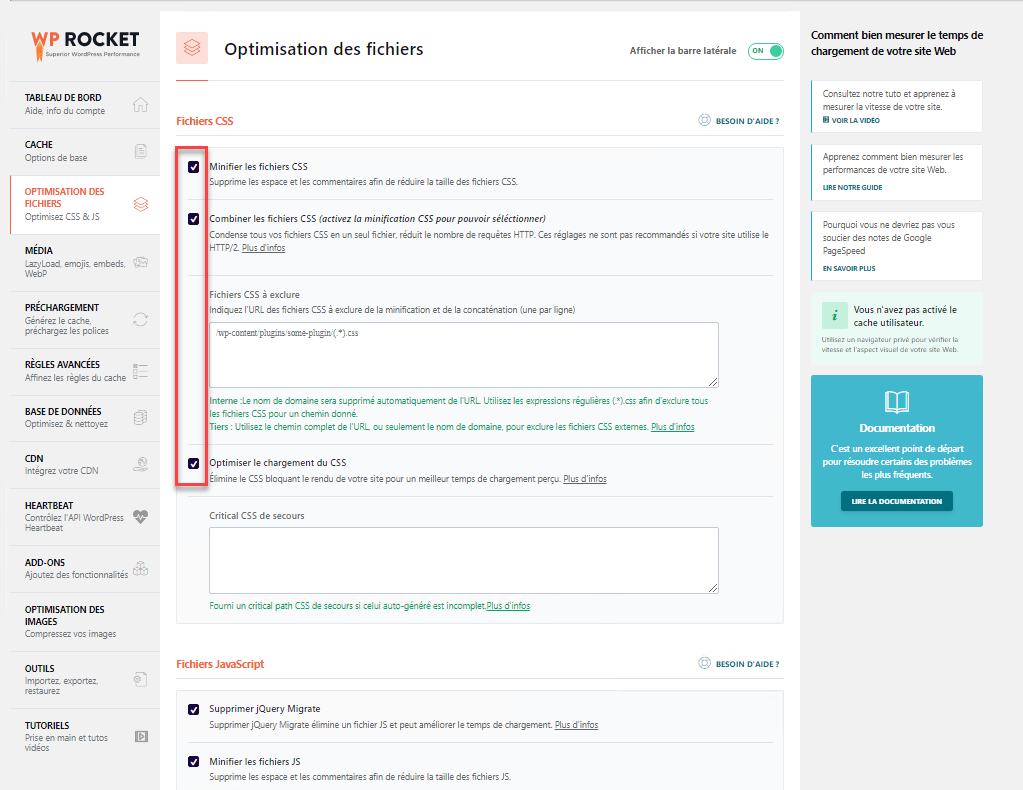
File optimization
In this part, we find the optimization parameters for the CSS and JS files, which will allow them to be minified (remove spaces and comments) and to combine (make a single CSS file). It’s two optimizations that reduce network traffic between the server and the browser.
CSS files
Here it is relatively simple, tick the 3 boxes.
Javascripts files
As for CSS files, check all boxes * to activate all features and save changes

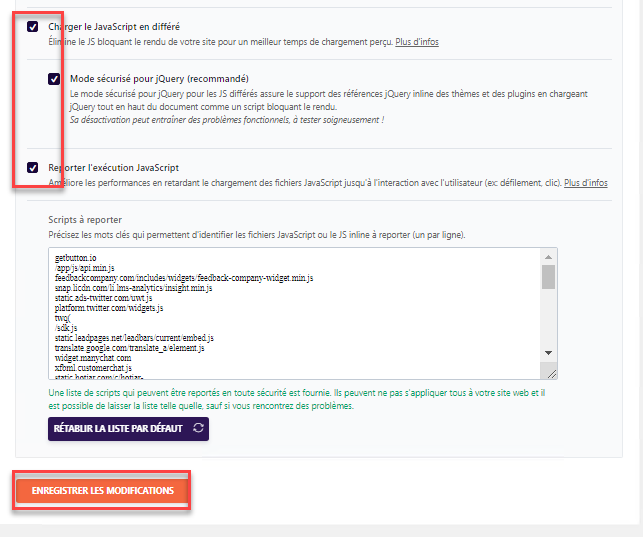
If scripts no longer work or badly during the tests, uncheck the Remove jQuery Migrate box. To improve performance, if you don’t see any problem, you can try unchecking the Safe mode for jQuery box.
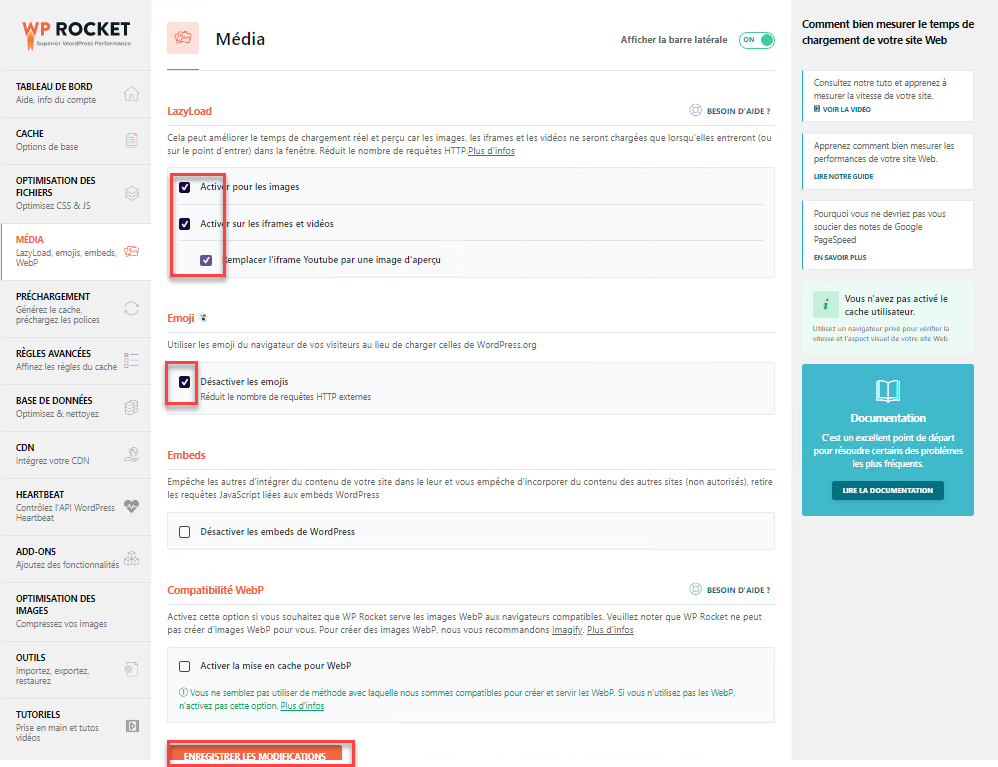
Média
In this part allows to improve the loading of images, iframes and videos.
Here I have only activated the 3 options in the LazyLoad part and the Emoji option.
We have made the tour of the available optimization parameters, we will now go to the test.
Testing WP-Rocket optimizations
Test Environment
Before giving you the results of the tests, I will explain to you which environment I used and I will also give reference values, that is to say the performance of the test environment.
- Shared hosting at o2switch.
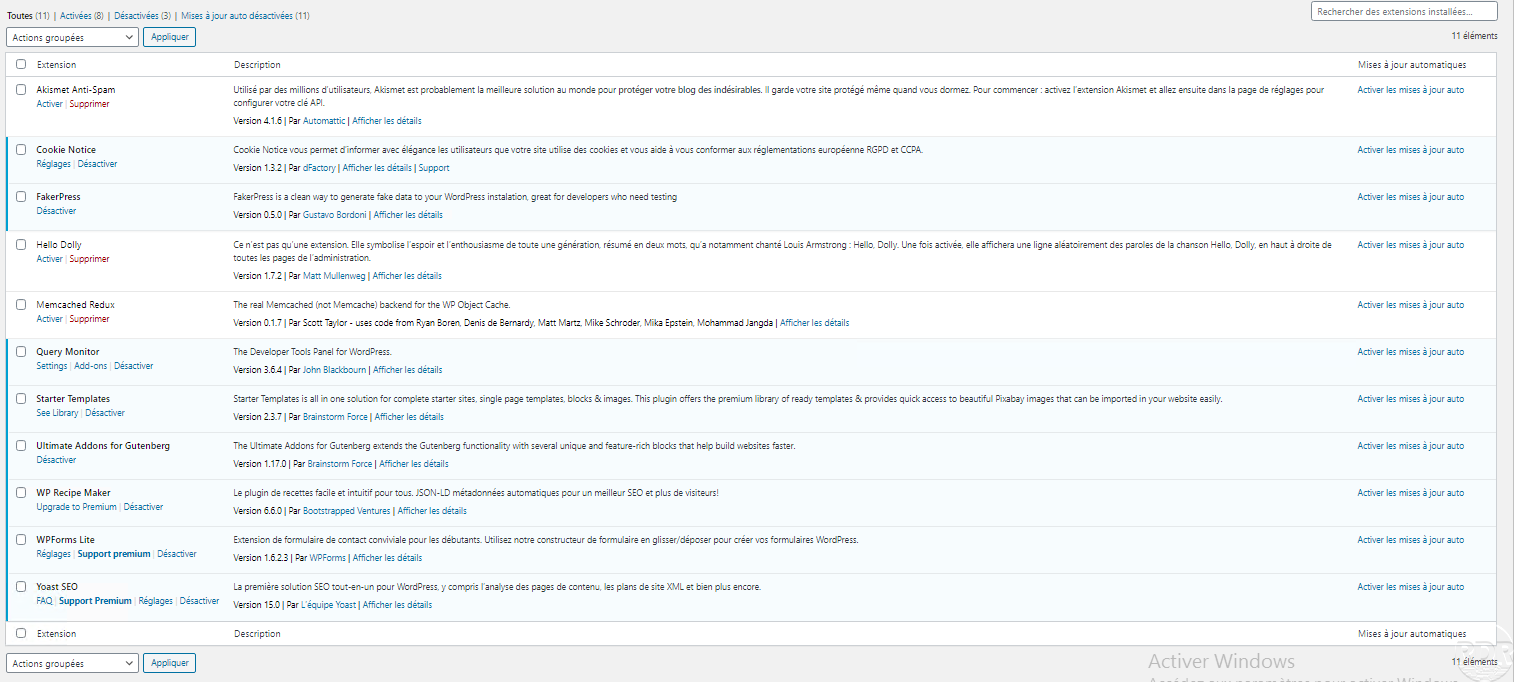
- WordPress 5.5.1 with an astra theme dedicated to cooking, Yoast SEO plugins, Cookie Notice, Query monitor, UAG, WP Recipe Maker, WPForm lite.
- Content generated by the theme and by FakerPress.
Performance of the test environment
I used Microsoft Edge browser with Developer Tools (F12). Results readings were done on 10 page loads and I used lighthouse to get performance reports.
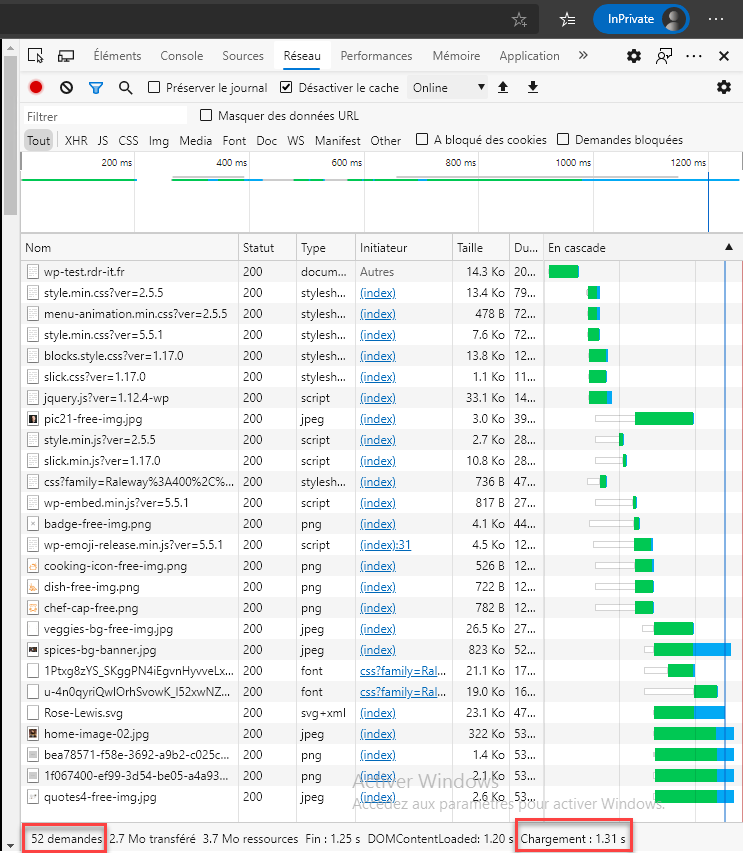
For the comparison, I used the number of requests and the load time.
| 1 | 2 | 3 | 4 | 5 | 6 | 7 | 8 | 9 | 10 | Average | |
| Load time in seconde | 1.31 | 1.47 | 1.31 | 1.66 | 1.36 | 1.58 | 1.44 | 1.32 | 1.48 | 1.30 | 1.42 |
| Requests | 52 | 52 | 52 | 52 | 52 | 52 | 52 | 52 | 52 | 52 | 52 |
Without any cache plugin the site to display made 52 requests each time and it took 1.42 sec on average to load the page.
Lighthouse test result in Mobile mode:
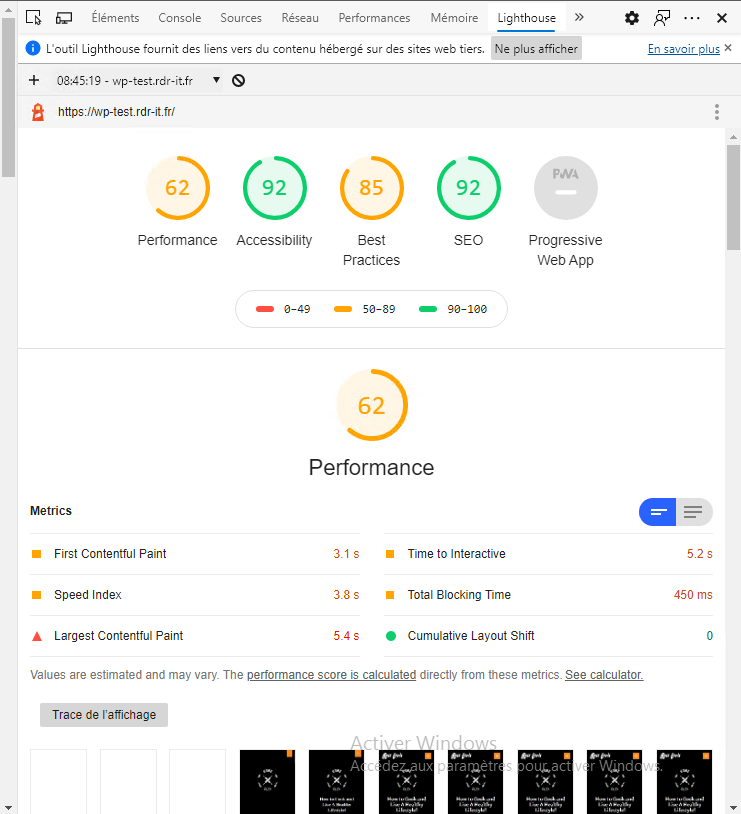

The performance result for the mobile is 62 and the speed index is 3.8s, I’ll let you look at the images on the loading time and the different analyzes, we will especially see if the overall performance result will be increased with the WP-Rocket plugin.
Lighthouse test result in Desktop mode :
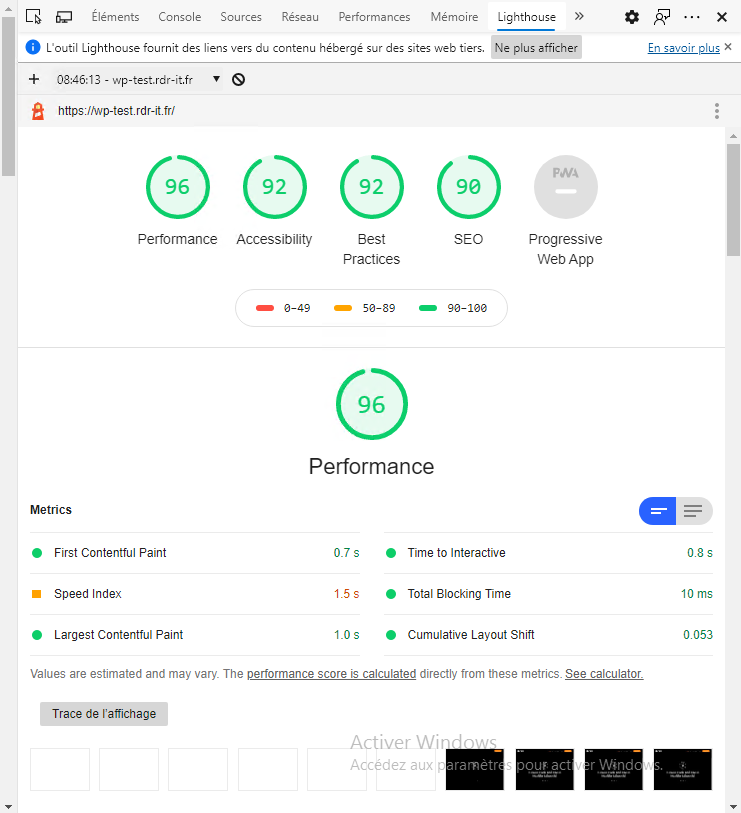

The performance result for the desktop is 96 and the speed index is 1.5s, the score is not too bad without a plugin, will WP-Rocket be able to improve this score?
WP-Rocket Performance
It’s gone, now we will see if WP-Rocket could improve the performance, here is the result of the 10 page loads:
| 1 | 2 | 3 | 4 | 5 | 6 | 7 | 8 | 9 | 10 | Average | |
| Load time in second | 1.14 | 1.11 | 1.16 | 1.23 | 1.15 | 1.25 | 1.22 | 1.27 | 0.934 | 1.17 | 1.16 |
| Requests | 36 | 36 | 36 | 36 | 36 | 36 | 36 | 36 | 36 | 36 | 36 |
Observation: we can see that WP-Rocket improves overall page loading time, we go from 1.42s to 1.16, i.e. an average gain of 0.26s and a decrease in the number of requests, we go from 52 to 36 or 16 requests in less.
Lighthouse test result in Mobile mode:
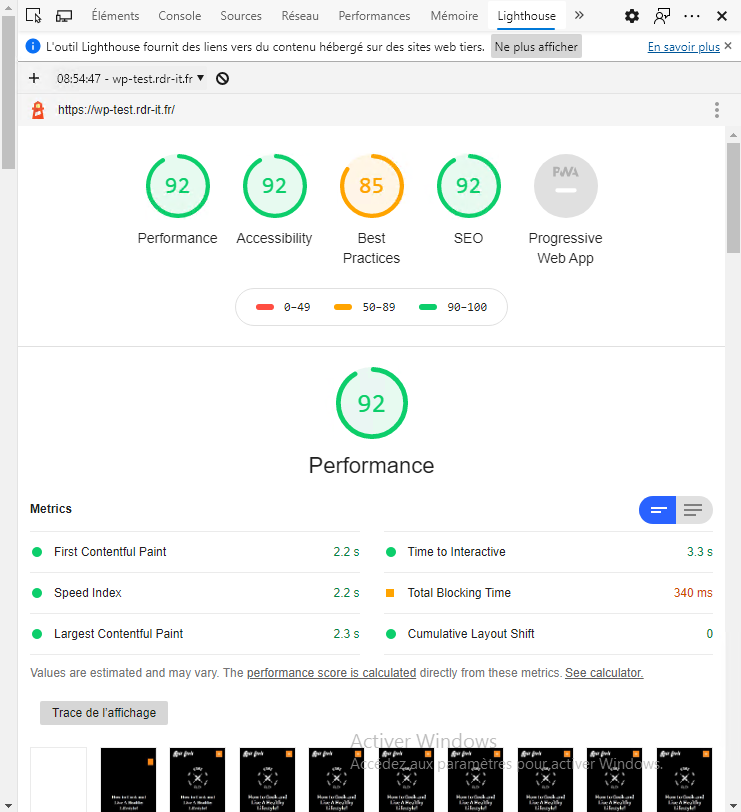
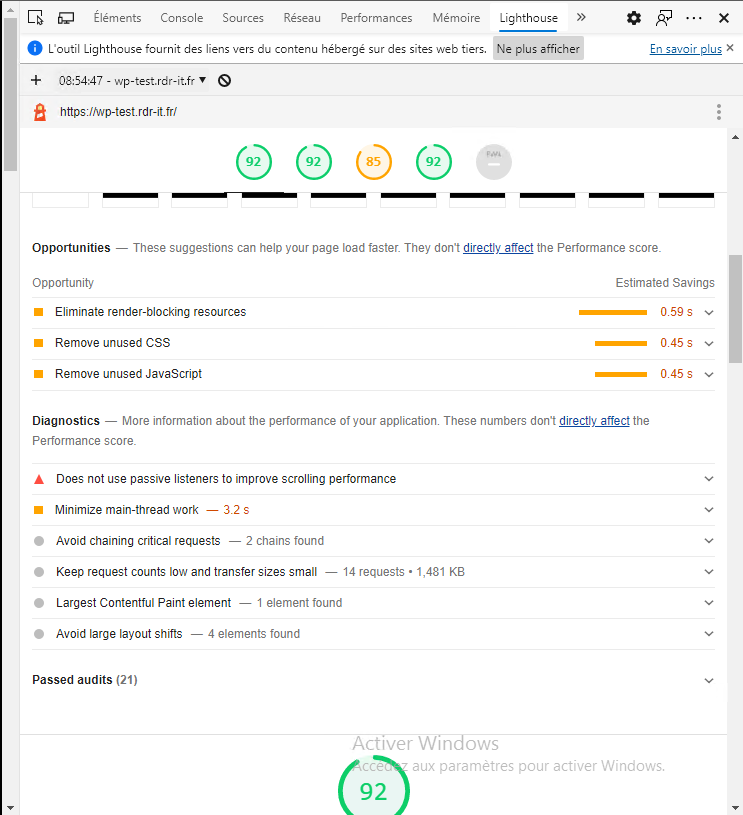
The performance score increases to 92 with a speed index of 2.2s. WP-Rocket allows a good improvement.
Lighthouse test result in Desktop mode:
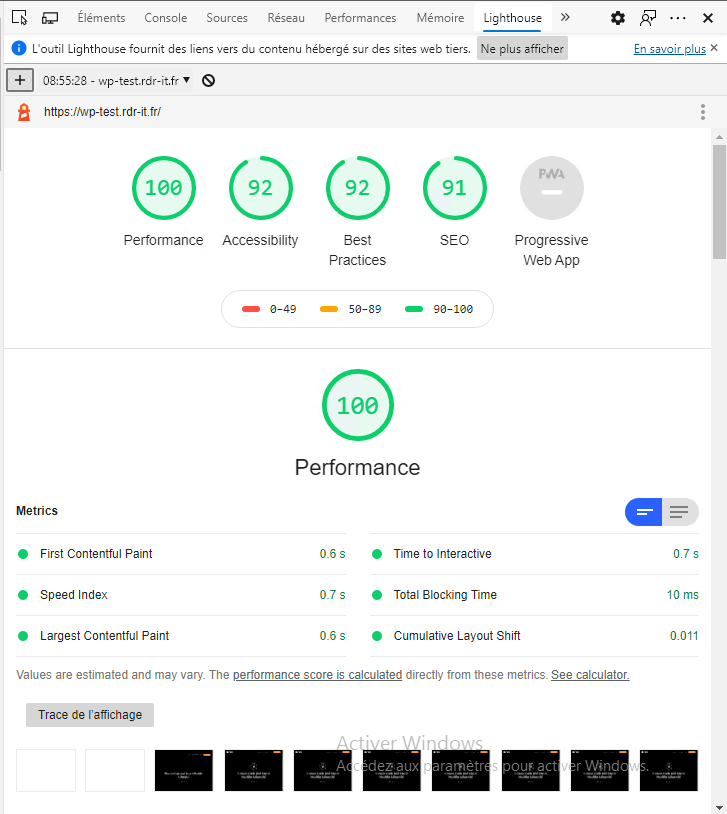
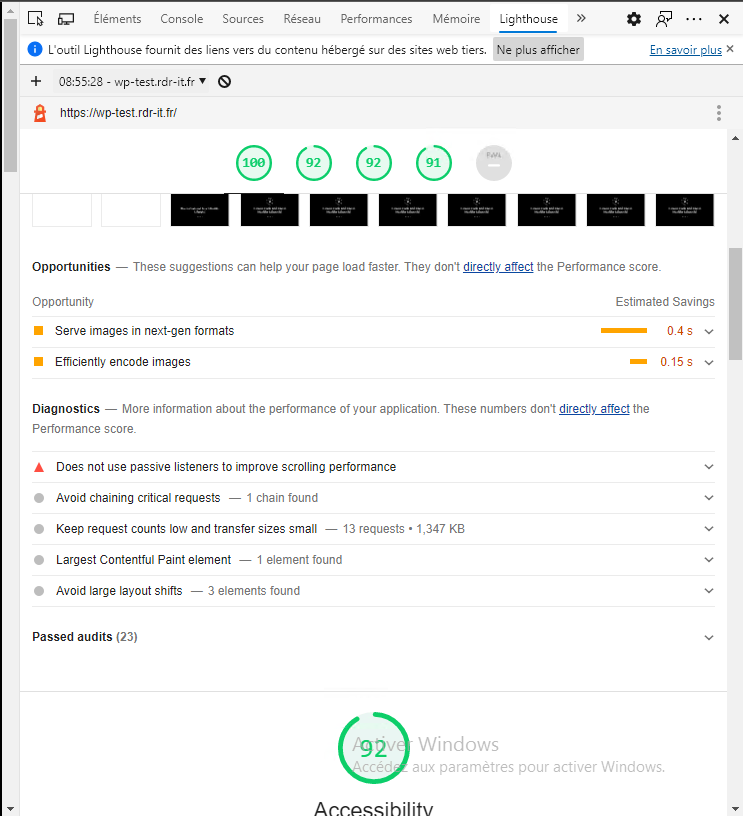
As for the mobile part WP-Rocket improves the score by reaching 100 and a speed index of 0.7s, it is almost faultless.
Conclusion
To conclude on the result part, we will say that WP-Rocket does the work in terms of optimization for the Google speed test, which guarantees you will not be penalized on SEO.
WP-Rocket is also easy to set up and perfect for beginners which is its strength and also why I started with this plugin.
Now is it worth $ 49? For me and this is my personal opinion NO, because I find that it lacks features like minifying the HTML code (yet present in old versions), it does not offer object caching (Files, Memcached, Redis ) unlike its free competitors. It is good at increasing the Google performance score but will have little impact on the server side on the use of resources and therefore on the increase in load.
If, on the other hand, you want a simple cache management plugin for WordPress, WP-Rocket is the ideal plugin and will meet your expectations.
Warning
The test results were obtained on a “high-performance” hosting (o2switch), on a site without traffic and with few plugins and content.
The results will also depend on your hosting, your site (plugin + content) and the various optimizations that you will carry yourself such as using images with the right dimensions and correctly optimized.
The loading time of a site depends a lot on your hosting (server resource, web engine, database and bandwidth).
Find sites that use WP-Rocket
To find out if a site is using WP-Rocket, it’s pretty easy, just look at the page’s sources and look at the last line.
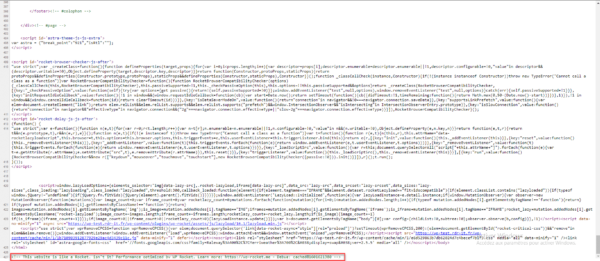
And in “real life”
To finish this tutorial / article / test, I will give you the result of 3 sites that use WP-Rocket. I will not comment on the results because I do not have enough information on the site’s environment (hosting, plugin …) and I will let you draw your own conclusions.
Site 1 :


Site : 2


Site 3 :