Table of Contents
Presentation
In this tutorial, I will walk you through how to install WordPress on an Nginx web server.
Before you begin, you are going to need a web server with Nginx / PHP / MariaDB installed. If you need everything is explained in this tutorial: Ubuntu: install a web server – NGINX / PHP / MariaDB – RDR-IT
The Nginx web engine does not read .htaccess files.
Preparing the environment
Before attacking the installation of WordPress on the server, we will prepare the environment:
- Create the virtual host (vhost)
- Create a database and a user
- Download WordPress
- Configure a DNS record that will point to the web server.
Virtual host configuration
Before taking care of the configuration, we will create the virtual host folders.
From an SSH connection or in the console enter the following commands:
sudo mkdir /home/www-data/wordpress
sudo mkdir /home/www-data/wordpress/log
sudo mkdir /home/www-data/wordpress/public_html
sudo chown www-data /home/www-data/wordpress -R
The first 3 lines will create the folders for the WordPress files and the last line changes the owner.
We will use the default.conf file to create the configuration of the WordPress virtual host. Copy the file using the following command:
sudo cp /etc/nginx/conf.d/default.conf /etc/nginx/sites-available/wordpress.confOpen the file to modify the configuration:
sudo nano /etc/nginx/sites-available/wordpress.confHere is my configuration file:
server {
    listen       80;
	# Site URL
    server_name  wordpress.lab.priv;

    # Folder Access LOG
    access_log  /home/www-data/wordpress/log/access.log  main;

    location / {
		# Folder files WordPress
        root   /home/www-data/wordpress/public_html;
		# Add index.php
        index  index.php index.html index.htm;
		# Rewrite URL for WordPress
		try_files     $uri $uri/ /index.php?$args;
    }

    #error_page  404              /404.html;

    # redirect server error pages to the static page /50x.html
    #
    error_page   500 502 503 504  /50x.html;
    location = /50x.html {
        root   /usr/share/nginx/html;
    }

    location ~ \.php$ {
		#  Folder files WordPress
        root           /home/www-data/wordpress/public_html;
        #try_files      $uri =404;
        fastcgi_index  index.php;
		# Call PHP
        fastcgi_pass   unix:/run/php/php7.3-fpm.sock;
        fastcgi_param  SCRIPT_FILENAME $document_root$fastcgi_script_name;
		# Param PHP for WordPress
		fastcgi_param  PHP_VALUE "memory_limit=\"256M\"
		post_max_size=\"128M\"
		upload_max_filesize=\"32M\"";
        include        fastcgi_params;
   }

 }
Activate the WordPress virtual host :
sudo ln -s /etc/nginx/sites-available/wordpress.conf /etc/nginx/sites-enabled/Check the Nginx configuration :
sudo nginx -tReload the configuration to activate the virtual host :
sudo systemctl reload nginxDatabase configuration
To work, WordPress needs a MariaDB or MySQL database. In this part, we will create a user and a database dedicated to the installation of WordPress.
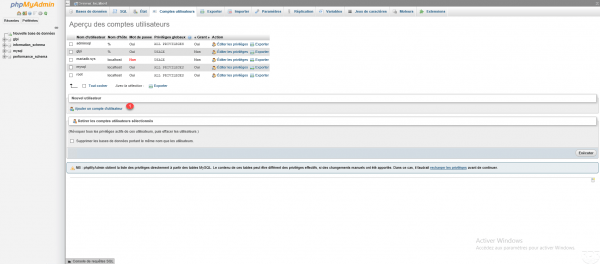
From phpMyAdmin, click on User Accounts 1.

Click on Add a user account 1.
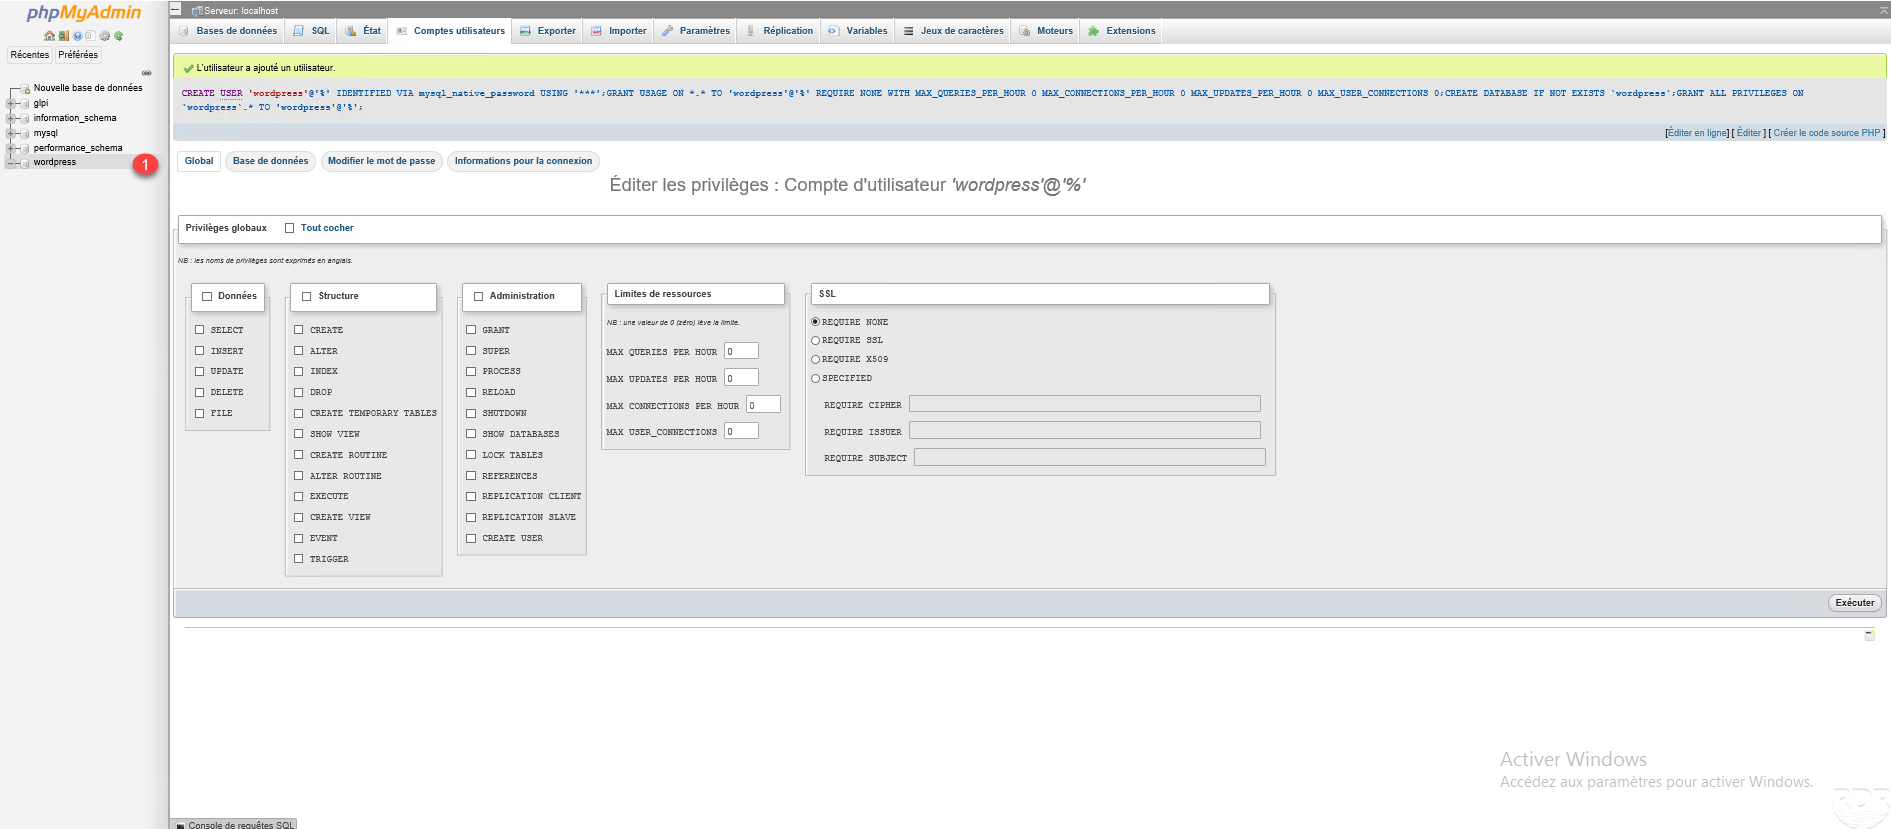
Enter the name of the user 1 (wordpress), enter a password (x2) 2, check the box Create a database with his name and give this user all the privileges on this database 3 and click on Run 4.

The database 1 is created as well as the user.
Download WordPress
We will now download the WordPress archive and copy the files to the /home/wordpress/public_html directory.
Go to the tmp folder using the following command:
cd /tmpDownload the latest version of WordPress using the wget command:
sudo wget https://wordpress.org/latest.tar.gz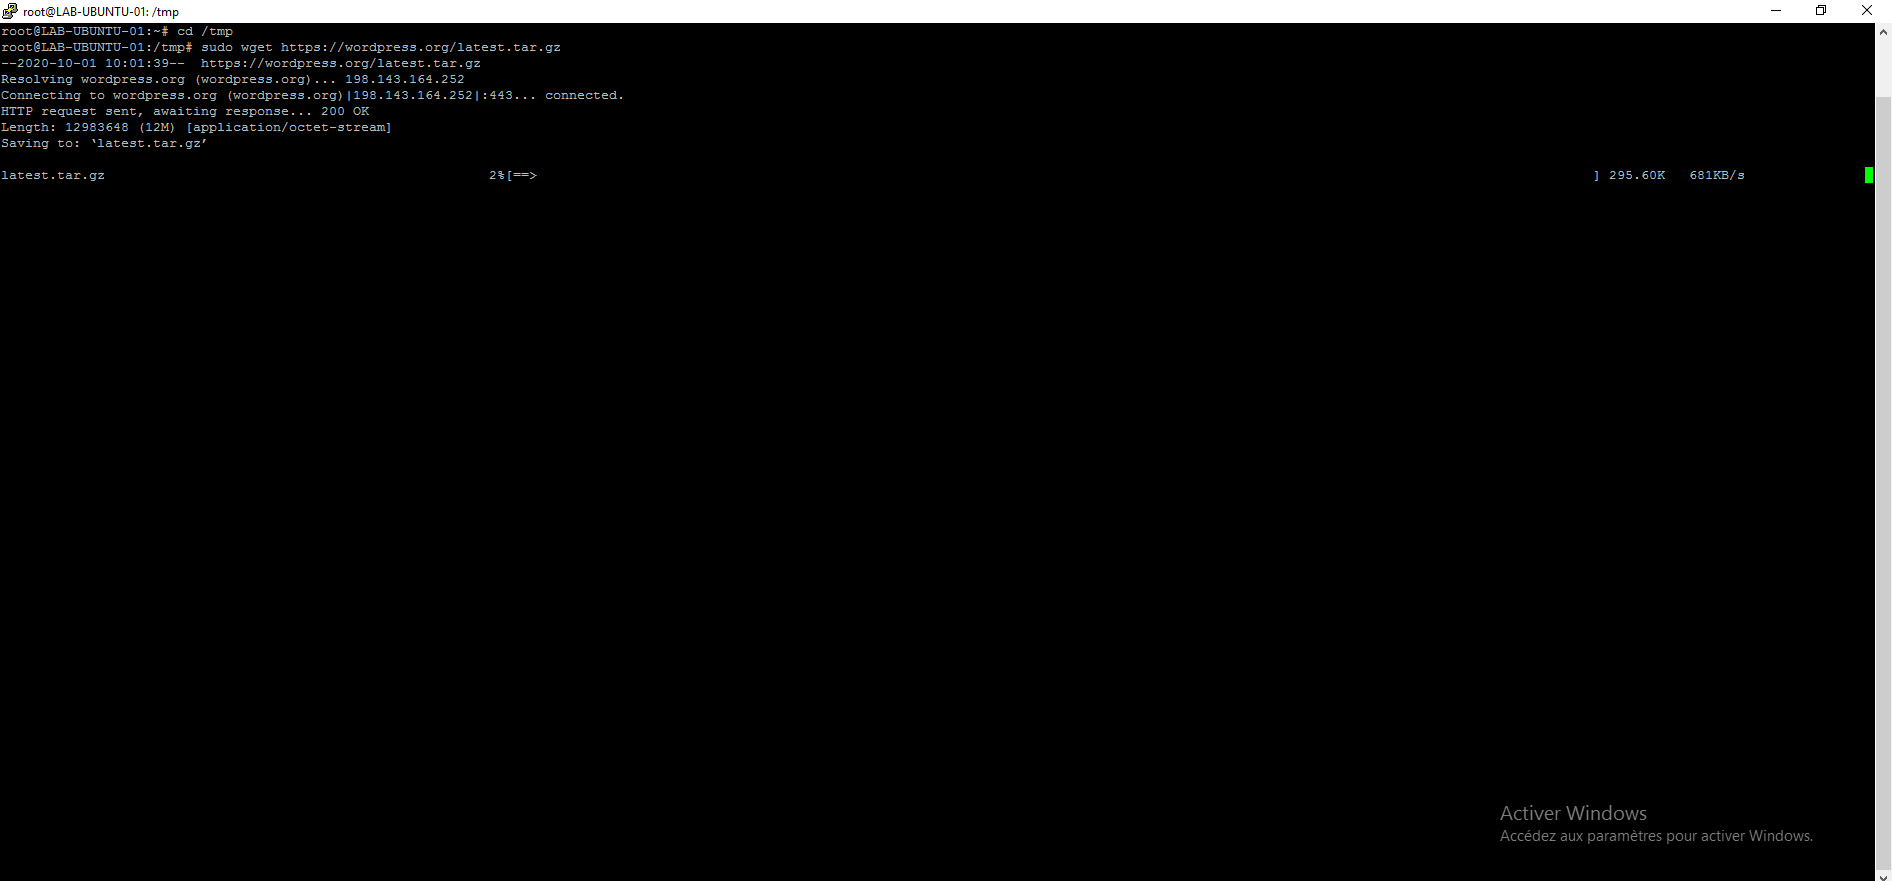

Once the archive has been downloaded, unzip it :
sudo tar -zxvf latest.tar.gzMove the content (the WordPress files) into the virtual host folder:
sudo mv wordpress/* /home/www-data/wordpress/public_htmlChange the owner of folders and files:
sudo chown www-data /home/www-data/wordpress -RWordPress installation
We are now ready to install WordPress.
Launch an Internet browser and enter the url of the WordPress site. In the first step, select the language 1 and click on Continue 2.


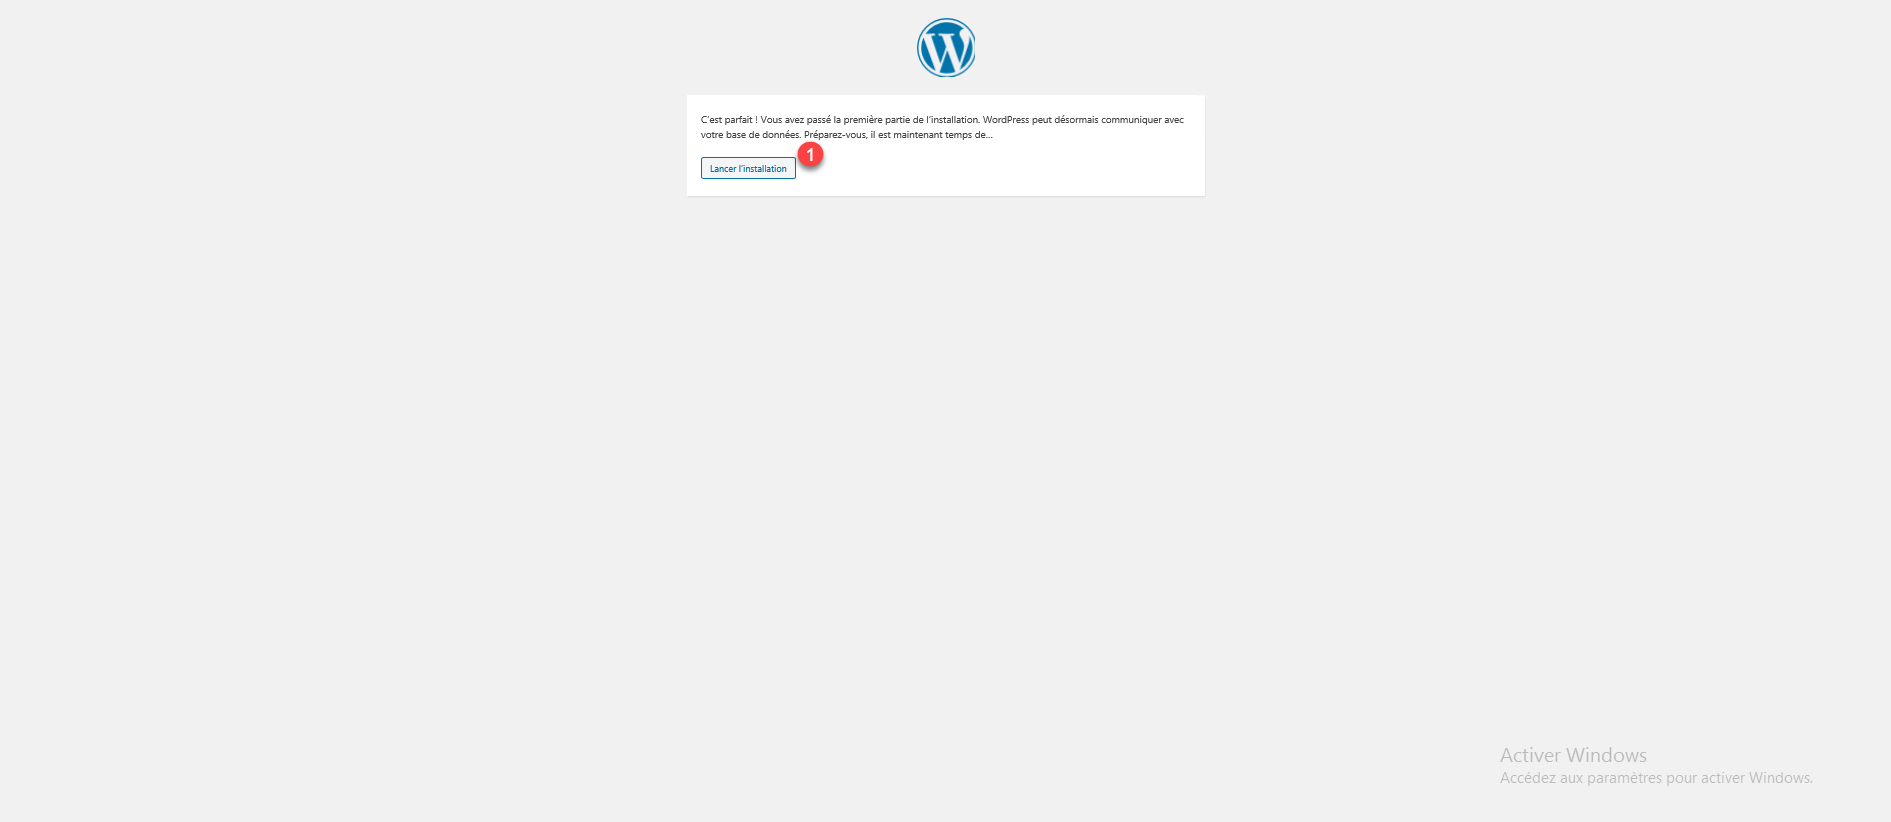
A page will appear, indicating what you need to install WordPress, click on This is part 1.

You must enter the database connection information, this will then be written in the wp-config.php file which is located at the root of the website. Enter the database name 1, the username 2 and the password 3 then the server address 4 and click on the Send button 5 .
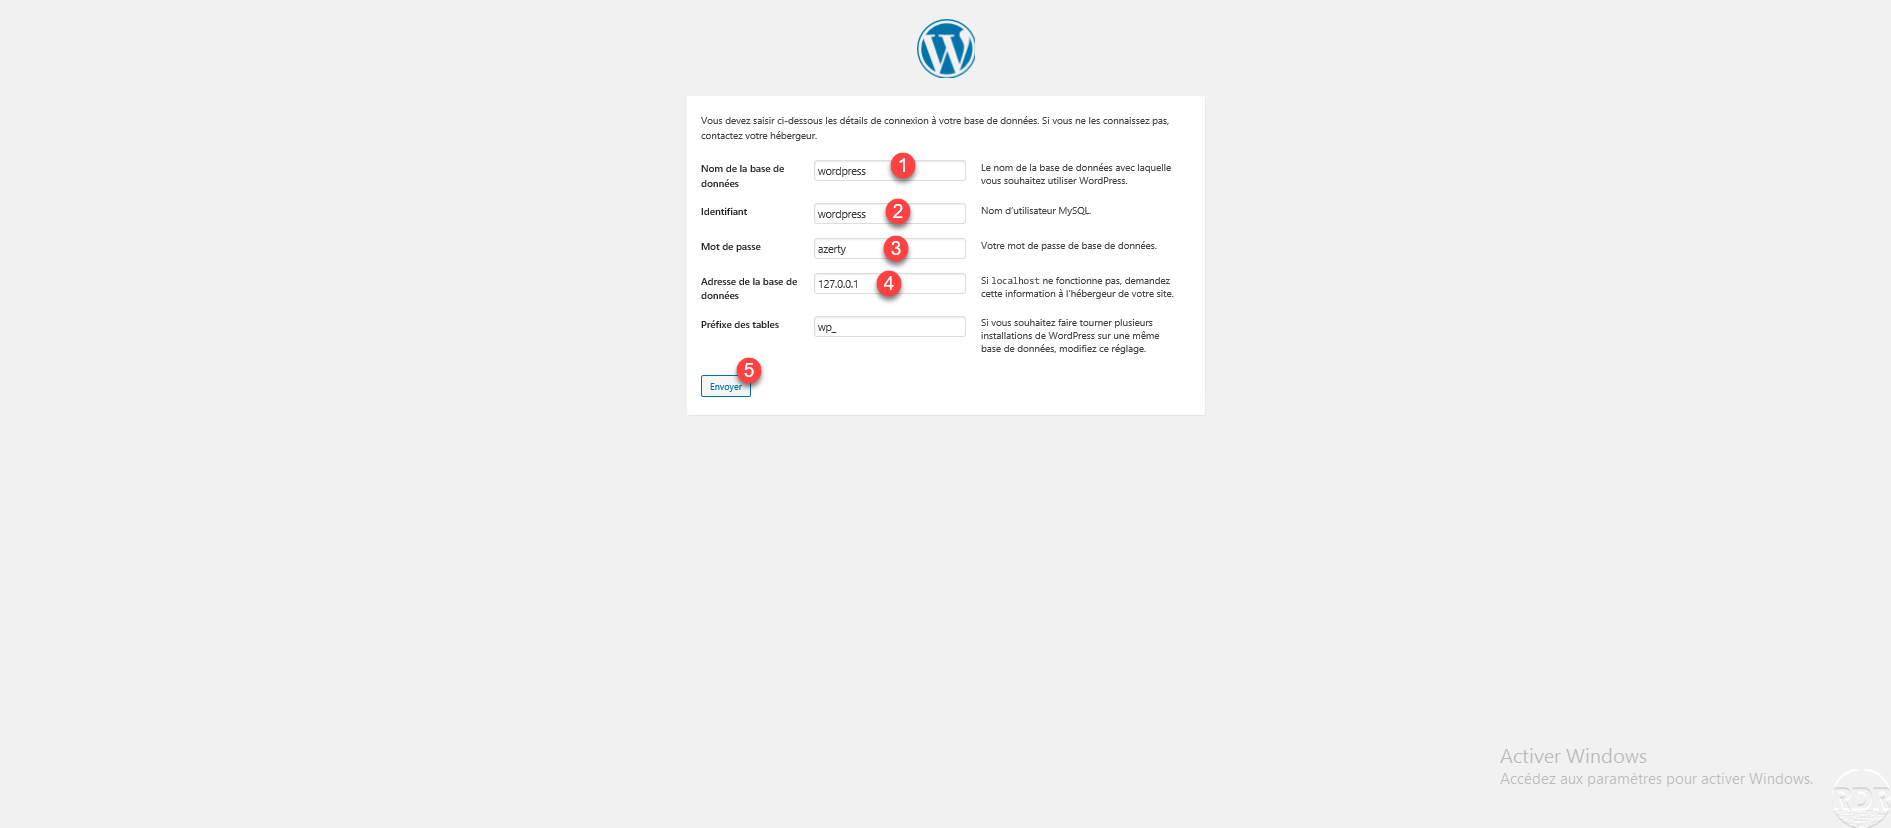
It is possible to modify the prefix of the tables (wp_ by default), this is especially useful if you are installing several WordPress on the same database. In a dedicated environment like here, if you want to install several WordPress sites, I advise you to make one database per installation.
Once the database connection test is successful, click on Start installation 1.
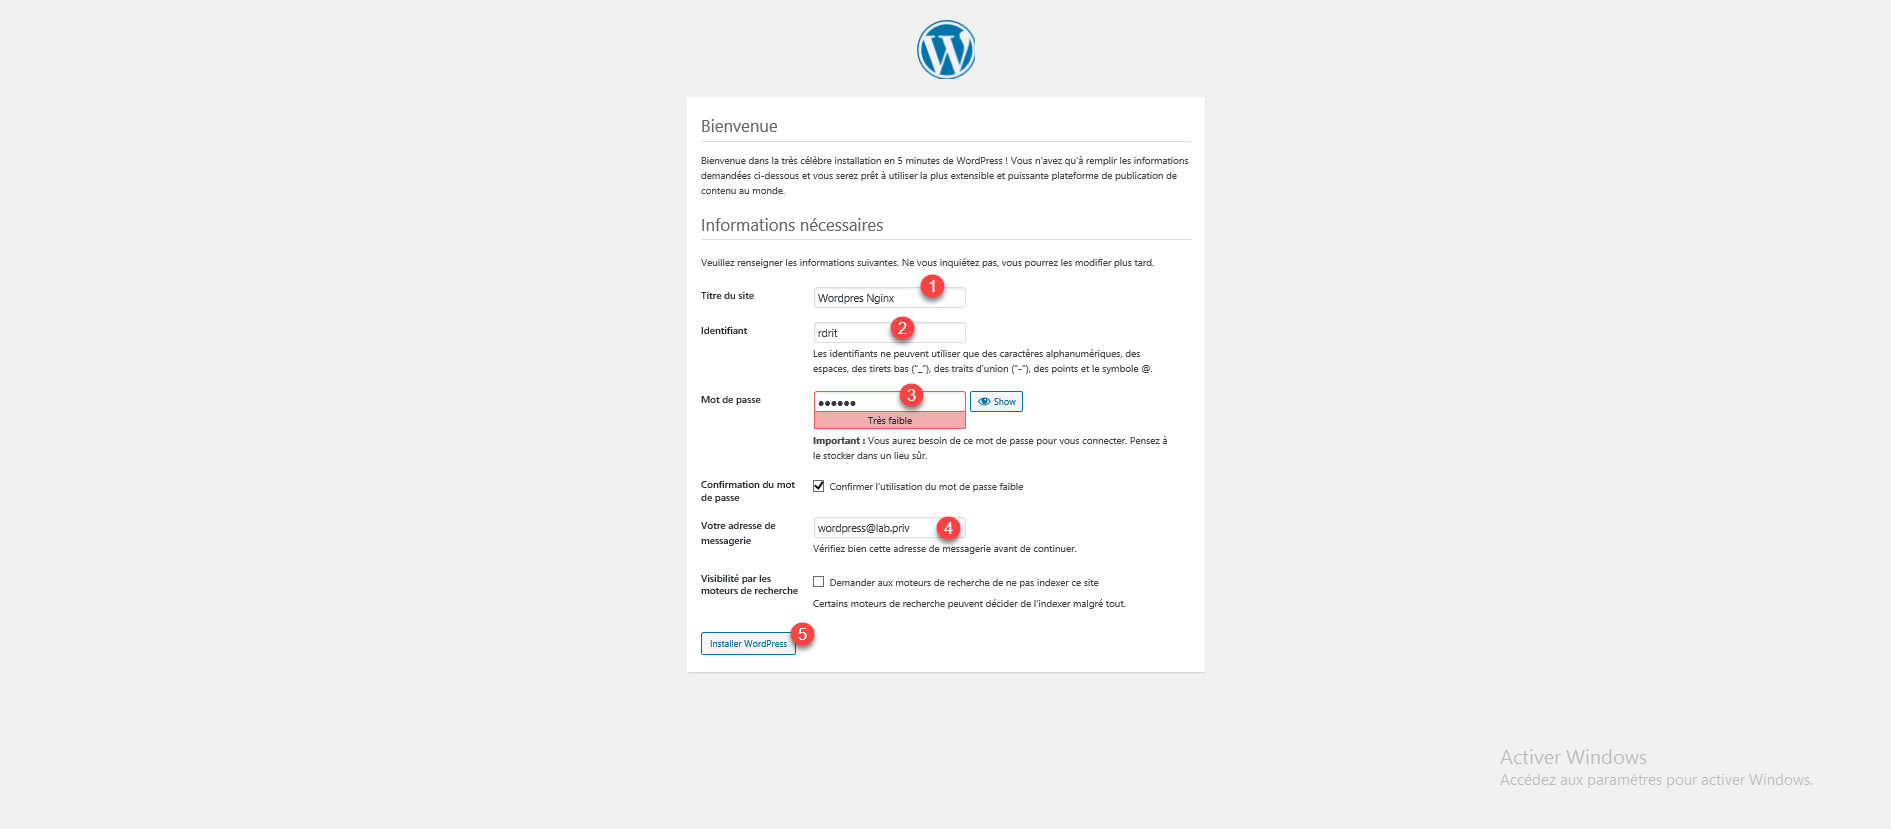
Configure the site title 1, the username 2 and the password 3 of the admin account and an e-mail address 4. Click on Install WordPress 5.
WordPress is installed, click on Connect 1.

Enter the credentials 1 of the account created during installation and click on Connect 2.

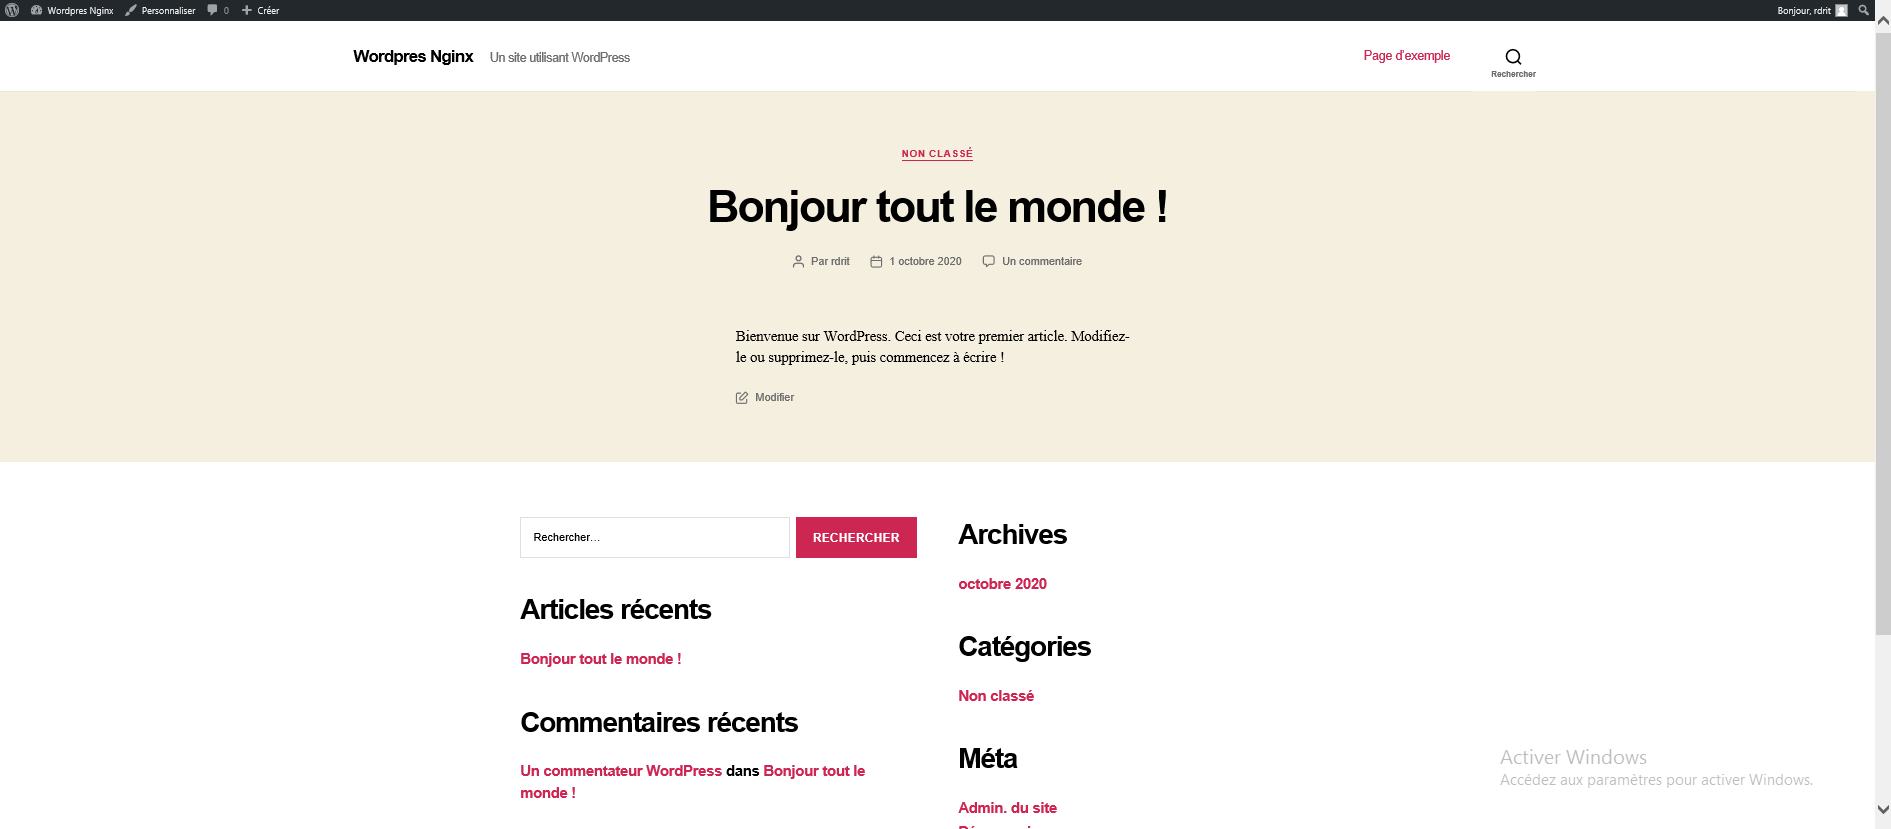
Your WordPress site is ready, all you have to do is customize it and add content.

Optimizing WordPress with Memcached / Redis
In order to complete this tutorial, I will explain how to optimize or rather speed up your WordPress site using Memcached or Redis.
Memcached and Redis are two “database” services that use RAM memory to store information that your WordPress site uses often.
These two services are used in parallel with the MariaDB / MySQL database to have a high-performance cache system.
It is possible to use the following part of the tutorial for an Apache server.
Install the Query Monitor plugin
Before setting up the cache services, we will install a WordPress plugin that will allow us to assess the efficiency.
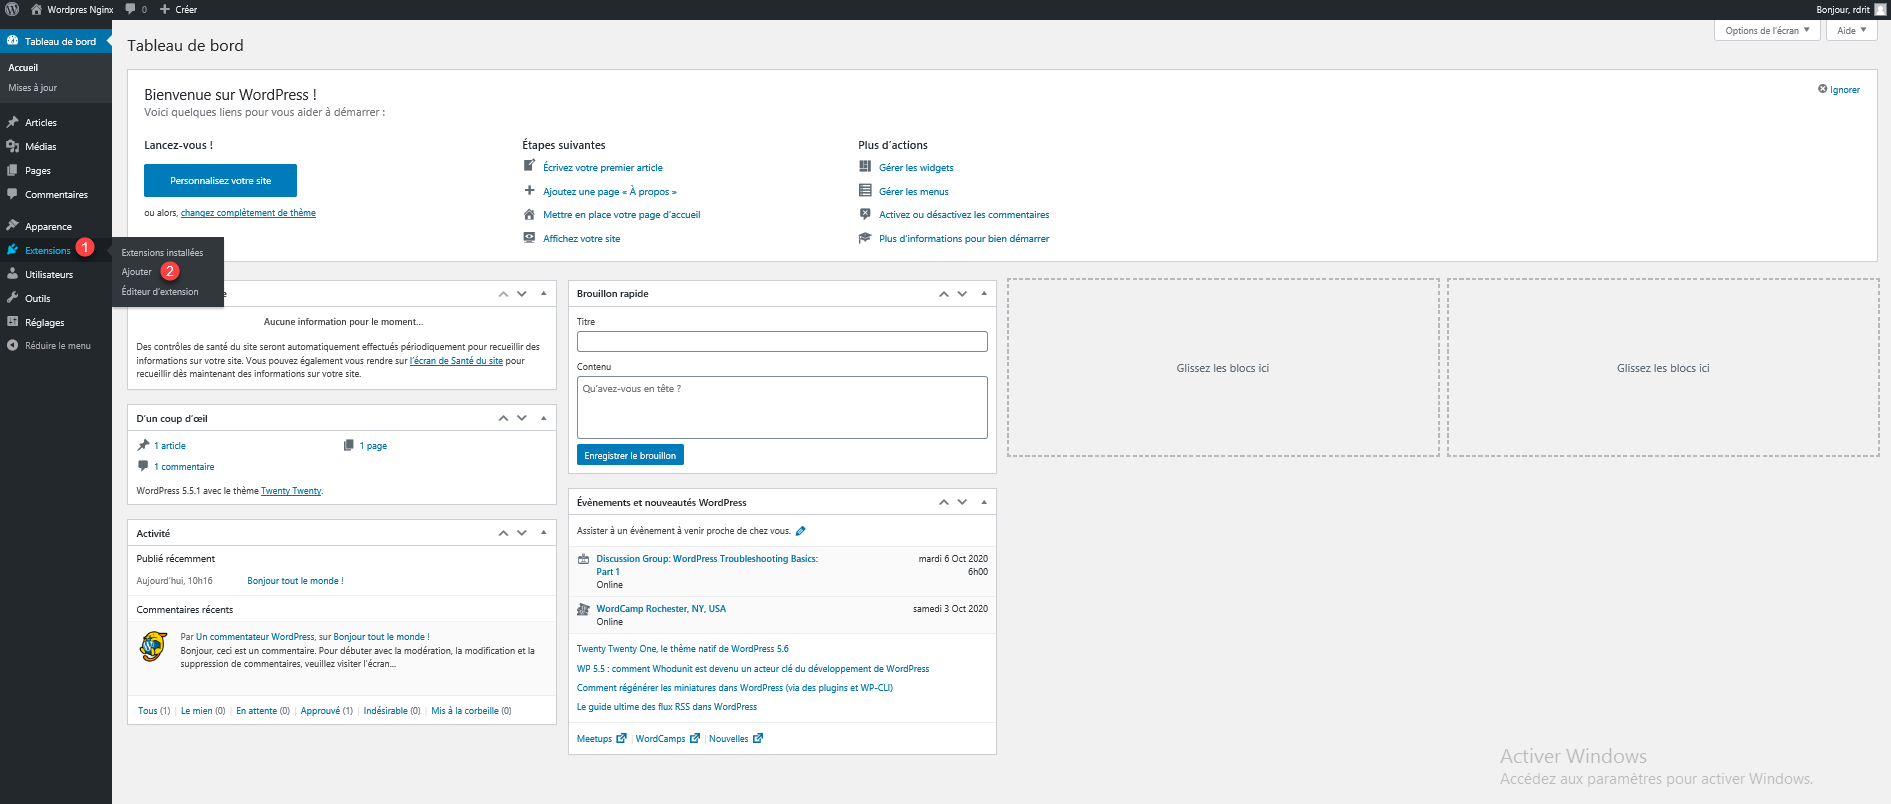
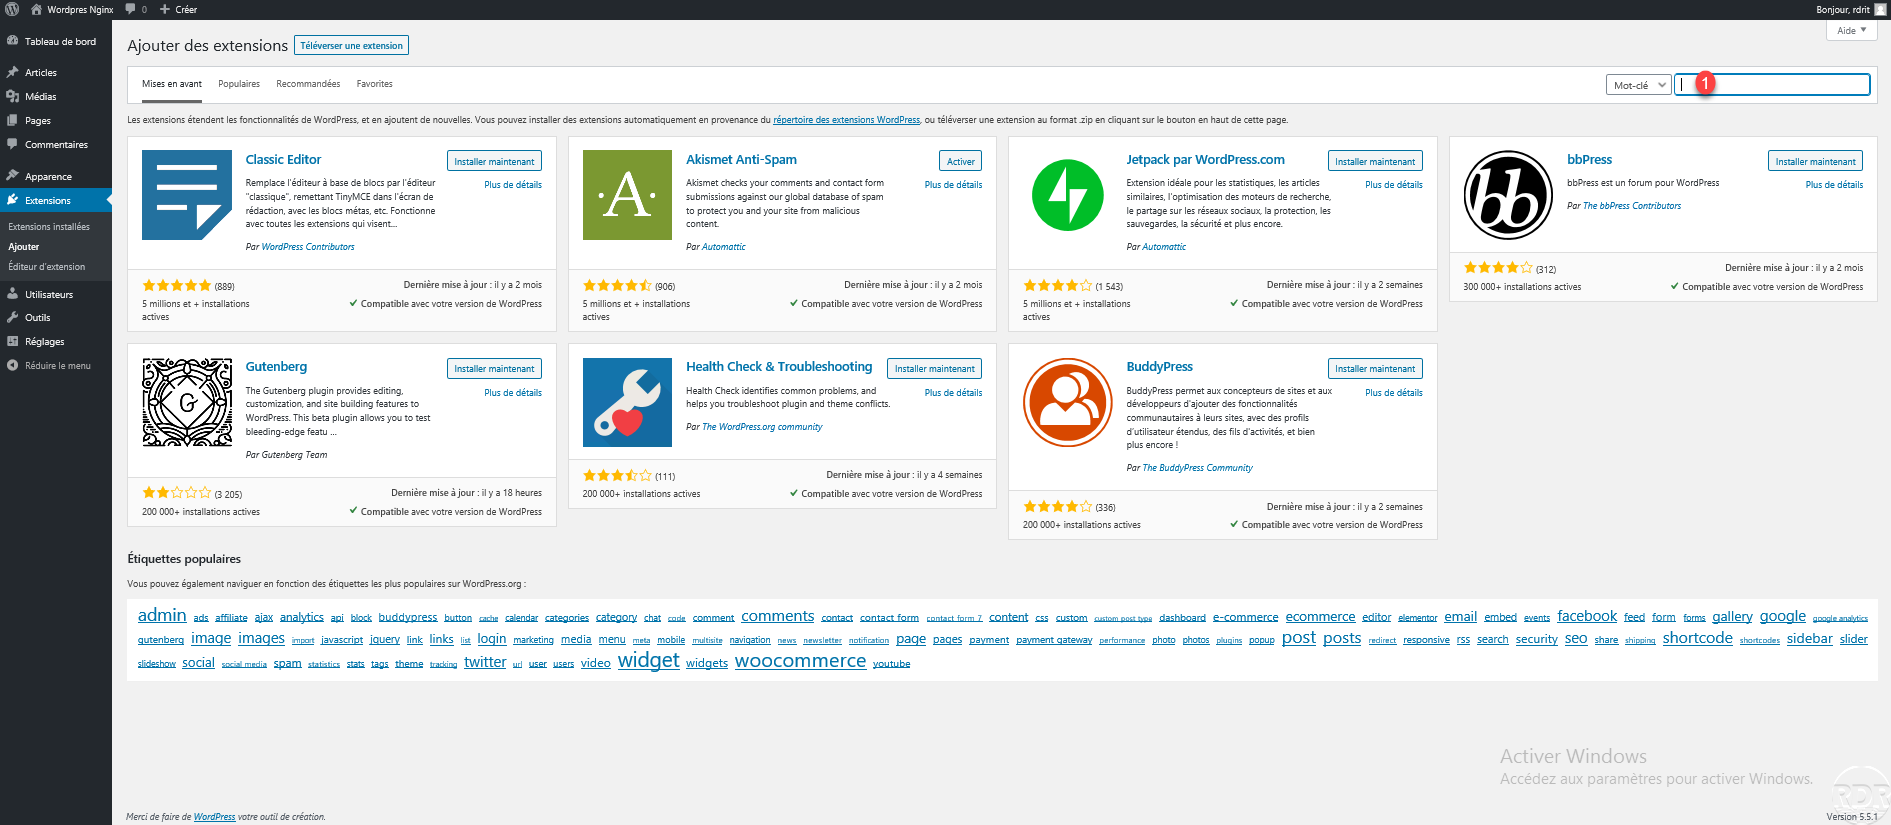
From the administration interface, hover the mouse cursor over Extensions 1 and click Add 2.
Place your cursor in the 1 search box.
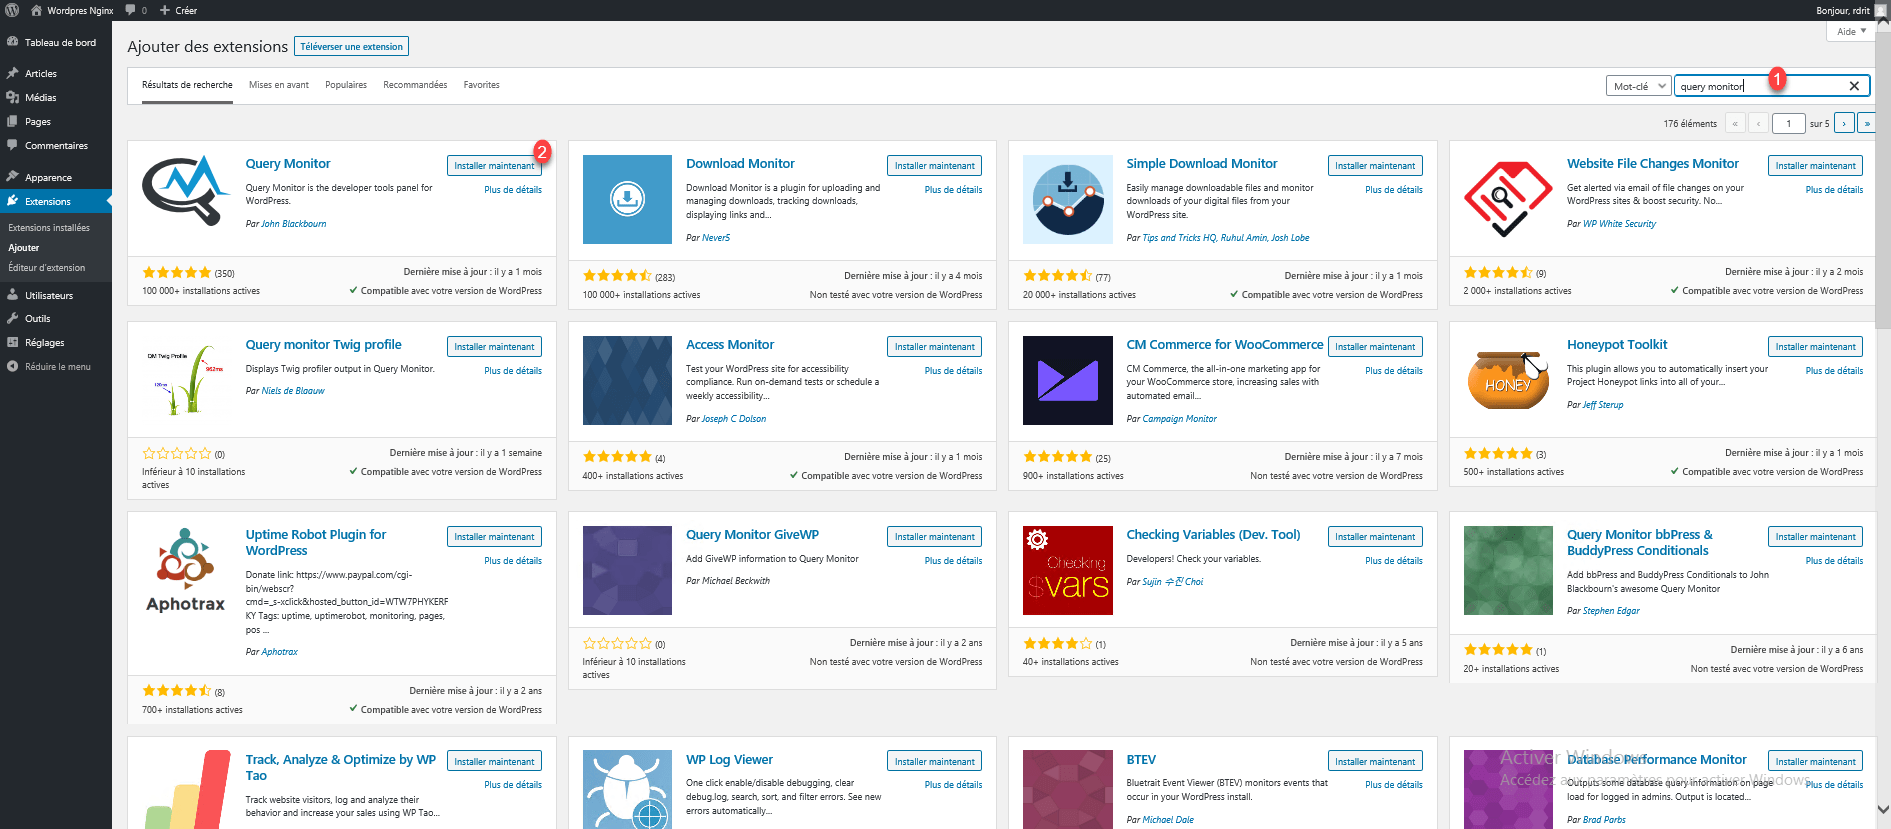
In the search box enter query monitor 1, once the search is done, click on the Install now button 2 of the plugin.
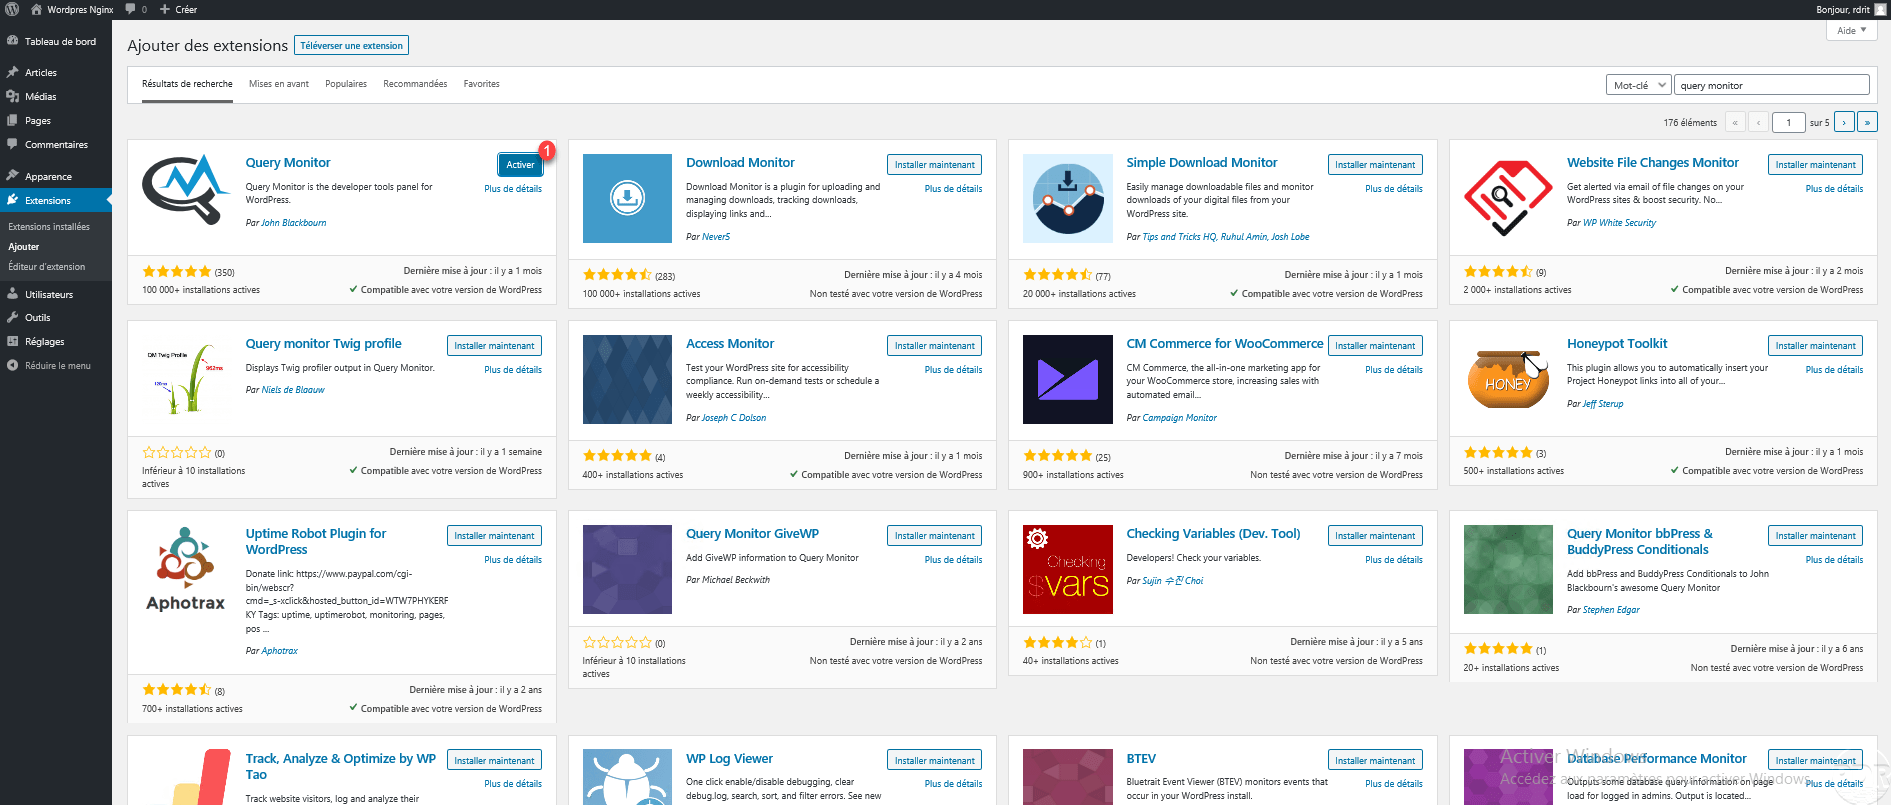
Once the extension is installed, click on the Activate 1 button.
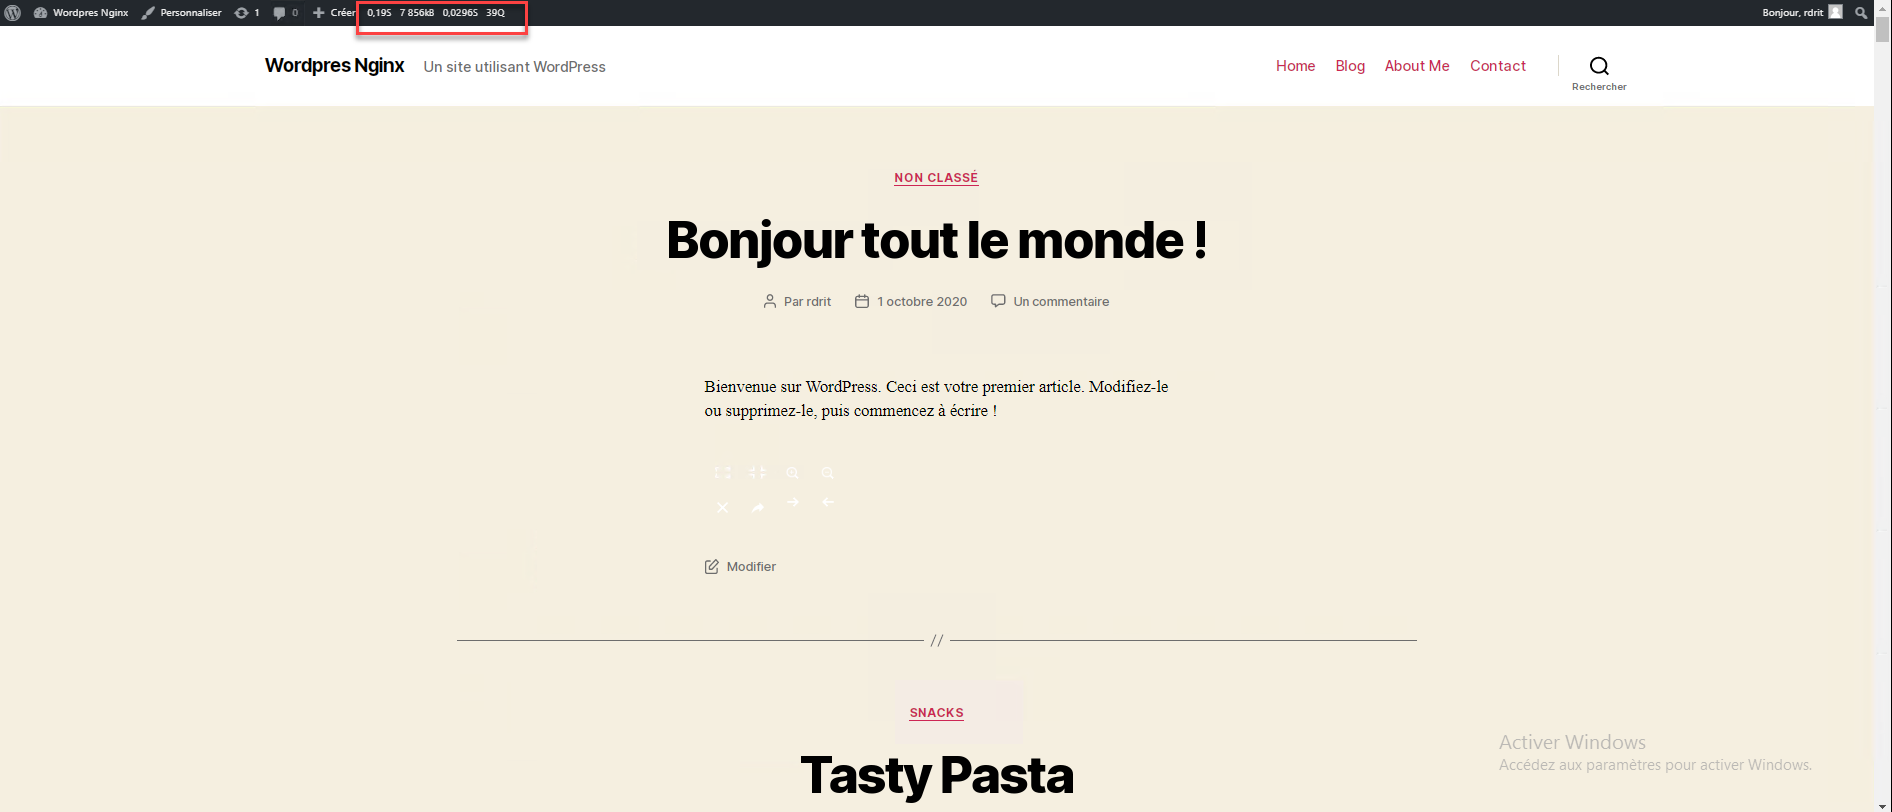
The extension is activated 1, you can also see in the administration bar, the PHP 2 generation information and in particular the number of requests.

As a reference value, I will take the number of requests on the home page, as can be seen in the capture below, I am at 39 requests.
Memcached
We will start with Memcached, first of all, we must install the service on the server, then install the PHP extension and finally an extension on WordPress for support on the CMS.
Installing Memcached
From a terminal enter the following command for installation on Ubuntu / Debian:
sudo apt install memcached -y
Once the installation is complete, to confirm that it is working correctly, enter the following command to connect to the Memcached service :
telnet 127.0.0.1 11211To exit enter the command quit.
quit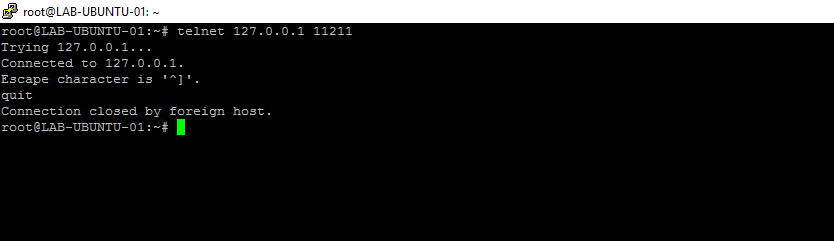
Install the Memcached extension for PHP
Still in SHELL, enter the following command to install the php-memcached extension:
sudo apt install php-memcached -yRestart the PHP service used by WordPress:
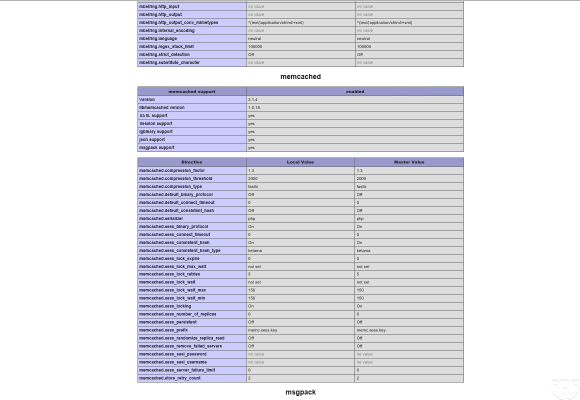
sudo systemctl restart php7.3-fpmIn order to verify that the extension is active, the easiest way is to go through a file with the phpinfo () function and verify that the memcached section is present.
Using Memcached with WordPress
The next part is to demonstrate the use of Memcached with WordPress in this tutorial, for production use, I recommend the use of a cache plugin managing the Object cache like LsCache or W3 Total Cache.
The plugin used below does not allow you to purge the cache.
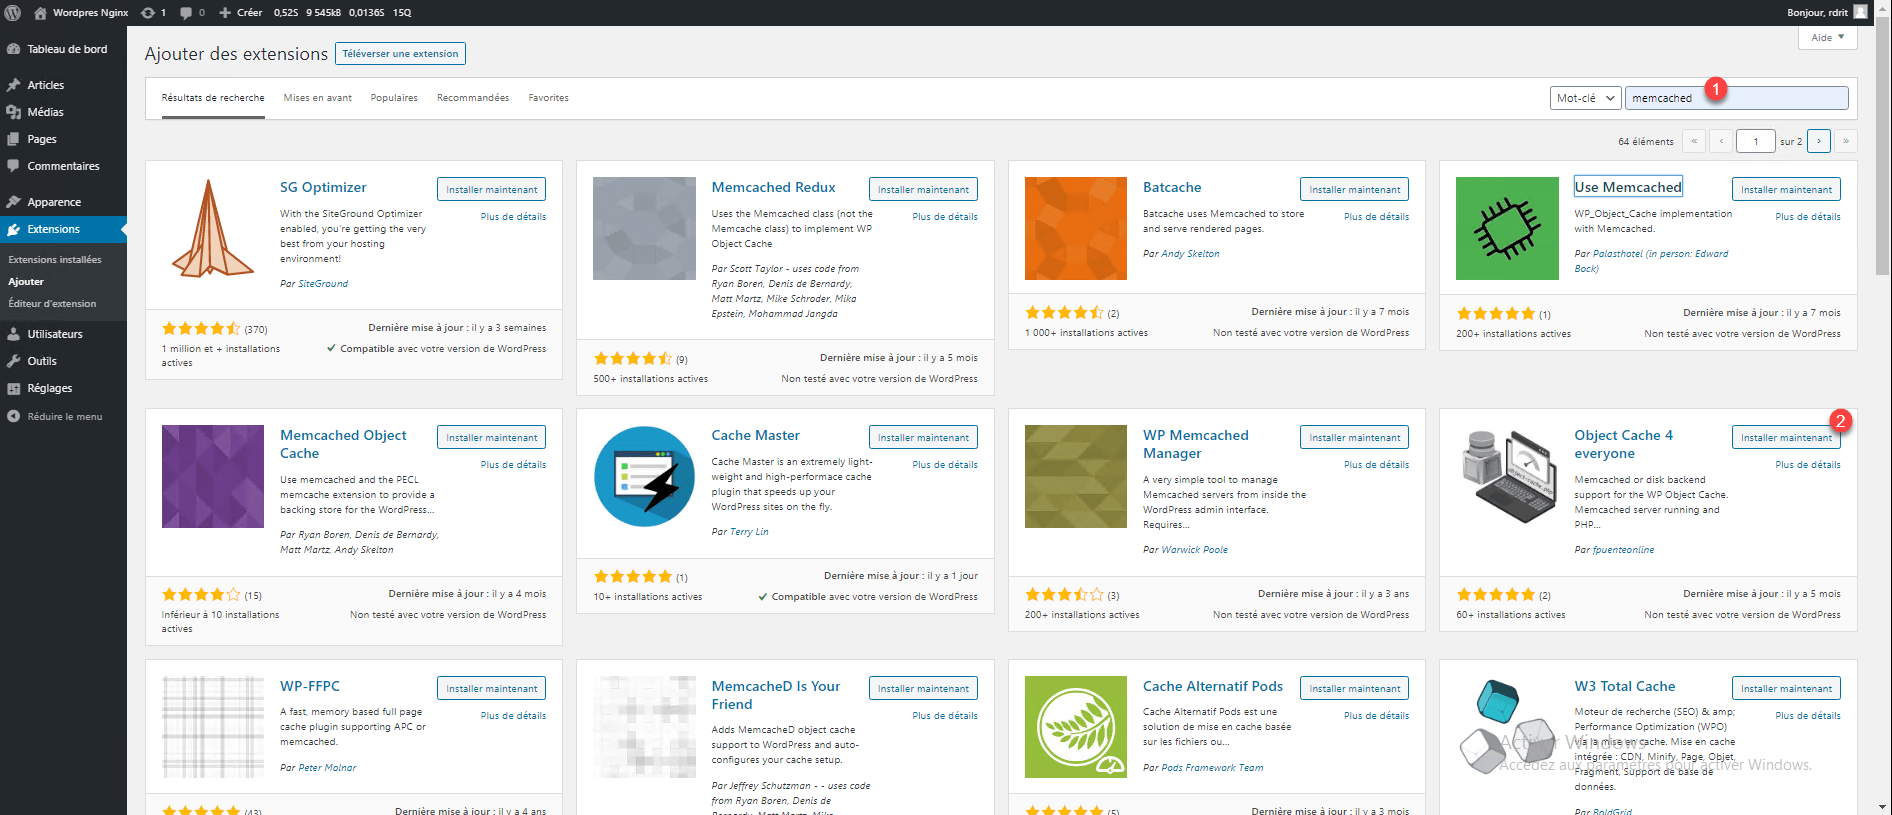
From the WordPress administration, go to the add extensions page, search for memcached 1 and click on Install now 2 on the Object Cache 4 everyone plugin.
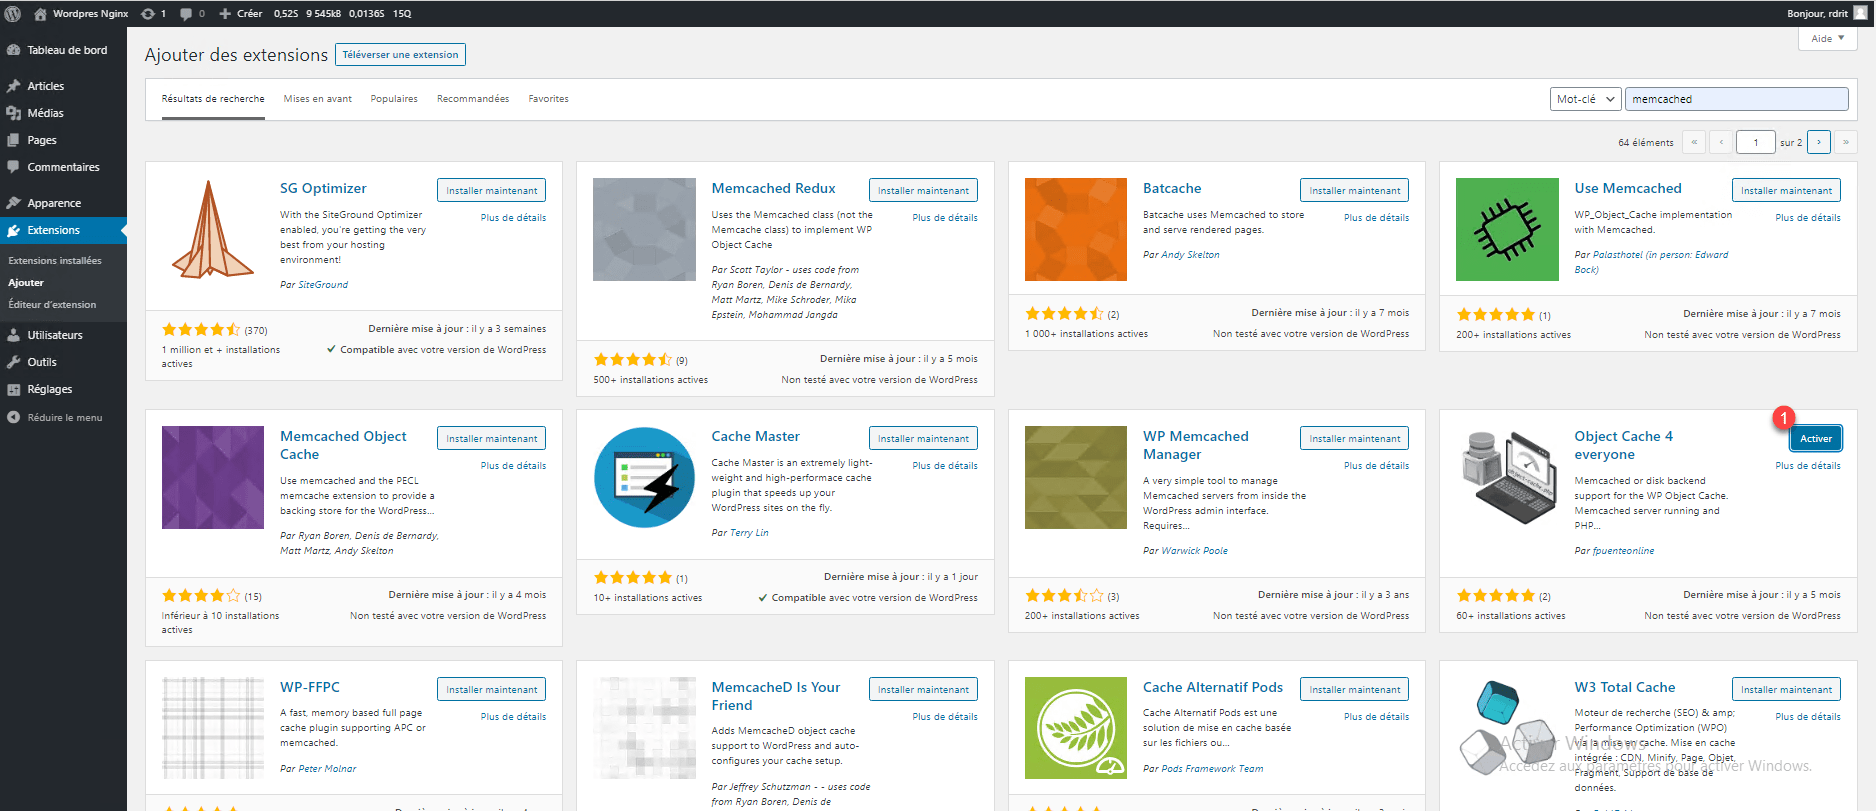
Once the installation is complete, click on Activate 1.
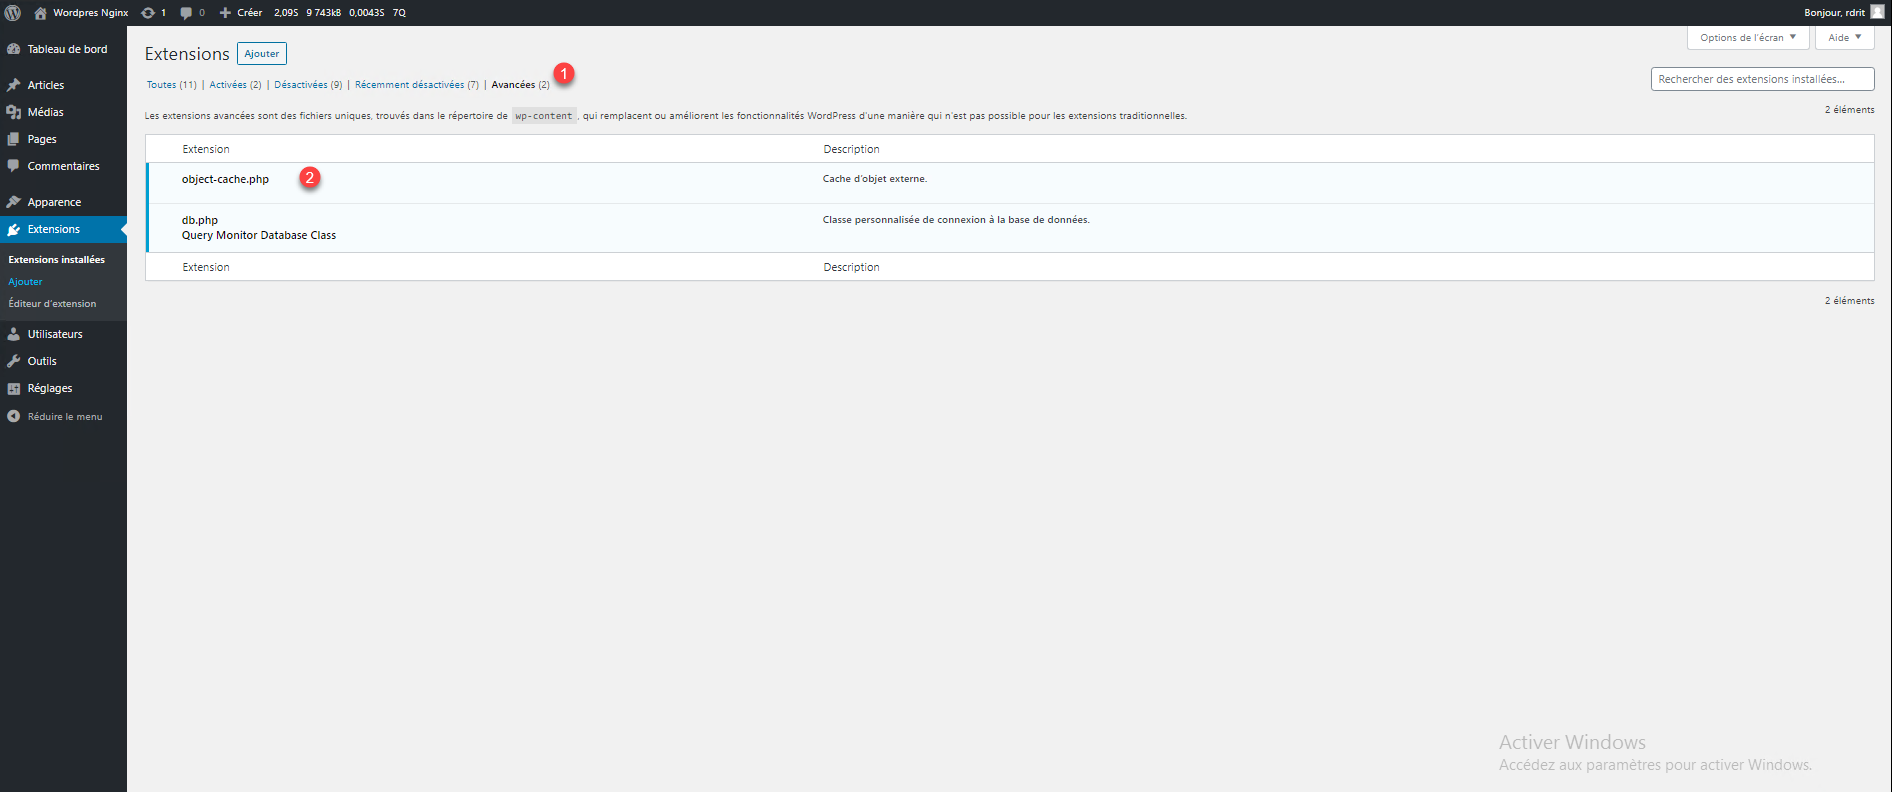
Once the activation is complete, check in the Advanced extensions 1, to have object-cache.php 2.
Go back to the home page of the site and refresh it (2 times to build the cache) and we can see that to generate the page only 8 requests were made against 39 requests without Memcached.
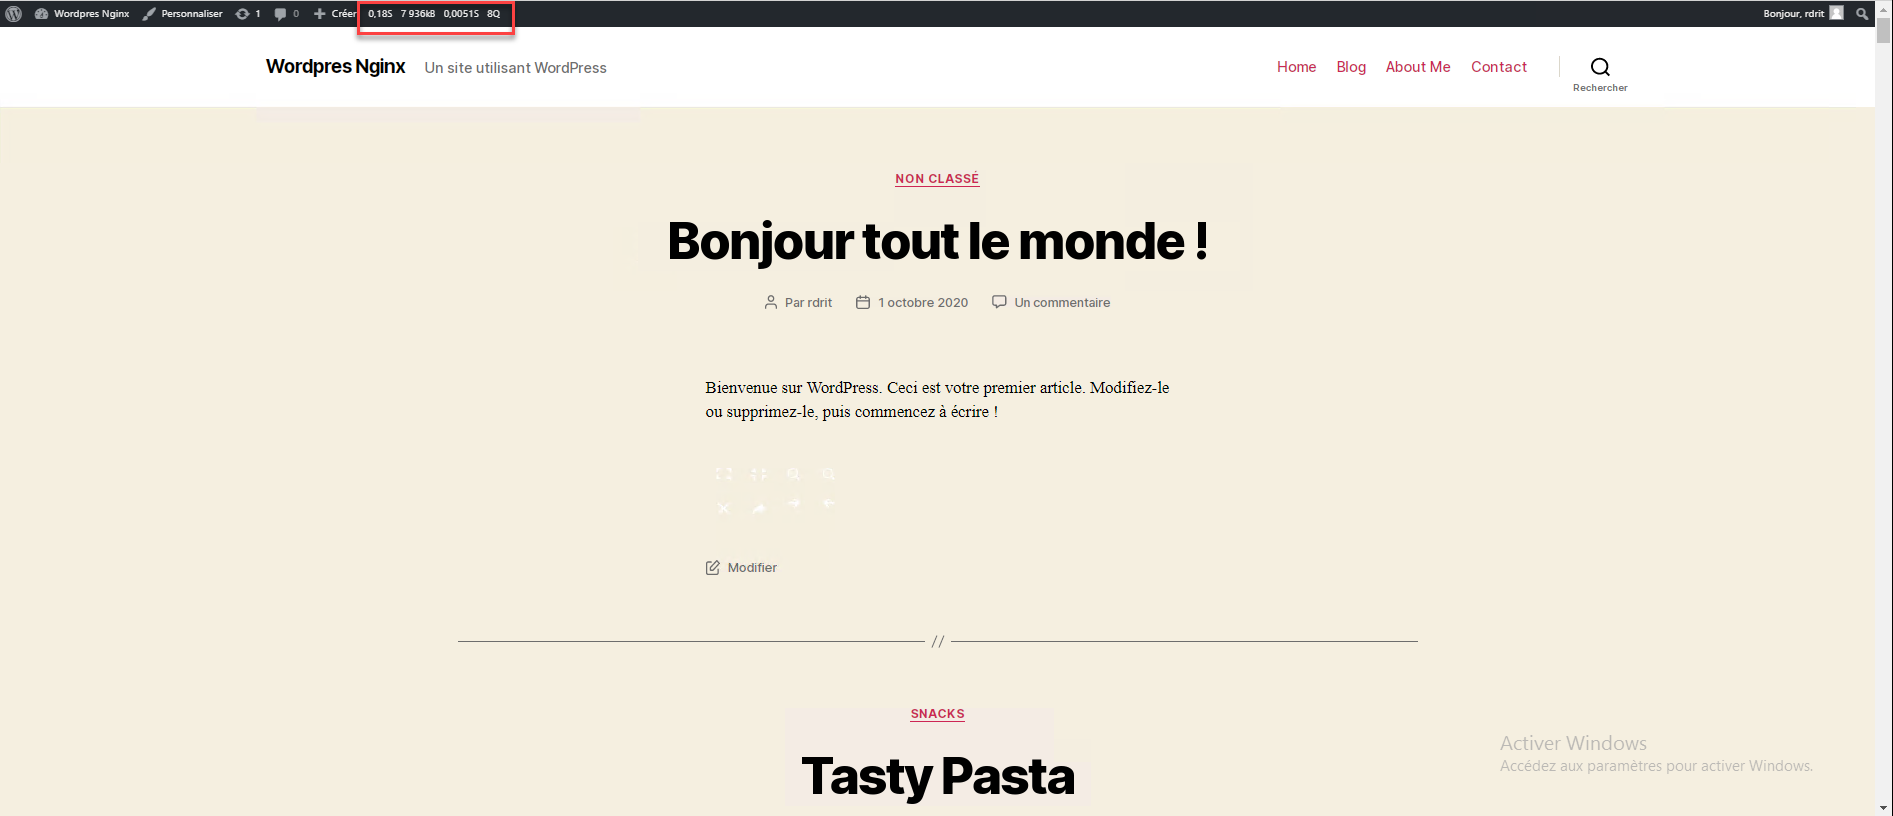
The result is quite impressive, the performance gain on a WordPress site without plugins and without content with little influence on the generation time. The object cache can greatly improve this generation time on a site with several dozen plugins and articles by limiting the number of requests. And it feels for the visitors.
Redis
Like Memcached, you have to install the packages on the server, the PHP extensions and the WordPress extension.
Installation of REDIS
Enter the following command for REDIS installation on the server:
apt install redis-server -y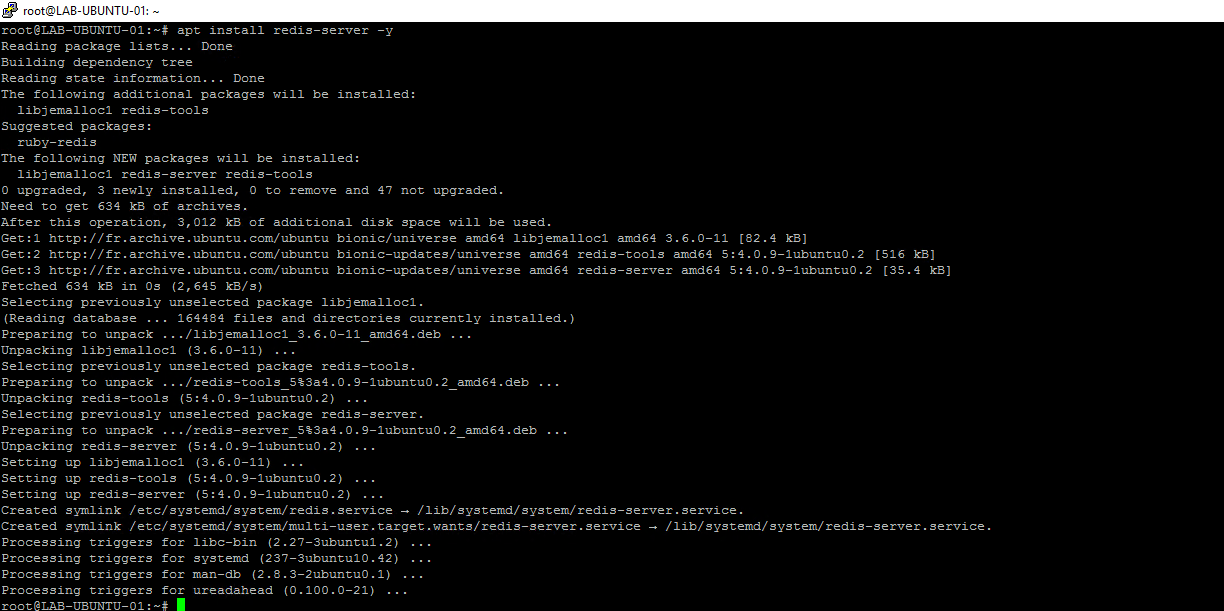
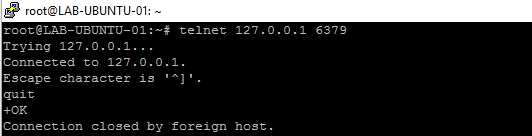
To test the REDIS service, there are several solutions.
With TELNET enter the following command:
telnet 127.0.0.1 6379For telnet exit enter quit.
With redis-cli
Enter the following commands:
redis-cli
ping
If everything works the answer is PONG.

To exit from the Redis client enter: quit
Install the Redis extension for PHP
To install the Redis extension for PHP enter the command below replacing X with the version of PHP that is being used.
apt install php7.X-redis -y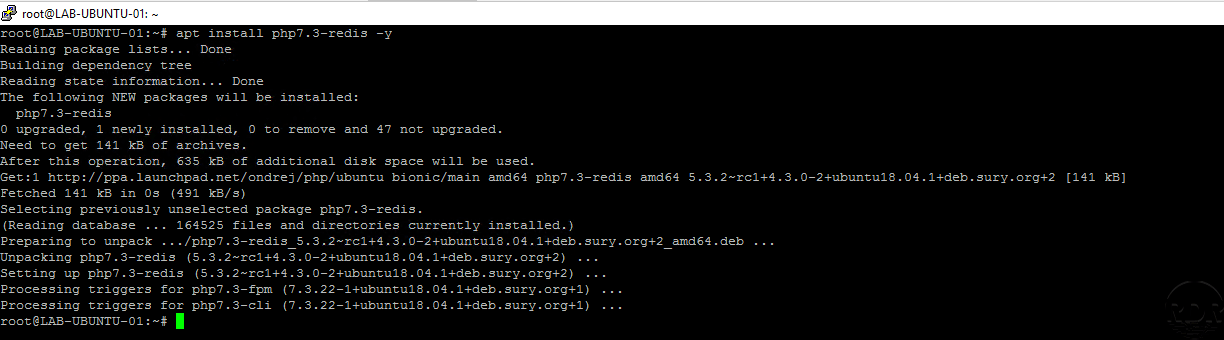
To verify that the Redis module is properly installed, check from the phpinfo () function that the redis section is present.

Using Redis with WordPress
If you have installed a Memcached extension, it must be disabled before installing the Redis extension.
The next part is to demonstrate the use of Memcached with WordPress in this tutorial, for production use, I recommend the use of a cache plugin managing the Object cache like LsCache or W3 Total Cache.
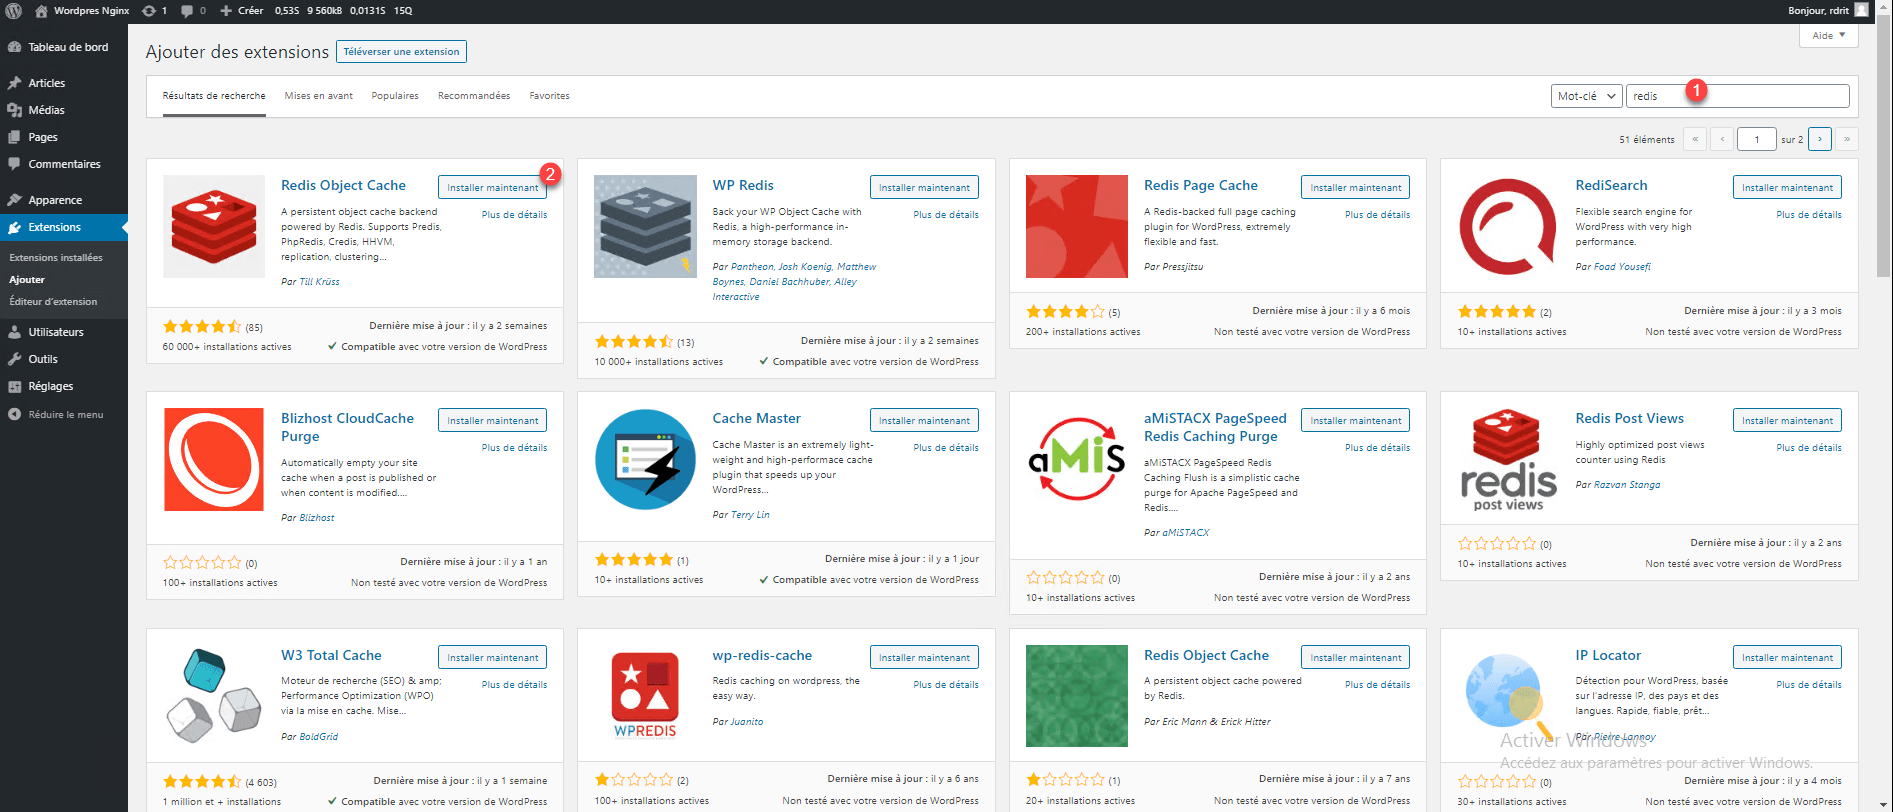
From the WordPress administration, go to the add extensions page, search for redis 1 and click on Install now 2 on the Redis Object Cache plugin.
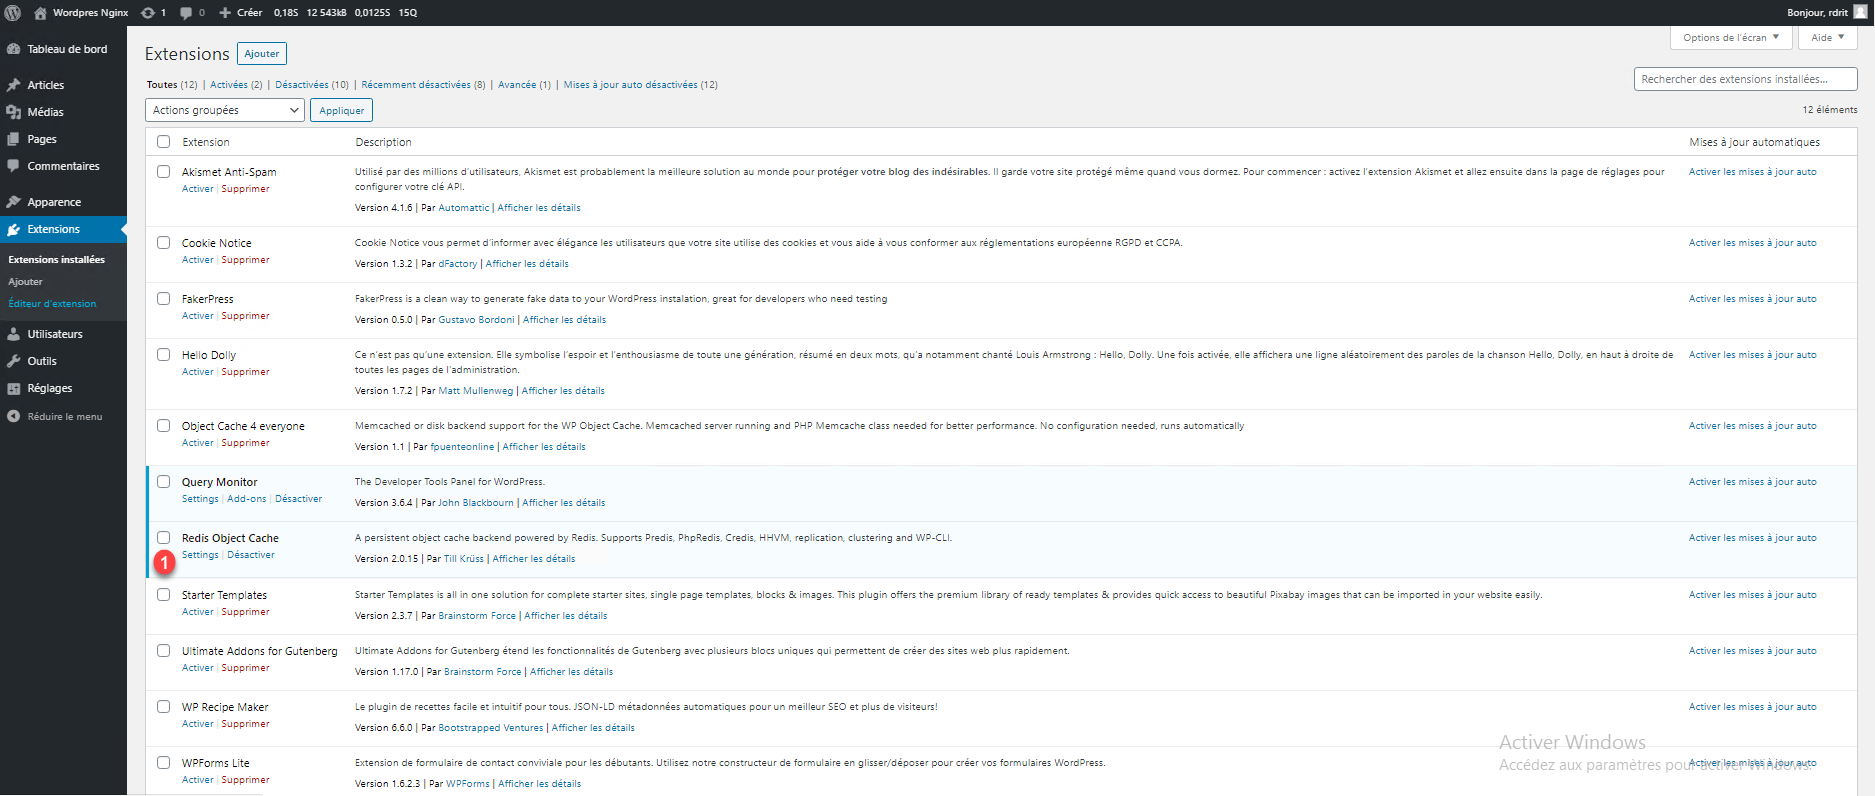
Once the installation is complete, click on the Activate 1 button.

Once the plugin is installed and redirected to the extensions page, at the Redis Object Cache plugin level, click on Settings 1.
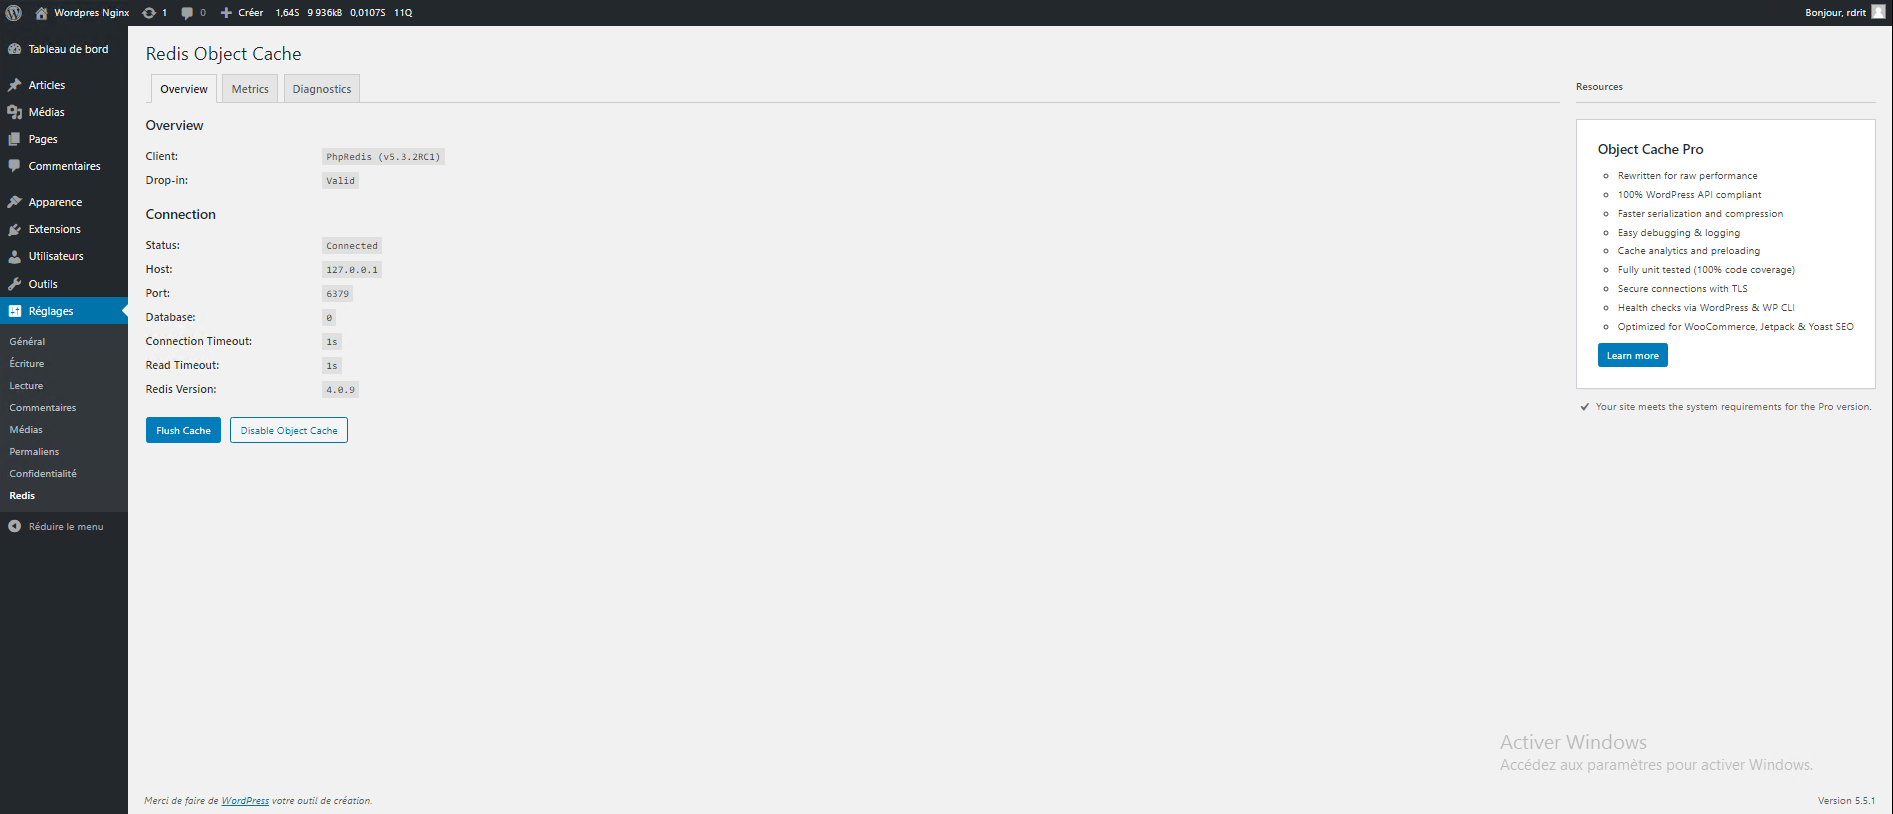
Click on Enable Object Cache 1.
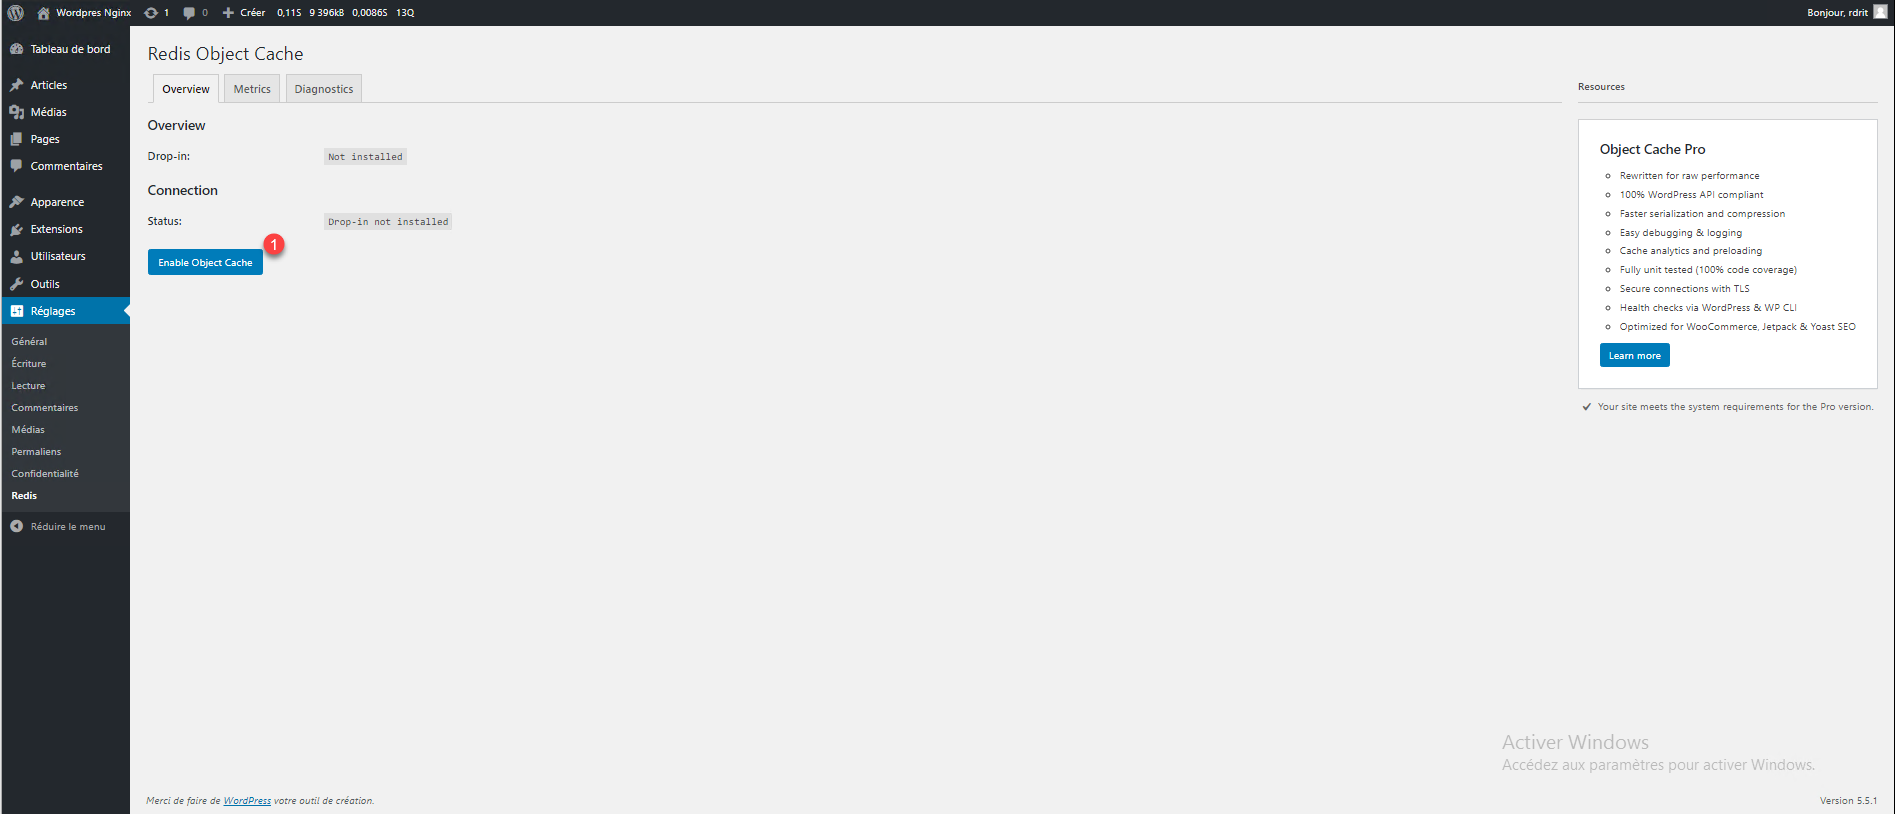
Once the object cache is activated, we can see that the connection to the Redis server is made. With this extension, it is possible to purge the cache by clicking on Flush Cache.
Go back to the home page of the site and refresh it (2 times to build the cache) and we can see that to generate the page only 6 requests were made against 39 requests without Redis.

Memcached or Redis?
Now that you have seen both solutions, you are probably wondering about the choice … the two solutions are equivalent, the best is to test both and make the choice yourself.
It is not possible to use both at the same time for the Object cache, on the other hand if you use the W3 Total Cache plugin, it is possible to use the two services simultaneously for different functions, for example the page cache HTML on Memcached and Object cache on Redis.
Conclusion
Hope this tutorial will help you install WordPress on Nginx environment.
