In this tutorial, I will explain how to install a theme on the WordPress CMS.
Before starting, the “technical” explanations, I will explain to you what a theme if you are new to WordPress.
In general, a WordPress theme will define the visual / design of a site. There are thousands (free or paid) that are available on the WordPress directory, and on other MarketPlace.
Most WordPress themes can be customized directly from the pages by clicking on custom which is located in the WordPress administration bar, depending on the theme, the number of customization options varies.
Now that you basically know what a WordPress theme is, let’s see how to install one.
Installing a theme on WordPress
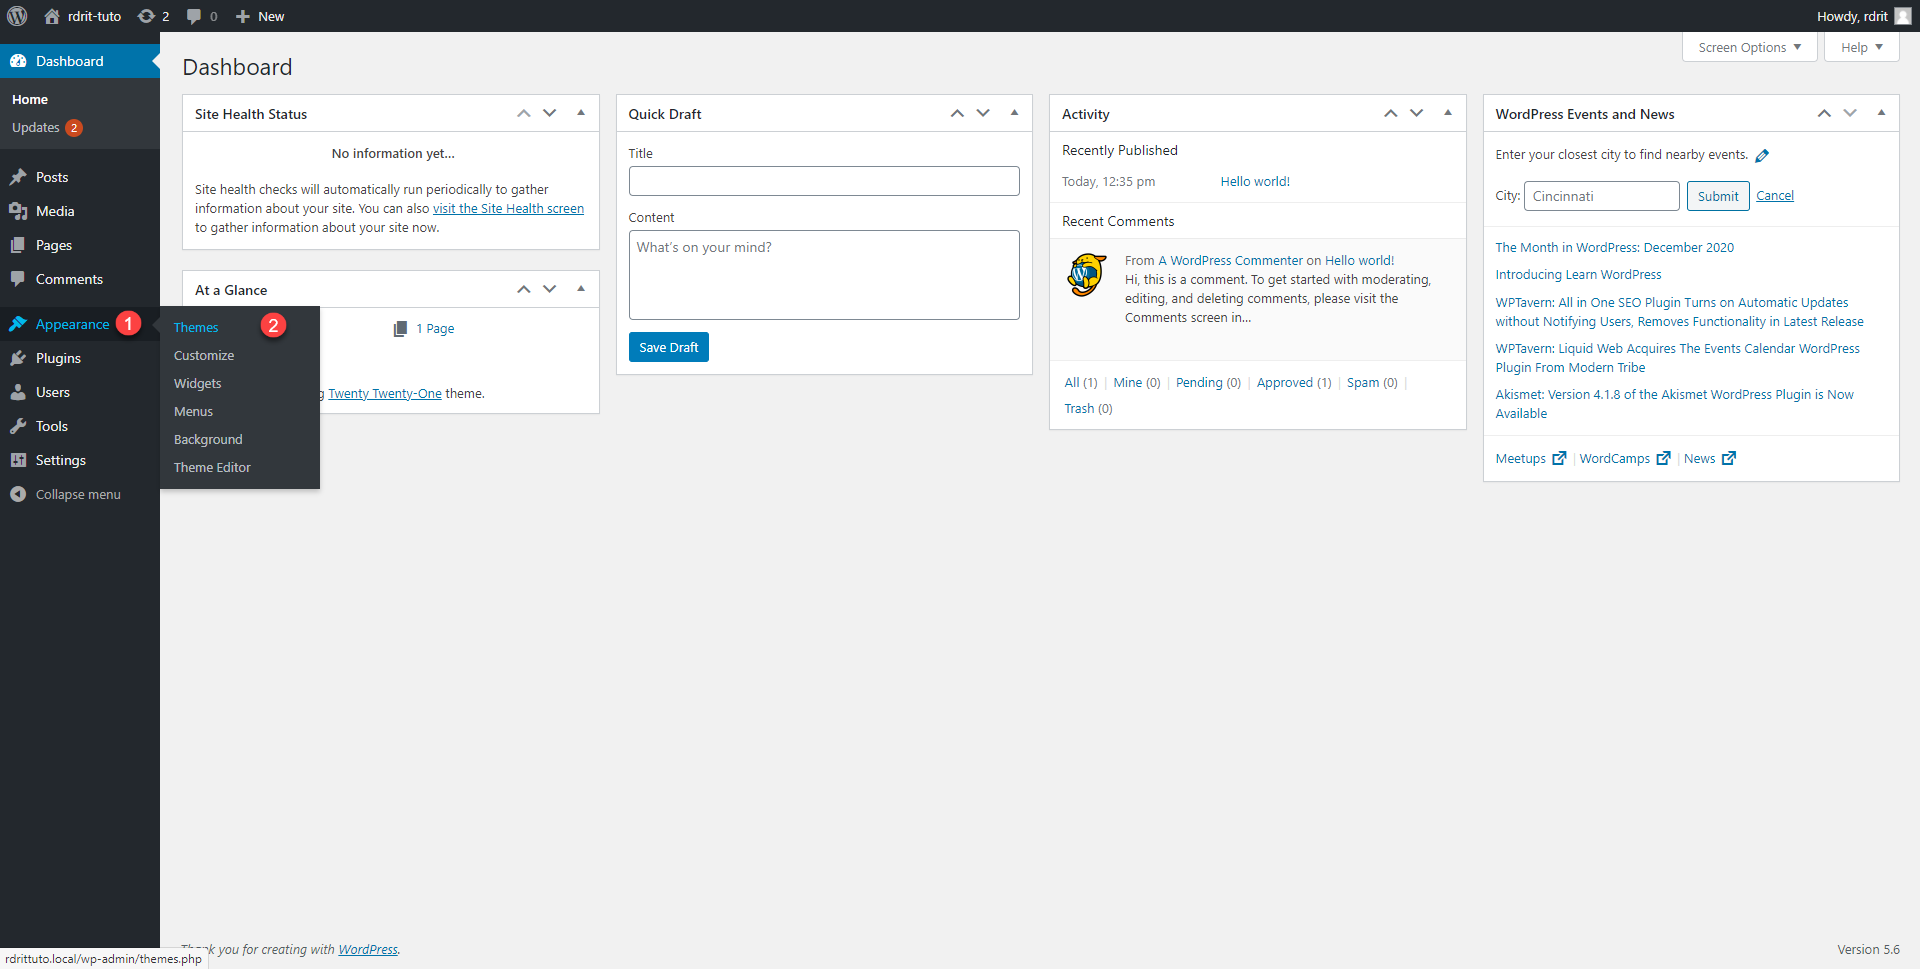
1. From the WordPress administration, go to Appearance 1 and click on Themes 2.
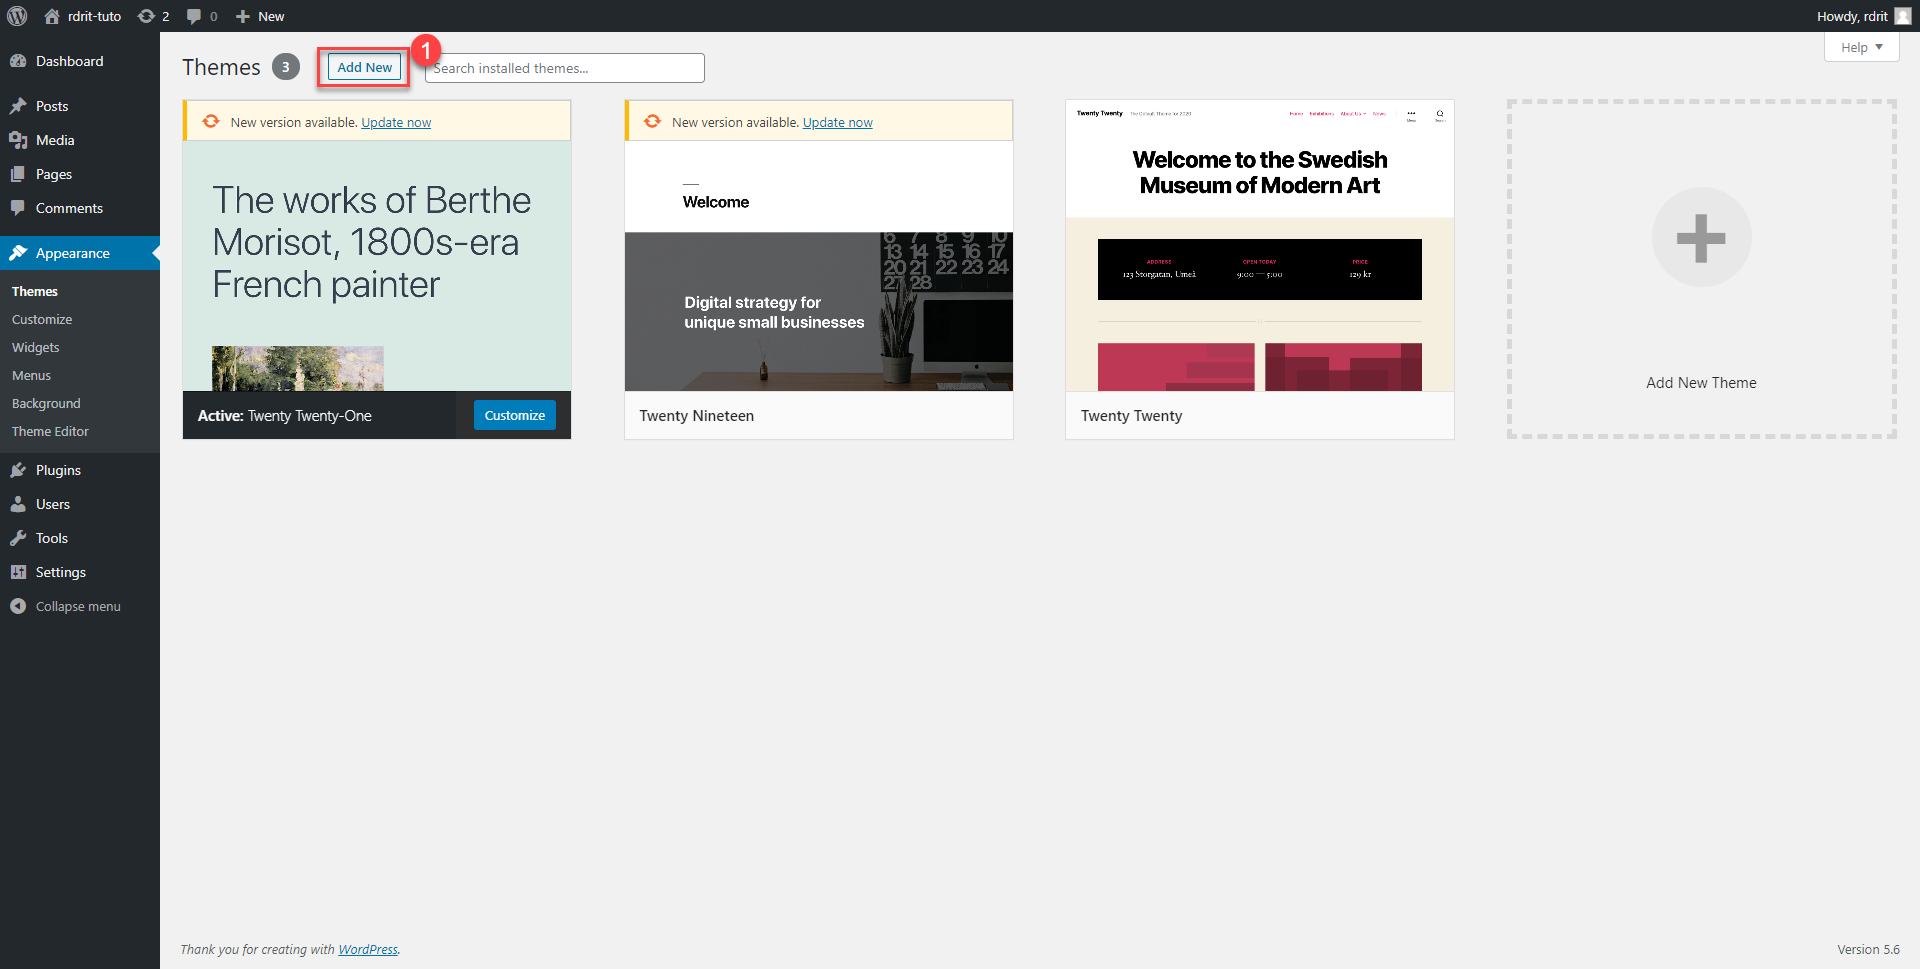
2. Here we find all the themes installed on the site, click on Add (Add New) 1.
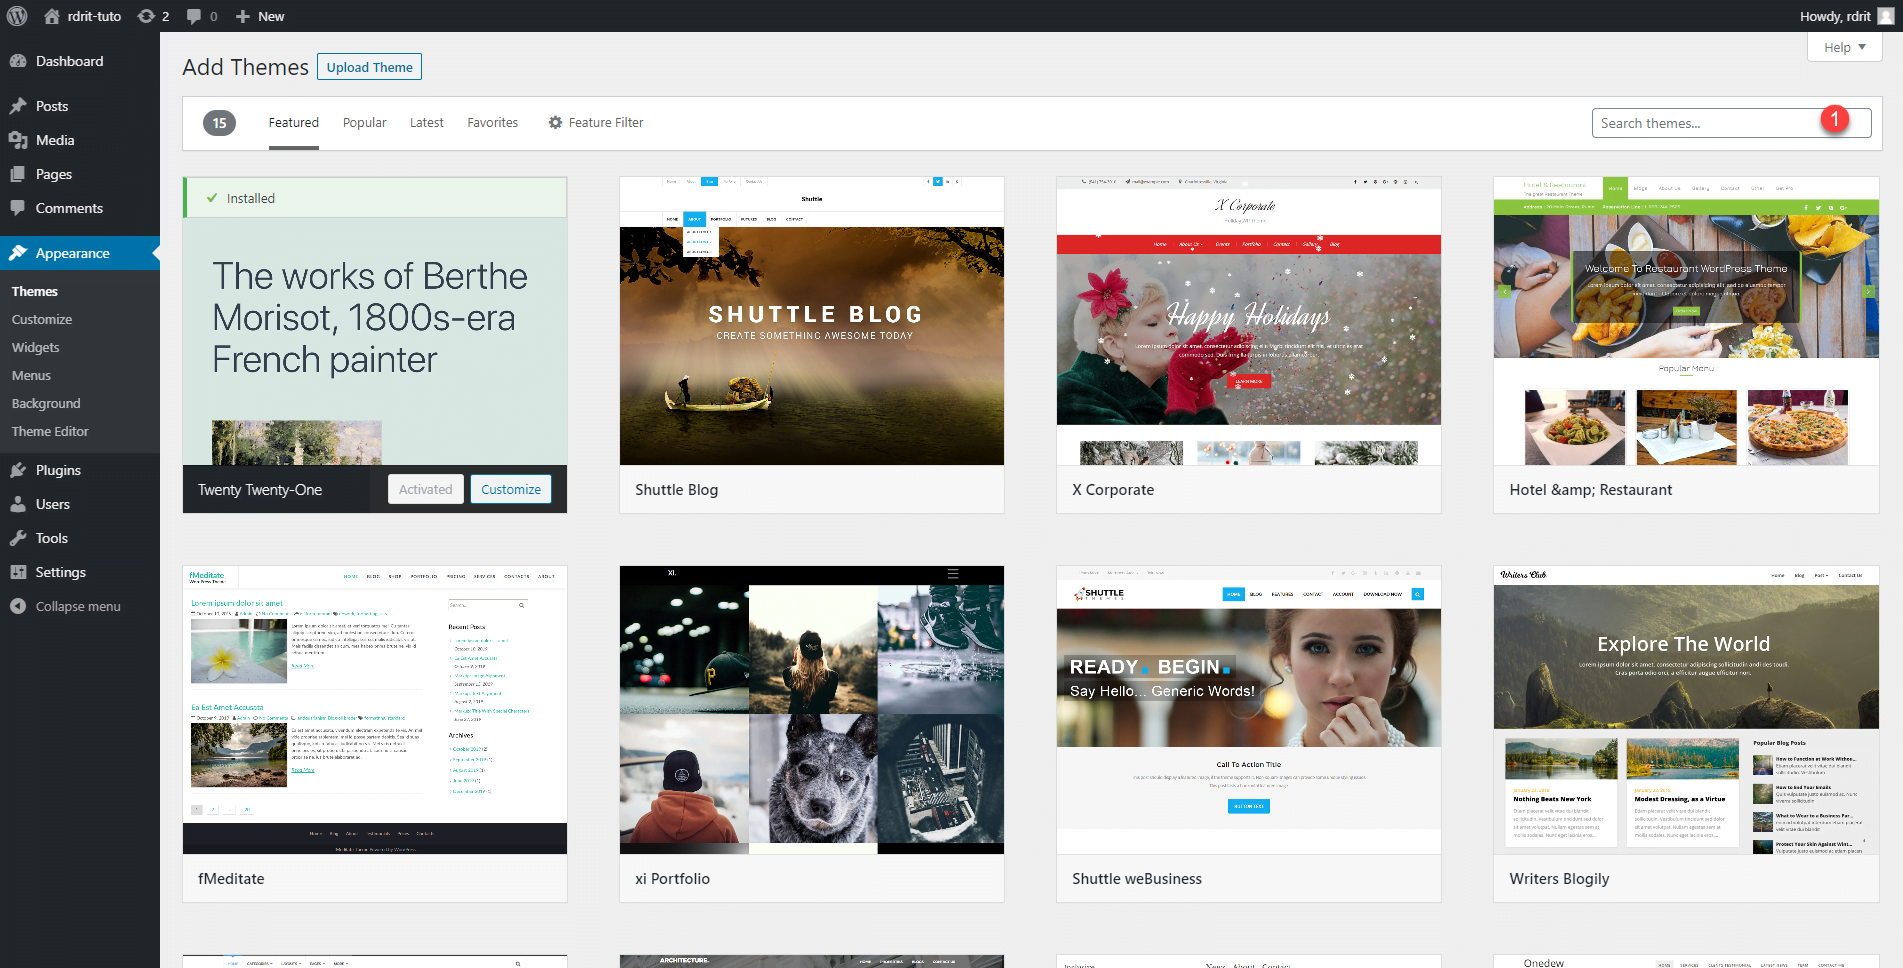
3. We arrive on a MarketPlace, which is the official WordPress theme directory, where it is possible to navigate between the themes to make your choice and then install in one-click. Position your cursor in the 1 search area.
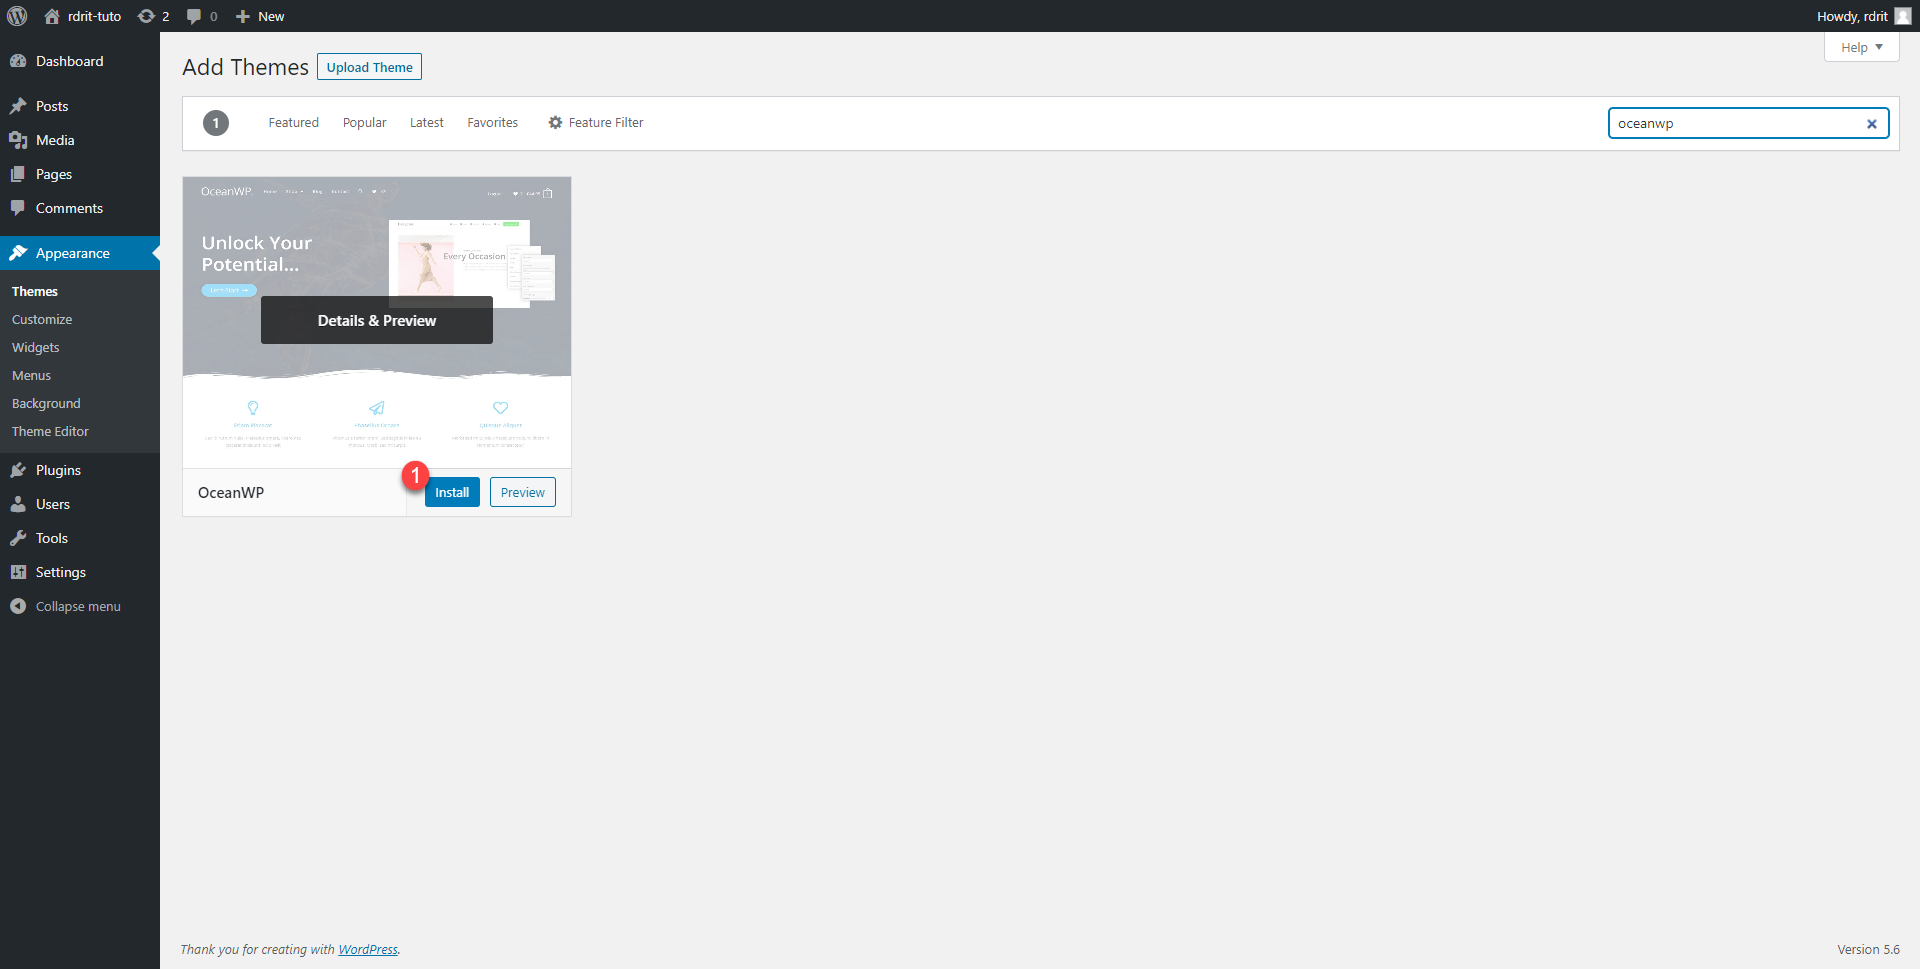
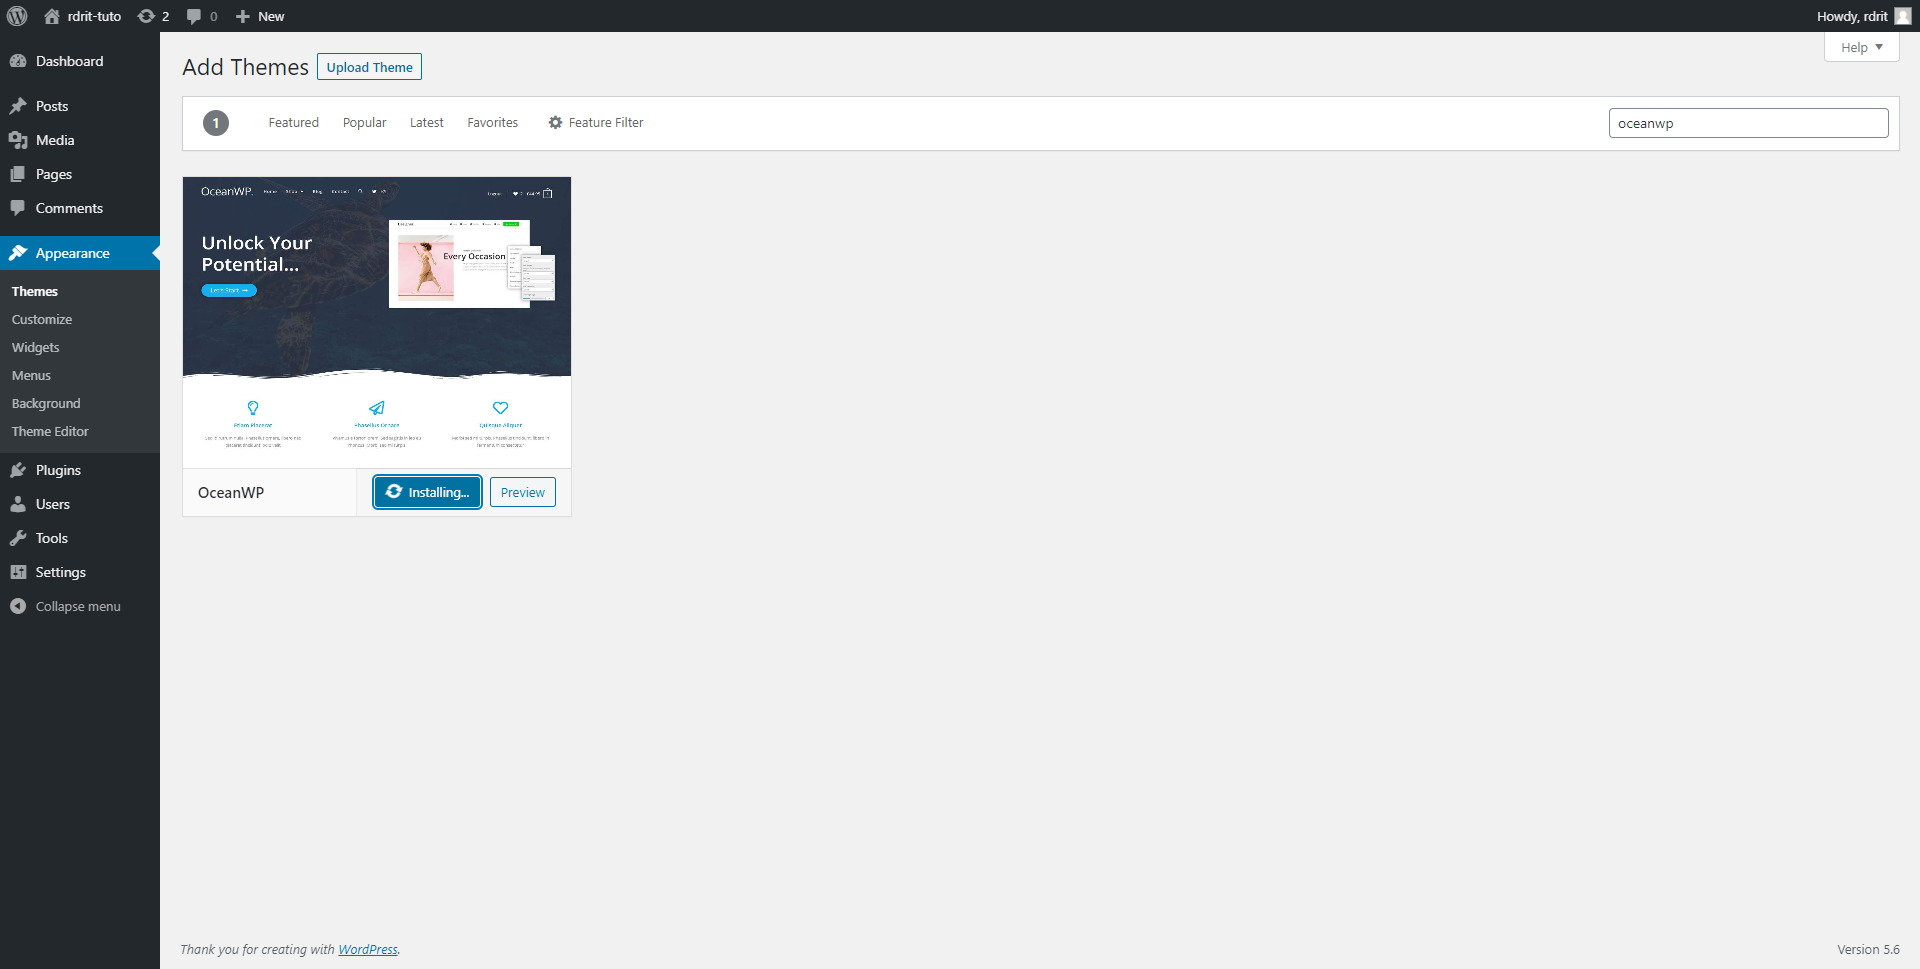
4. In the search box, enter the name of a theme or a keyword to display related themes., Here I will enter oceanwp 1, the search result is displayed below 2> >.

5. Hover the mouse cursor over the theme and click on the Install 1 button.
6. Wait while installing the theme …
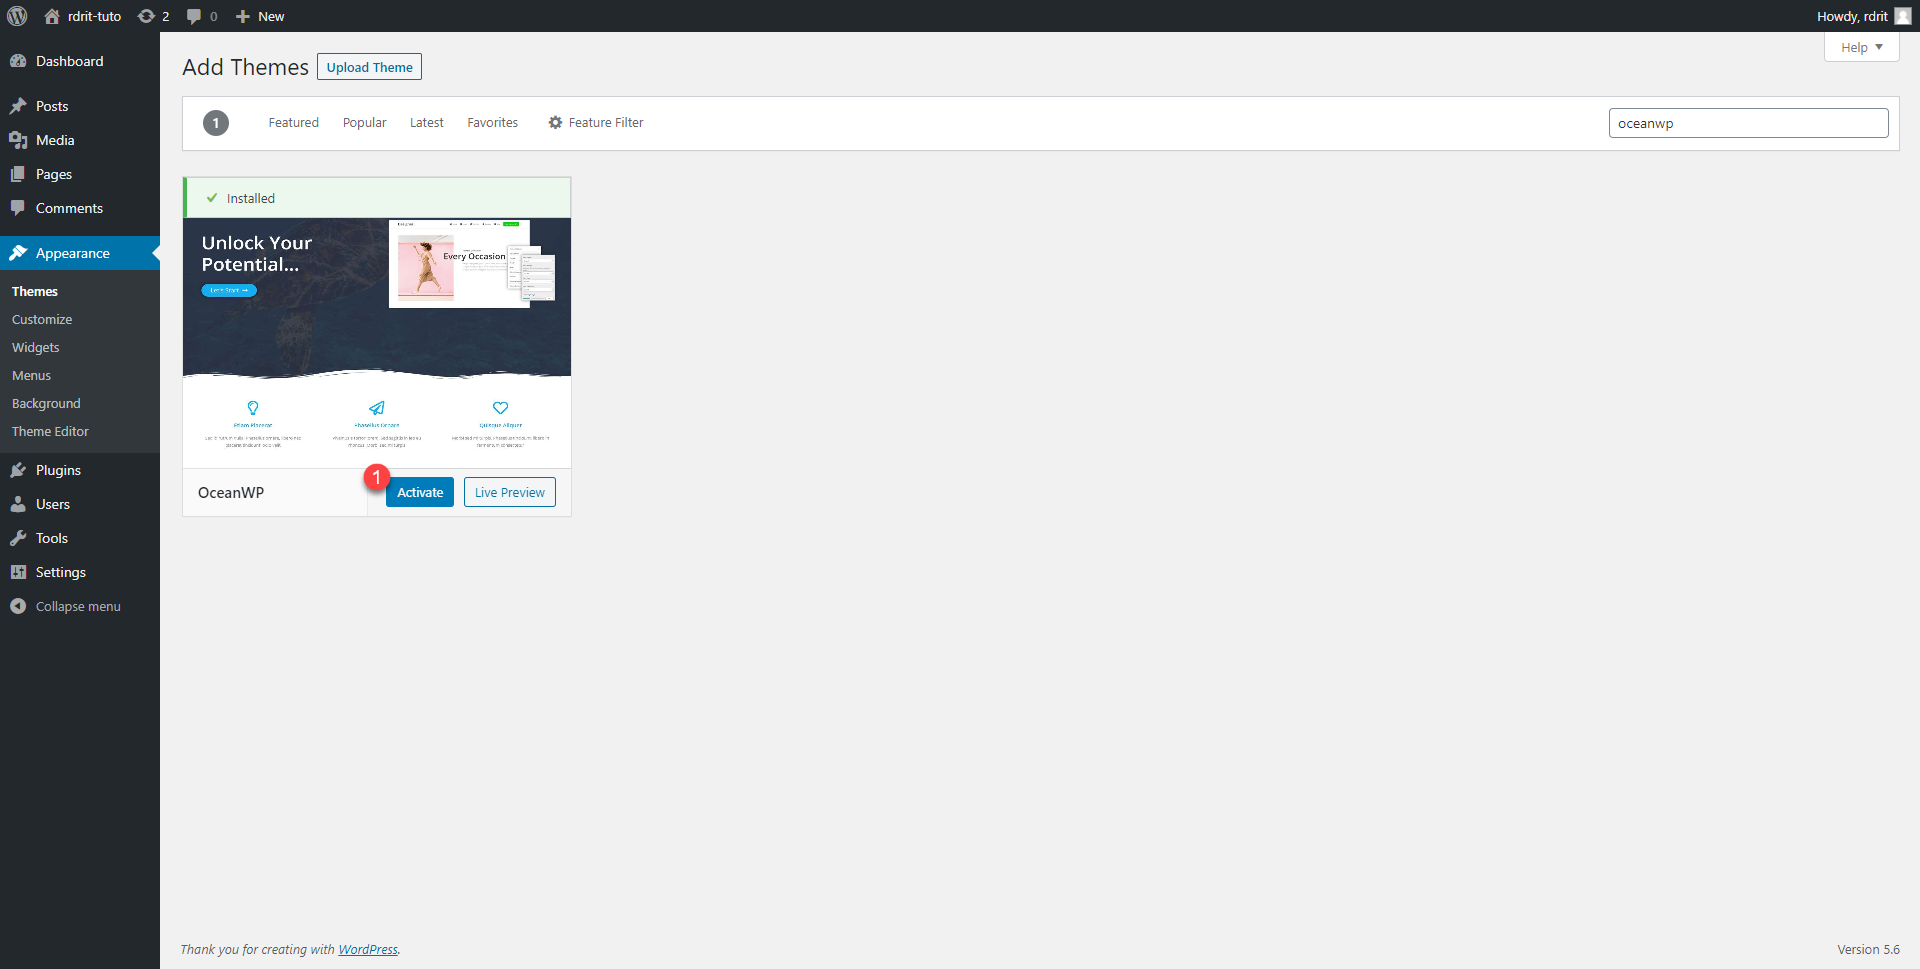
7. Once the theme is installed in WordPress, click on the Activate 1 button to make it active.
8. Once the activation is complete, we are redirected to the WordPress theme management page, we can in the upper part of the page, a notification message indicating that the theme is activated 1, and we can also see in list of themes installed, the active theme 2 is indeed this one installed.

The active theme is always the first in the list.
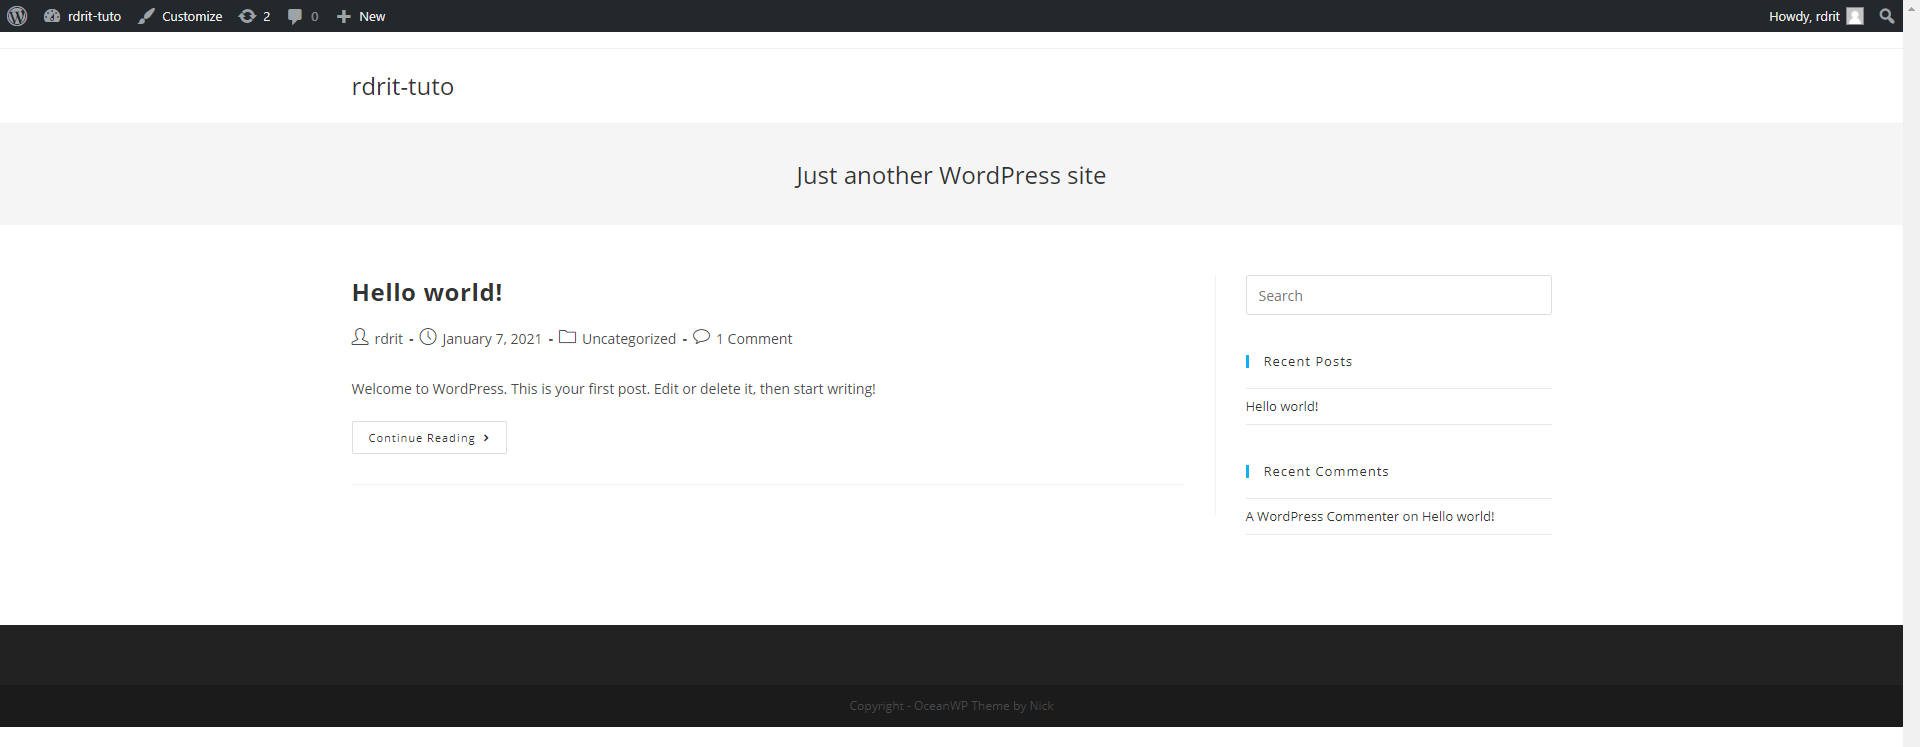
9. Go to the home page to see the result.
Theme customization
In this tutorial, I will not go into details, because this part is specific to each theme, but I will explain in general terms how to customize the theme that you have just installed and activated.
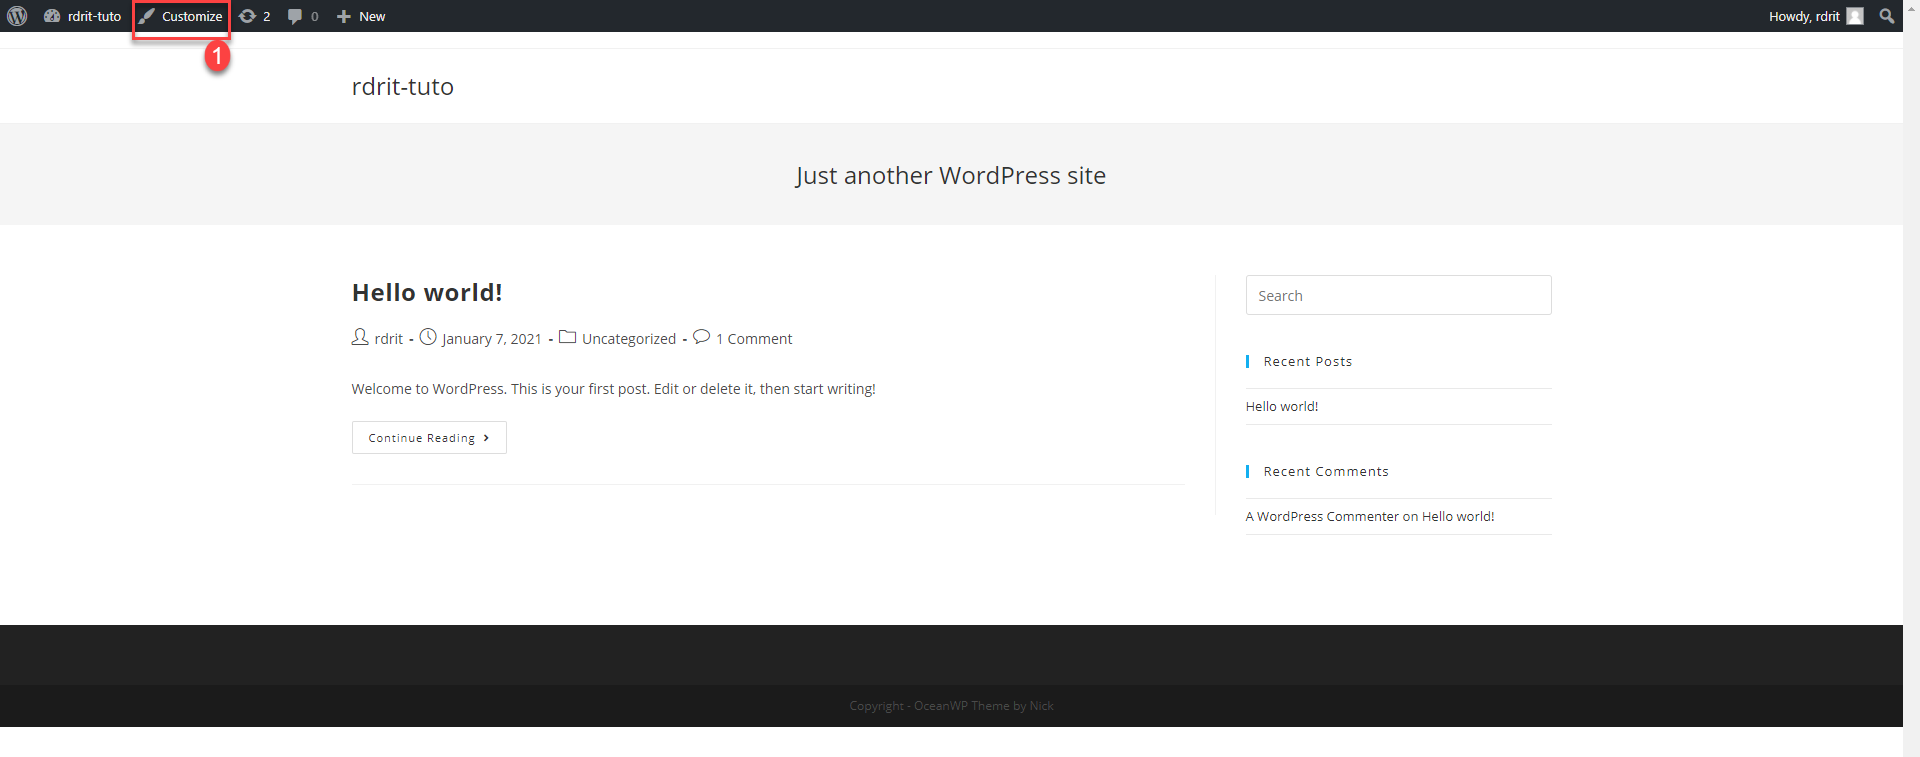
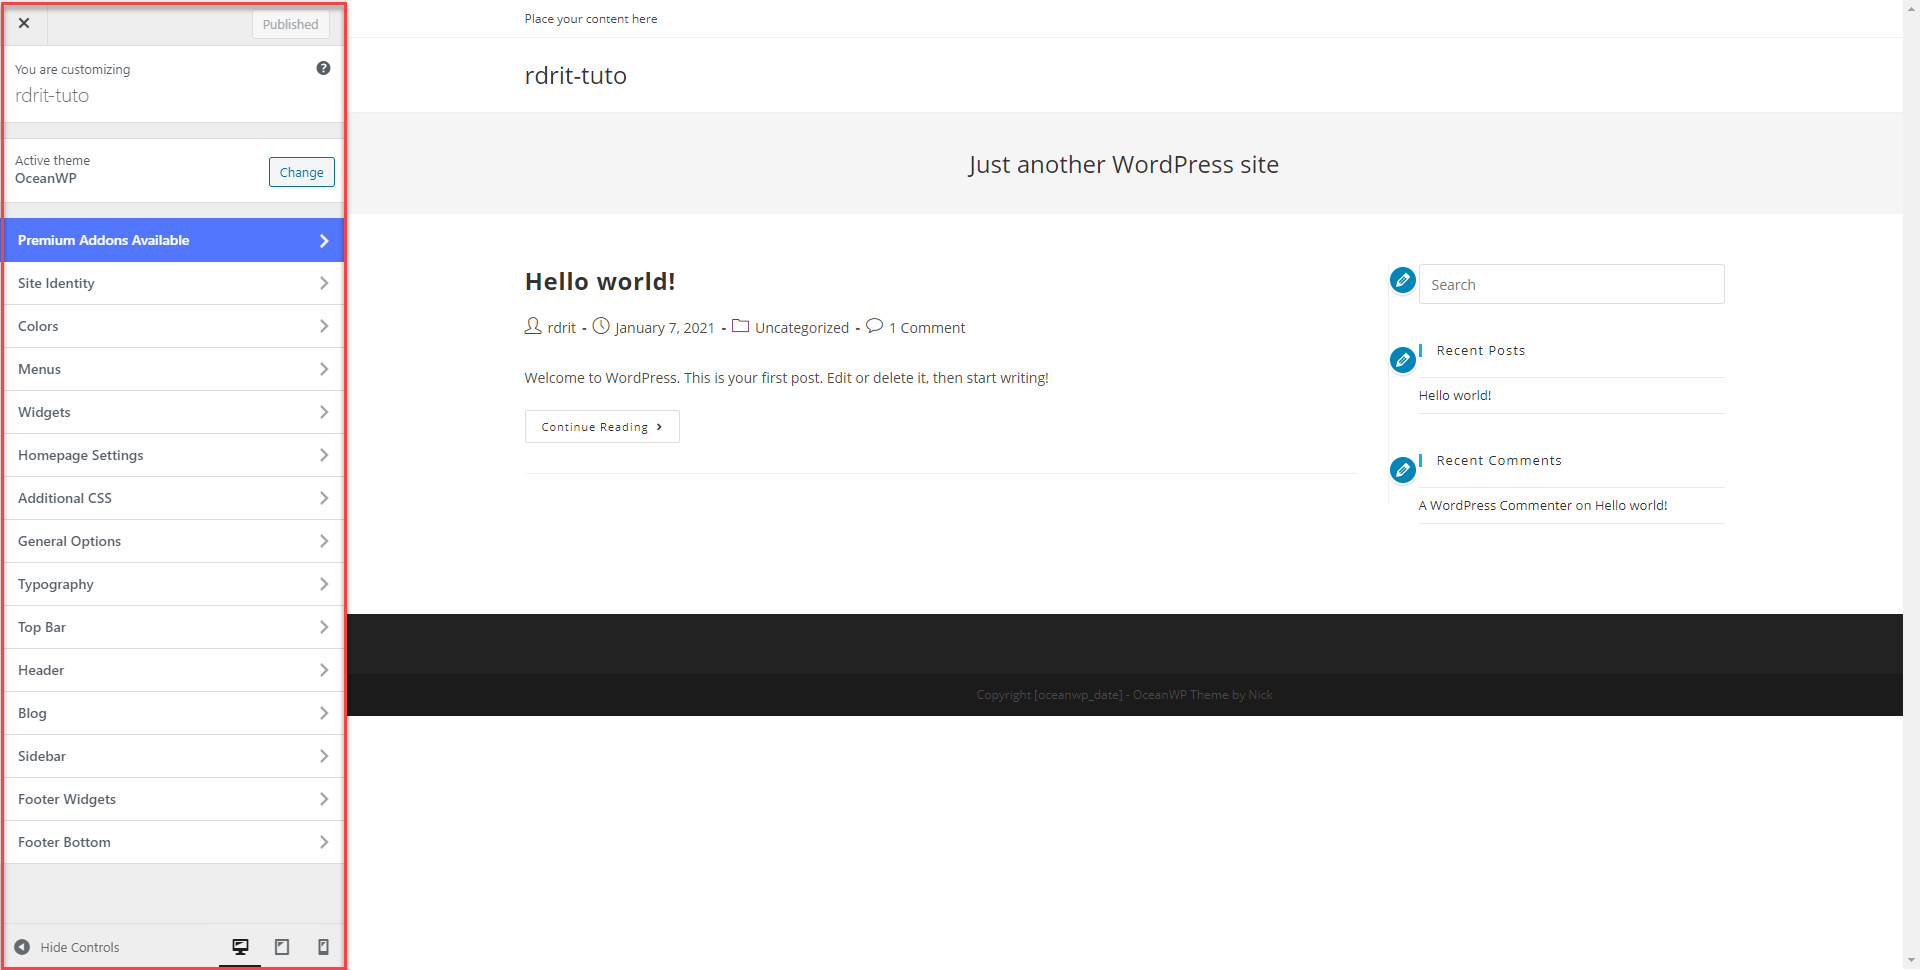
1. From the front of the site being logged in with administration rights, click on Customize in the admin bar.
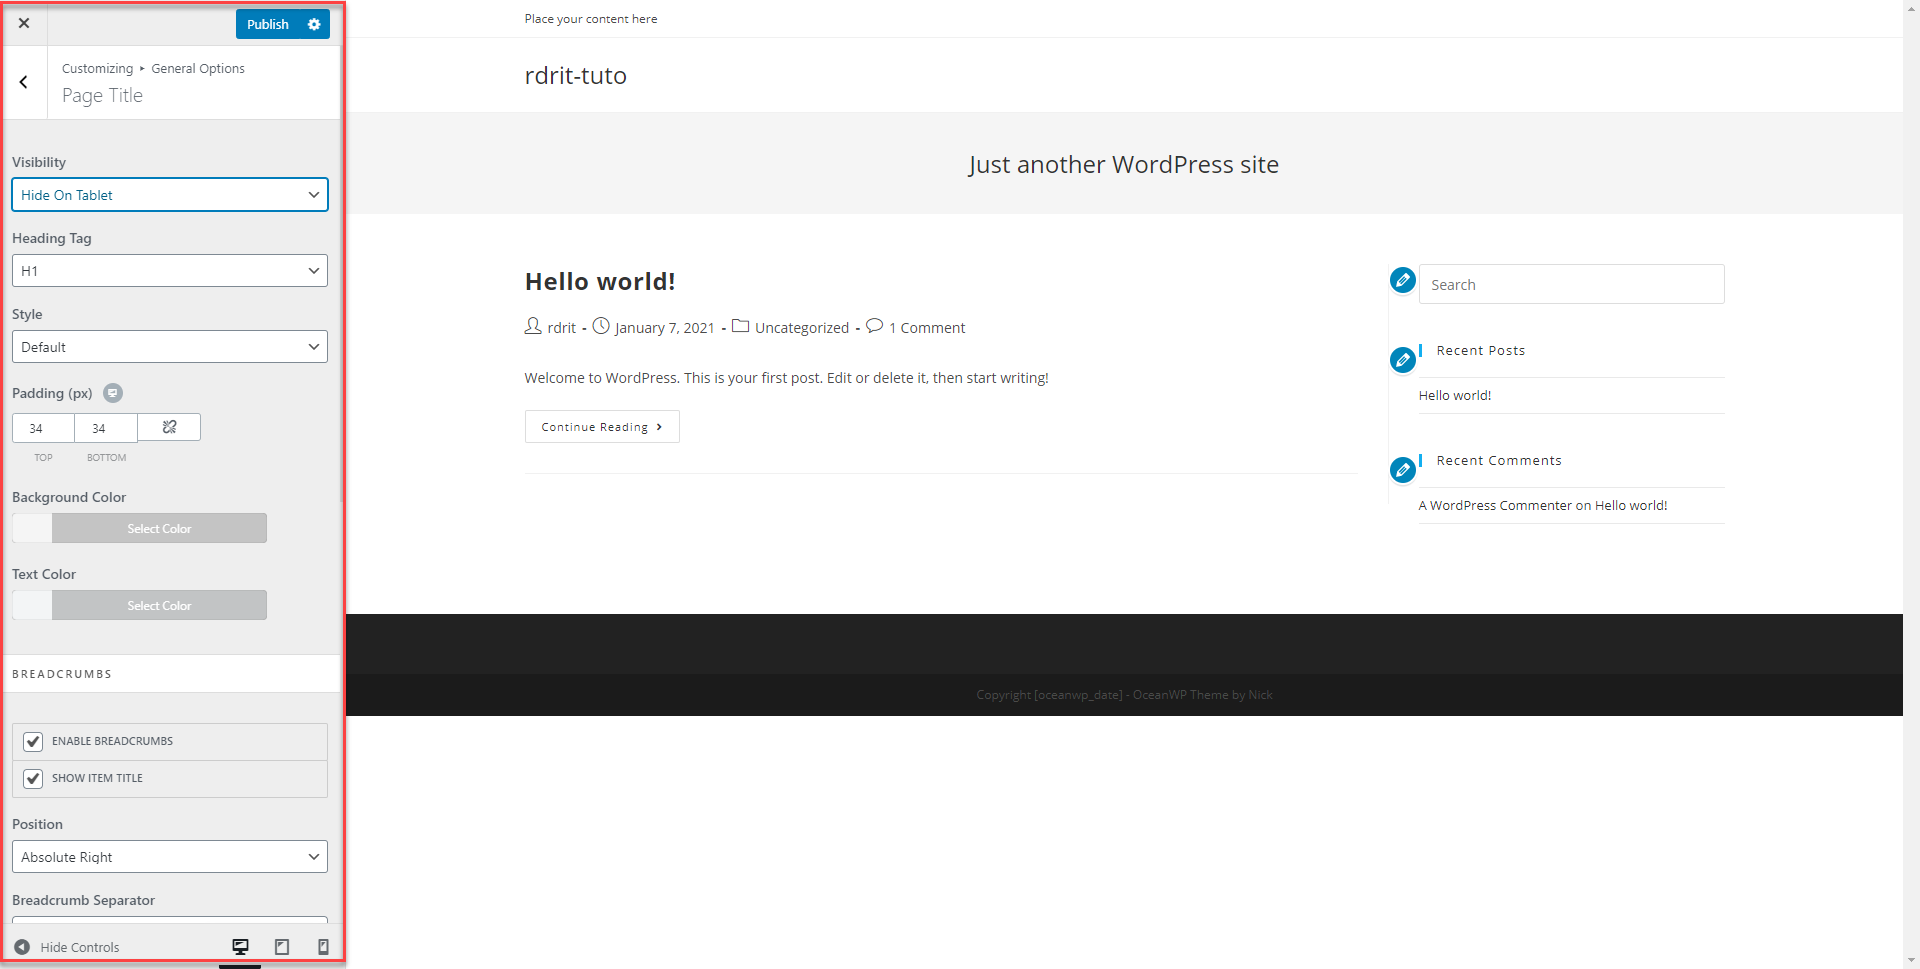
2. Once in “personalization” mode, navigate through the different options of the theme, personalize the different elements you wish to modify.
3. Publish the changes by clicking on the Publish 1 button located at the top of the customization panel.

It is possible to schedule the publication of changes by clicking on the gear.
4. Wait while saving and publishing changes to the WordPress theme.
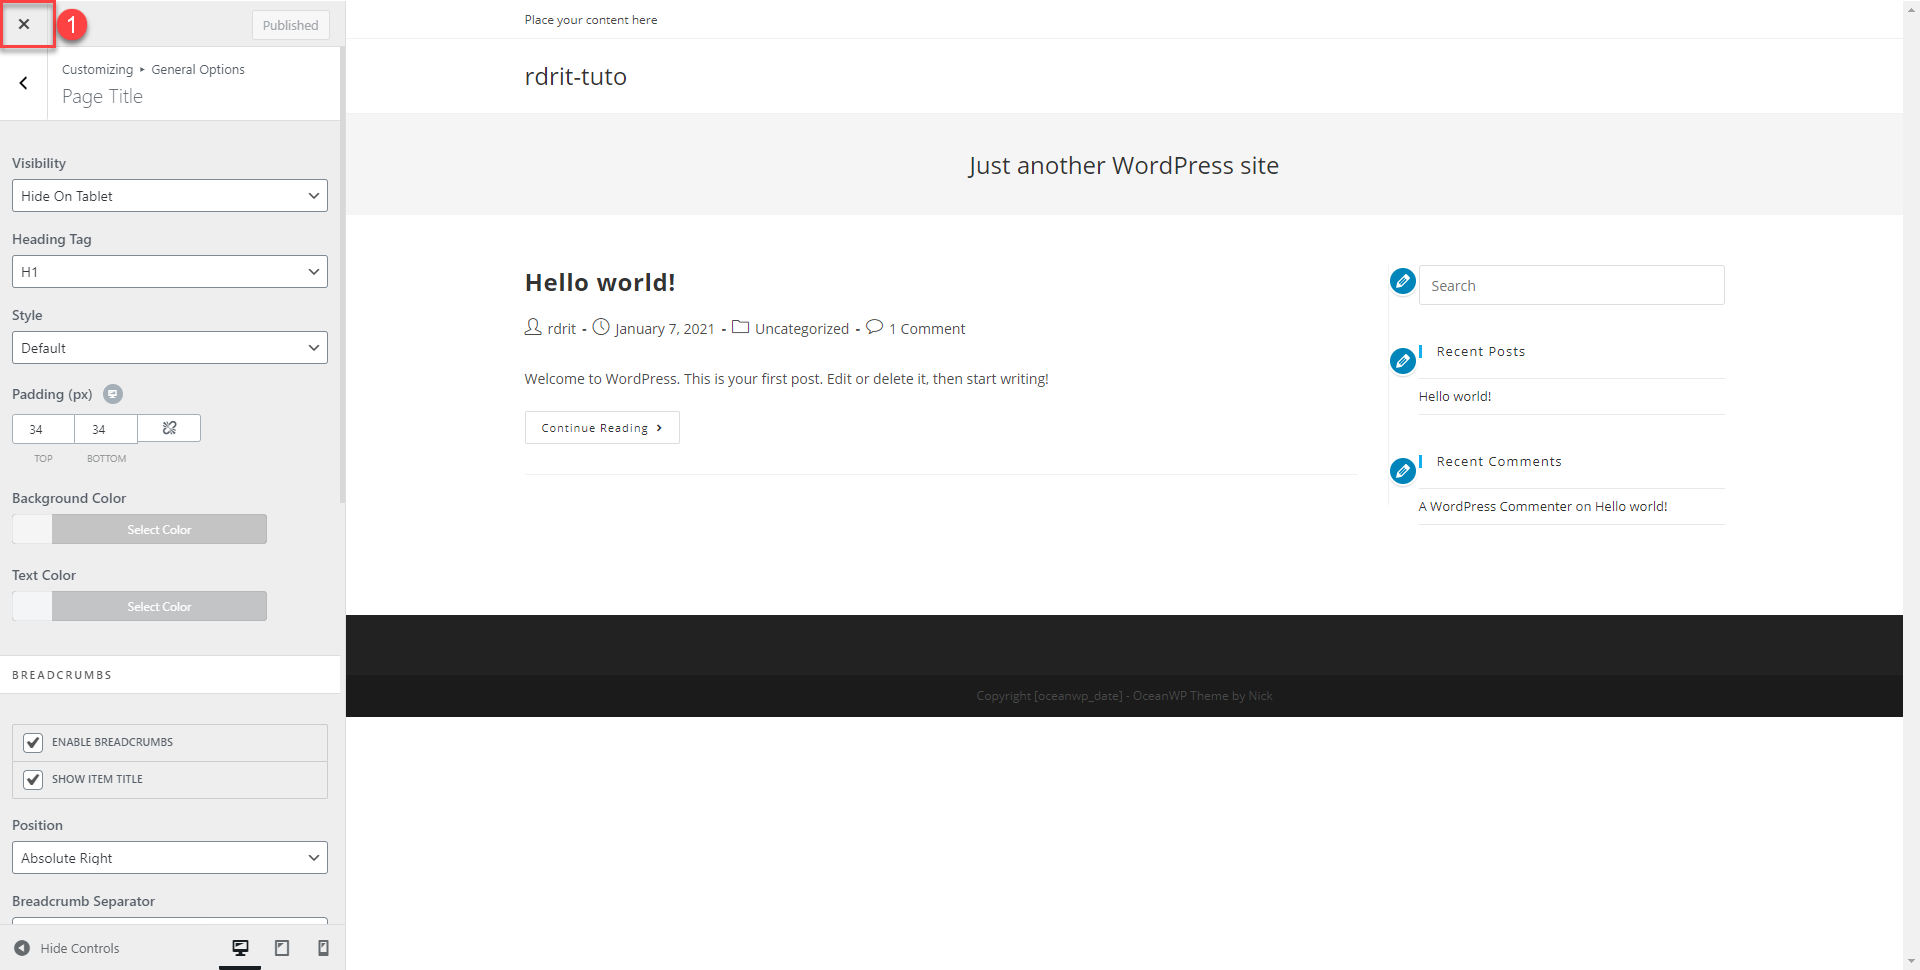
5. Once the publication is done, click on the arrow 1 to close the edition of the theme and return to the site in a “normal” way.
The customization of the logo, favicon is done this part of WordPress, most themes also allow the management of Widgets from the customization.
As for other options, it depends a lot on the level of customization of the theme.
You now know how to add a theme to WordPress and access its customization options.
In a future tutorial, I’ll explain how to create a child theme and why to use it.
The choice of your theme is something very important, pay attention to the favorite theme, which may appeal to you at the time, but which may be a barrier to personalization due to its lack of options.
I also advise you not to test themes on a production environment, as themes can create a lot of records in WordPress tables.
