Telnet is a command line utility that is routinely used in network and system administration to test communication between their machine.
Telnet (or telecommunication network, or teletype network) is a protocol used on any TCP / IP network, to communicate with a remote server by exchanging lines of text and receiving answers also in text form
Source : wikipédia
Telnet is regularly used by network administrators for asset configuration (switch / router).
On Windows, the client is telnet is not installed by default.
Table of Contents
Installing the telnet client
1. Open the Control Panel and go to Programs and Features. Click Enable or disable Windows features 1 .

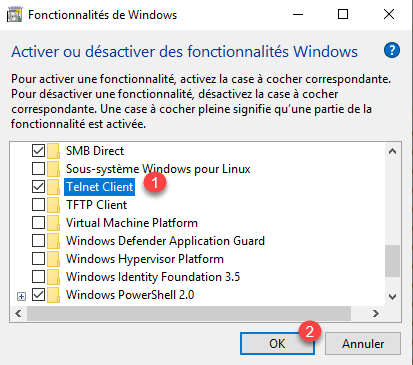
2. Tick the Telnet Client 1 box and click on OK 2 .
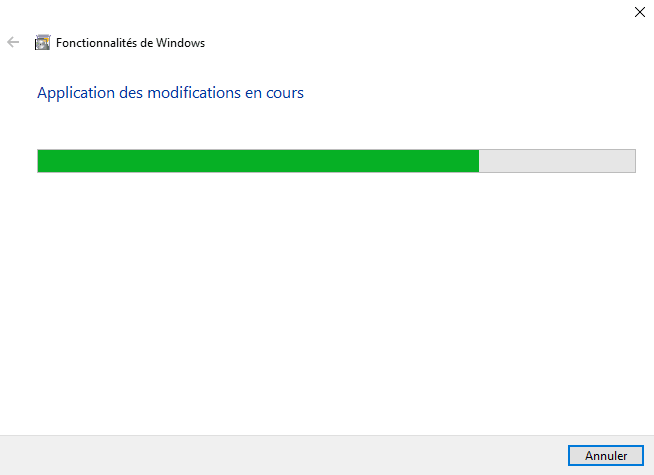
3. Wait during the installation …
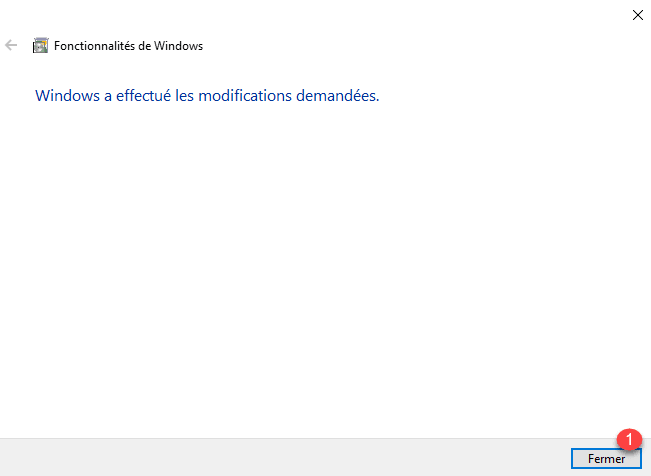
4. When the installation is complete, click Close 1 .
Use telnet client
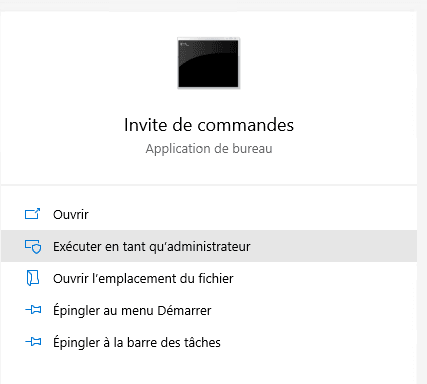
1. Open a command prompt.
2. Enter the order in the format
telnet fqdn/ip port
example :
telnet google.com 443
3. The connection is established, a black window is displayed.

This trick makes it possible to know if it is possible from your station to communicate with a remote device.
