Table of Contents
Presentation
A Certificate Authority (CA) can issue certificates for internal internet sites, RDS connections …
The advantage of having a CA is having to deploy a single certificate on the computers, and some Windows services require certificates from a CA to work:
- RemoteApp
- Client RDP HTML5
On Windows, there are two types of CAs (summary):
- Company : CA linked to an Active Directory that can issue certificates for domain members (posts / users).
- Standalone: AC that can be a member or not of a domain that issues certificates of the generations of “manual request”.

Role installation
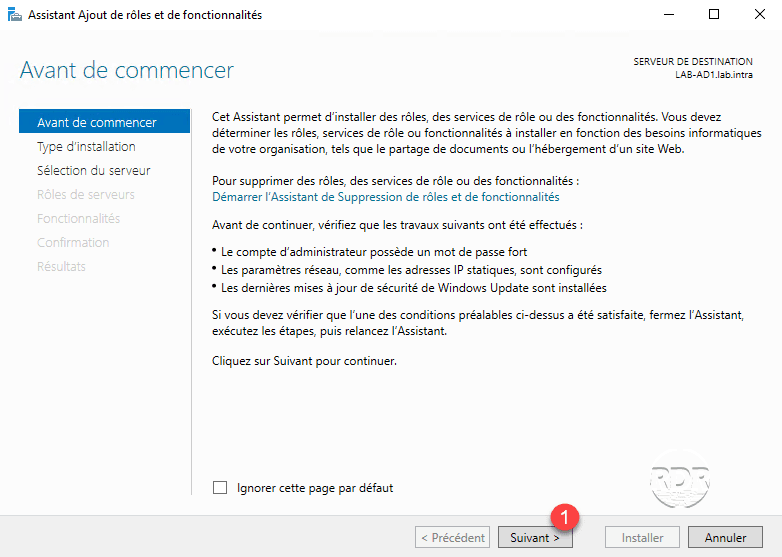
1. From the server manager, click Add Features Roles 1 .

2. When launching the wizard, click Next 1 .
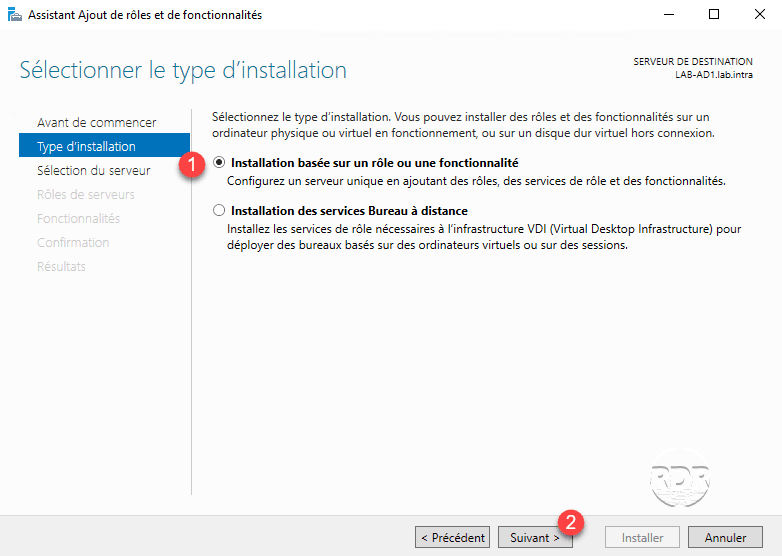
3. Choose Role Based Installation or 1 Feature and click Next 2 .
4. Choose server 1 and click Next 2 .

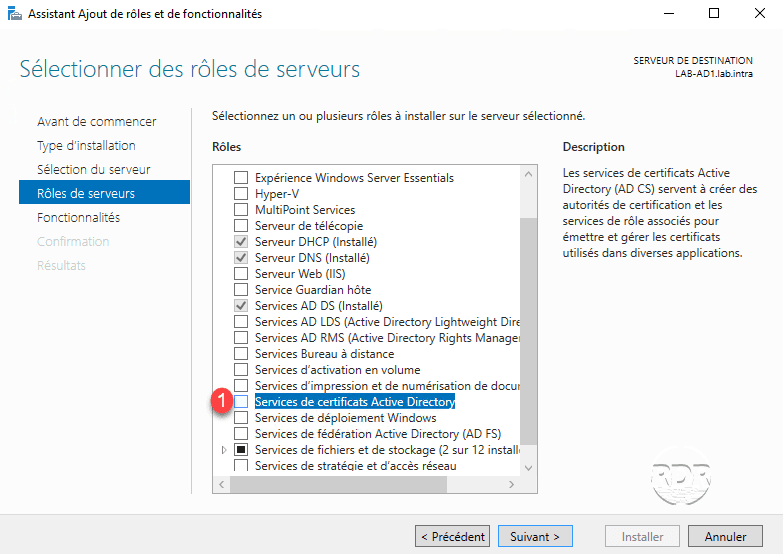
5. Check the box for Active Directory Certificate Service 1 .
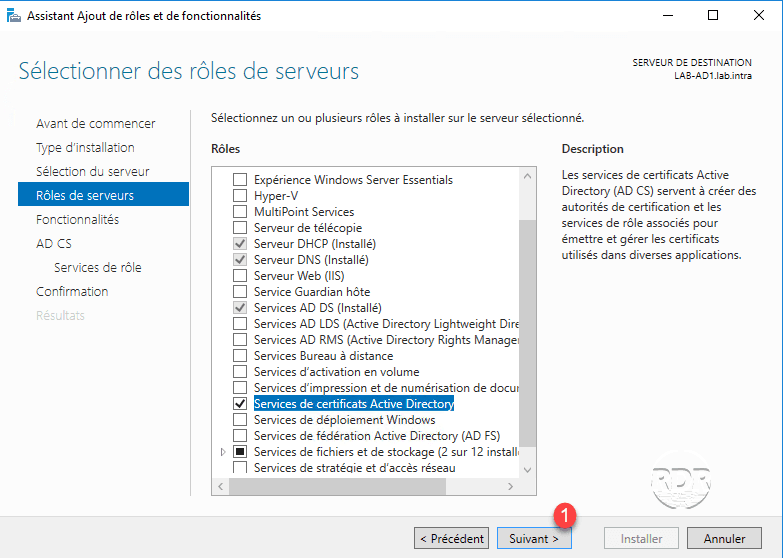
6. Click Add Features 1 .

7. Click Next 1 .
8. Skip the list of features by clicking Next 1 .
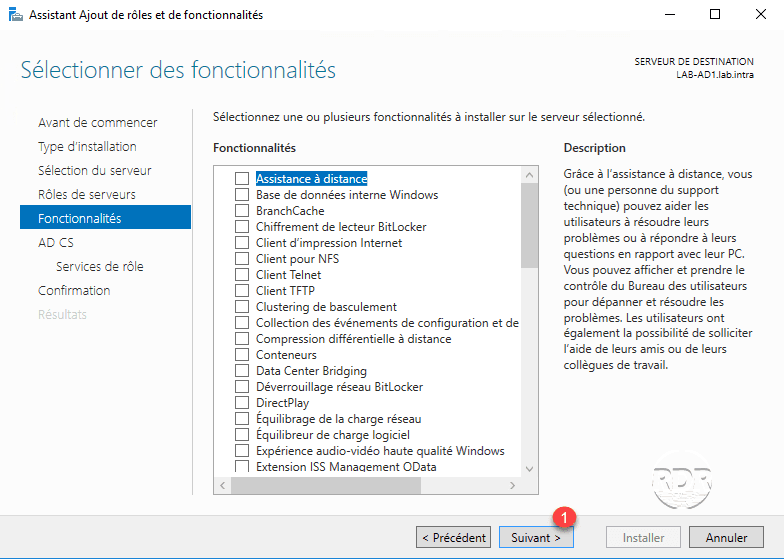
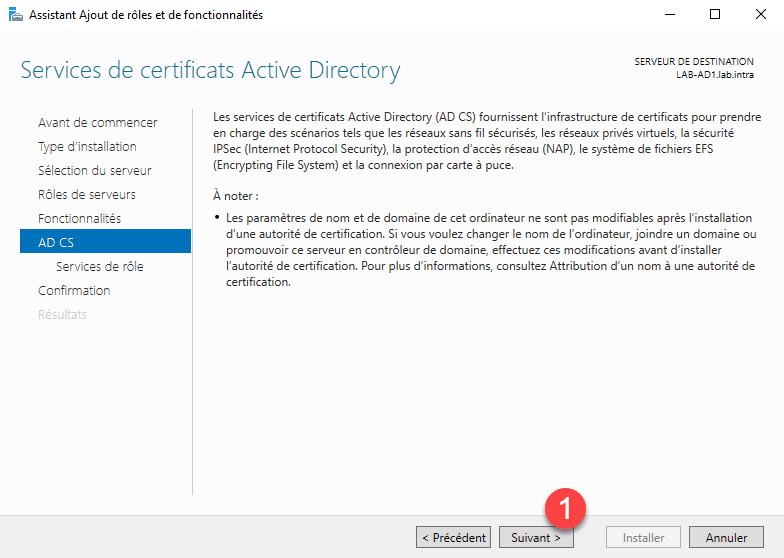
9. Click Next 1 , this page displays the summary of the role.
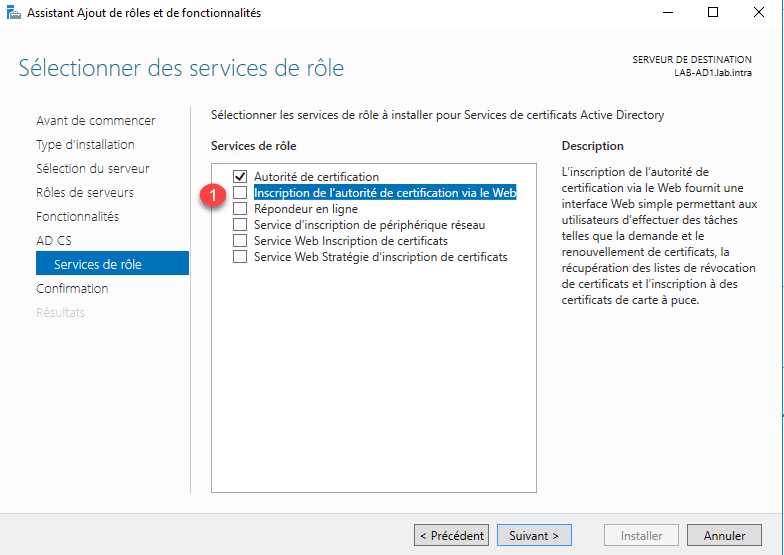
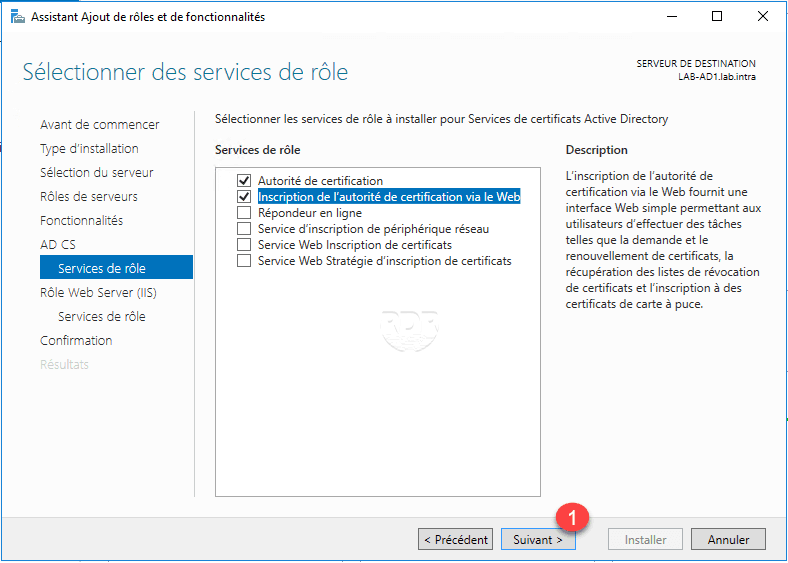
10.1 (optional) Check the Registration of certification authority via Web 1 box, this makes it possible to make certificate requests using a web interface.
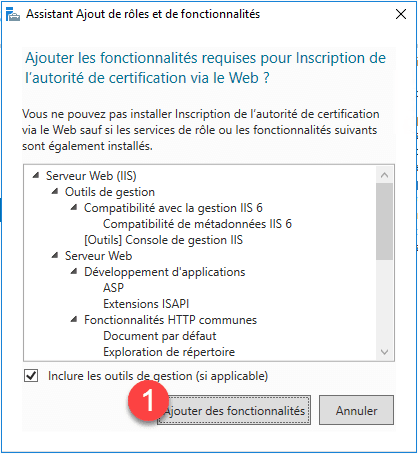
10.2 (optional) Validate adding features by clicking the 1 > button.
10.3 Click Next 1 .
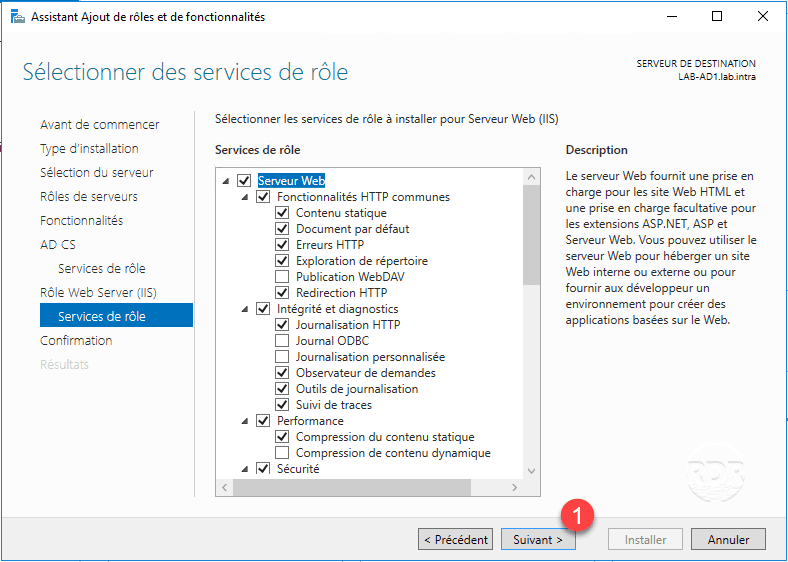
11. (optional) Click Next 1 .

12. (optional) Click Next 1 to validate the IIS features.
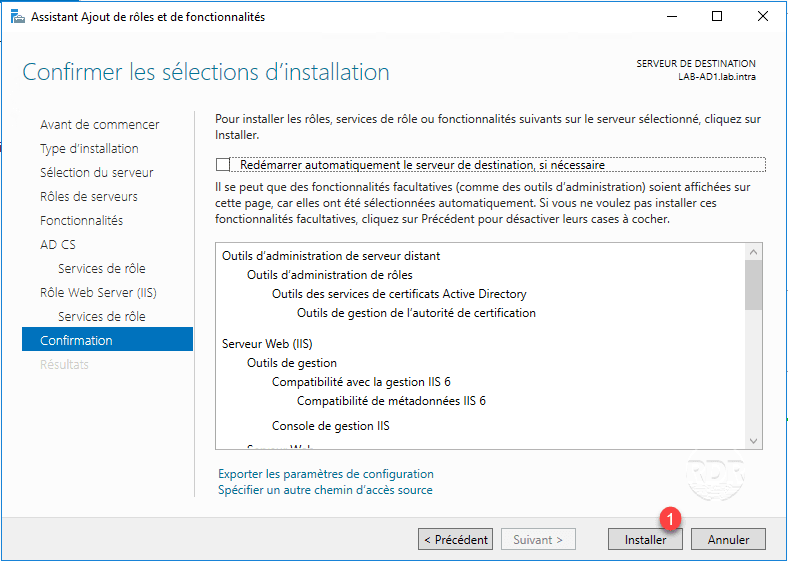
13. Click Install 1 .
14. Wait during the installation …
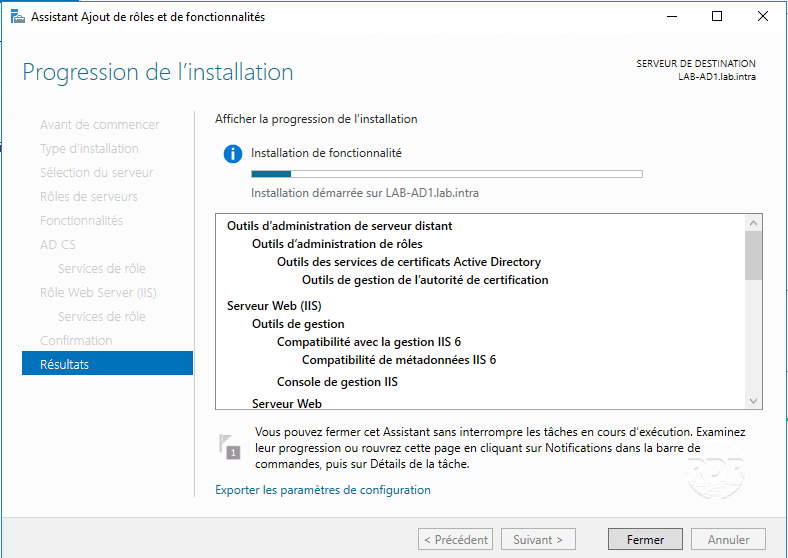
15. When the installation is complete, click Close 1 .
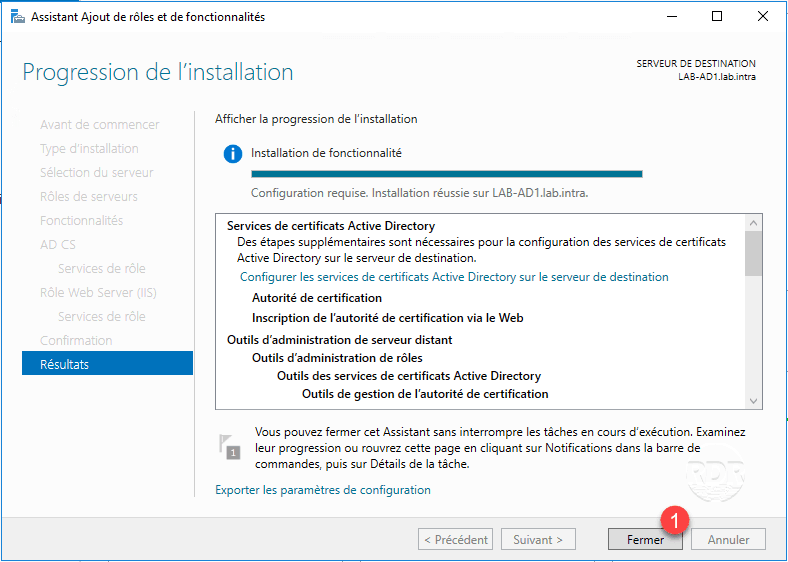
The CA role is installed, we will proceed to its configuration.
Configuration of the certification authority
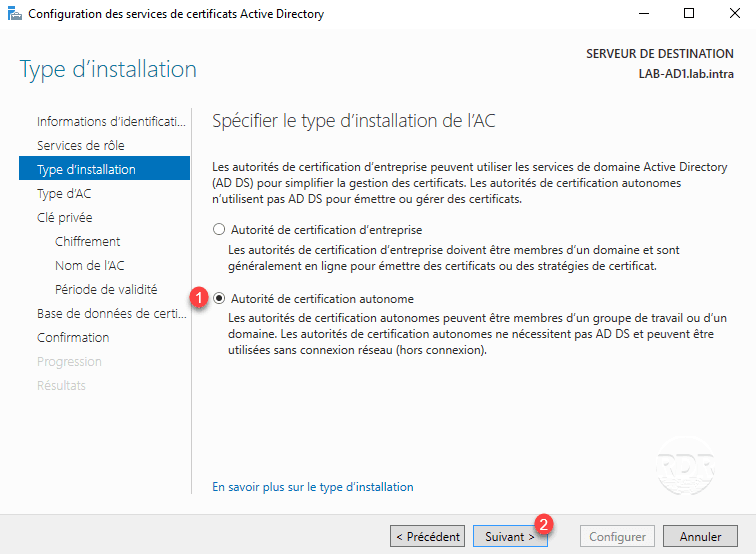
In this part we will configure a stand-alone CA.
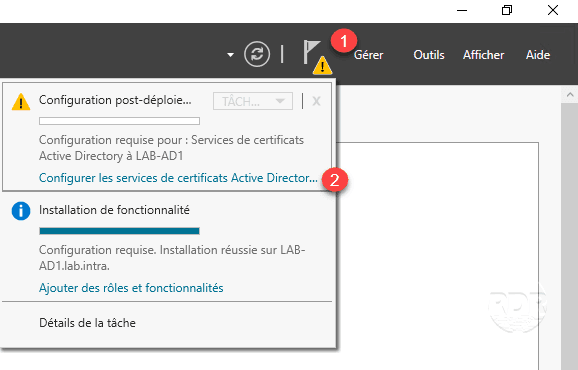
1. From the server manager, click on the 1 flag and then Configure Active Directory Certificate Services 2 to open the configuration wizard.
2. Specify a local Administrators group member use 1 and click Next 2 .

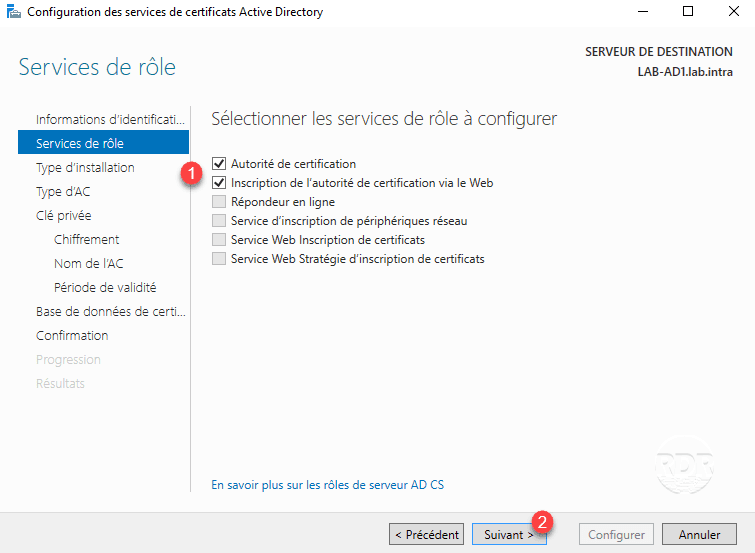
3. Check the services to configure 1 and click Next 2 .
4. Select stand-alone CA 1 and click Next 2.
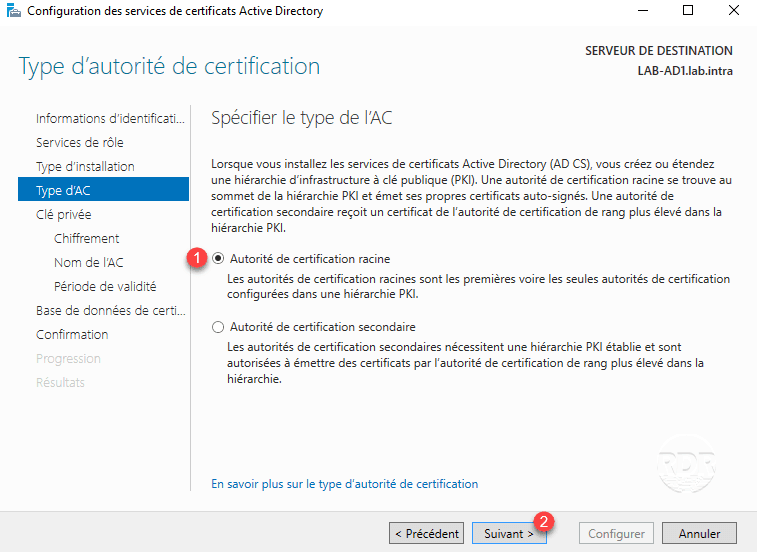
5. Type de l’AC, choisir Autorité de certification racine 1 puis cliquer sur Suivant 2.
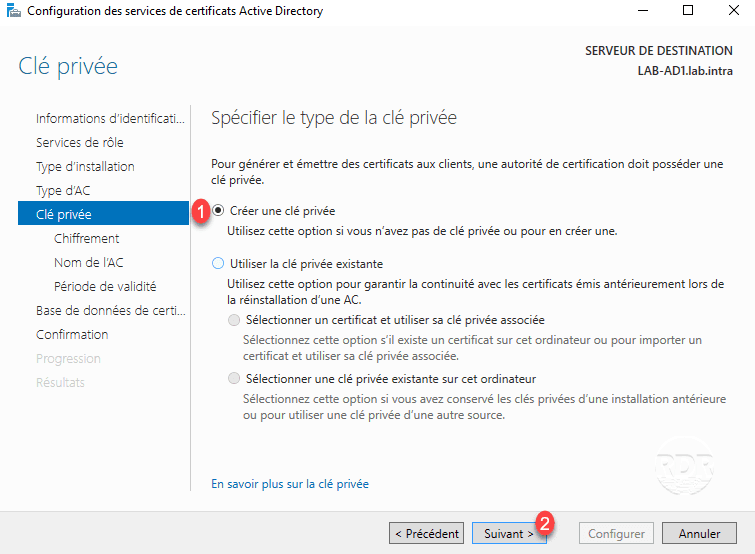
6. Select Create private key 1 and click Next 2 .
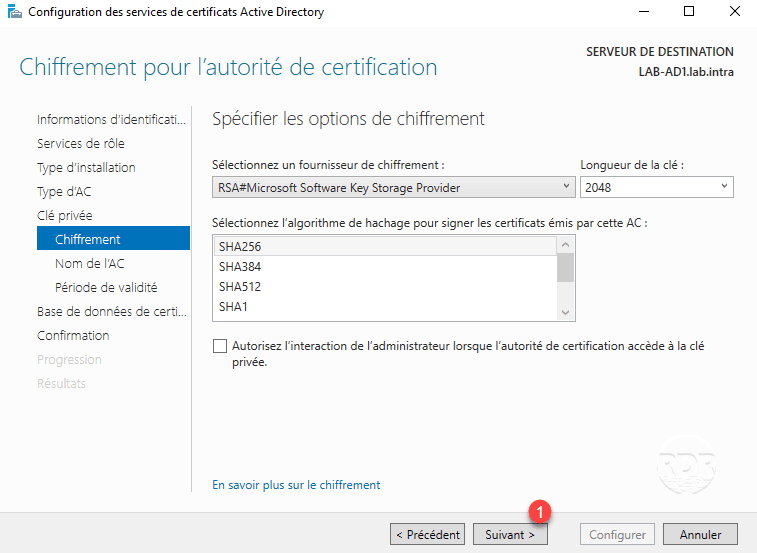
7. If necessary change the encryption options and click Next 1 .
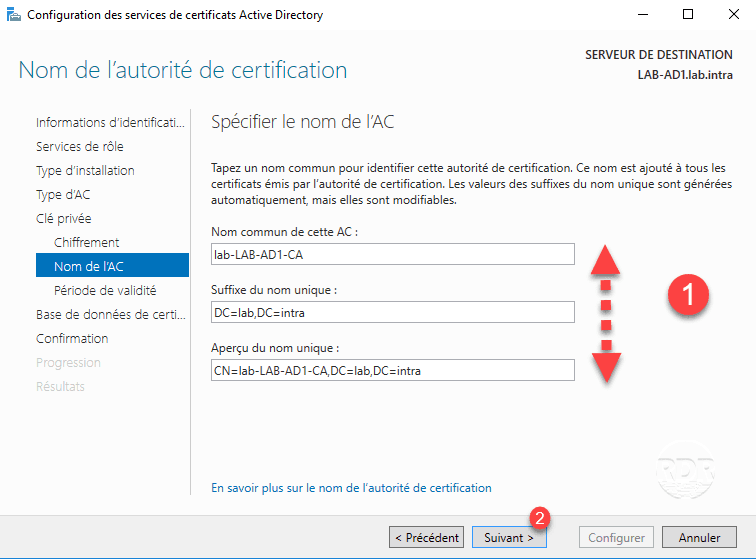
8. Configure the name of the Certificate Authority 1 and click Next 2 .
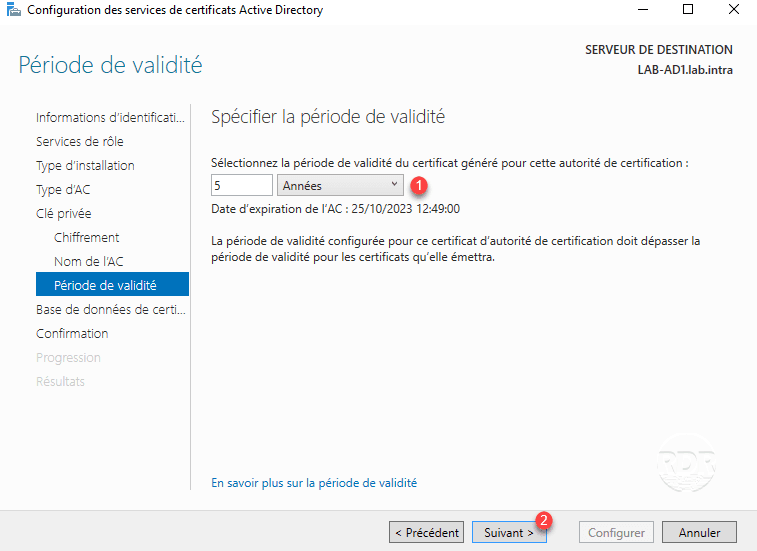
9. Configure the period of validity of the authority (5/10 / … years) 1 then click Next 2 .
10. Specify the location of the AC 1 data and click Next 2 .

11. Click Configure 1 to start the creation of the certification authority.

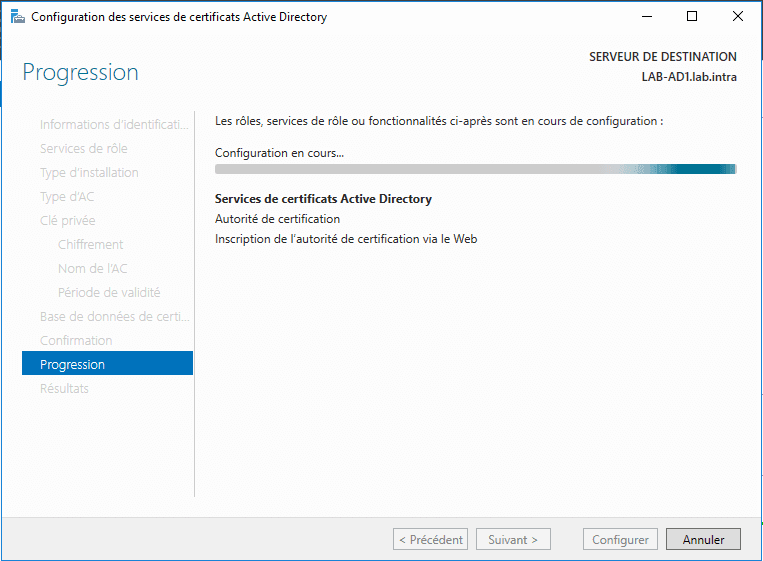
12. Wait while creating AC …
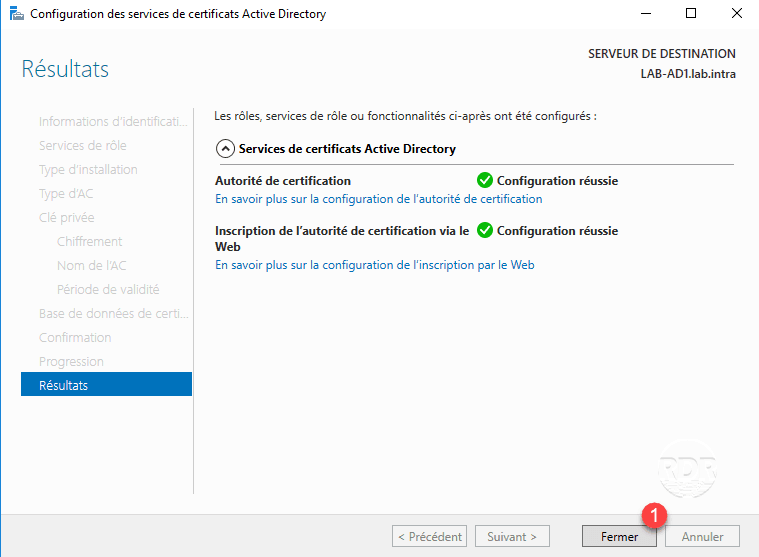
13. When finished, exit the wizard by clicking the Close 1 button.
Export the root certificate
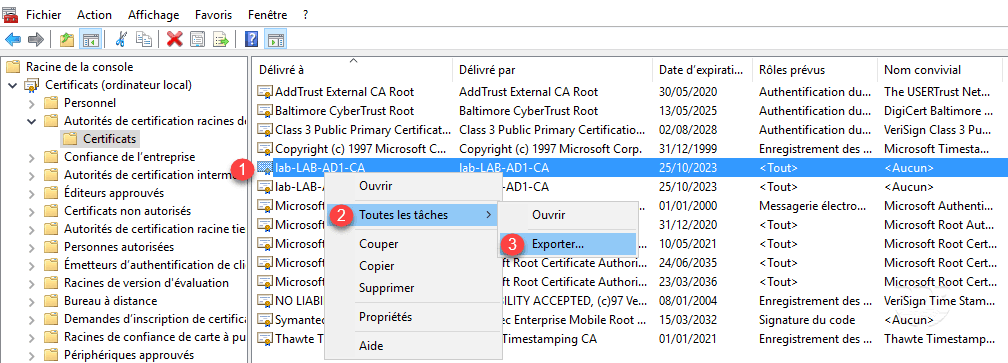
1. Open the “Certificates” MMC on the Local Computer account and go to the Trusted Root Certification Authorities 1 store.

2. Right-click on the authority certificate 1 , Go to All Tasks 2 and click Export 3 .
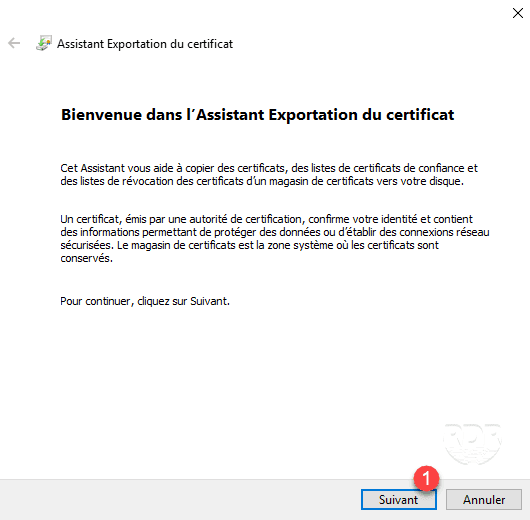
3. When launching the wizard, click Next 1 .
4. Choose export format 1 then click Next 2 .

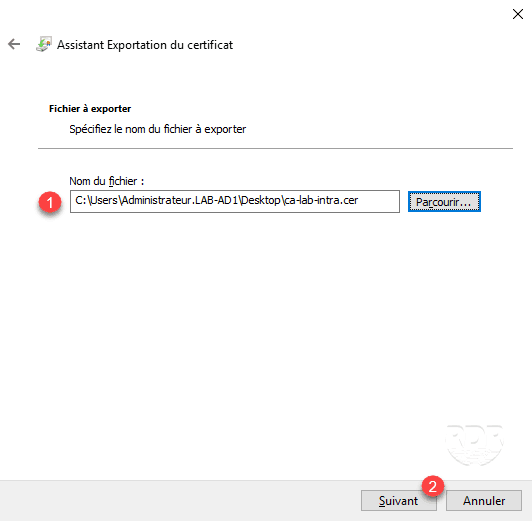
5. Indicate the location where the certificate will be exported 1 and click Next 2 .
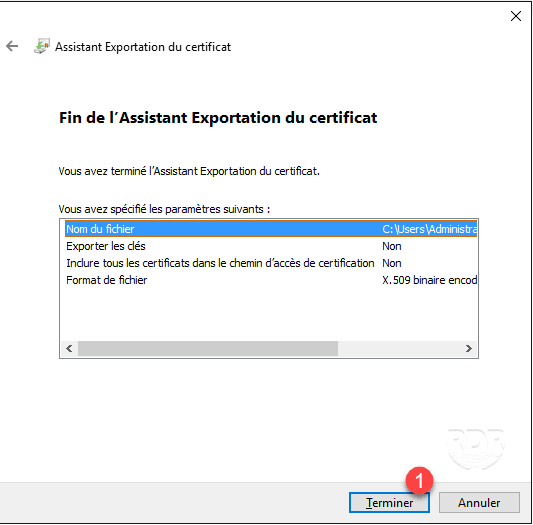
6. Click Finish 1 to start the export.
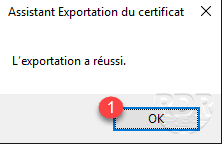
7. Export is finished, close the message by clicking OK 1 .
You can now deploy the root certificate to all the computers / servers in your infrastructure.
Now that we have the root certificate and that it is deployed on the entire farm, we will see how to generate a certificate.
Generating a certificate
The generation of a certificate with an autonomous CA takes place in several steps:
- Generation of the request (Certificate Signing Request).
- Submissions of the application to AC.
- Generation of the answer.
- Finalization of the request to obtain the certificate.
Generation of the CSR
There are several ways to generate a CSR, in this tutorial we will do it under IIS.
1. Open an IIS console and click Server Certificates 1 .
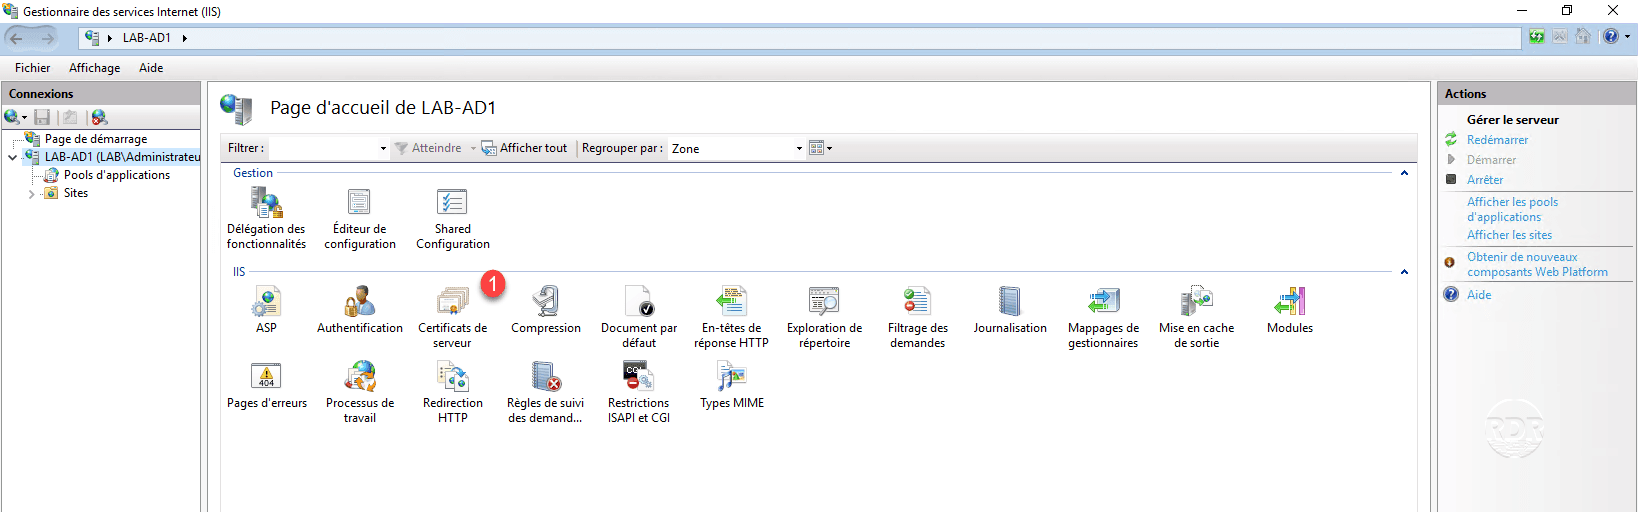
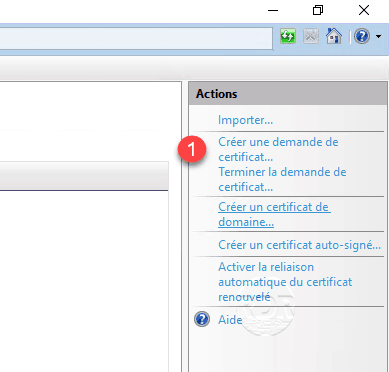
2. On the Actions menu, click Create Certificate Request 1 .
3. Complete the certificate information 1 and click Next 2 .
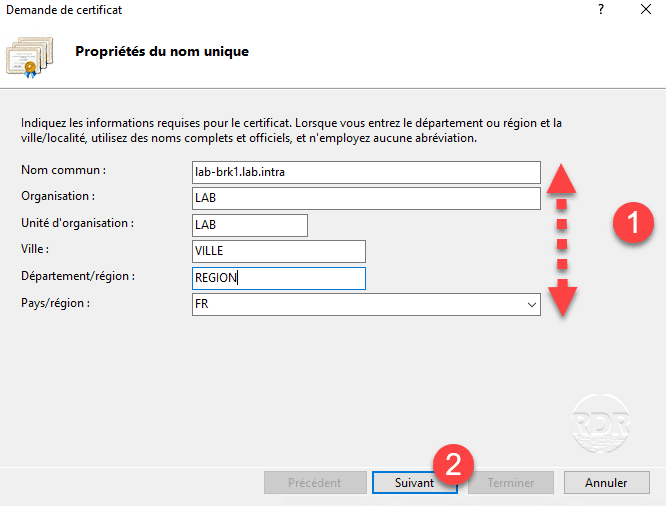
The common name is the URL of the certificate.
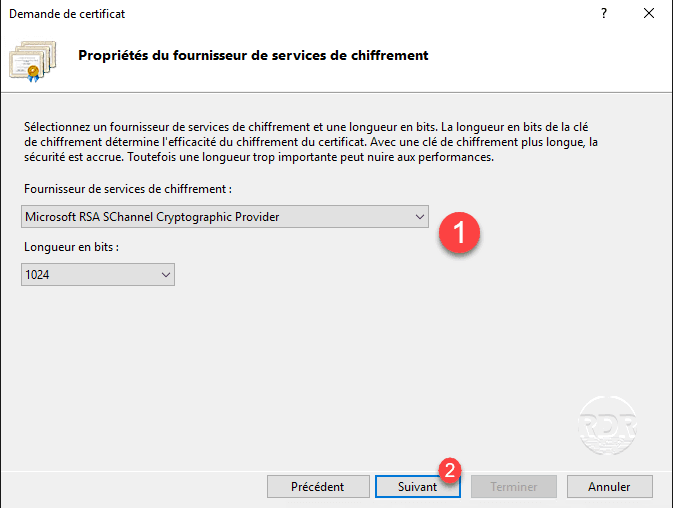
4. Configure the 1 encryption then click Next 2 .
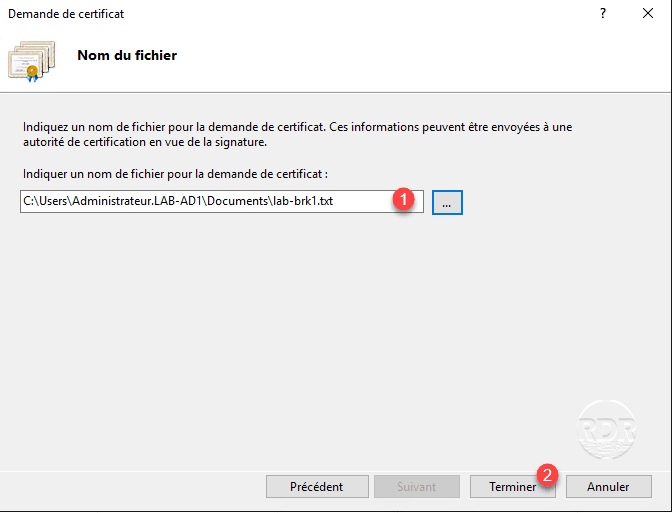
5. Enter the request save location (CSR) 1 and click Finish 2 .
The CSR is now generated, if you have done it on an IIS server other than the CA, you must copy the file to it.
Soumissions de la demande à AC
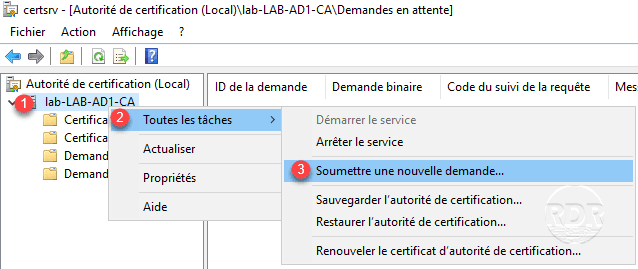
1. From the Authority Administration Console, right-click on the authority 1 , All Tasks 2 and click on Submit a new request 3 .
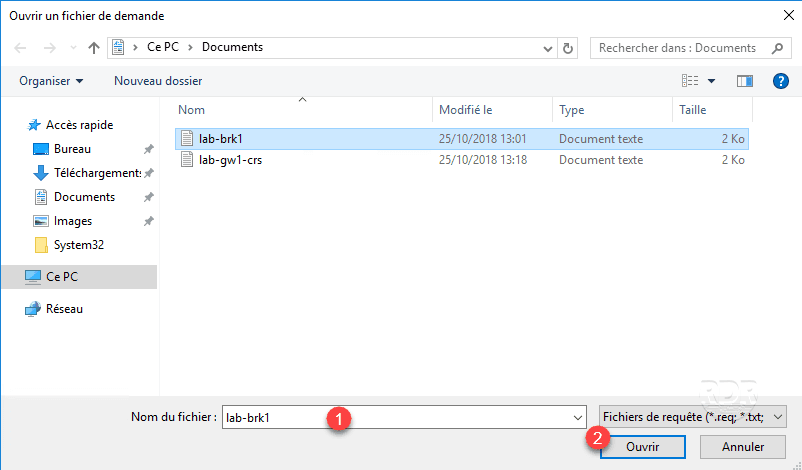
2. Select the request file (CSR) 1 and click on Open 2 .
3. Go to the Pending Request file 1 to see the pending certificate 2 .

Deliver the certificate
1. Right click on request 1 and click on All tasks 2 / Deliver 3 .

2. Go to Certificates issued 1 and double-click on certificate 2 .

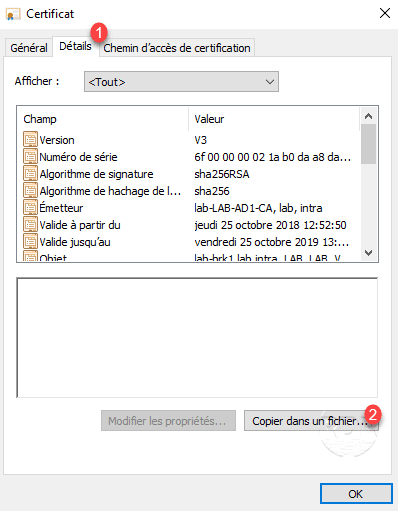
3. Go to the Details tab 1 and click on the button Copy to a file 2 .
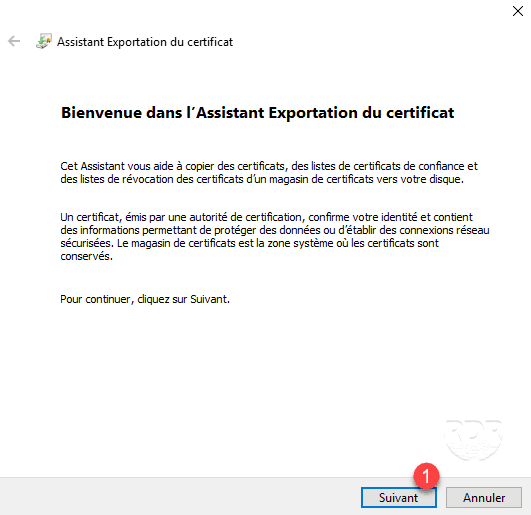
4. When launching the wizard, click Next 1 .
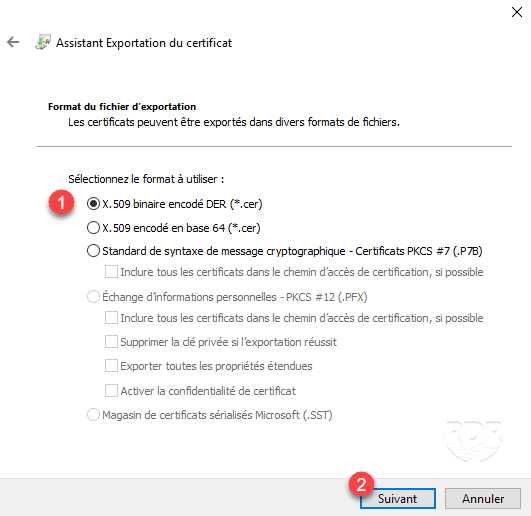
5. Select export format 1 then click Next 2 .
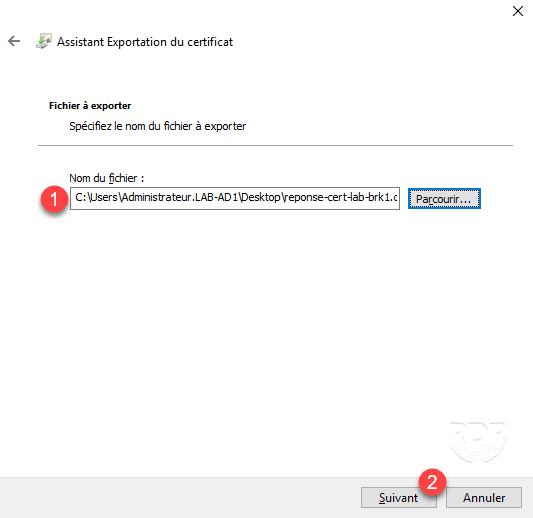
6. Enter the location and file name 1 and click the Next 2 button.
7. Click Finish 1 to close the wizard.

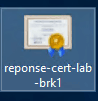
8. Verify that the certificate is exported.
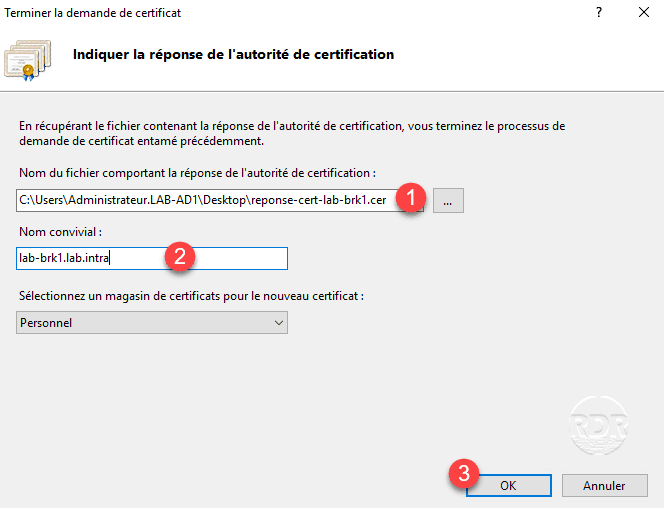
Finalizing the request to obtain the certificate
1. Go to the IIS / Certificates console where the request was made and click Finish Certificate Request … 1 .

2. Select the certificate generated by CA 1 , enter a name 2 and click OK 3 .
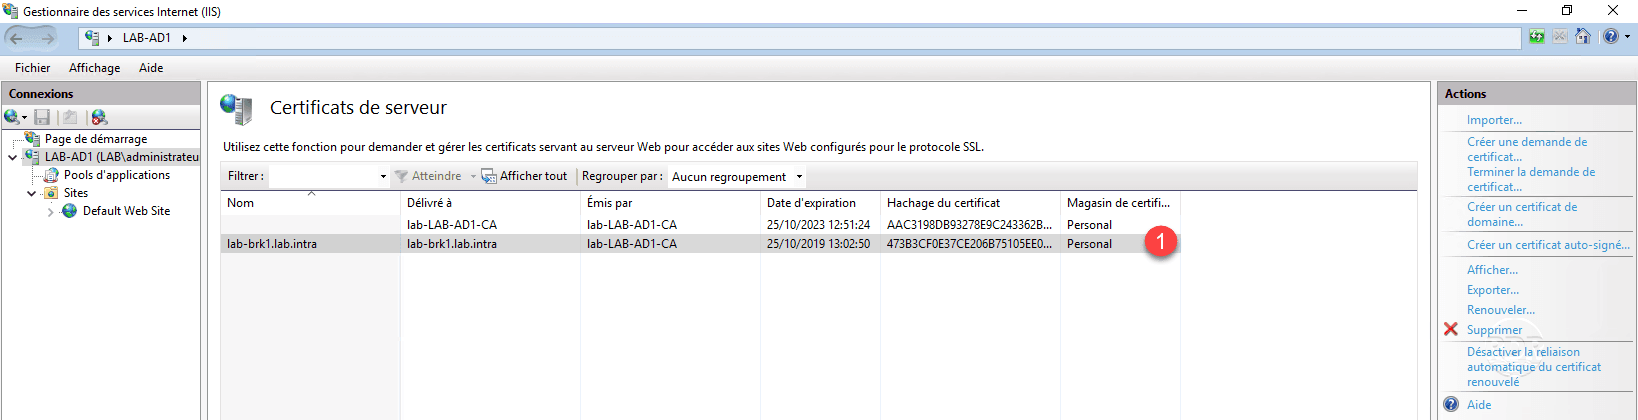
3. The certificate is available 1 .
It is now possible to export the certificate with its private key
