Deduplication is a feature that saves disk space on a volume by grouping identical sectors together.
It is not recommended to enable deduplication on volumes hosting databases, virtual machines, and even WSUS.
Before implementing this technology, check that your backup software is compatible.
Example: With Veeam to restore files from a volume where deduplication is active, the feature must be enabled on the server where the Veeam console is installed.
Table of Contents
Installing the deduplication feature
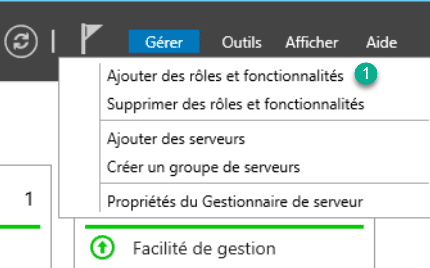
1. From the server manager click on Manage / Add roles and features 1.
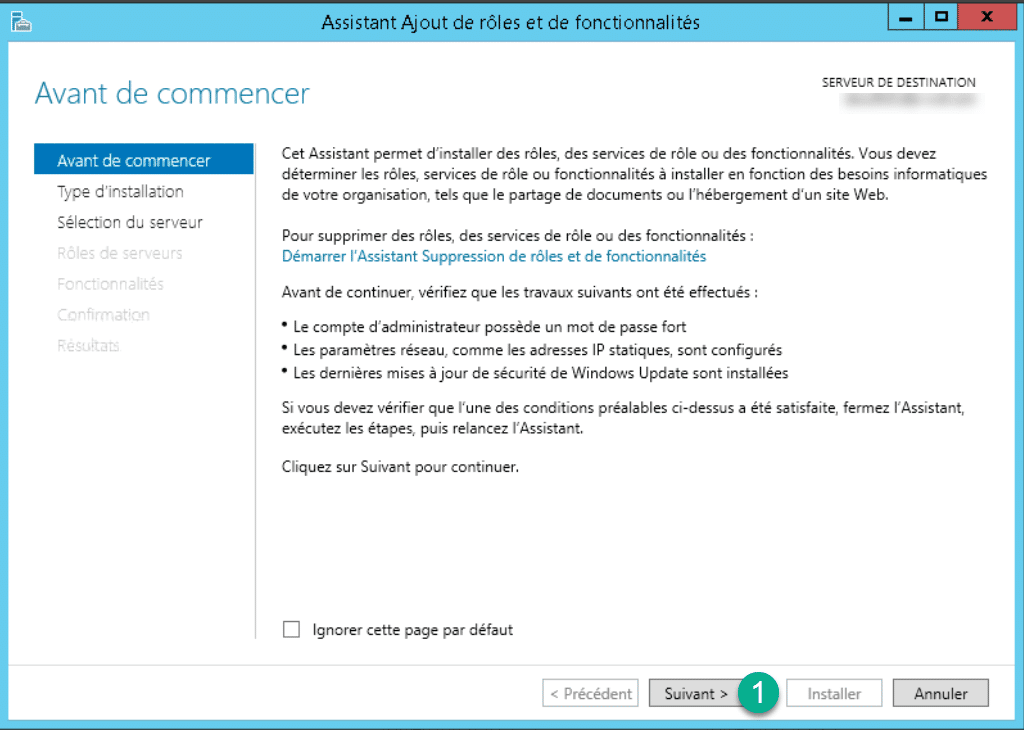
2. When the wizard is launched, click on the Next> 1 button.
3. Type of installation: choose Installation based on a role or a feature 1 then click on Next> 2.

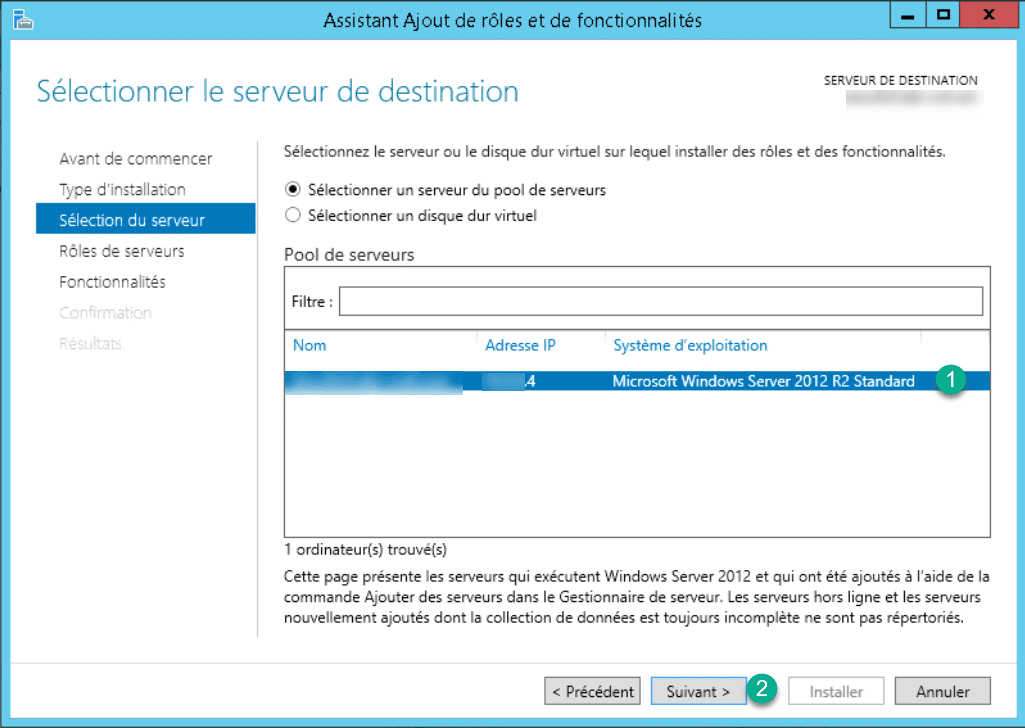
4. Select the server 1 where the installation is to be performed and click on Next> 2.
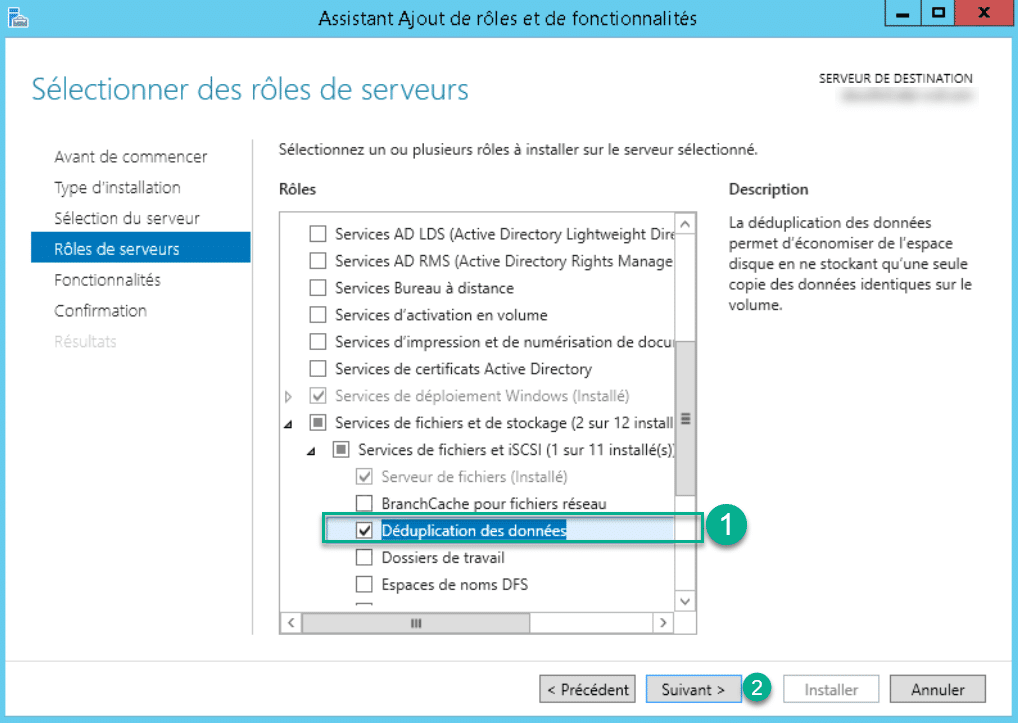
5. In the list of roles, expand File and storage services and File and iSCSI services and check Data deduplication 1. Confirm the addition of functionalities then click on Next> 2.
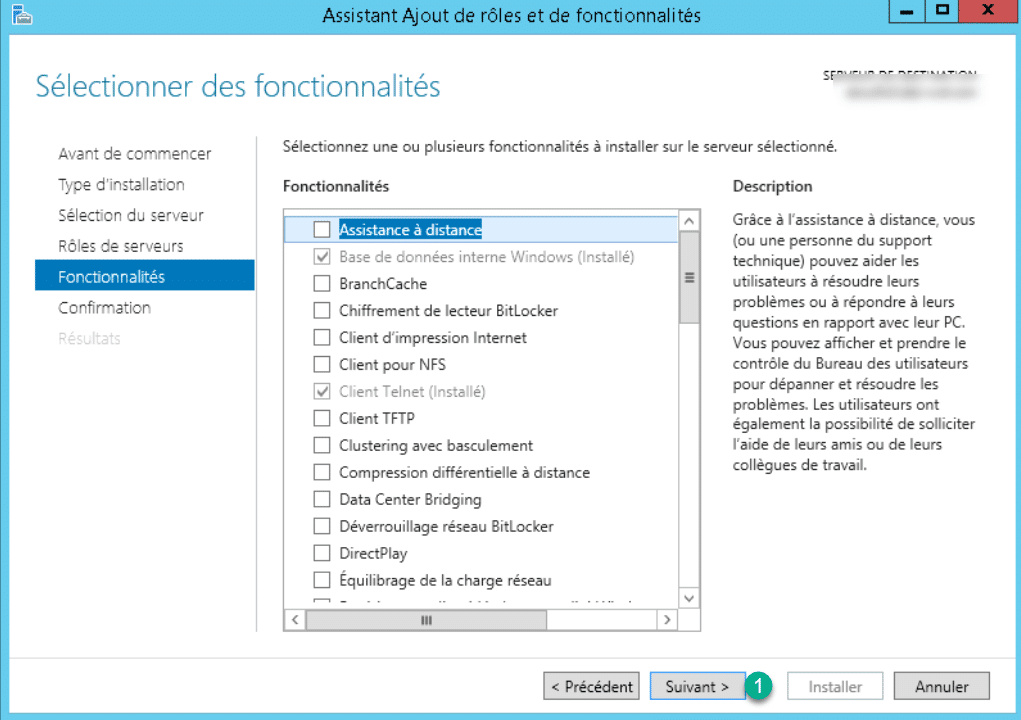
6. Skip the features by clicking Next> 1.
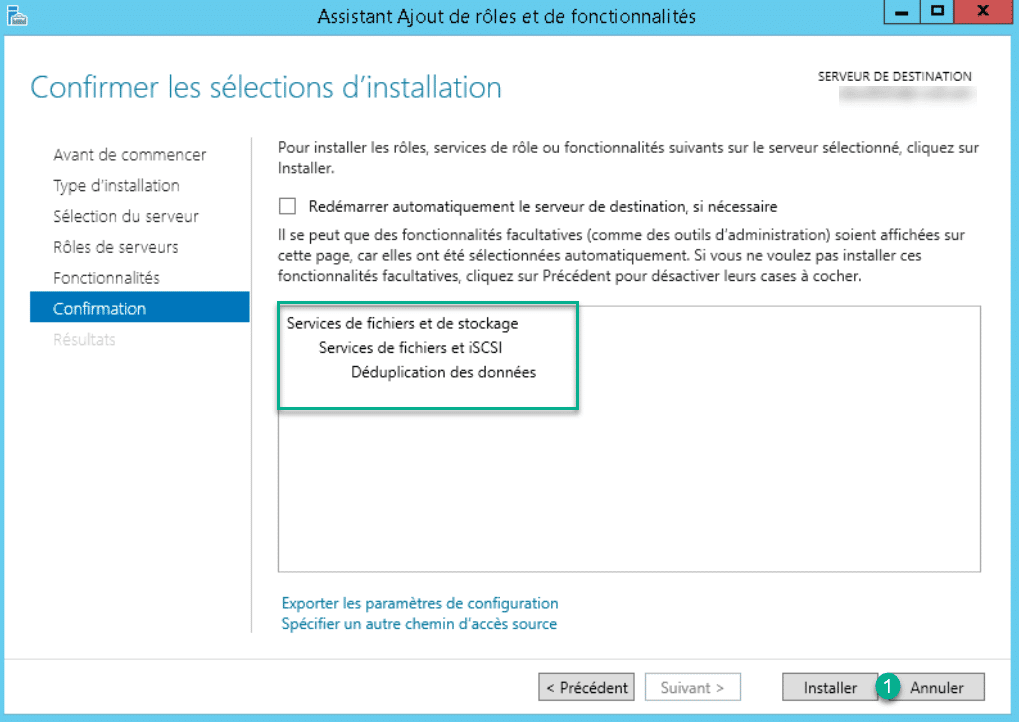
7. Click on Install 1.
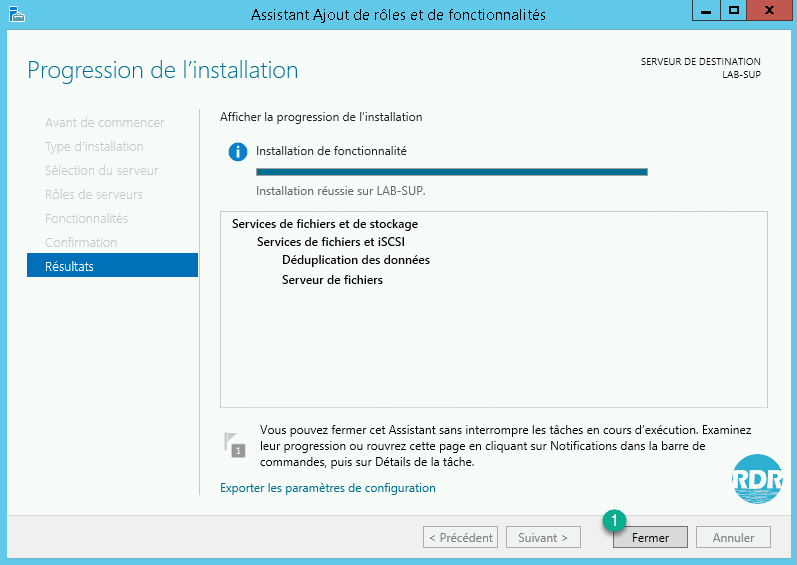
8. Wait during the installation…

9. The installation is complete, exit the Add Roles and Features wizard by clicking Close 1.
Now that the feature is installed, you need to configure it.
Configuring deduplication
The configuration and administration of deduplication is done directly by the Server Manager.
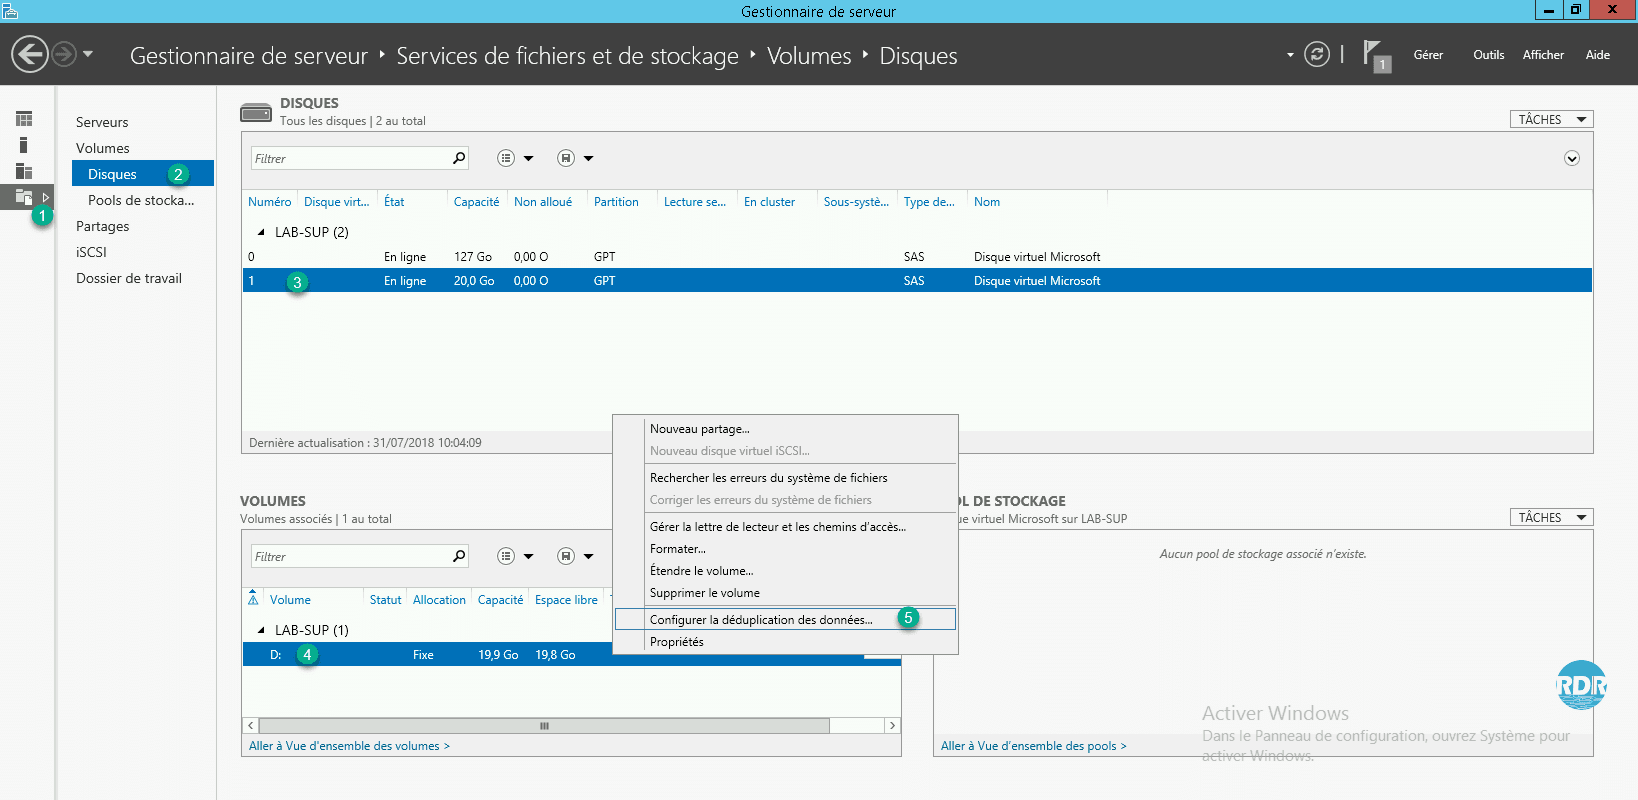
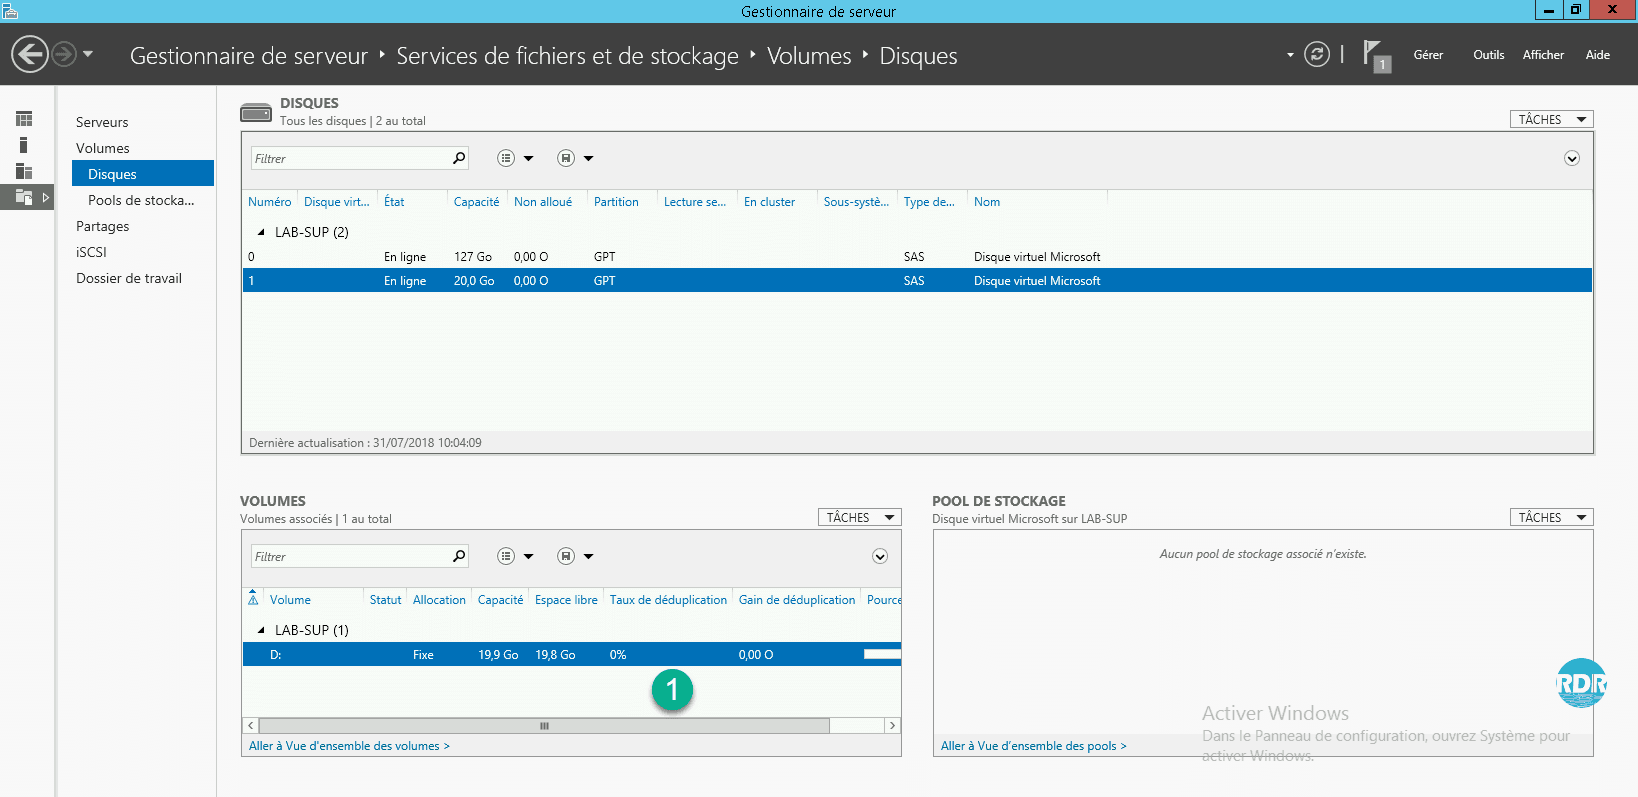
1. Go to File and Storage Services 1, select the Disks 2 section then disk 3 where deduplication will be configured. Right click on the volume 4 and click on Configure data deduplication … 5.
2. Select the type of deduplication desired 1, indicate the age of the files to be duplicated 2 then click on Define the deduplication schedule 3.
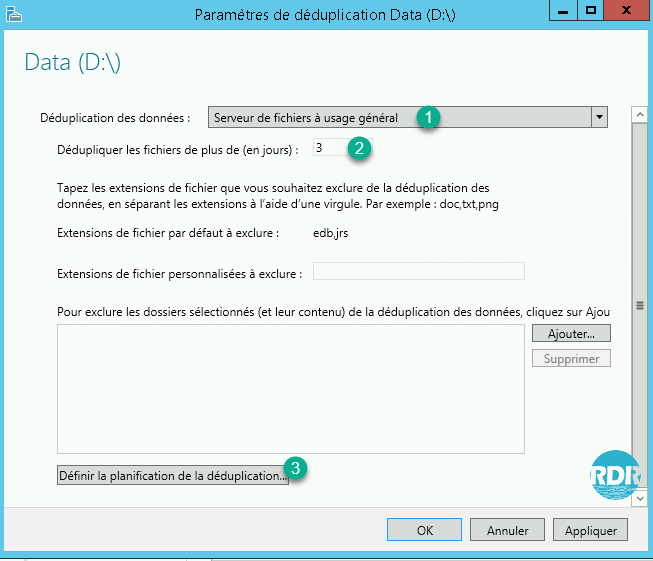
3. By feedback, I do not recommend the option Activate optimization in background 1 which can be the cause of slowing down. Uncheck the box, and check boxes 2 and 3. Create ranges where deduplication will process files. Then click on Apply 4 and OK 5.

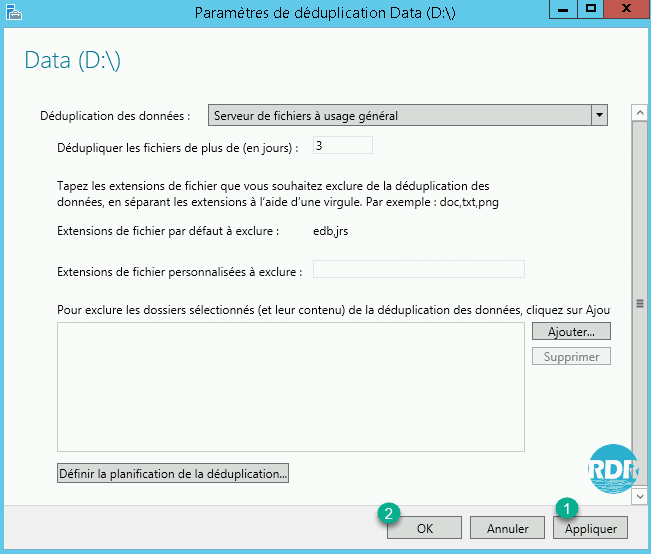
4. Click on Apply 1 and OK 2 to validate the parameters.
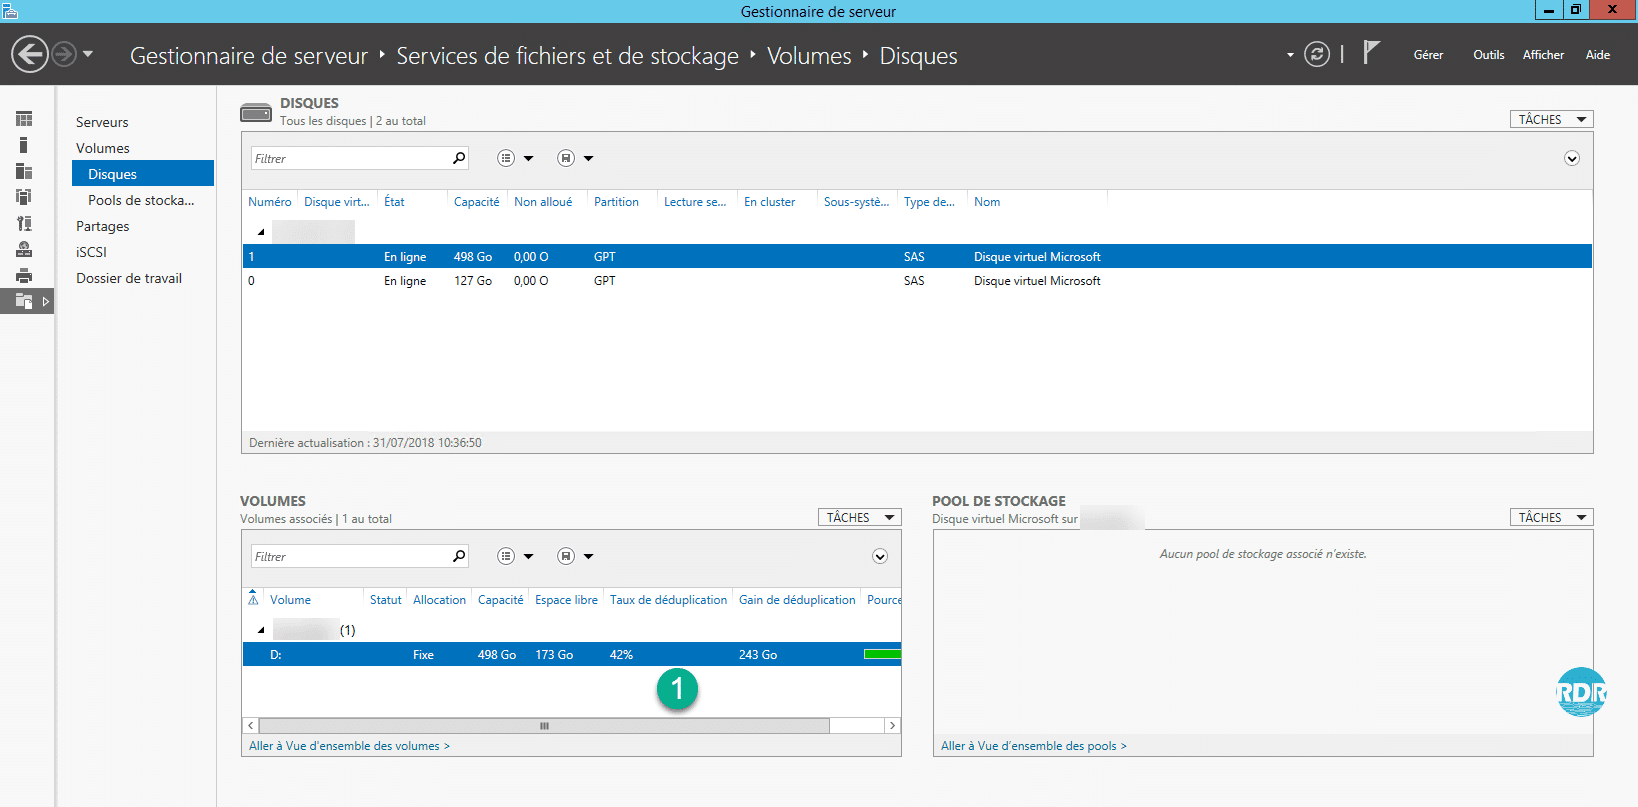
5. From the view below, we can see the optimization of space 1.
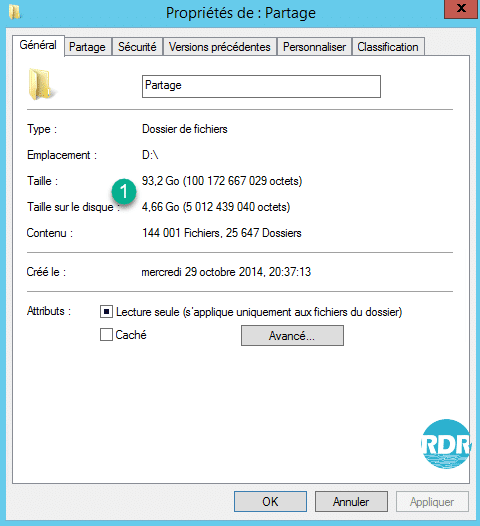
6. It is also possible to see the gain using the properties of a folder by comparing the Size and Size on disk 1. The volume returned is for information only and does not represent the actual gain.
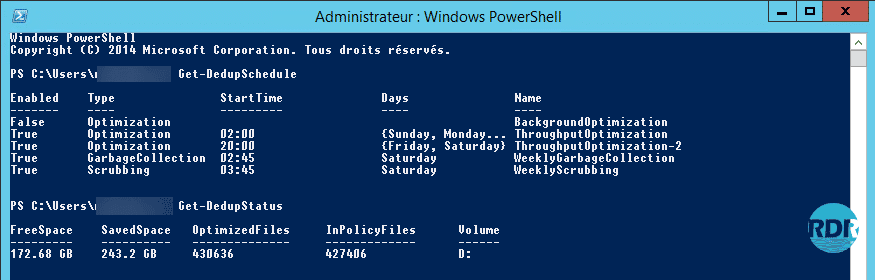
7. There are commands PowerShell to administer and view deduplication.
You now know how to enable and configure deduplication on Windows Server.
It is important to take into account that the management of disk space, in particular free space, is different on a volume where deduplication is enabled. Deleting files on the disk does not always free the same amount of space because deleted files may share multiple blocks with files that are still on the disk. Windows Server Deduplication: Reclaim Disk Space After Deleting Files
Another effect of deduplication is the “bad” management by backup software, deduplication uses several maintenance tasks for its optimization, at regular intervals, the “complete” optimization of the blocks is carried out and after this optimization Since most of the disk-level blocks have been changed, software like Veeam does incremental backup to do a full backup again. To correct this problem, it is necessary to “deactivate” the complete optimization. Veeam: Solve the problem of backup volume on servers with deduplication.
