
In this tutorial, I will explain how to configure the fleet inventory (Computer) in GLPI 11 using the GLPI Agent for automatic information retrieval.
In addition to retrieving information about the computer such as its name, model, serial number, etc., the automatic inventory using the GLPI agent will allow for the retrieval of other elements:
- Software
- Antivirus
- ID for remote access (Teamviewer, RustDeck…)
- Virtual computers
- Container Docker
- …
Sommaire
Enable inventory in GLPI 11
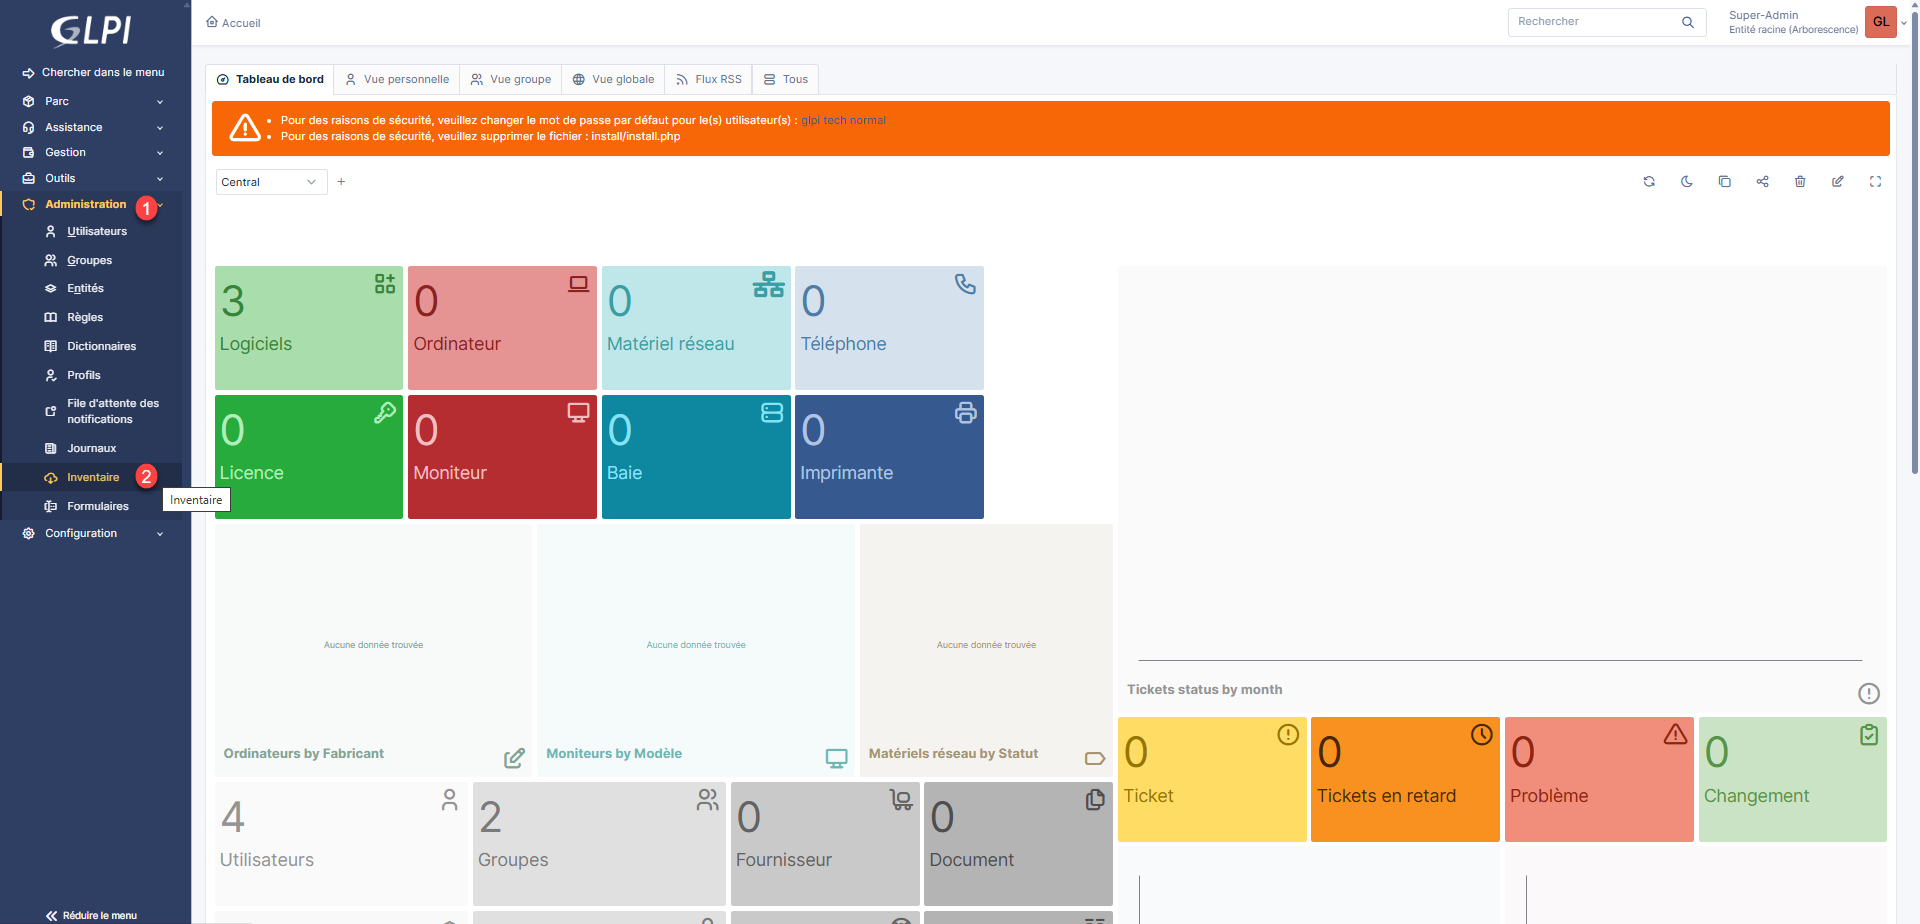
By default, the automatic inventory feature is not enabled in GLPI, open the Administration menu 1 and then click on Inventory 2.
Check box 1 to activate the inventory and click on the Save button 2.
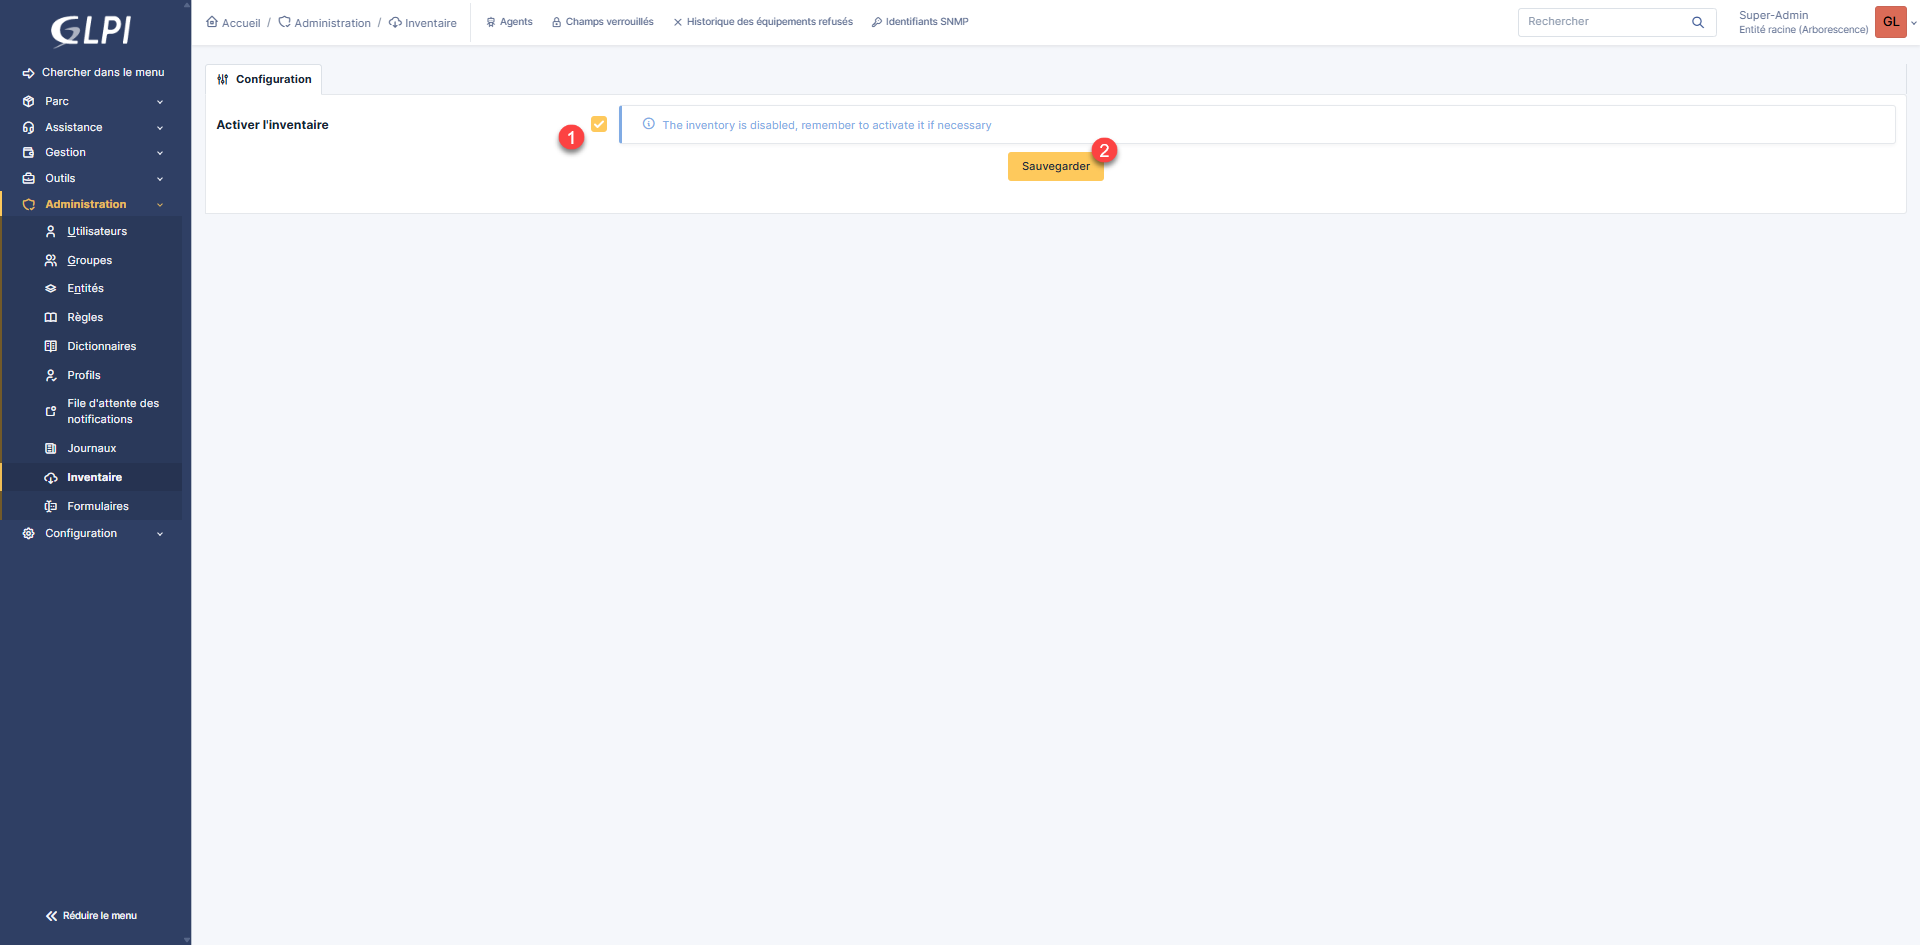
When the page reloads, the inventory options will be available. If necessary, modify the options and click Save. For this tutorial, I’ve left the default options.
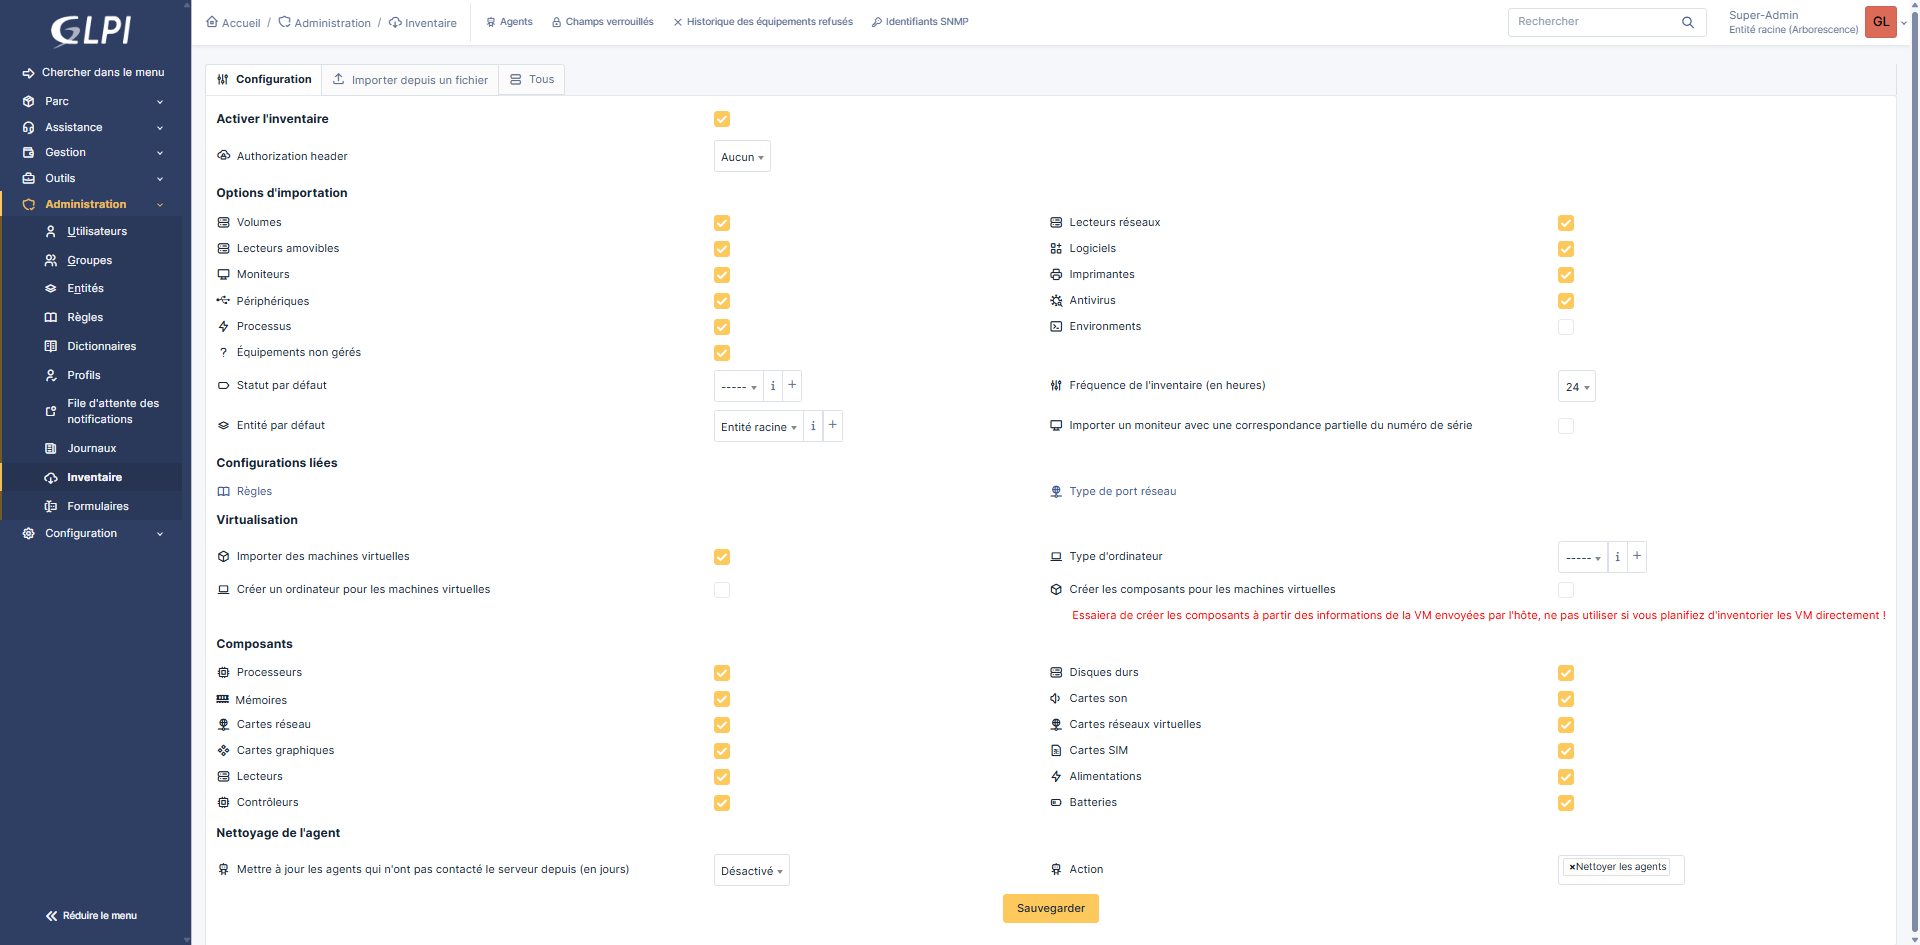
GLPI 11 allows you to configure an identification for the Agent inventory, I am not going to do it here, if your GLPI is exposed on the Internet, I advise you to activate and configure a username and password.
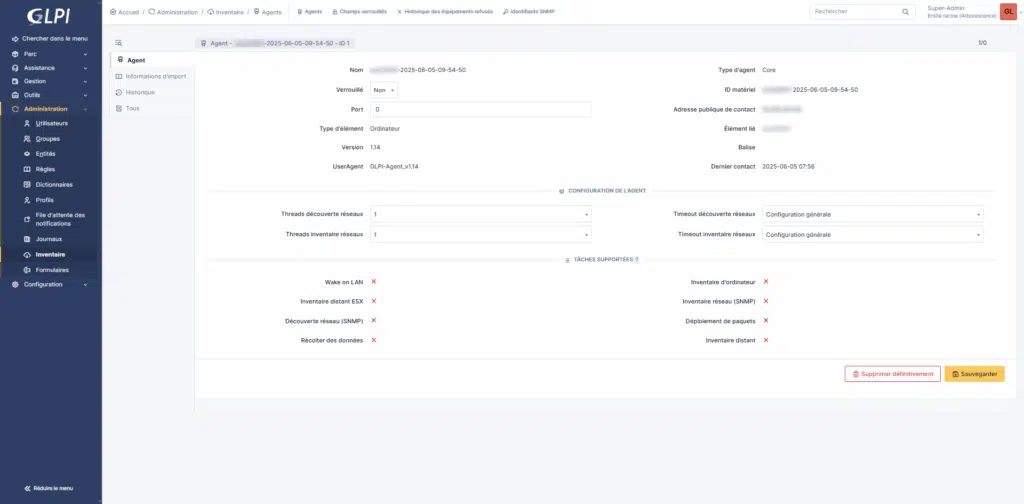
Inventory is now enabled; if you wish to manage inventory rules, they can be configured by going to Administration -> Rules.
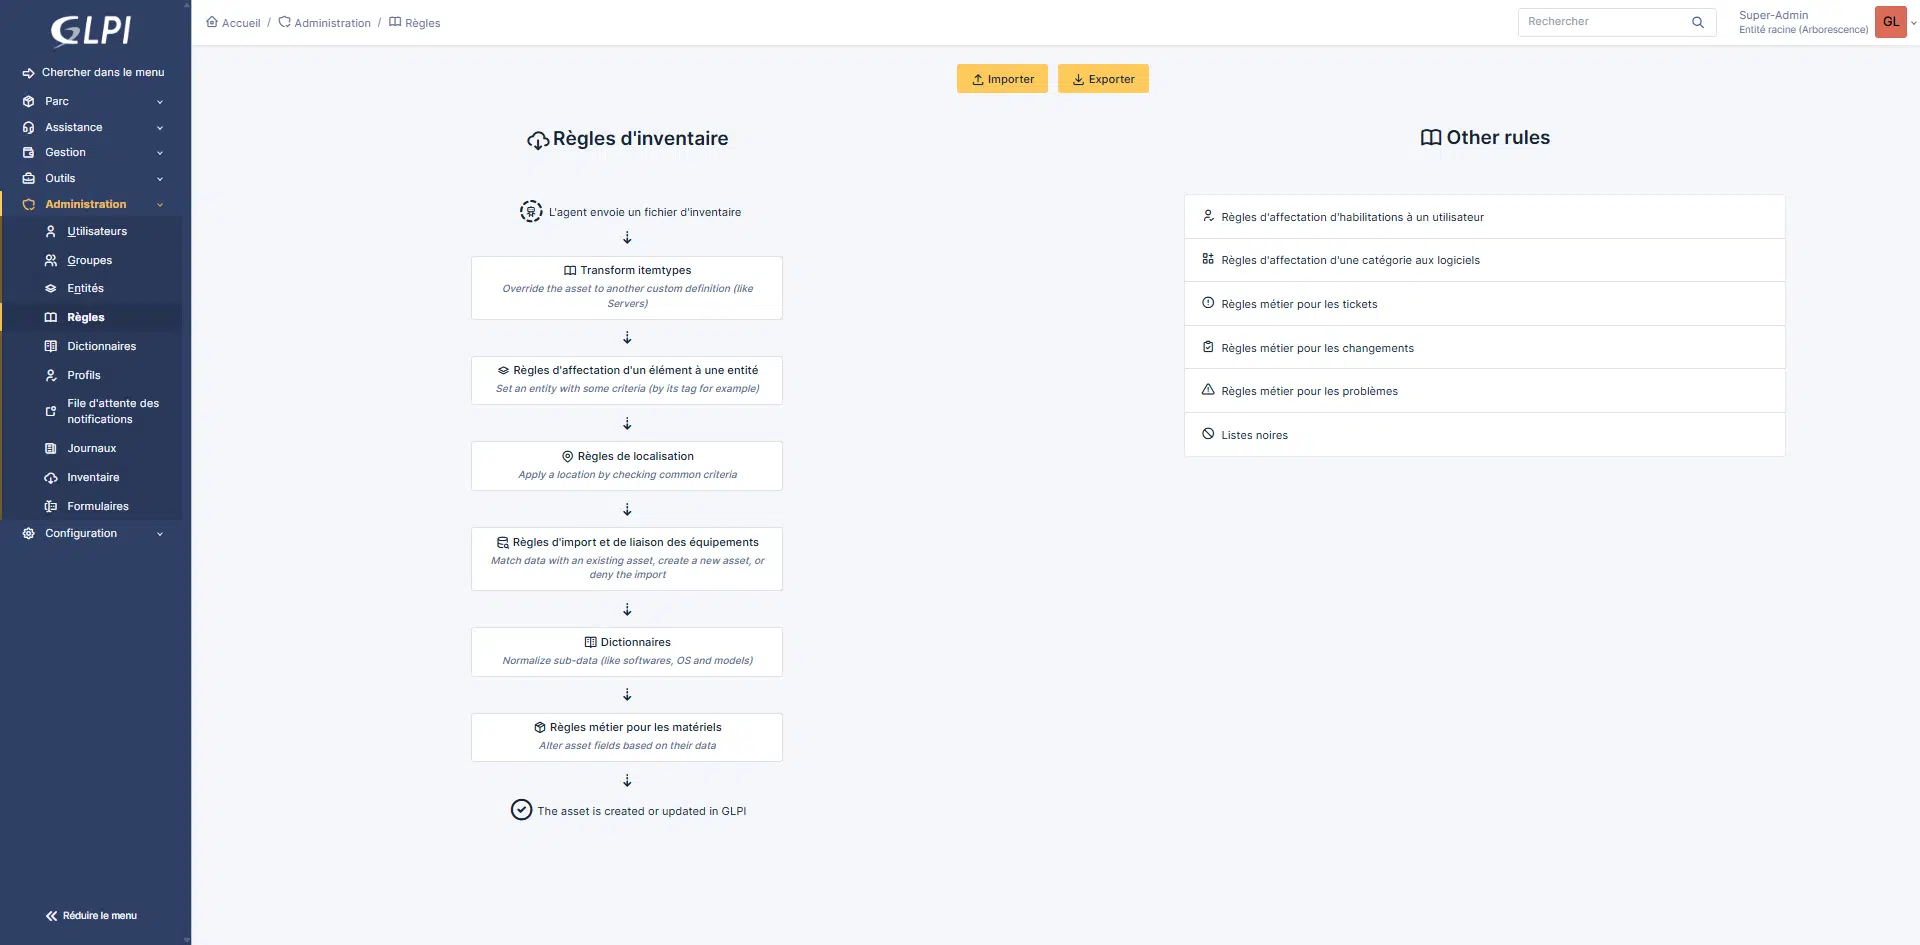
I will cover the configuration of a rule in the tutorial, where I will explain how to separate the Computers / Servers inventory.
GLPI Agent Installation
In order for computer inventory information to be automatically uploaded to GLPI, it is necessary to install an agent (GLPI Agent).
It is available for Windows, MacOS and most Linux distributions.
GLPI Agent has several components and operating modes for managing inventory and various functionalities. It can be configured as a Service with a web server (HTTP) which allows for managing the agent and also for remote access to force an inventory. This mode is also necessary for network discovery and inventory, as the configuration is done directly at the agent level. The second available mode is as a scheduled task, where the inventory is executed according to the configuration of the scheduled task or cron job.
To begin, you need to download the GLPI Agent from this address: https://github.com/glpi-project/glpi-agent/releases
Install GLPI Agent on Windows
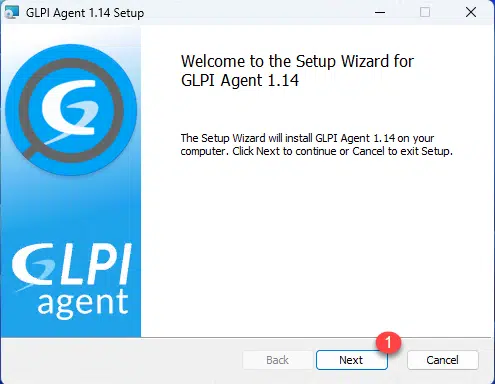
GLPI Agent downloaded, launch the executable, at the first step of the wizard, click on the Next 1 button.
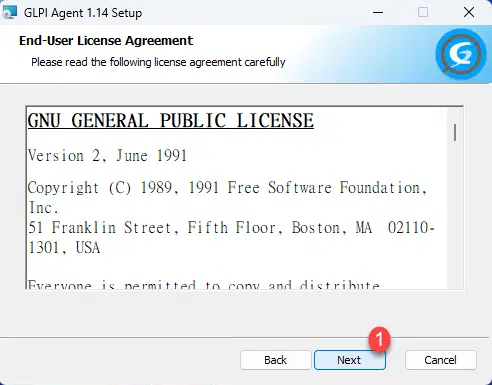
Accepting the license agreement is done by clicking on Next 1.
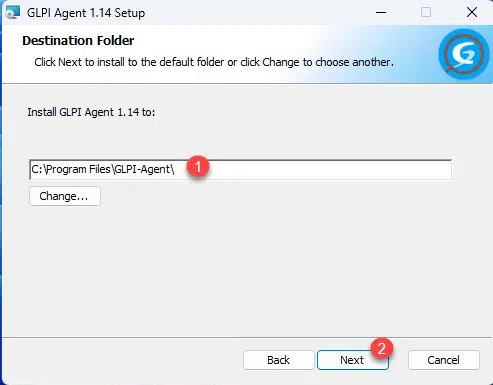
Depending on your environment, modify the installation path 1 if necessary, and click the Next 2 button.
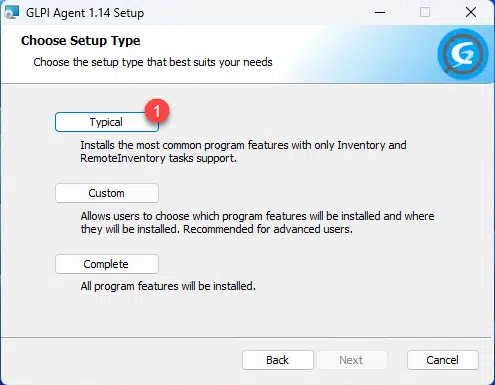
Here, I just want to have an inventory agent, so I will choose the installation 1 Typical.
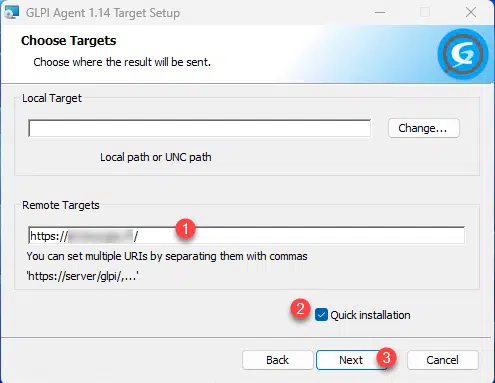
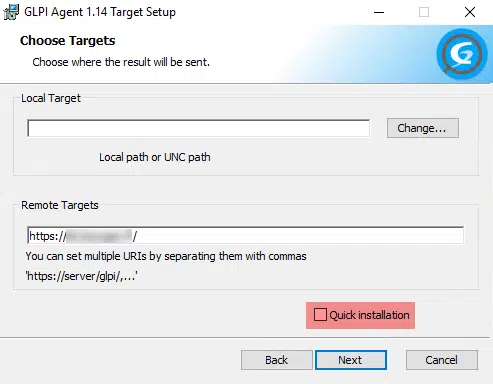
Enter the GLPI server URL 1, check the Quick installation box 2 then click the Next button 3.
Click on the Install 1 button.

A UAC window should open; click Yes to confirm file execution.
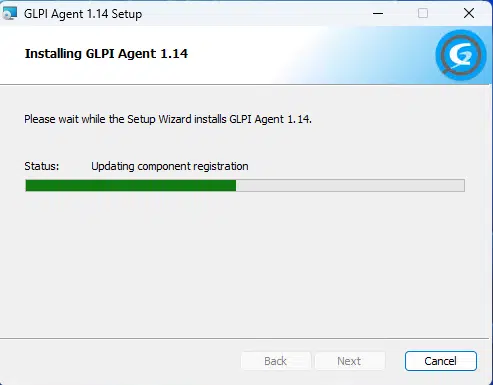
Please wait while GLPI Agent is being installed on Windows…
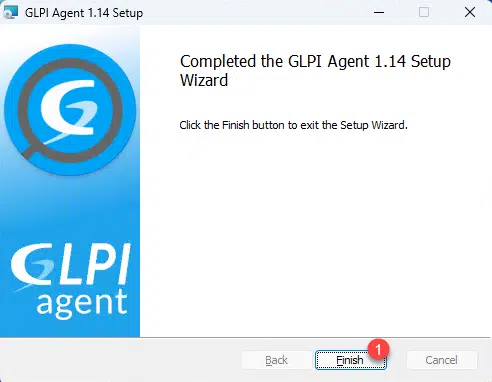
Once the installation is complete, close the GLPI Agent installation wizard by clicking the Finish button.
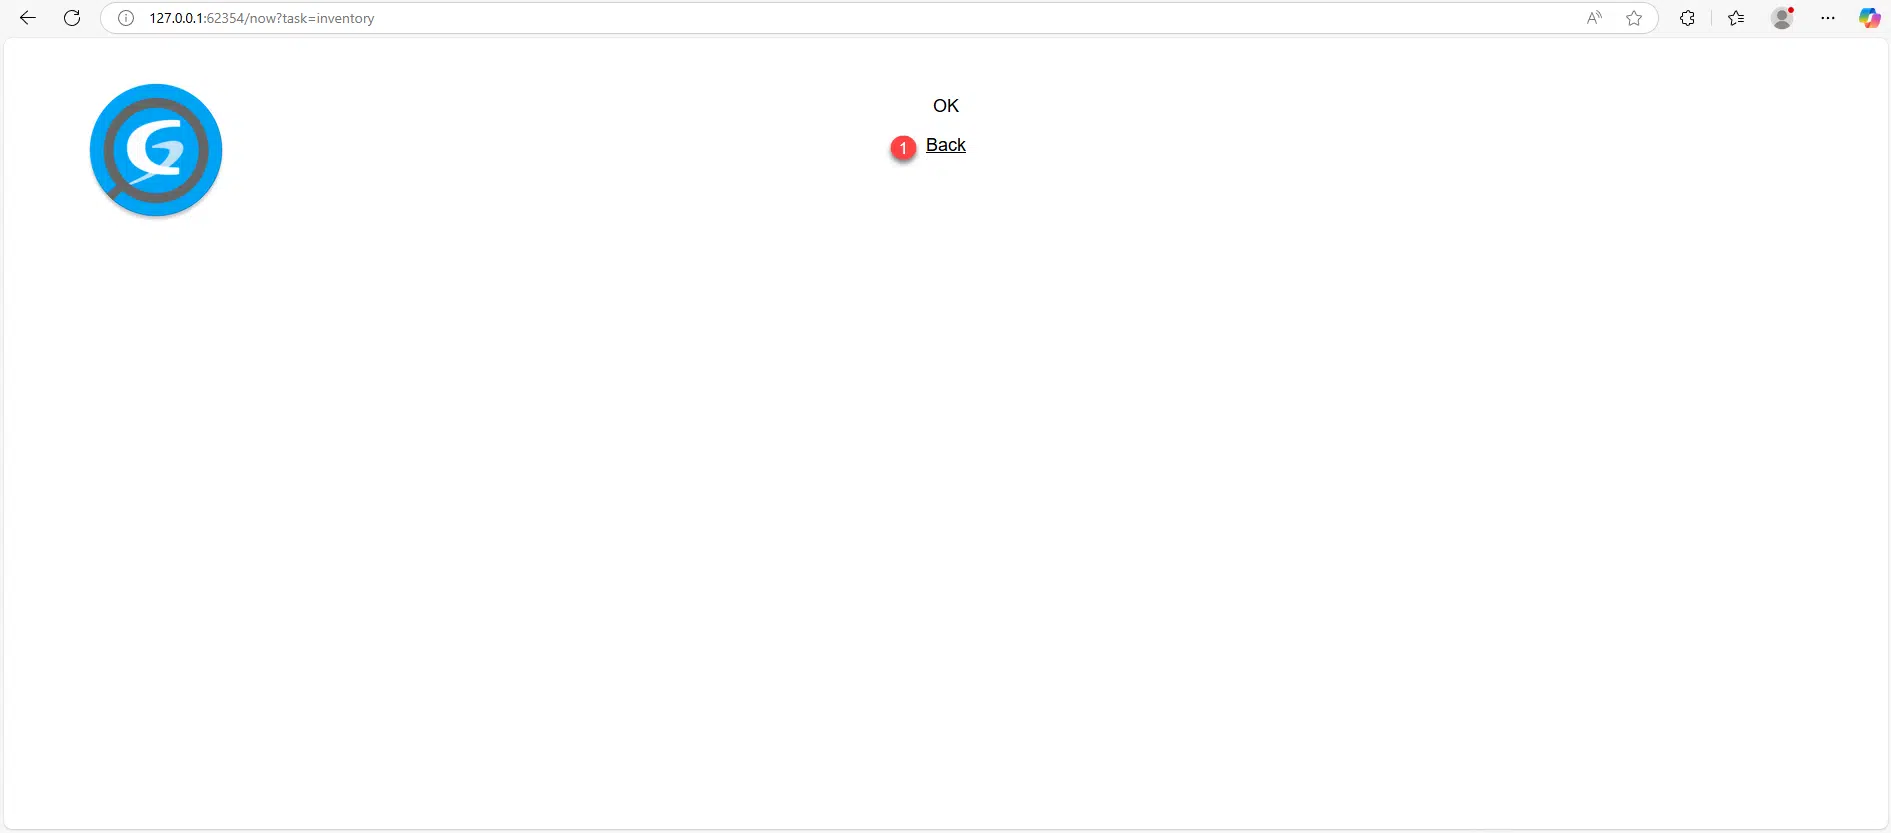
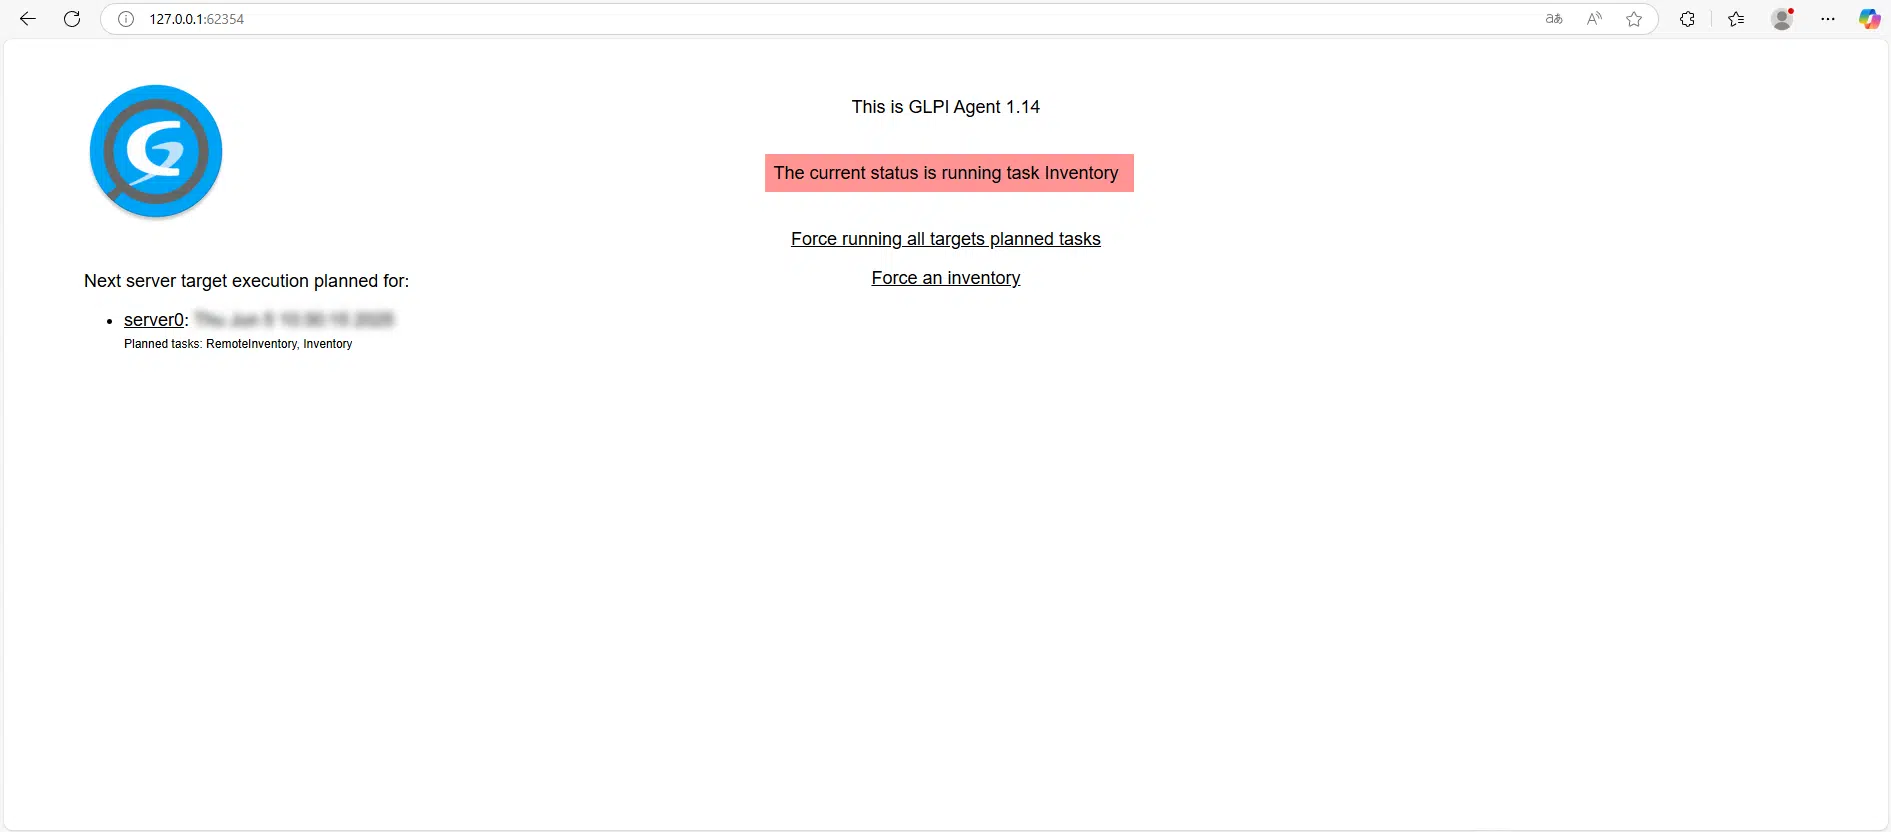
By default, the inventory is not run immediately; to force it, open an internet browser and enter the following address: http://127.0.0.1:62354 and click on the link Force an inventory 1.

Click on Back 1 to return to the previous page.
Back on the agent’s homepage, we can see that the inventory is in progress…
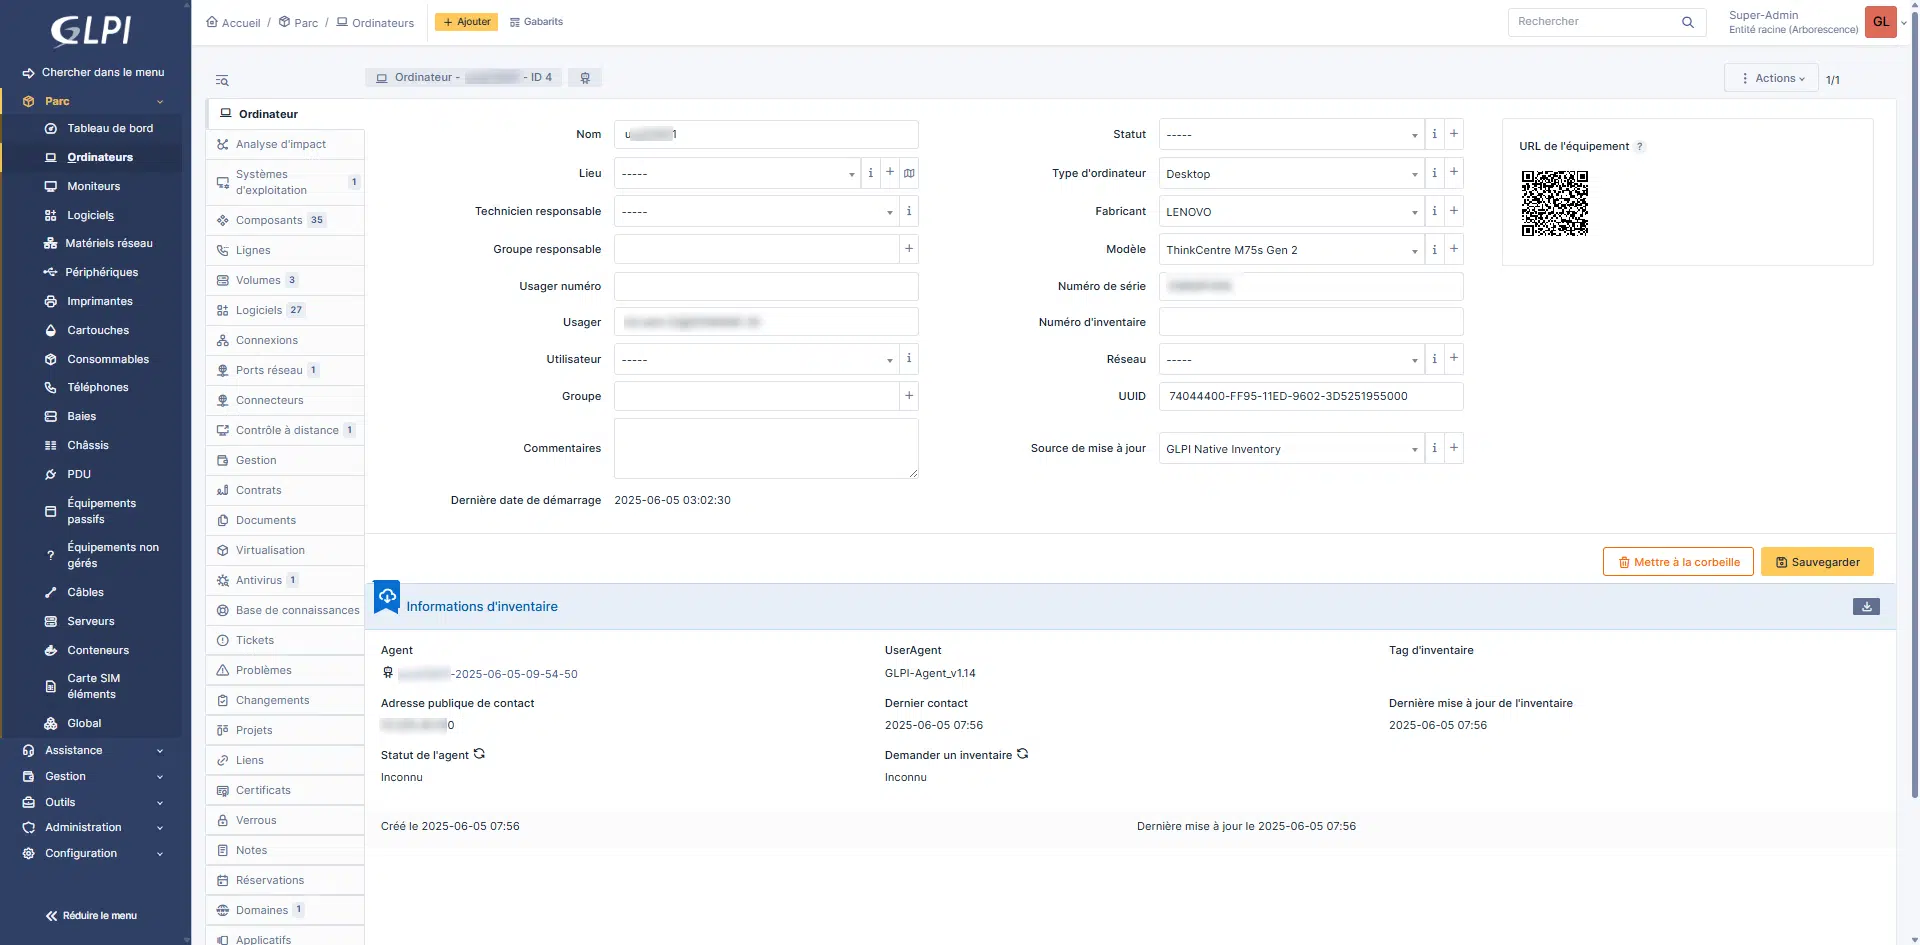
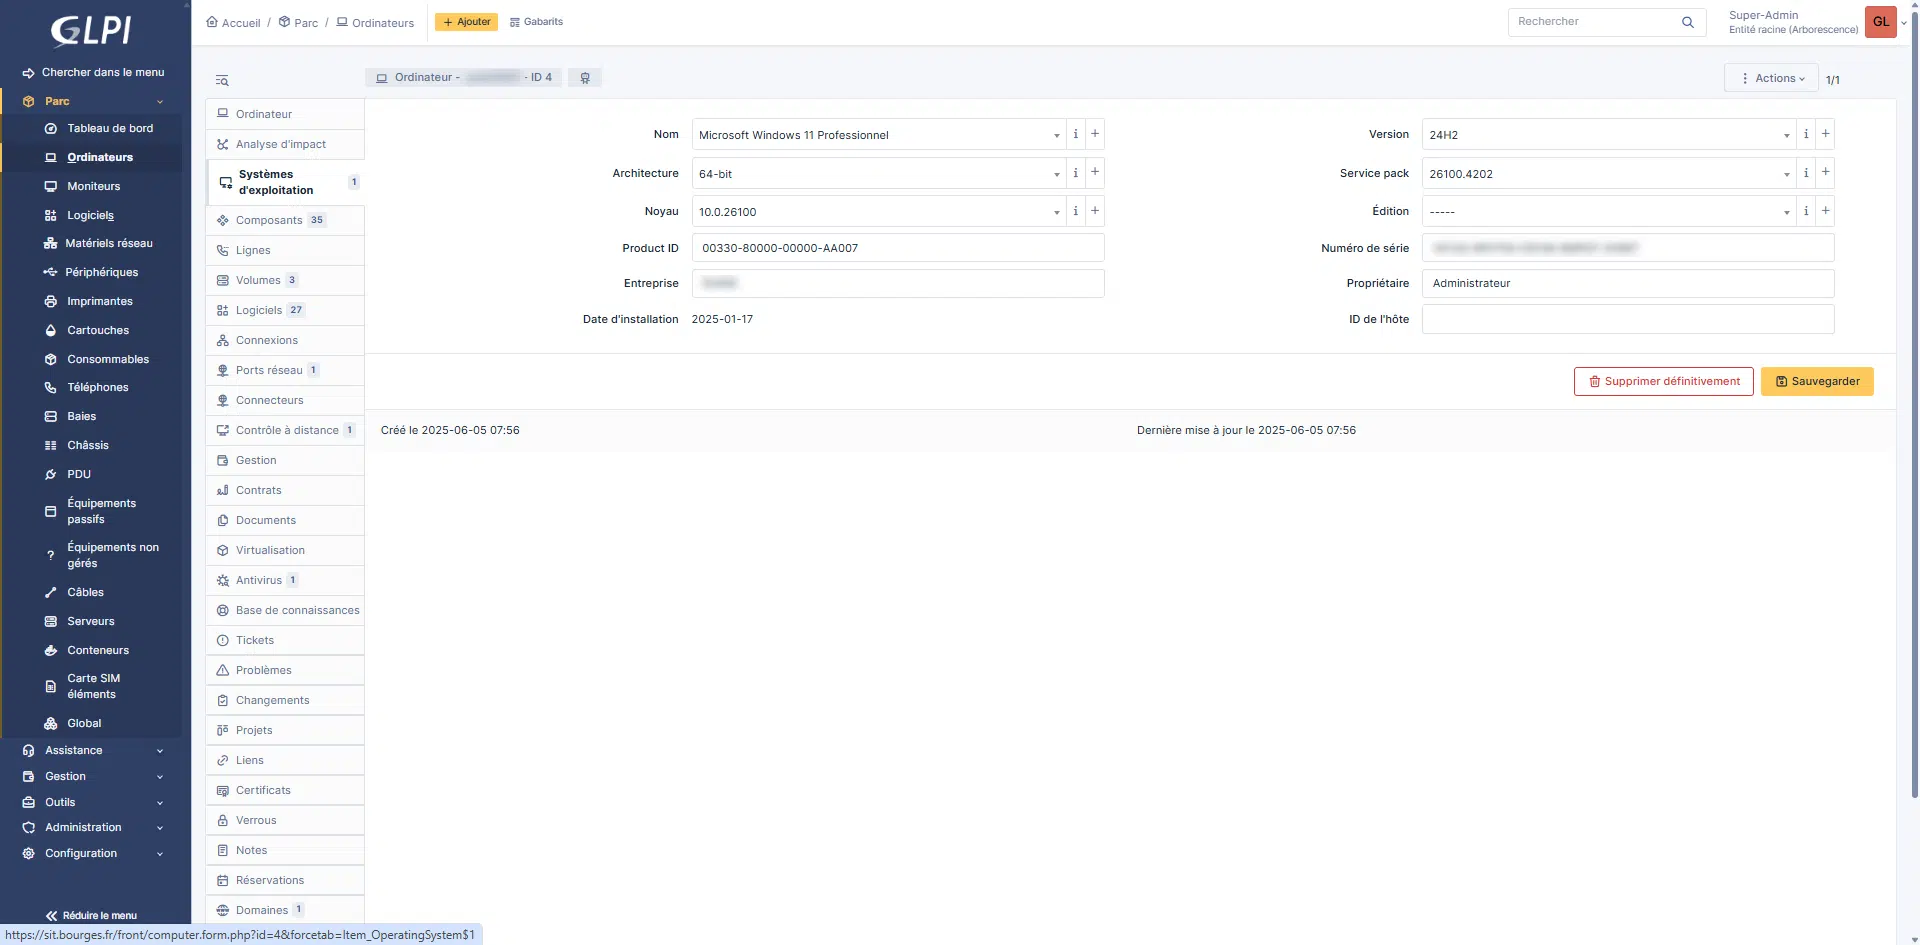
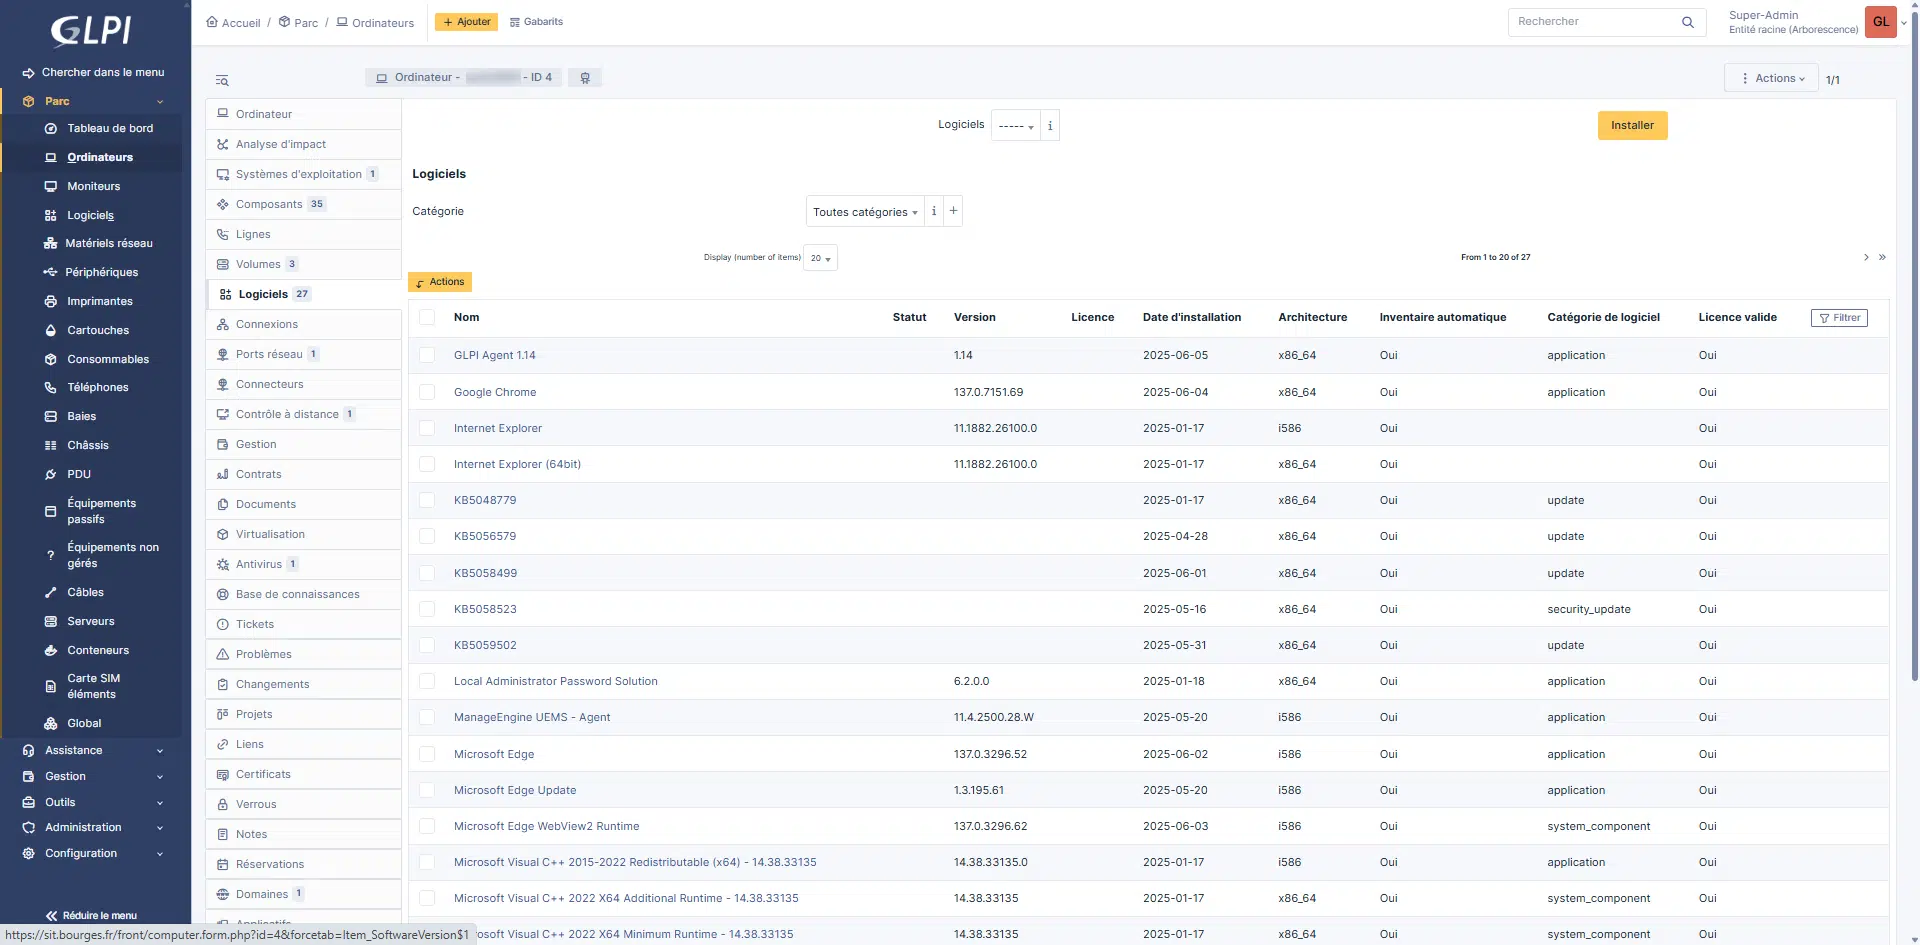
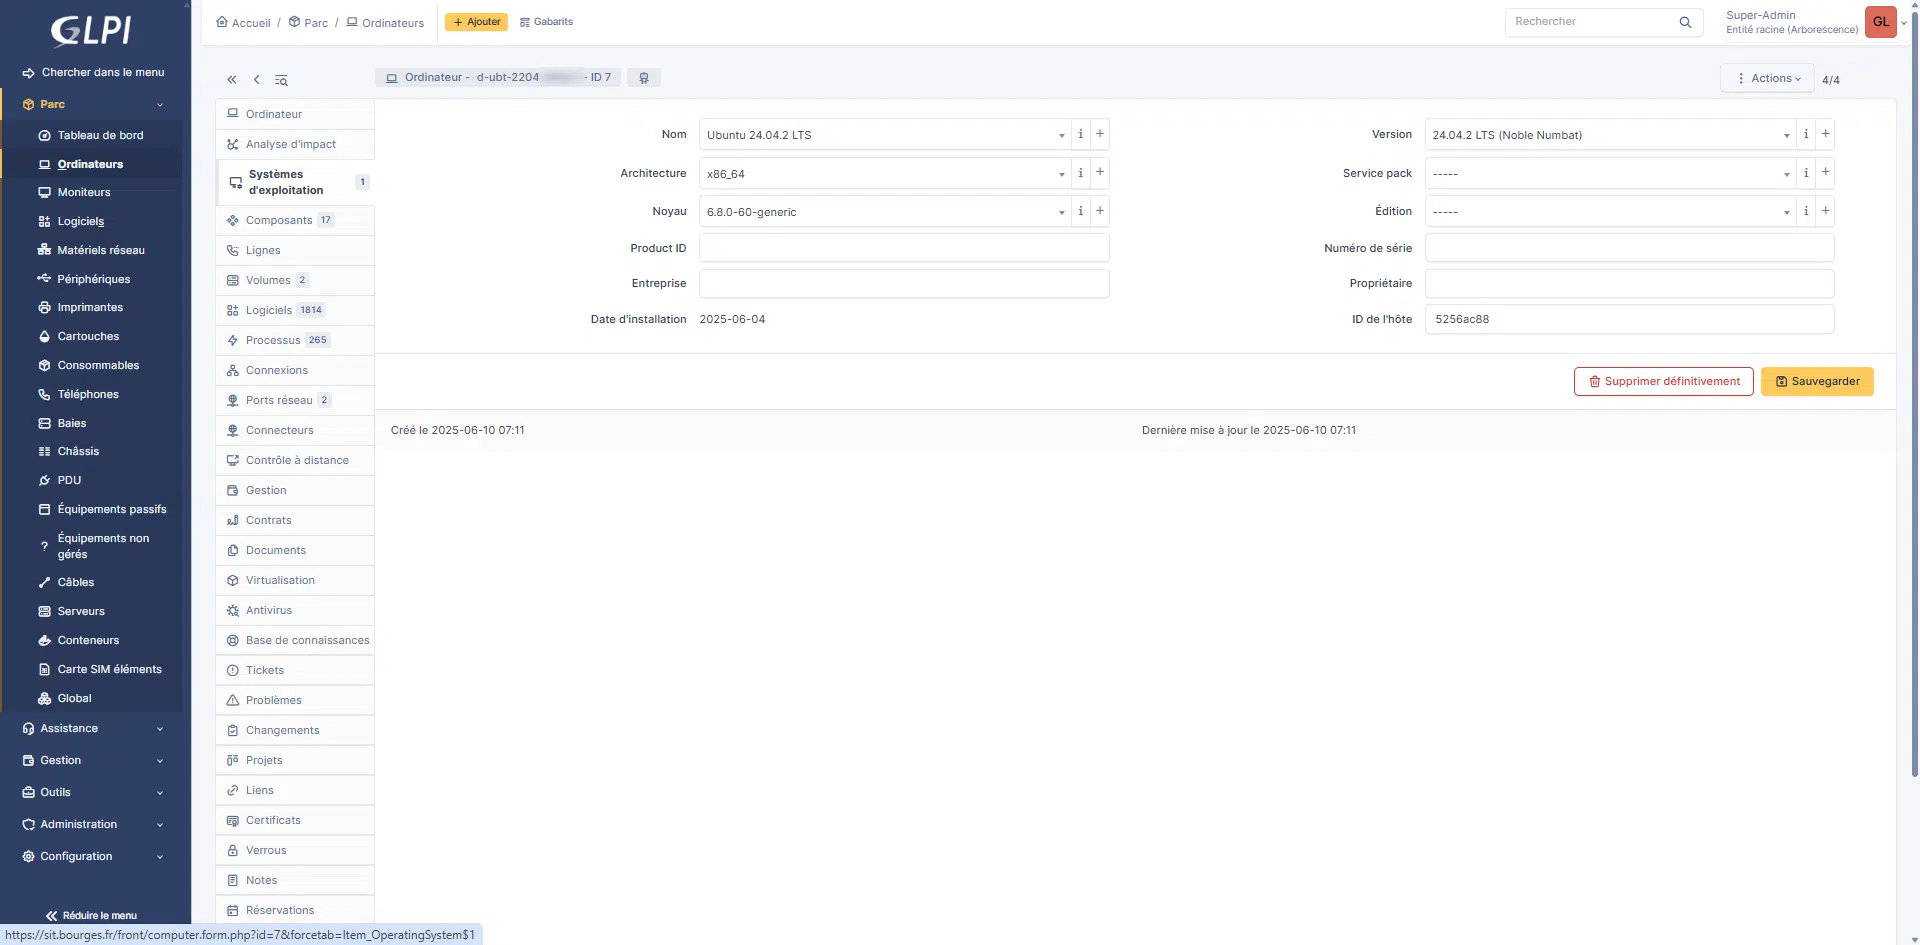
To check that everything is working, go to GLPI 11 from the menu on Parc -> Computers 1, you should see the computer.
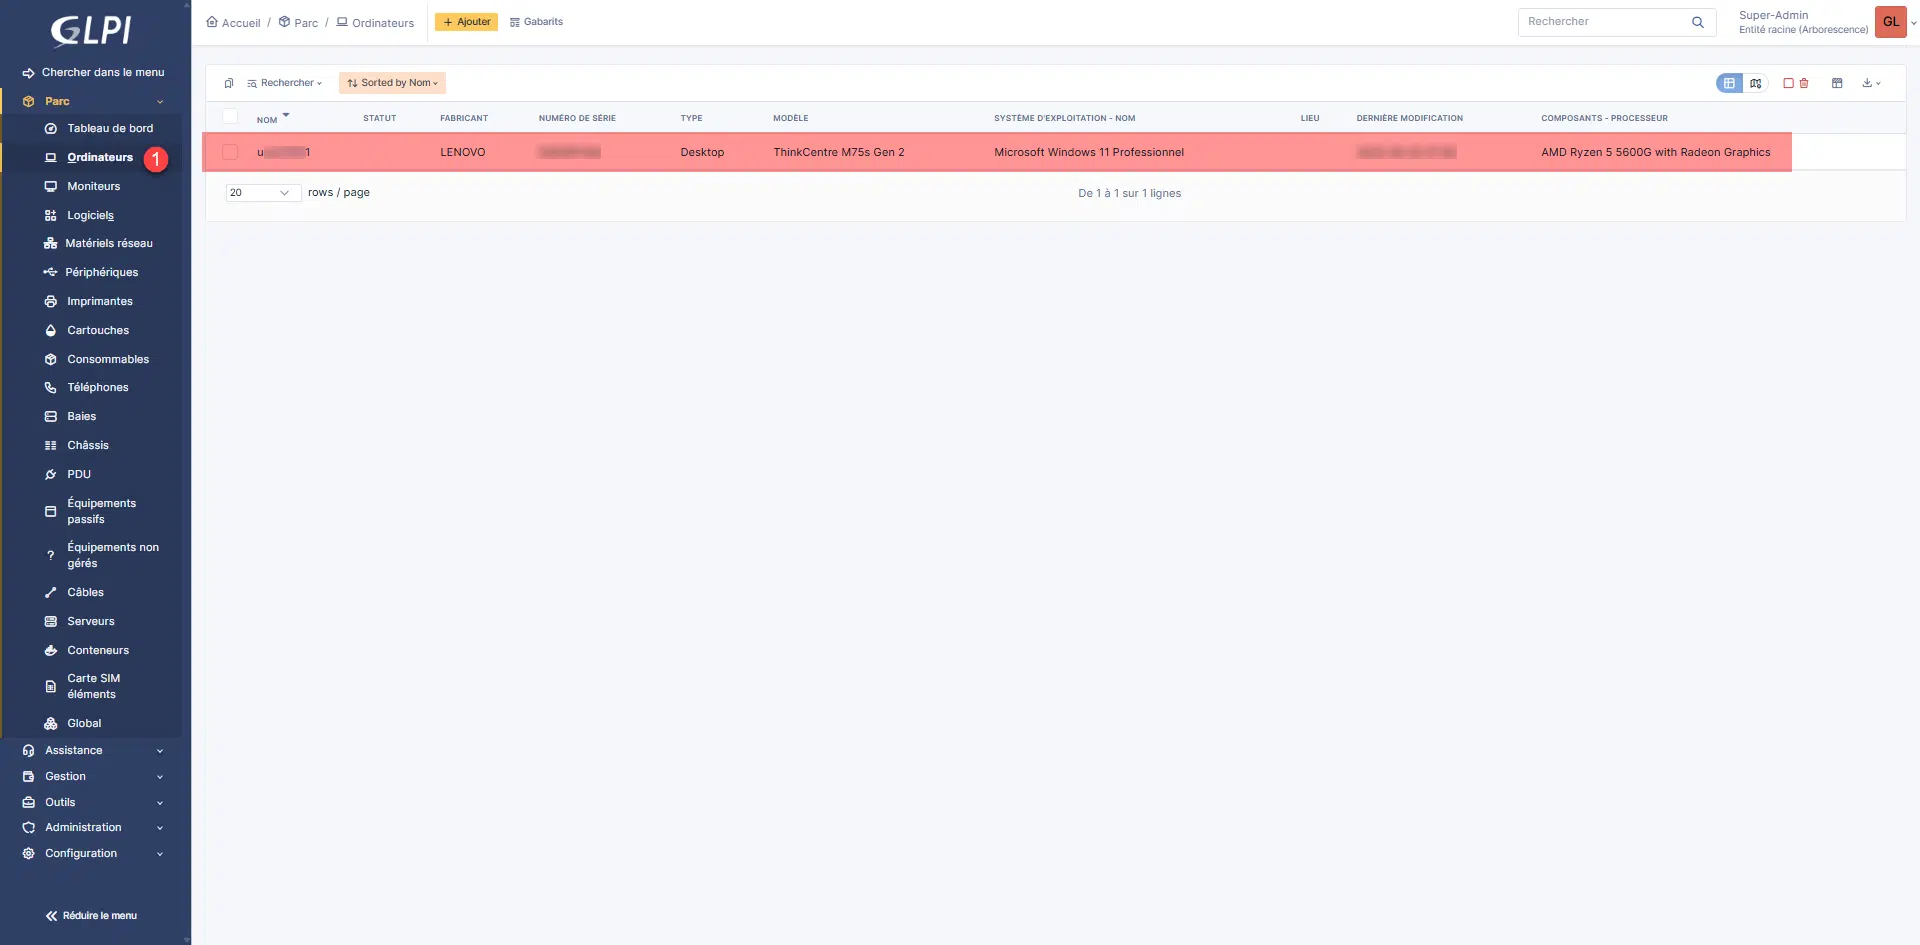
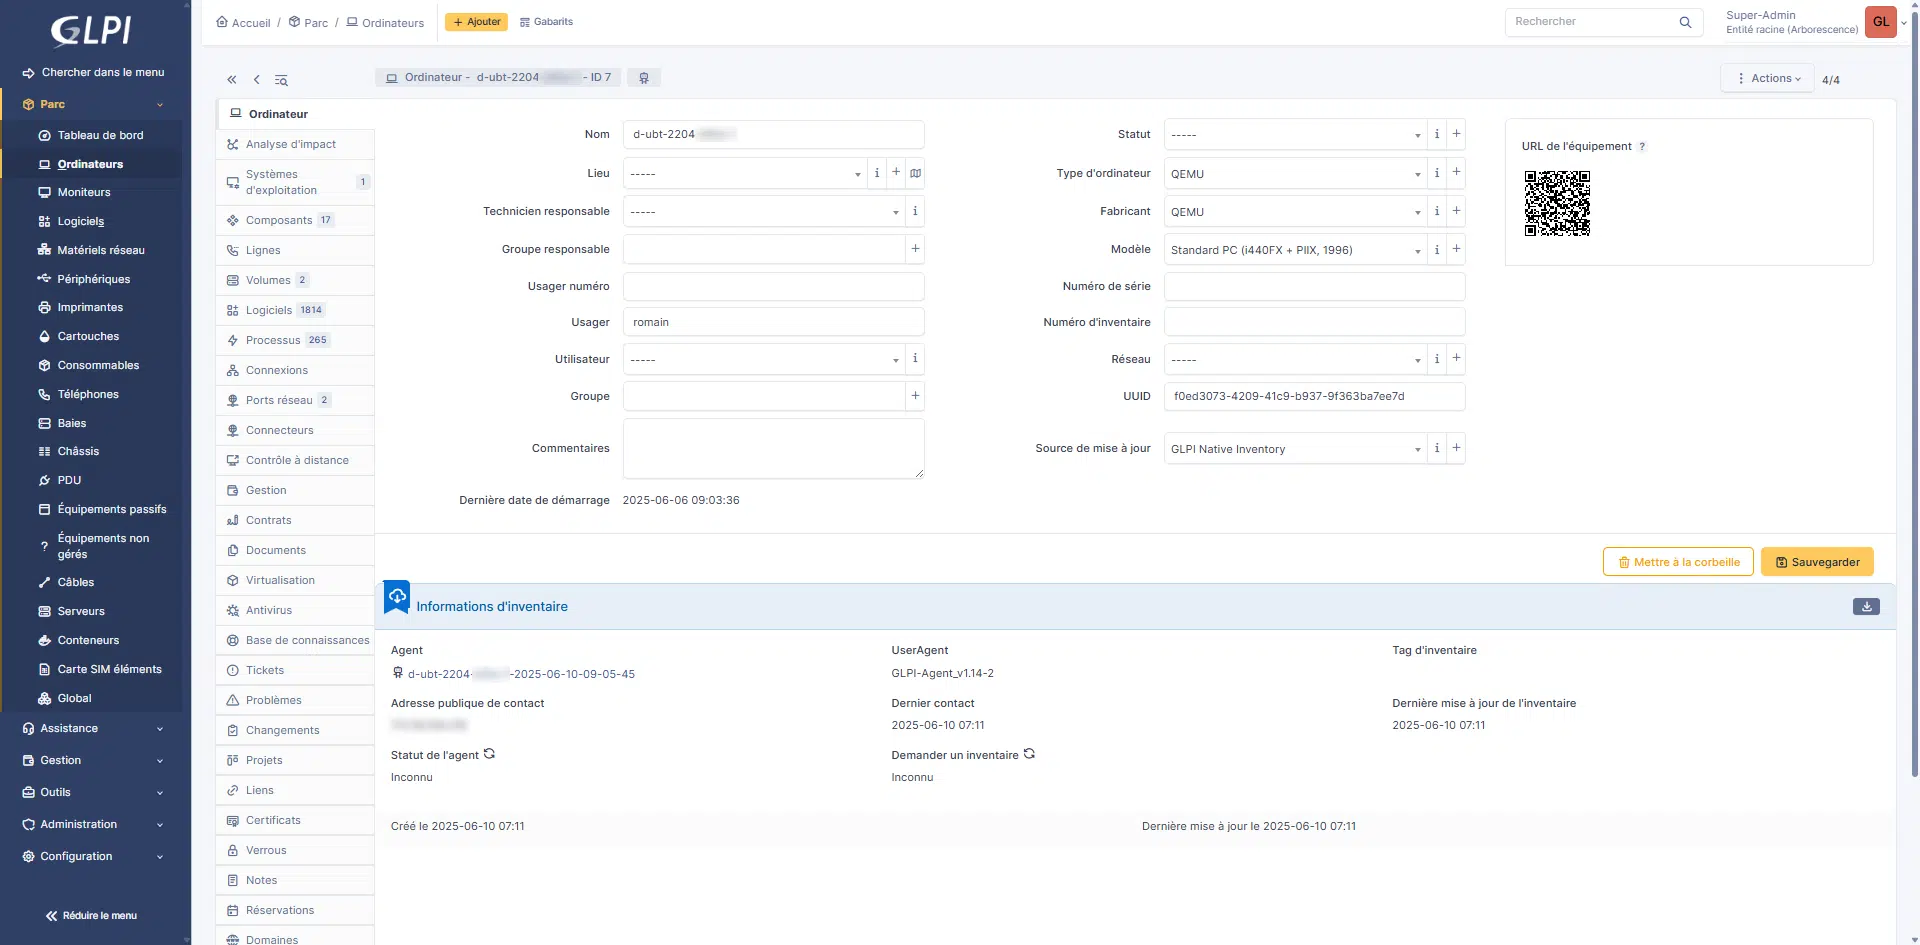
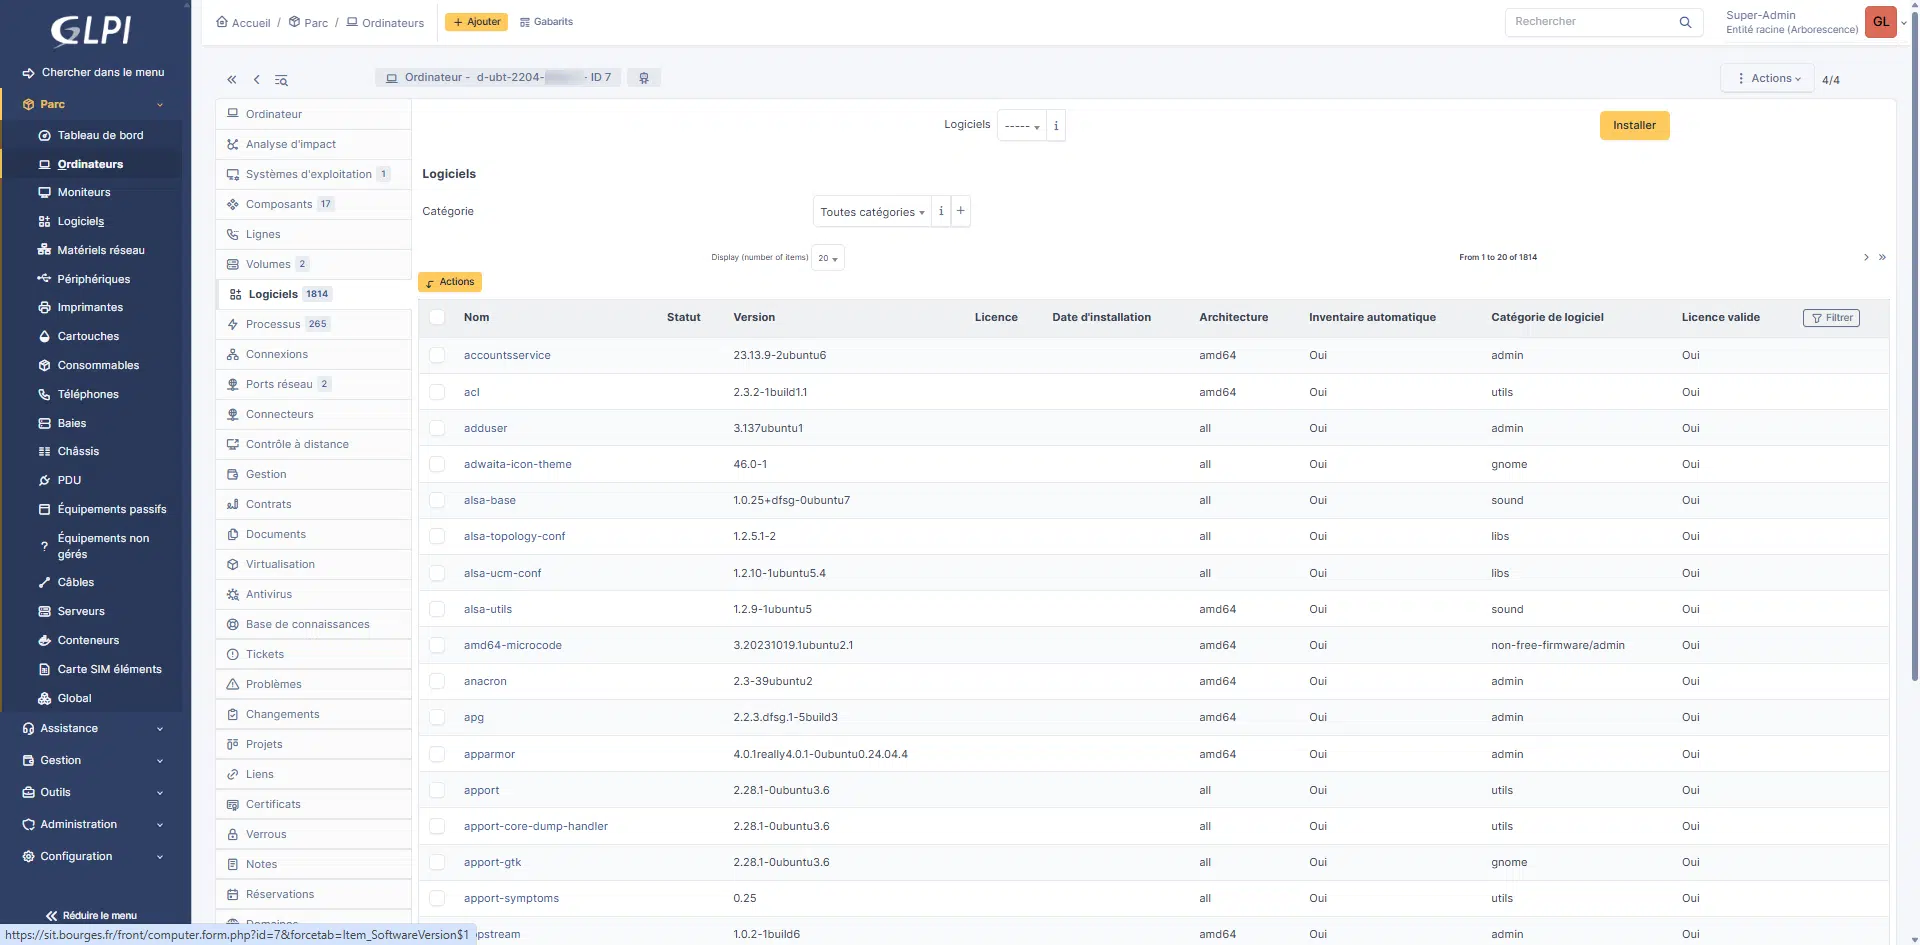
By clicking on it, you will access the details, where you will be able to see this general information, details of the operating system, its hardware components, the software…
It is also possible to access the agent’s training courses:
If you are used to using GLPI, you should not be lost in GLPI 11.
You know how to install GLPI Agent on Windows; for mass deployment of the agent, I invite you to follow this tutorial: GLPI 10: Configuring automatic computer inventory with GLPI Agent
Install GLPI Agent on Linux
Now we’re going to see how to install GLPI Agent on Linux; in this tutorial, I’ll be using a machine running Ubuntu.
To begin from a Terminal, download the perl file, which allows installation:
wget https://github.com/glpi-project/glpi-agent/releases/download/1.14/glpi-agent-1.14-linux-installer.pl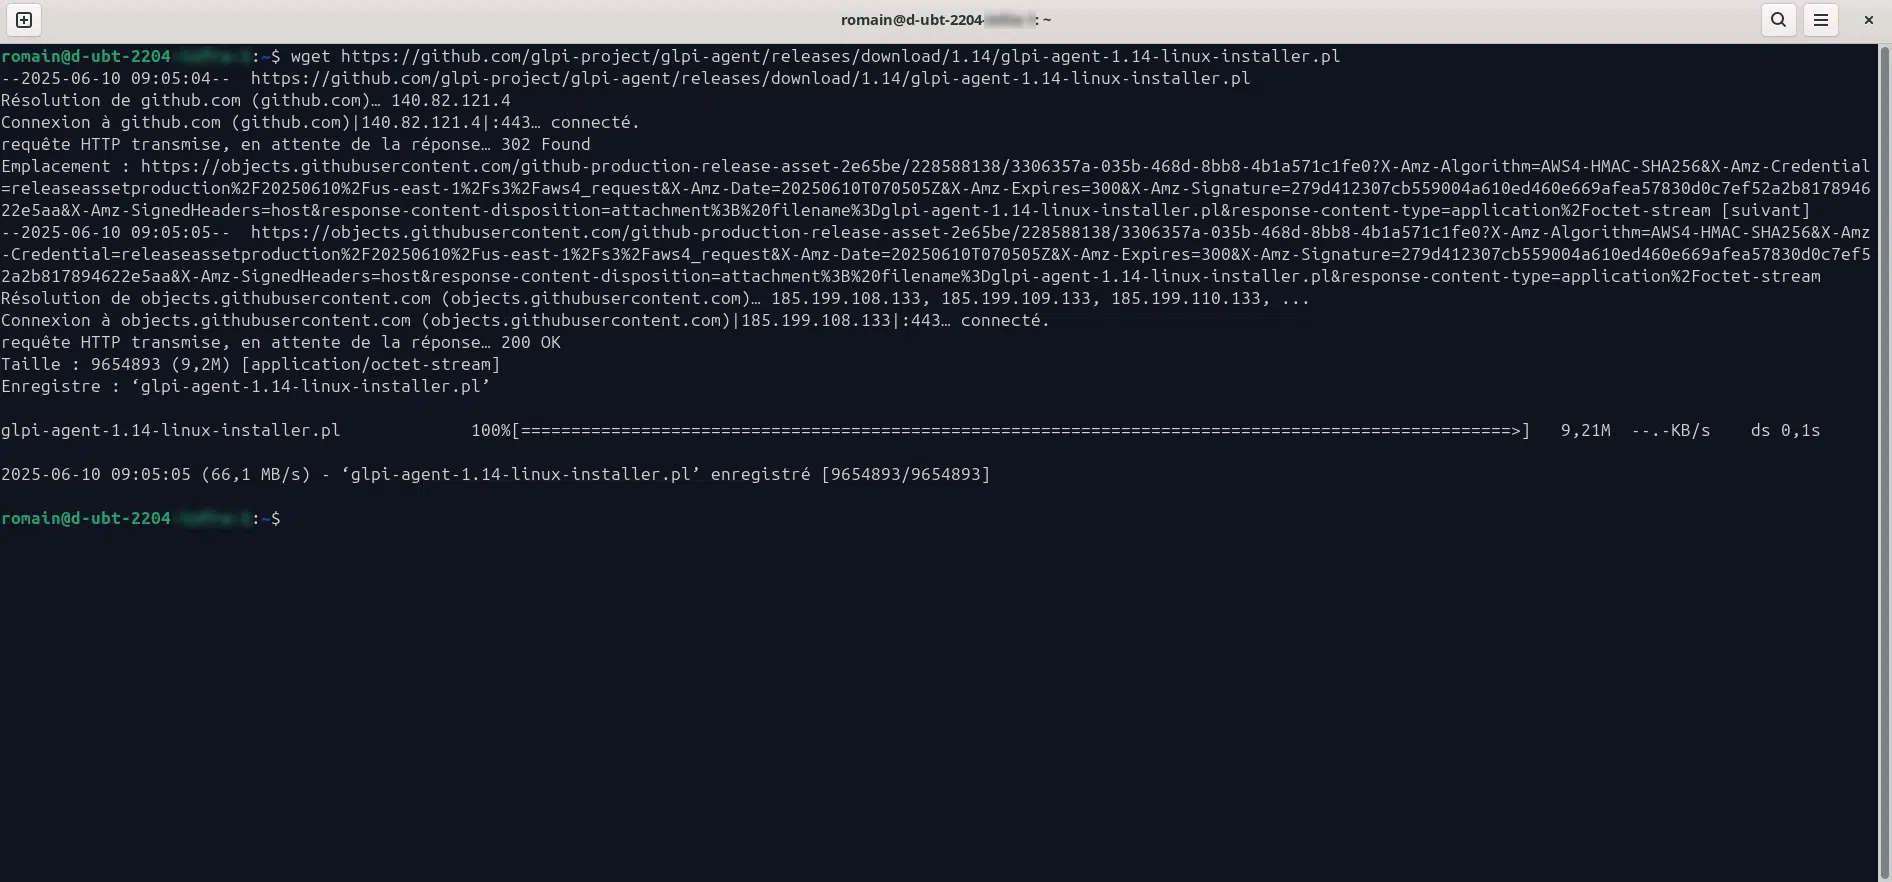
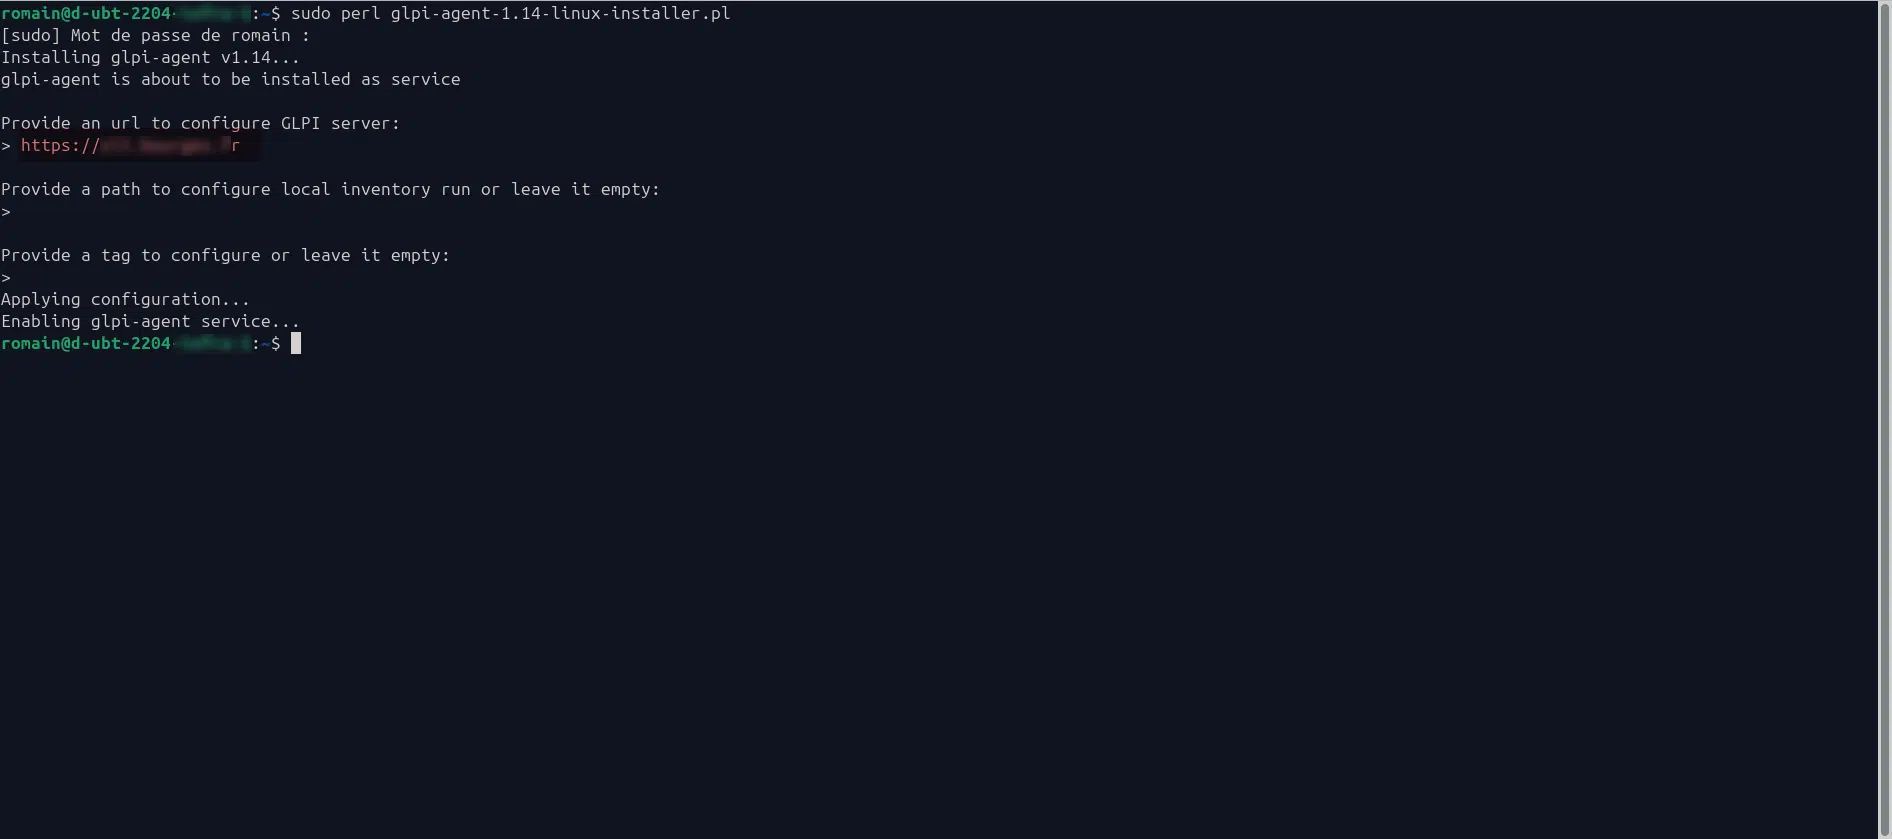
Run the downloaded file and wait for the installation to complete…
sudo perl glpi-agent-1.14-linux-installer.pl

Once installed, a mini wizard will guide you through configuring the agent, asking you for:
- GLPI server URL
- A local location for inventory files
- TAG
To verify that the service is functioning:
sudo systemctl status glpi-agent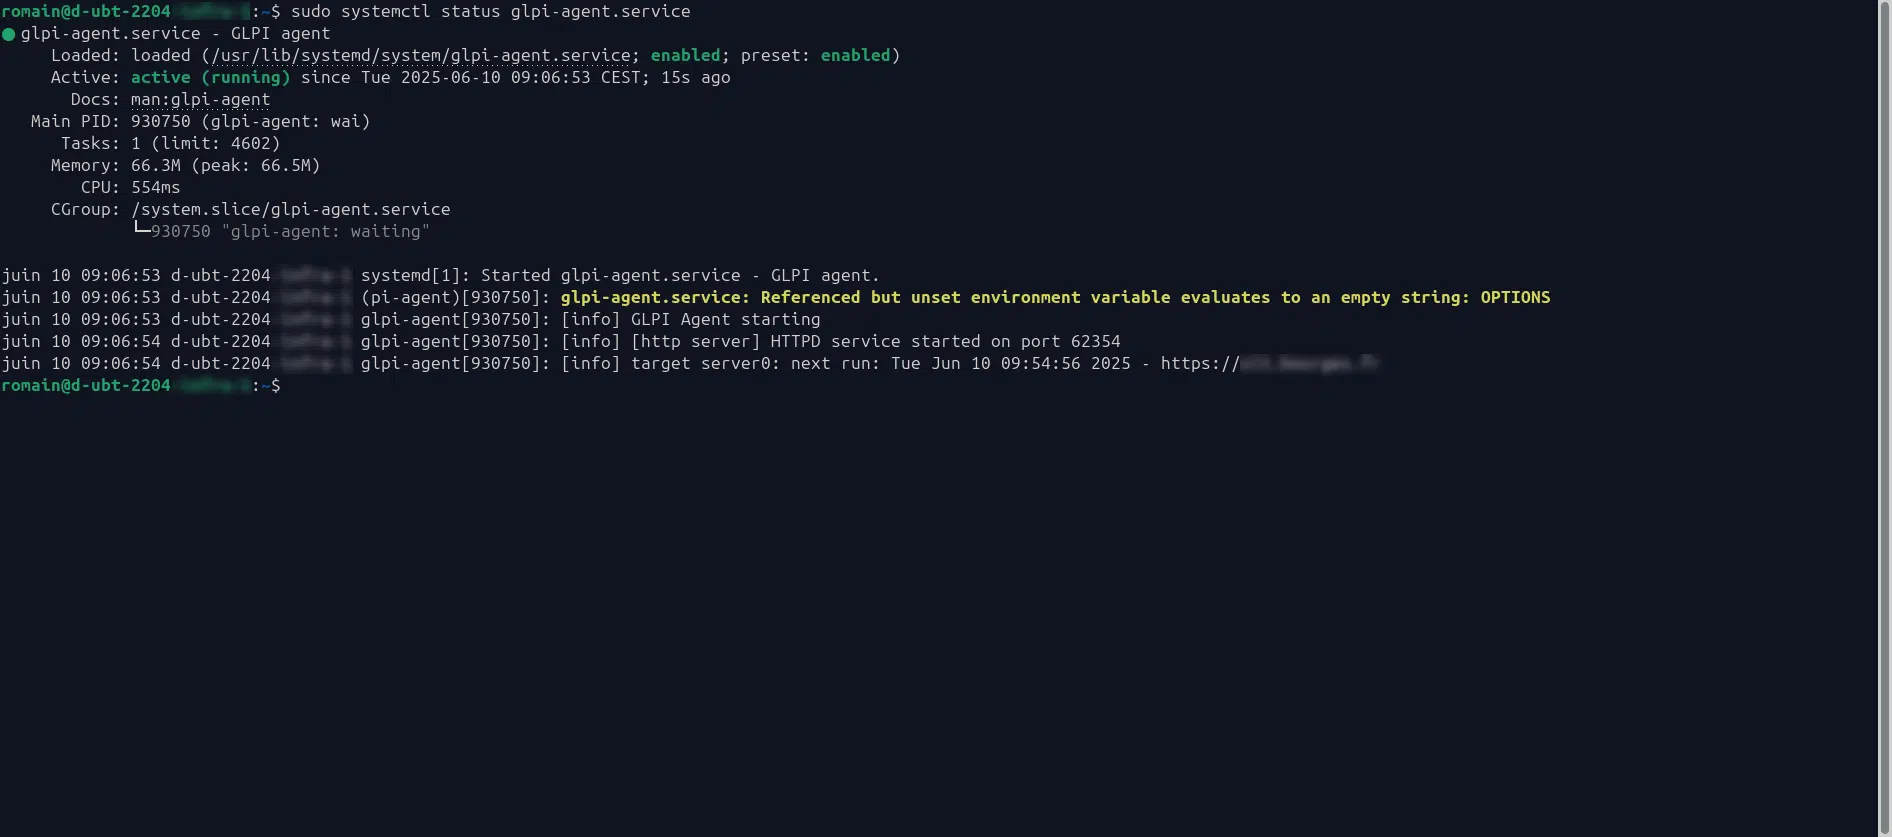
To force an inventory, enter the following command:
sudo glpi-agent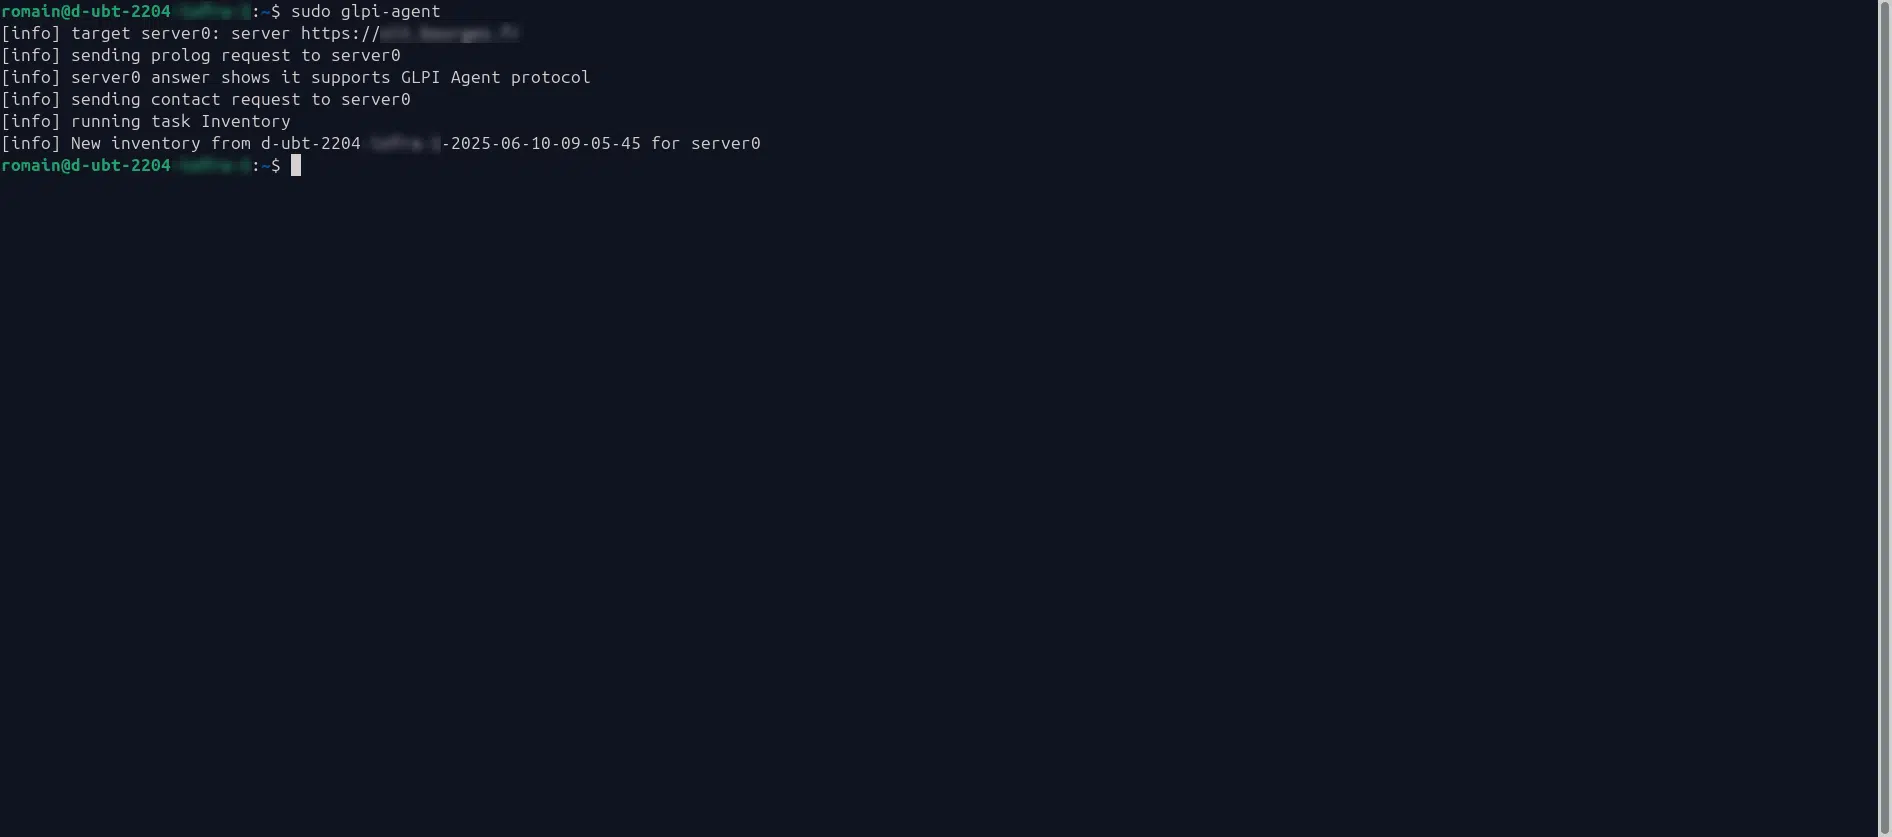
Once the inventory is complete, verify that the computer is present in GLPI 11:
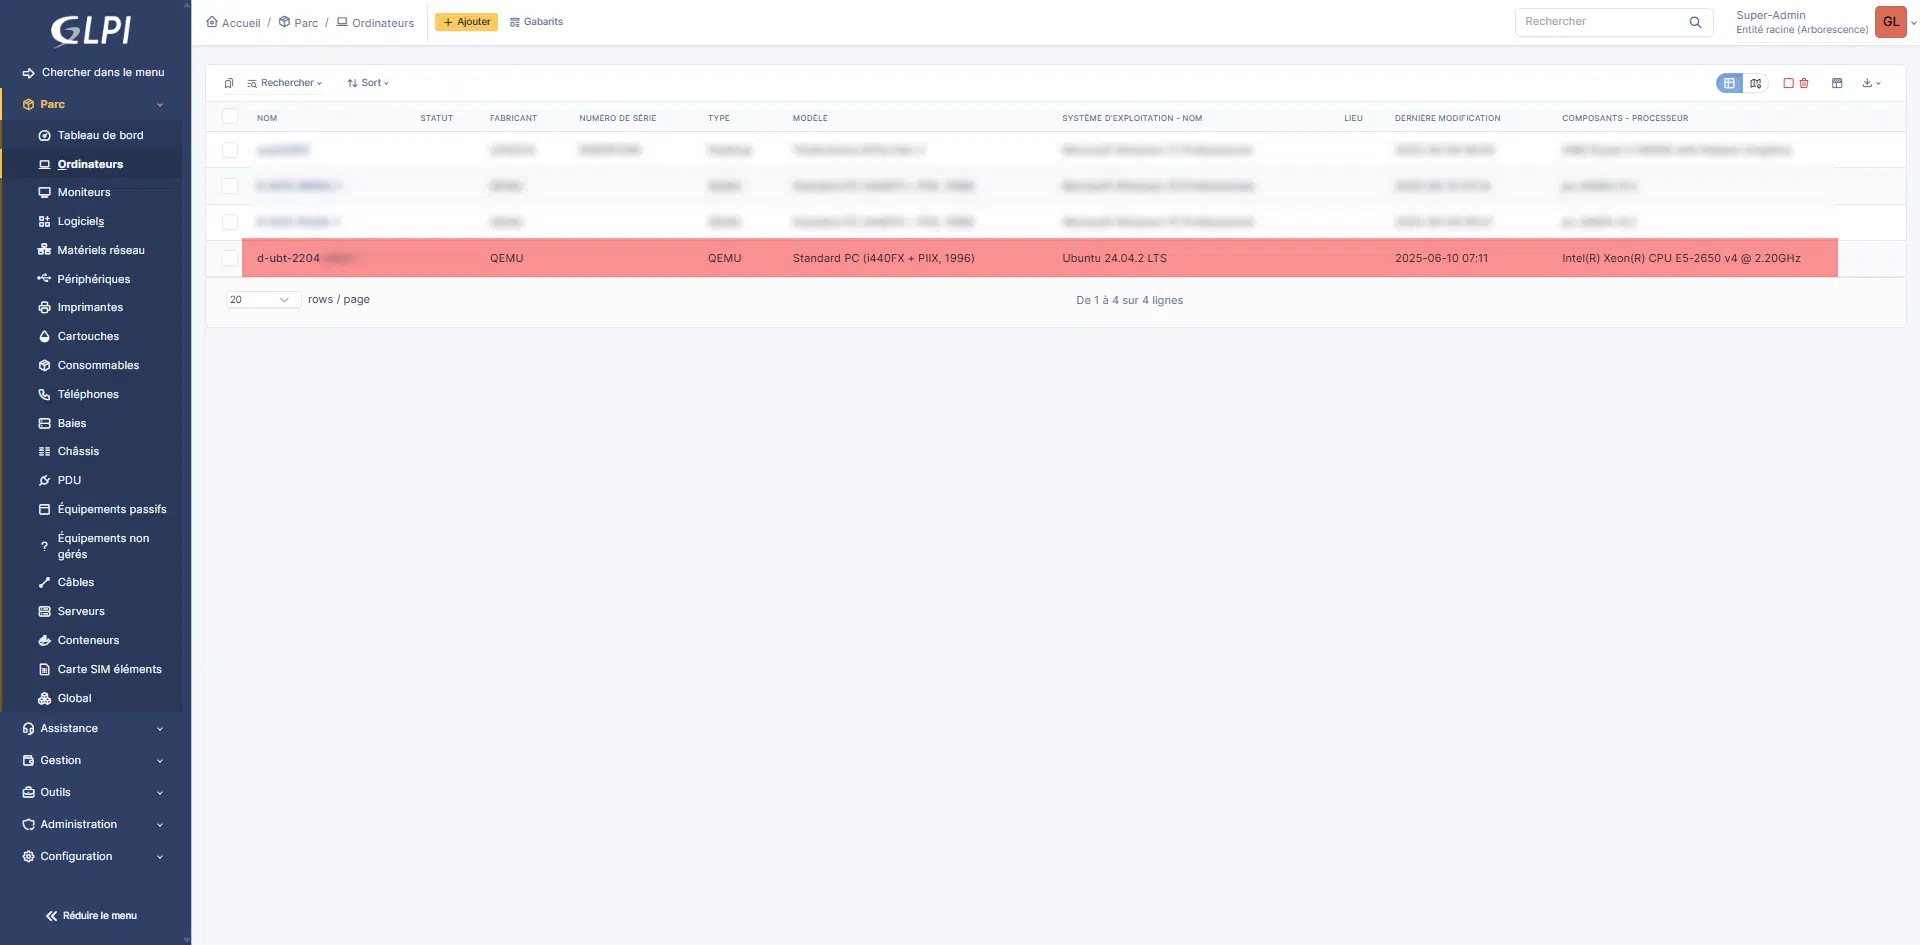
As with Windows, the computer inventory retrieves a lot of information for Linux
You know how to install GLPI Agent on Linux and have an automatic inventory of your computers under Linux.
Installation and advanced configuration on Windows
To finish this tutorial, we will look at the settings available when you uncheck the Quick installation box of the GLPI Agent installation wizard on Windows.
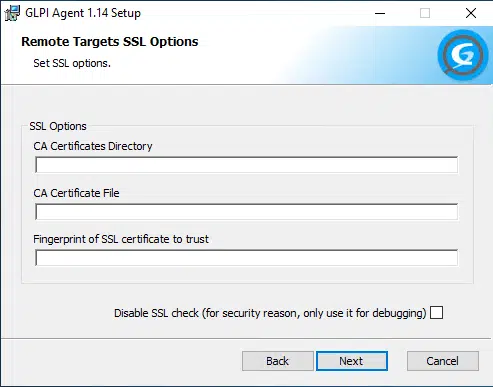
Before GLPI 11, to secure the inventory, it was possible to configure an SSL certificate:
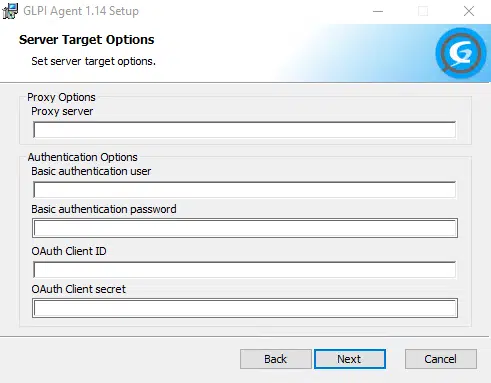
Next, the assistant allows you to configure a proxy if you have one in your company to access the Internet, and we also find the fields that allow us to configure the authentication (account and password) which would have been configured in the GLPI 11 settings at the inventory level.
To continue, you will be able to choose the execution mode of GLPI Agent, as a Service or Scheduled Task, and force the inventory at the end of the installation.
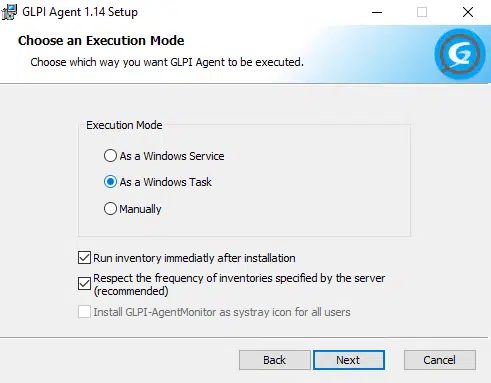
On servers, I tend to prefer execution as a Scheduled Task, as this avoids the installation of an additional service and also the integrated web server.
I only install it in Service mode on the servers that I will use for network discovery and inventory.
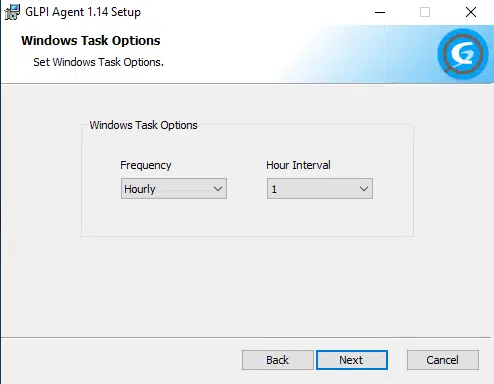
If you select Task mode, you will be able to configure the task execution frequency.
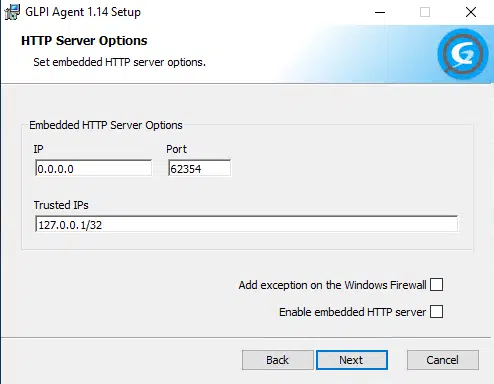
Even in Task mode, the assistant offers web server configuration, which will only be available in Service mode.
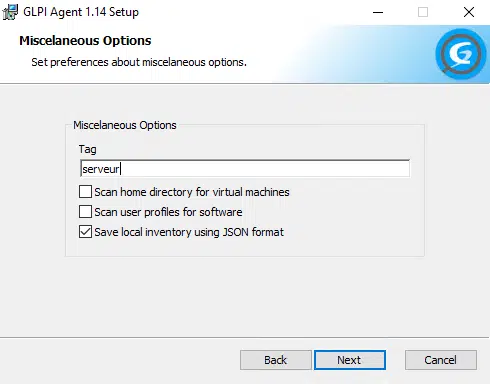
If you are using Tags, you will be able to configure it at this stage of the wizard.
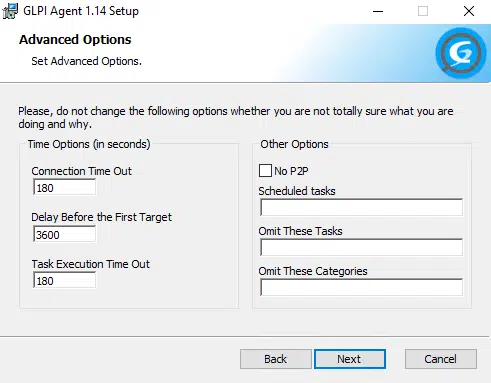
Next comes the configuration of the Time Out and P2P used for package deployment.
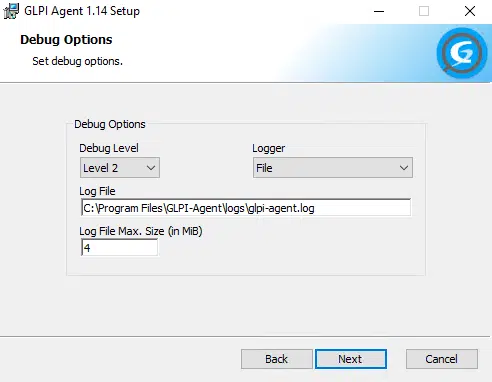
Finally, you will be able to configure the Debug options, which will allow you to resolve computer problems that do not appear in GLPI 11.
You now know how to configure fleet inventory in GLPI 11 with GLPI Agent for Windows and Linux computers.
In a future tutorial, I will explain how to modify the GLPI Agent configuration after it has been installed on your computers.
