In this tutorial, I’ll explain how to set up an LDAP connection Active Directory with Keycloak.
Integrating with Active Directory will allow users to authenticate with their accountsActive Directorythrough Keycloak.
In addition to enabling authentication, this also eliminates the need to create users in Keycloak.
Before you begin, I recommend creating a user account specifically for this integration; for this integration, I created a user account named “keycloak”:
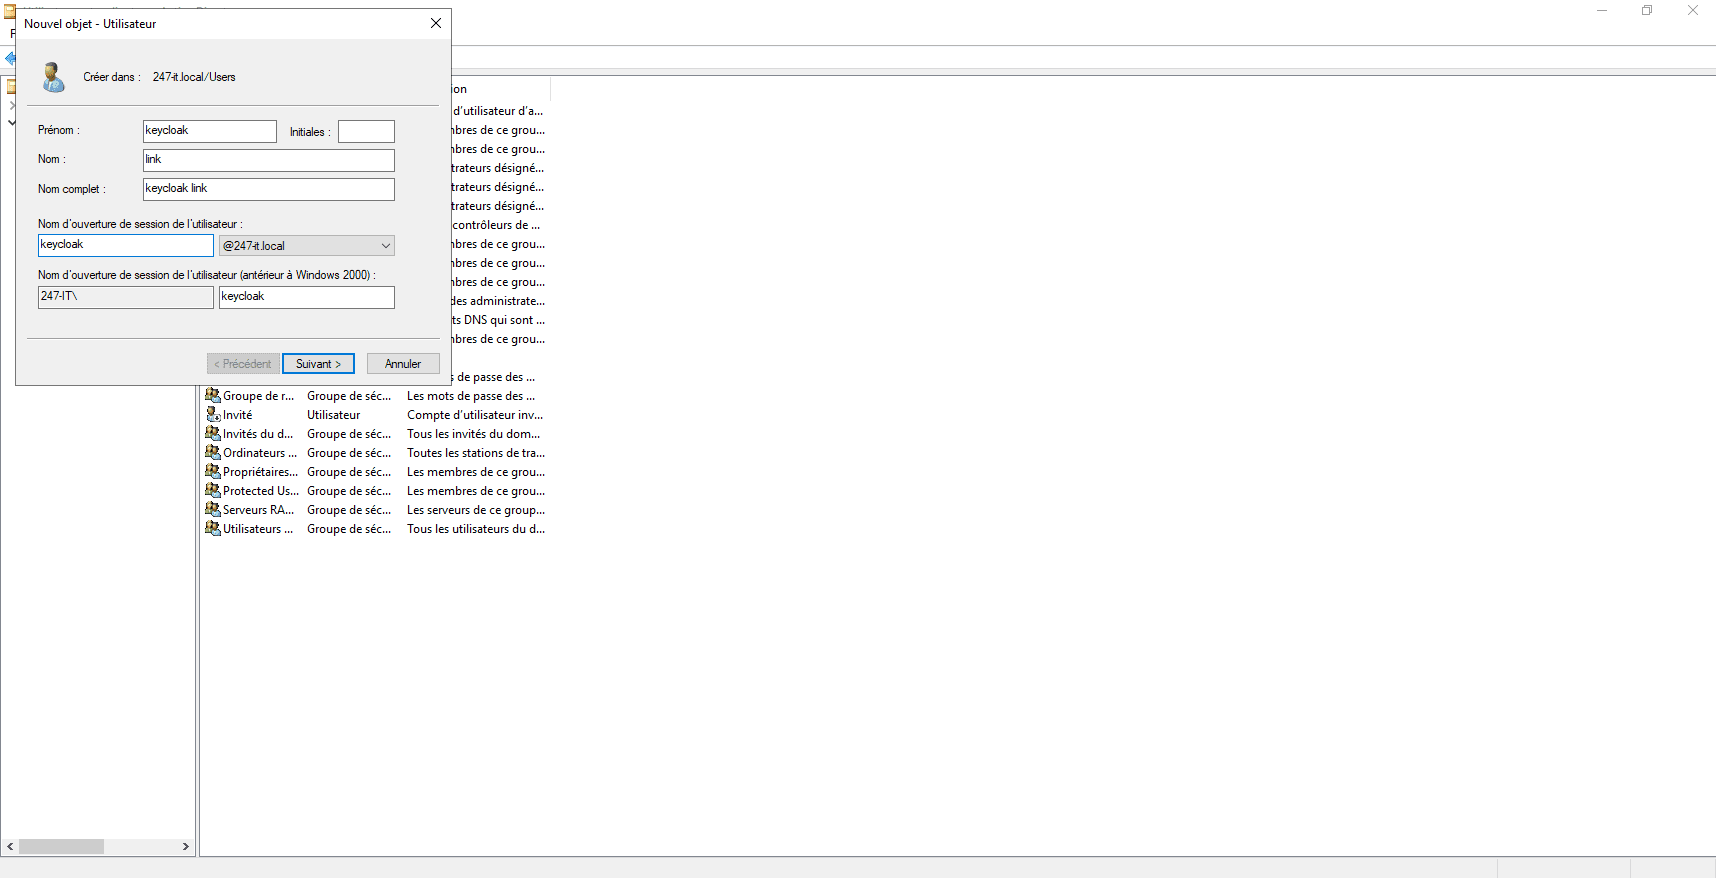
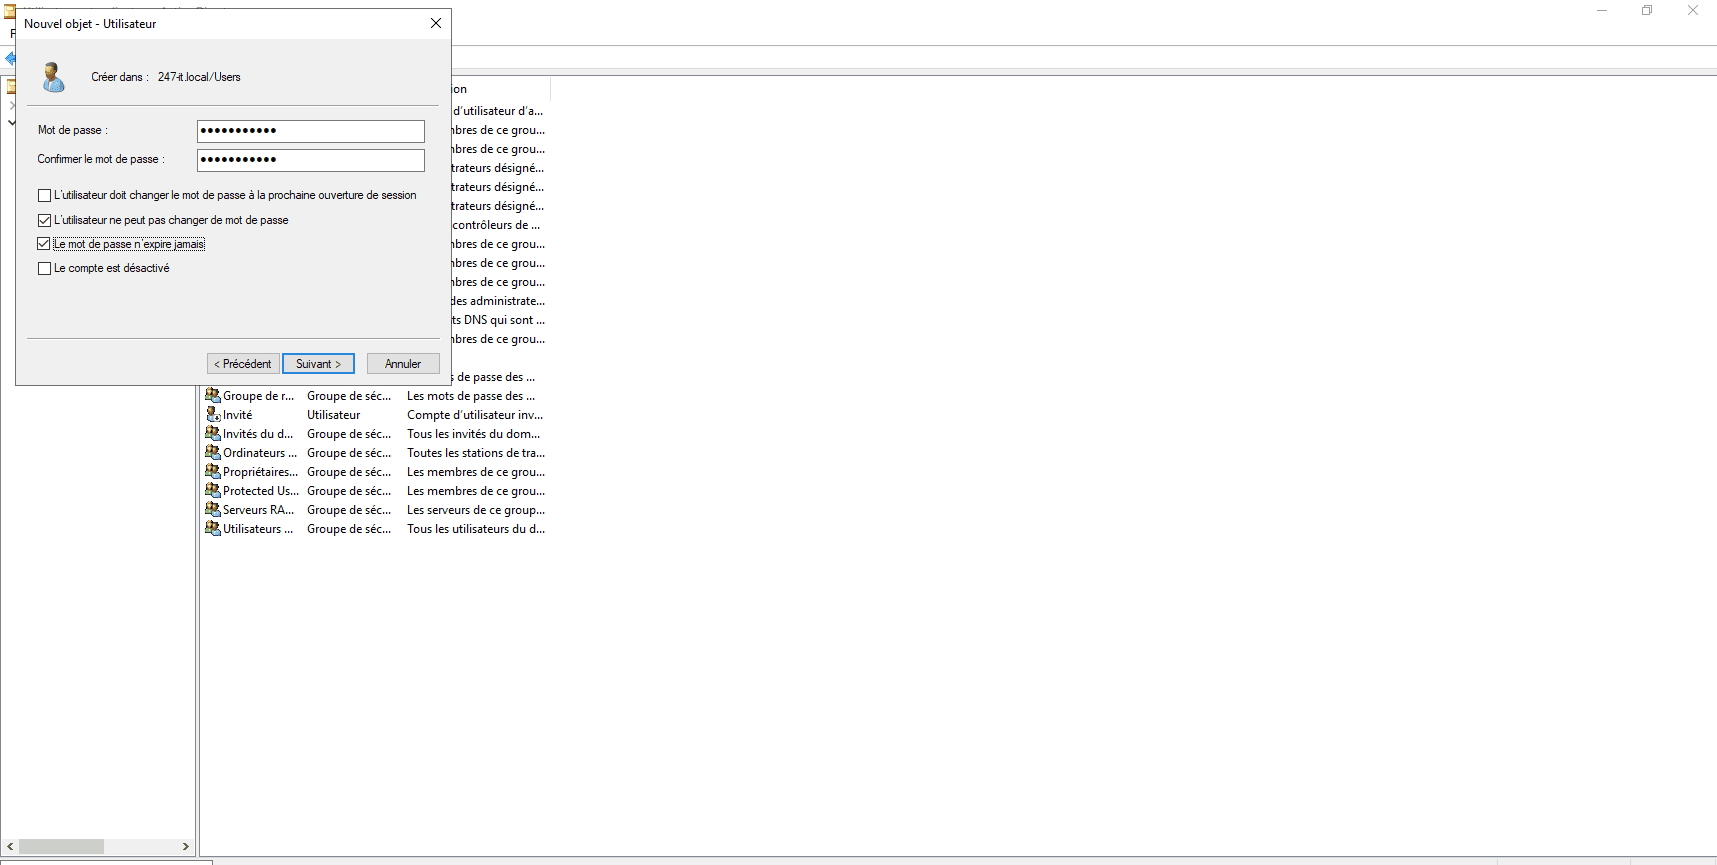
Set up the connectionActive Directory with Keycloak
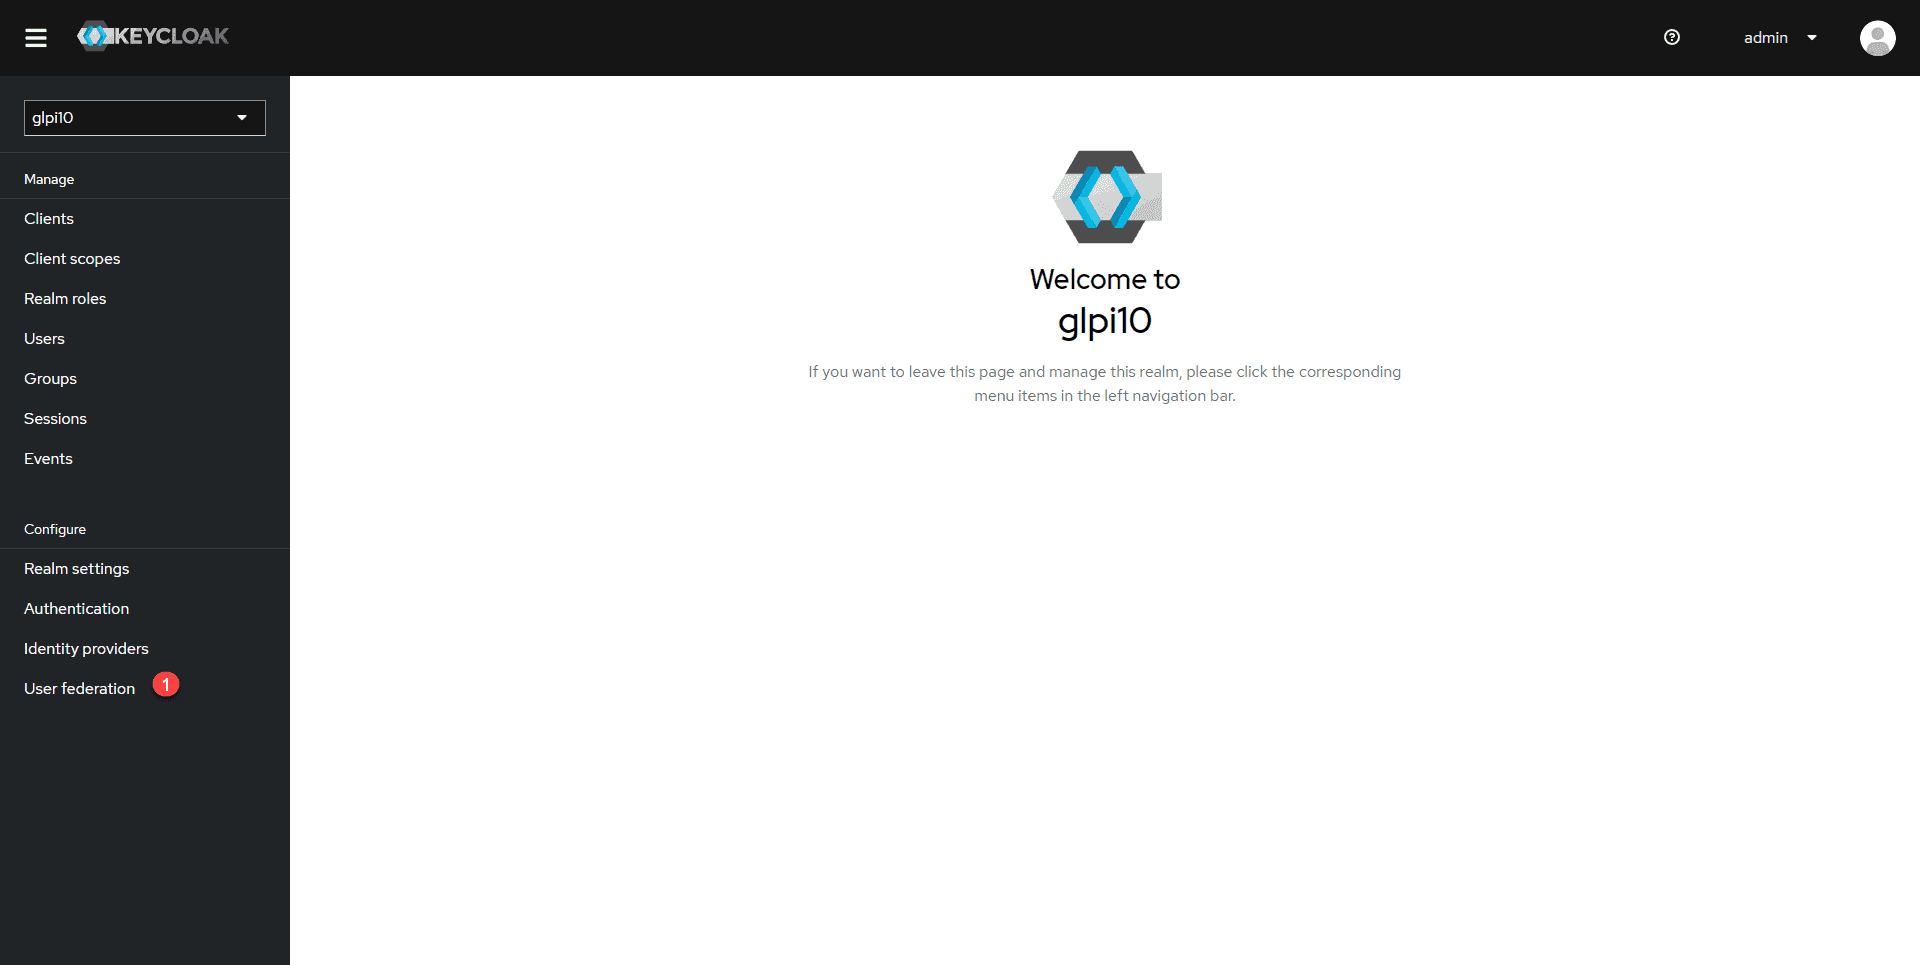
Go to the Keycloak interface in the realm where you want to configure this connection.
In the navigation menu, click User federation 1 .
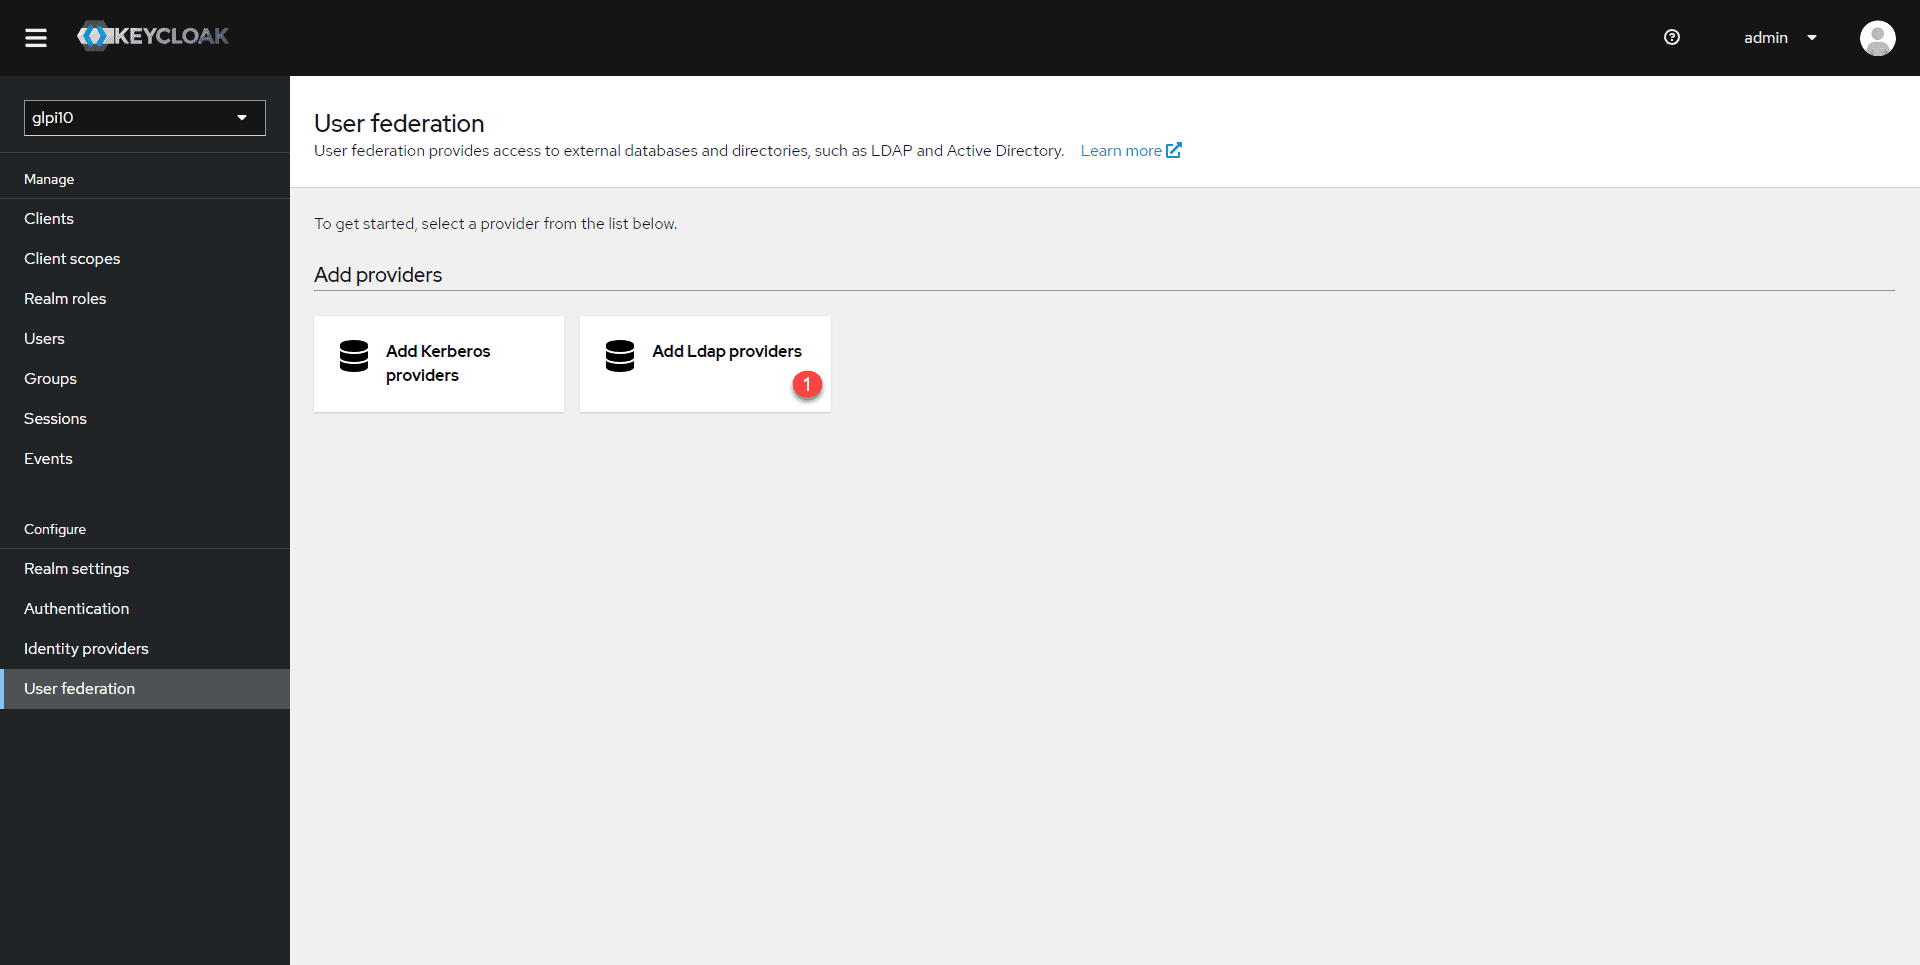
Click on Add LDAP providers 1 .
In the General options section, name the connector 1 and select the providerActive Directory2 .
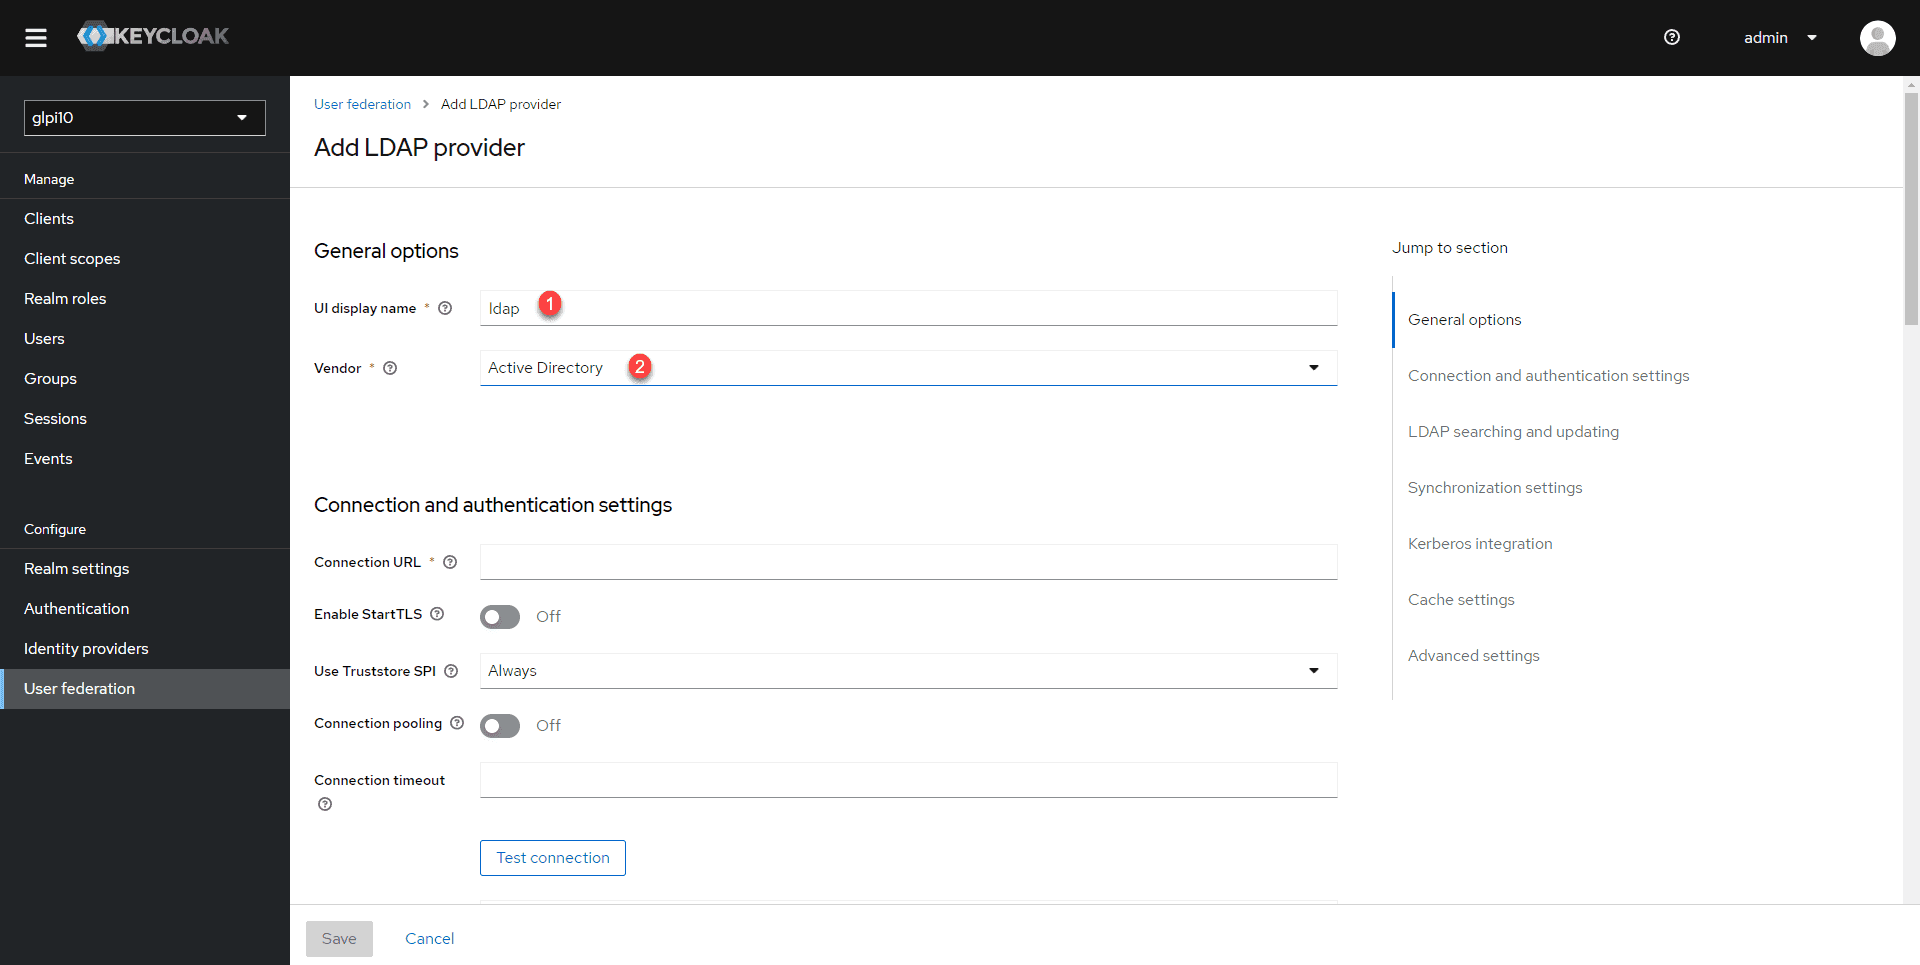
Active DirectoryWe will now configure the server address. In the “Connection and Authentication” section, start by entering the addressActive Directory1 in the format ldap://server-ip or ldap://fqdn, then click the “Test connection” button 2 .
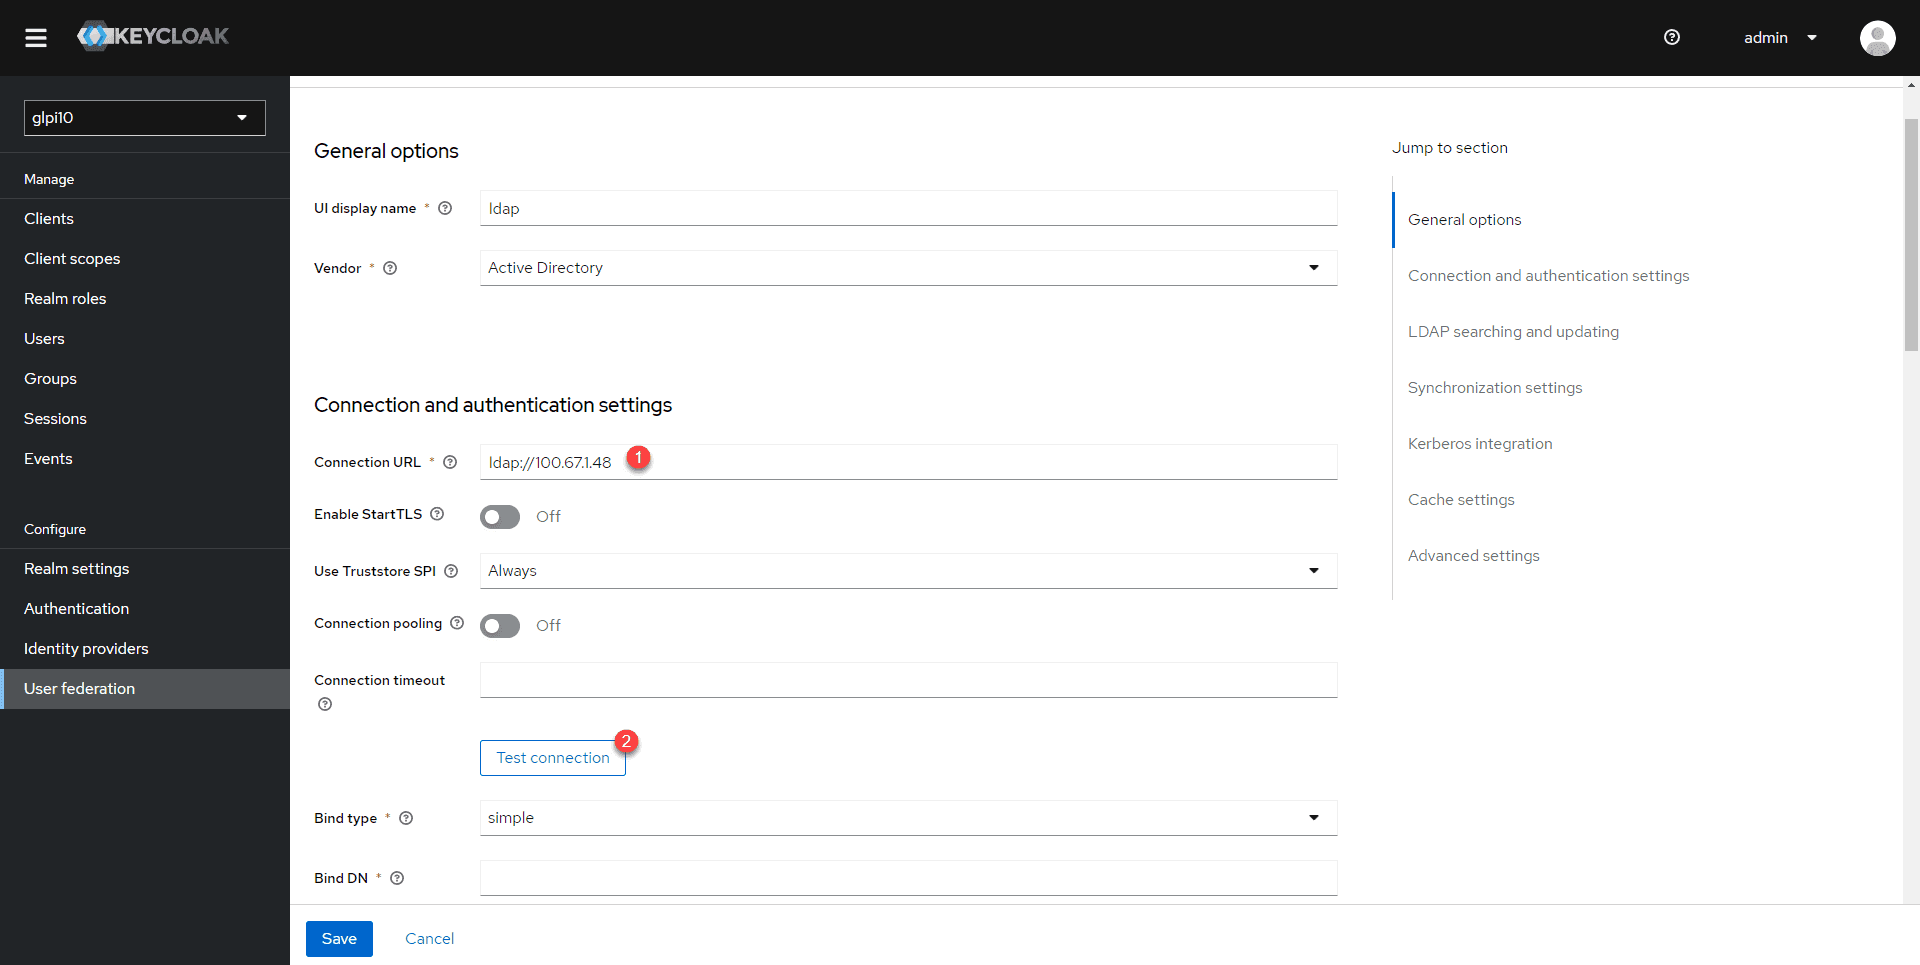
The connection to the serverActive Directoryis valid.
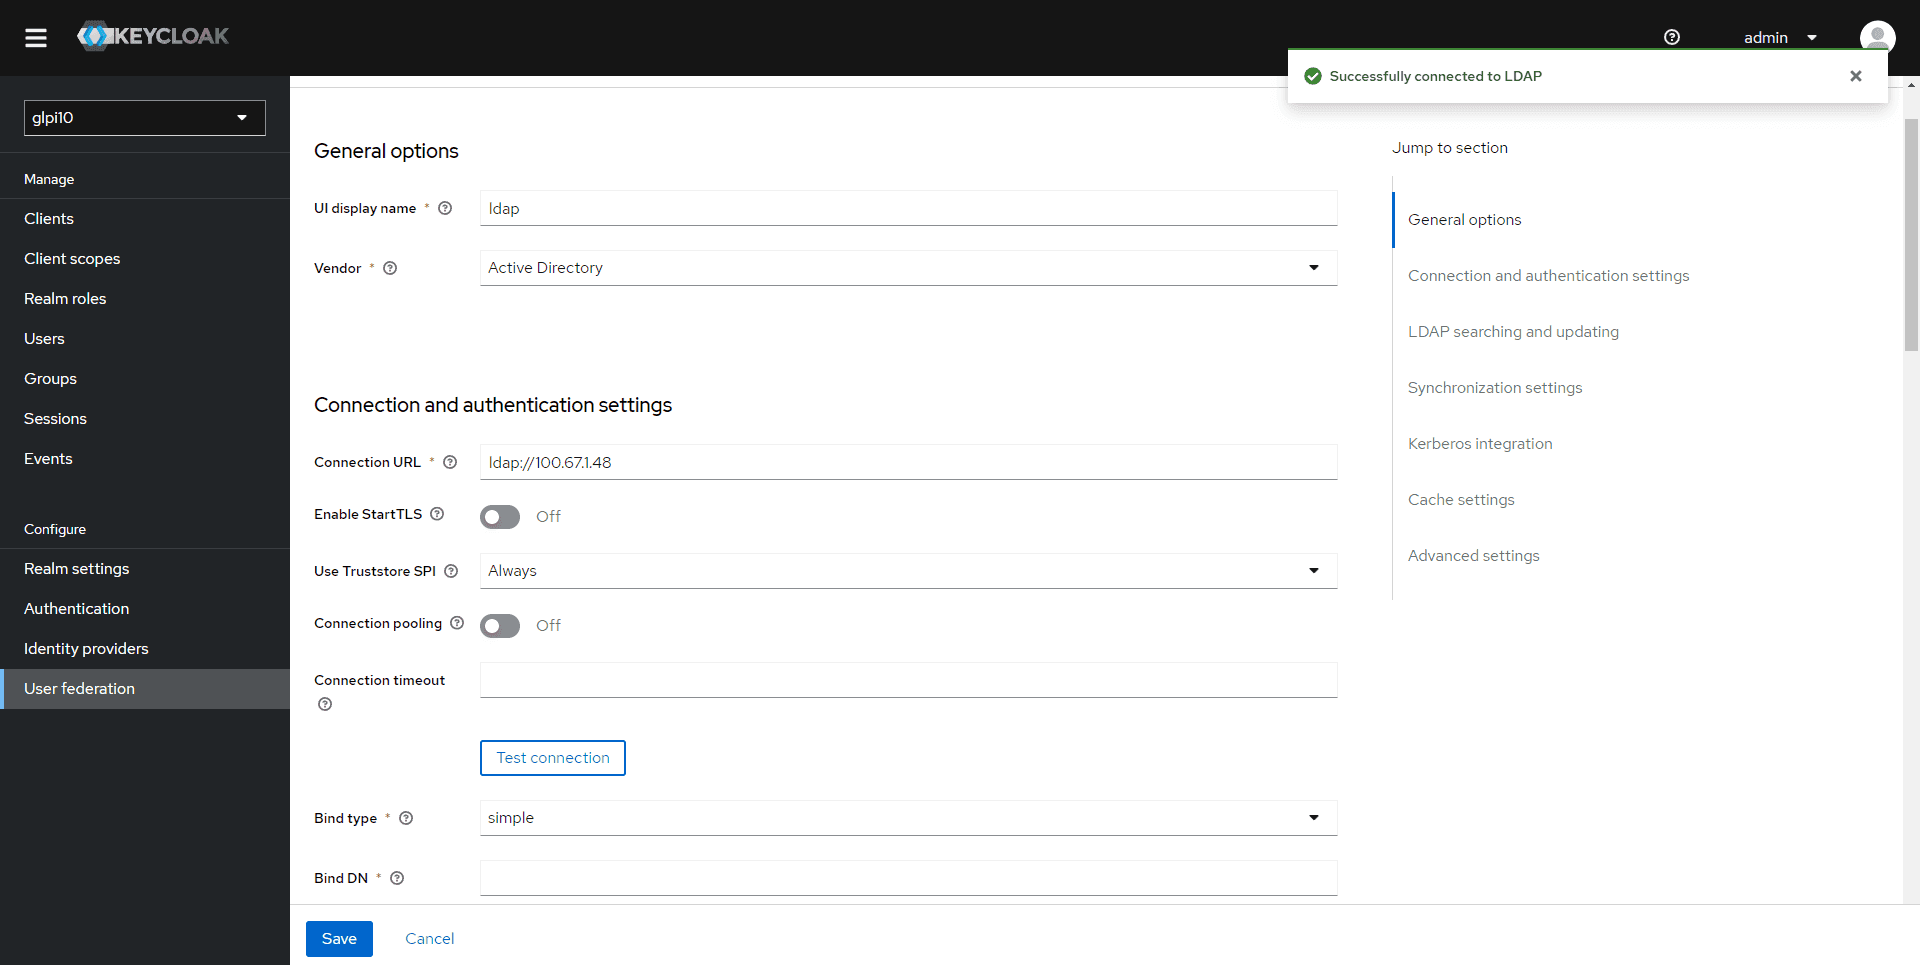
You must now configure the account for connecting to the serverActive Directory. To do this, enter the base DN of the user account 1 and the password 2 . Then click Test Authentication 3 .
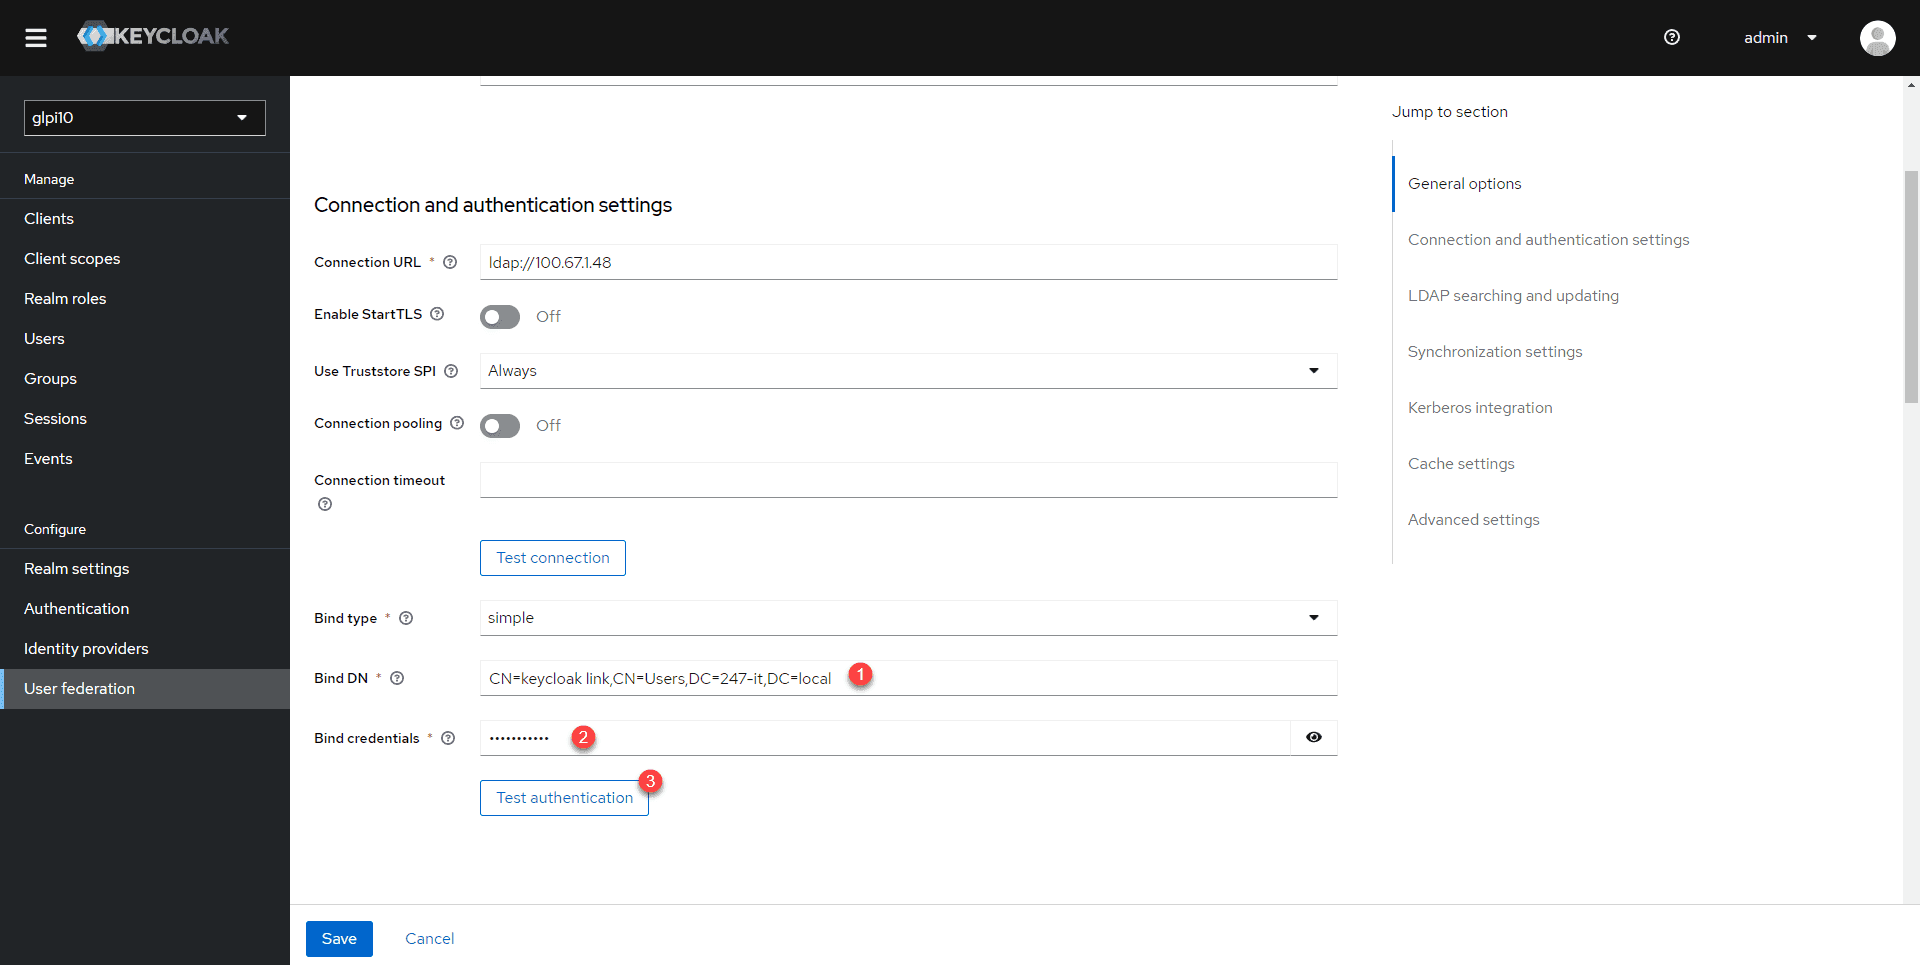
The connection from Keycloak to the server isActive Directory working.
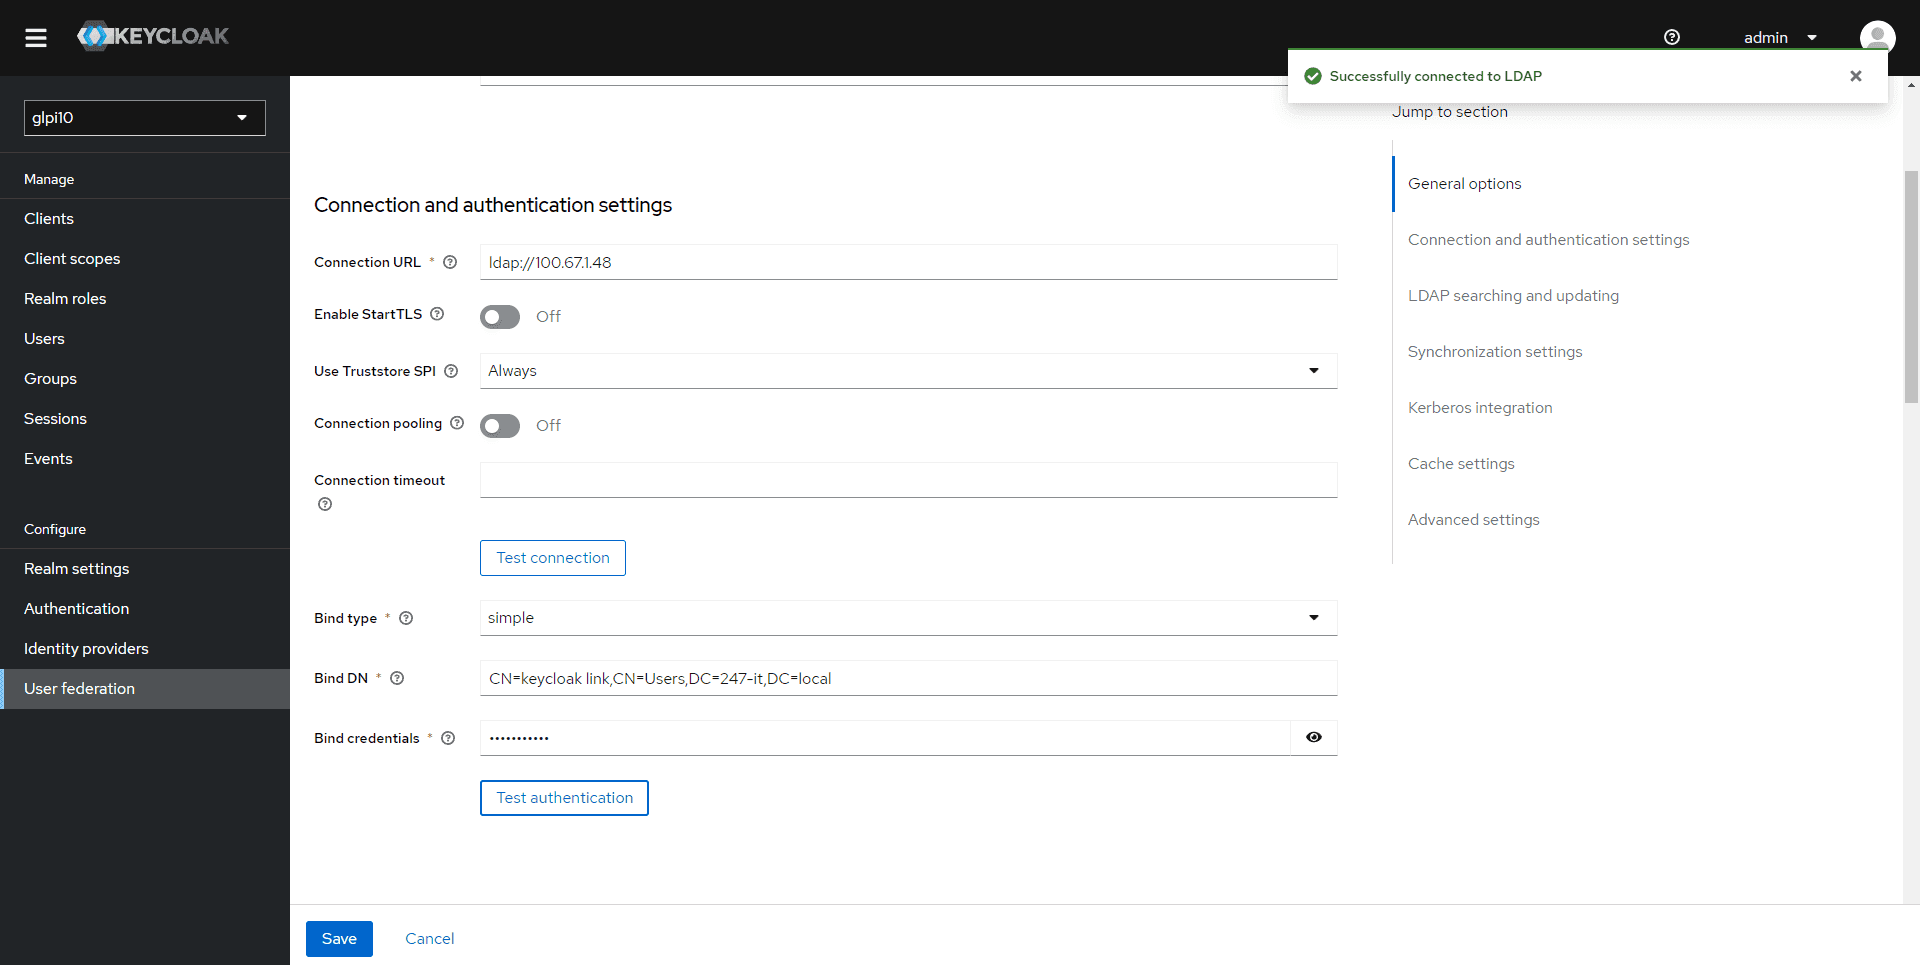
We will now configure the LDAP searching and updating section; here, I only want to synchronize users located in the Users OU.
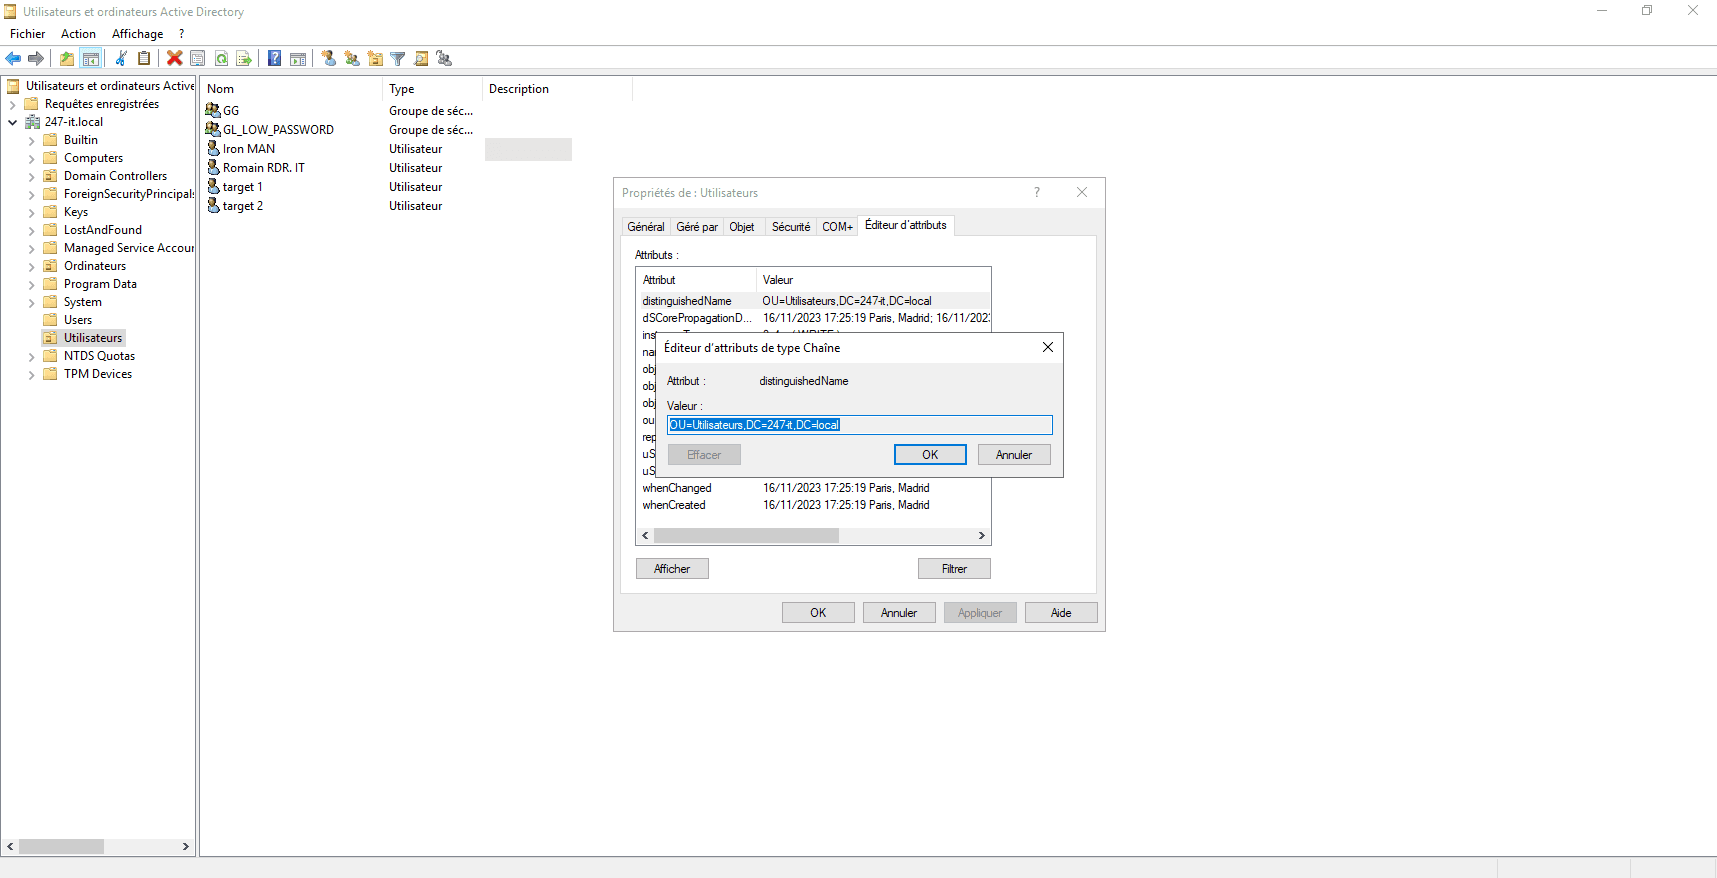
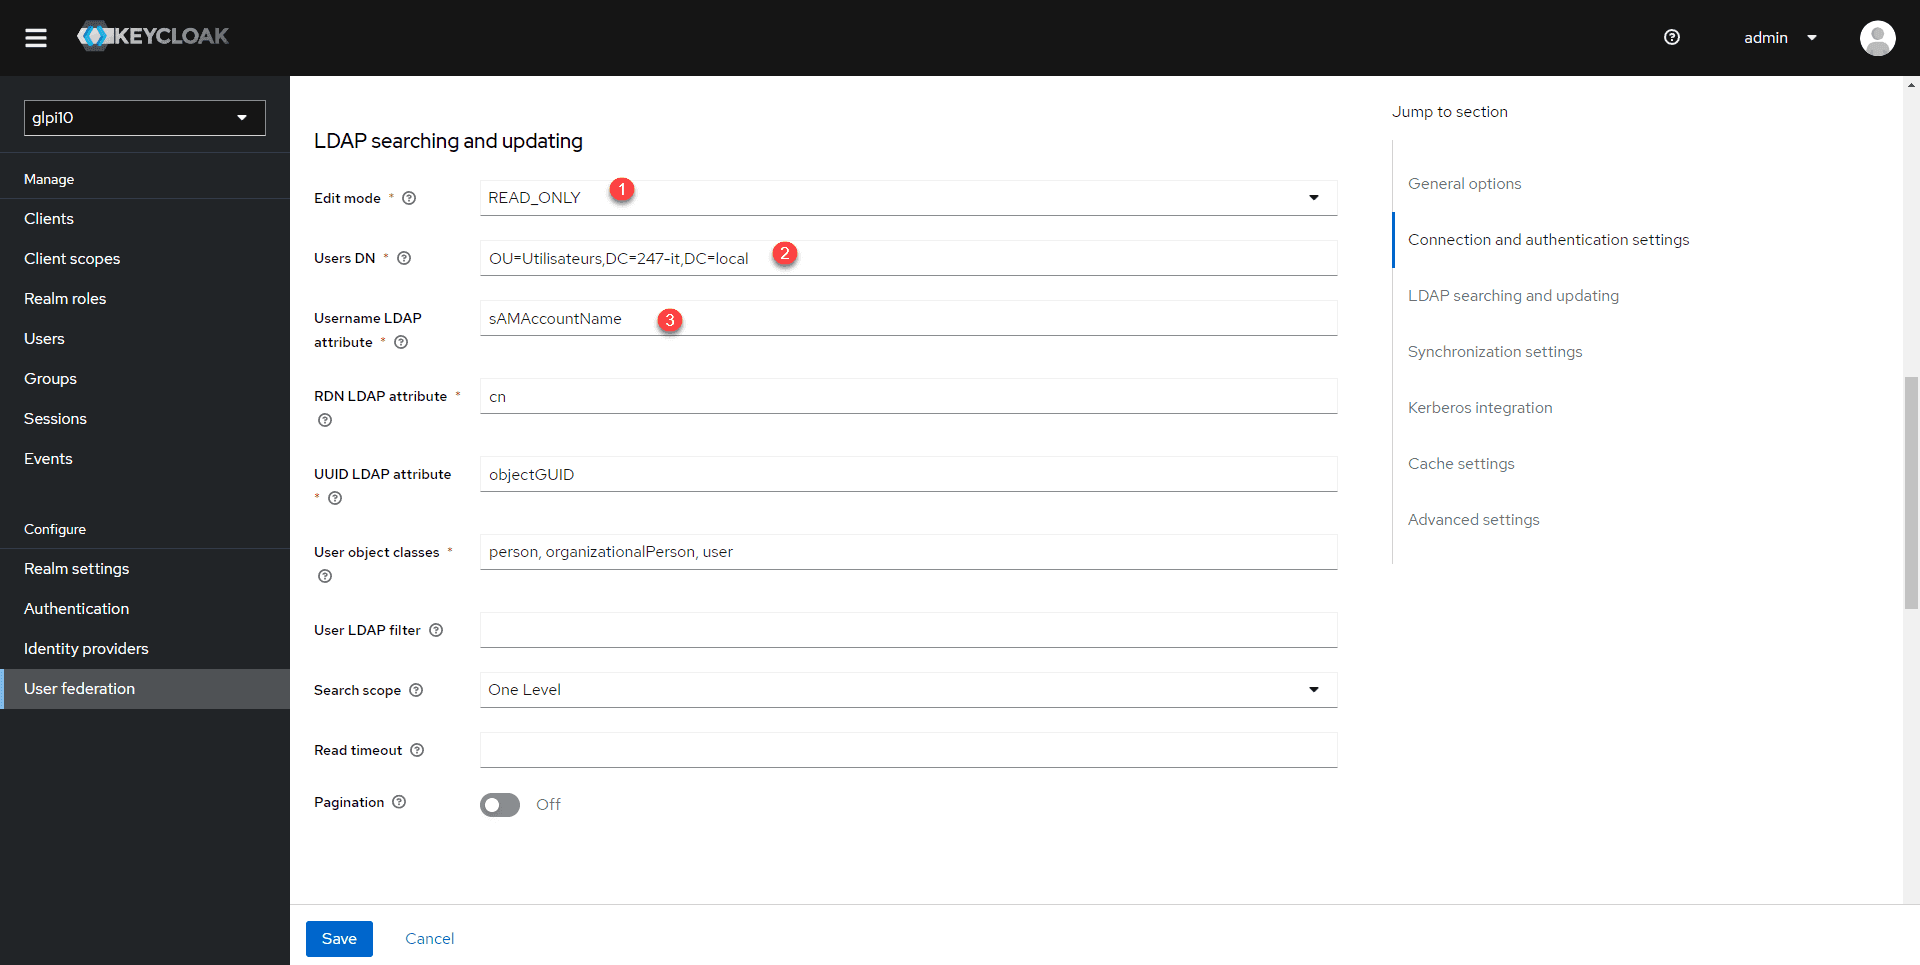
Here are the settings to configure:
- 1 Edit mode: READ_ONLY
- 2 Users DN: Base DN of the location for synchronizing users in theActive Directory
- 3 LDAP username attribute: the attributeActive Directorythat will be used as the username (sAMAccountName / UserPrincipalName)
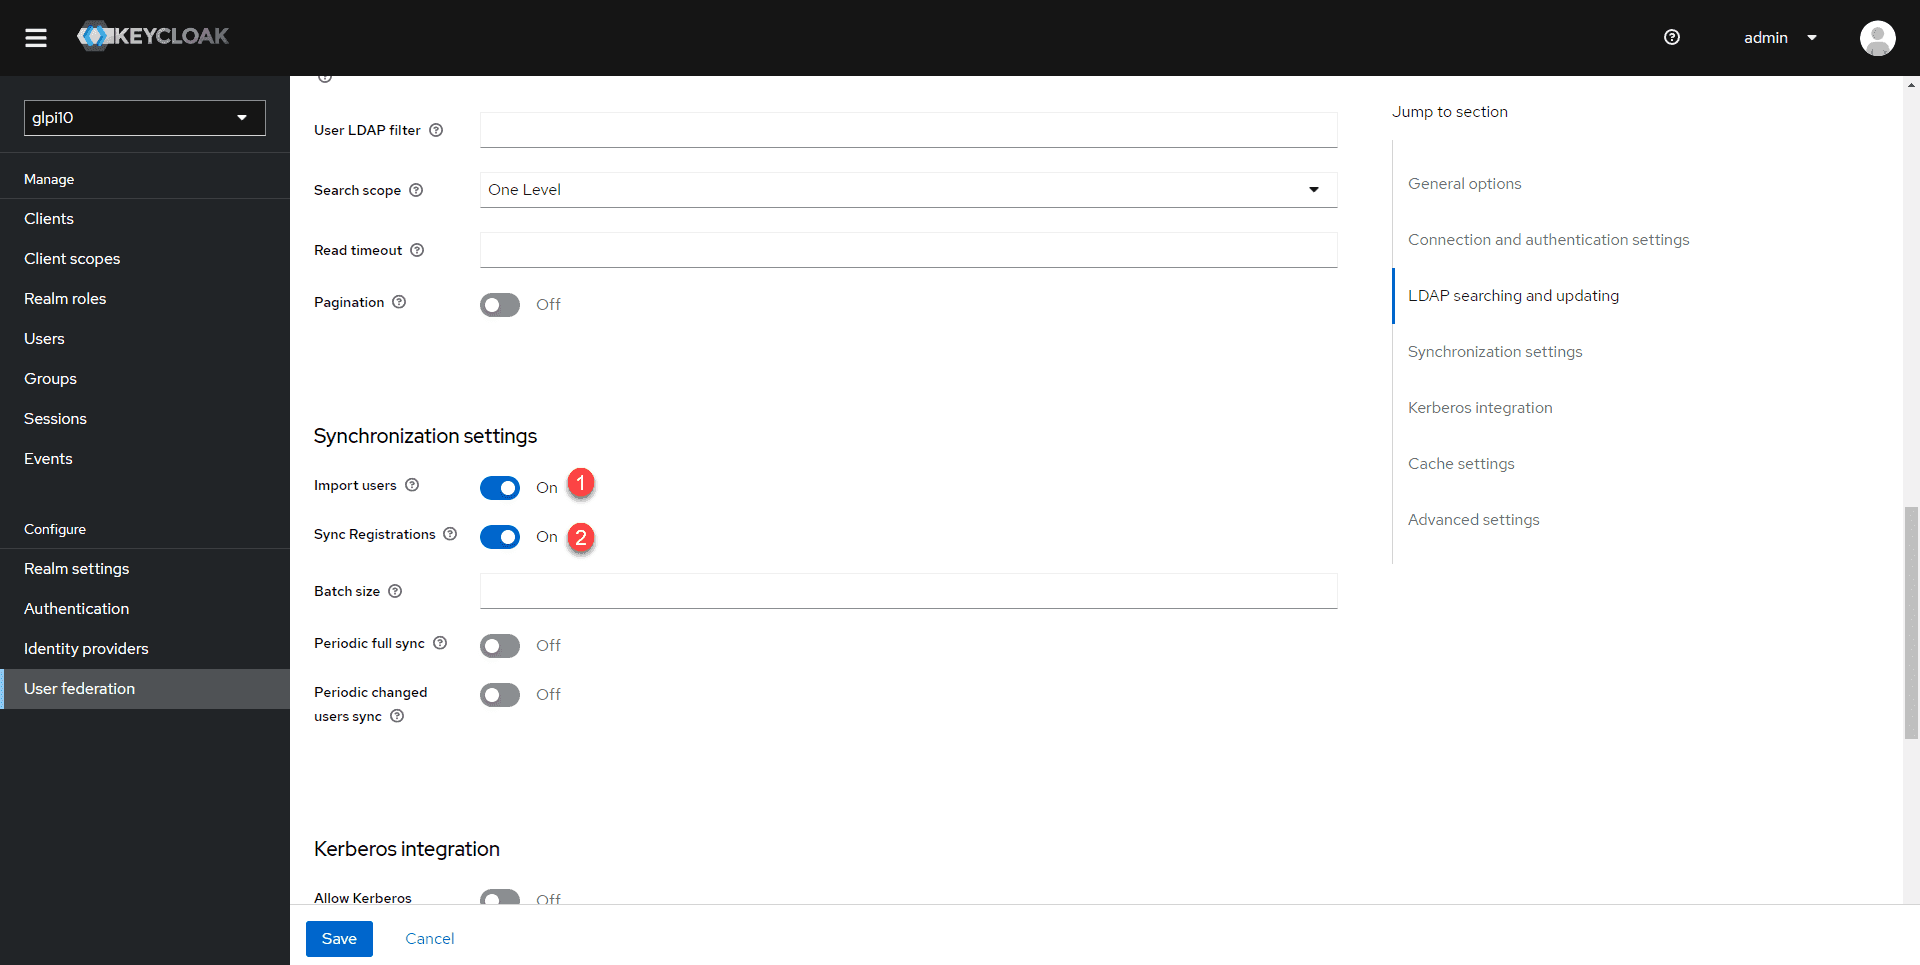
In the Synchronization settings section, set “On Import users” 1 and “Sync Registrations” 2 to On.
Configuration is complete; click the Save button at the bottom of the page.
The connectionActive Directoryis added 1 .
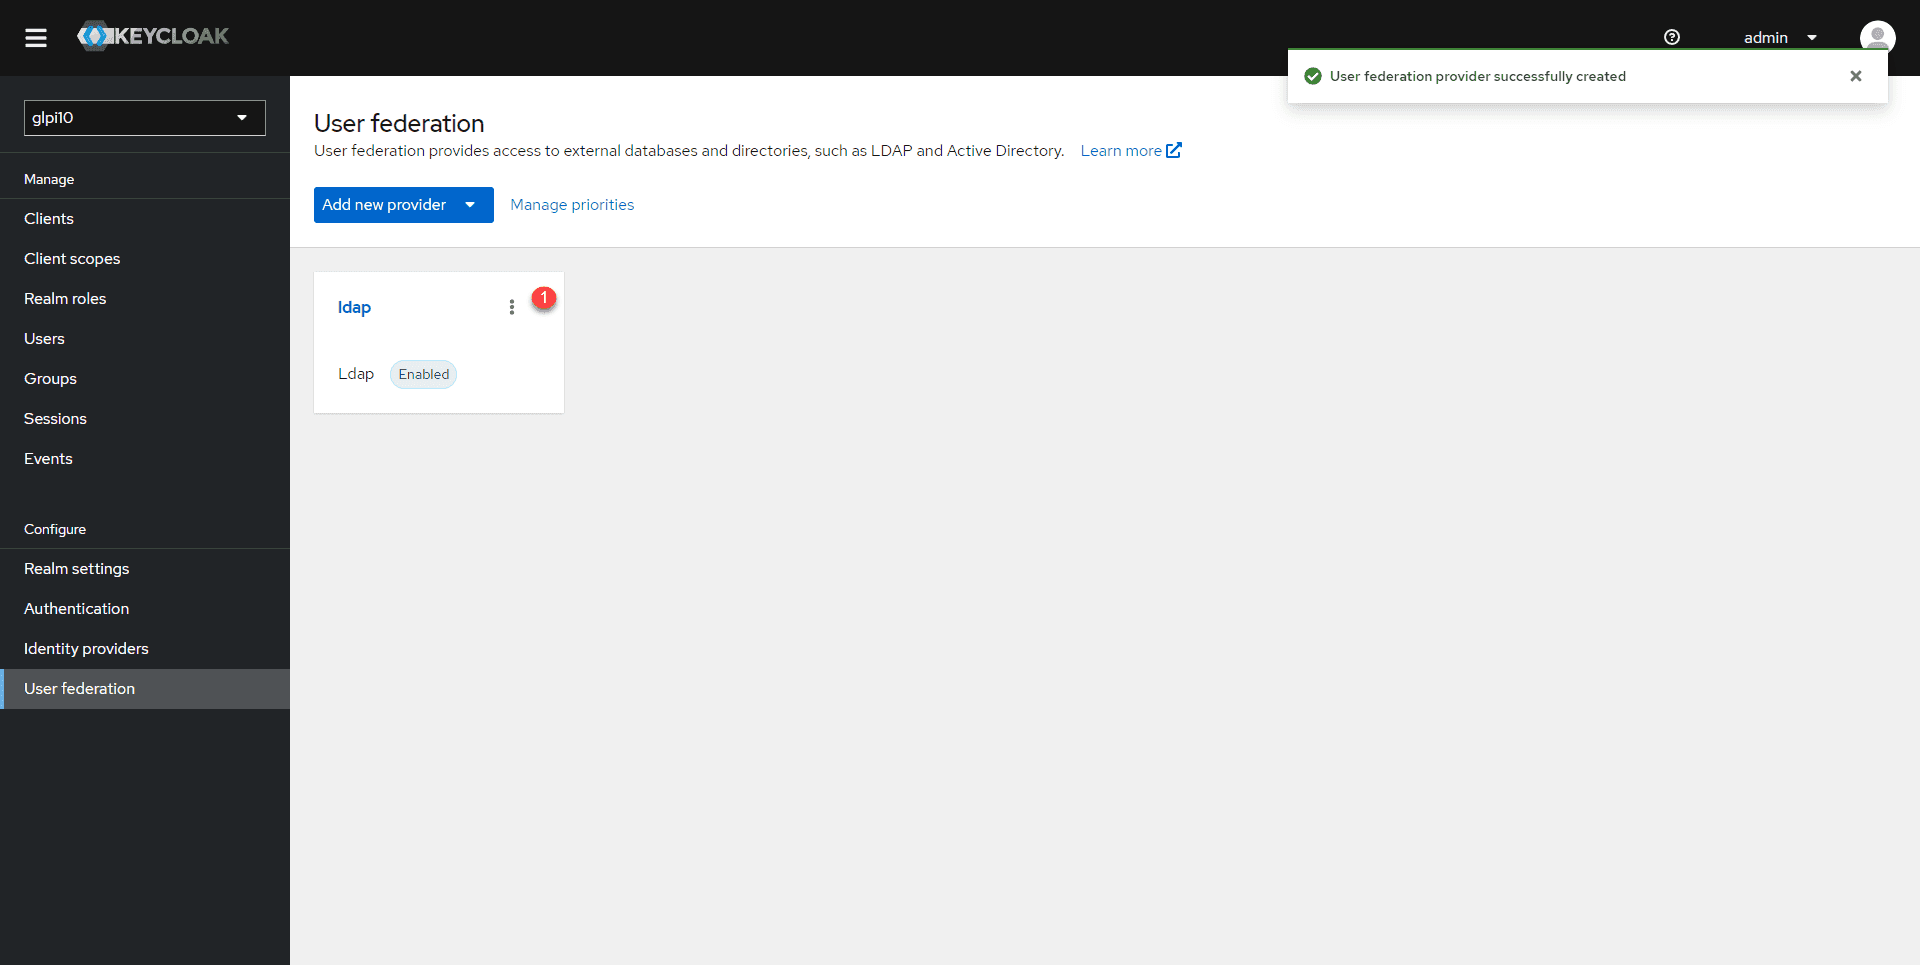
Synchronize users from theActive Directory
Click the connection name 1 .
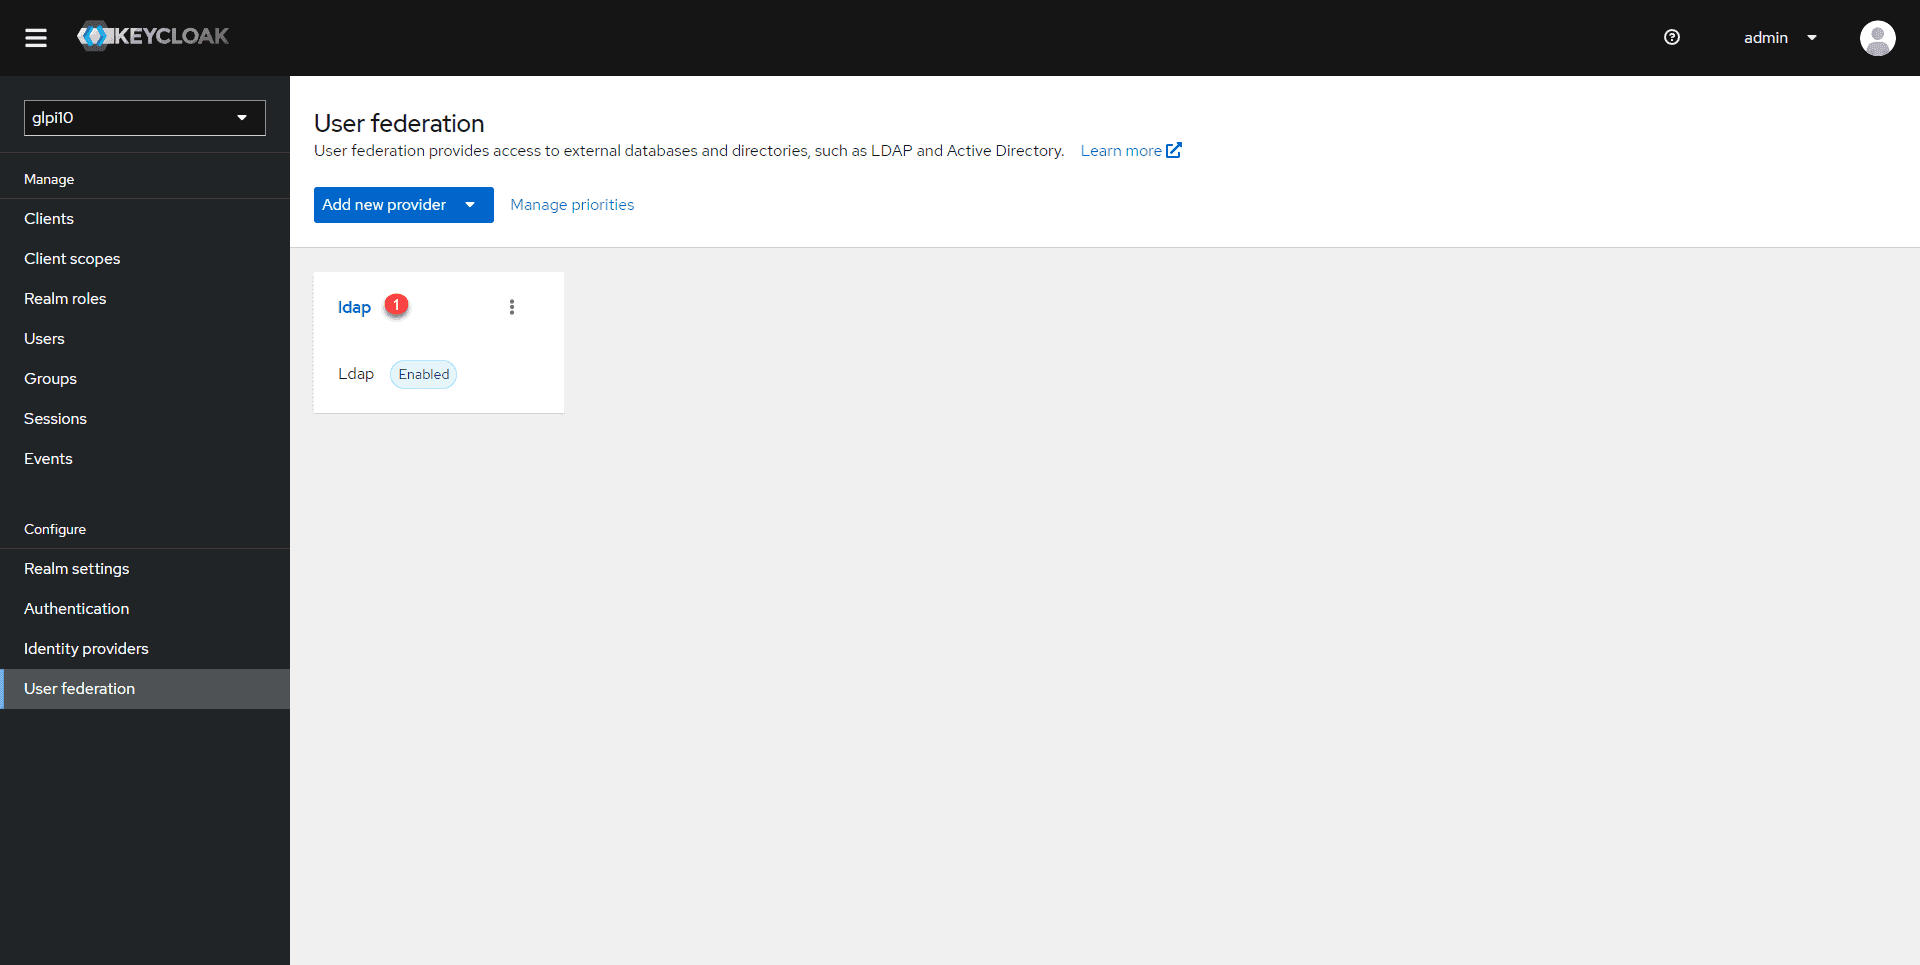
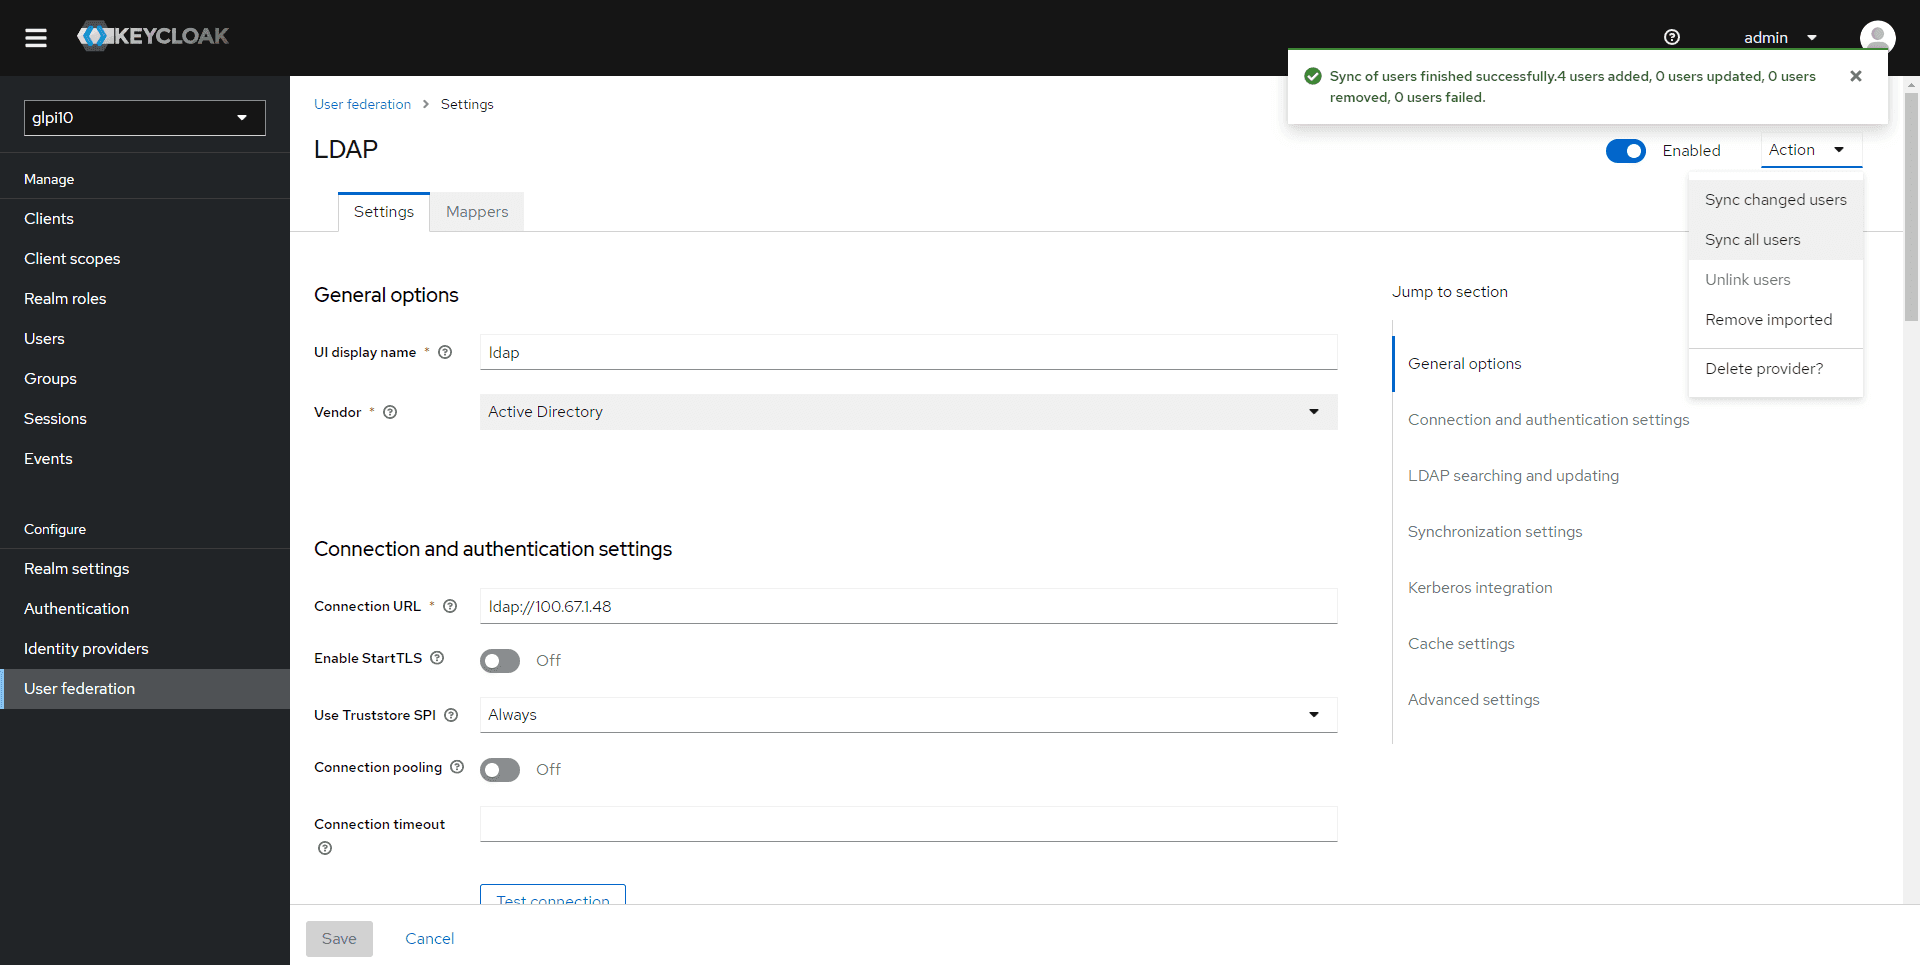
From this page, you can access the connection settings andActive Directory perform various actions, such as synchronizing user accounts. Click “Action” 1 , then “Sync all users” 2 .
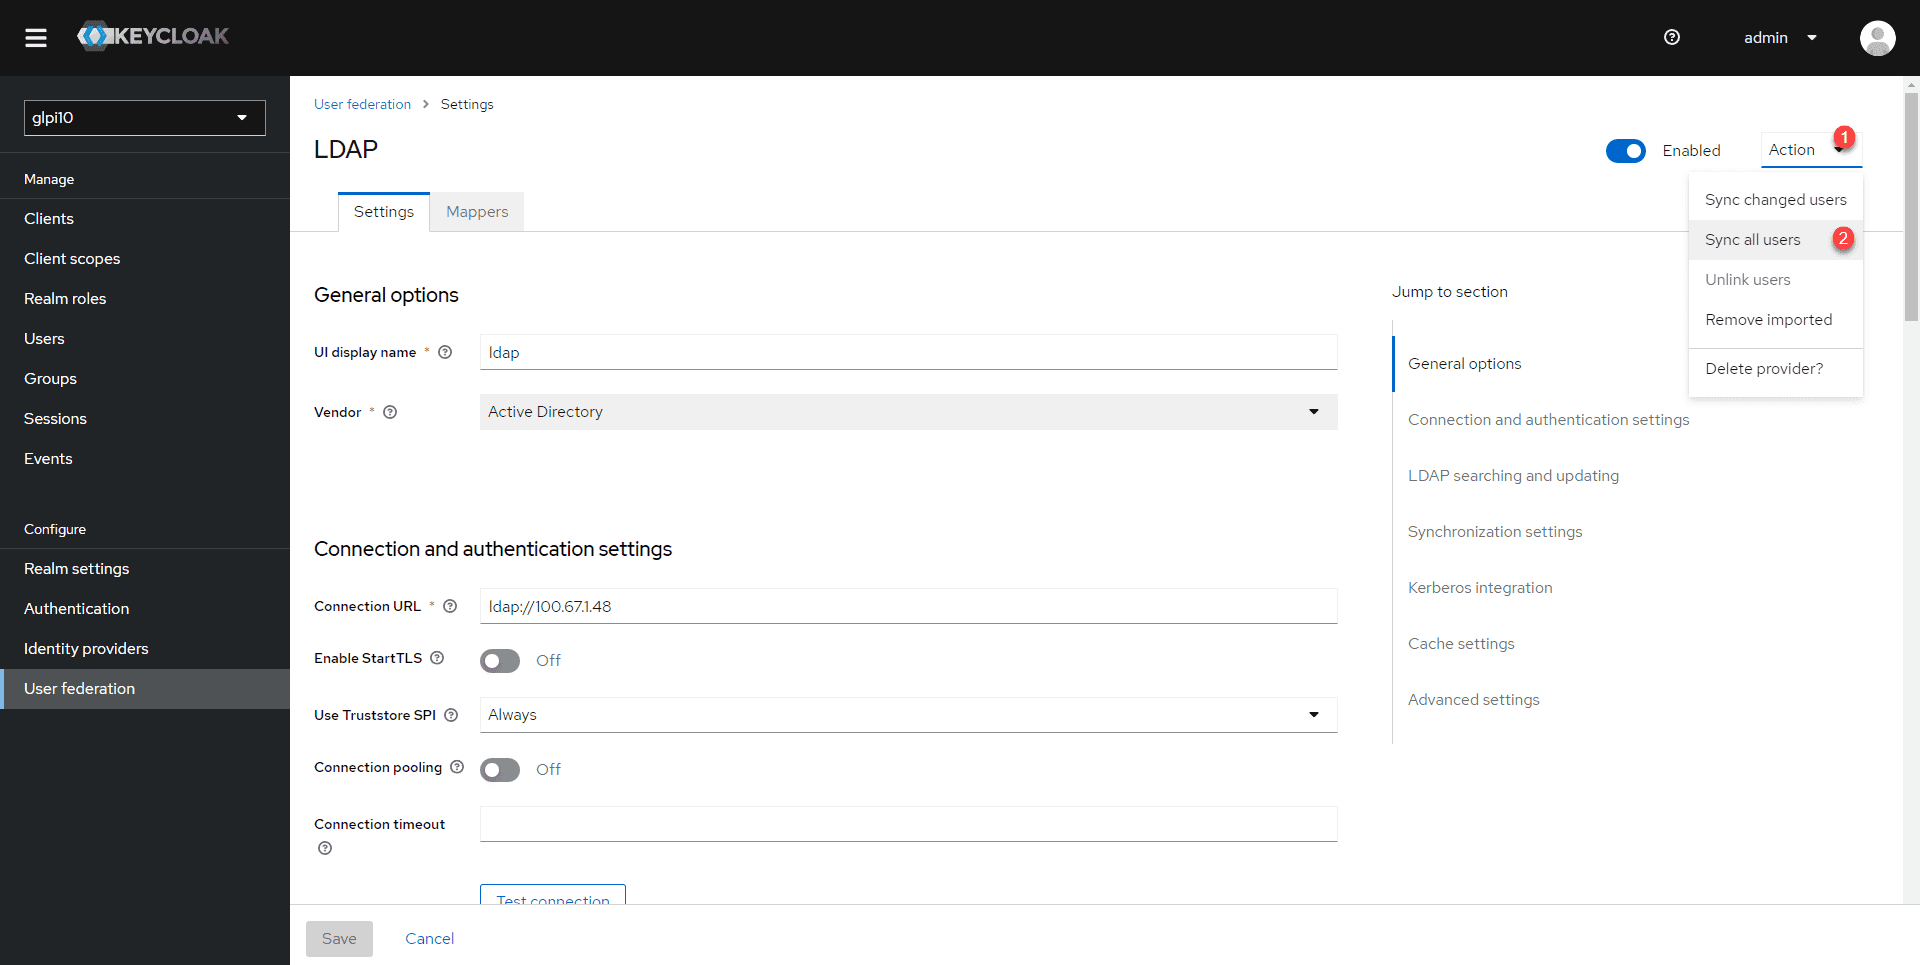
The synchronization result is displayed as a notification in the top-right corner; as shown in the screenshot, 4 users have been added.
Test the connection from an account Active Directory
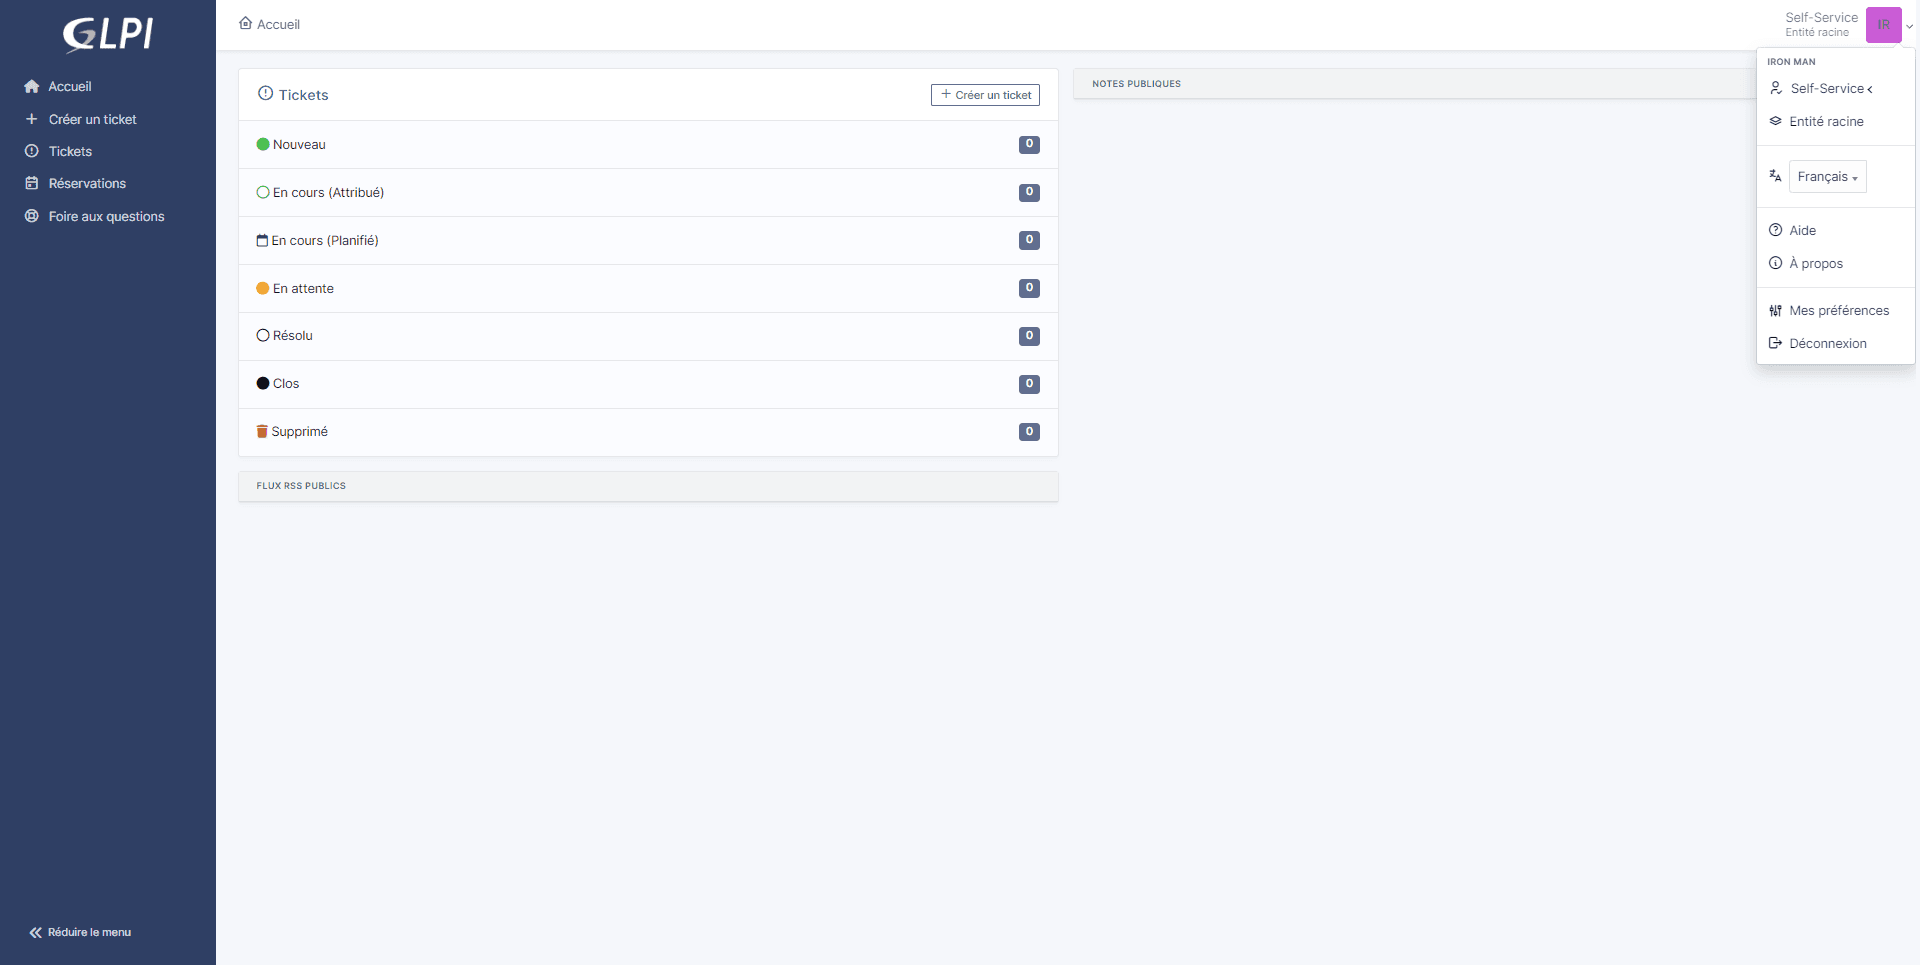
To test the connection with the provider, I’ll log in with the Iron Man account to a client on Keycloak, which is GLPI.
In the screenshot below, I am logged in to GLPI as IR (Iron Man).
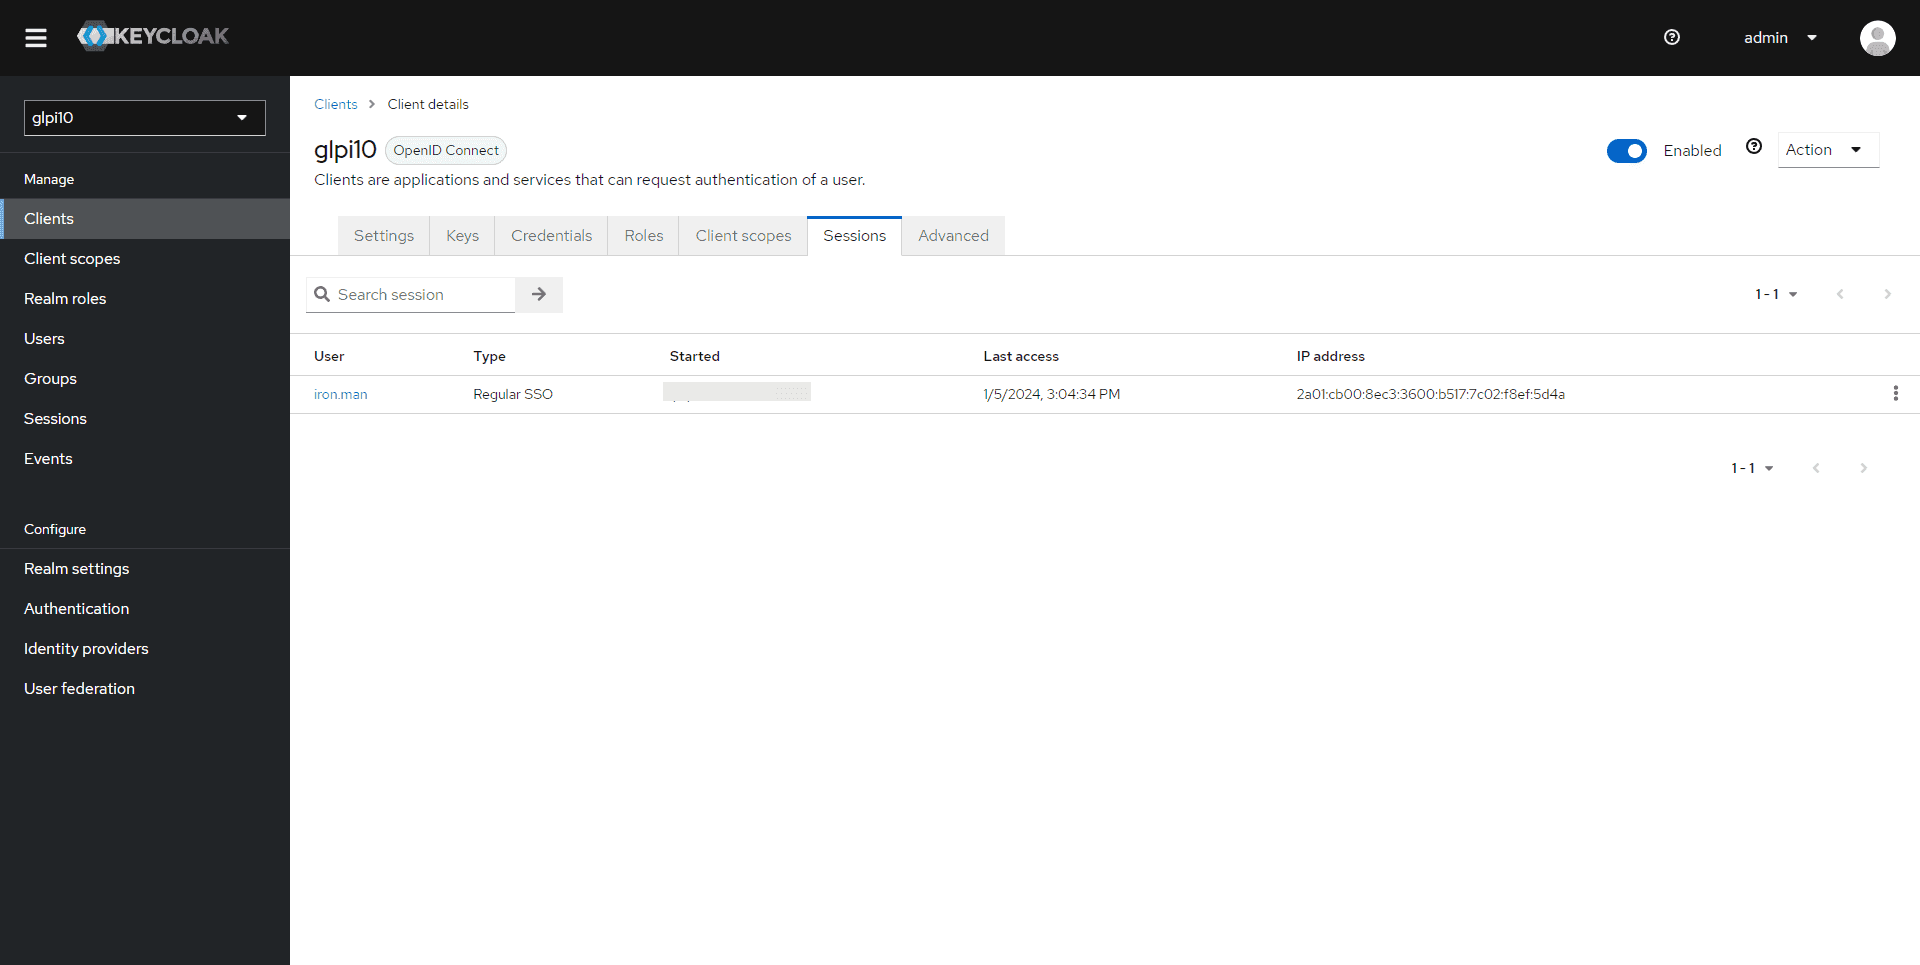
On Keycloak, in the client’s sessions, you can see the user’s session.
Managing users synchronized in Keycloak from theActive Directory
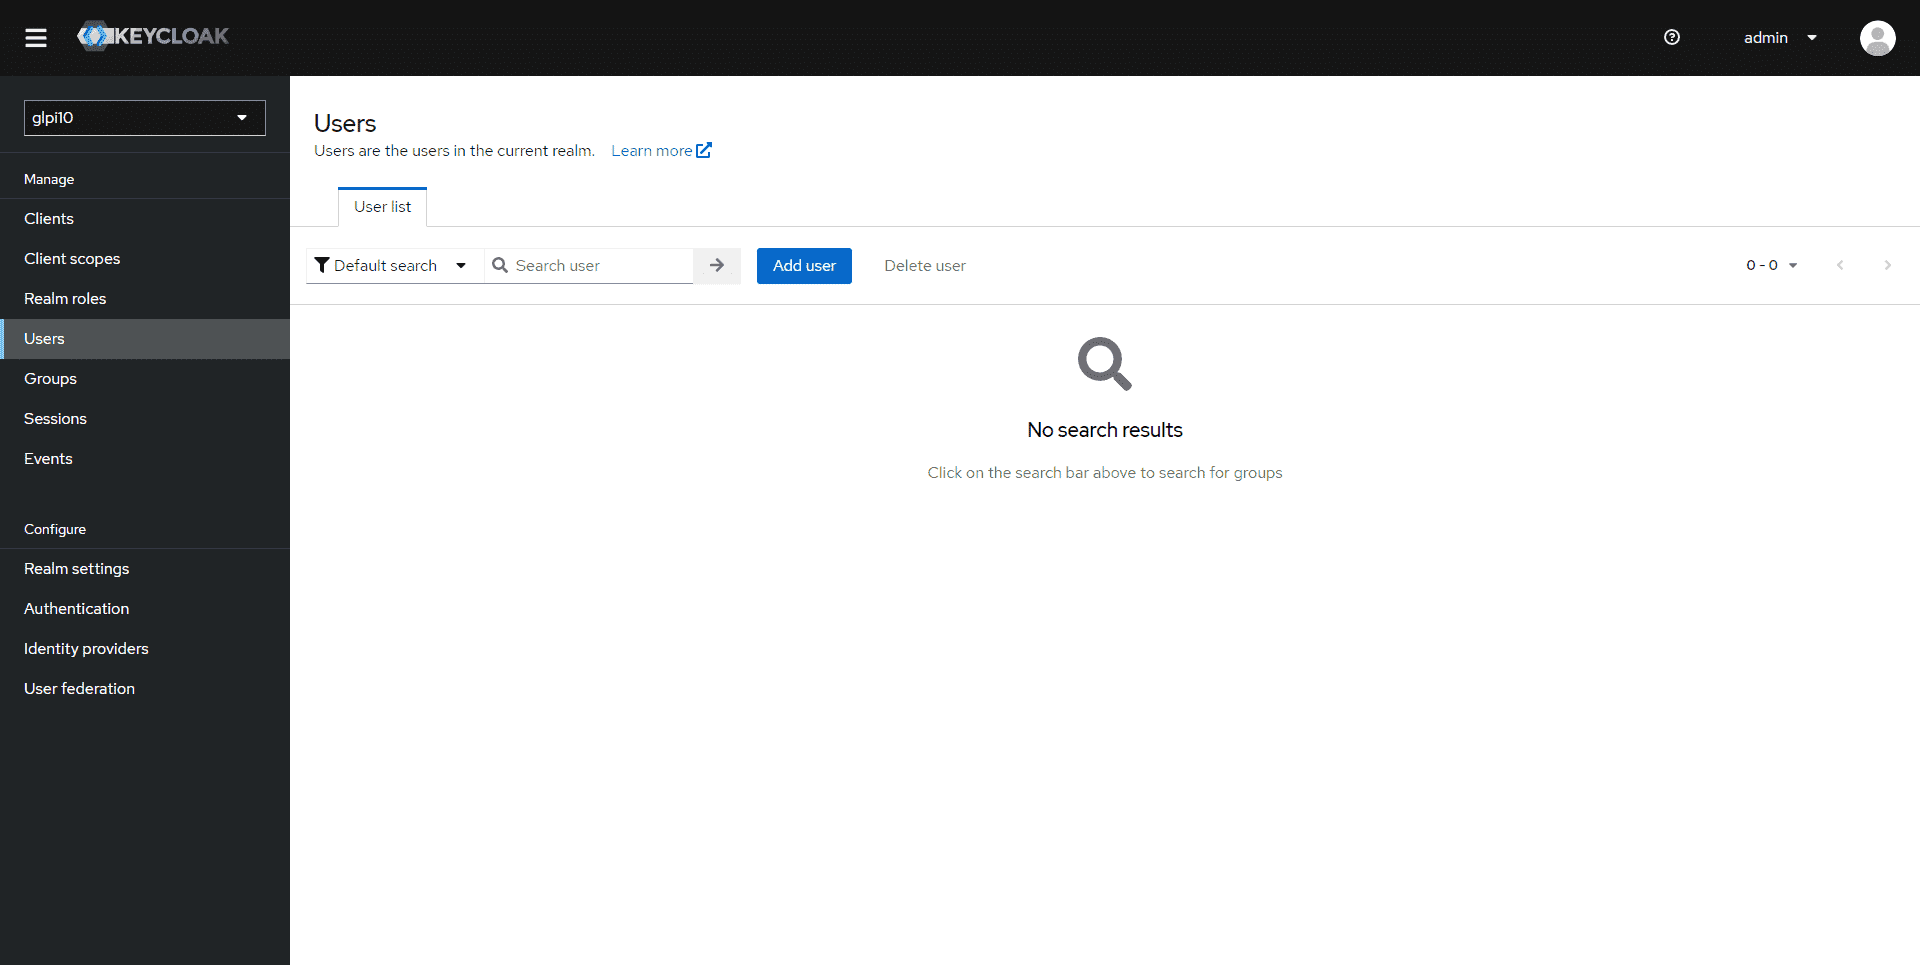
If you go to the user list, it’s empty, as you can see:
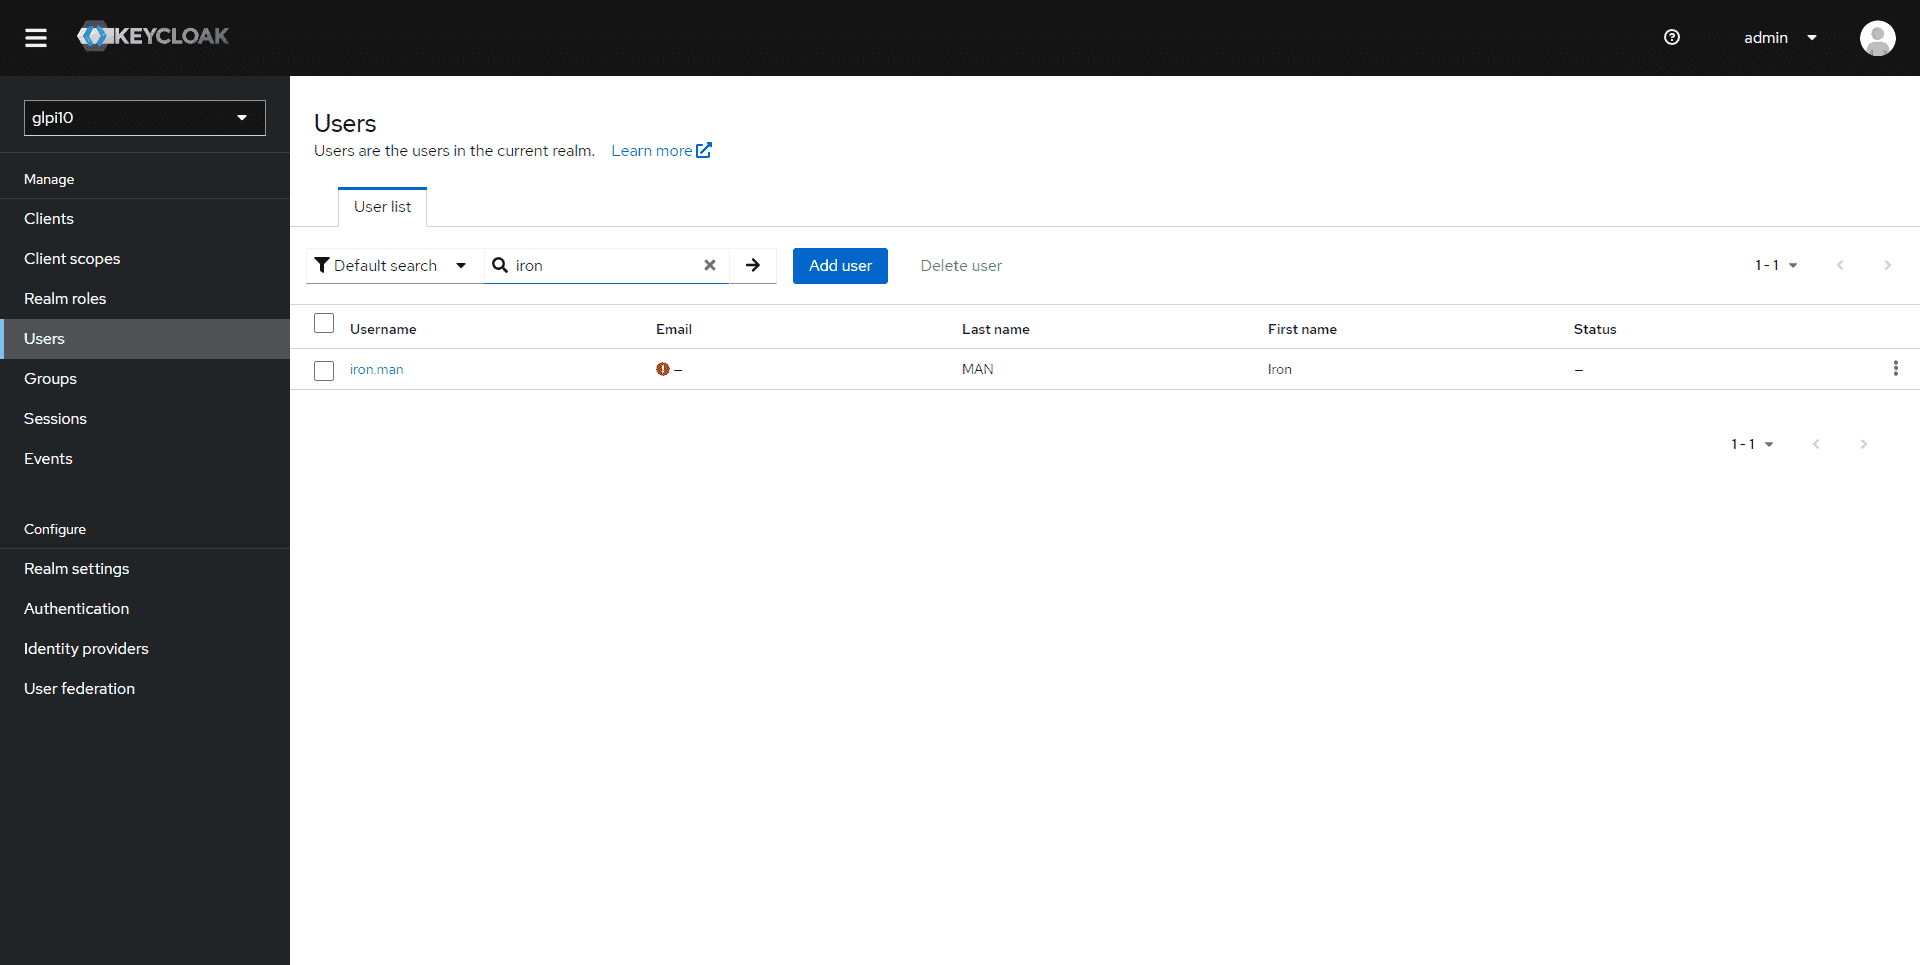
Active DirectoryIf you perform a search, the results include the users who are in the directory.
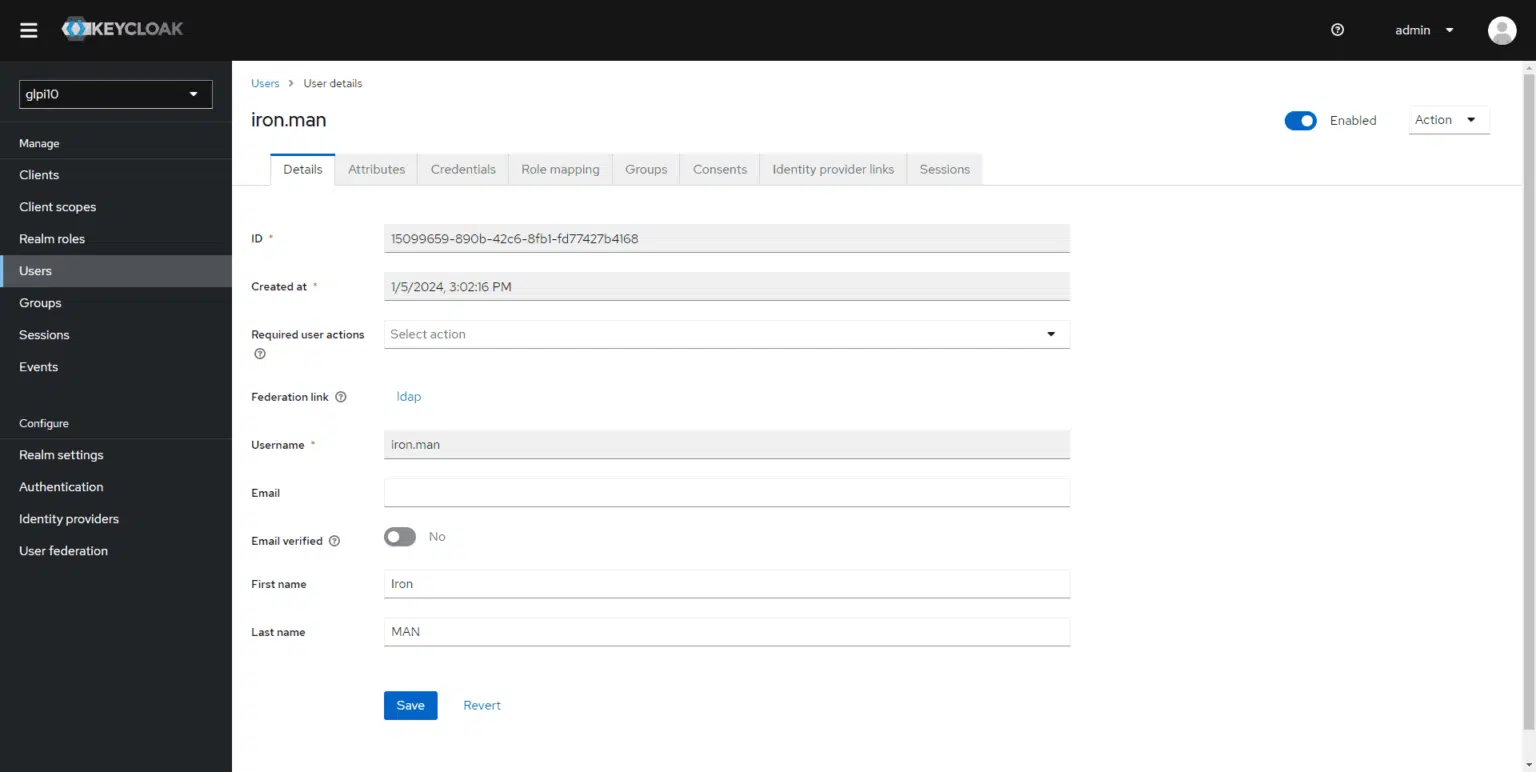
Clicking on a user takes you to their details:
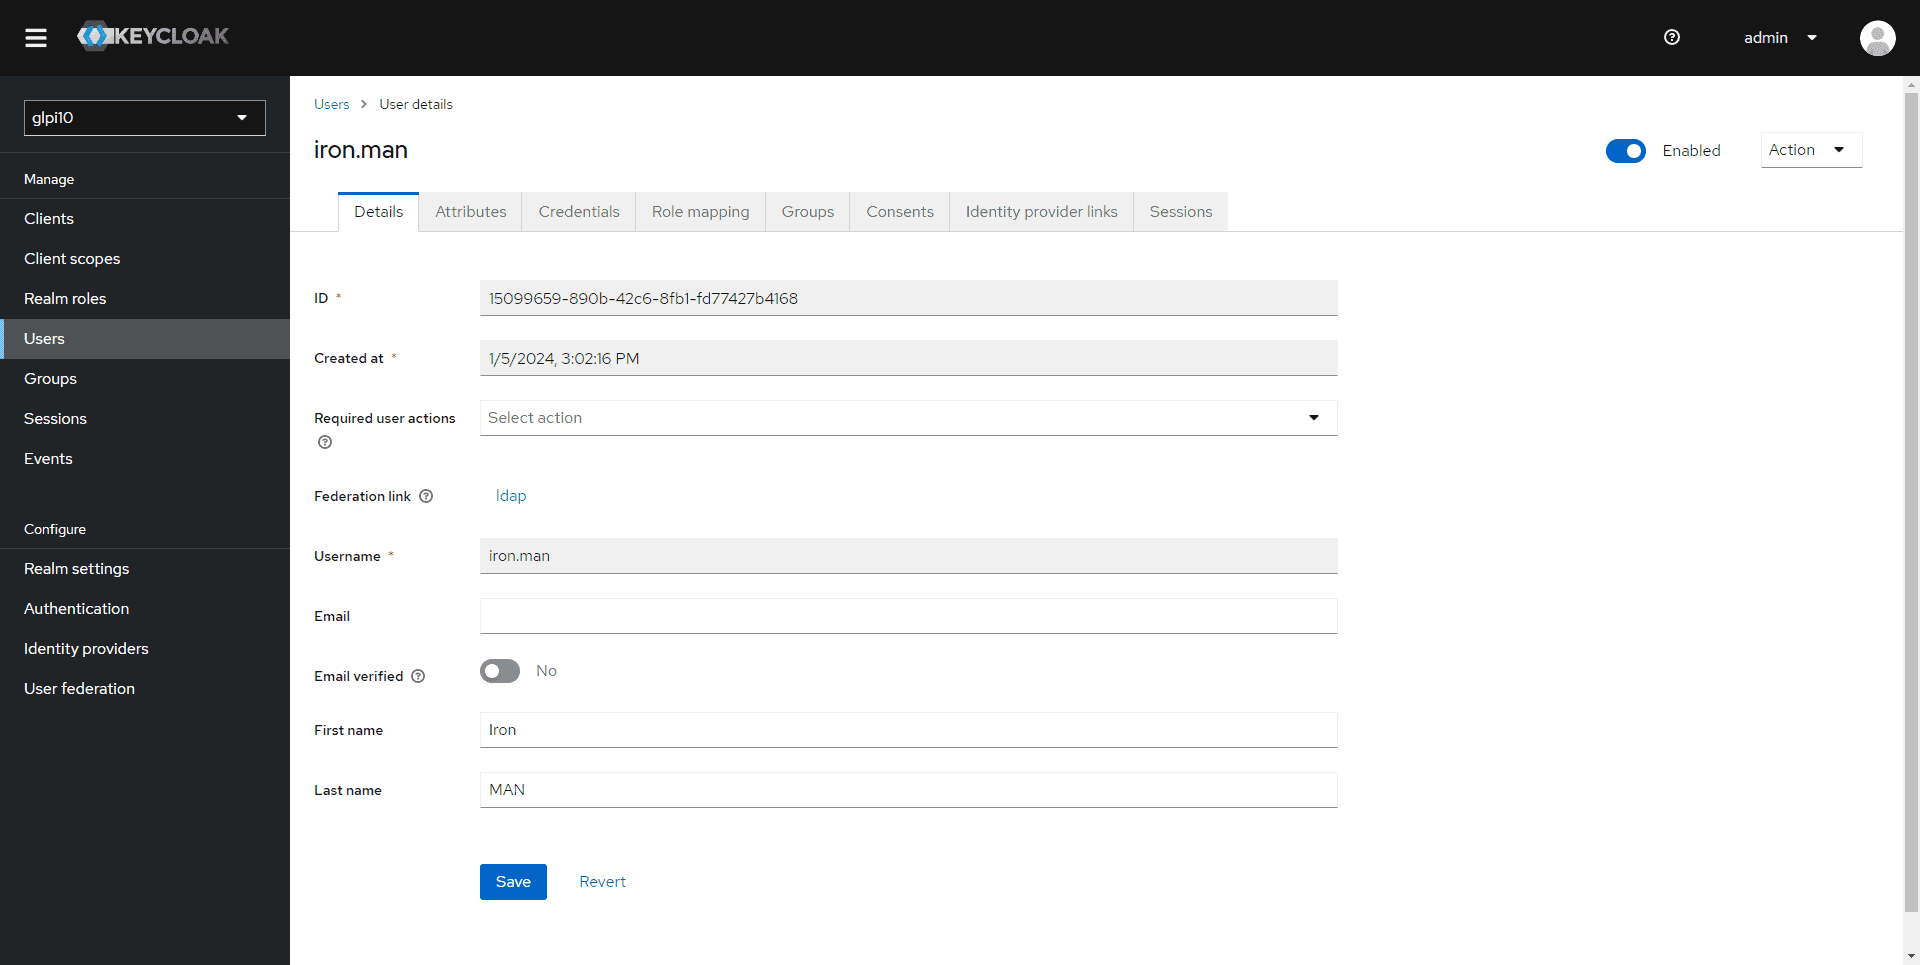
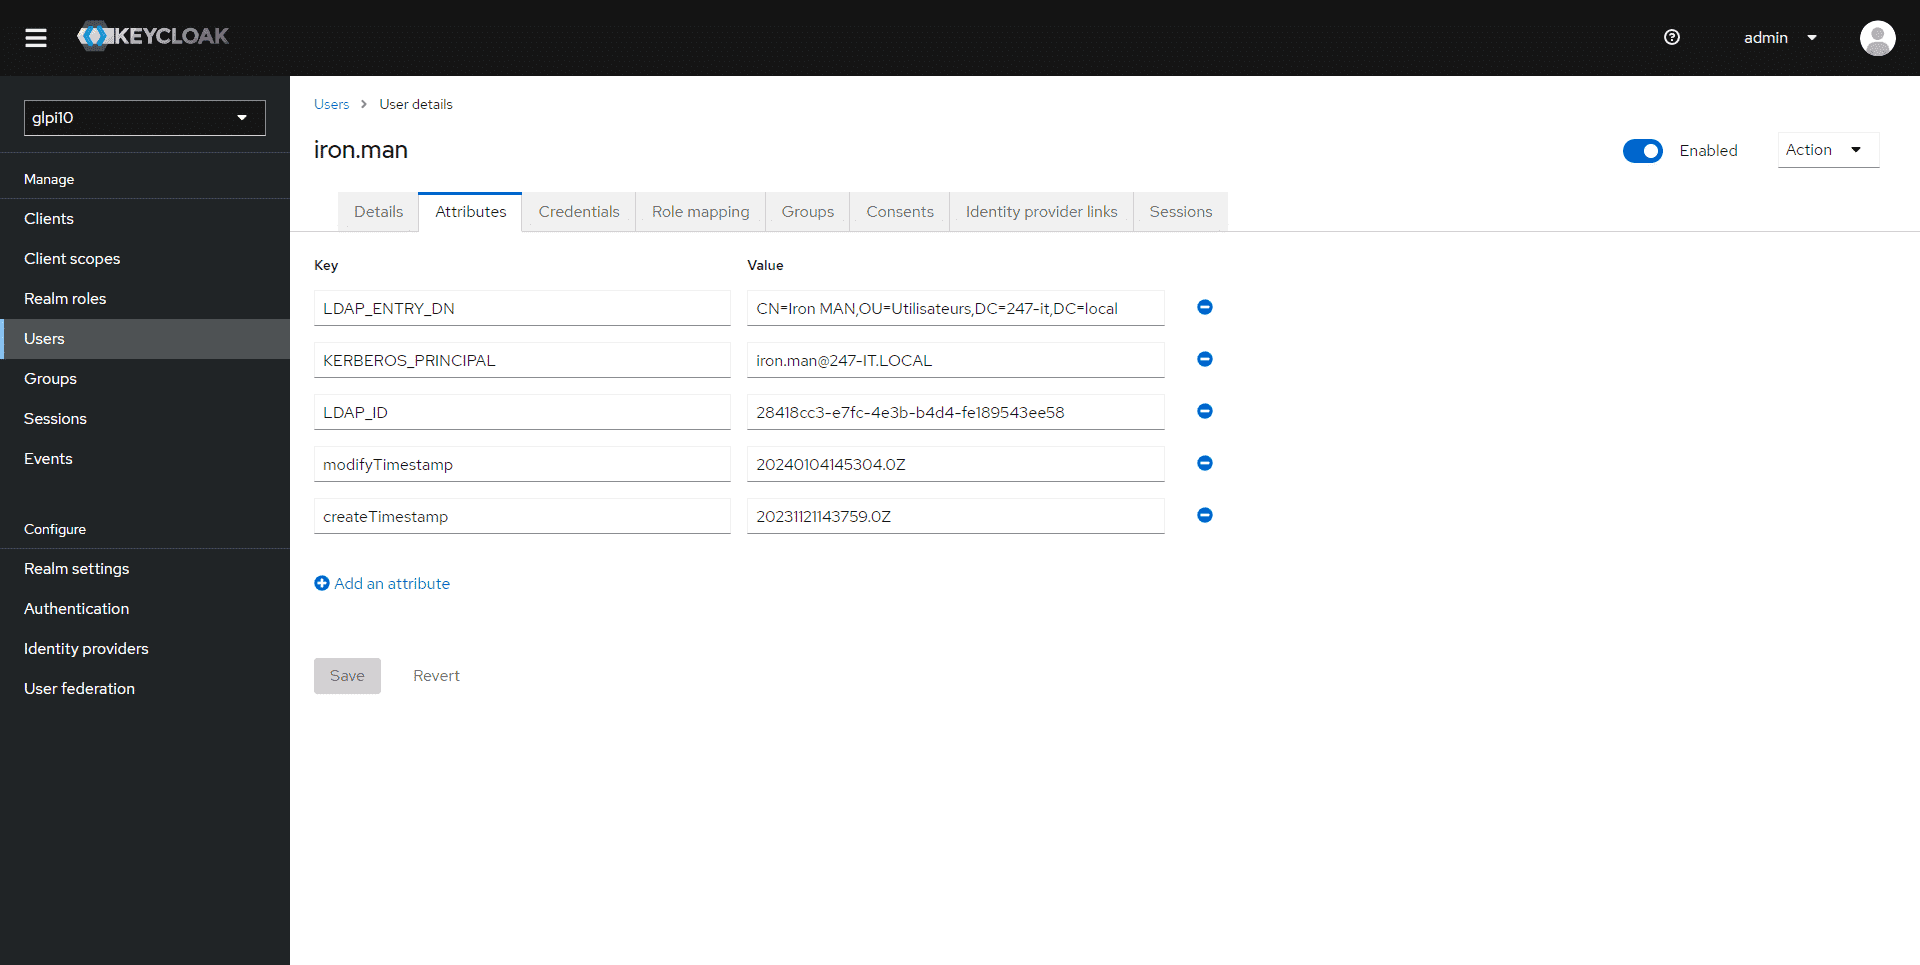
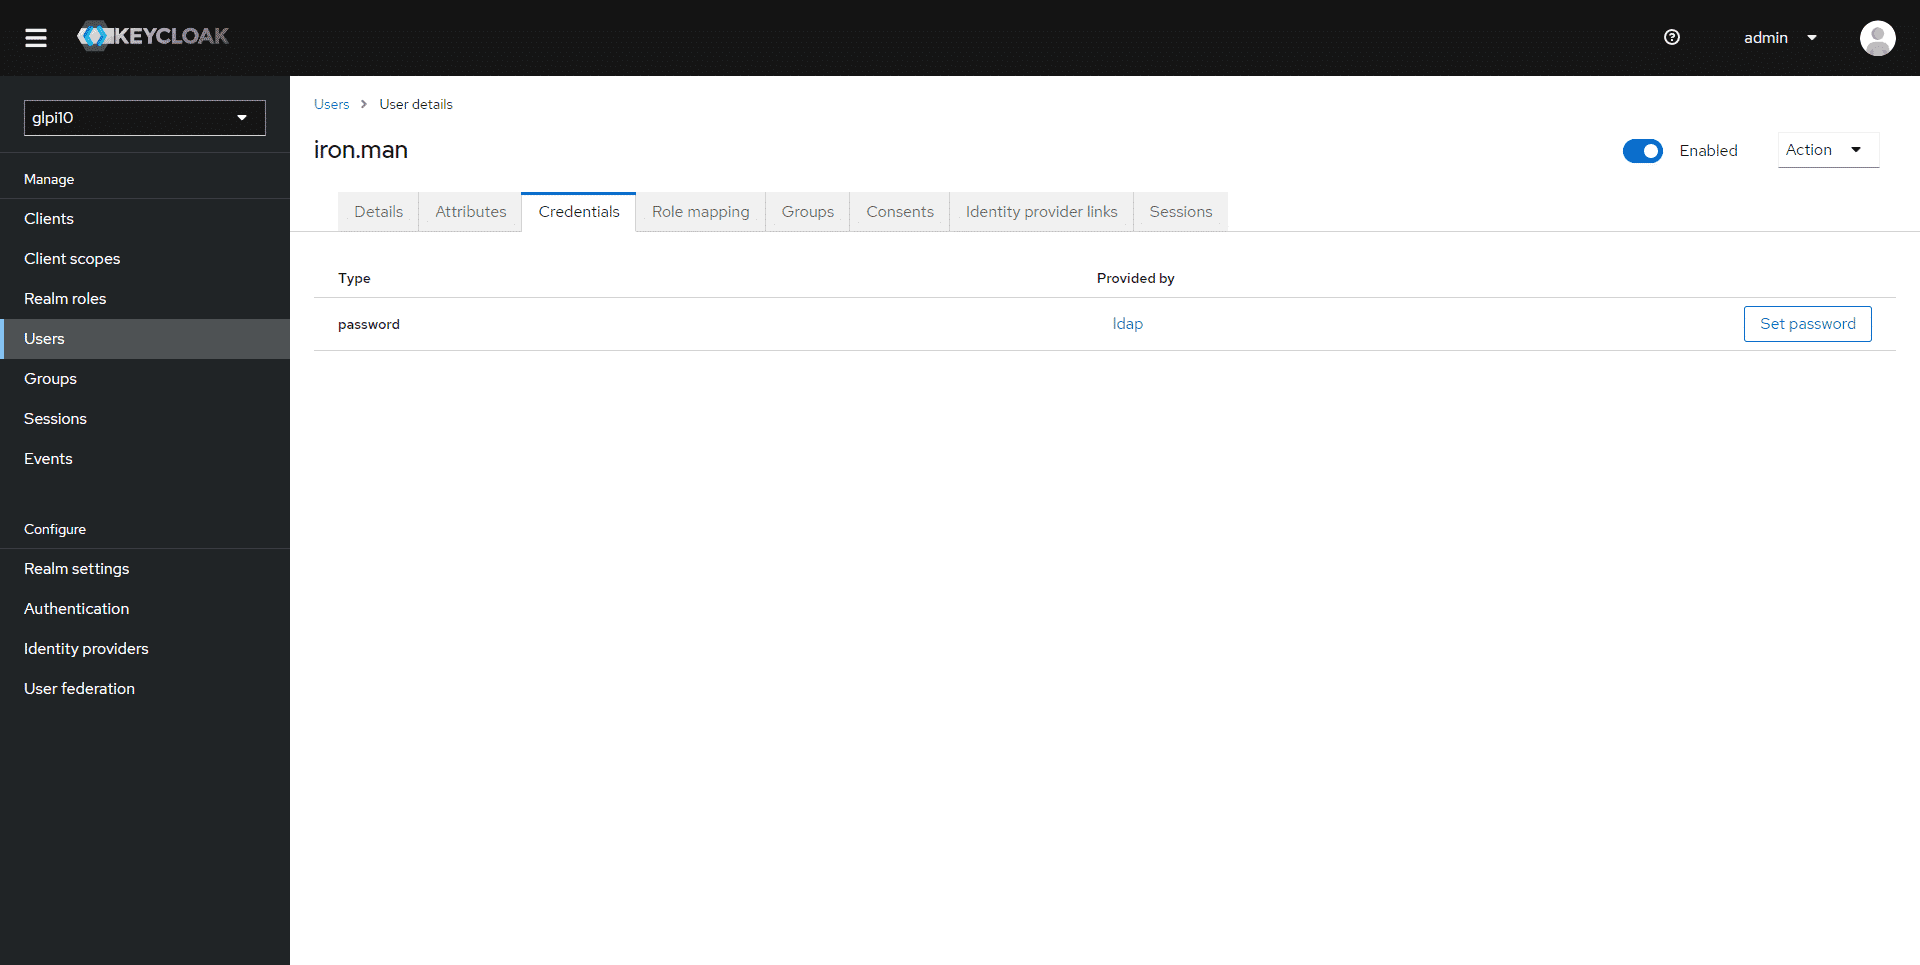
You now know how to add a directoryActive Directoryas a provider in Keycloak.