In this tutorial, I will explain how to set up Altaro Backup with Hyper-V.
Altaro Backup is a backup solution for virtual environments Hyper-V and VMware running Windows.
It has the advantage of being very light and does not require SQL Server database.
It allows the following restorations:
- Granular at the file level
- Granular at Exchange level
- Virtual disk recovery
- Starting a VM from backup.
For very small environments, Altaro has the advantage of being free for 2 virtual machines with certain limits.
Table of Contents
Environment
For the realization of this tutorial, I used a Windows 2016 server with Hyper-V on which I installed Altaro.
It is possible to install Altaro on a virtual machine is sent on backups on a NAS or on a physical machine.
Backups will be stored on the Hyper-V.
In a production environment, backups must be stored on a network share (NAS) or in the worst case on a USB disk.
Before getting into the thick of it, you have to download the software on the official website.
Installation
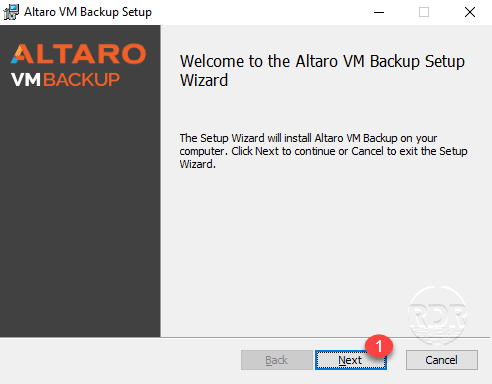
1. Run the downloaded program, when launching the wizard, click Next 1 .
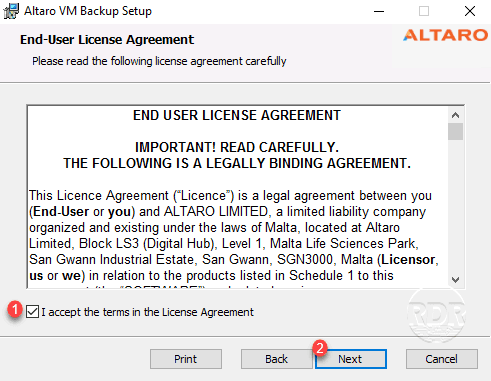
2. Check the box 1 to accept the license then click Next 2 .
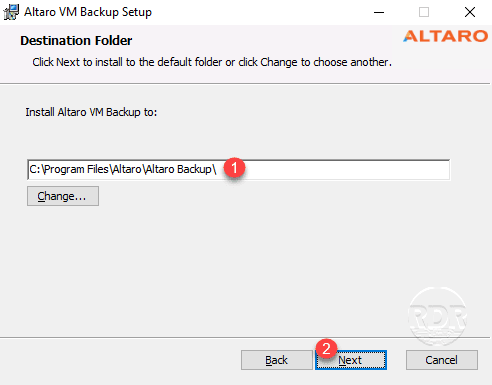
3. Configure the software installation location 1 and click Next 2 .
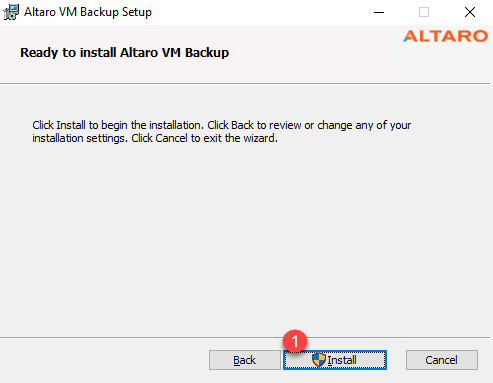
4. Start the installation by clicking the Install button 1 .
5. Wait during the installation …
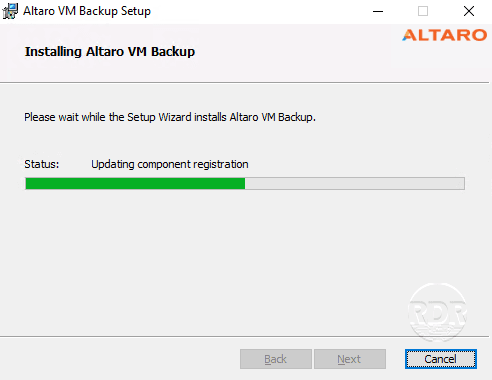
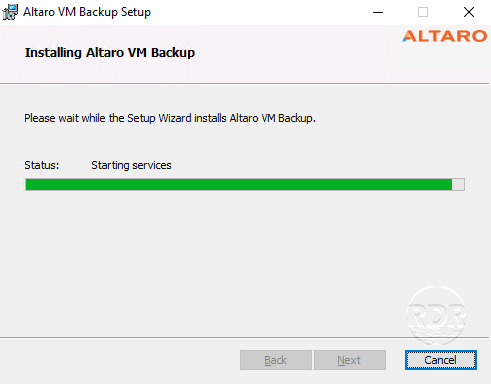
During the installation, it is necessary to confirm the execution of an MSI file.
The installation took me less than 3 minutes on the lab server.
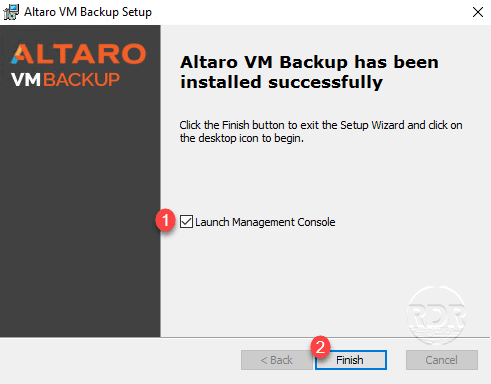
6. The installation is complete, check box 1 to launch the console immediately and close the wizard by clicking Finish 2 .
7. The Altaro Backup Console opens, click Connect 1 .

We will now proceed to using Altaro Backup by configuring the virtual machine backup.
Configuration of the backup
Configuring the host on Altaro backup
1. In the menu click on Hosts 1 , how Altaro Backup is installed on the Hyper-V, it is already present in the console, otherwise you must add the Hypervisor by clicking on the Add button hosts.

Configuring the location of backups
1. You must now configure the location of the backups, click on Backup Locations 1 and then on Add Backup Location 2 .

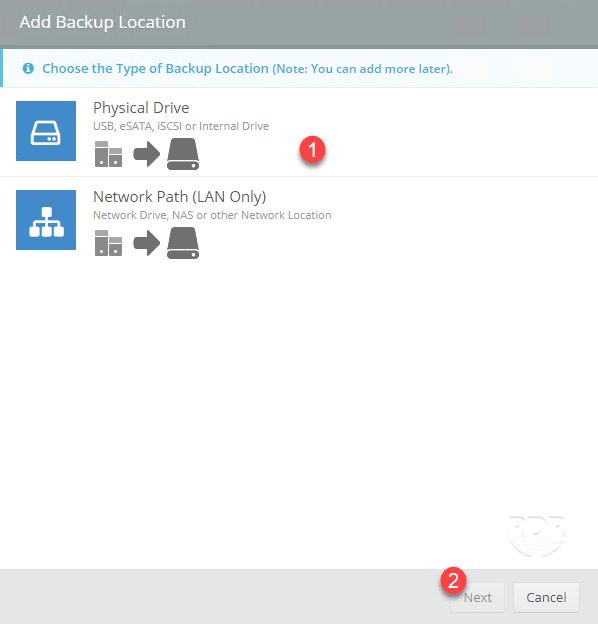
2. Choose a location type 1 (Physical drive) and click Next 2 .
3. Clicking Choose Folder 1 on the volume will receive the backups.

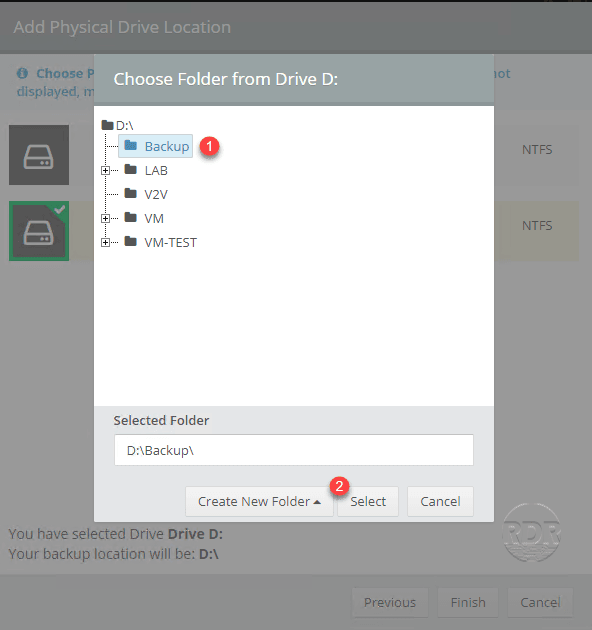
4. Select the folder 1 and click on Select 2 .
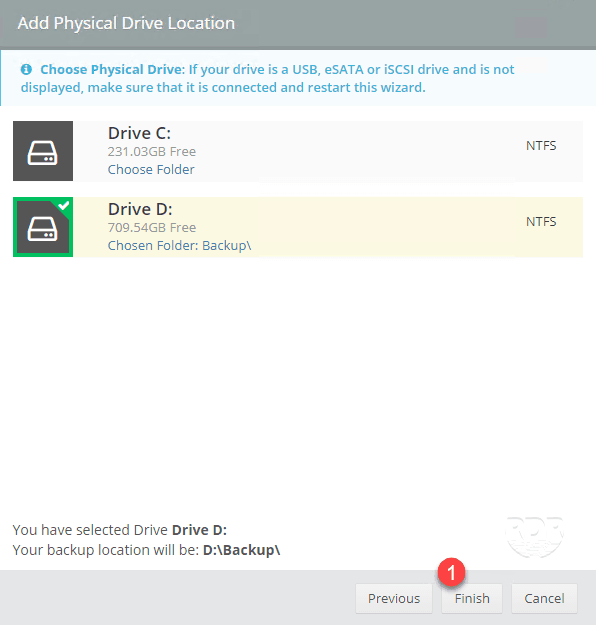
5. Click Finish 1 to add the location.
6. The slot is configured 1 .

Putting backup of a virtual machine with Altaro backup
Altaro Backup unlike other backup software does not work directly with jobs, you must assign VMs to a location, a schedule and a retention.
This way of managing backups allows great flexibility.
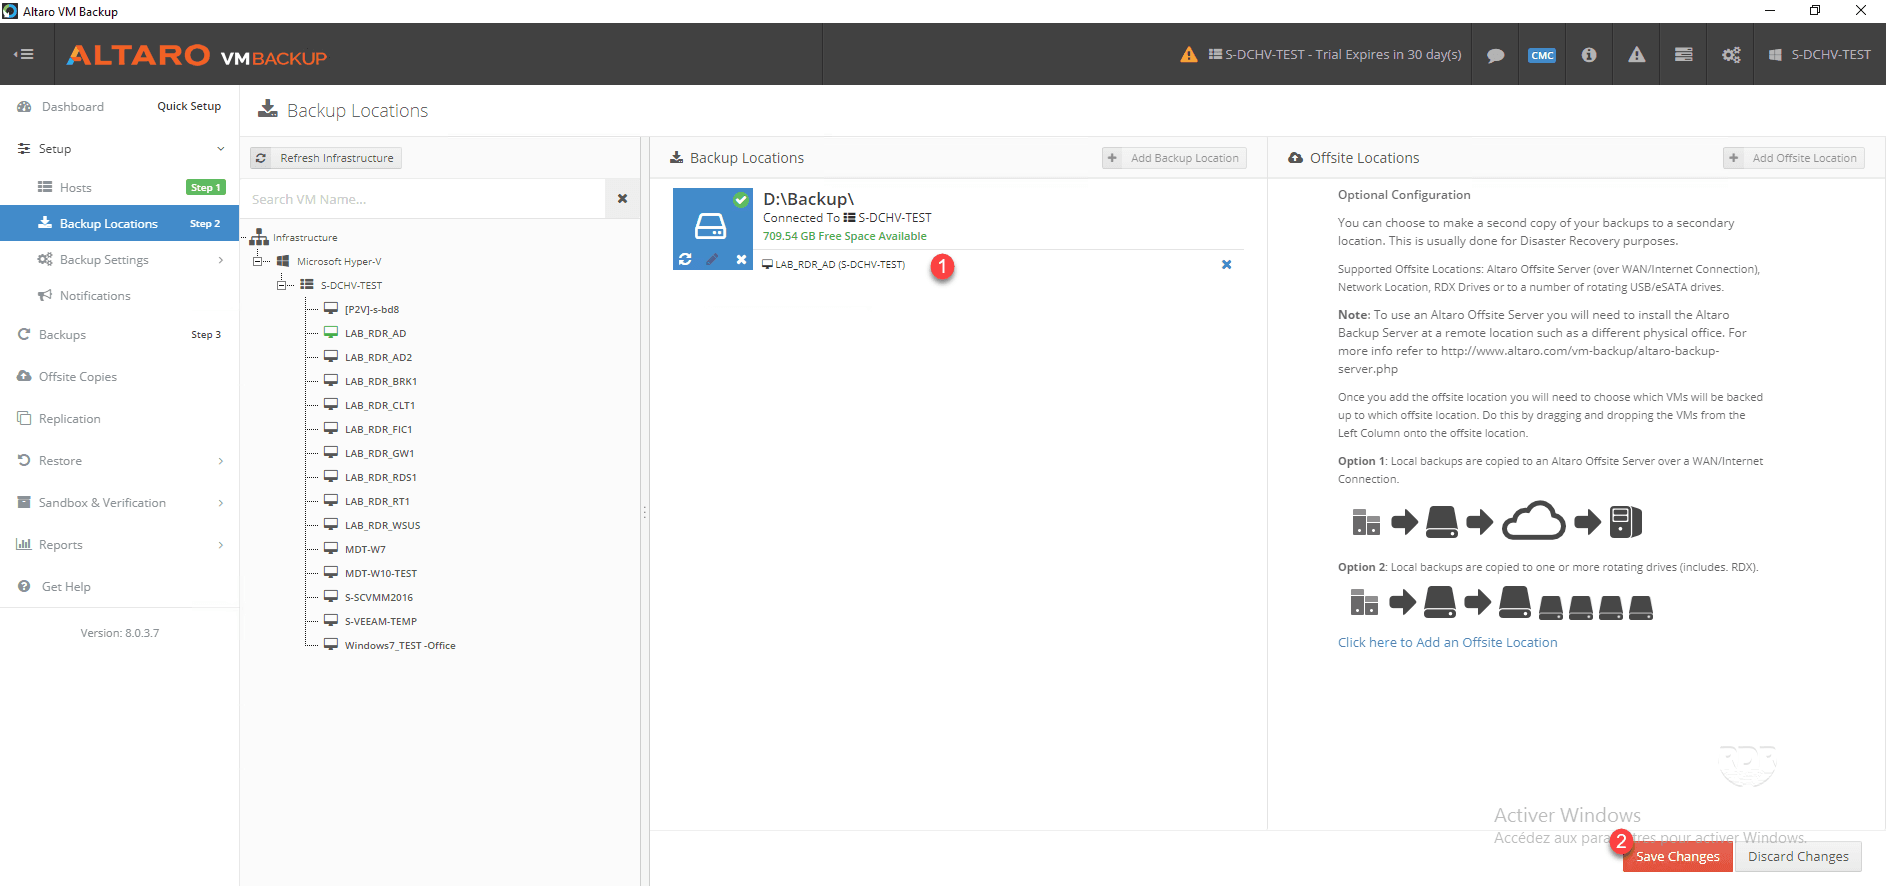
1. From the Backup Location 1 page, select the vm to save 2 and drag and drop to the <3 backup location.
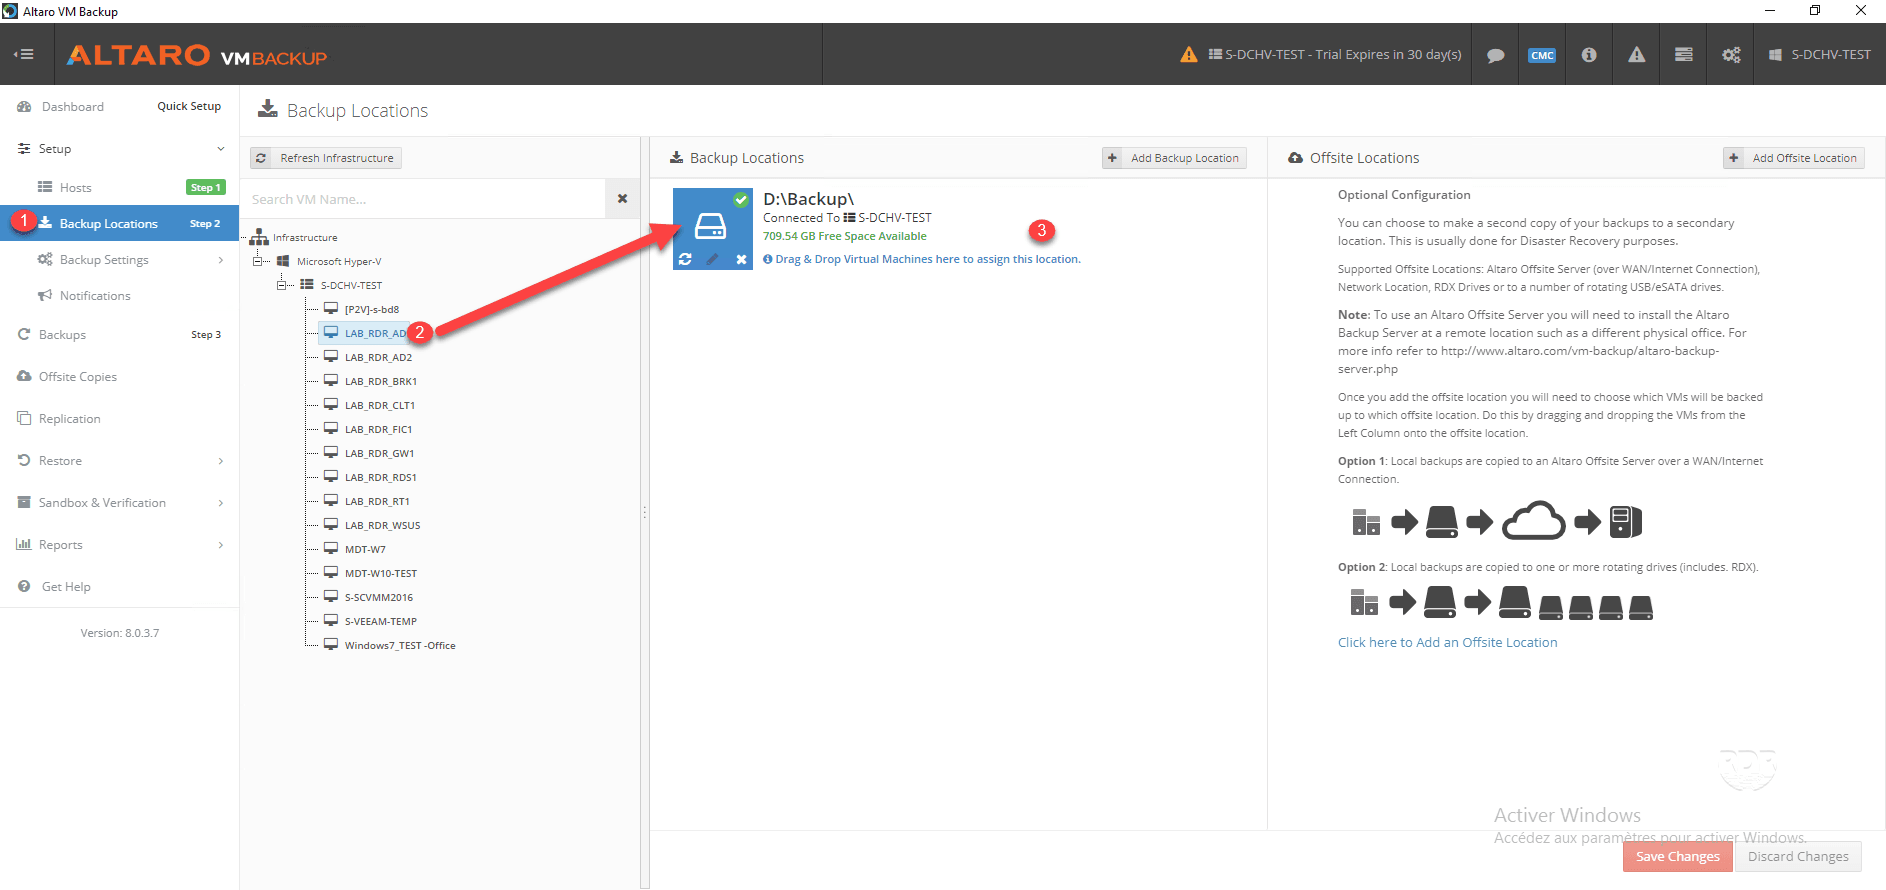
2. The virtual machine is assigned to slot 1 , click Save Changes 2 .
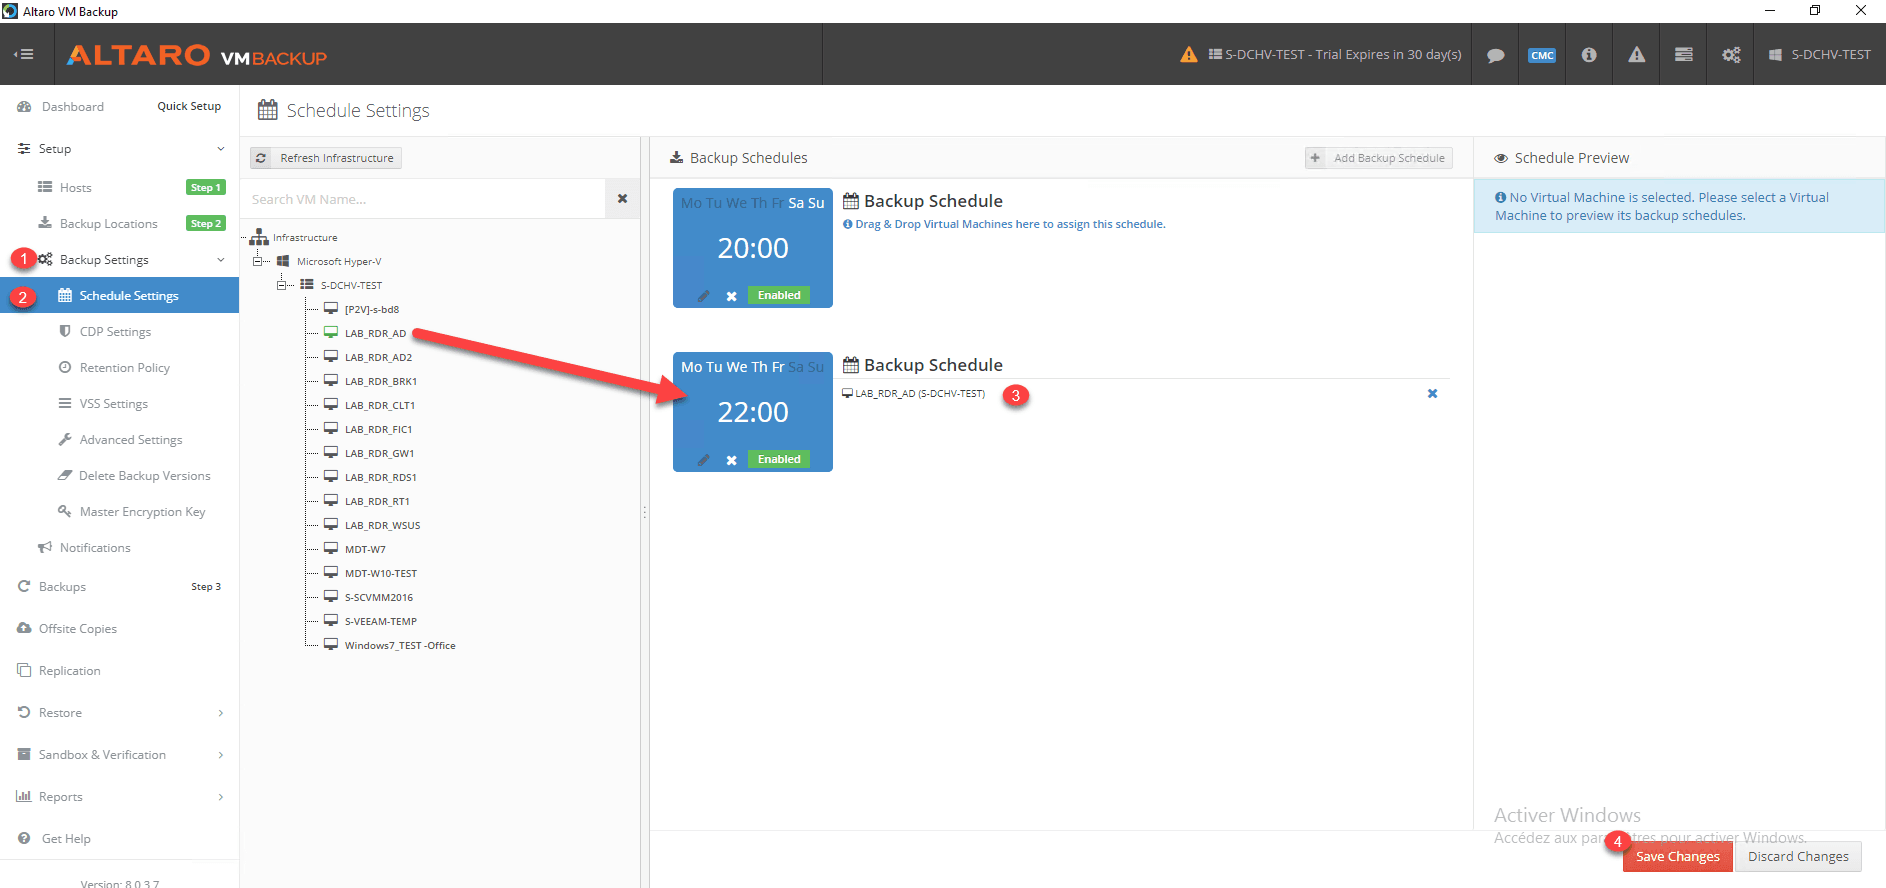
3. Go to Backup Settings 1 / Schedule Setting 2 and on the same principle as the backup location, drag and drop on the desired schedule 3 and finish by clicking on Save Changes 4 .
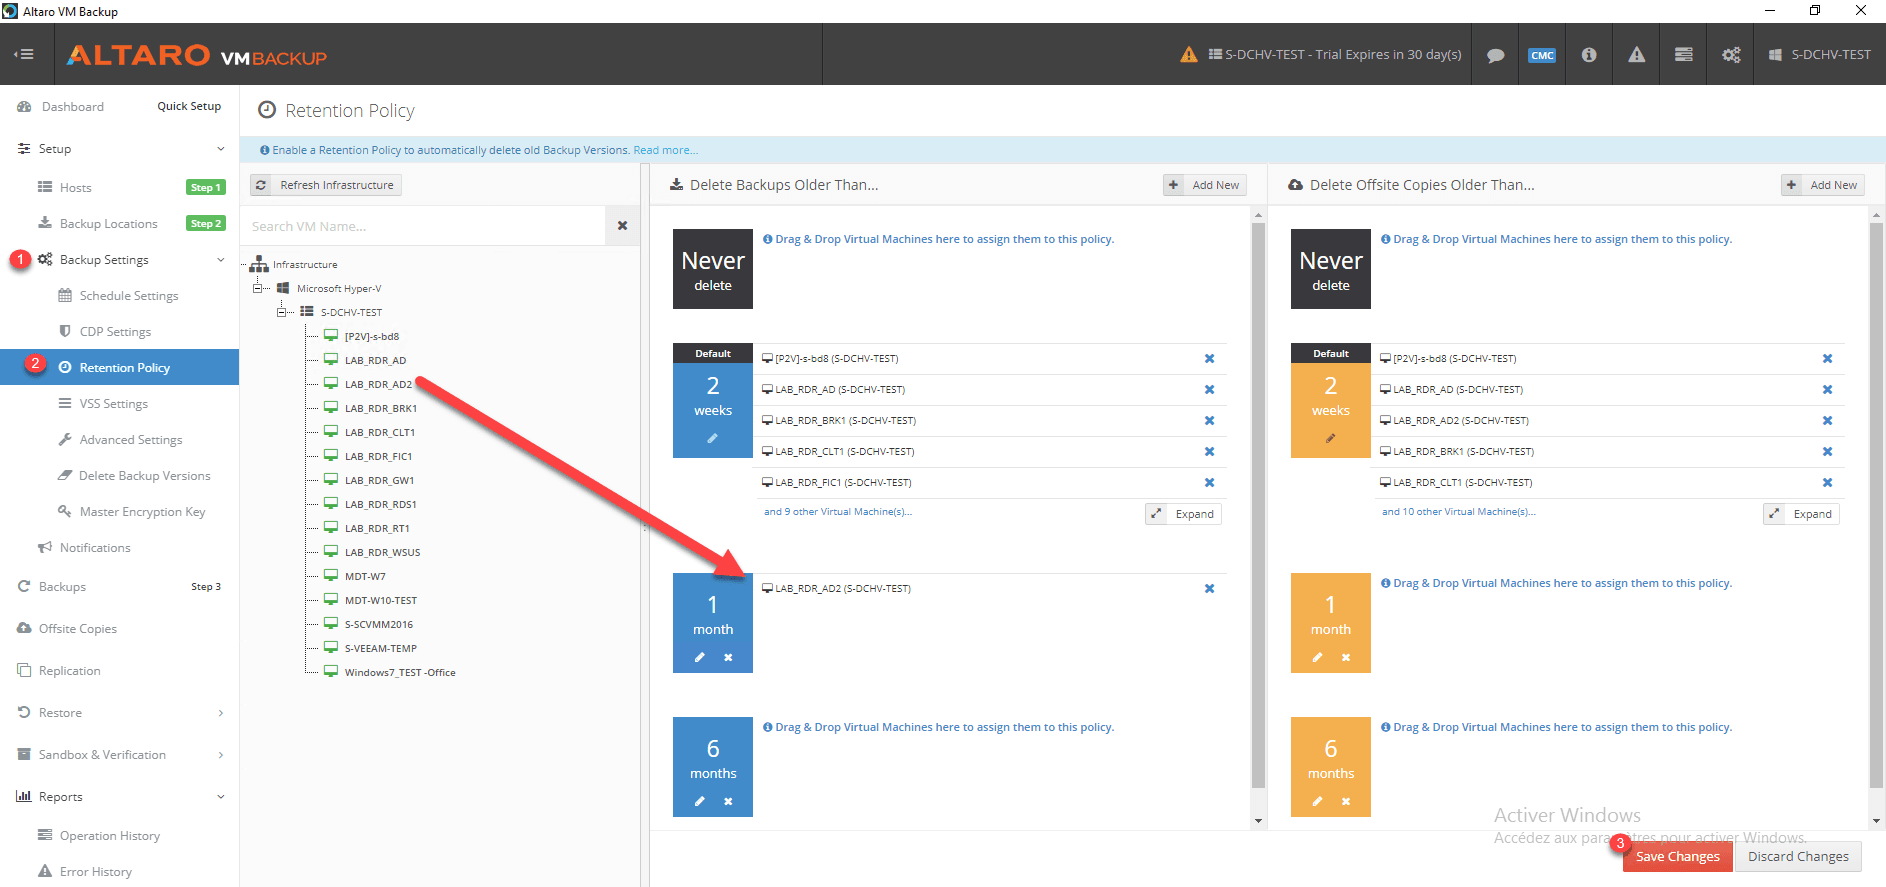
4. Go to Backup Settings 1 / Retention Policy 2 and do the same for the backup retention time. Click on Save changes 3 to save.
Force a backup
One of the nice features of Altaro Backup is to be able to trigger a backup of a virtual machine without launching a job and therefore several VMs.
This feature can “replace” snapshots available on hypervisors.
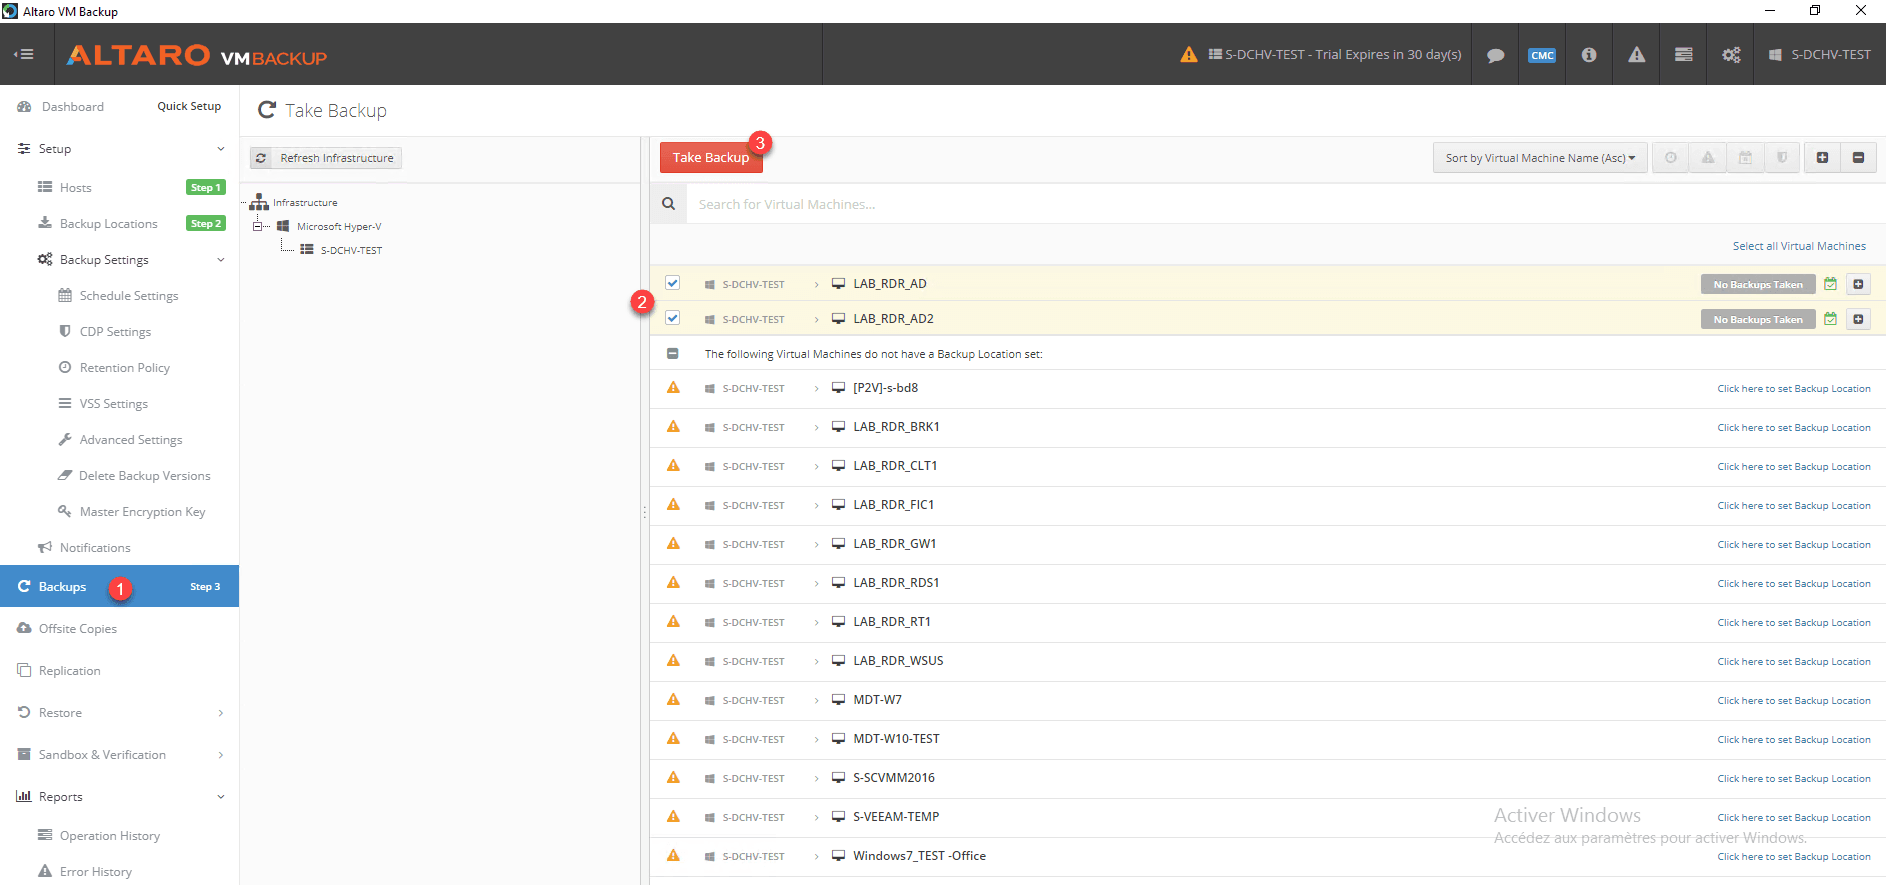
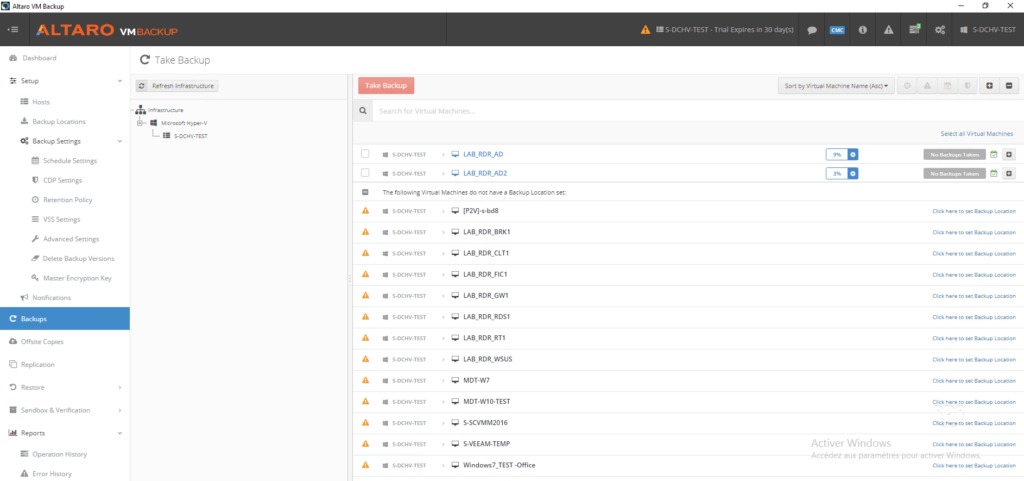
1. Go to Backups 1 , select vm to save 2 and click Take Backup 3 .
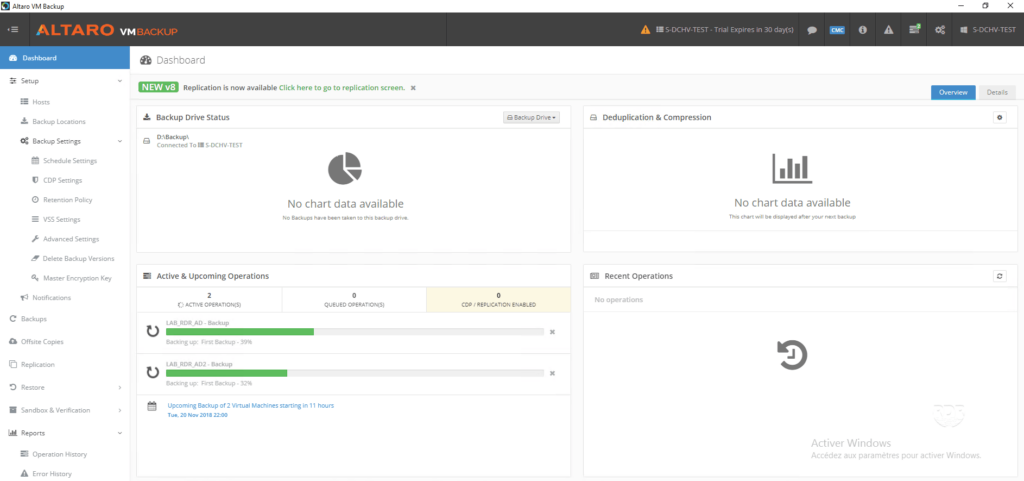
2. The backup is in progress …
Now that we have seen how to set up backups, we will see the different possible restore modes.
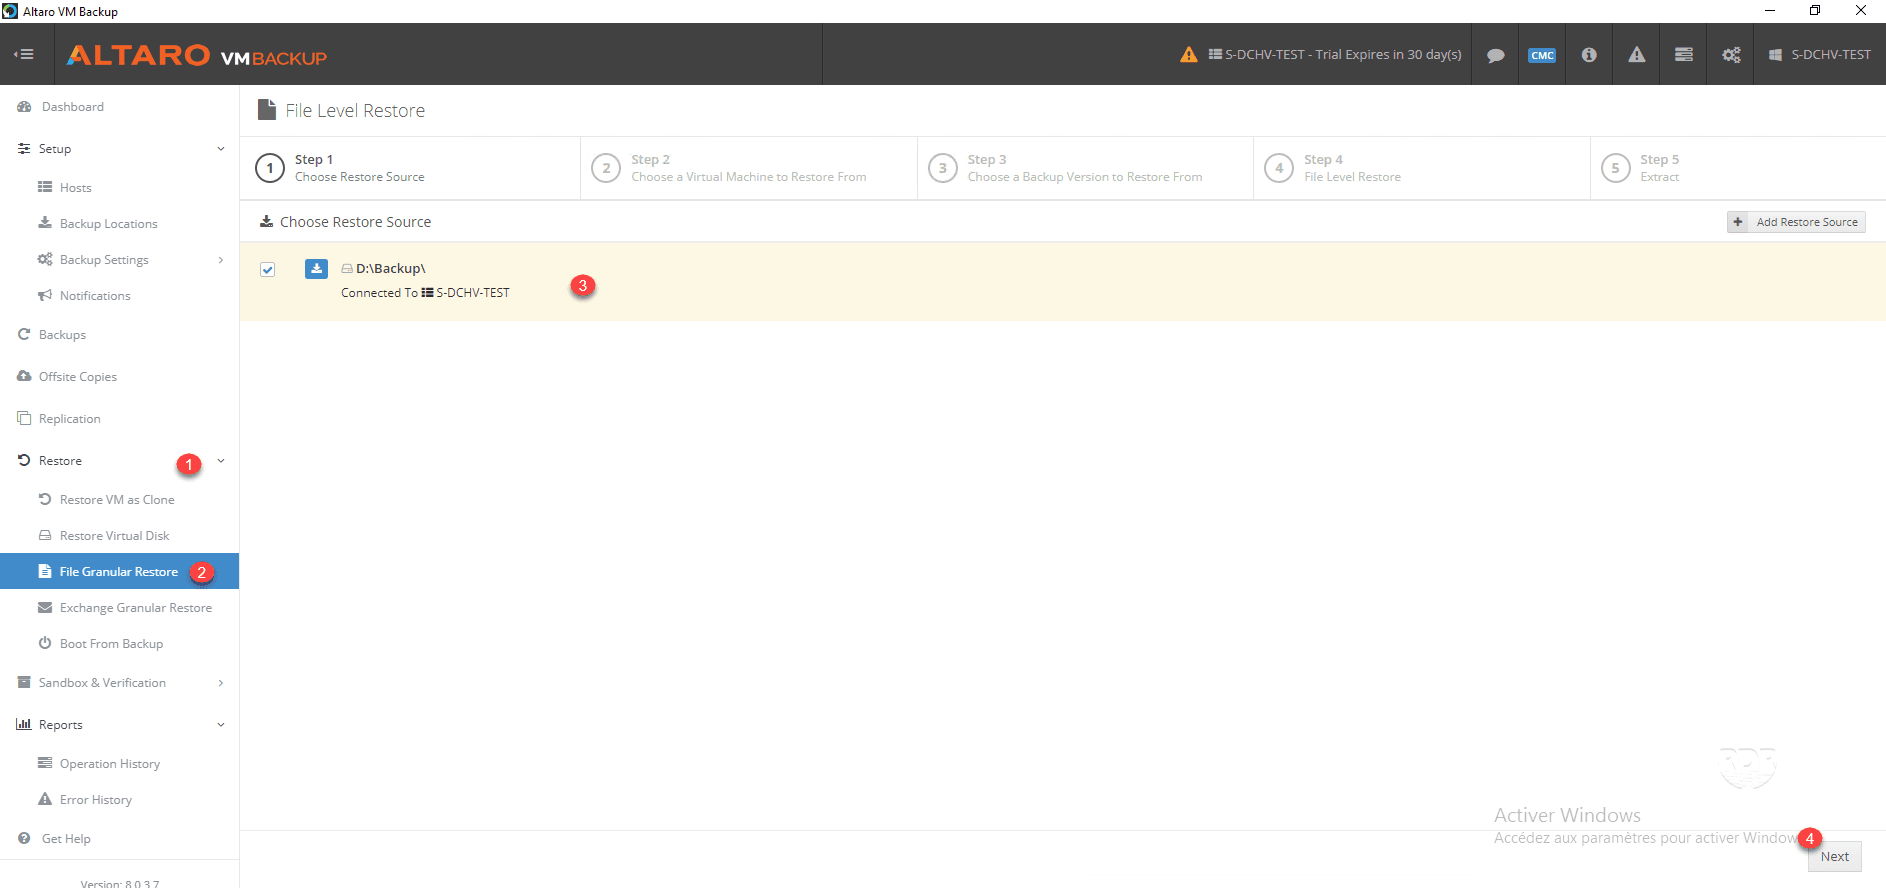
Granular file recovery
This restore mode is used to extract a file from a virtual machine from a backup.
1. From the console, go to Restore 1 / File Granular Restore 2 , choose from where 3 and click Next 4 .
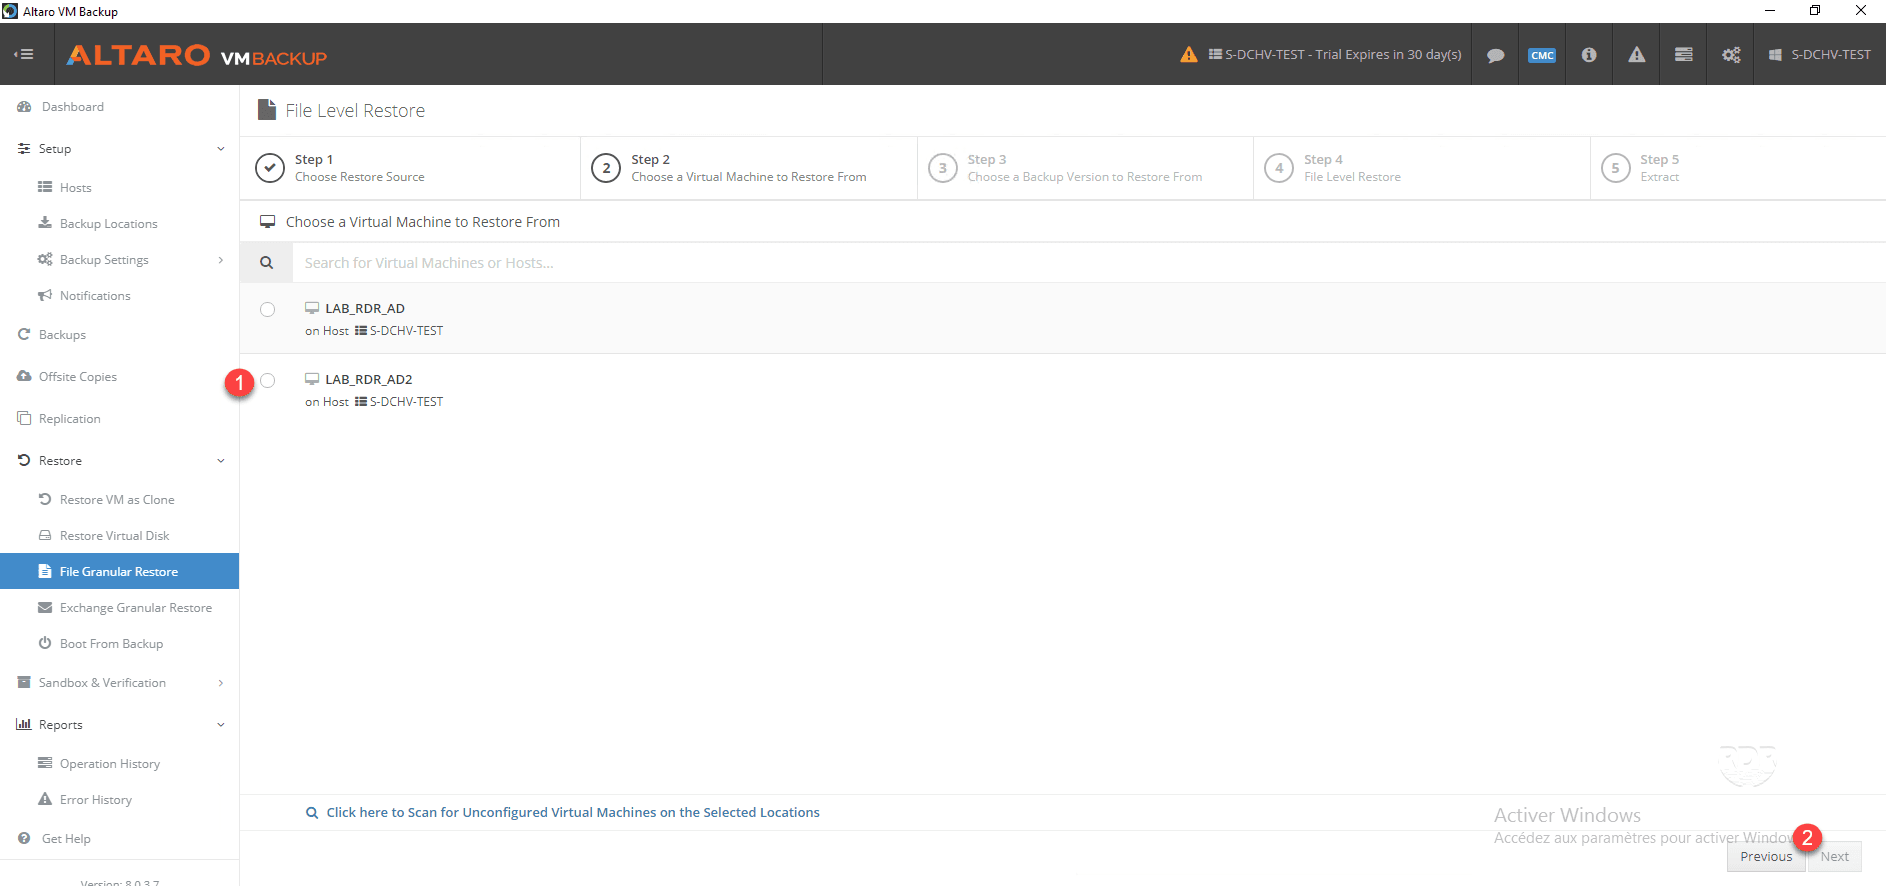
2. Select virtual machine 1 and click Next 2 .
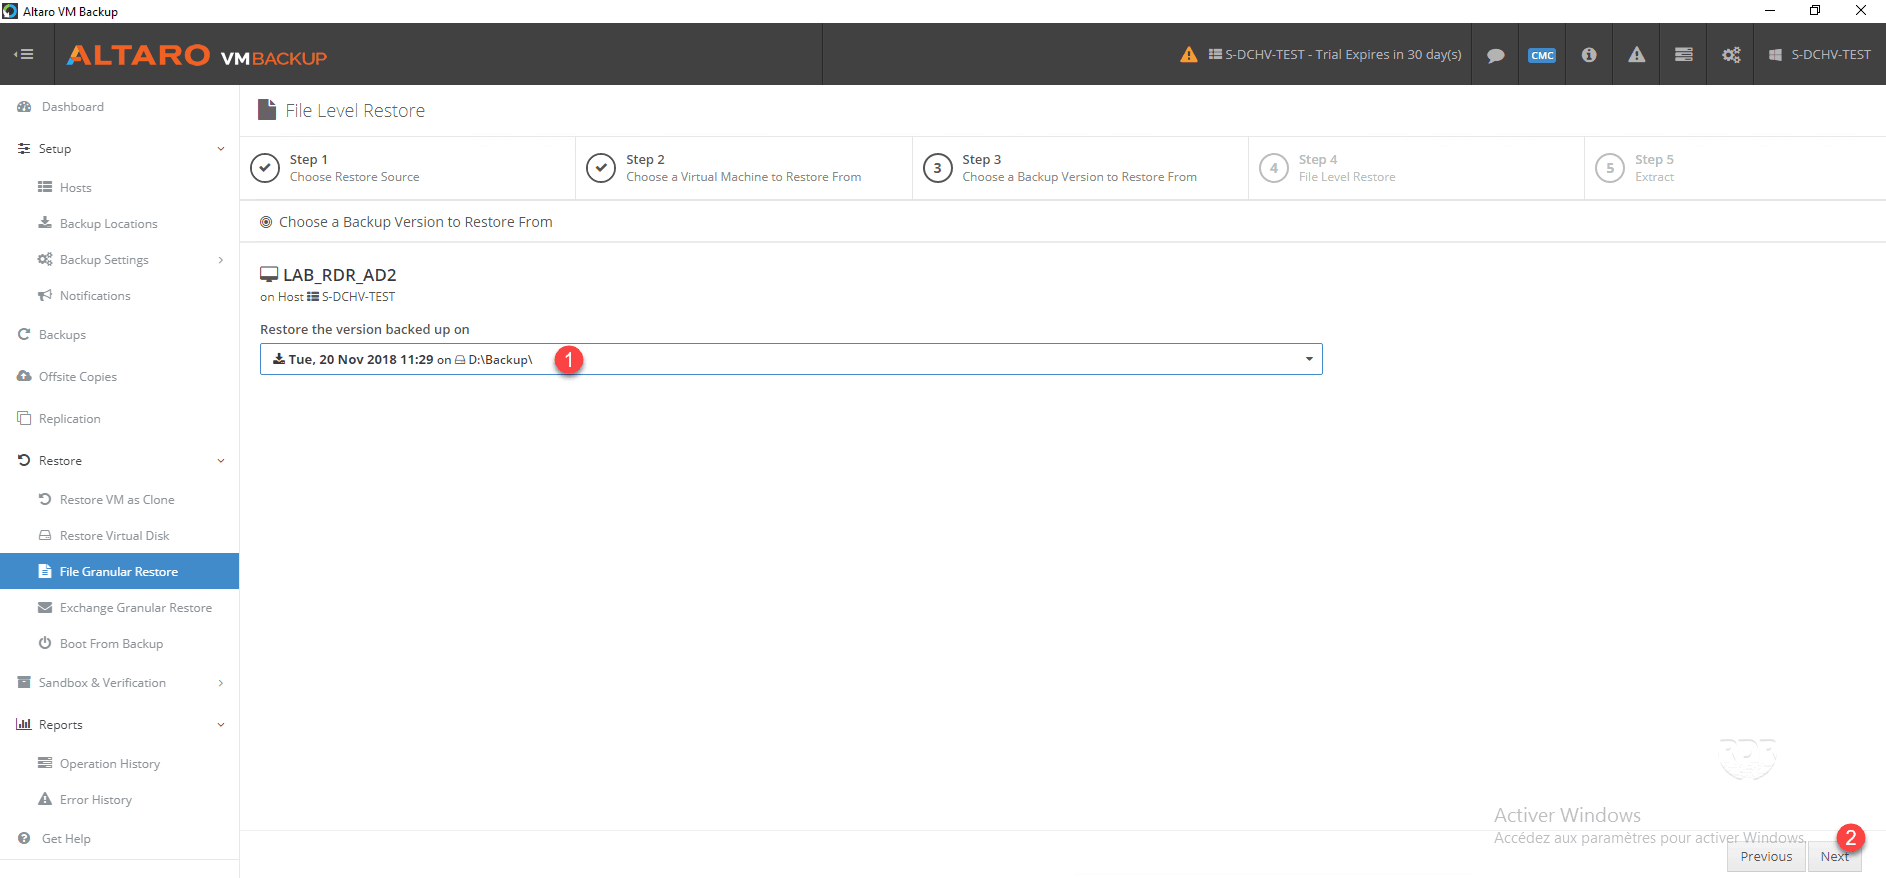
3. Choose Restore Point 1 and click Next 2 .
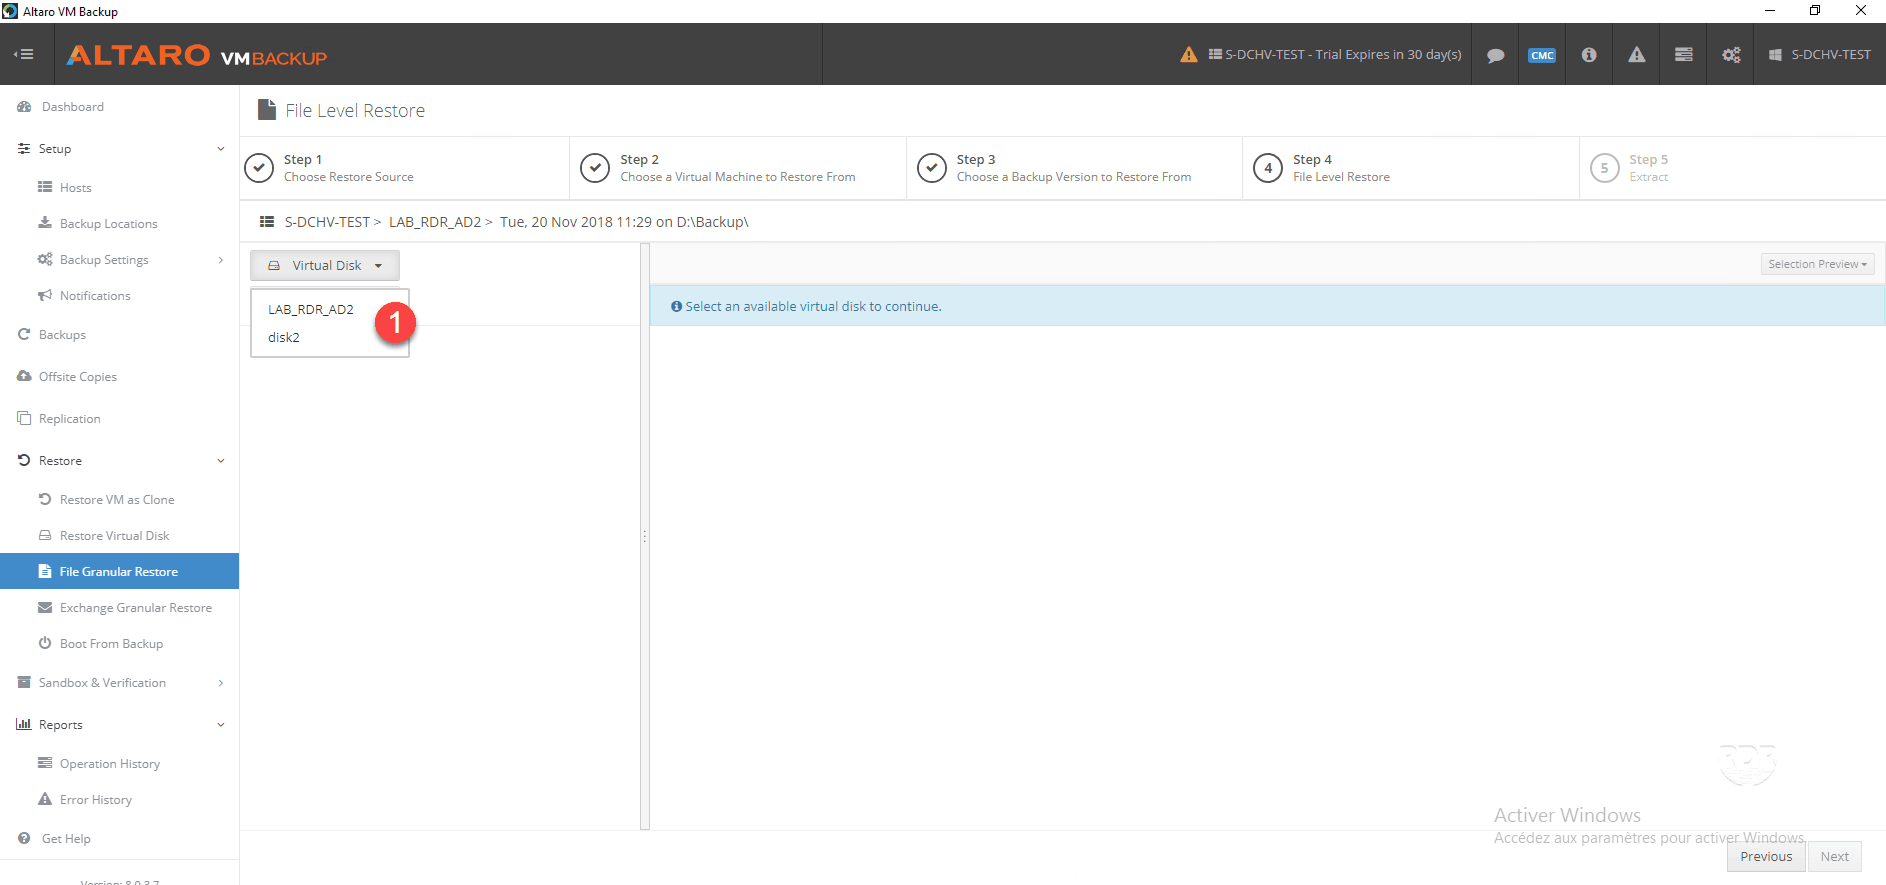
4. Select the disk 1 .
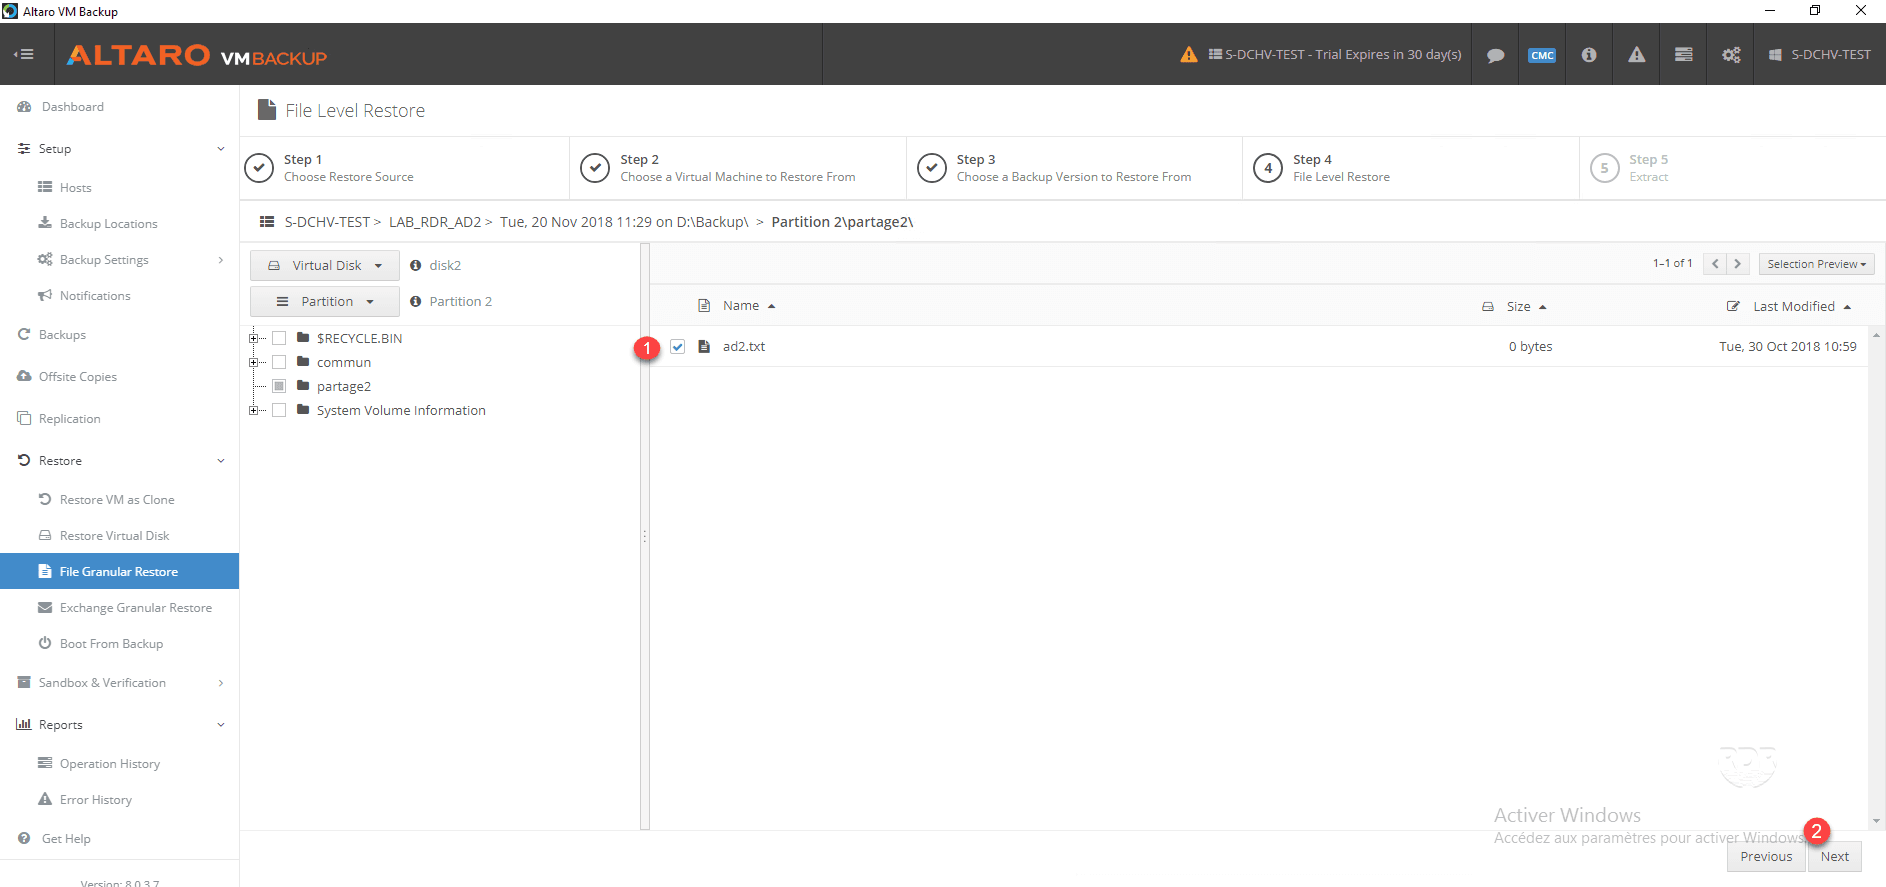
5. Select partition 1 .

6. Navigate to the backup, select the item (s) to be restored 1 then click Next 2 .
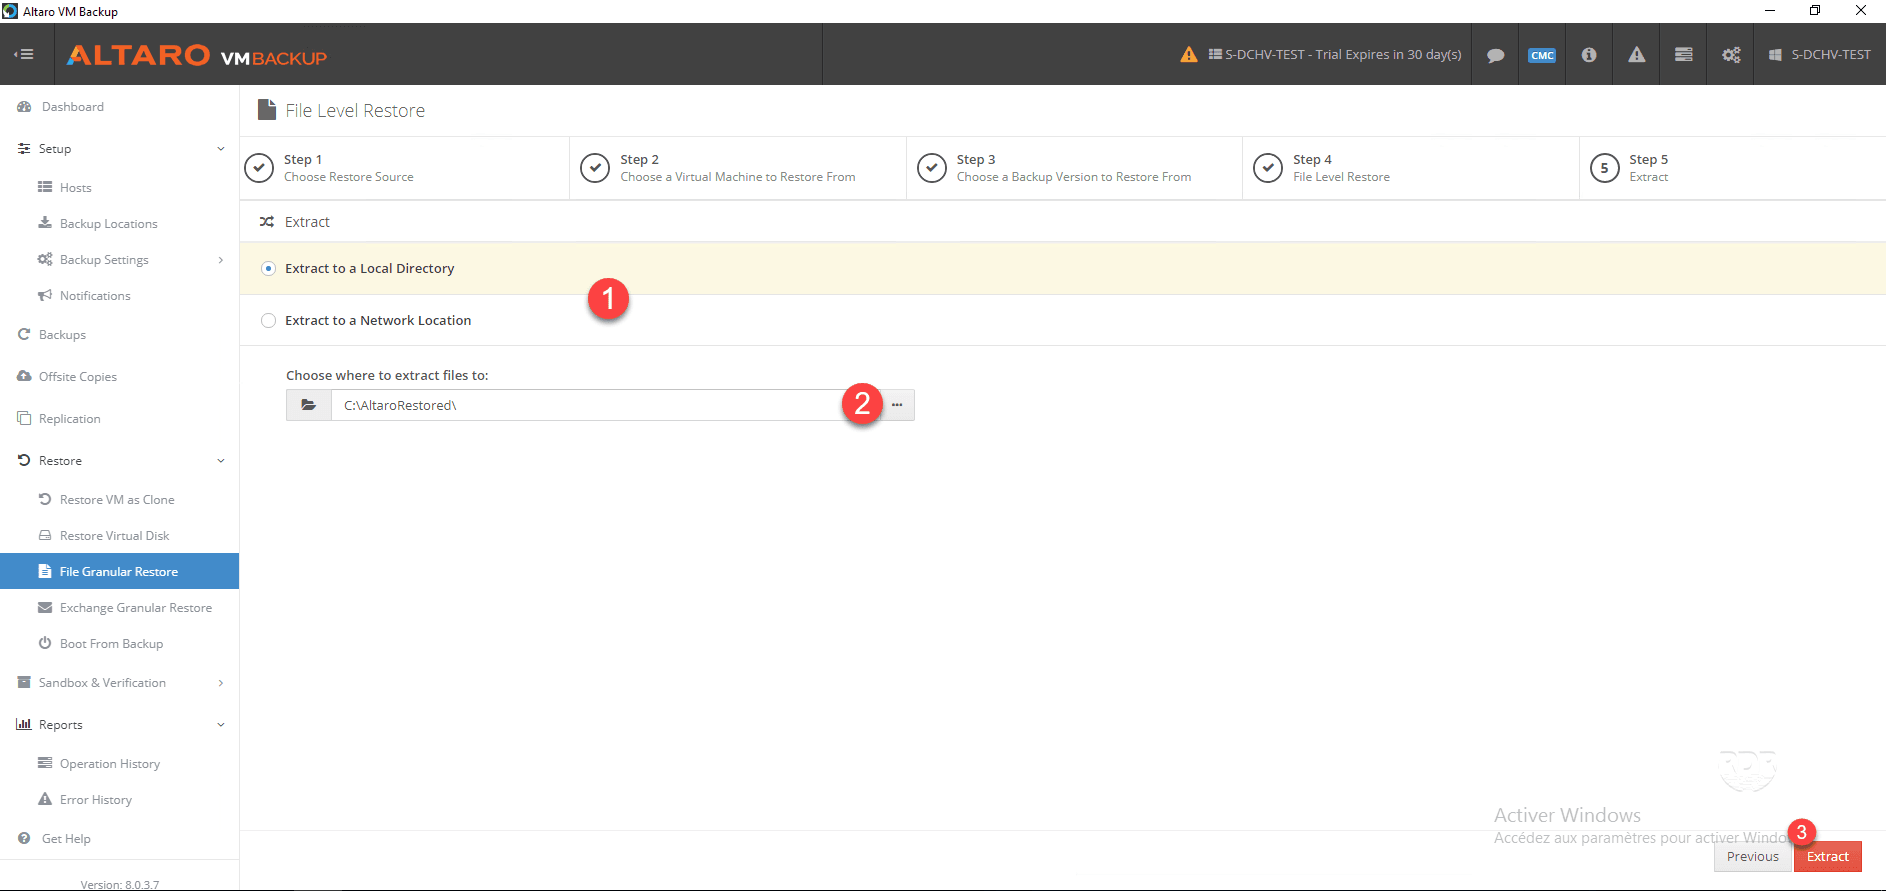
7. Choose storage type 1 restore location 2 and click Extract 3 .
8. Wait during the restoration …

9. Restoration completed.
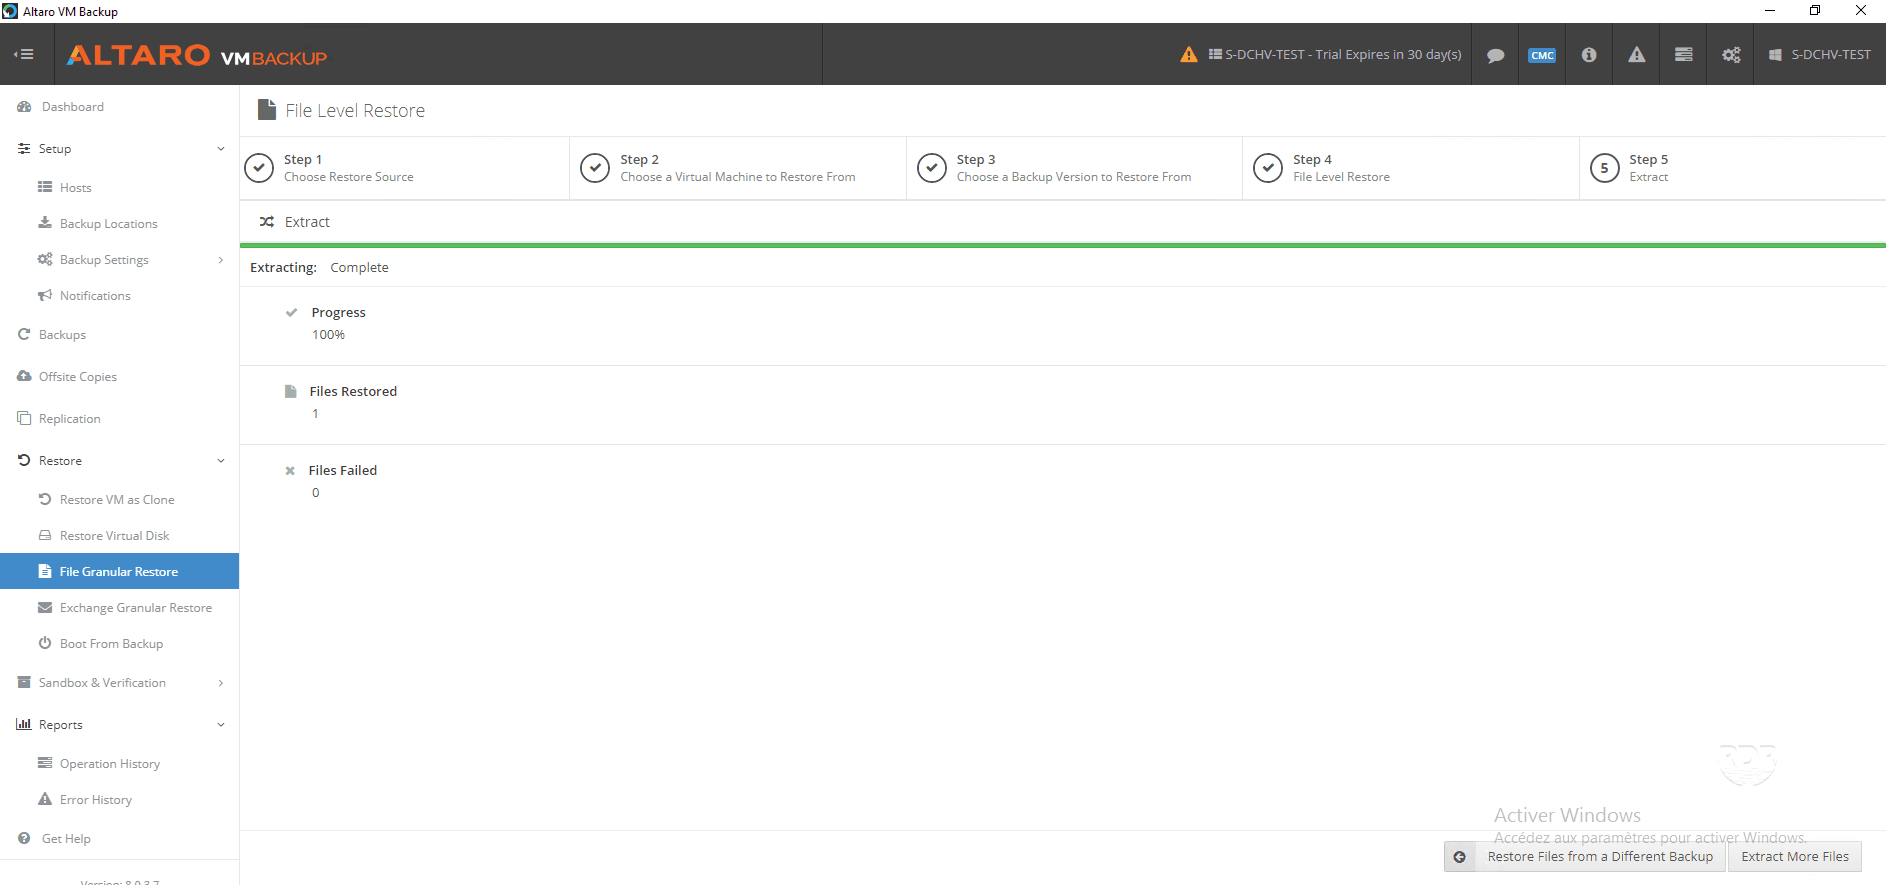
10. Open Windows Explorer and go to the restore location to retrieve the item (s).

Restoring a virtual disk
This type of restoration, as its name suggests, allows you to restore a vhd (x) from a machine, which can then be presented to another vm or mounted directly in Windows.
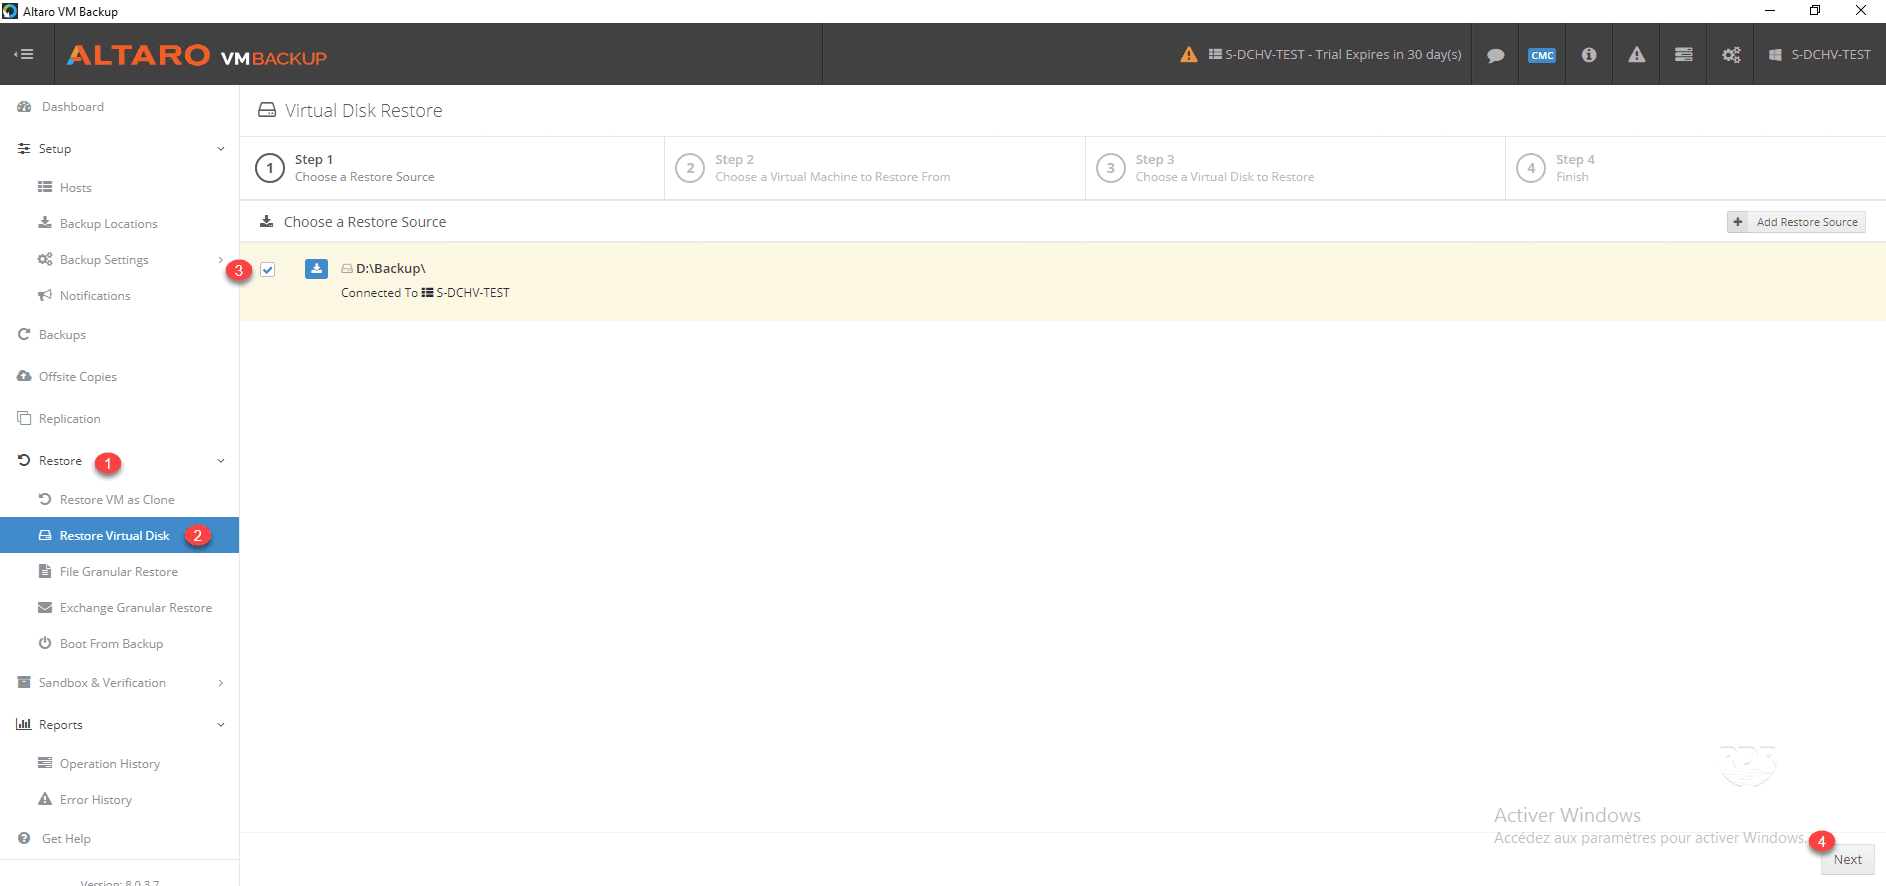
1. From the console go to Restore 1 / Restore Virtual Disk 2 . Choose the location of the backup 3 and click Next 4 .
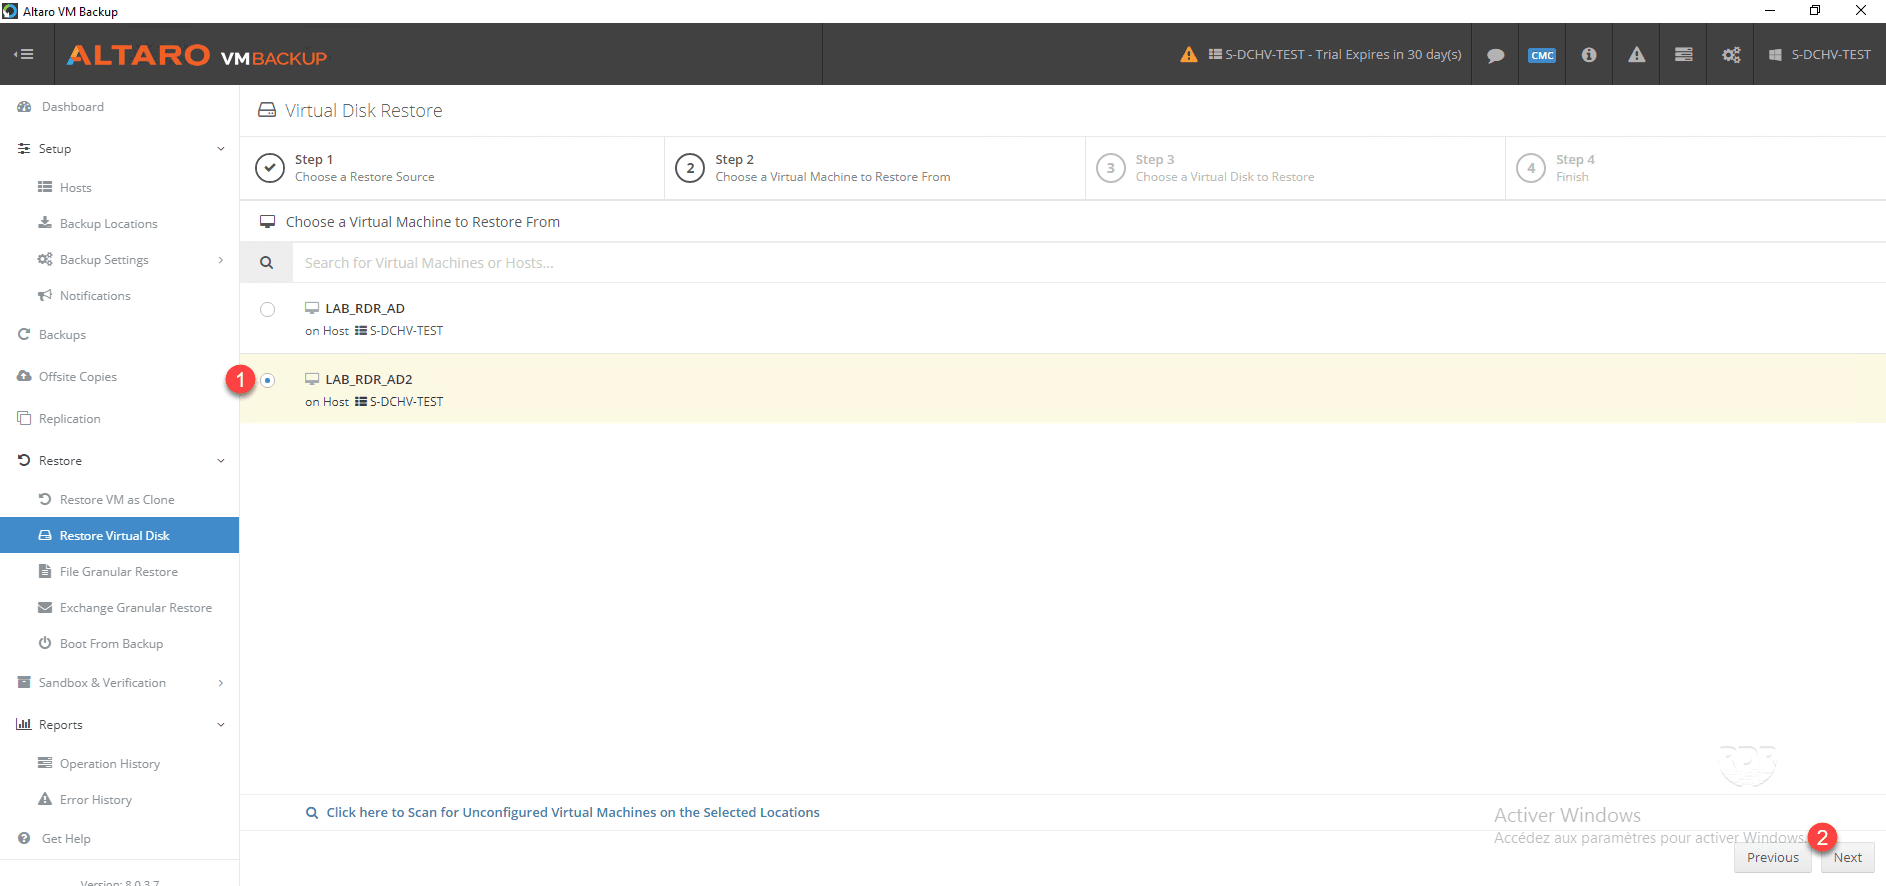
2. Choose the 1 virtual machine and click Next 2 .
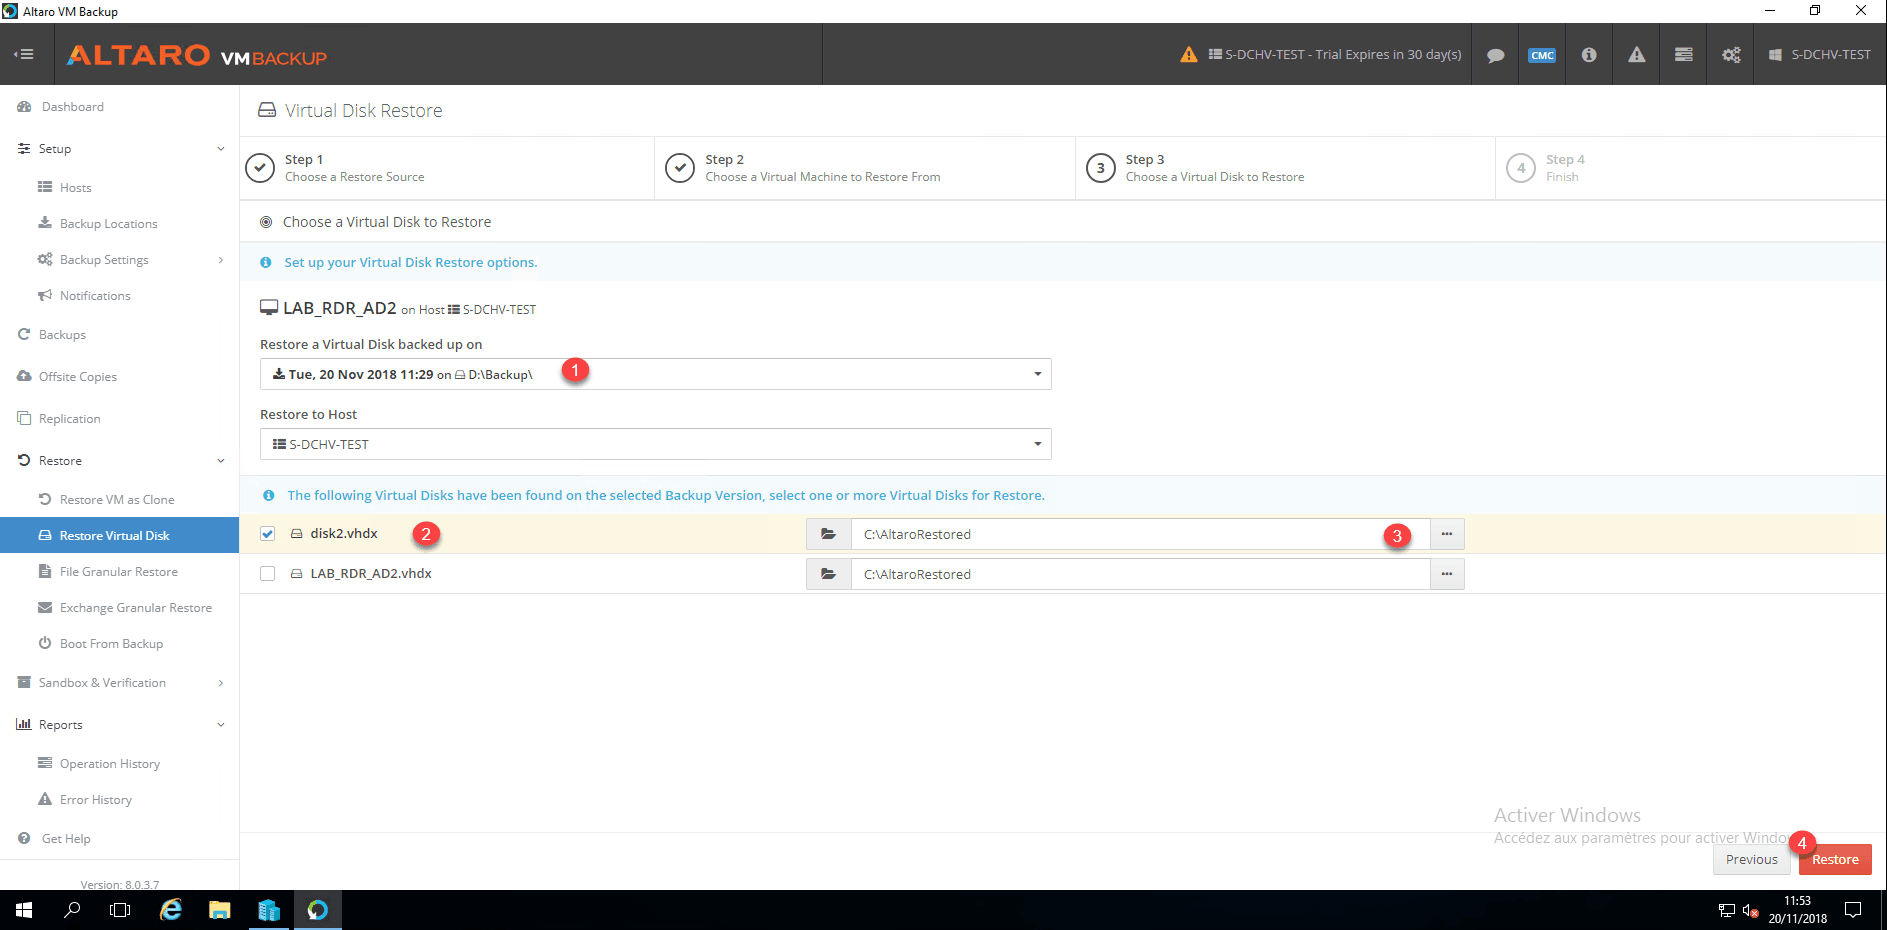
3. Select the restore point 1 , select the disk 2 and its restore location 3 and click Restore 4 .
4. Wait during the restoration …
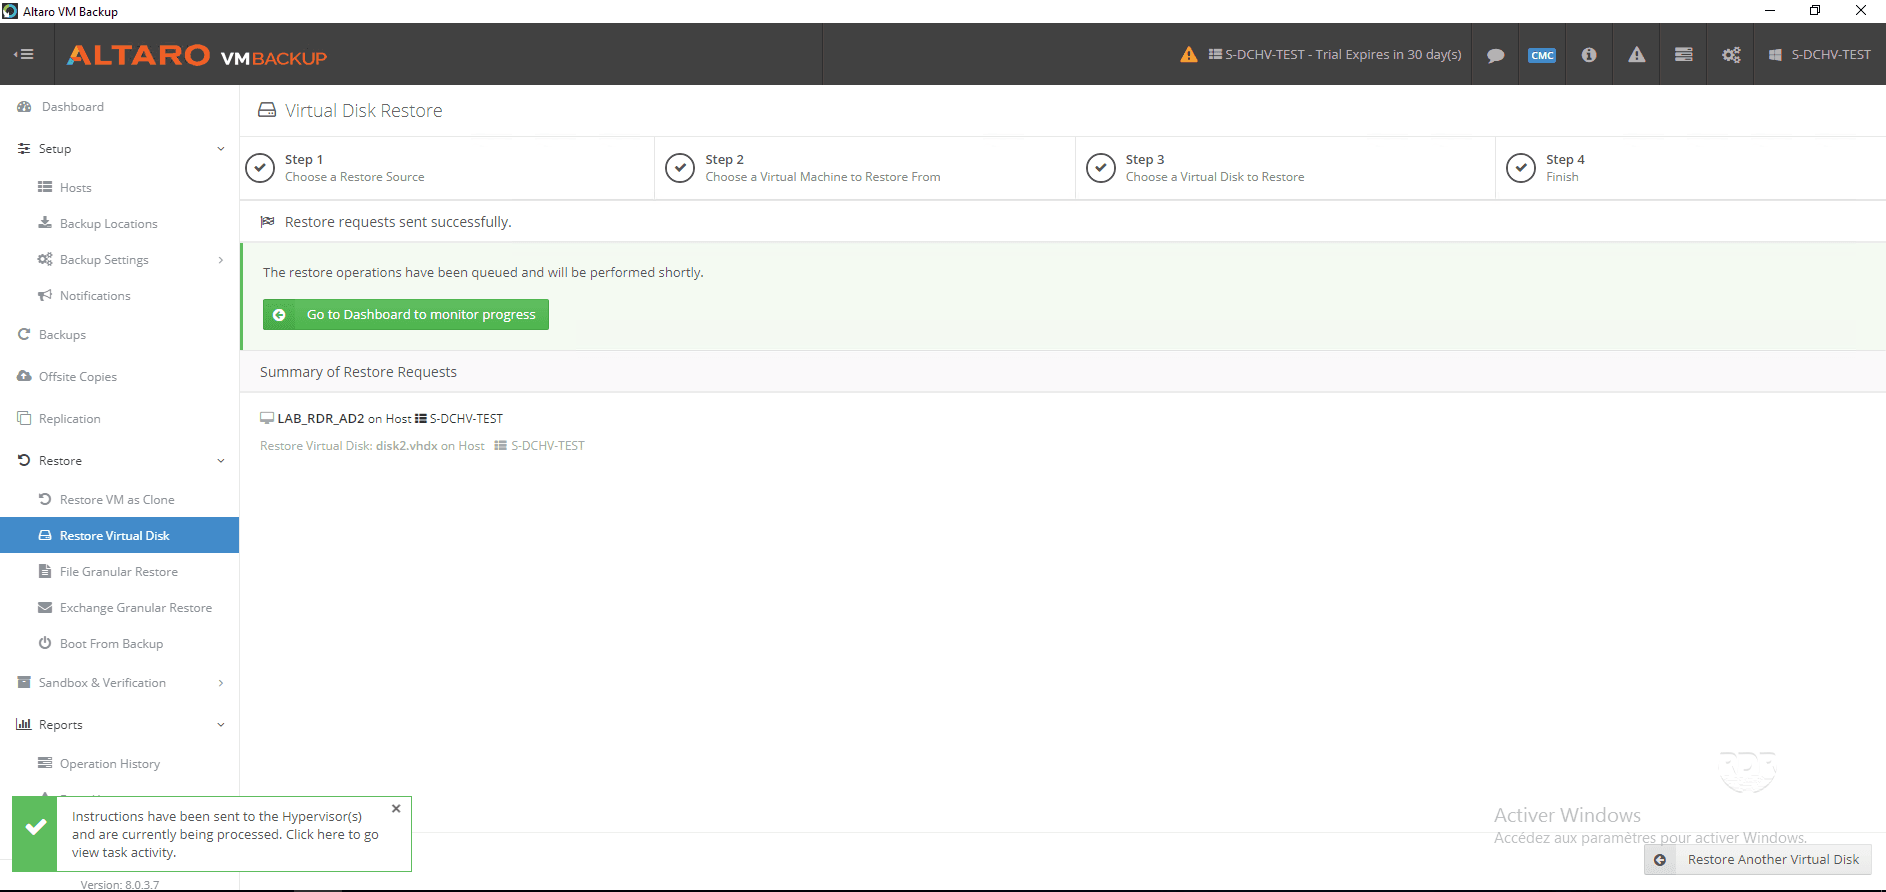
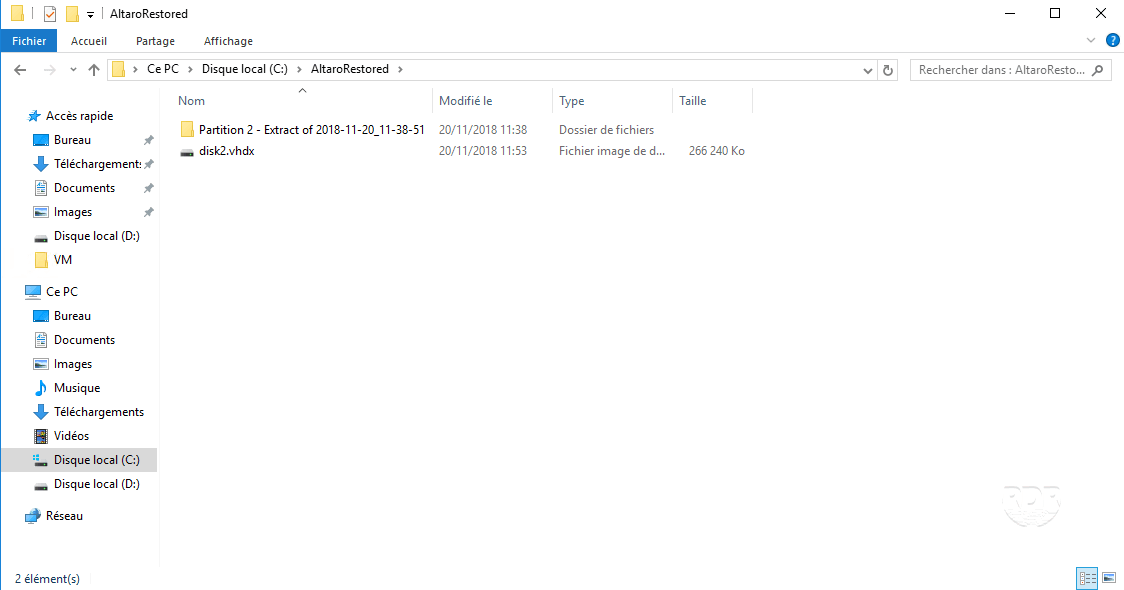
5. When finished, open the Windows File Explorer to access the virtual disk.
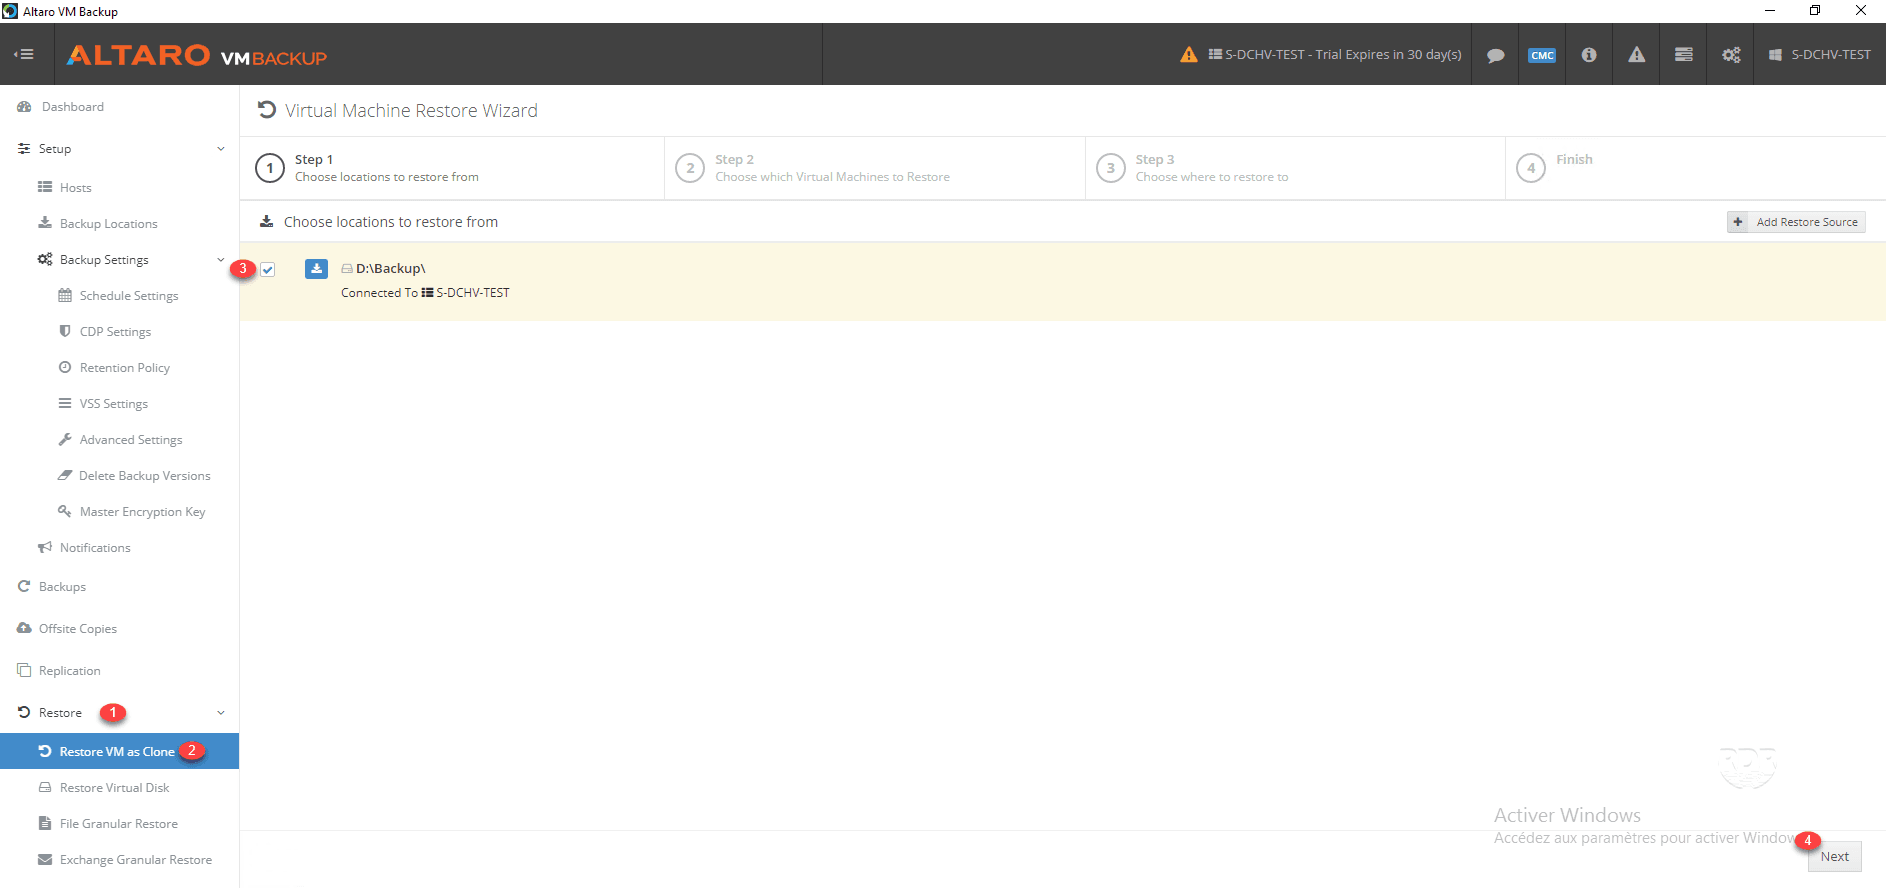
Virtual machine restore as a clone
This restore mode is used to restore a virtual machine to a Hyper-V server.
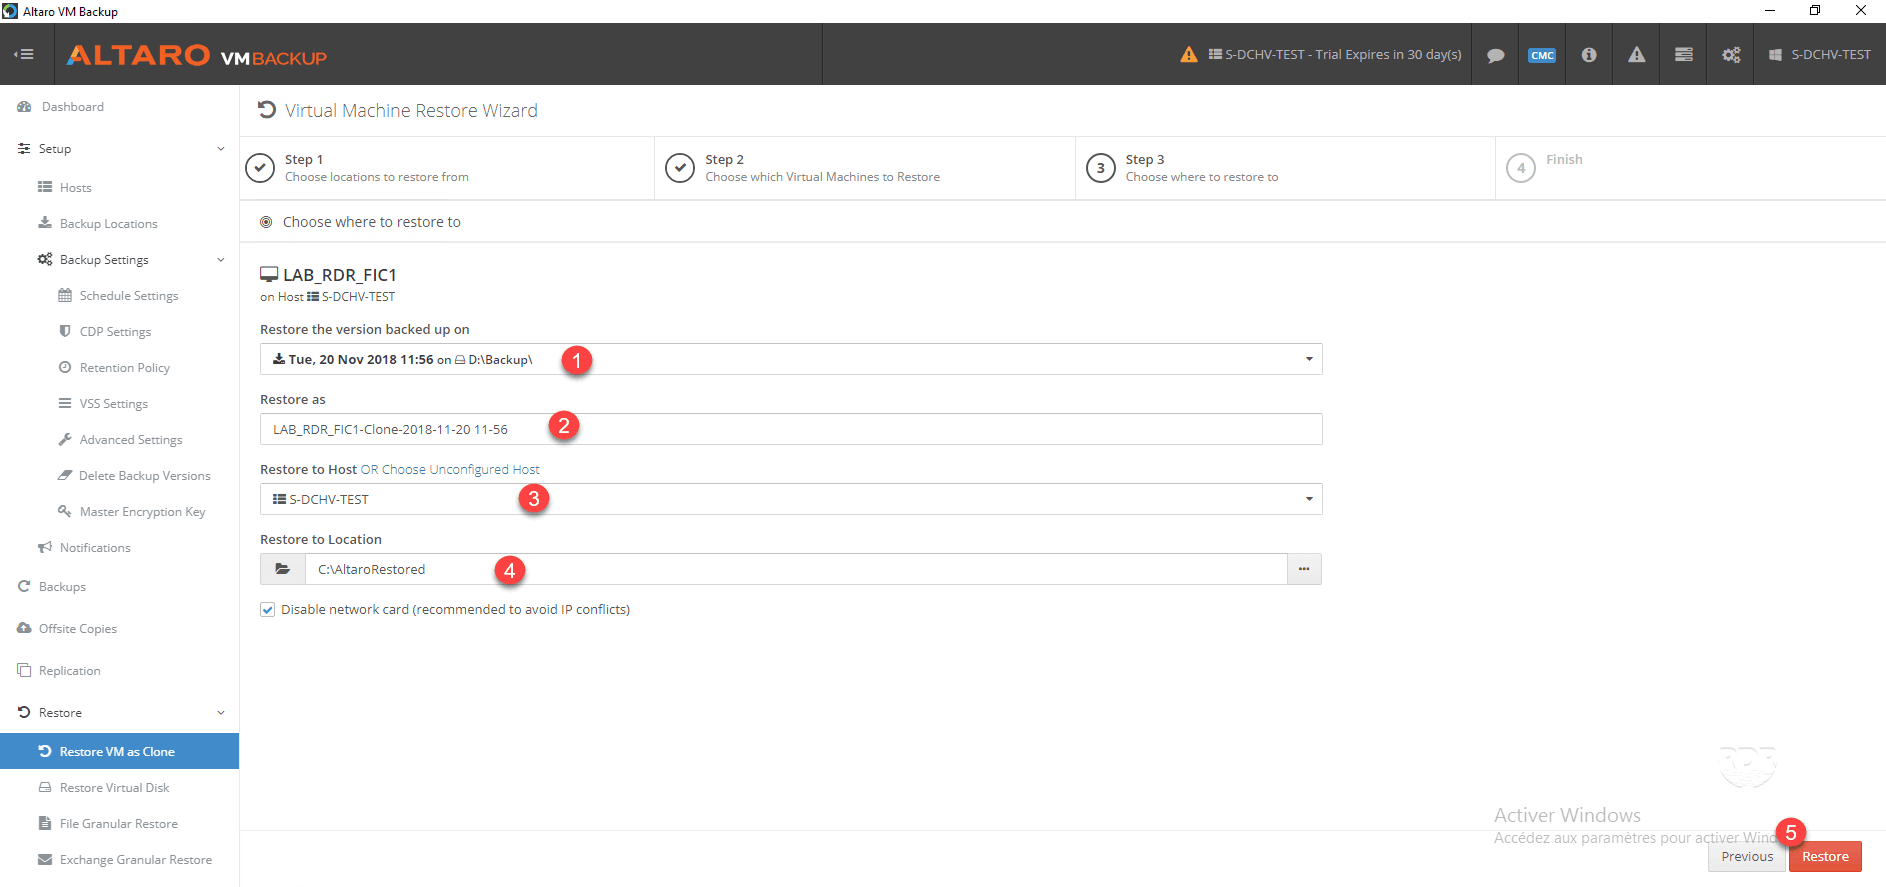
1. From the menu, go to Restore 1 / Restore VM as Clone 2 , select the location of the backup 3 and click Next 4 .
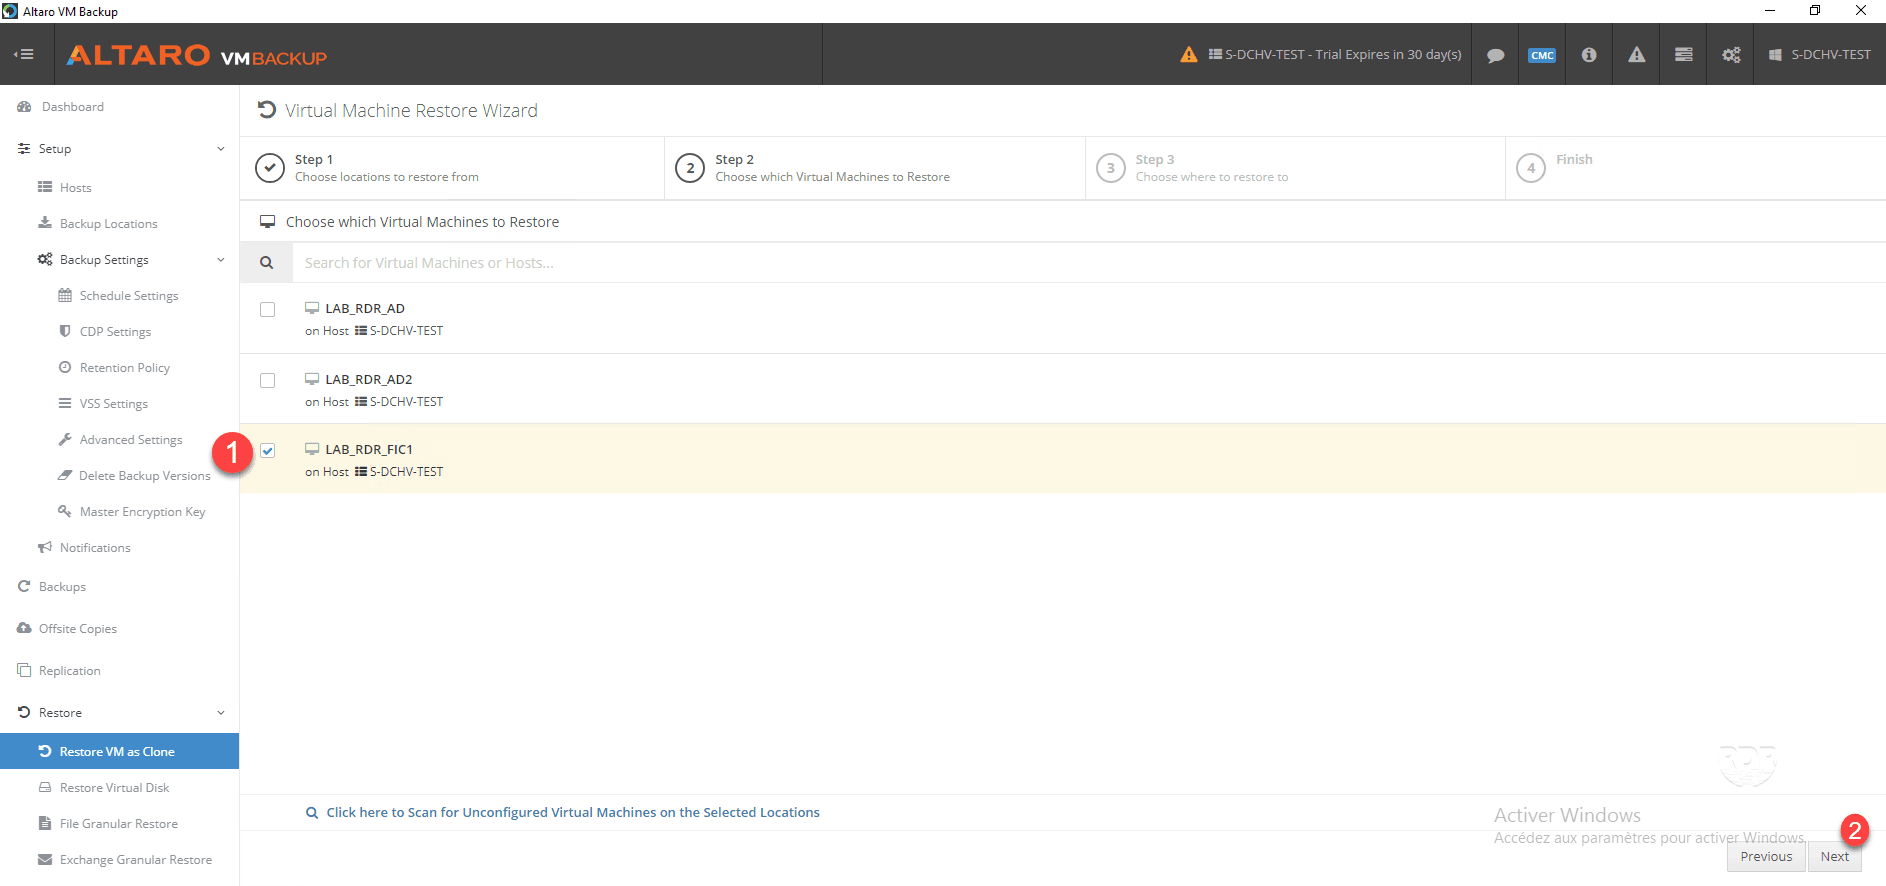
2. Select the VM to restore 1 and click Next 2 .
3. Choose backup 1 , change the name of the vm if necessary 2 , select the restoration host 3 , its location 4 and click on Restore 5.
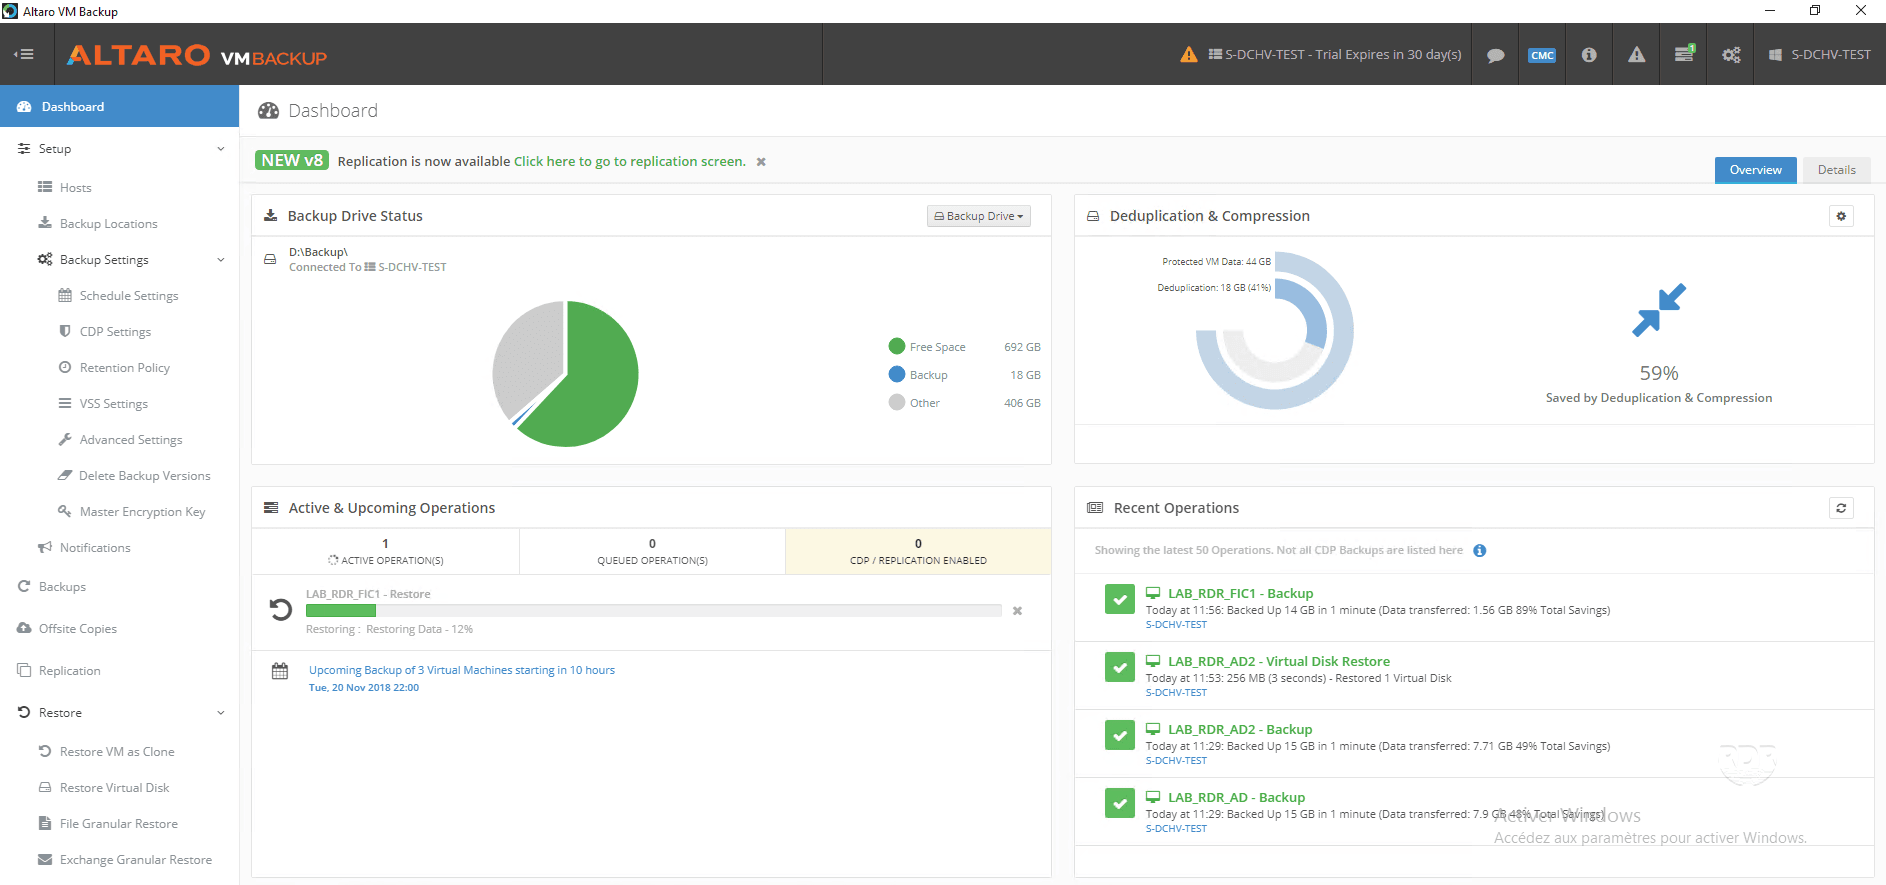
4. Wait during the restoration …
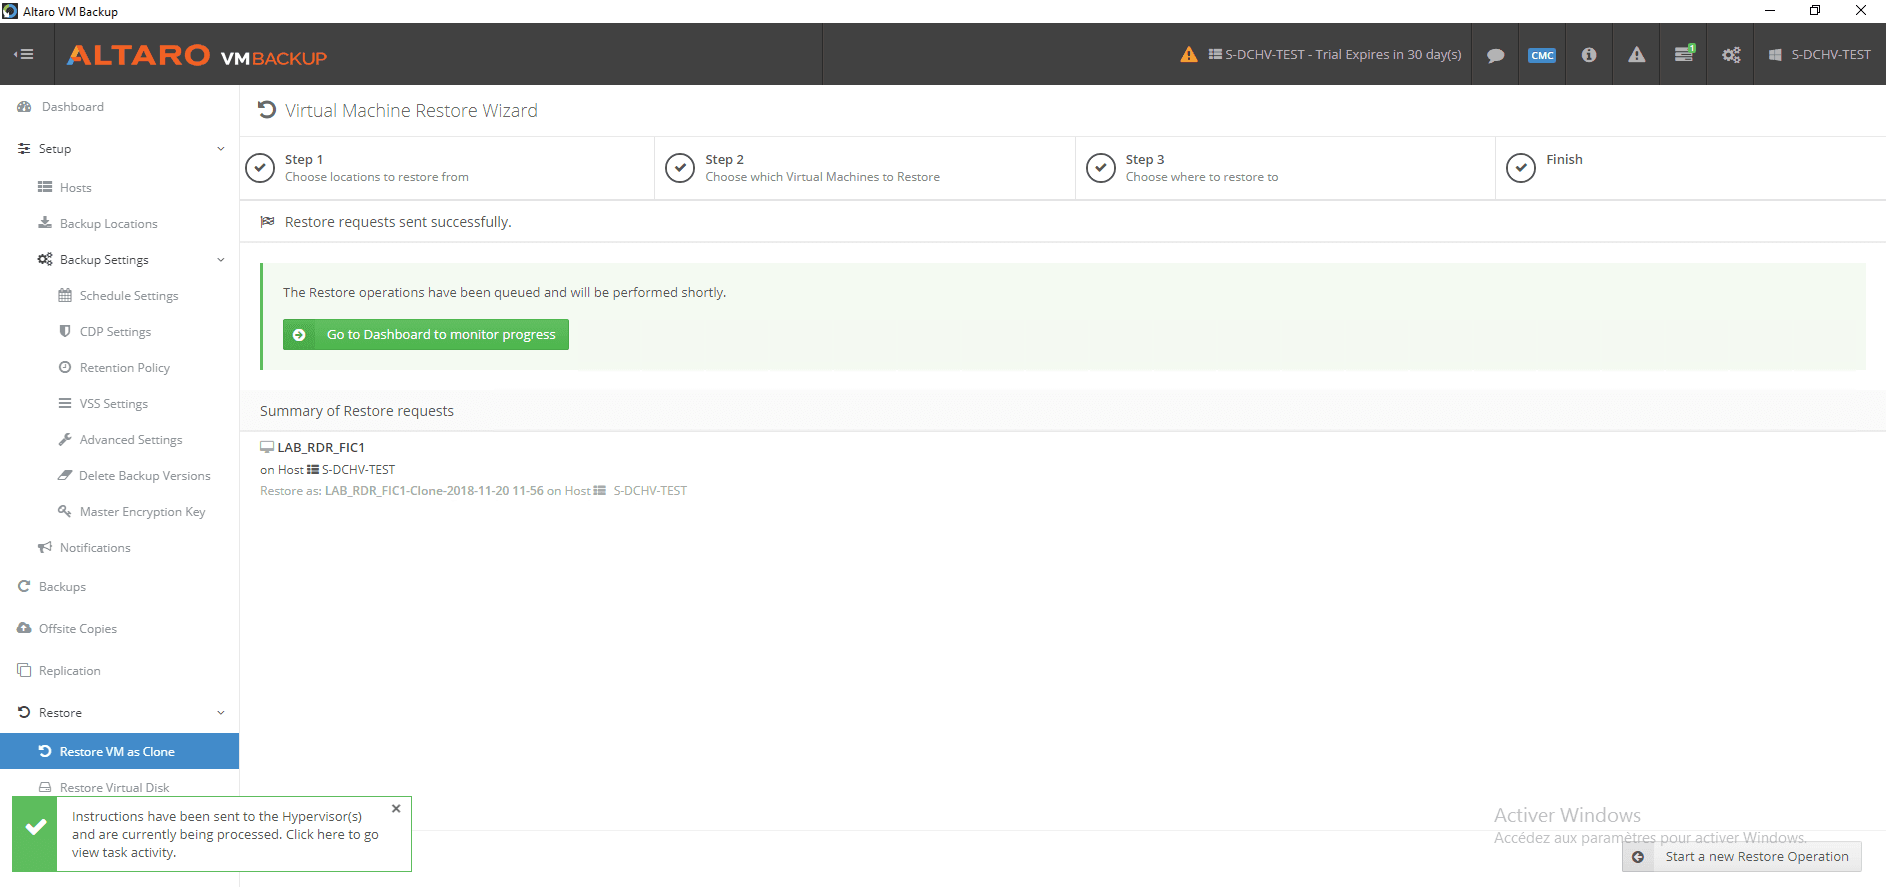
5. Restore completed, open the Hyper-V console on the server where the restore was made, the VM is available, all that remains is to start it.

This restore mode is convenient for testing your backups, so you should use this mode with great care in order to avoid any IP conflict or Active Directory object.
Instant Restore: Boot From Backup
This feature of Altaro Backup allows you to boot a virtual machine directly from its backup location, allowing you to restart a virtual machine in a very short time.
This feature has two mode:
- Verification Mode: this mode starts the VM since the backup and does not save the modifications, it is to use to check the good functioning of the backups.
- Recovery Mode: this mode is to use to start a VM quickly which will then switch to production.
When used in production, you must be careful not to start too much at the same time, the performance will mainly depend on the disks of your backup location and the network.
Prerequisites to use Boot From Backup:
- Unlimited or Unlimited Plus license
- The ISCSI initiator service is enabled on the restore host.
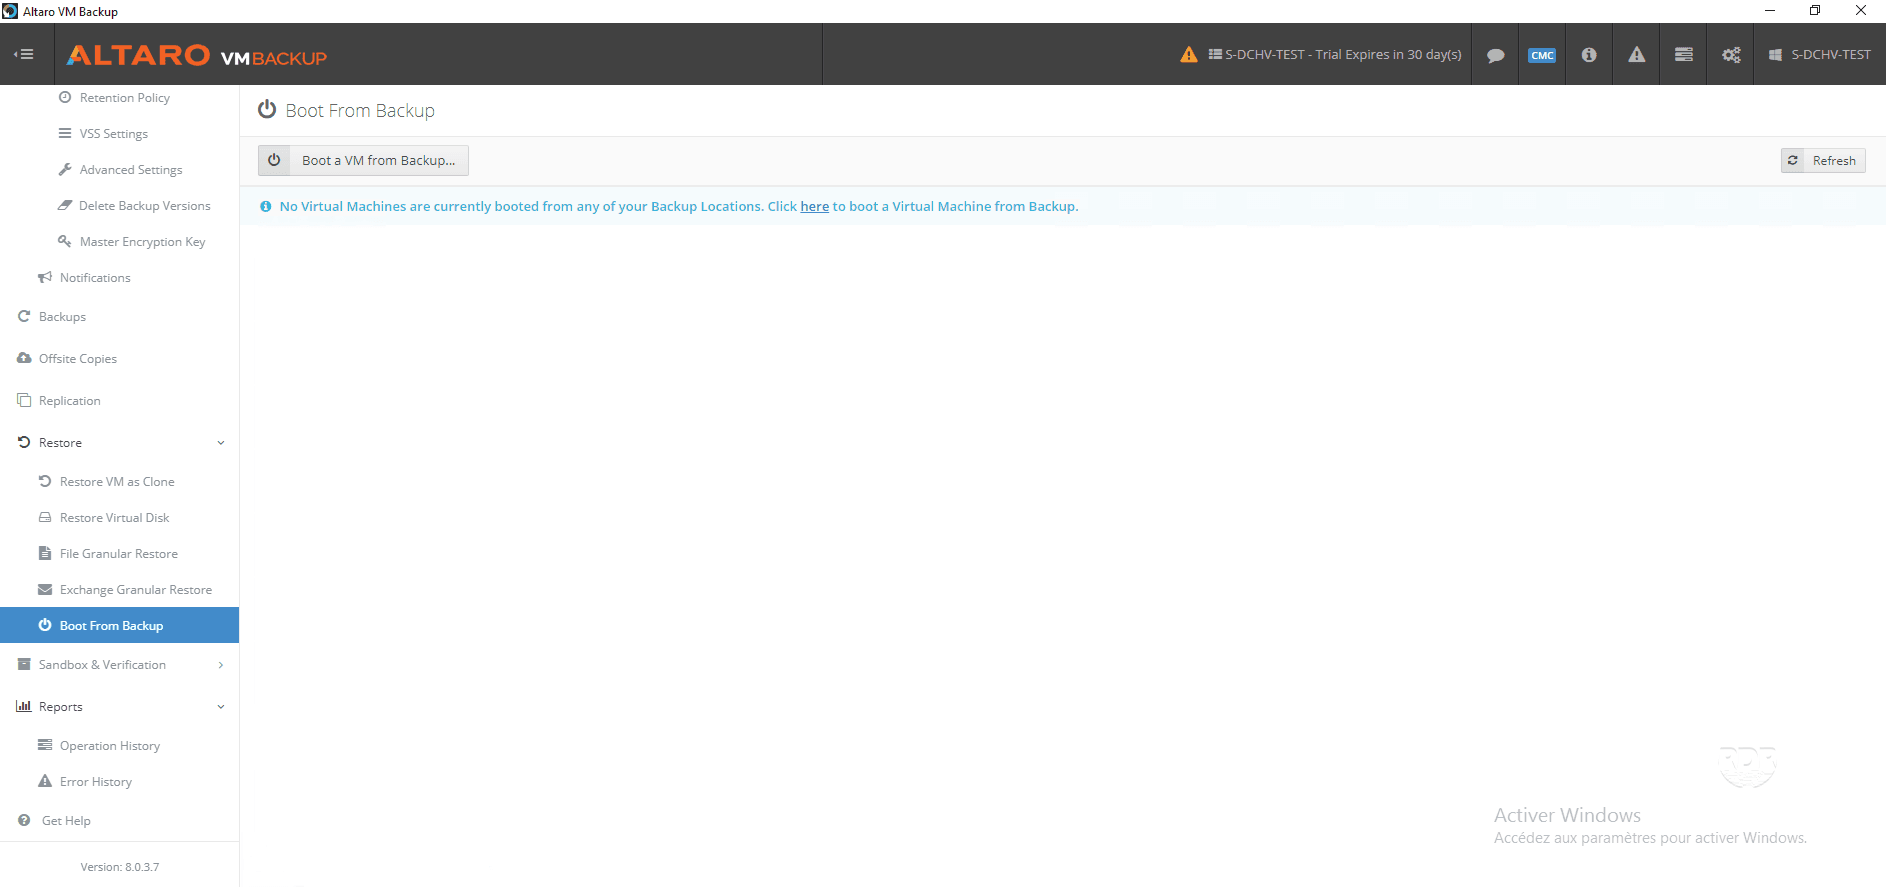
1. From the menu go to Restore 1 / Boot From Backup 2 then click on the button Boot a VM from Backup … 3 .
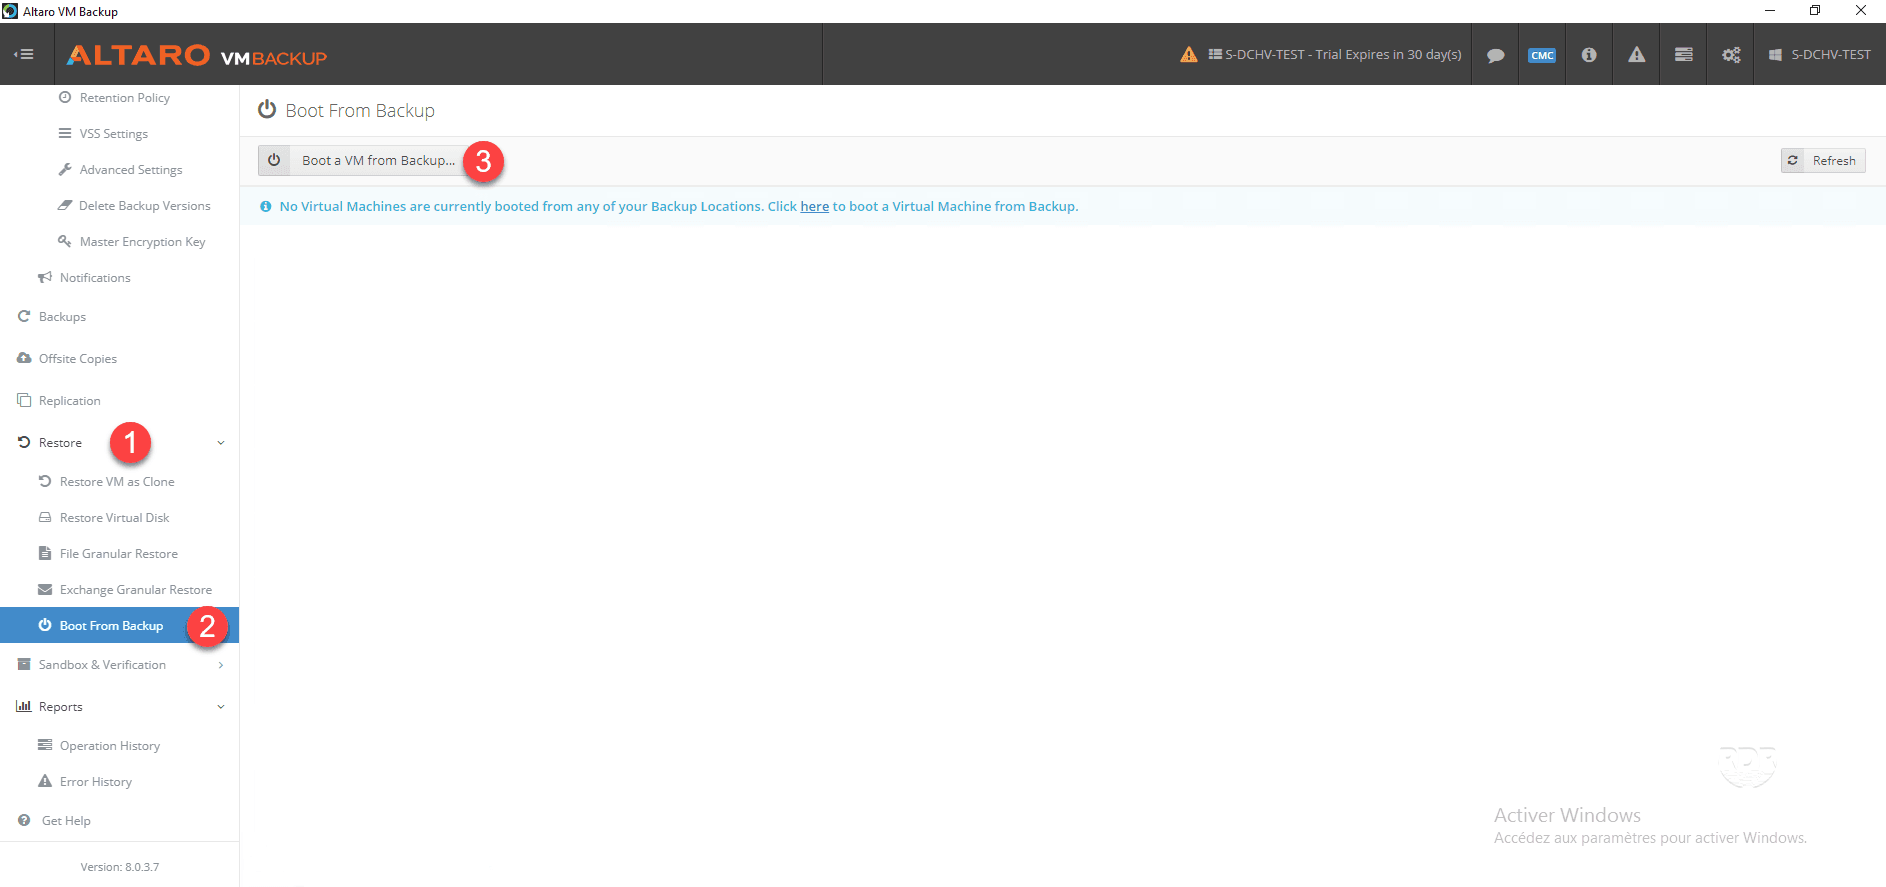
From this page, you can also manage VMs running in Boot From Backup mode.
2. Select a 1 Boot mode and click Next 2 .

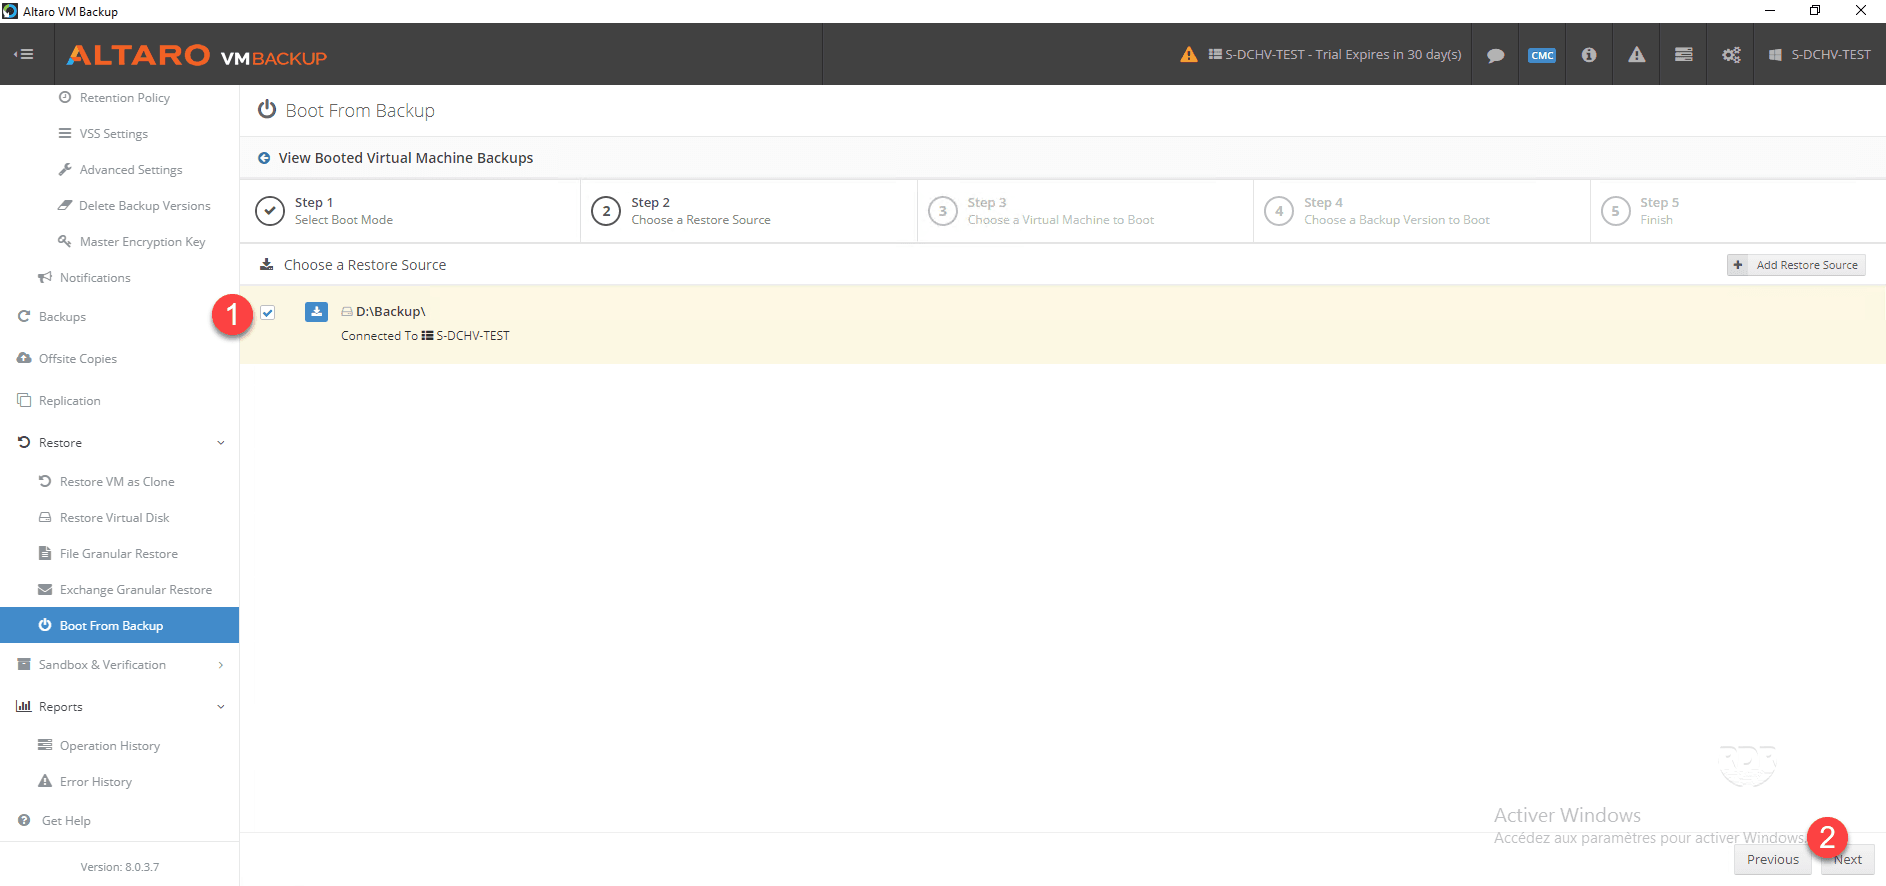
3. Choose the location of the backup 1 and click Next 2 .
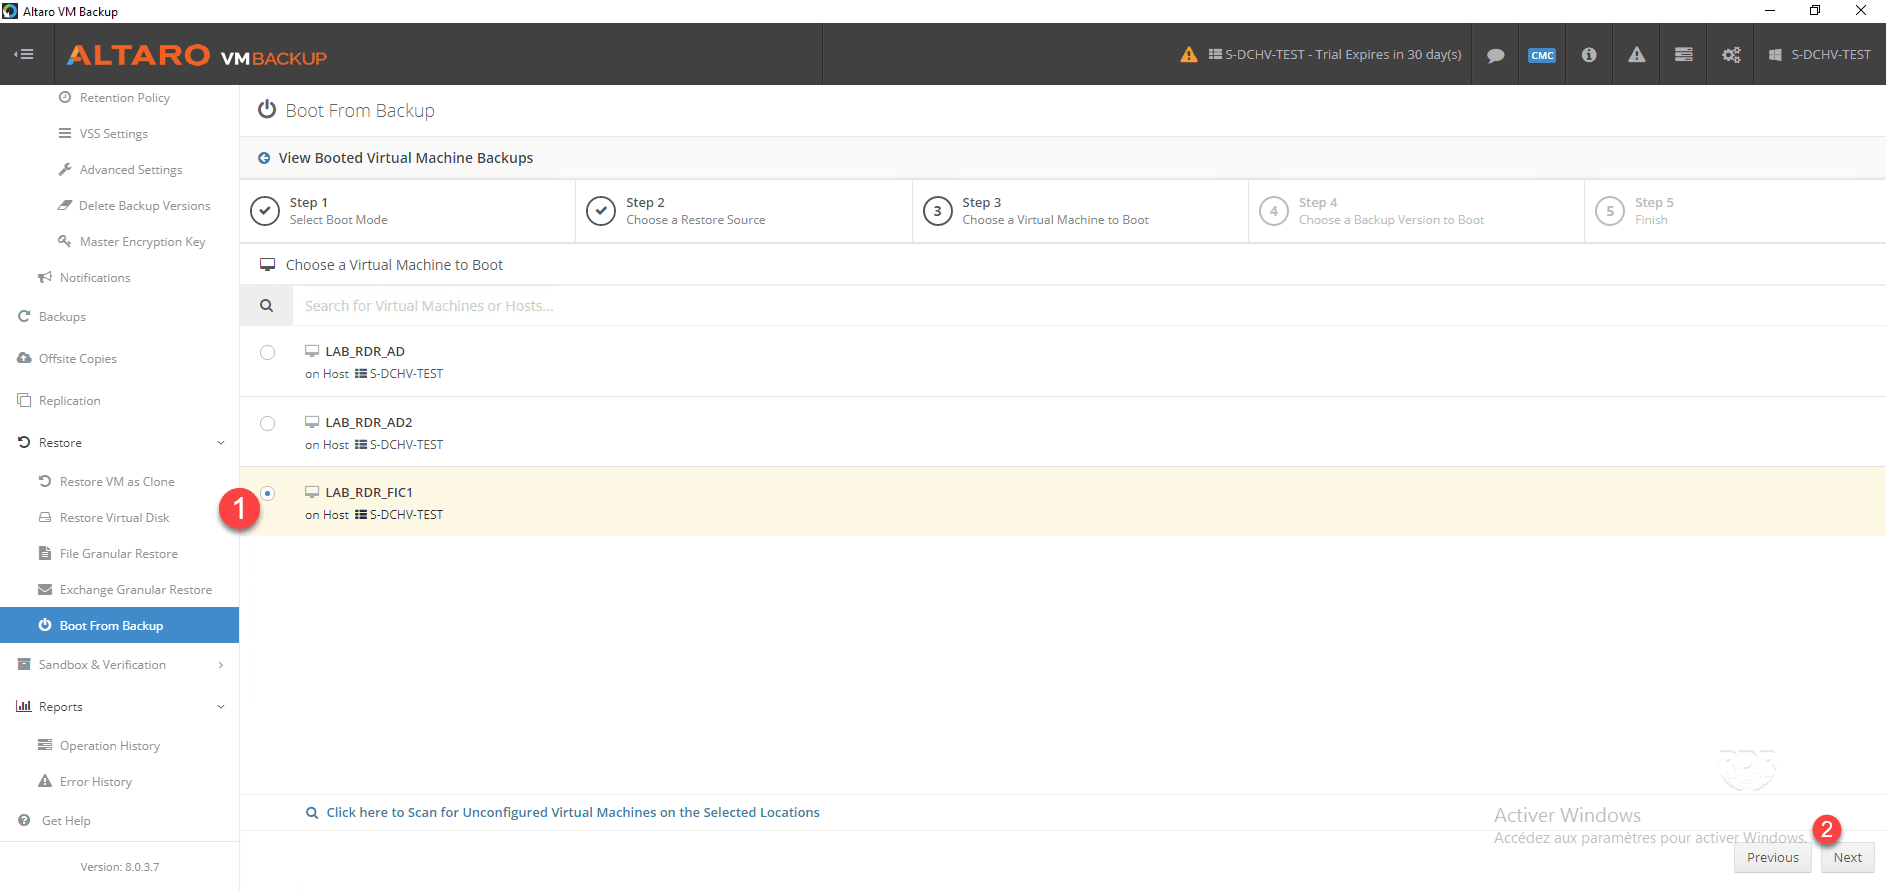
4. Select the virtual machine 1 and click Next 2 .
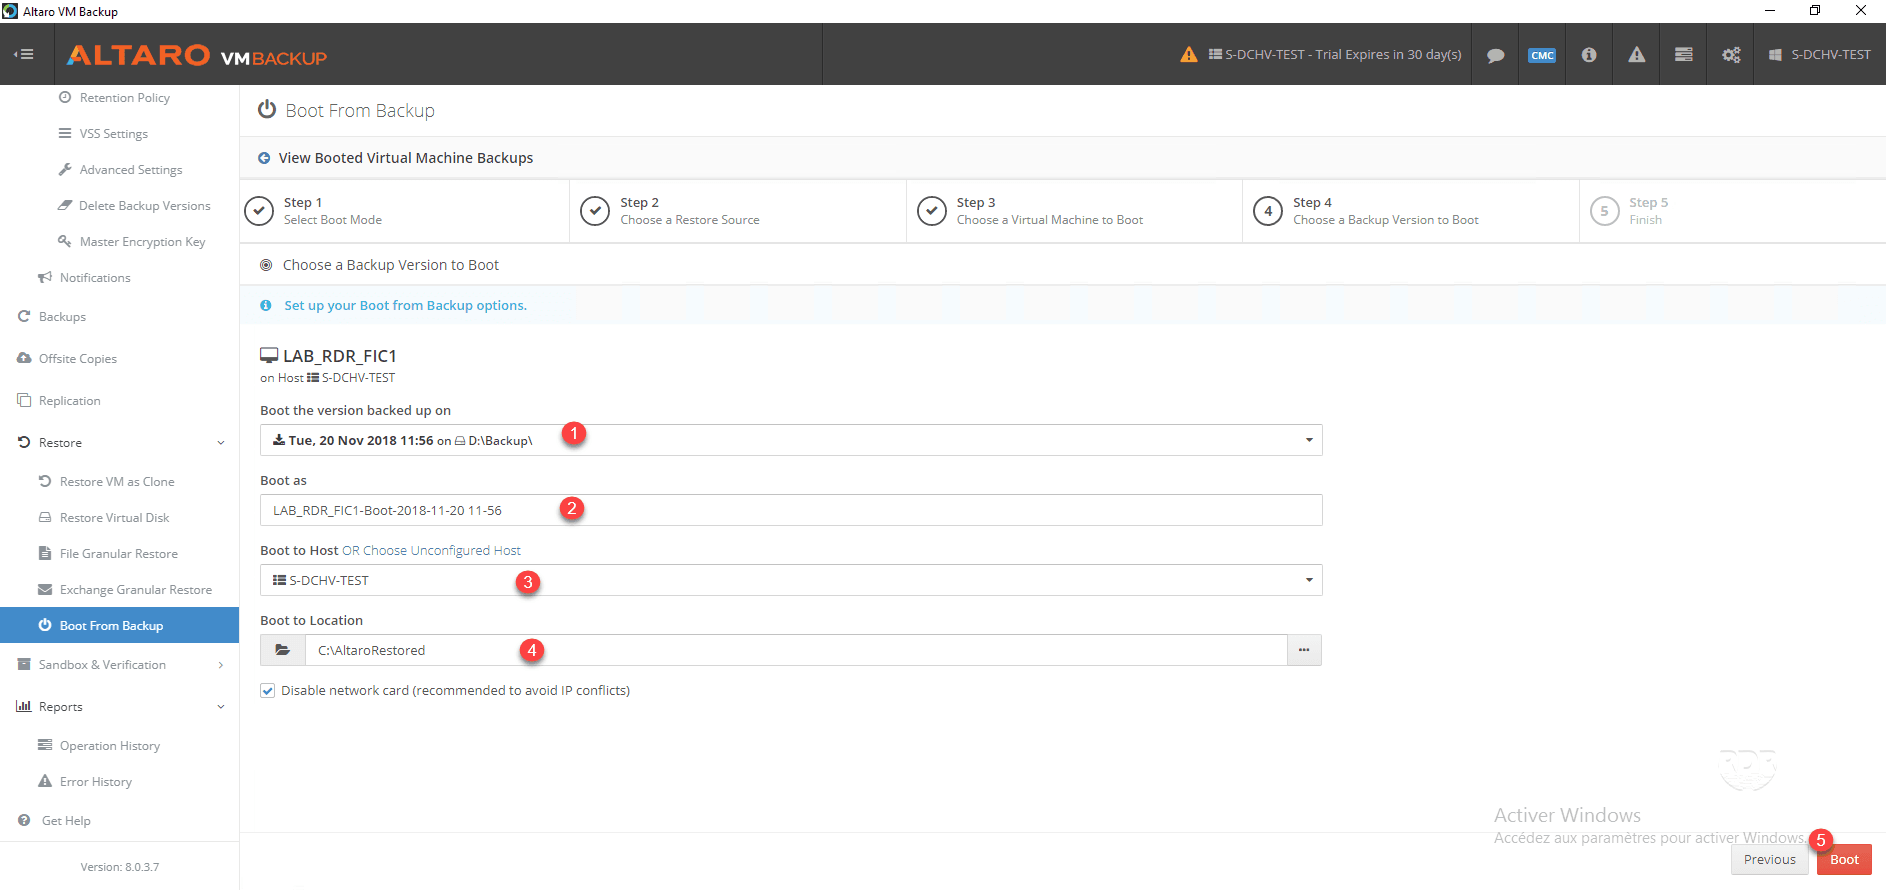
5. Choose the restore point 1 , the computer name 2 , the Hyper-V server 3 , the storage location of the 4 files and click on Boot 5 .
6. Wait while starting the VM …
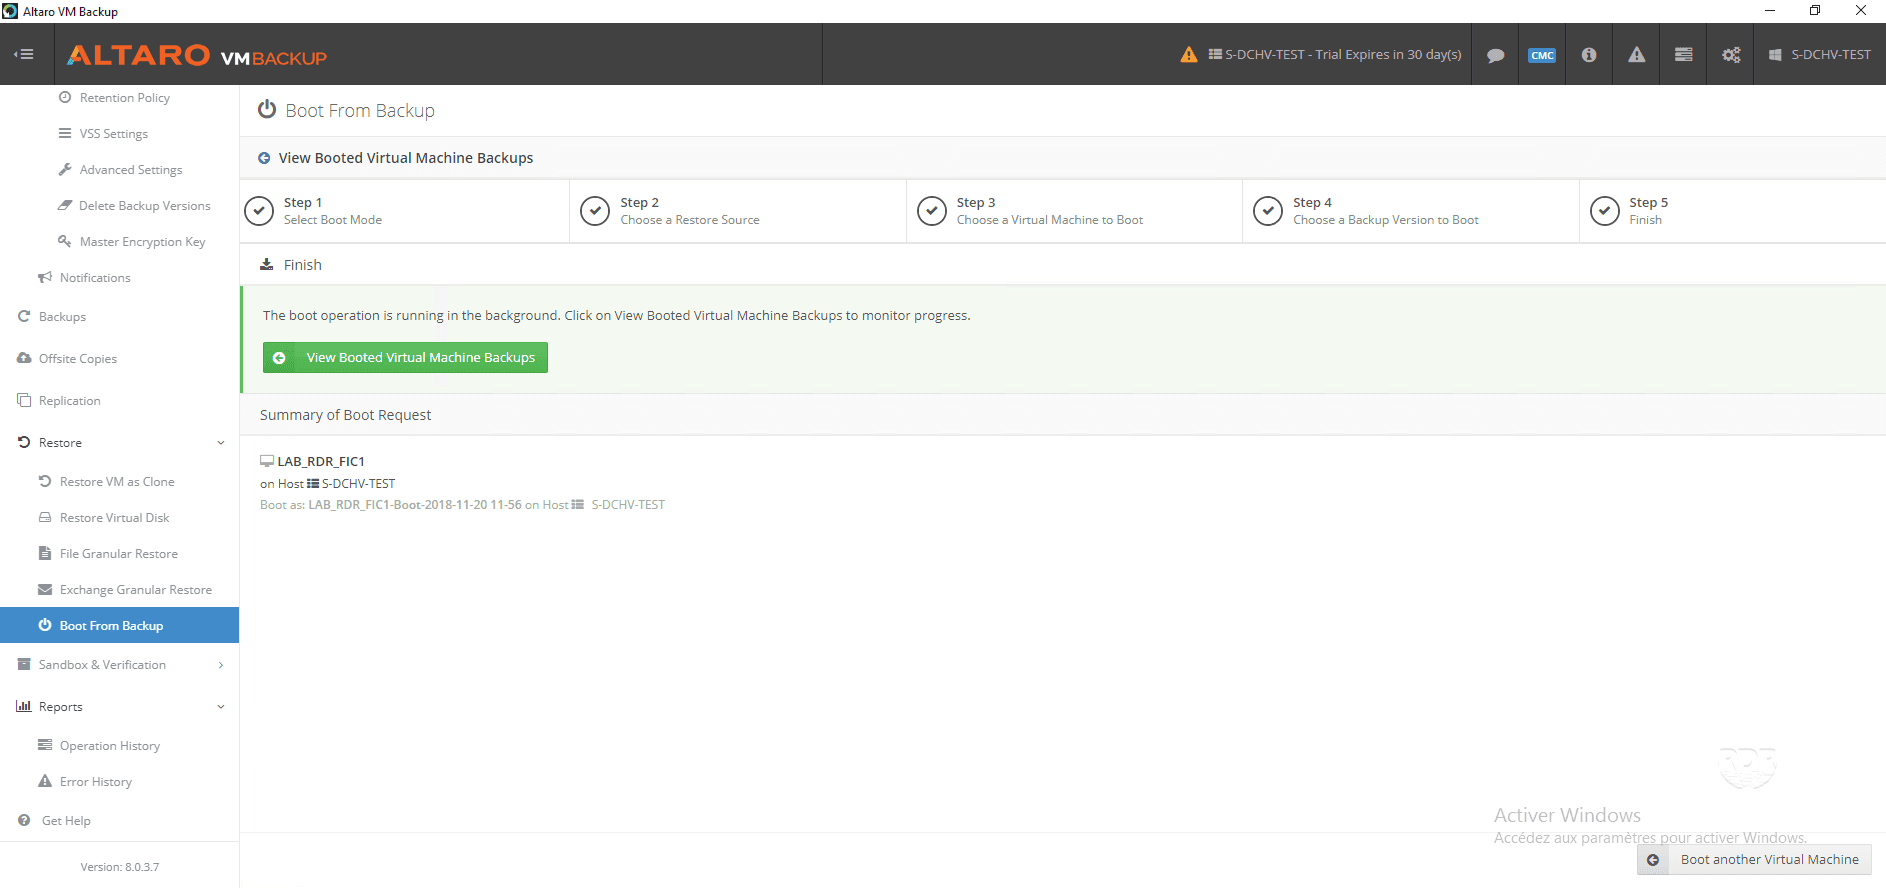

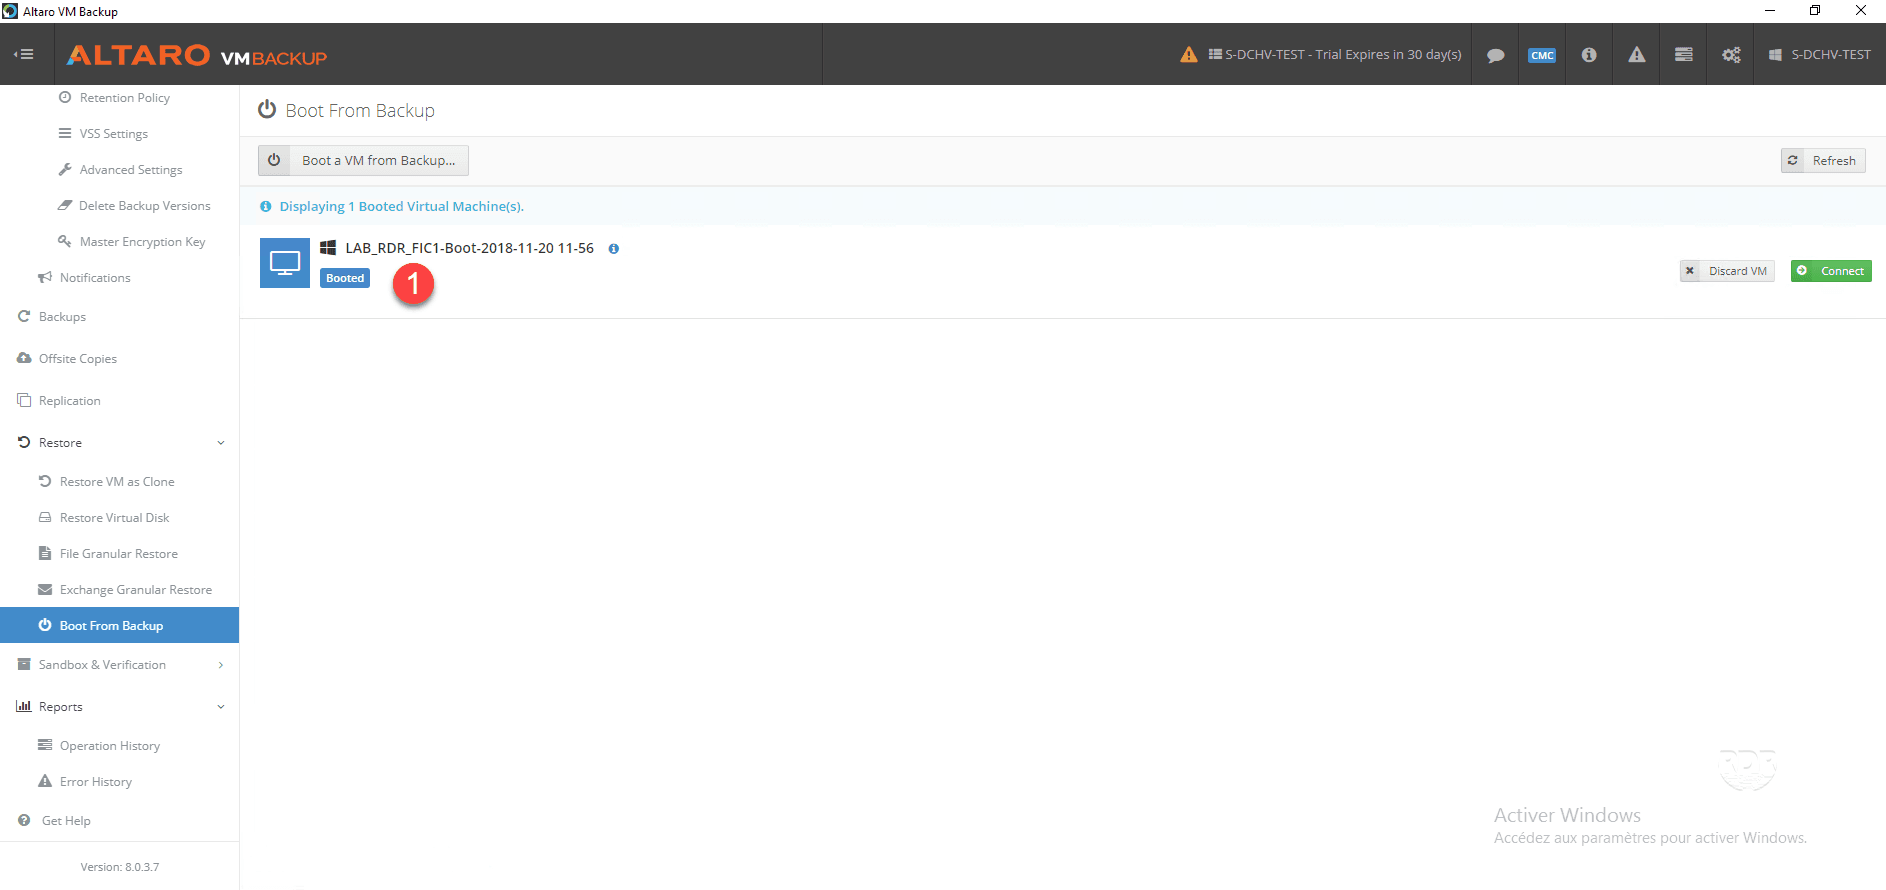
7. The virtual machine is started 1 and can be managed in the Altaro Backup console (Restore / Boot From Backup).
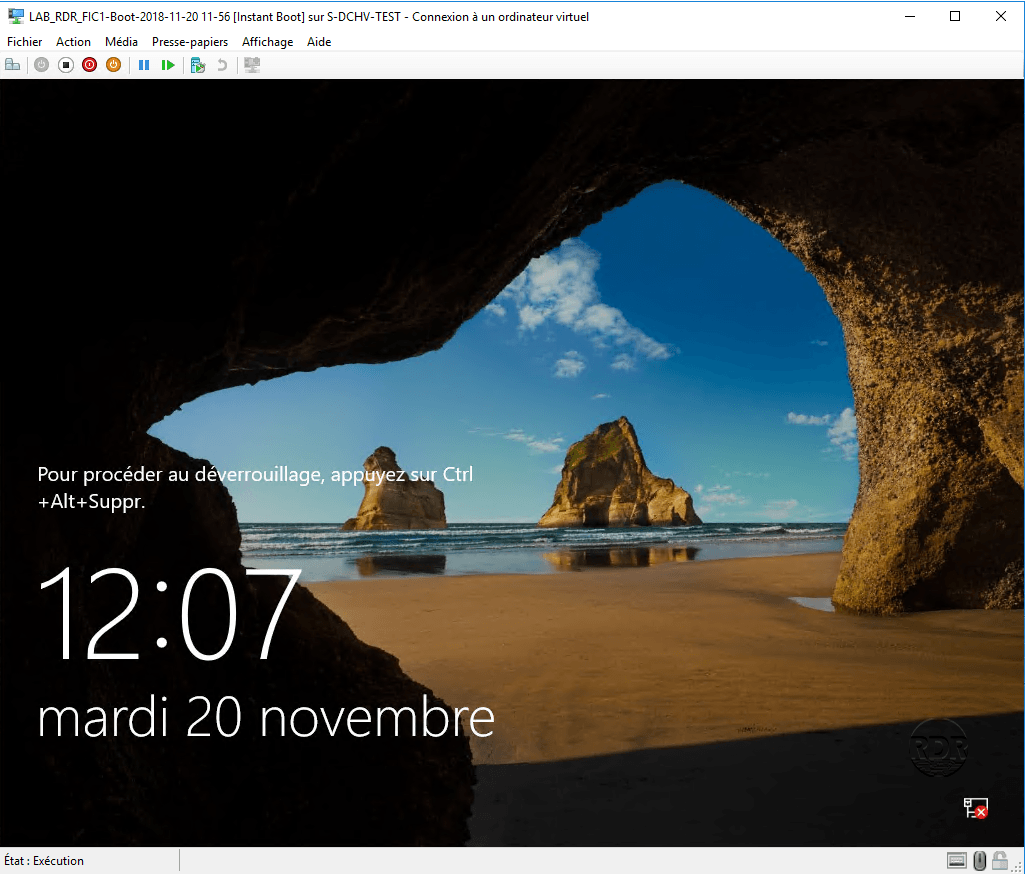
8. Go to the Hyper-V server to check that the VM is working properly.

9. Return to the Altaro Backup console (Restore / Boot From Backup) and click on Discard VM 1 to stop the Boot From Backup.
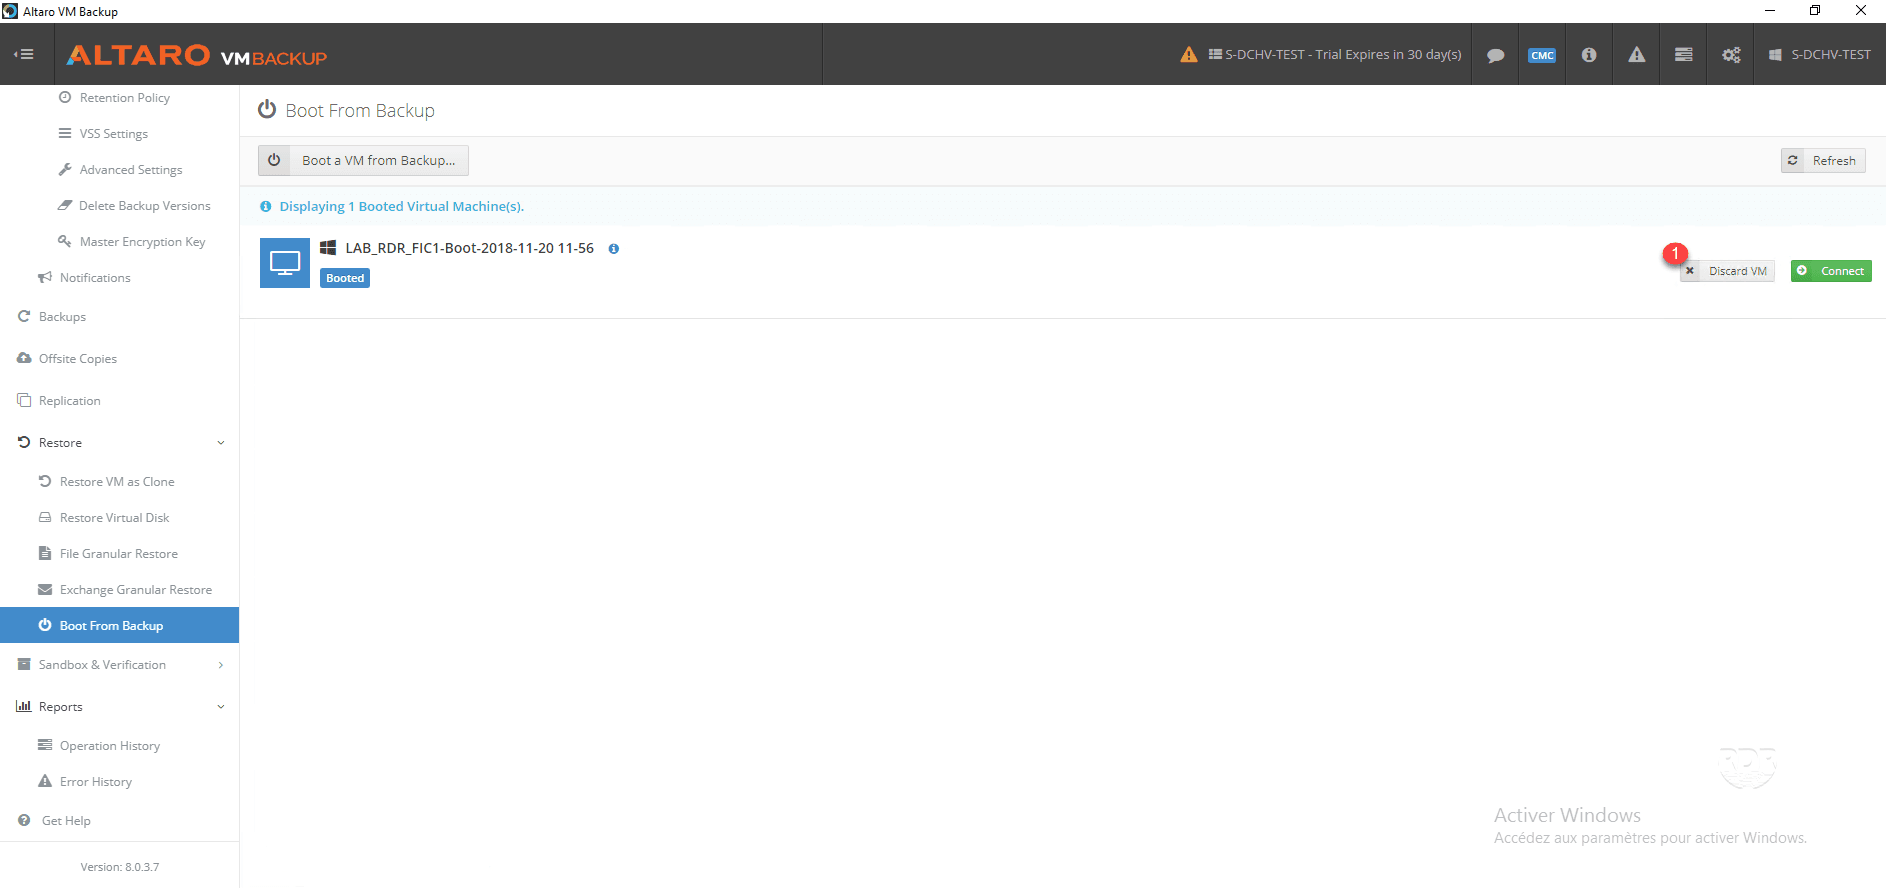
f the VM is in Recovery Mode, you will have the option to restore the VM in production.
10. The Boot From Backup is canceled.