In this tutorial, I will explain how to activate the firewall on a computer with Ubuntu and manage it with UFW.
UFW for Uncomplicated Firewall is a simplified Netfilter command line utility, it is a simple alternative to iptables, which allows to manage firewall rules.
If UFW is not installed, use the following command to install it:
sudo apt install ufw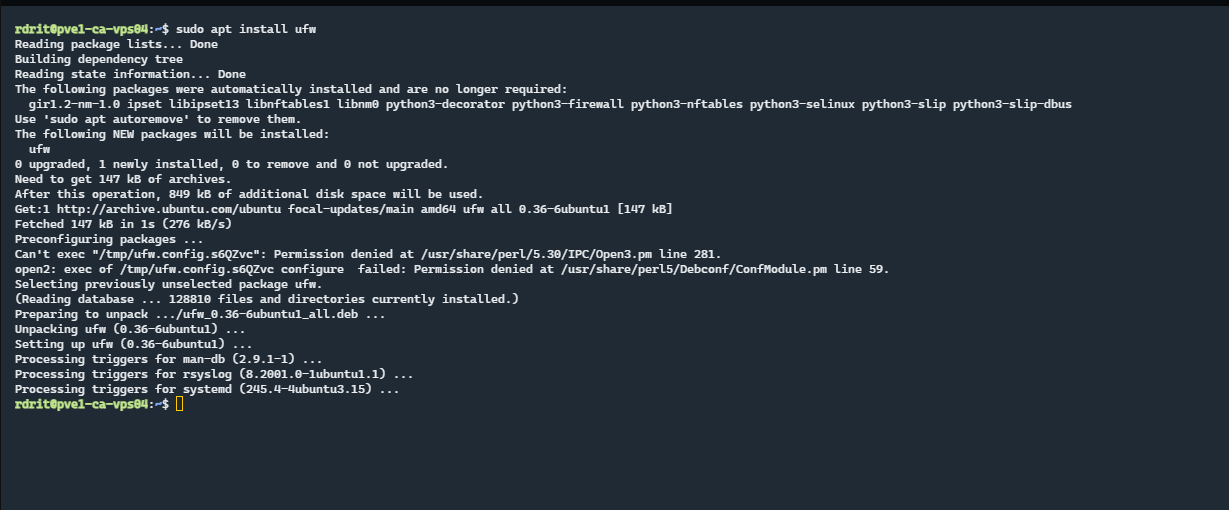
By default, the firewall is disabled, to check the status use the following command:
sudo ufw status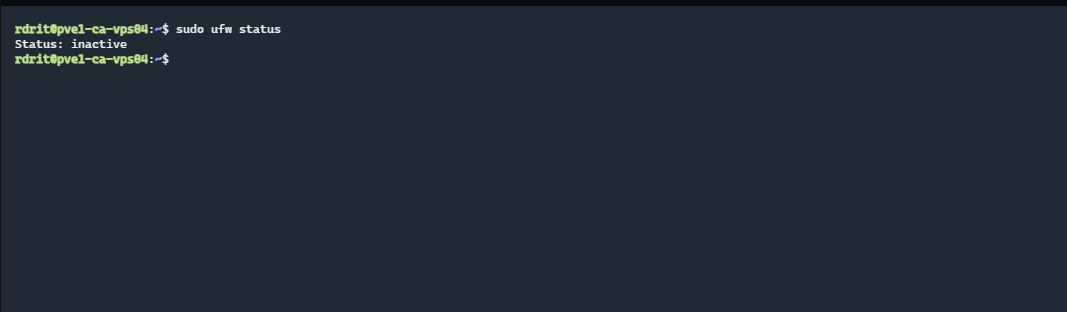
We can see on the capture, that the command tells us that the status is inactive
Before activating the firewall, we must add the rules for the ports / services, which we want to make available on the server, because by default all incoming traffic is blocked.
To illustrate this tutorial, I will show you how to allow traffic on ports (22,80 and 443) and also allow all incoming connections from an IP address.
To add a rule it’s quite simple, you have to use the ufw command by indicating in the first parameter allow then the port or the name of the service.
To open incoming traffic on port 80 (http).
sudo ufw allow 80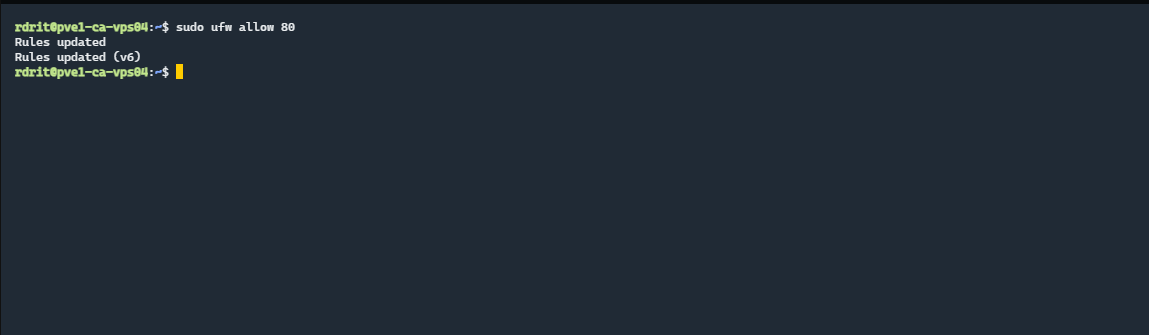
The return of the command informs us that the rule has been added.
By default, this opens port 80 in TCP and UDP.
For example, to open 443 (https) only on TCP, you must indicate after the port number that you want only on TCP.
sudo ufw allow 443/tcpTo finish on the port opening examples, we will see how to authorize a service, to know the services use the command below:
less /etc/services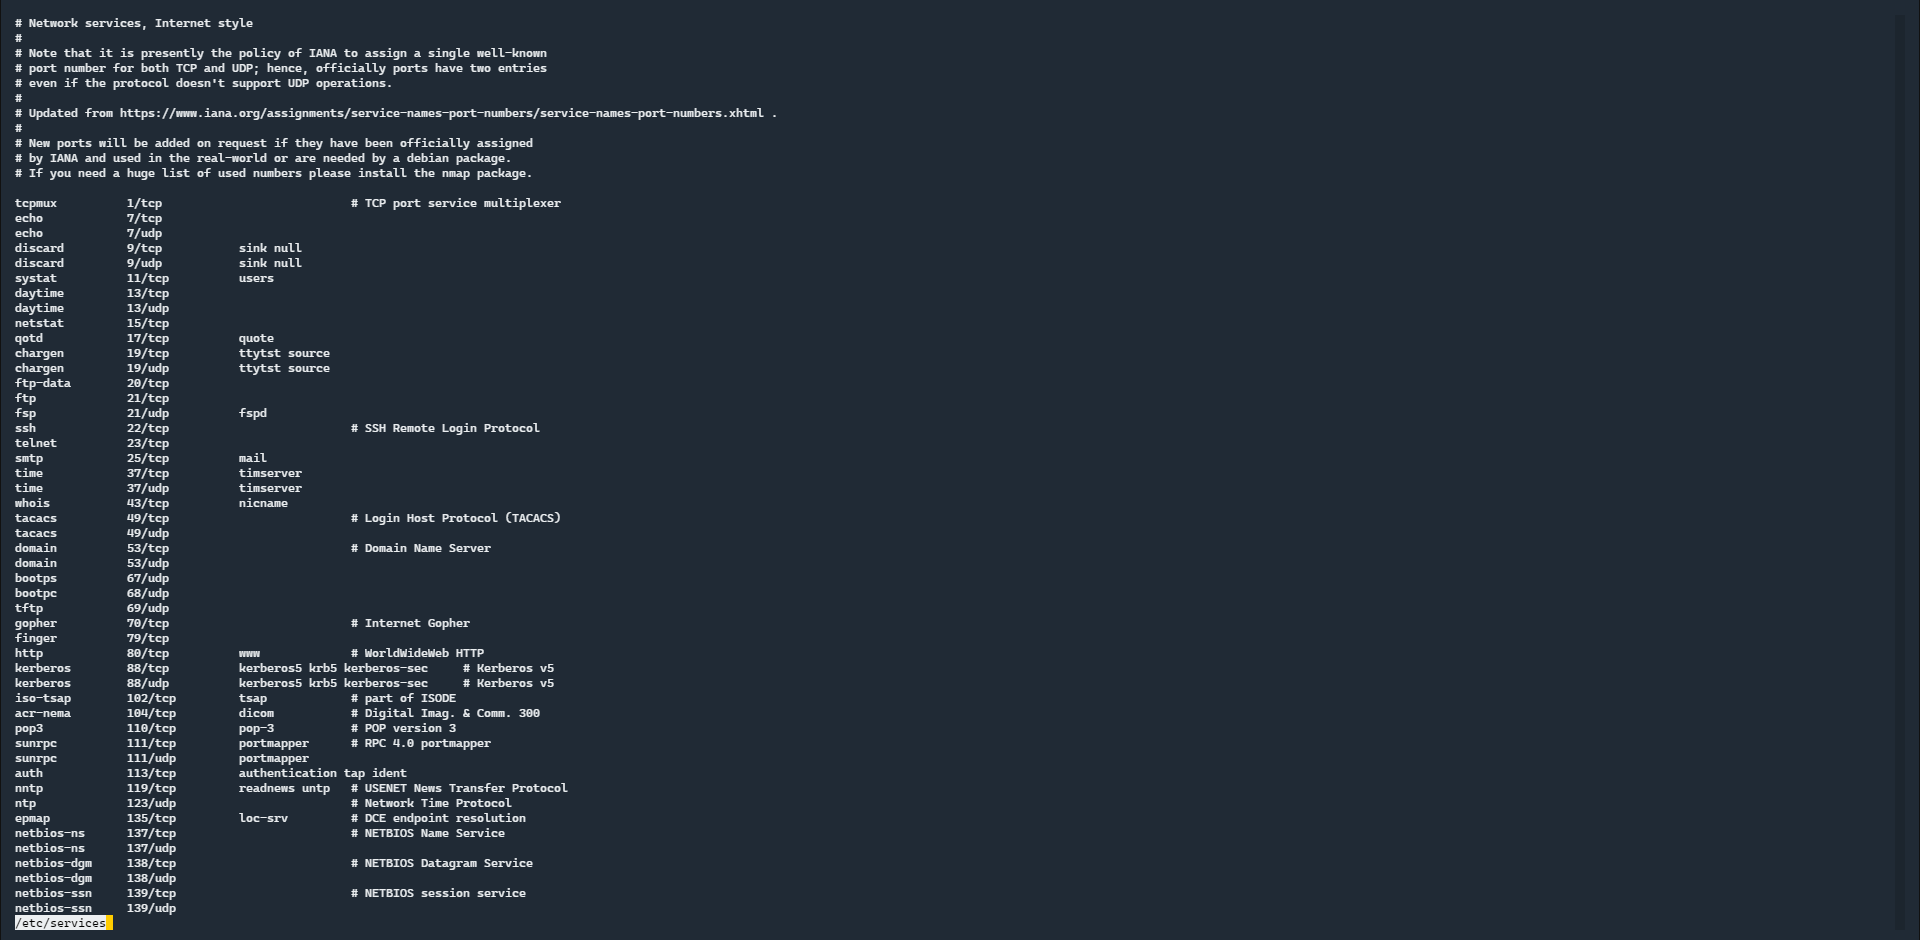
As you can see, we find in this list “all” known network services, there are not only installed services.
To authorize the ssh service, we will indicate the name of the service as a parameter instead of the port.
Which gives us :
sudo ufw allow sshIf you want to allow all incoming traffic from an IP address, instead of the port or the service, we will indicate from followed by the IP address
sudo ufw allow from X.Y.Z.WUnlike the port or the service, the rule will only be valid in IPv4 or IPv6 depending on the IP address entered (which seems logical 😉 )
Now that the rules have been added, we can move on to activating the firewall.
As long as the firewall is not activated, we cannot see the rules
To activate the firewall, enter the command below, confirmation is requested:
sudo ufw enable
The firewall is now active, you can check it by entering the command again: sudo ufw status
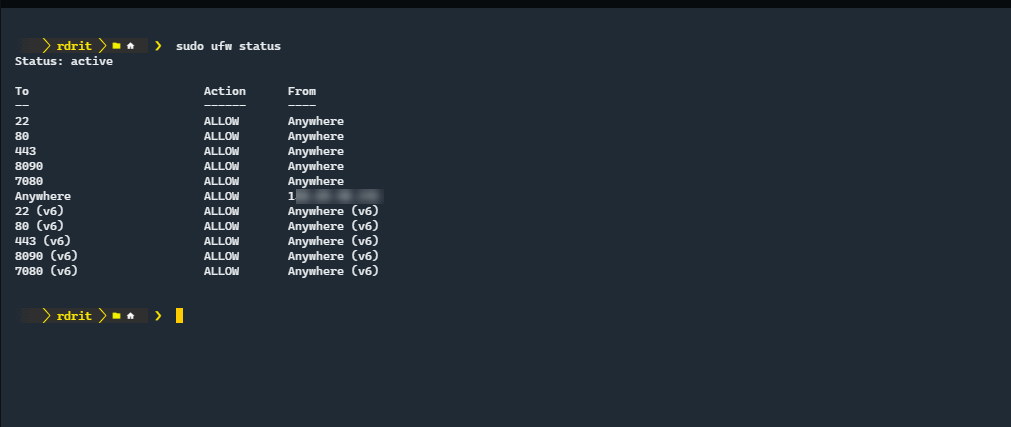
This time, we can see that the firewall is active, and the command returns the rules.
If you add the verbose parameter to the command, we have more information on the firewall settings (logging, default rule …)
sudo ufw status verbose
If you add the verbose parameter to the command, we have more information on the firewall settings (logging, default rule …)
sudo ufw status numbered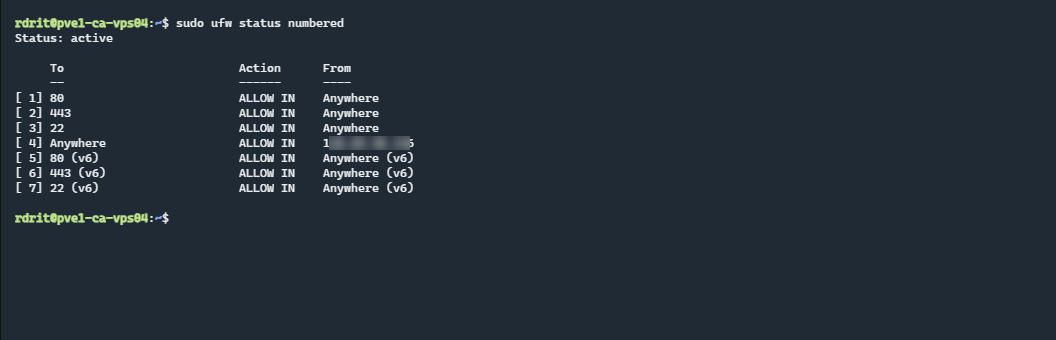
If you wish to record firewall events, you must enable recording.
sudo ufw logging onEnabling logs is necessary if you use Crowdsec or Fail2Ban so that they can detect scans.
You now have the necessary information to enable the firewall with UFW on Ubuntu
