In this tutorial, we’ll see how to add a website or service to BunkerWeb. This step will allow you to easily integrate your web applications into your existing setup and benefit from the protections offered by the WAF.
Table of Content
Prerequisites
Before starting to configure the service (site) in BunkerWeb, there are a few things to consider.
First, make sure that the site you are going to publish works, also plan a DNS record for it which will point to the IP address of BunkerWeb.
Regarding the SSL certificate, in this tutorial I will use a Wildcard SAN that was generated by an internal certificate authority, so you must first add this to BunkerWeb
Add an SSL certificate to BunkerWeb
To perform this operation, several solutions are possible during service configuration. Here, I am intentionally leaving out the part Let’s Encryptwhich will be explained in another tutorial.
If you wish to use an SSL certificate issued by a Internal AC or a official authorityYou have two approaches:
- Paste the base64-encoded content the certificate and private key directly in the service declaration.
- Use files containing the certificate and the private key.
In this tutorial, we will focus on the second, more flexible method. We will assume that you have a wildcard certificate for your domain, for example *.domain.tld.
Indeed, if you publish multiple services on domain.tld If you are using the base64 method, each certificate renewal will require modifying all service declarations. With the file-based method, you will simply need to replace the two files (certificate and private key), and the update will automatically take effect for all affected services.
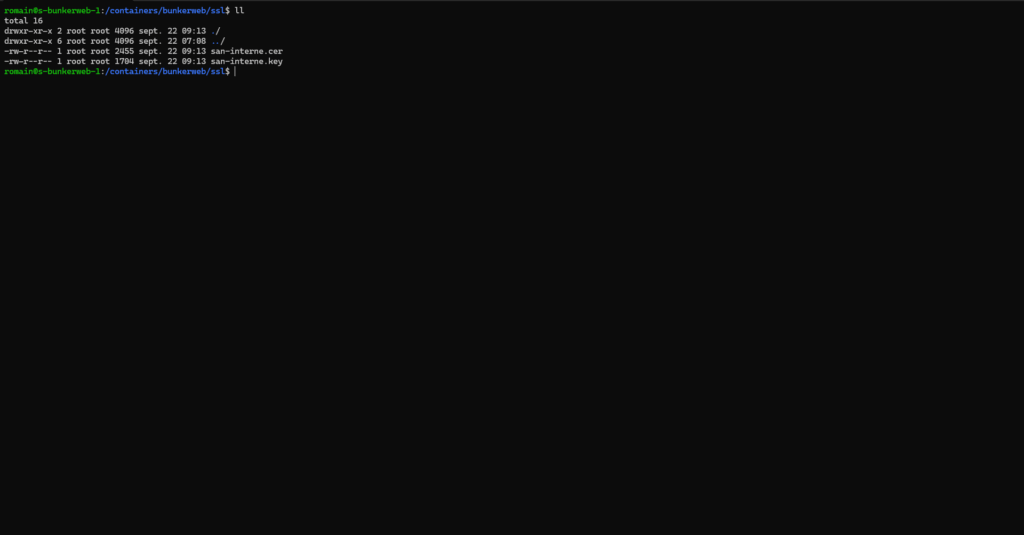
If you deployed BunkerWeb following the tutorial: BunkerWeb: Deploy and configure WAF to secure your web servers In the container declaration, a volume was created. ./ssl:/ssl which allows mapping the folder into the BunkerWeb containers that will contain the certificates and private keys.
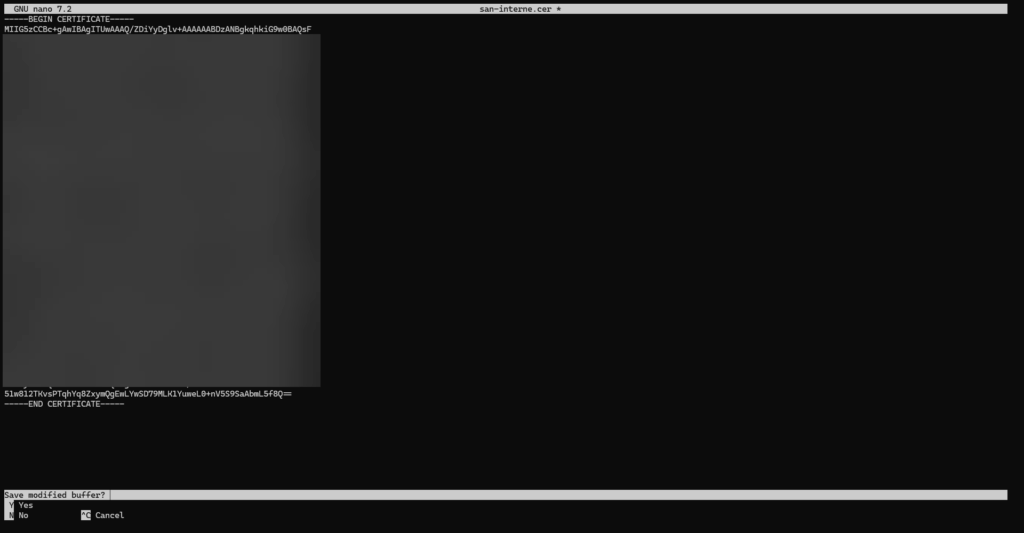
To begin, on the server, create the files for the certificate and the private key and paste the base64 content into them.
Add a service (site) to BunkerWeb
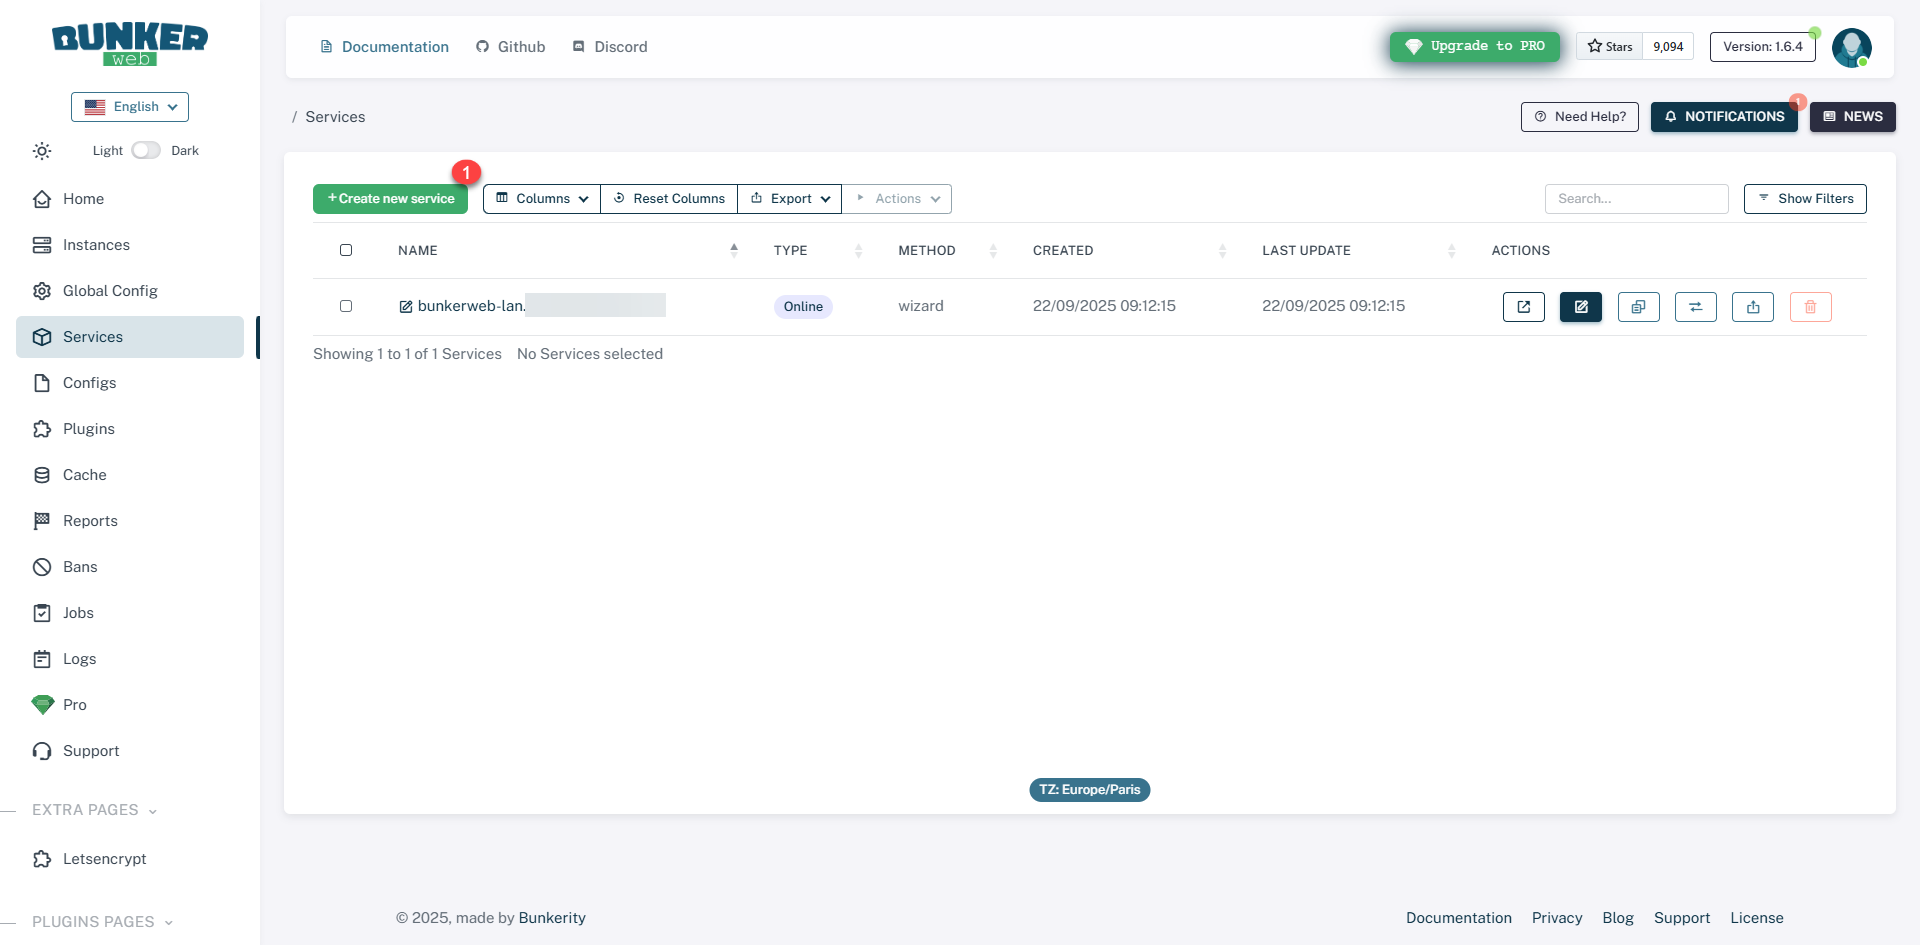
From the menu, click on Services 1.
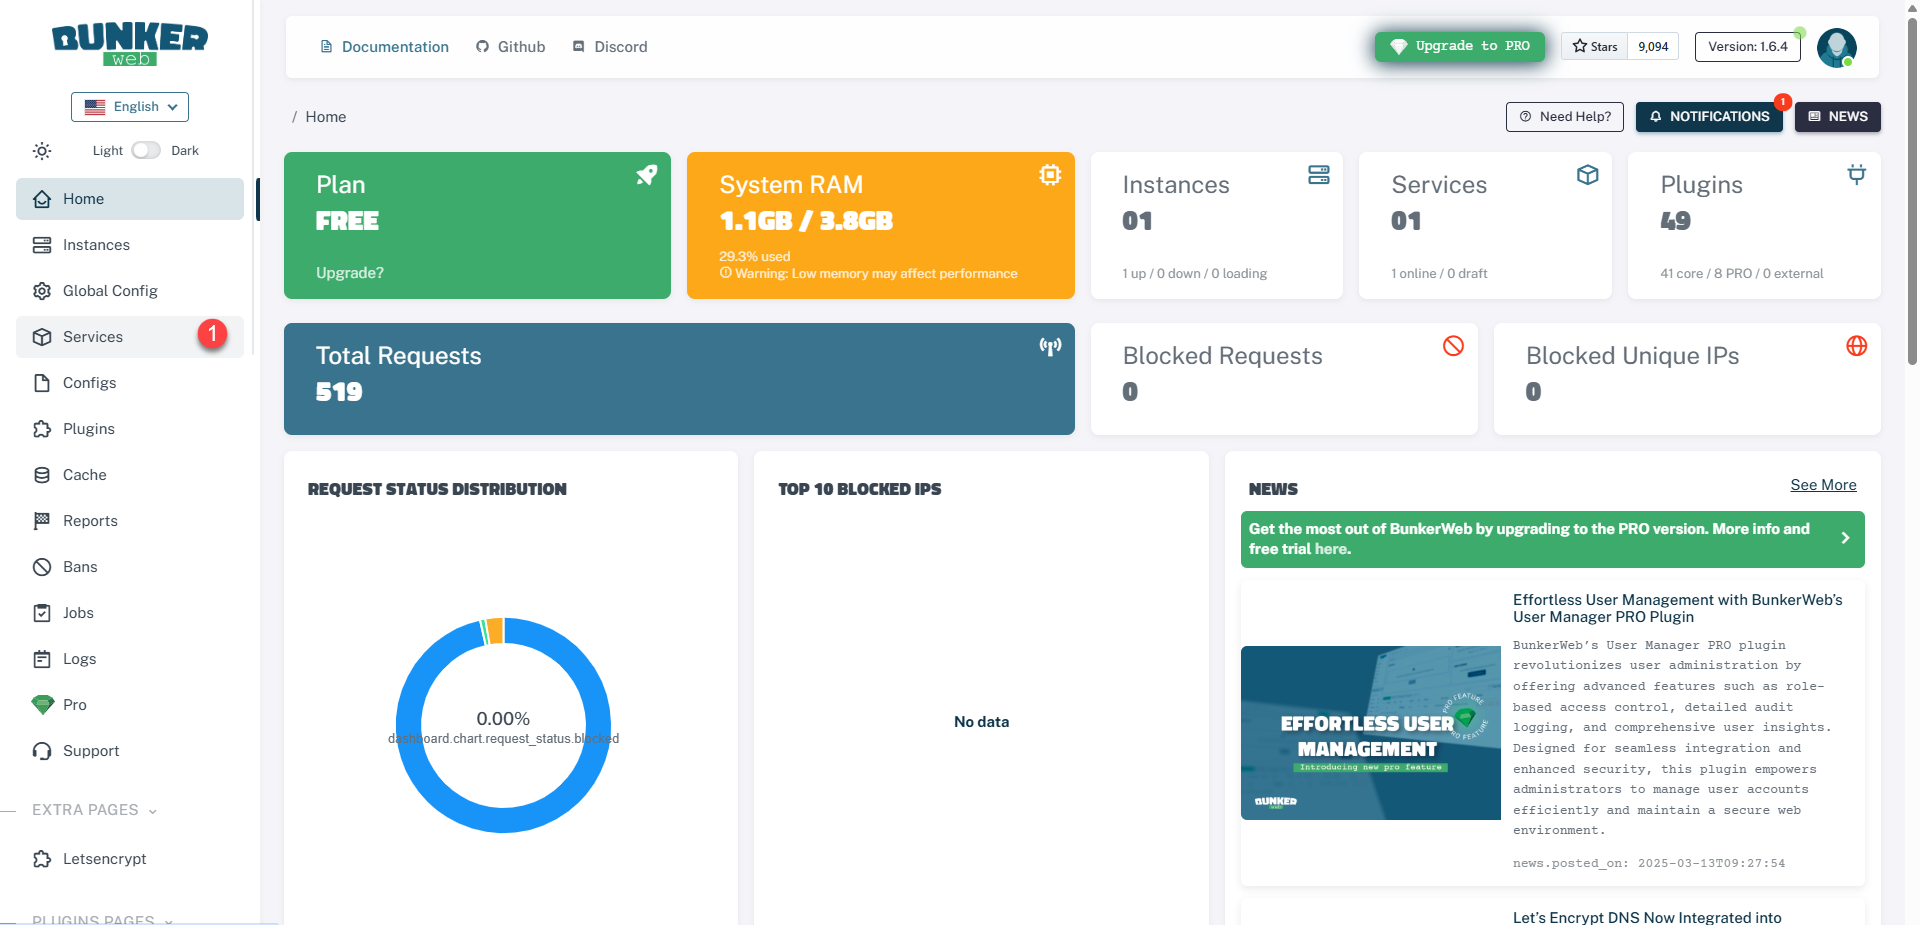
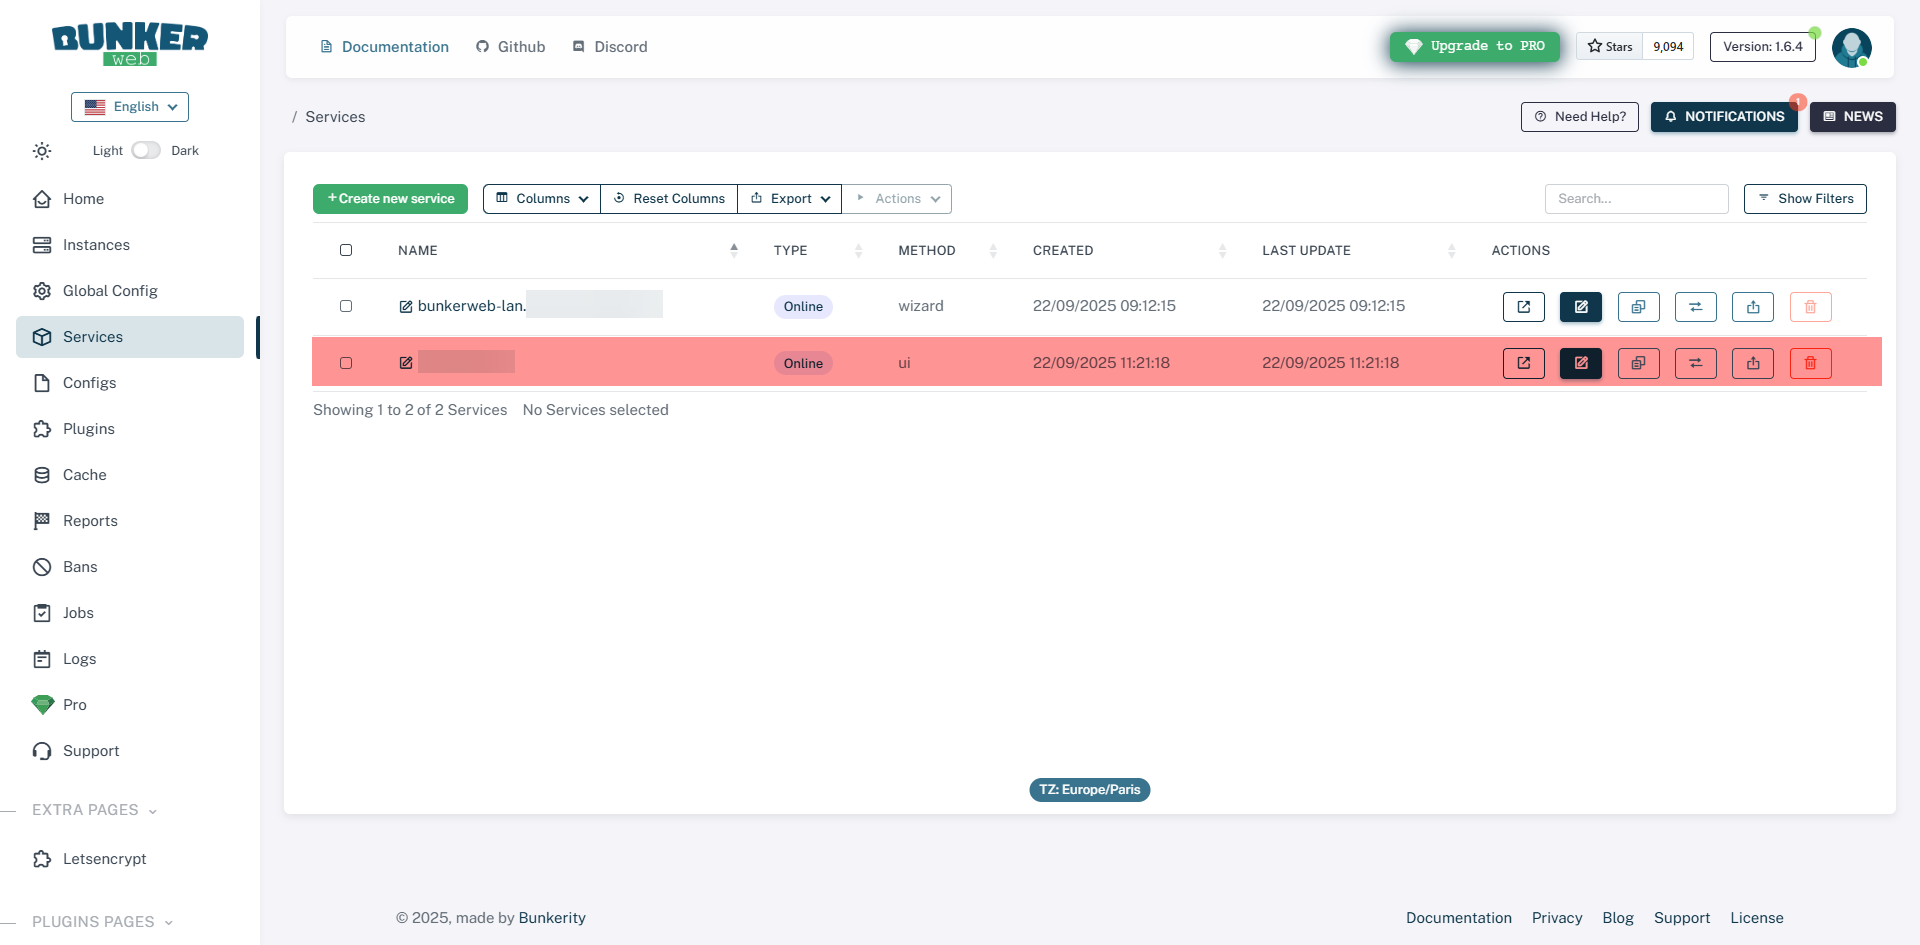
We arrive at the list of services that are published on BunkerWeb, as we can see, it already has one service, which is this one that allows access to the web administration interface.
Click on the Create new service 1 button.
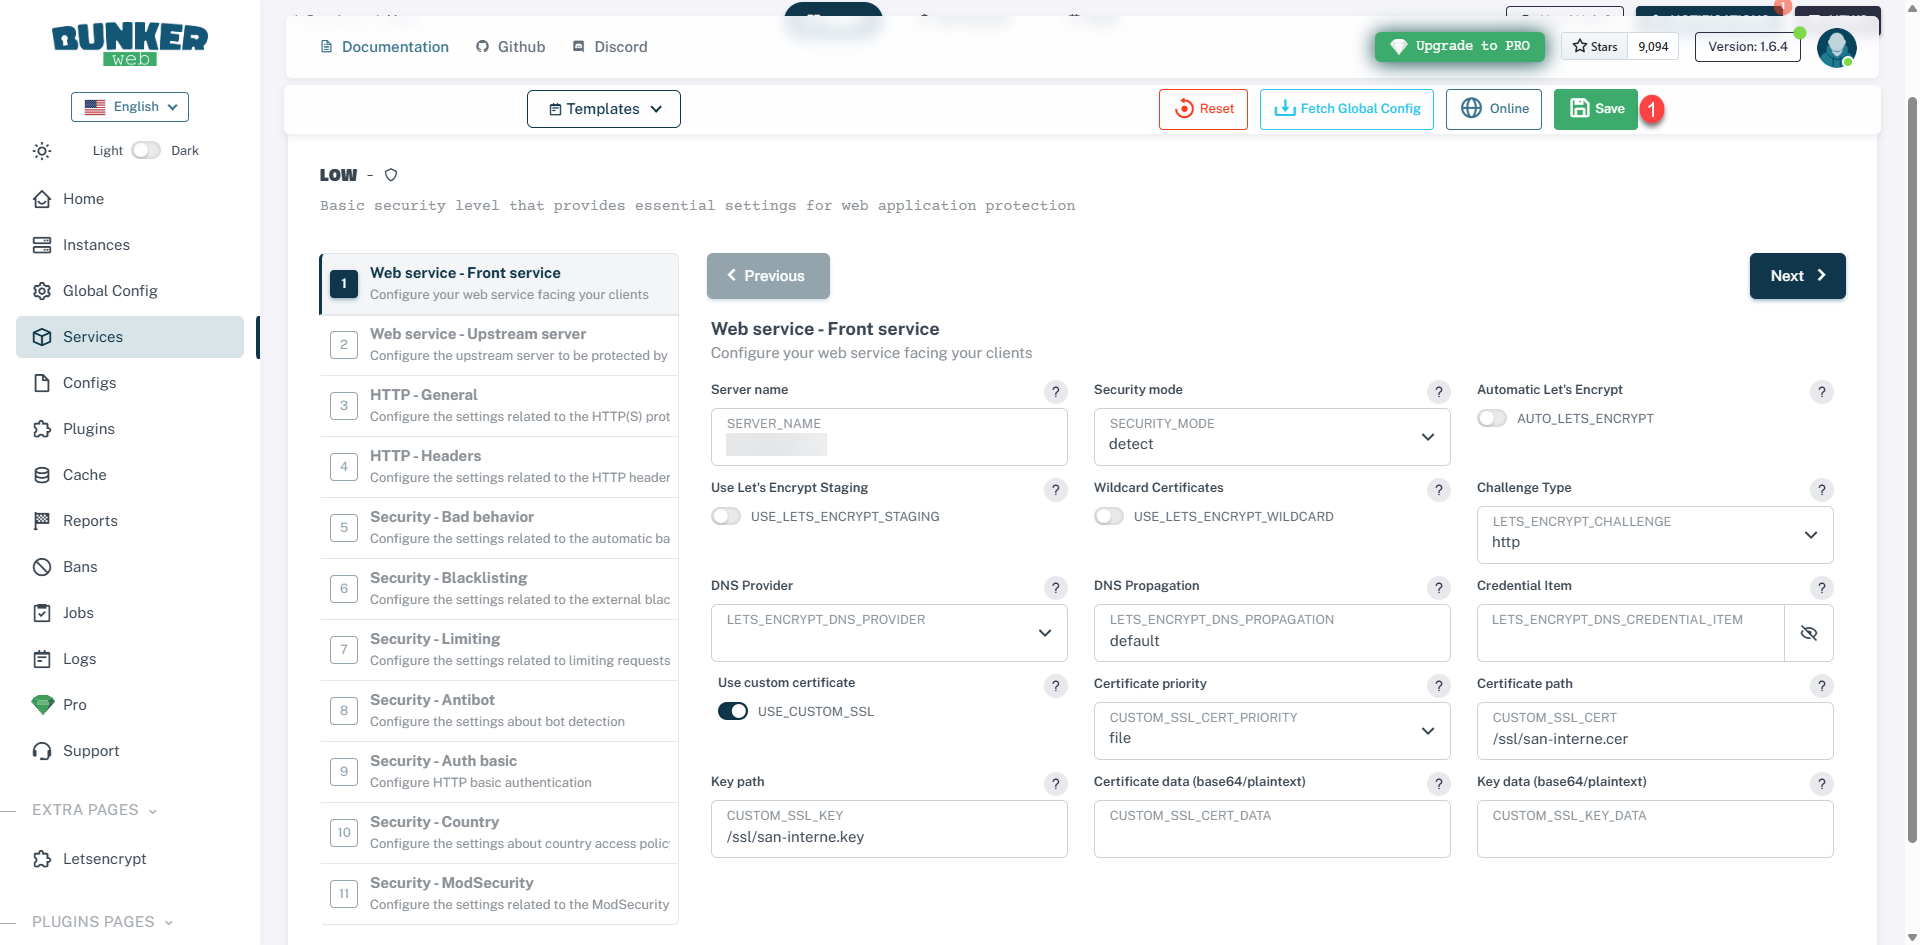
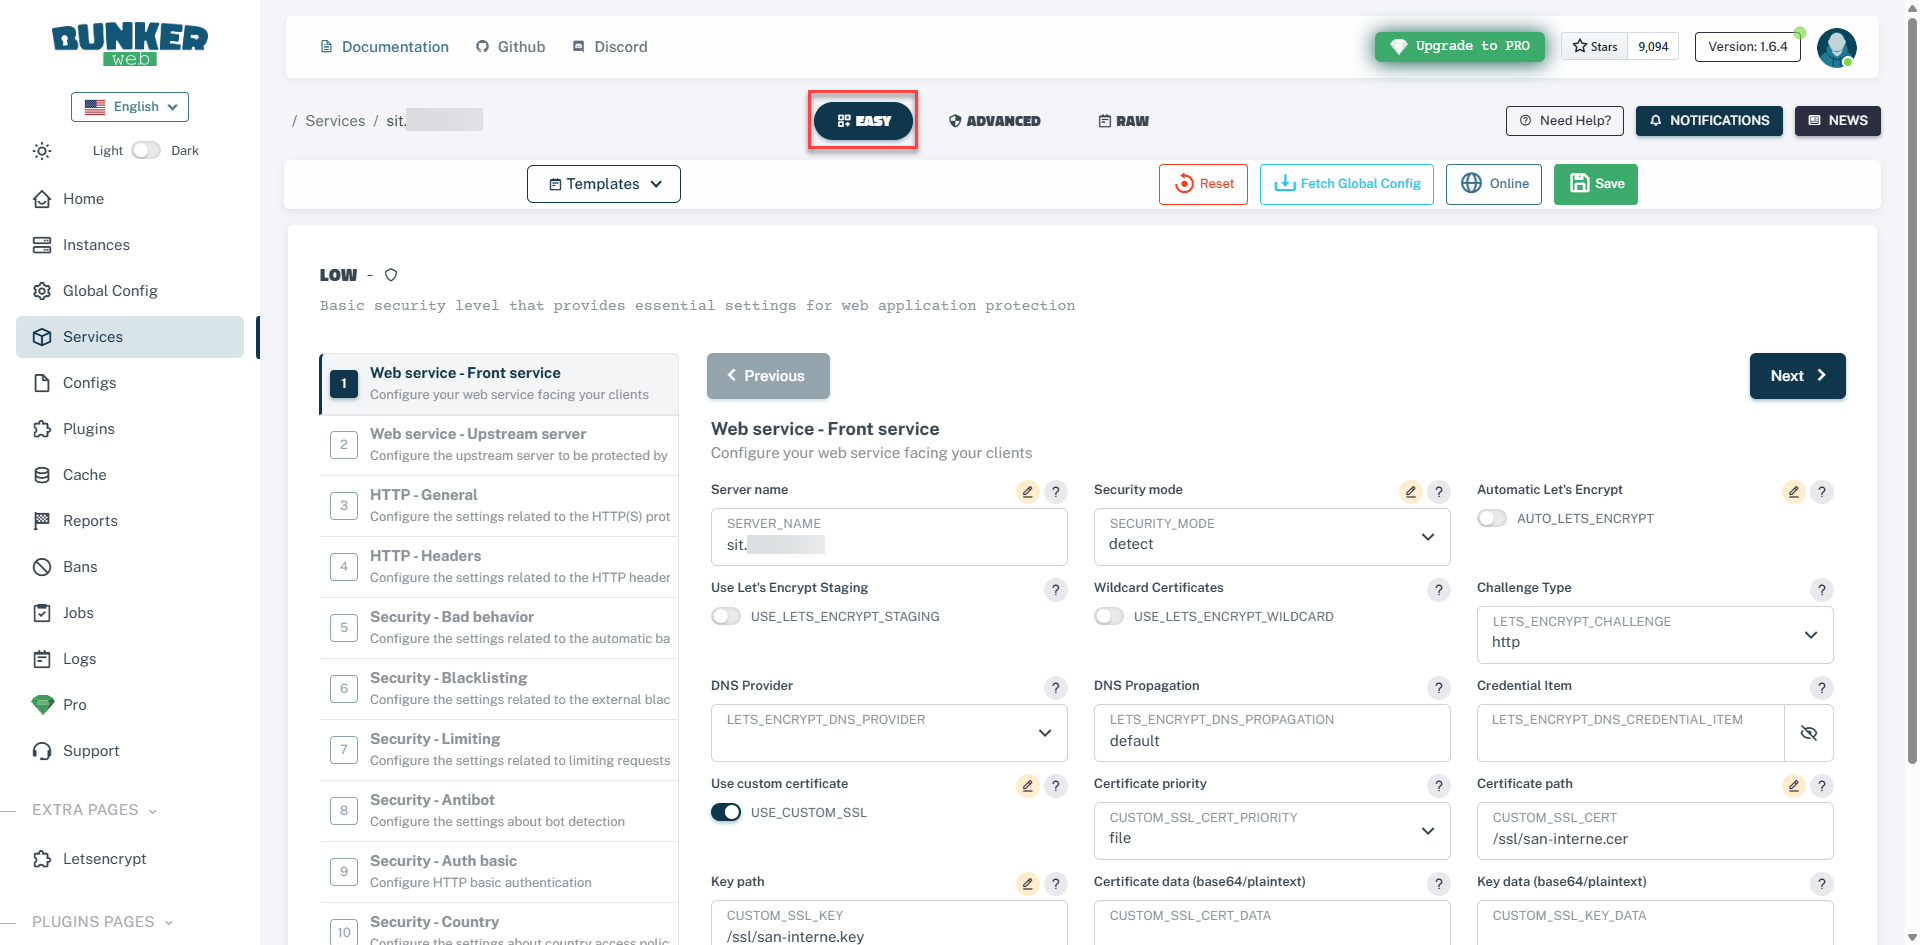
Start by filling in the SERVER_NAME field 1 which corresponds to the URI of the site, set SECURITY_MODE to detect*2, then activate USE_CUSTOM_SSL 3, select file 4 on the CUSTOM_SSL_CERT_PRIORITY field, then enter the path to the certificate 5 then to the private key 6 and click Next 7.
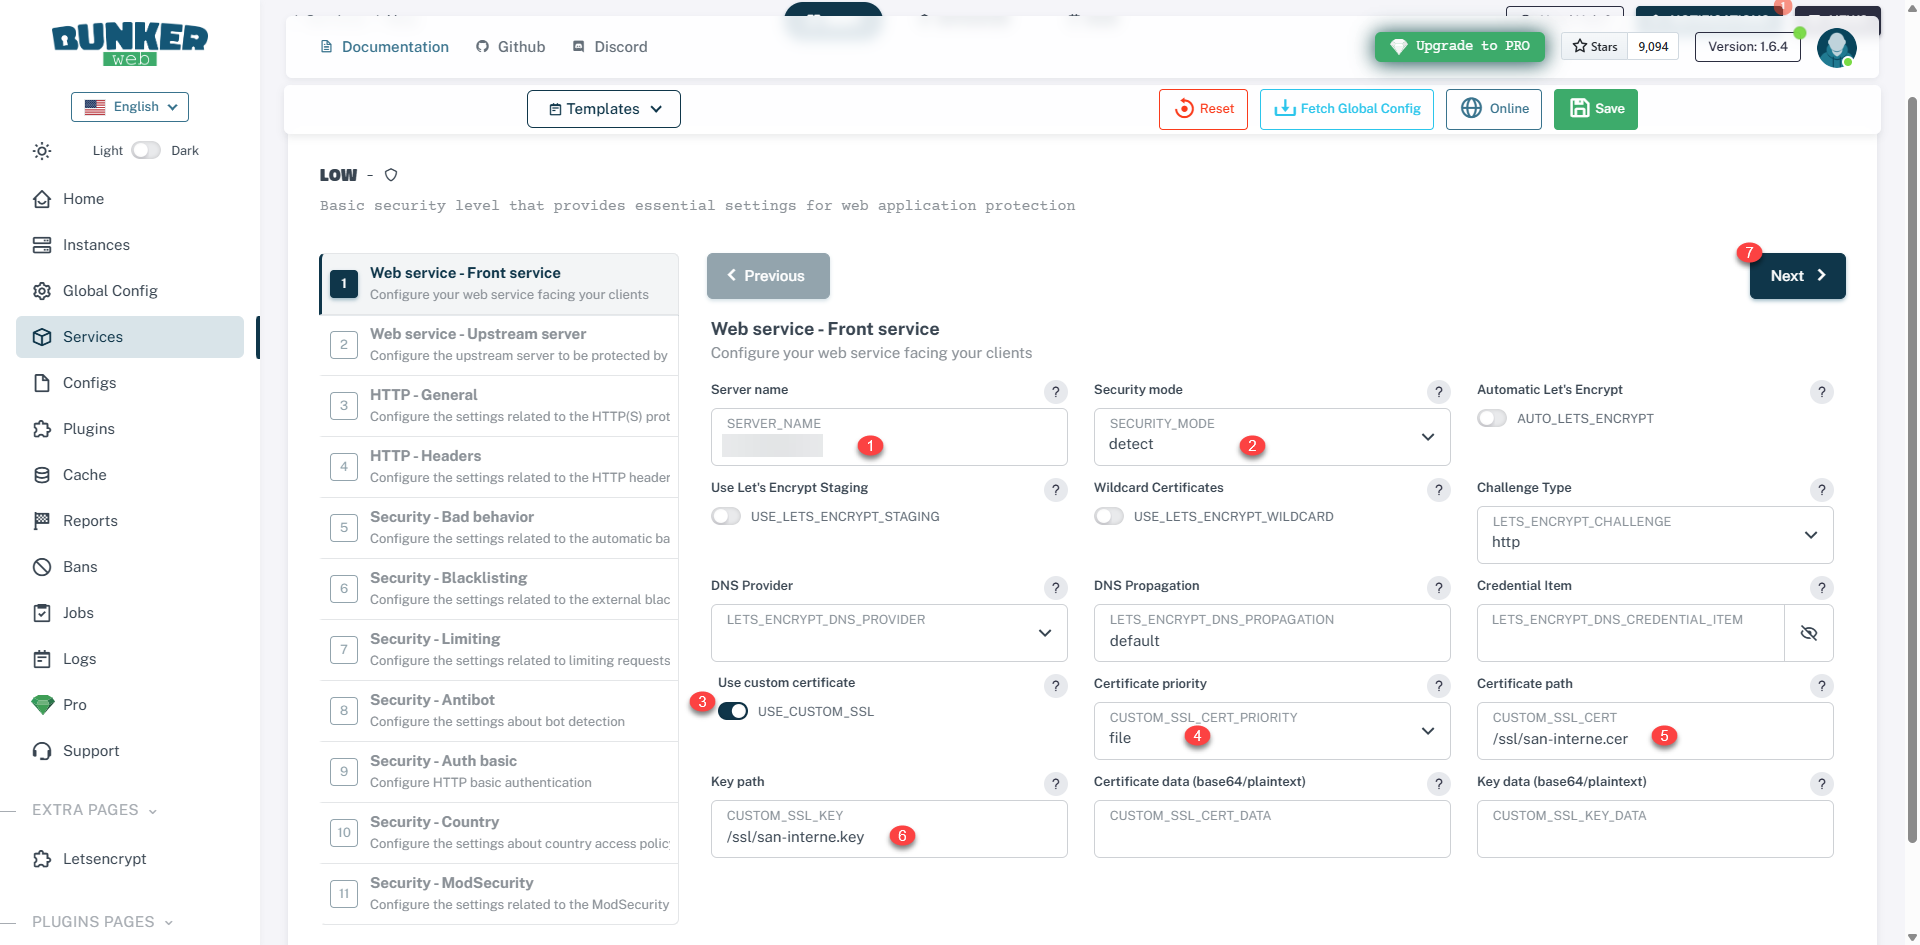
* Initially, I advise you to use detect instead of block, to analyze the different security logs to refine the configuration before switching to a block, as BunkerWeb is aggressive, you could block site access.
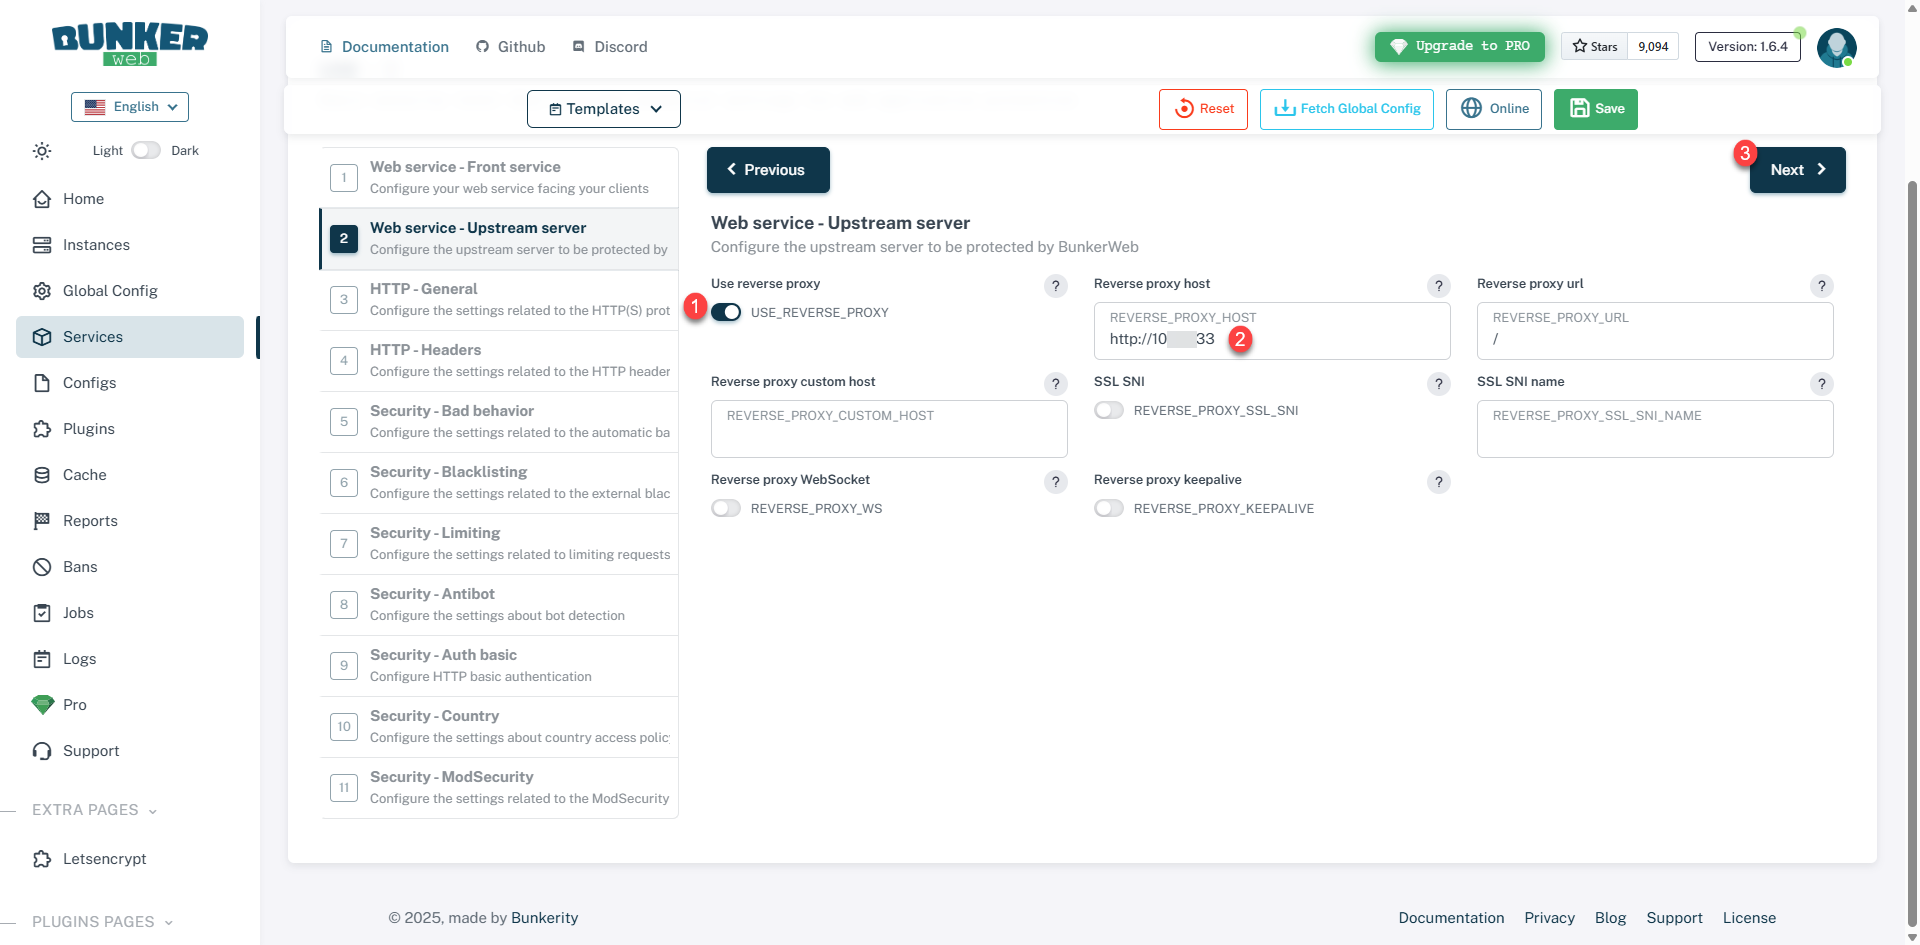
We will now configure the Upstream server, that is to say the address where the site (application) is located, activate the USE_REVERSE_PROXY option, then enter the address of the host 2 and then click on Next 3.
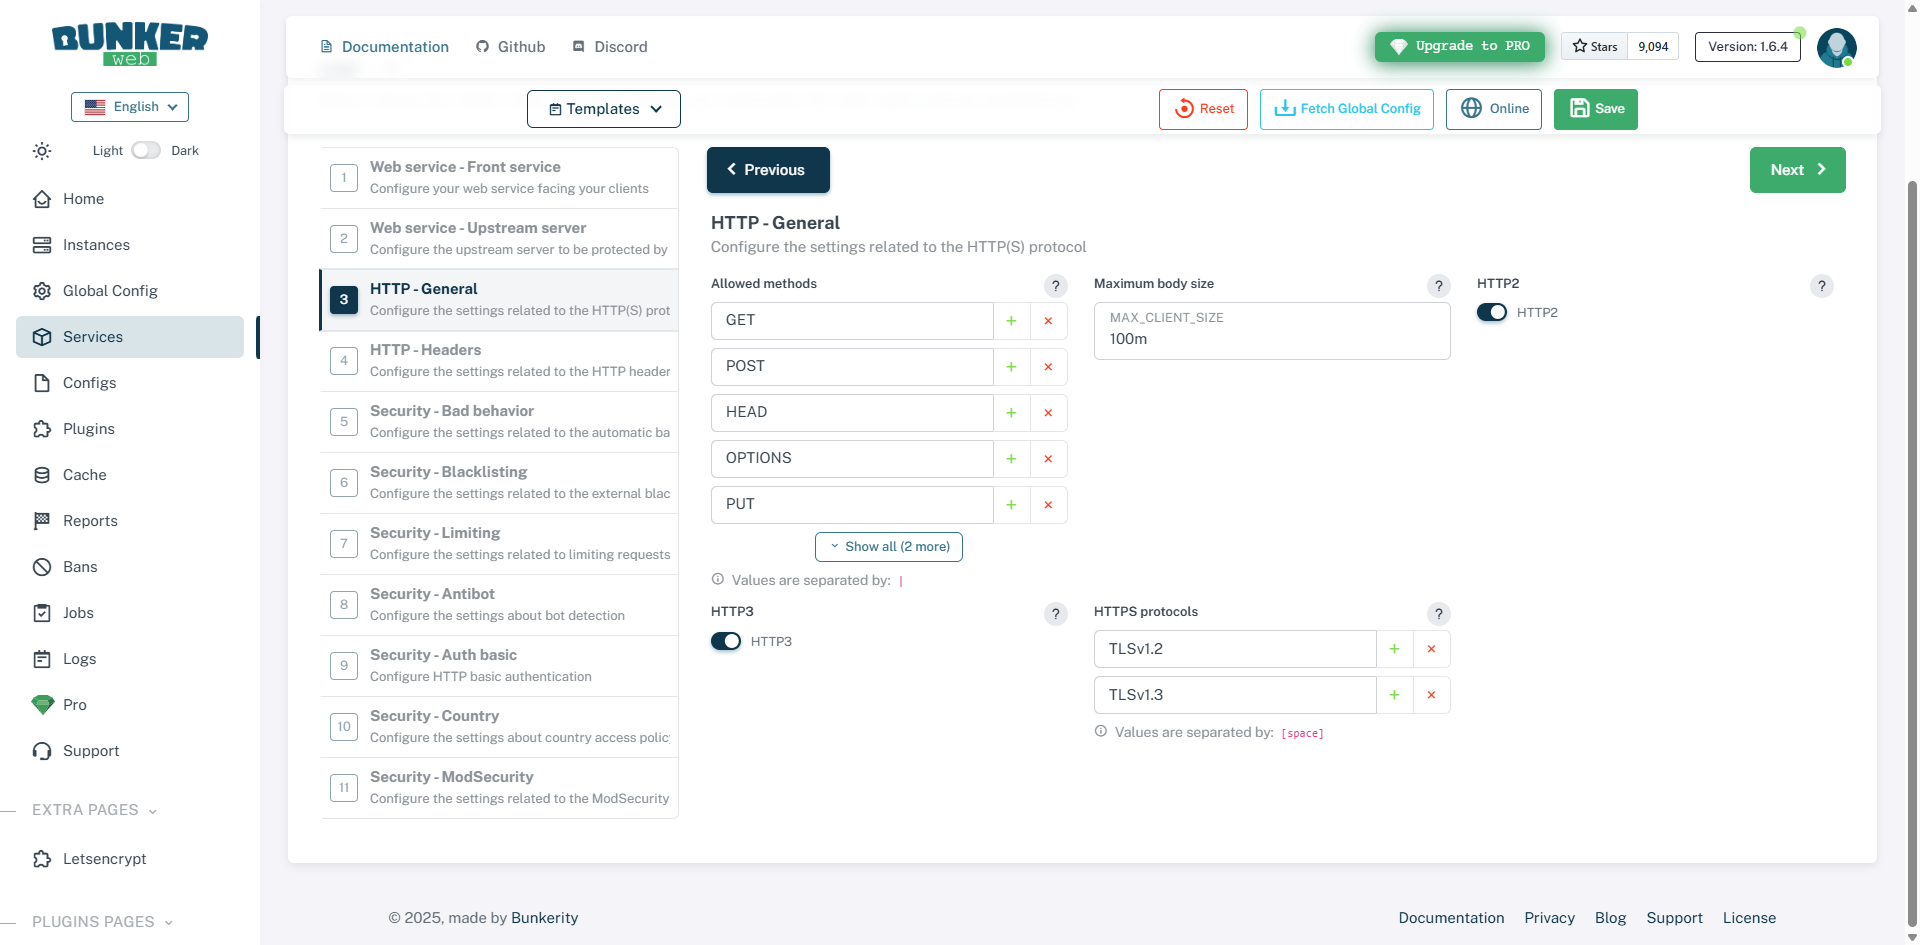
I will now go through each step of the setup wizard, explaining what you can configure.
HTTP – General : allows the configuration of the server and the HTTP(S) protocol with the type of requests accepted (GET, POST, …), the maximum size of the request body (MAX_CLIENT_SIZE), which will allow you to manage the maximum size of the file sending among other things, activate support for the HTTP2 and HTTP3 protocols, as well as the supported HTTPS protocols.
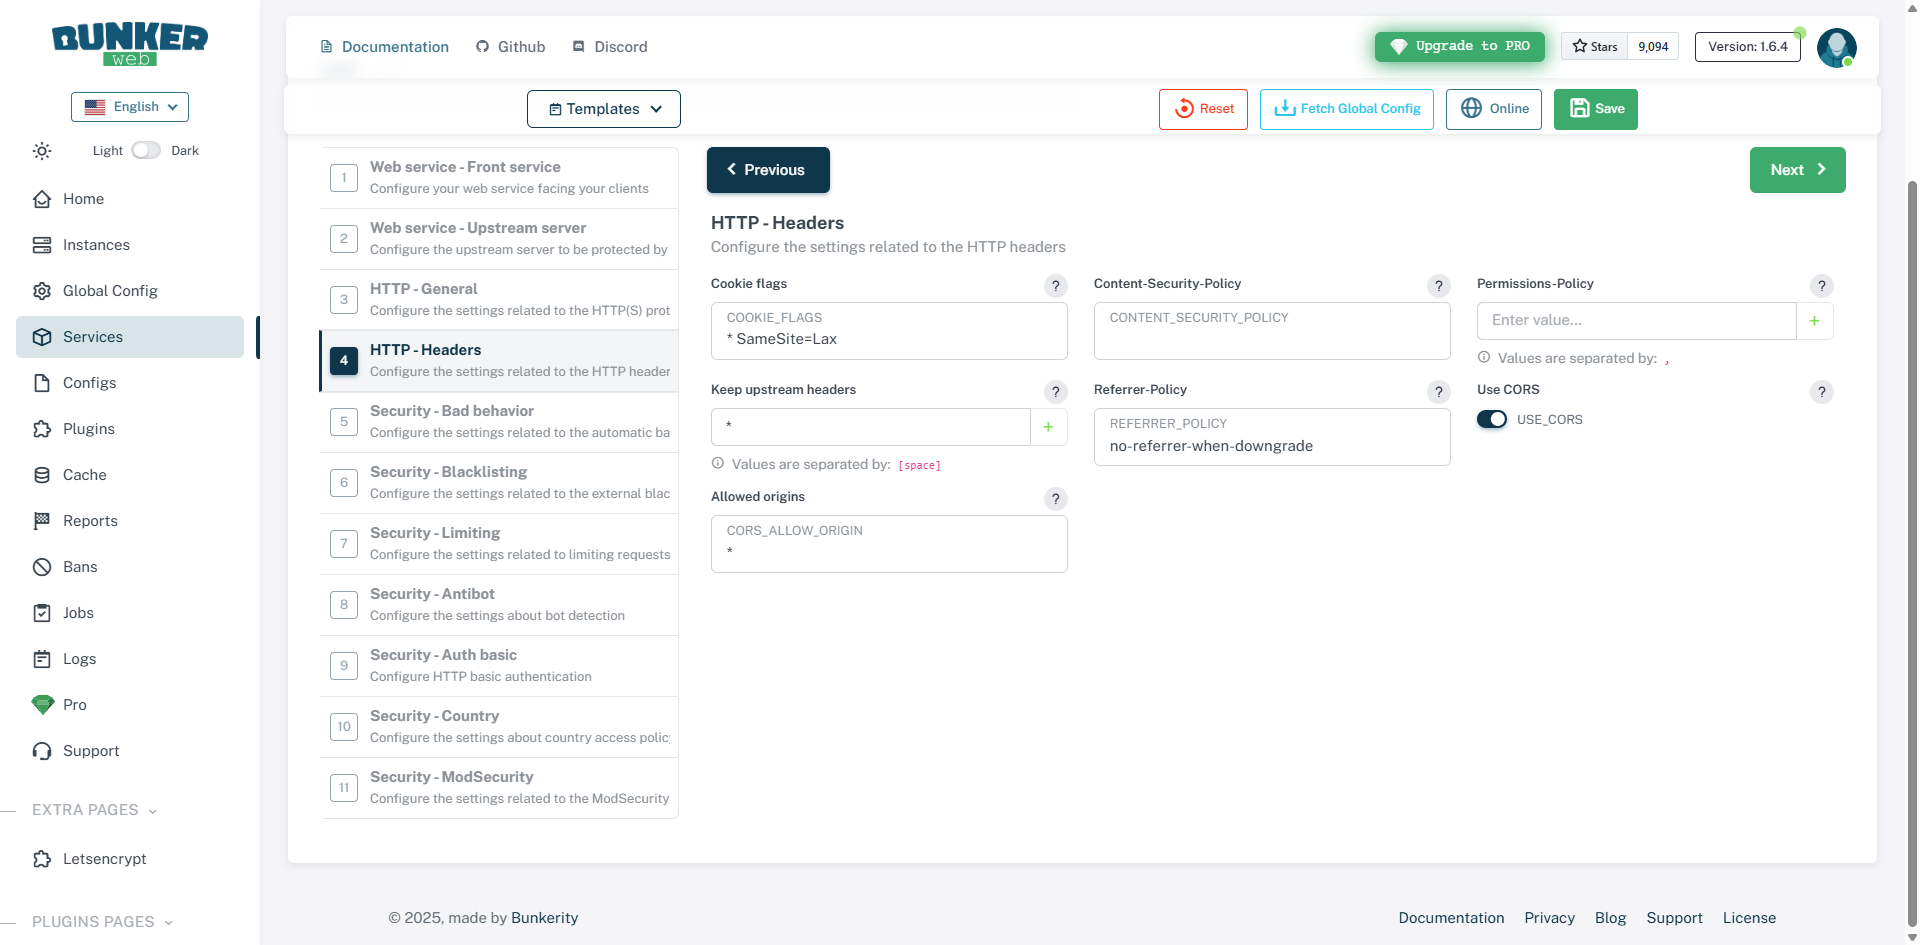
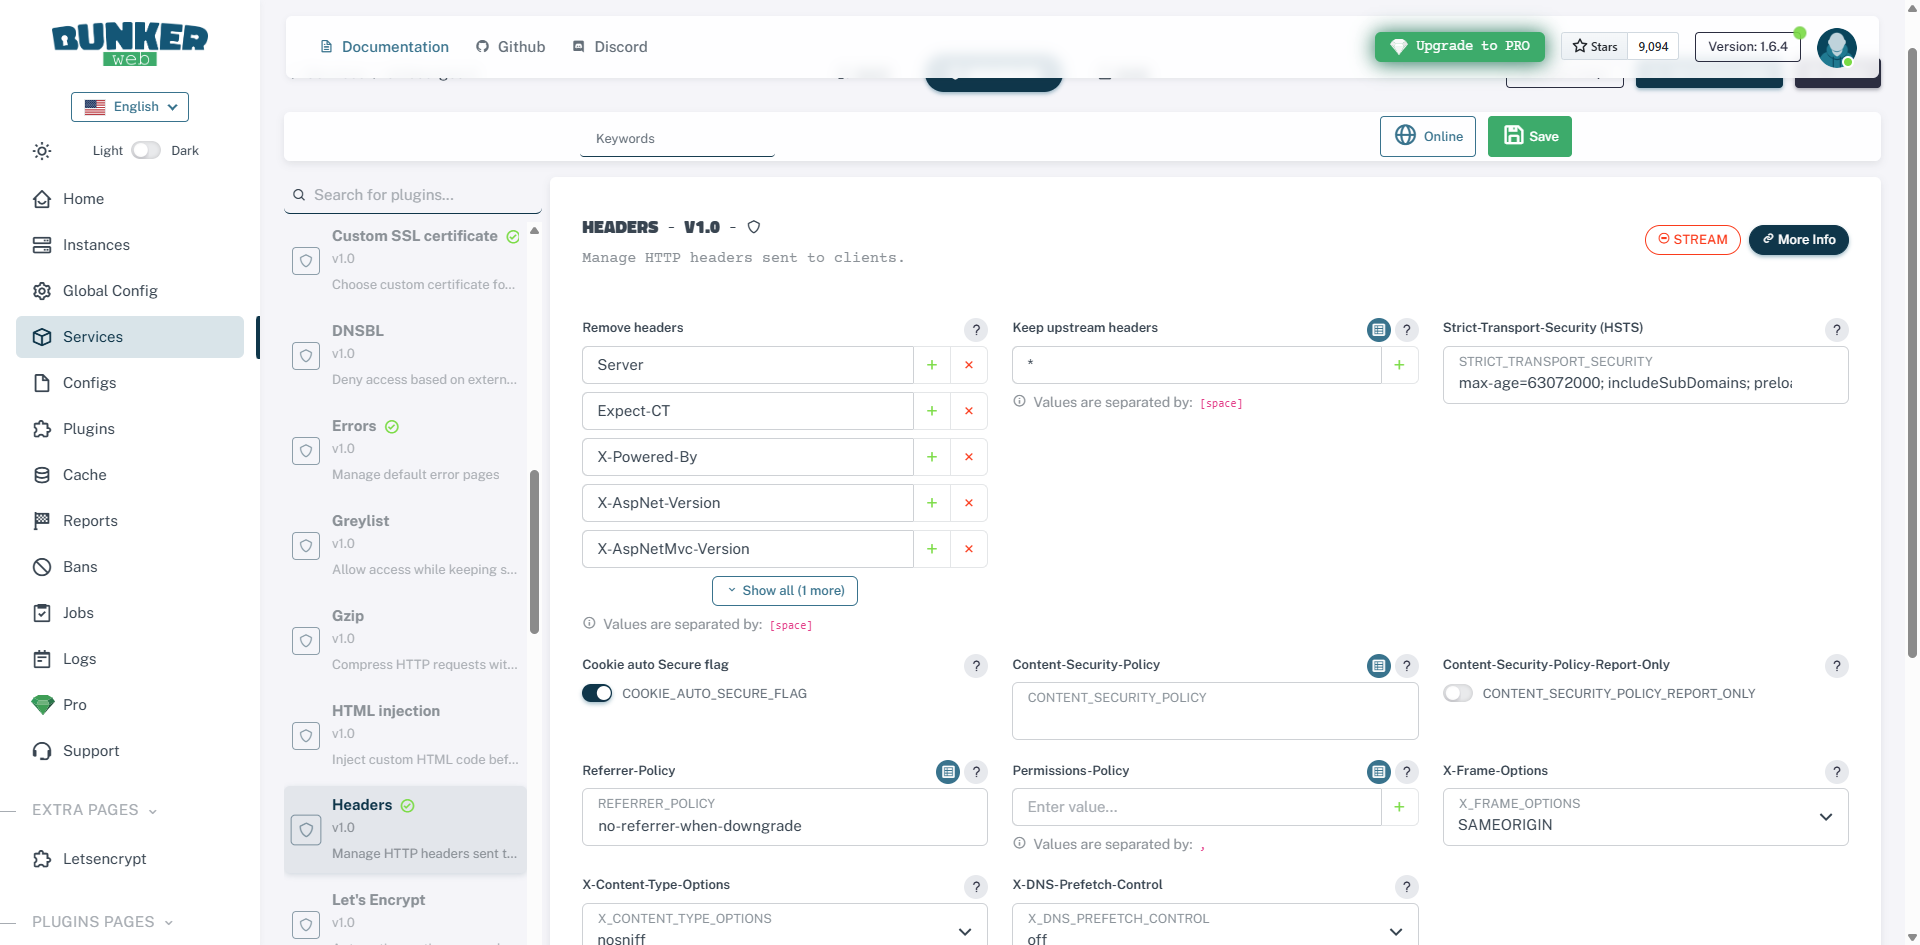
HTTP – Header : additional configuration of HTTP headers which primarily allows for increased security.
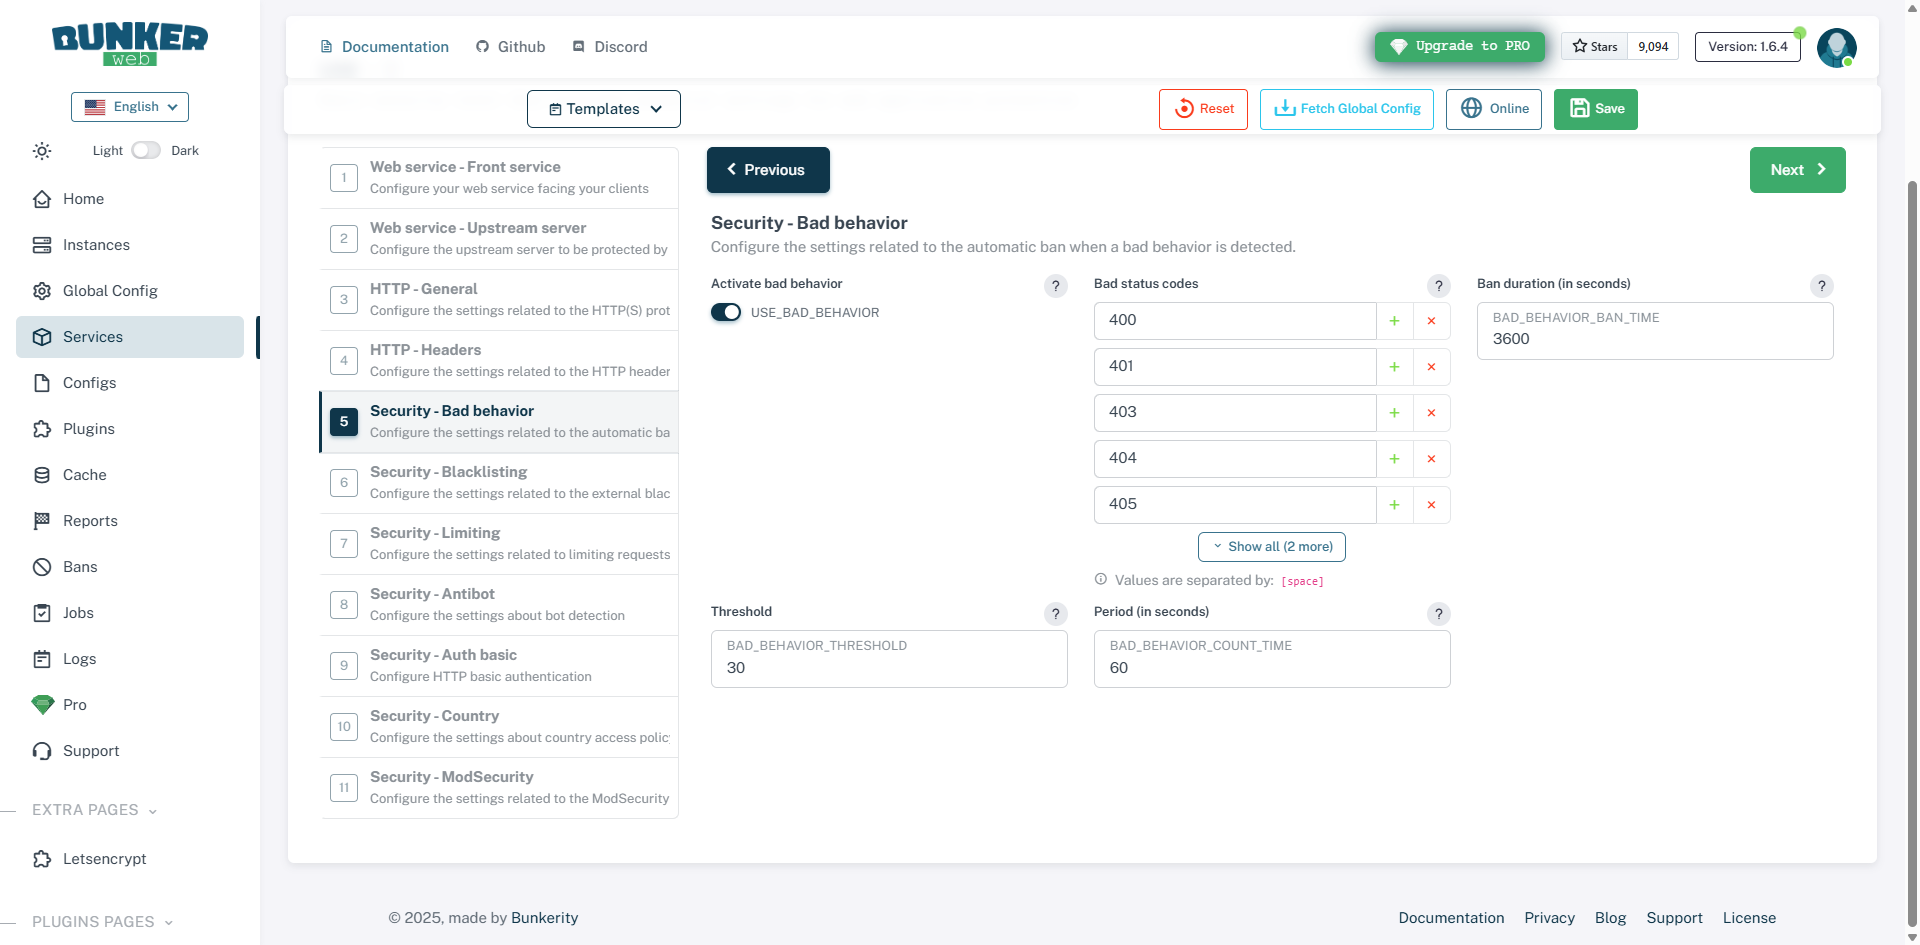
Security – Bad behavior : allows you to configure “bad behaviors” such as folder and file scans that will return a 404 request, for example. This setting makes it easy to block scans, but you must be careful and ensure that the site (application) does not call files (images, css, js, …) that are not available, which can generate false positives due to a misconfigured site.
Security – Blacklisting : allows you to configure different blocklists, whether they are IP addresses, reverse DNS or User-Agent.
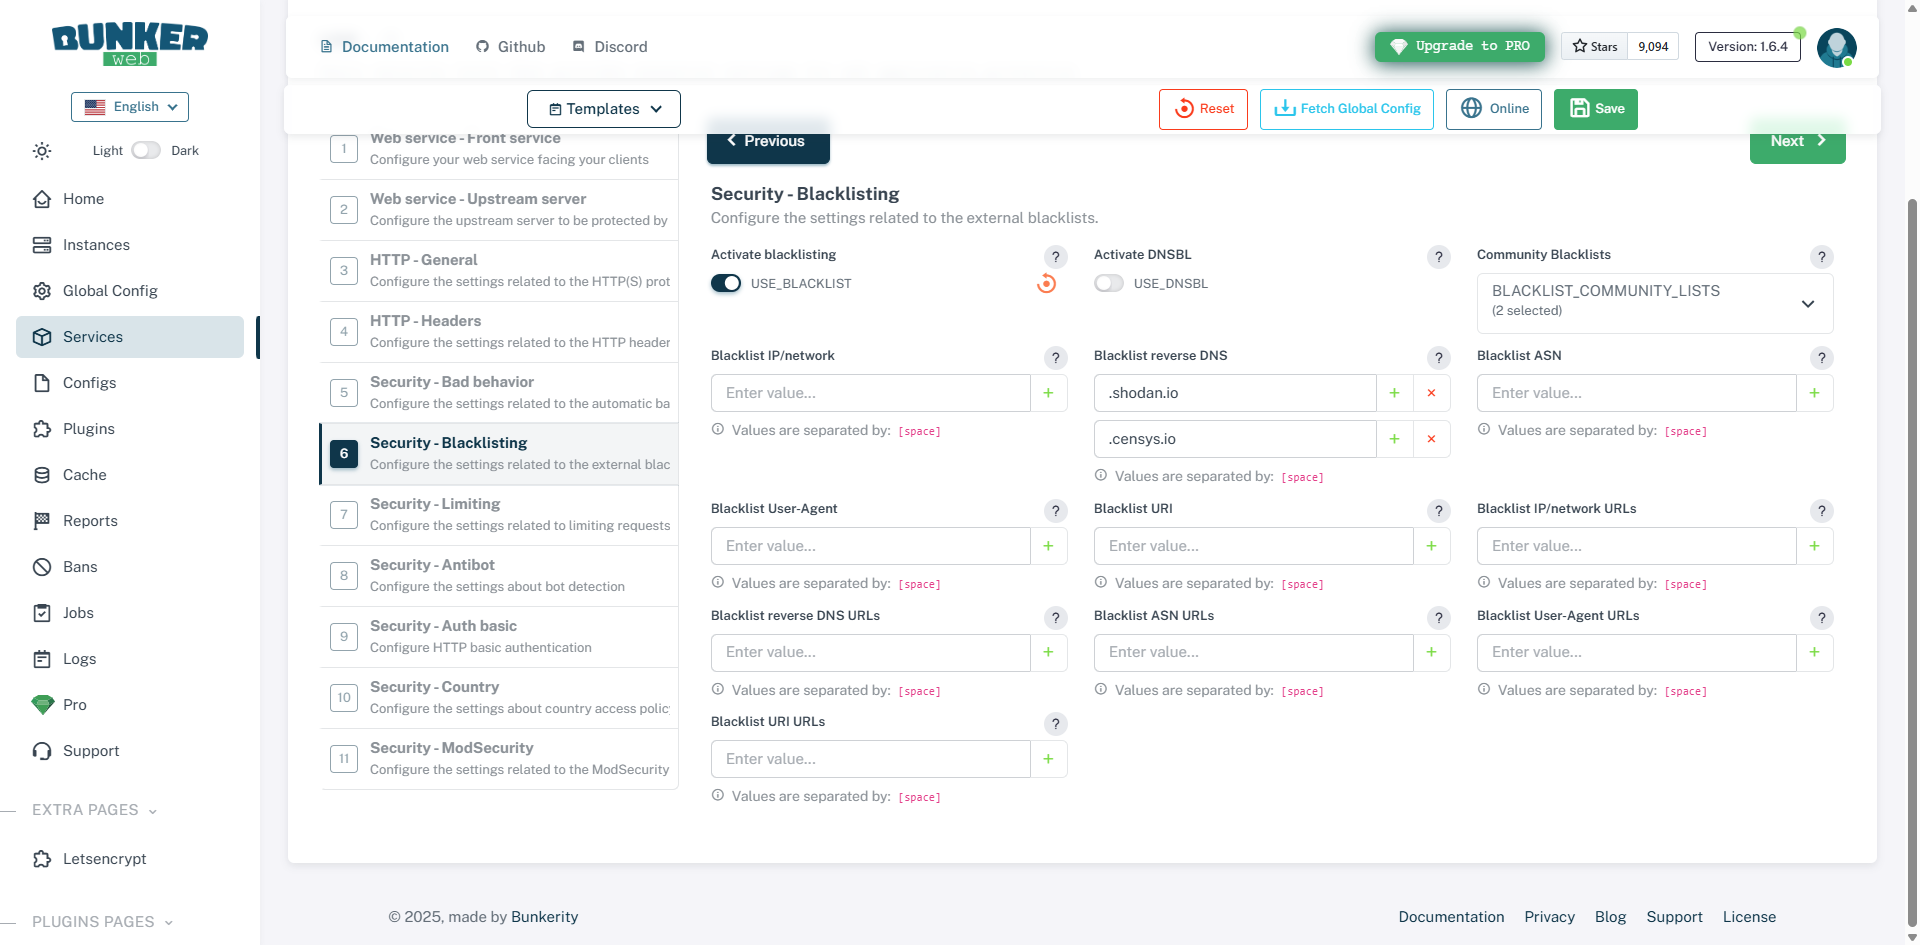
Here, I advise you to enable the community lists of IP addresses and User Agents.
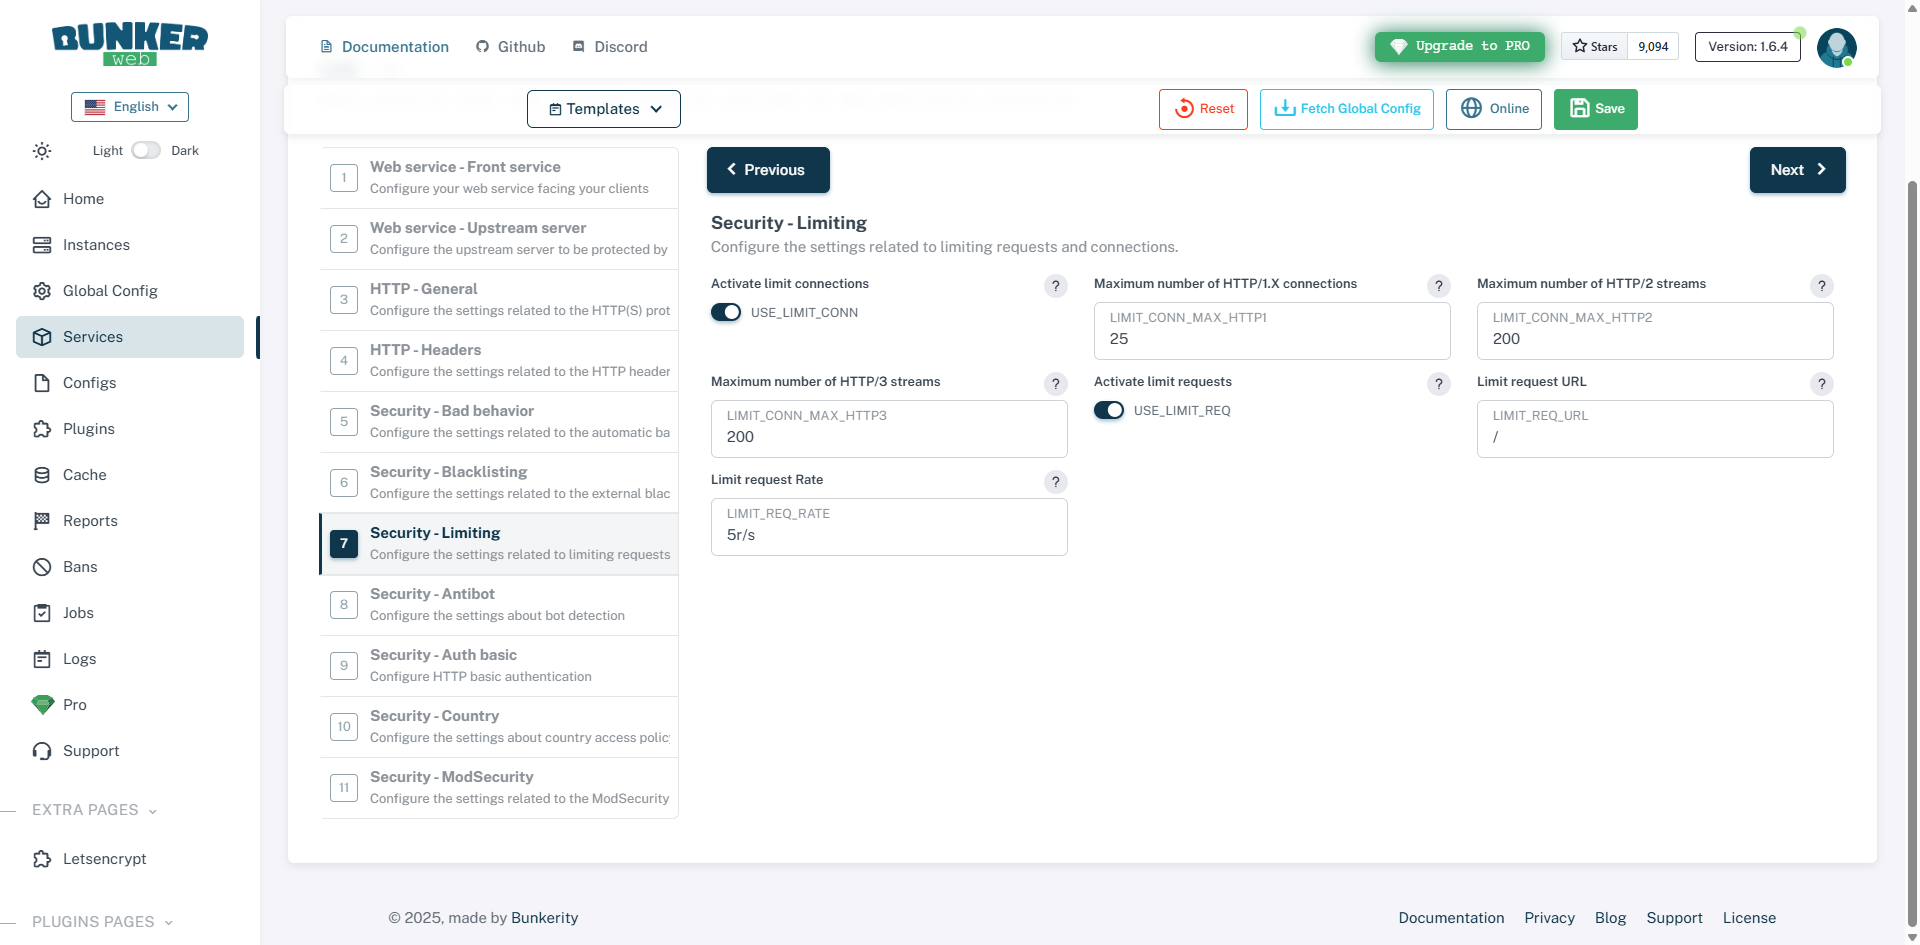
Security – Limiting : configuration of the limit on the number of requests and connections per IP address; care must be taken with this configuration, a site that loads many CSS, JS and image files may experience blockages.
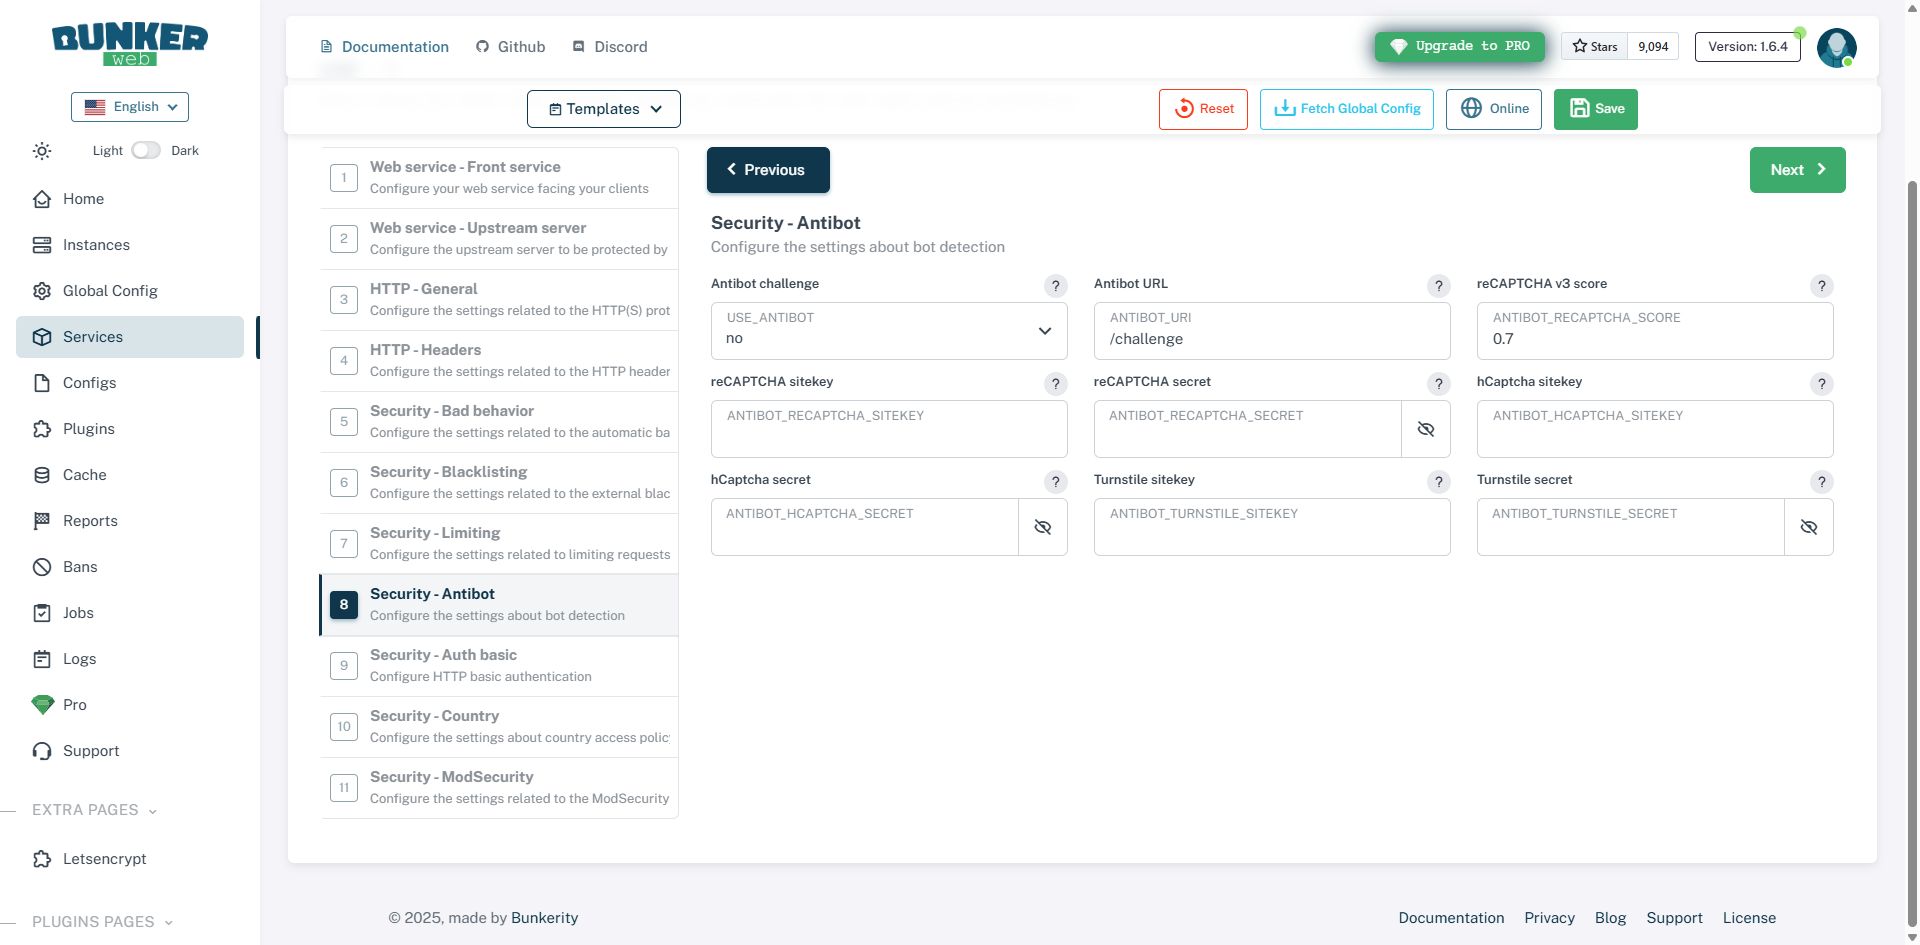
Security – Antibot : allows you to enable bot detection and block them, we advise you to enable this configuration using javascript which does not use third-party services.
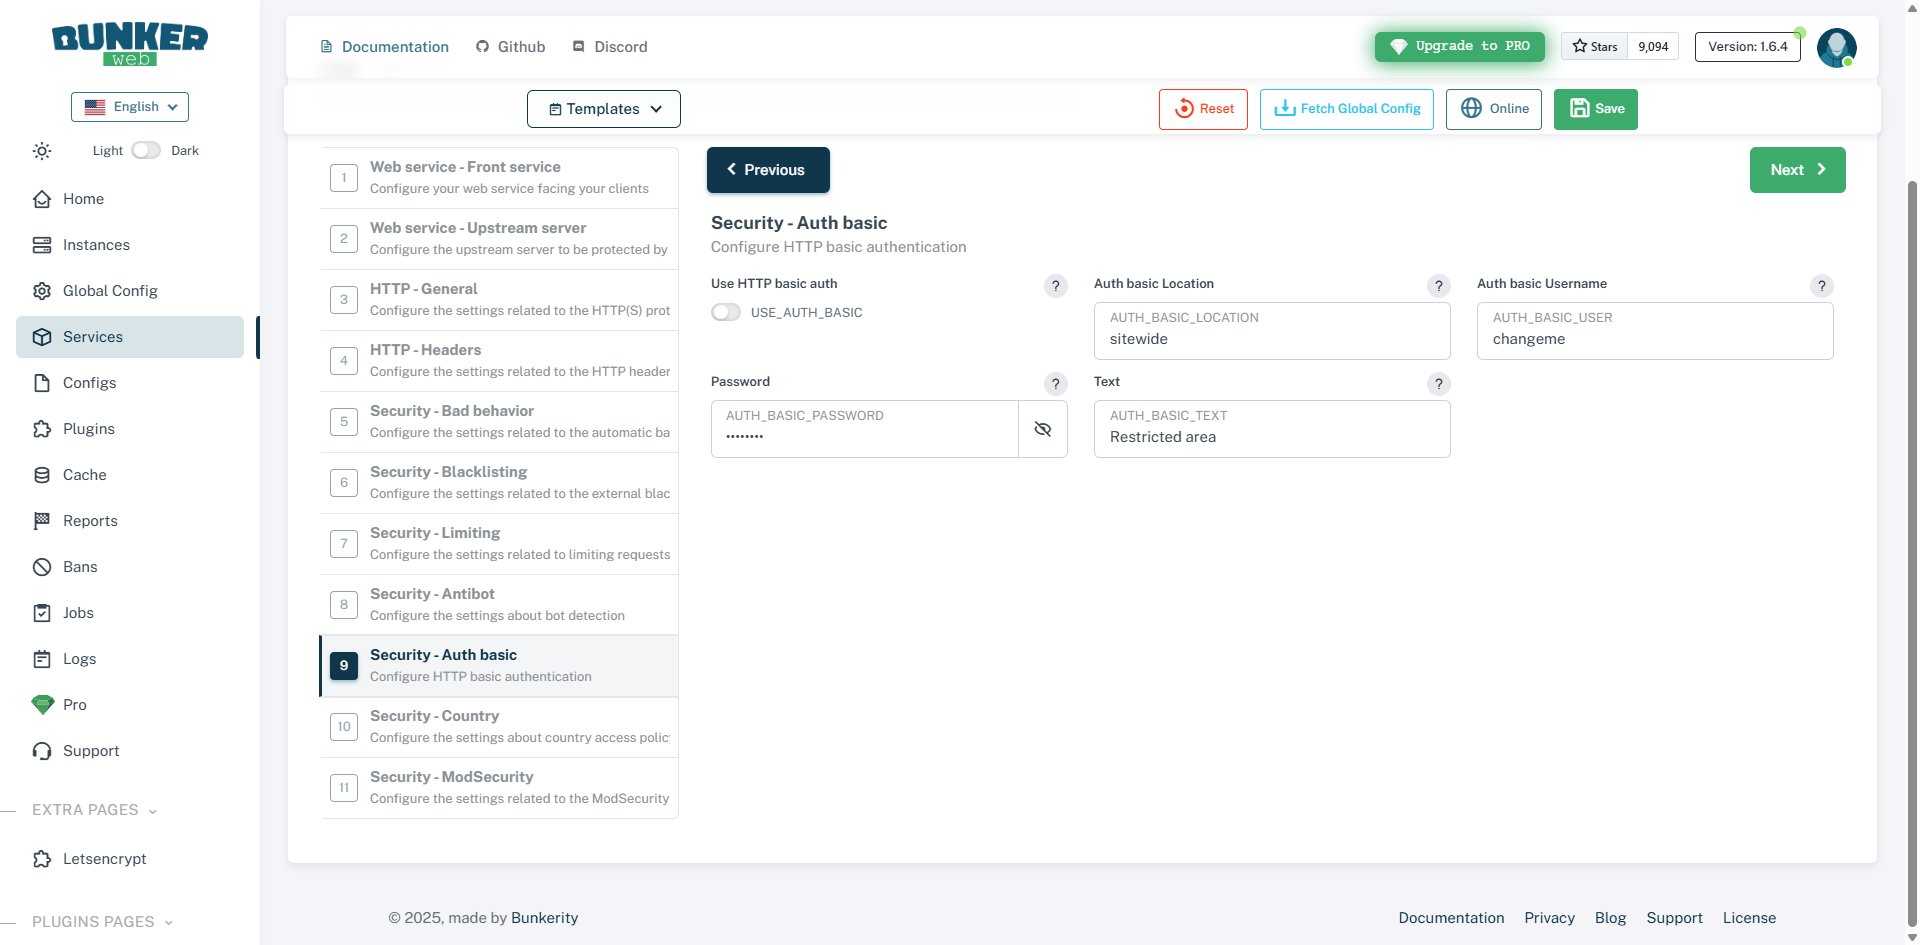
Security – Basic Auth : allows you to configure authentication to access the site; this can be useful for putting a site into maintenance mode, for example.
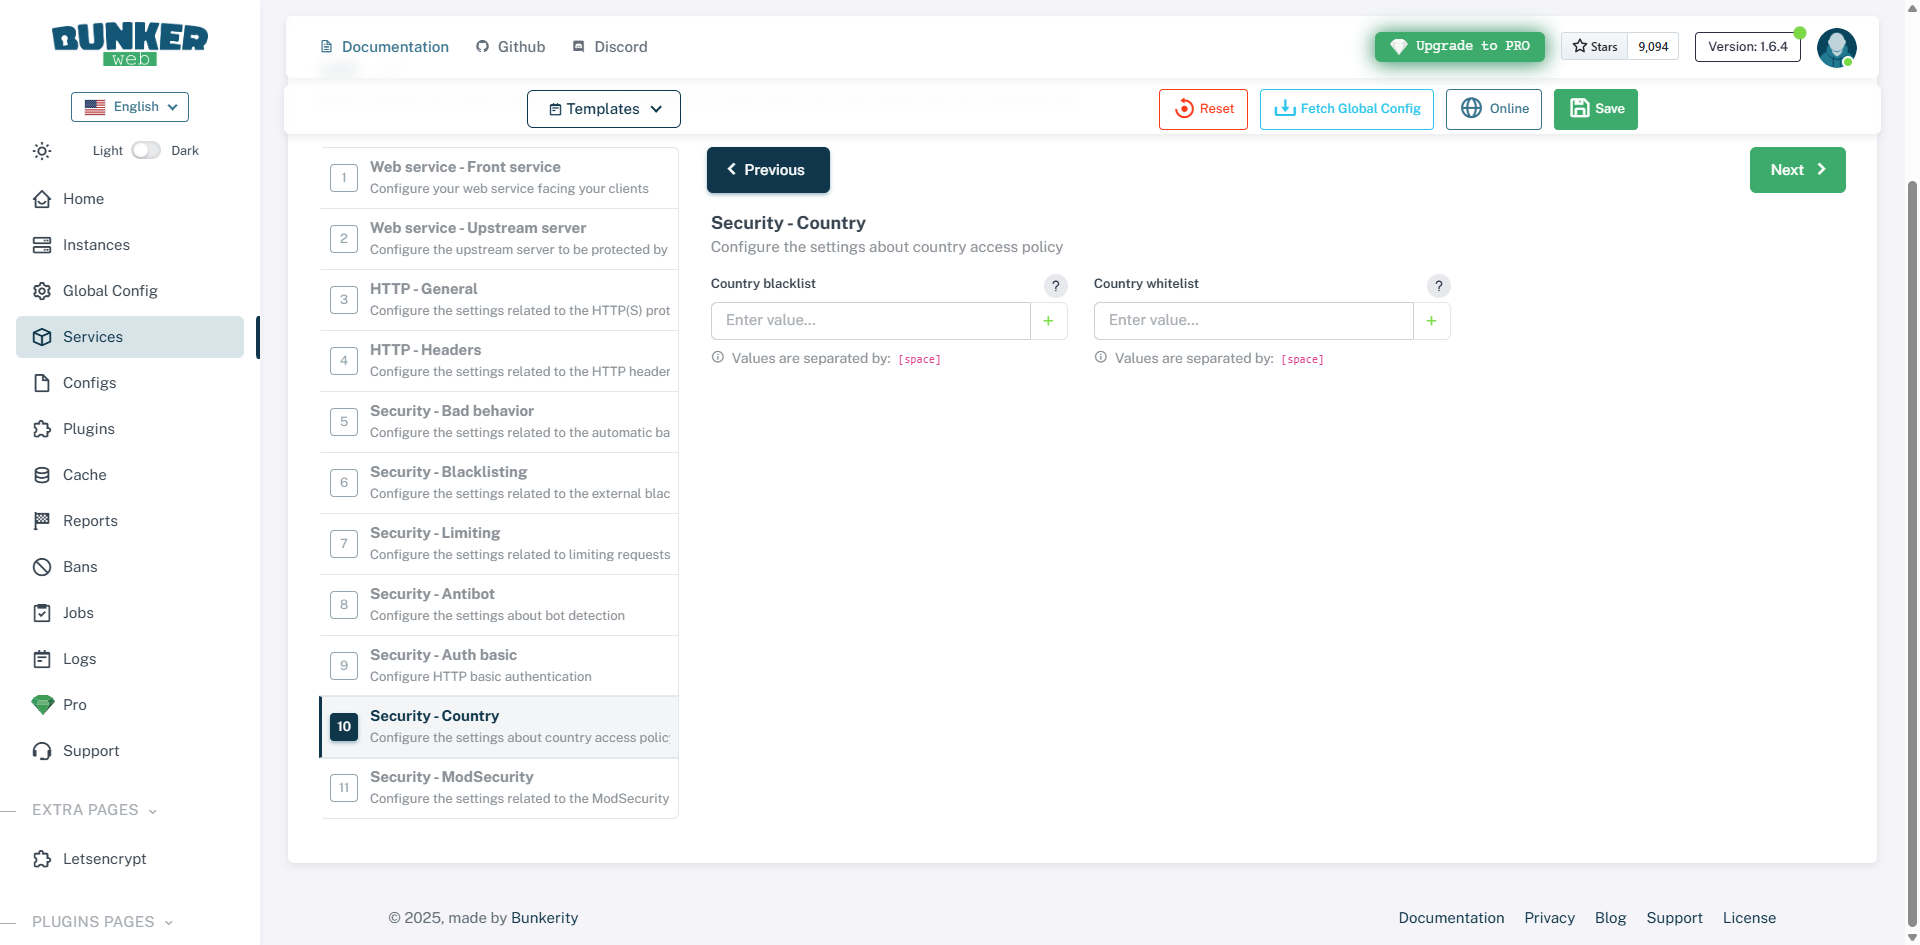
Security – Country : allows you to configure countries in a whitelist and blacklist to allow or block them.
Security – ModSecurity : allows you to activate and configure the ModSecurity On the website, enabling the WAF (Web Application Firewall) is the ultimate defense against attacks. Before activating this configuration, it’s important to test the site on a different environment, as false positives can easily lead to blocking.
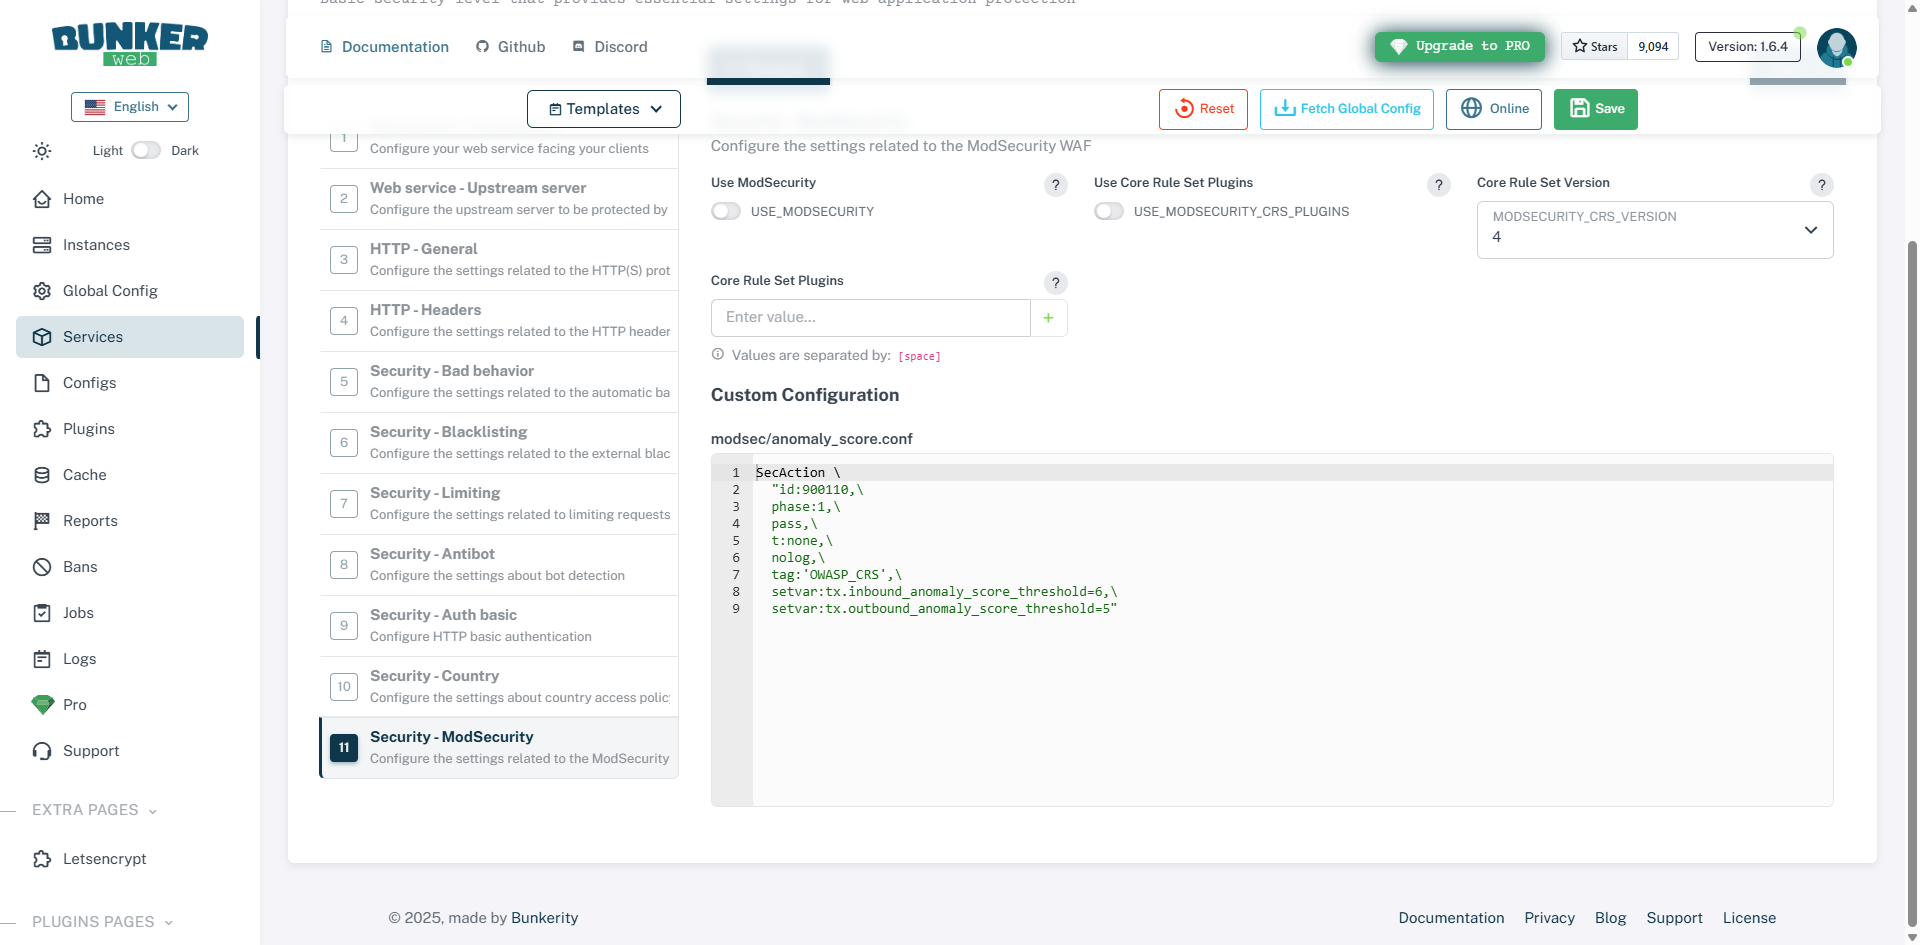
More information here: https://docs.bunkerweb.io/security-tuning/#modsecurity And https://docs.bunkerweb.io/1.6.4/features/?utm_campaign=self&utm_source=ui#modsecurity
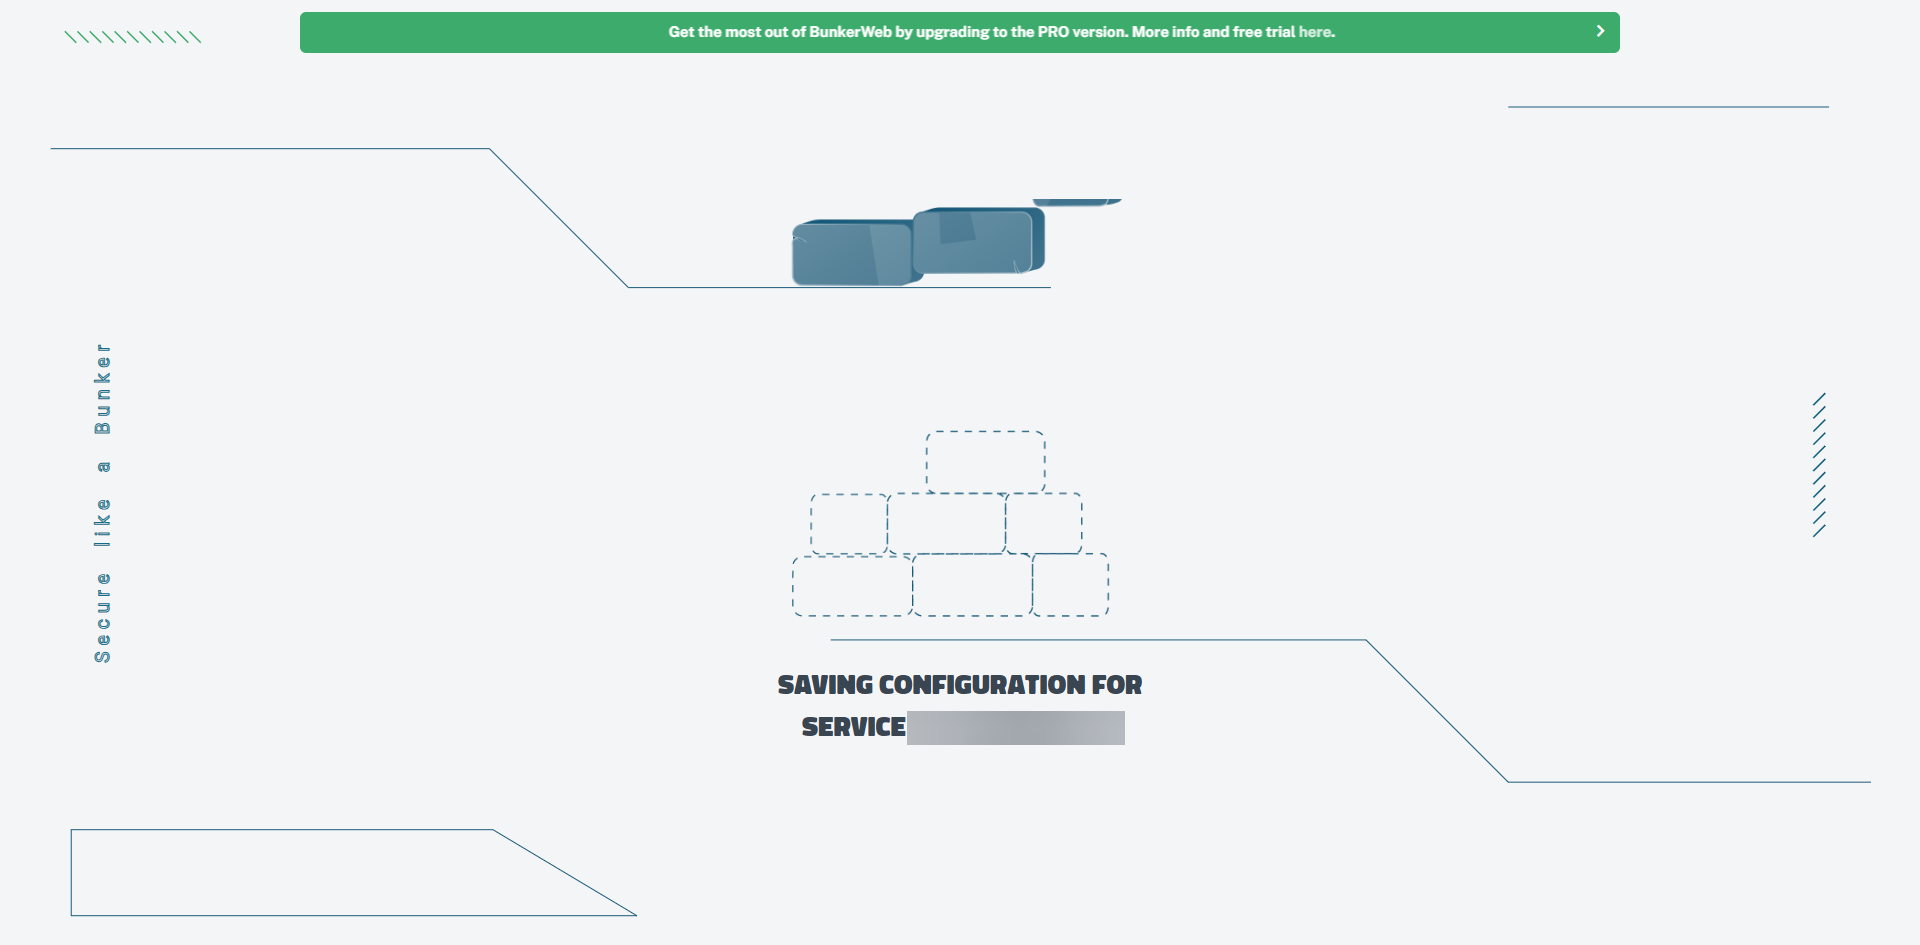
Once the configuration is complete, click on the Save 1 button.
Please wait while the service is being configured and published…
Once the service is configured, it is available on BunkerWeb.
Test the service
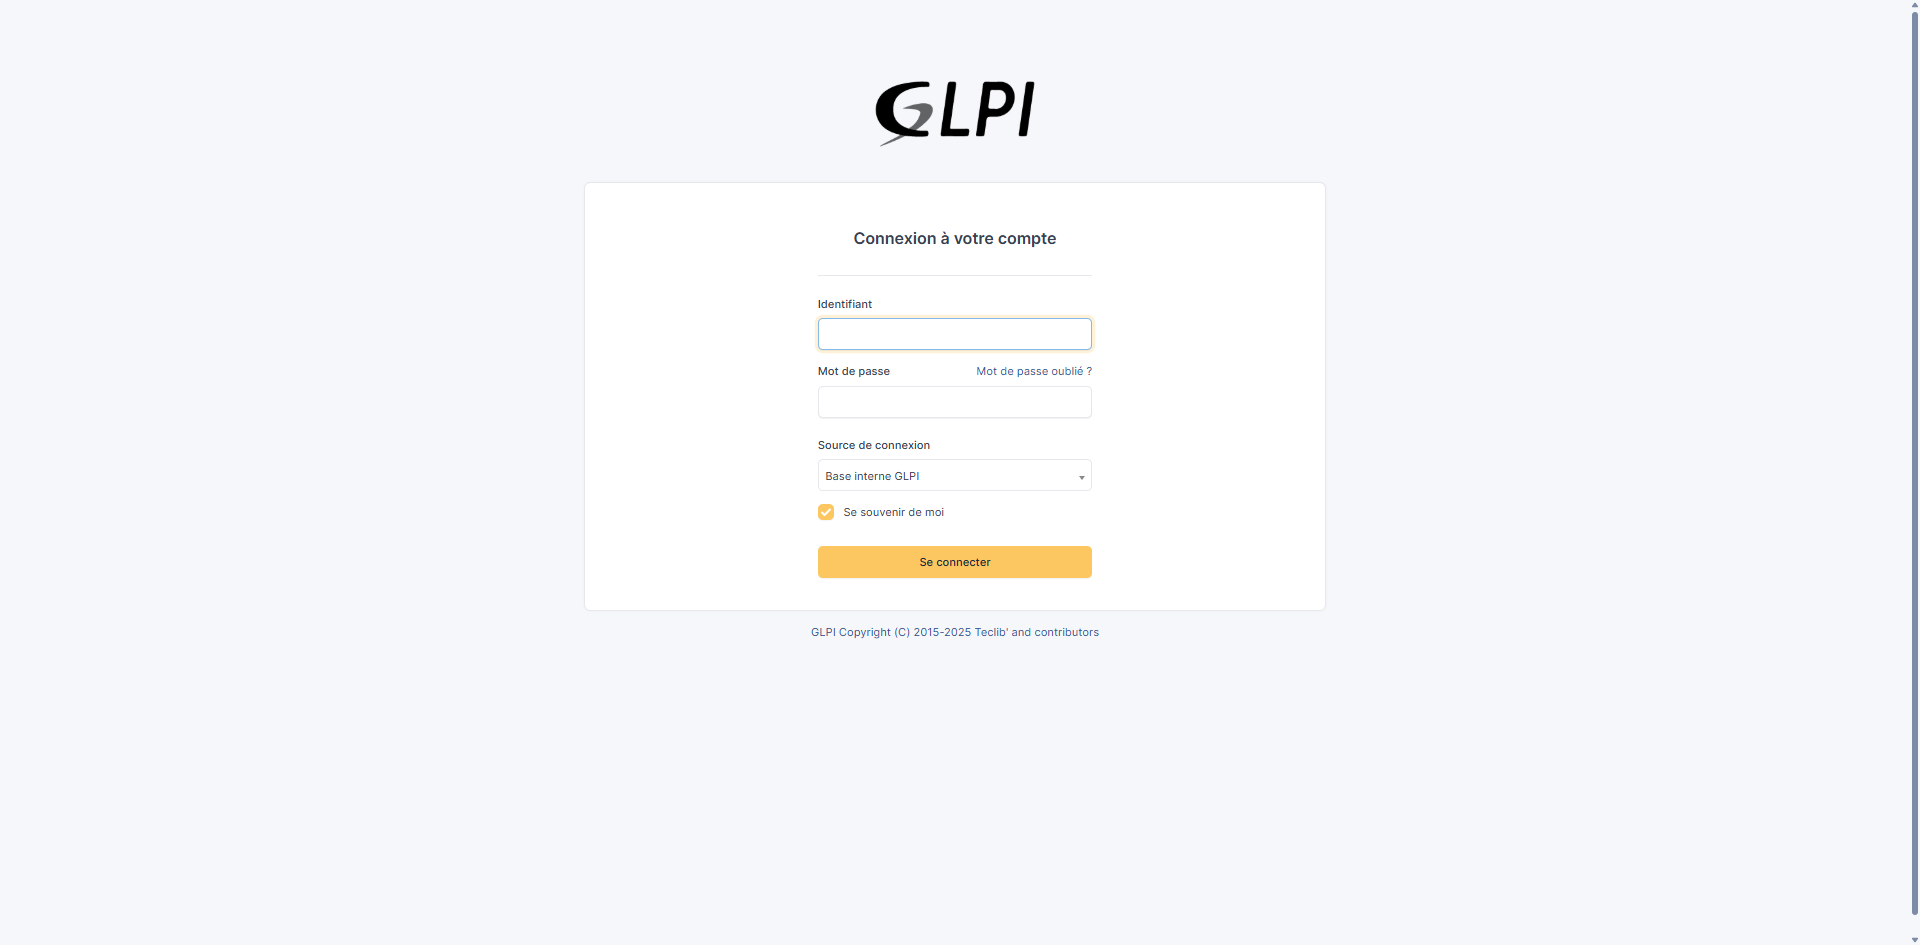
From a browser, go to the service URL and check that it displays correctly; for my part, in this tutorial, I have published a GLPI installation which is indeed available.
To view the browsing logs, you need to display the container logs using the following command:
sudo docker compose logs -f
Edit service
When modifying the service in BunkerWeb, you have 3 modes:
Easy : to use the same elements as the configuration assistant.
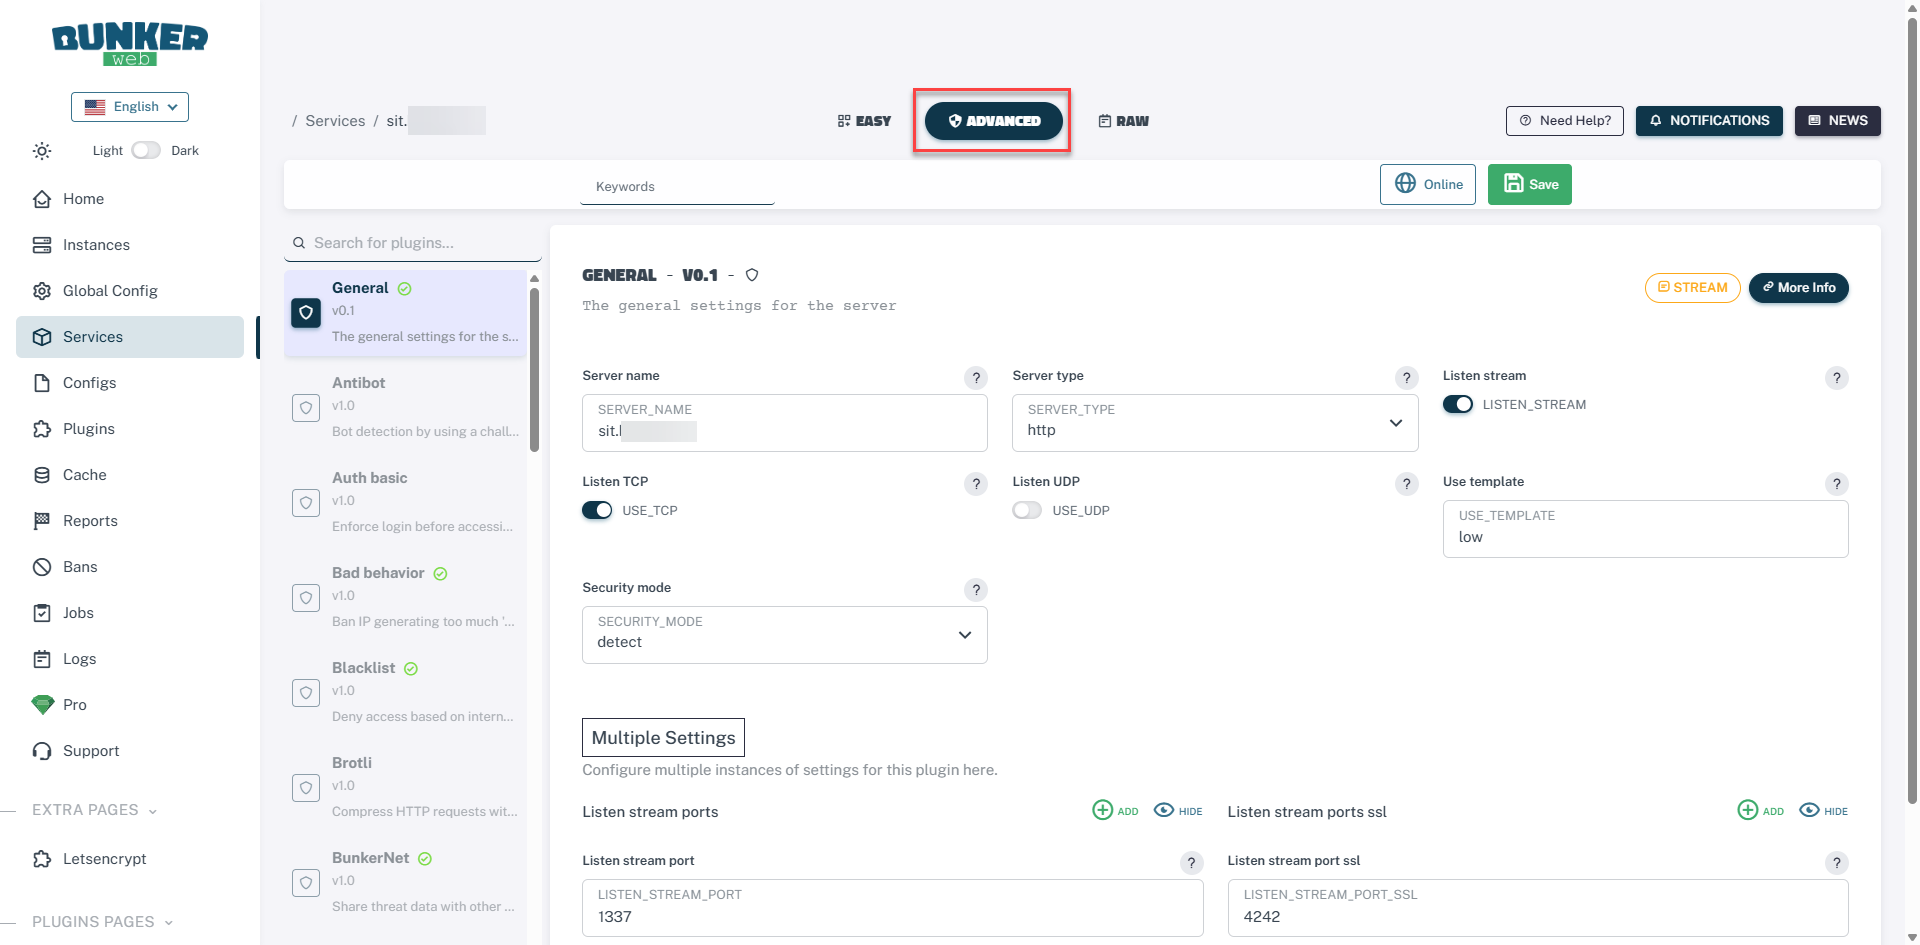
Advanced : allows advanced configuration of each plugin with more options than Easy mode.
RAW : which is directly the configuration file in the form PARAMETER=VALUE.

Then remember to click the Save button to apply the changes.
FAQ – Adding a website or service to BunkerWeb
❓ Can Let’s Encrypt be used directly with BunkerWeb?
Yes, BunkerWeb integrates Let’s Encrypt certificate management. In this tutorial, we have intentionally omitted this aspect, which will be covered in a dedicated article.
❓ What is the best method to add an SSL certificate in BunkerWeb?
There are two methods: inserting the certificate and key in base64 encoding into the configuration, or using files. The file method is recommended because it simplifies management and renewal, especially for a wildcard certificate.
❓ Can multiple sites or services be added to the same BunkerWeb configuration?
Yes, BunkerWeb allows you to manage multiple sites and services in parallel. Simply create a service declaration for each application in your configuration file or your Docker Compose stack.
Conclusion
Adding a website or service to BunkerWeb is straightforward once you understand the configuration logic. Using files to manage your SSL certificates provides greater flexibility and maintainability, especially with wildcard certificates. This approach avoids repetitive modifications during renewals and ensures seamless integration of your services.
In a future tutorial, we’ll see how to automate this part with Let’s Encrypt in order to more easily manage the certificate lifecycle.
