In this tutorial, I will explain how to update GLPI (10 or 11) directly from the command line from the Linux server where it is installed.
The goal here is to update GLPI without using a third-party computer to transfer files to the web server, this avoids having to use an FTP or SSH (SCP) client for file transfer.
For me this is the fastest method.
Before starting any update, you must make sure that you can go back in case of a problem. To do this, you have several solutions:
- Backup GLPI and database from Linux server
- If you are on a virtual machine, make sure you have a backup
- If you are on a virtual machine dedicated to GLPI, you can take a snapshot, which guarantees a quick and easy rollback
Depending on the size of the GLPI database, the update may take more or less time, especially in the case of a version upgrade if records need to be updated, so it will be necessary to plan for application downtime.
Here I will update GLPI from version 11.0.0-beta4 to version 11.0.0-beta5.
To begin, we will put GLPI into maintenance, go to the location where the GLPI folders and files are located on your server.
cd /var/www/glpiEnable maintenance mode:
# utilisateur non root
sudo php bin/console glpi:maintenance:enable
# utilisateur root
php bin/console glpi:maintenance:enable --allow-superuser
Now that GLPI is under maintenance, return to the current user’s folder:
cdGo to the Github repository to retrieve the URL of the desired release.
Download the GLPI archive:
sudo wget https://github.com/glpi-project/glpi/releases/download/11.0.0-beta5/glpi-11.0.0-beta5.tgz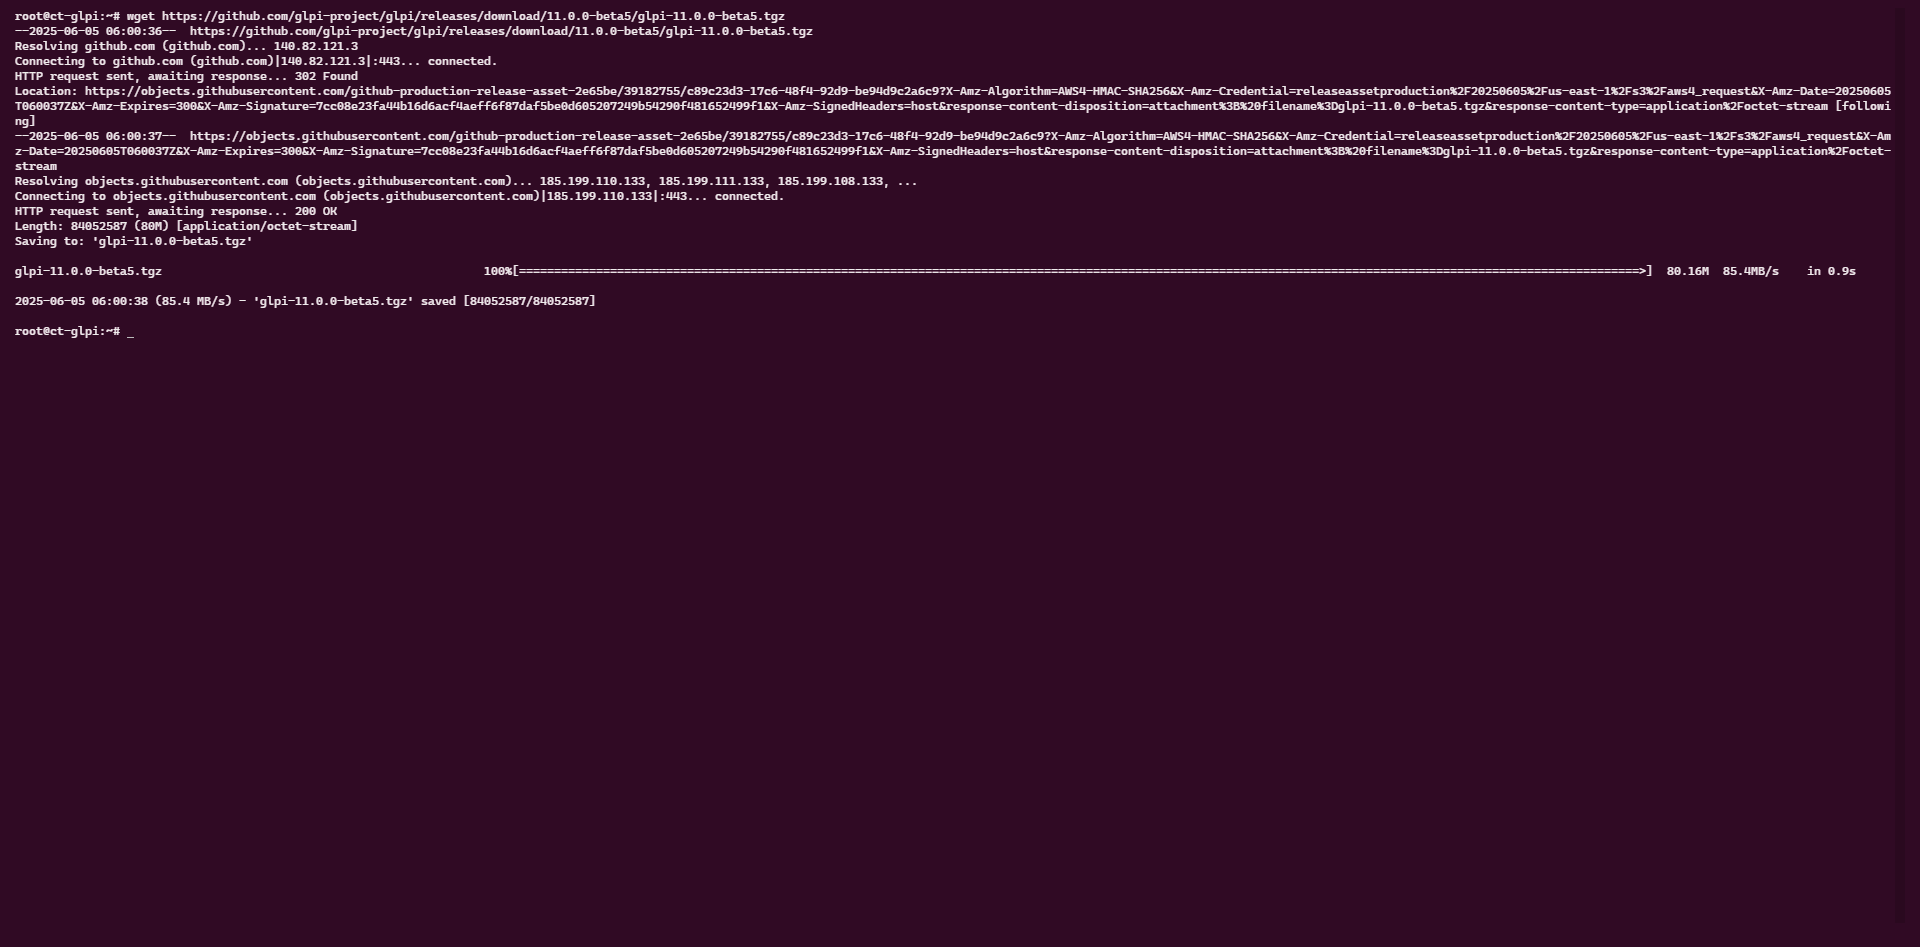
At the location you are in, check if a folder named glpi already exists, if so, delete it!
Unzip the archive:
tar -xvzf glpi-11.0.0-beta5.tgz
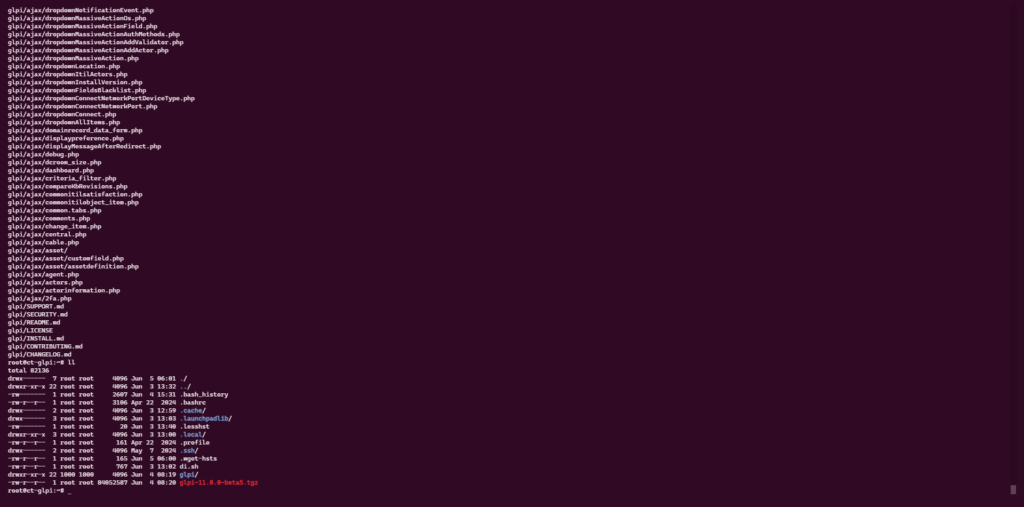
As you can see in the screenshot below, the files were extracted into a folder named glpi.
Now we will move the current GLPI folder:
sudo mv /var/www/glpi /var/www/glpi_oldWe will create the glpi folder again:
sudo mkdir -p /var/www/glpiMove the files from the downloaded archive:
sudo mv glpi/* /var/www/glpiWe will now put the original configuration files, plugins, etc. back into the GLPI folder:
sudo cp -r /var/www/glpi_old/files /var/www/glpi
sudo cp -r /var/www/glpi_old/config /var/www/glpi
sudo cp -r /var/www/glpi_old/marketplace /var/www/glpi
sudo cp -r /var/www/glpi_old/plugins /var/www/glpi
Par mesure de sécurité, vérifier le dossier config que les fichiers soient présents et aussi le contenu du fichier de configuration :

Restore the correct rights to the glpi folder:
sudo chown www-data:www-data /var/www/glpi -RFrom a browser, go to the URL of your GLPI installer and launch the update by following the wizard.
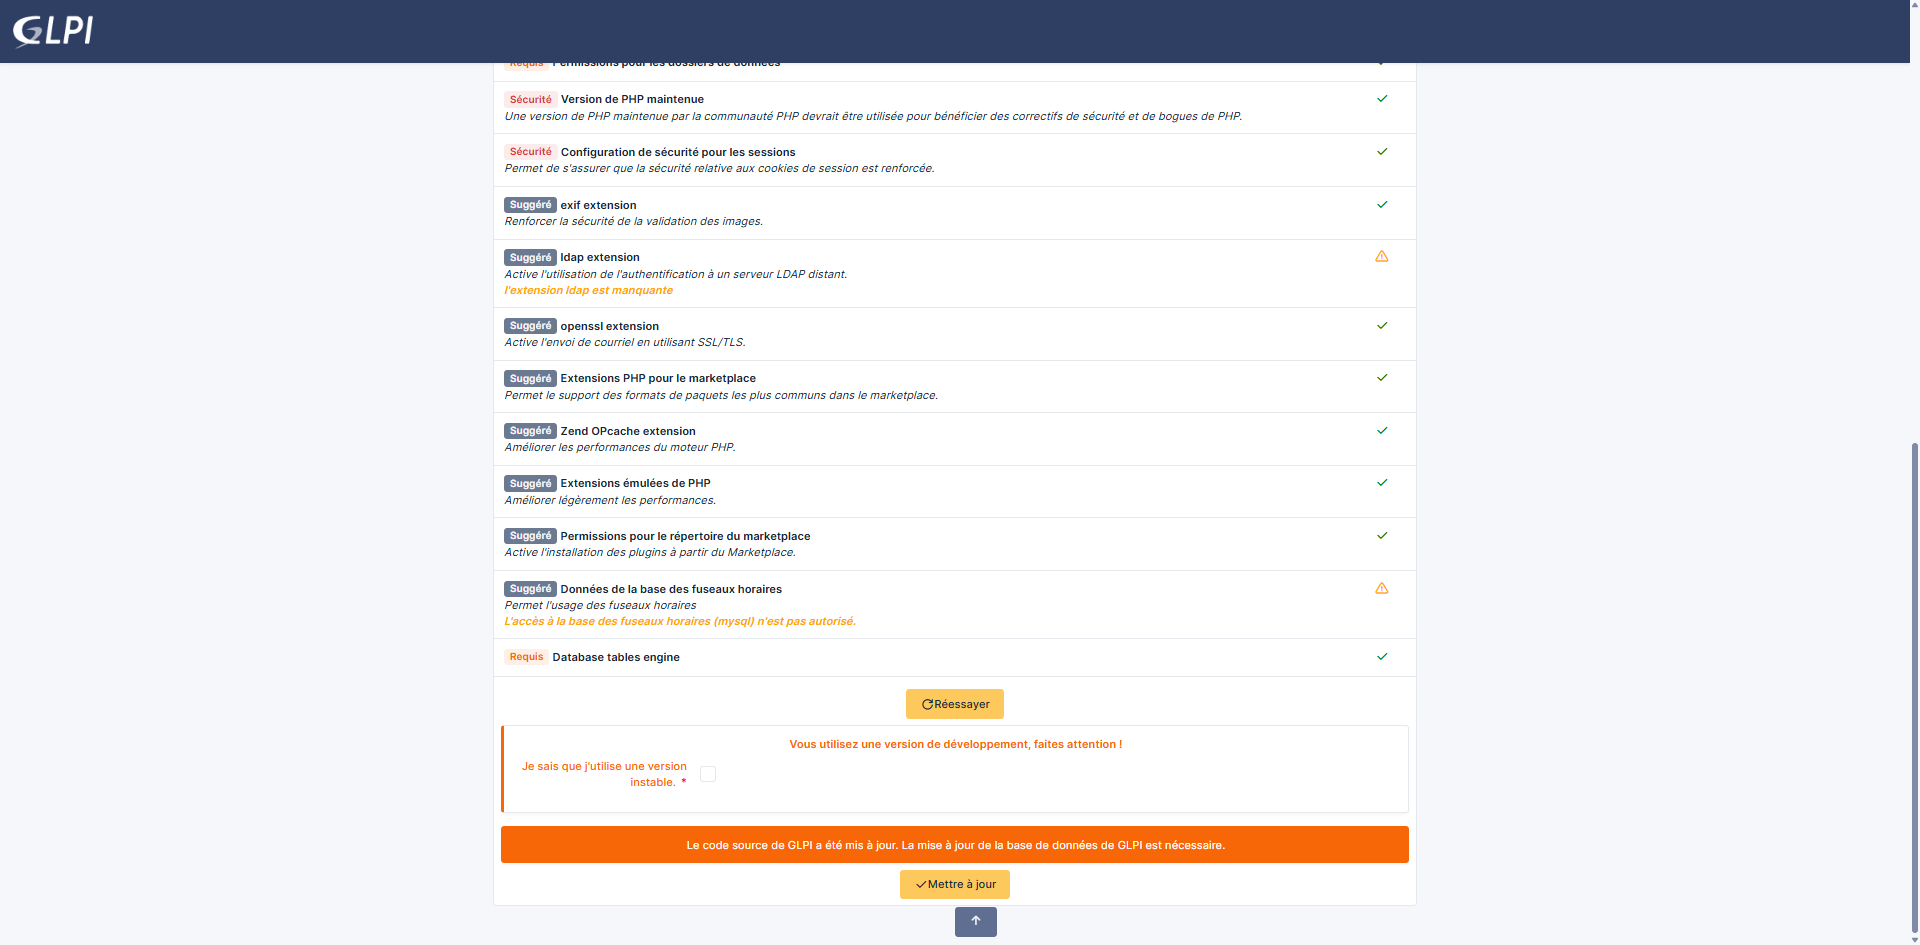
If you prefer to stay in the terminal, it is possible to update the GLPI database from the command line.
Go to the GLPI folder:
cd /var/www/glpiLaunch the prerequisite check:
# utilisateur non root
sudo php bin/console glpi:system:check_requirements
# utilisateur root
php bin/console glpi:system:check_requirements --allow-superuser
Start the update if there are no problems:
# utilisateur non root
sudo php bin/console db:update
# utilisateur root
php bin/console db:update --allow-superuser
Once the update is complete, delete the glpi install folder:
sudo rm /var/www/glpi/install -rGLPI exit from maintenance mode:
# utilisateur non root
sudo php bin/console glpi:maintenance:disable
# utilisateur root
php bin/console glpi:maintenance:disable --allow-superuser
You now know how to update GLPI online. While reading this may seem long, it is still faster than doing it on a computer using an FTP client.

getting error