
In this tutorial, I will explain how to configure a Client-to-Site VPN with PFsense using OpenVPN.
As a reminder, a VPN allows you to connect from a remote location to the company network to access various services.
To begin, you will need a firewall. pfSense Then :
- A fixed IP address and ideally a DNS name for the connection; in this tutorial, I will use the DNS openvpn.rdr-it.local.
Table of Contents
Creating certificates
To begin, we will create a certificate authority and a certificate dedicated to OpenVPN on the pfSense firewall.
Create the certification authority
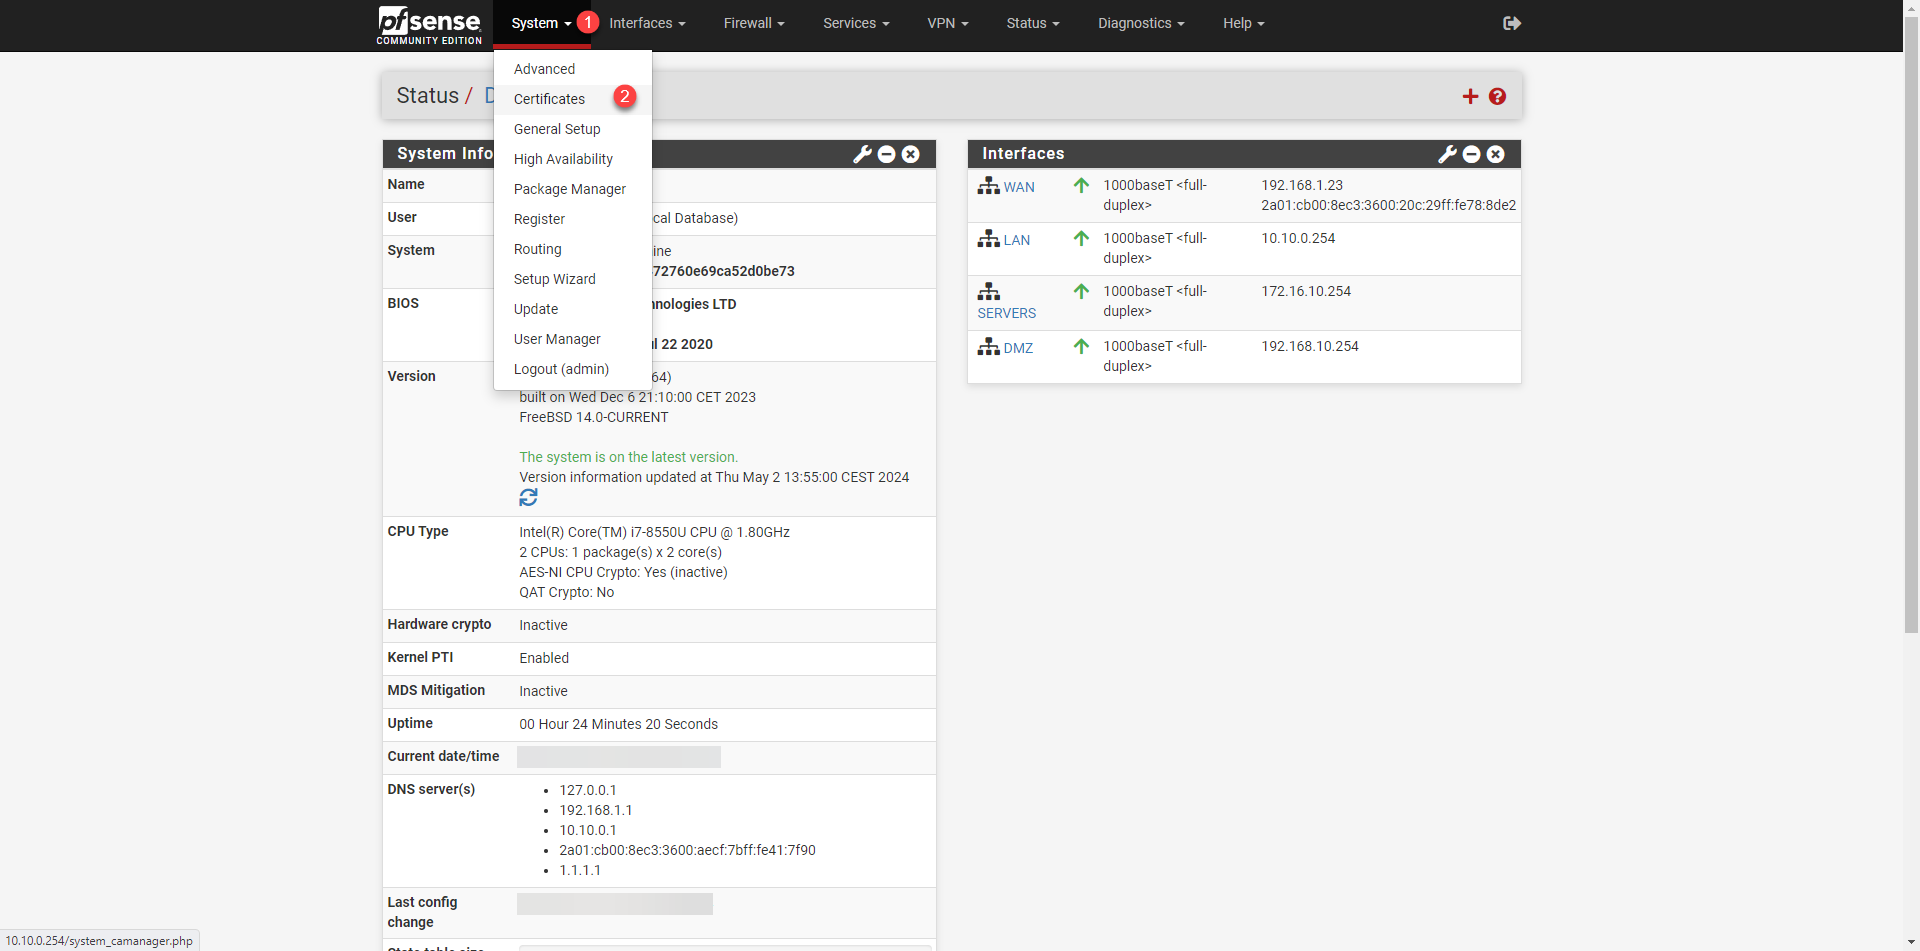
From the menu, click on System 1 then on Certificates 2.
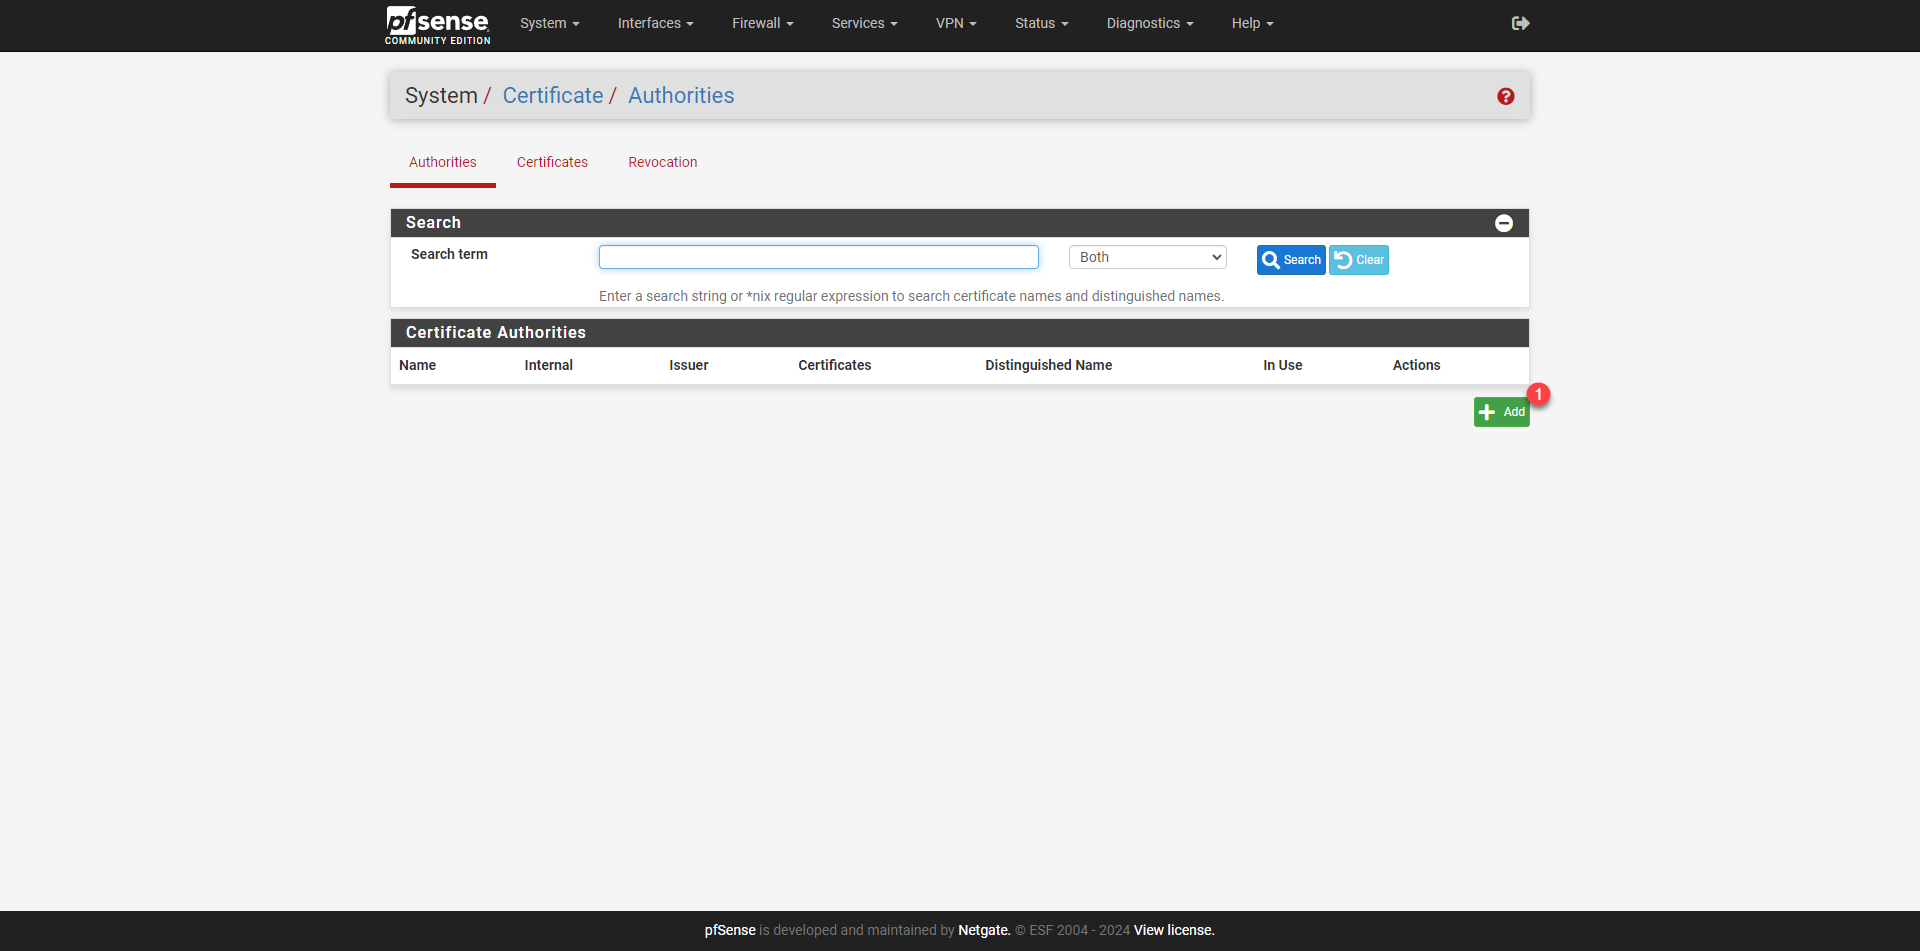
By default, you arrive at the Certification Authority section, click on the + Add 1 button.
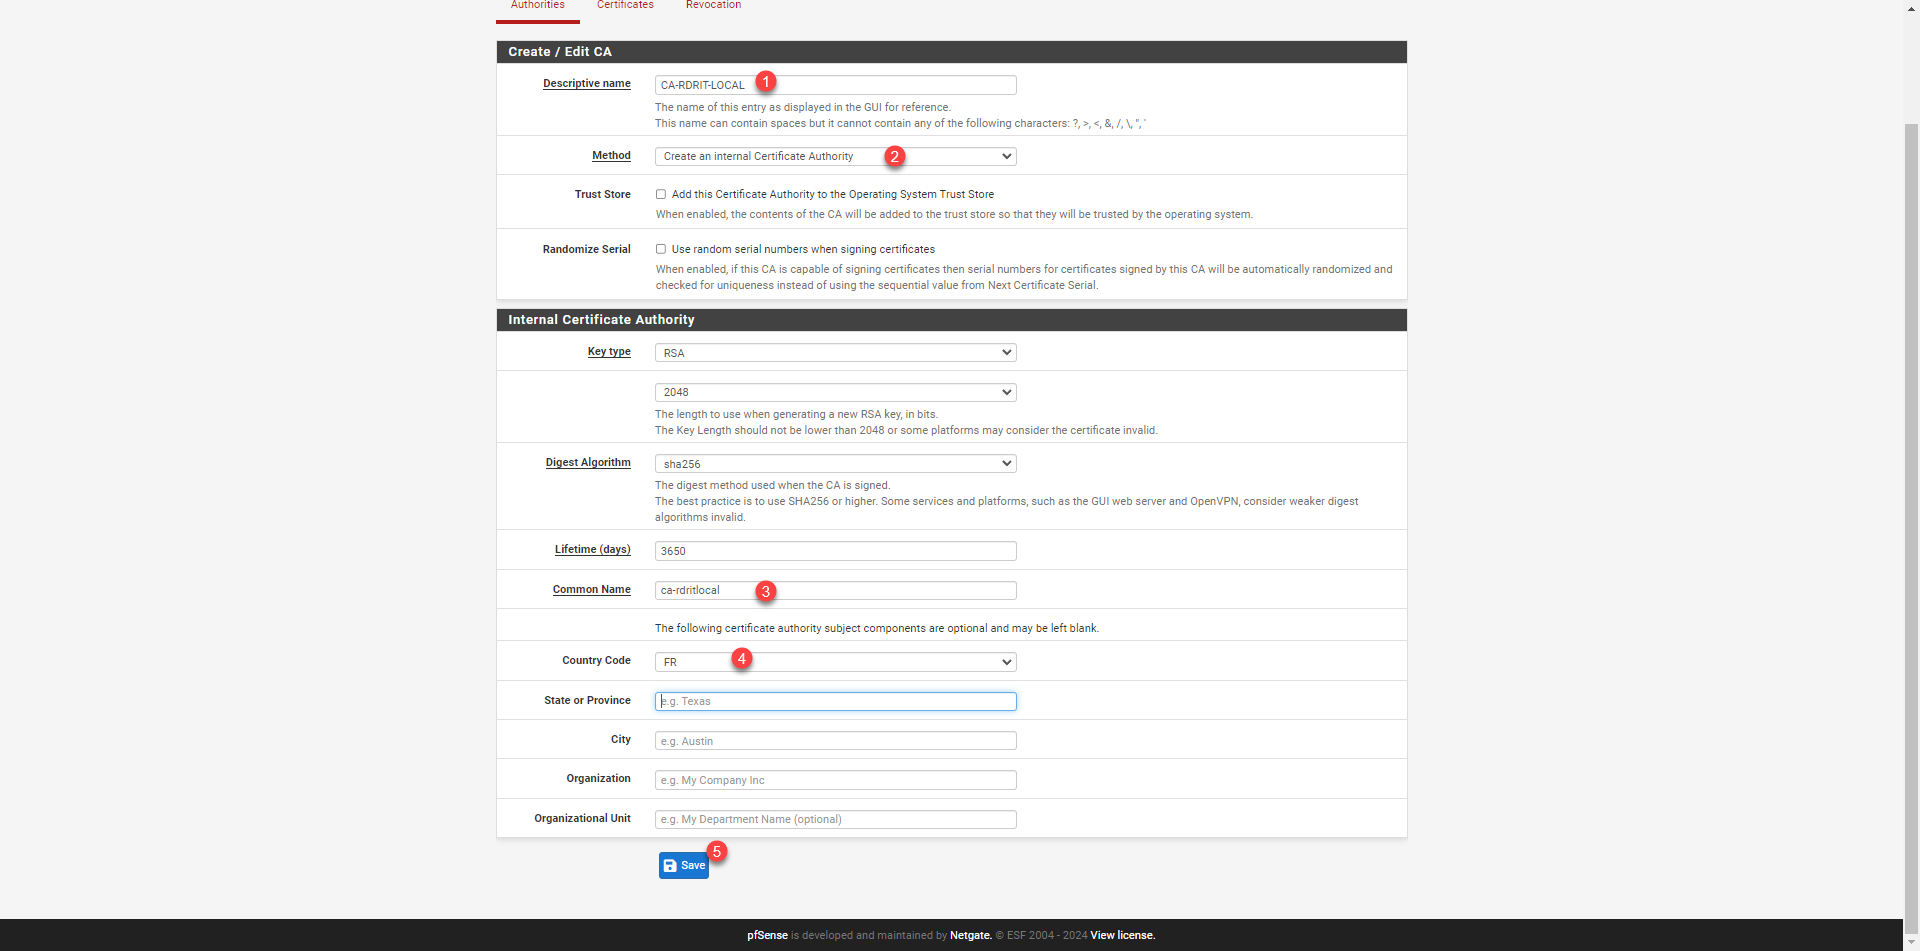
Give a name to the certification authority 1 then select Create an internal Certificate Authority 2, then enter the Common Name 3 and indicate the country code 4 and click on Save 5.
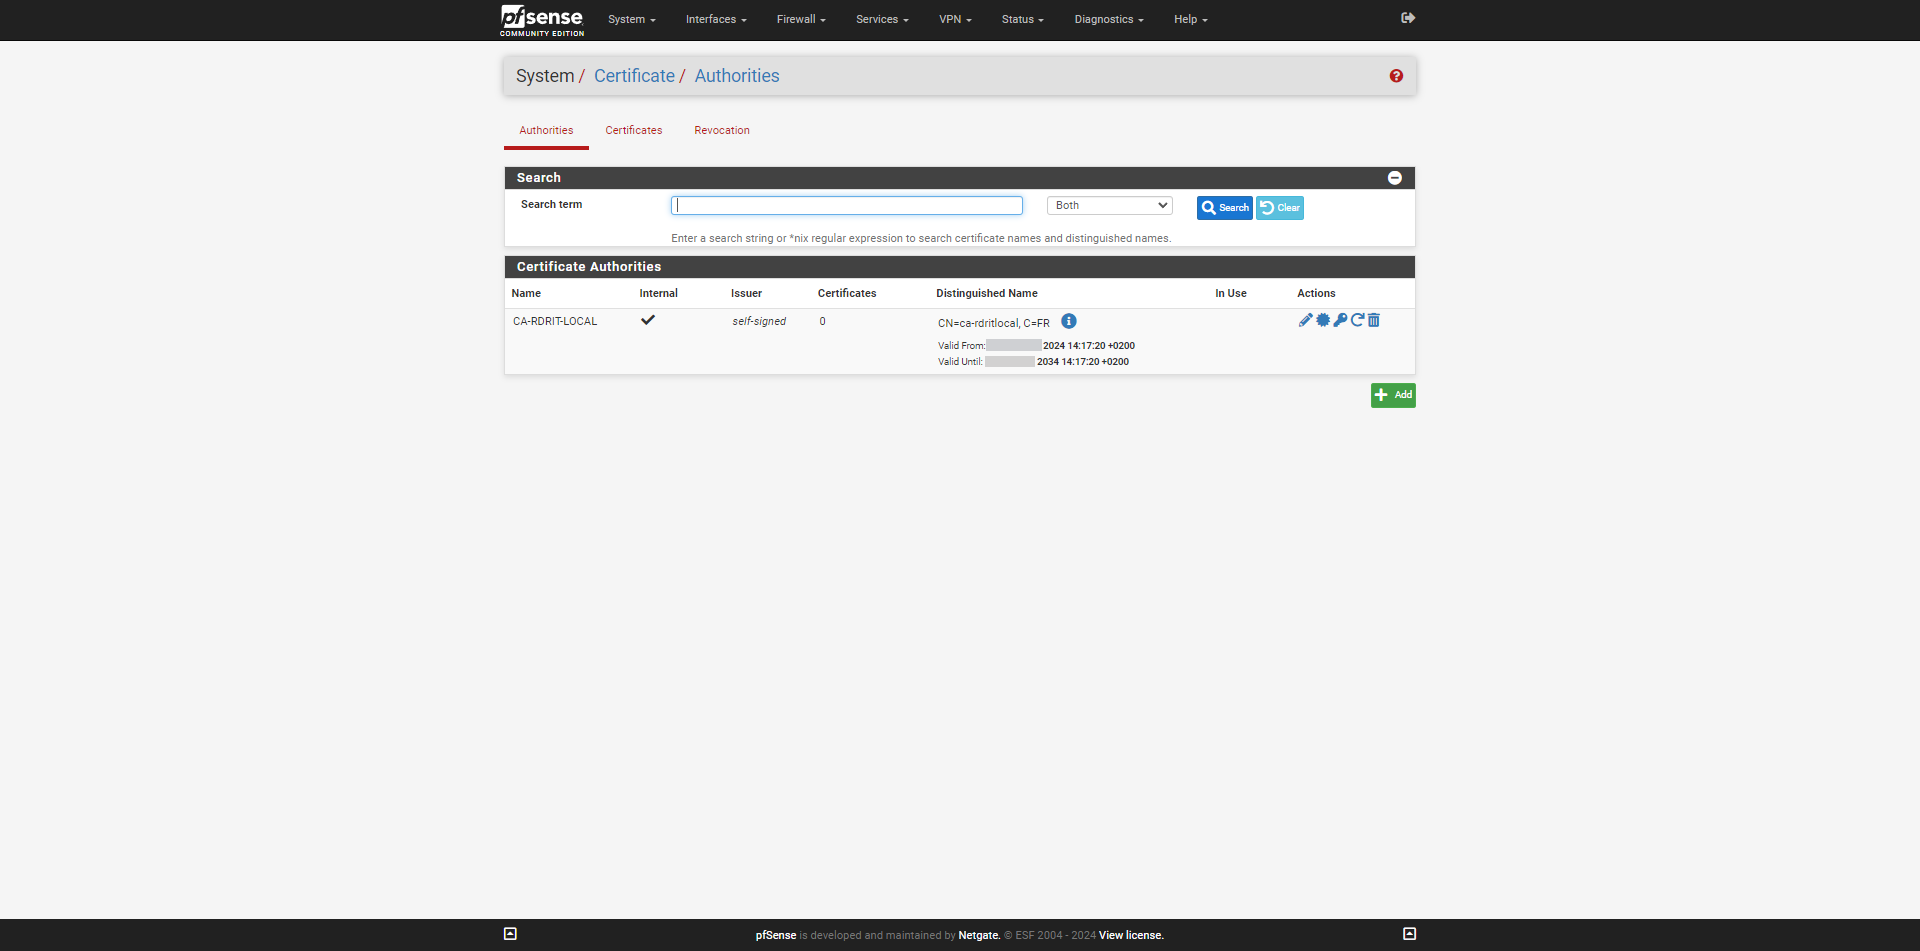
The certification authority is created; by default, it has a lifespan of 10 years.
Creating the server certificate
We will now create a server certificate based on the certificate authority we just created, which will be used by the OpenVPN service.
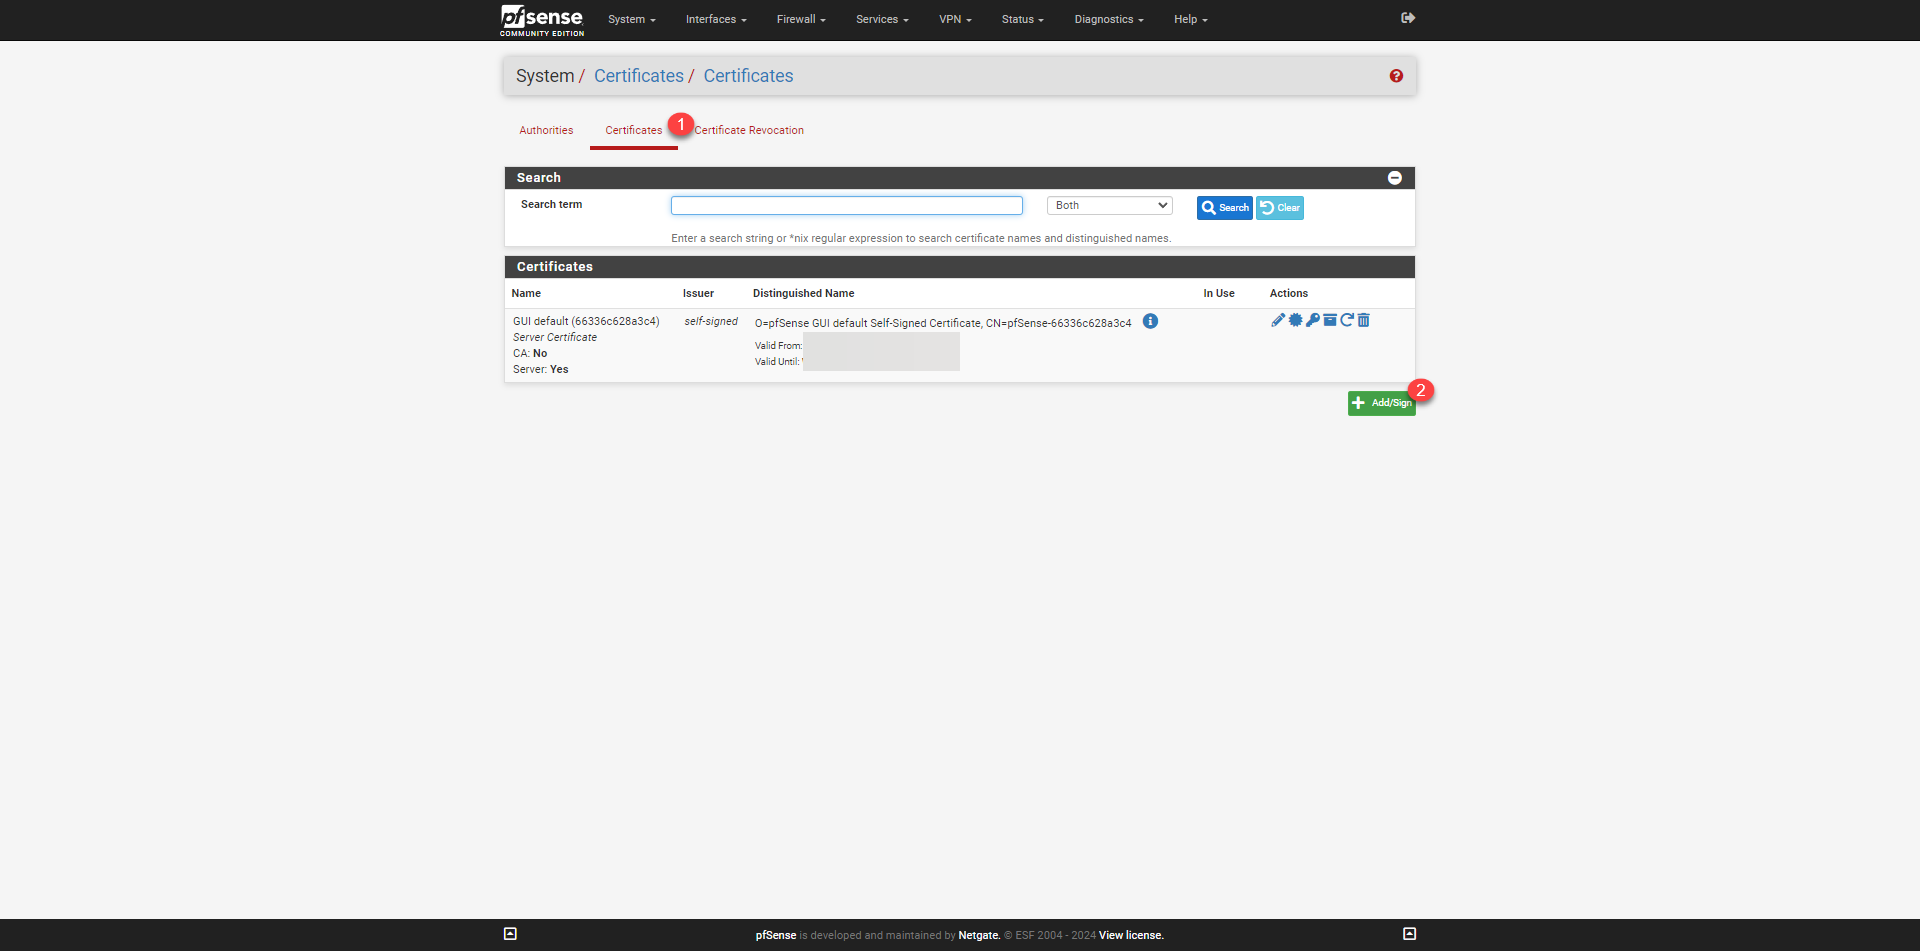
Go to the certificates page on pfSense and click on Certificates 1 then on Add/Sign 2.
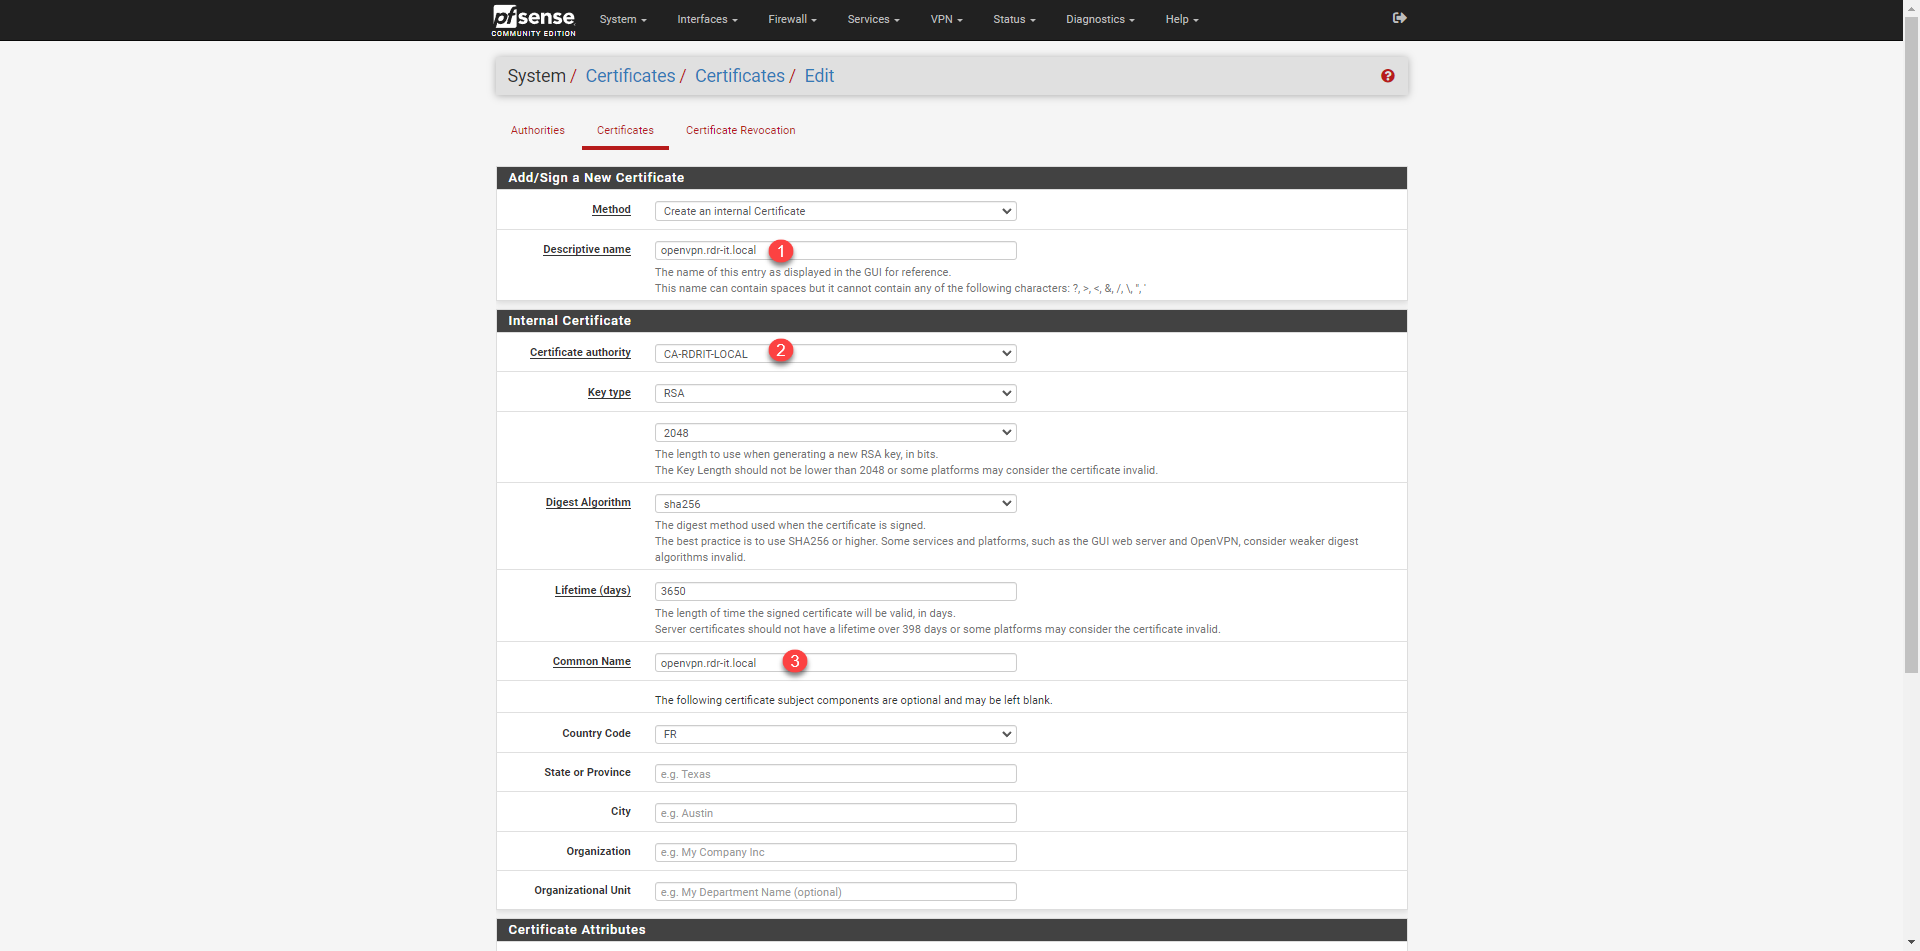
Start by indicating a name 1 for the certificate, select the certification authority 2 that was created previously, enter the Common Name 3 (usually the fqdn name).
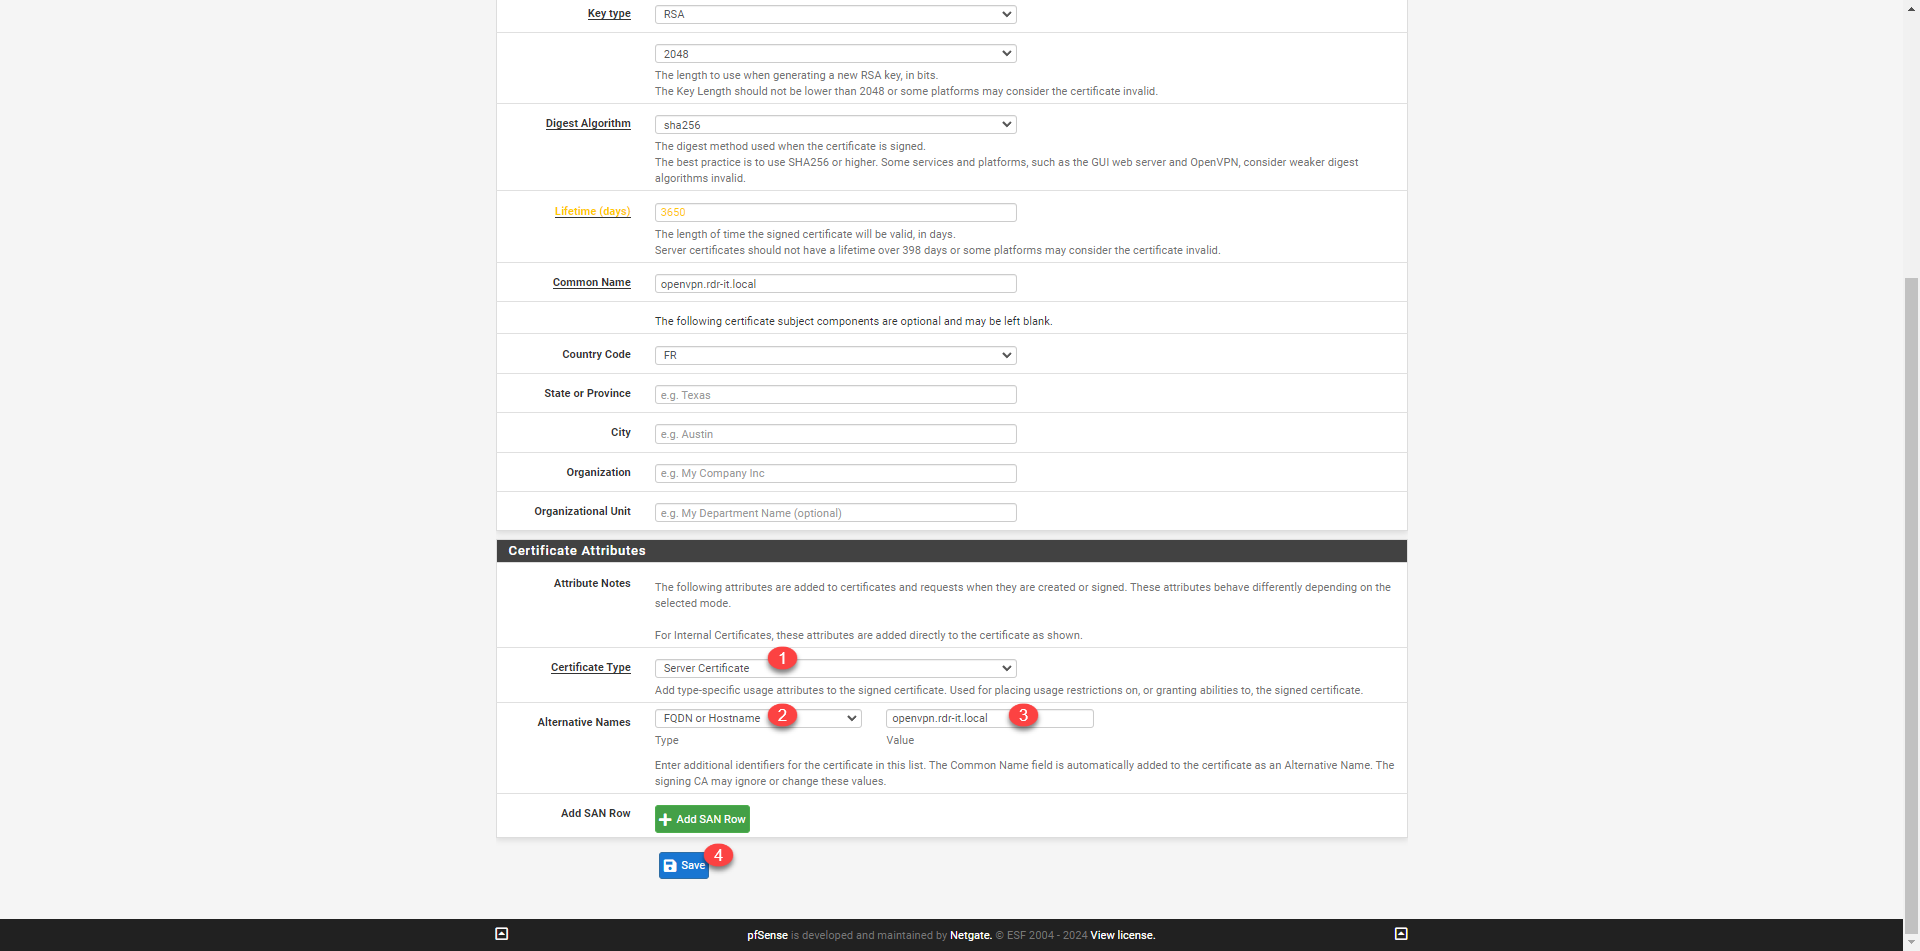
In the Certificate Attributes section, select the Server Certificate type 1 then select FQDN or Hostname 2 and enter the DNS name 3 which will be used for the VPN connection and click on Save 4.
The certificate has been created.
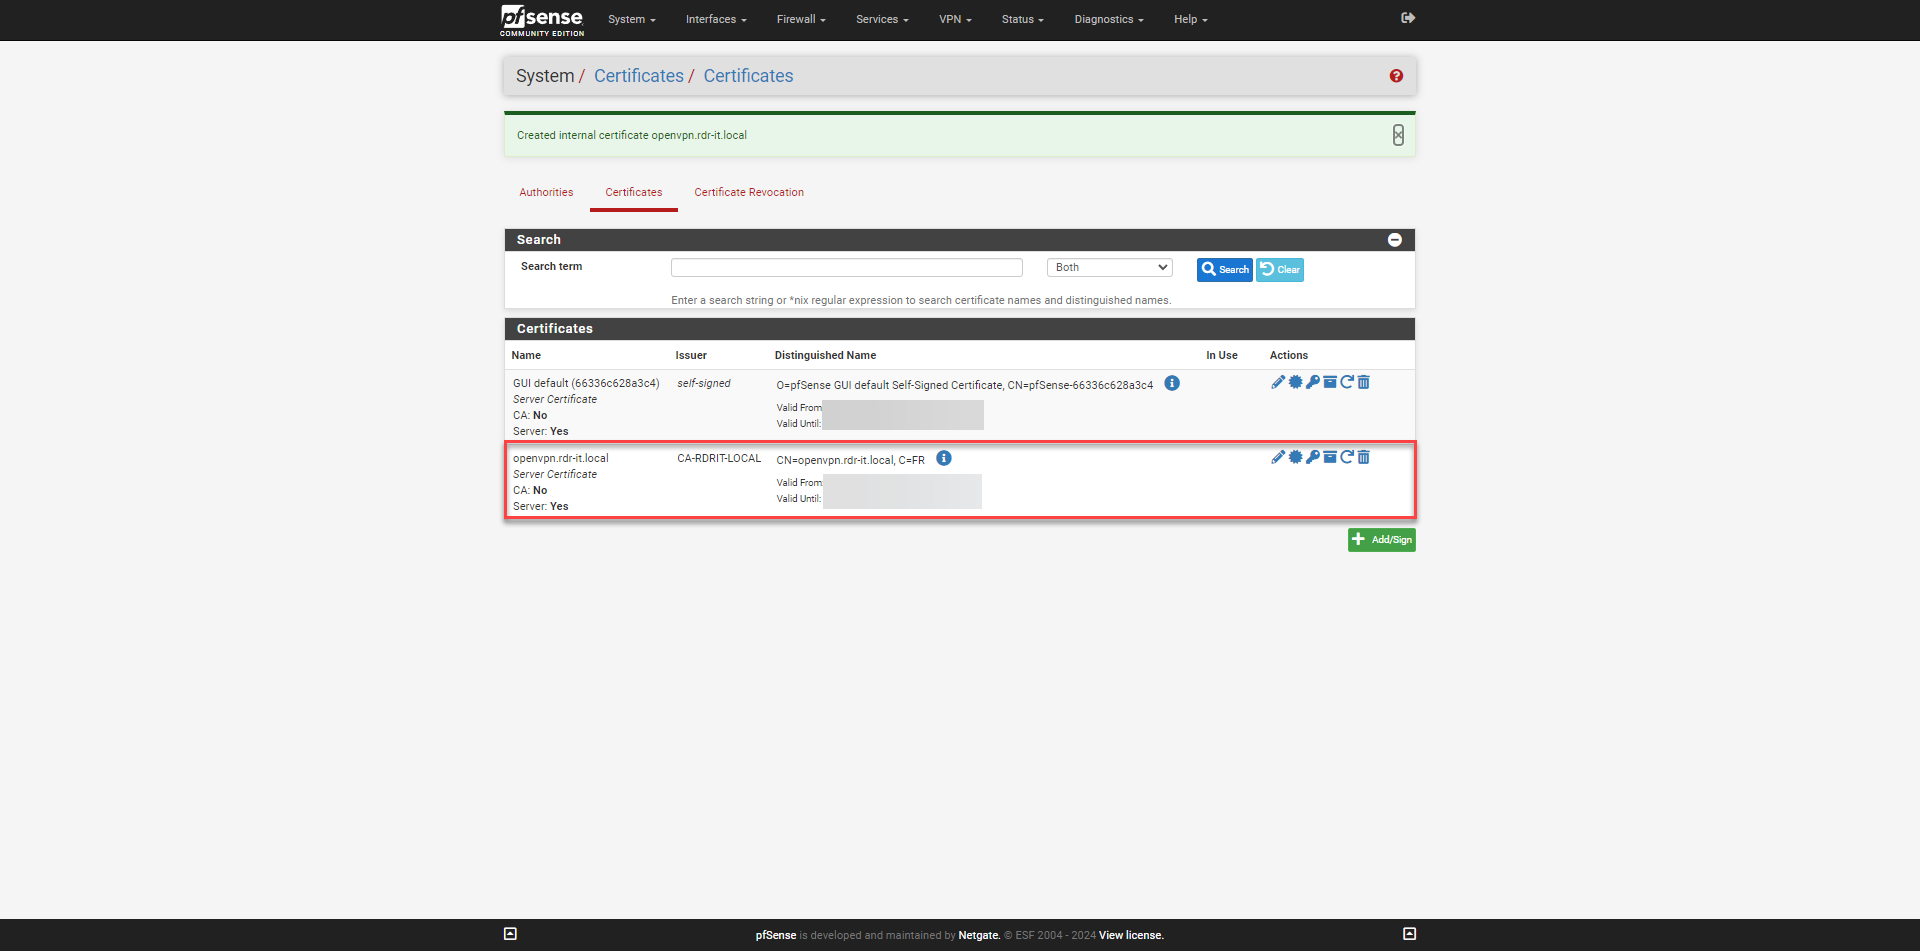
The certificates are ready.
Creating a user
For this tutorial, I will create a user in the local firewall database with which I will connect to the VPN.
Since access management is “limited”, if you don’t have many users, I advise you to manage users locally on the firewall rather than making an AD connection, otherwise you have to make an AD connection while limiting the users who are members of a group in the AD directory.
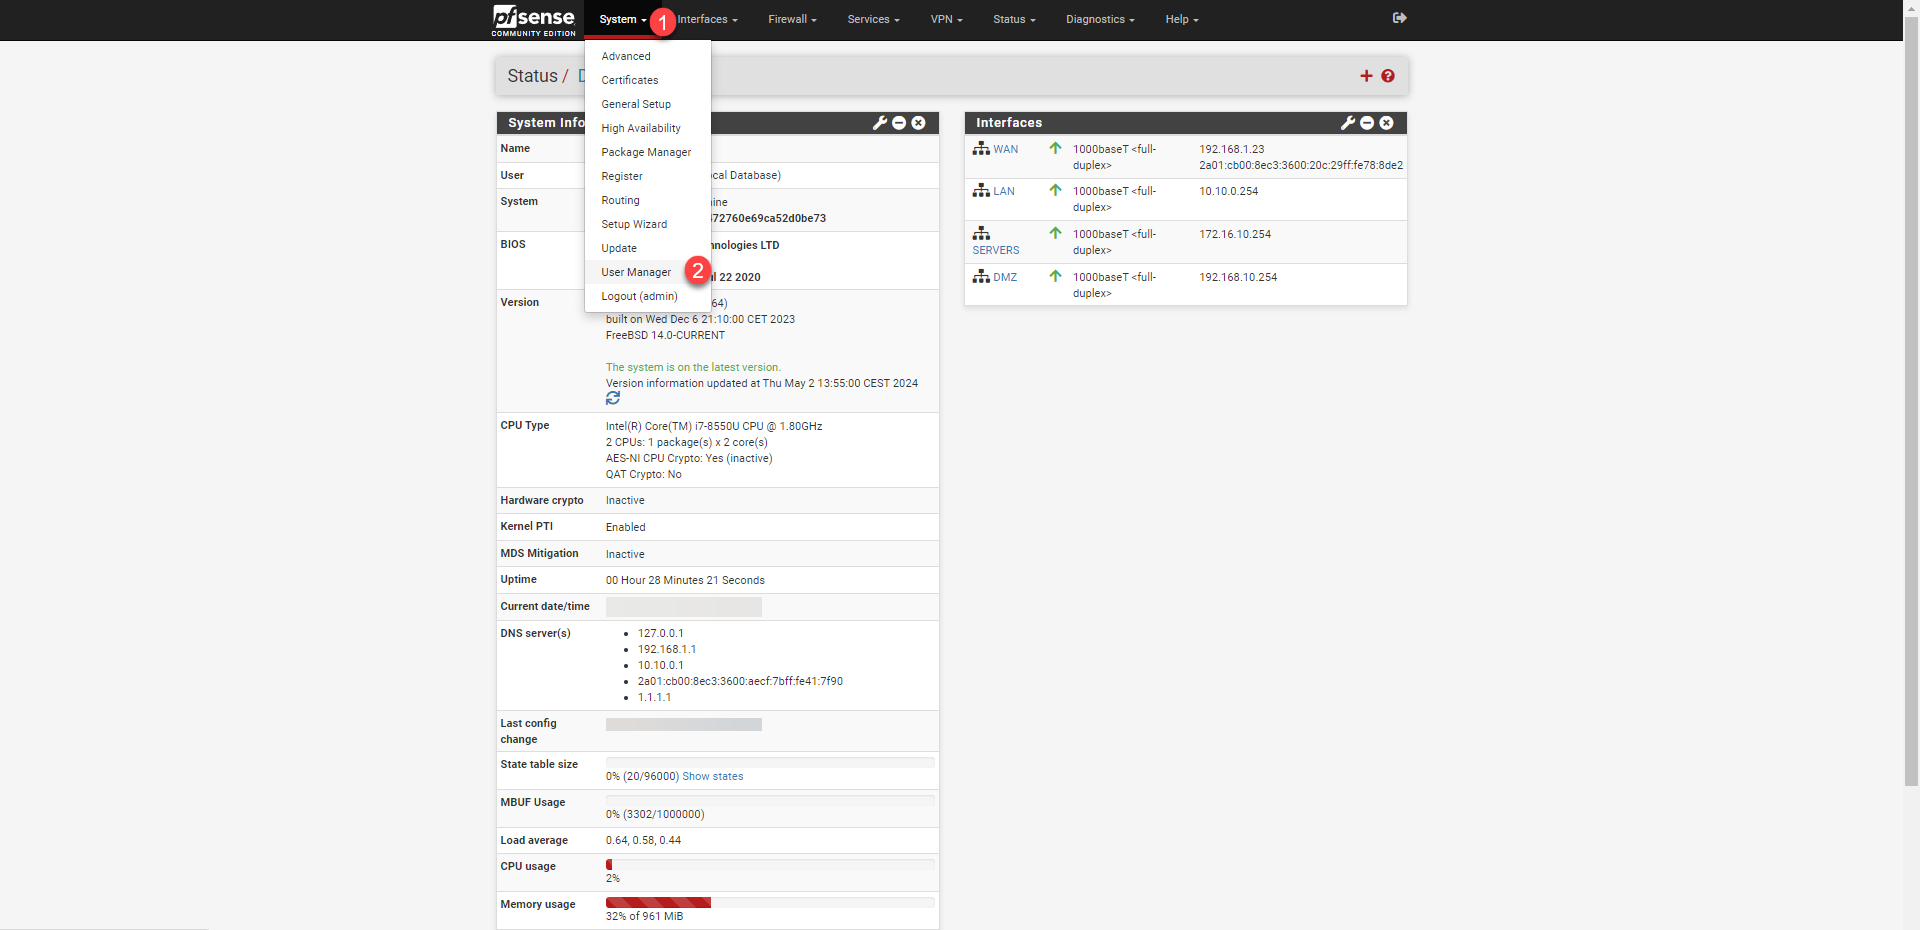
From the menu, click on System 1 then on User Manager 2.
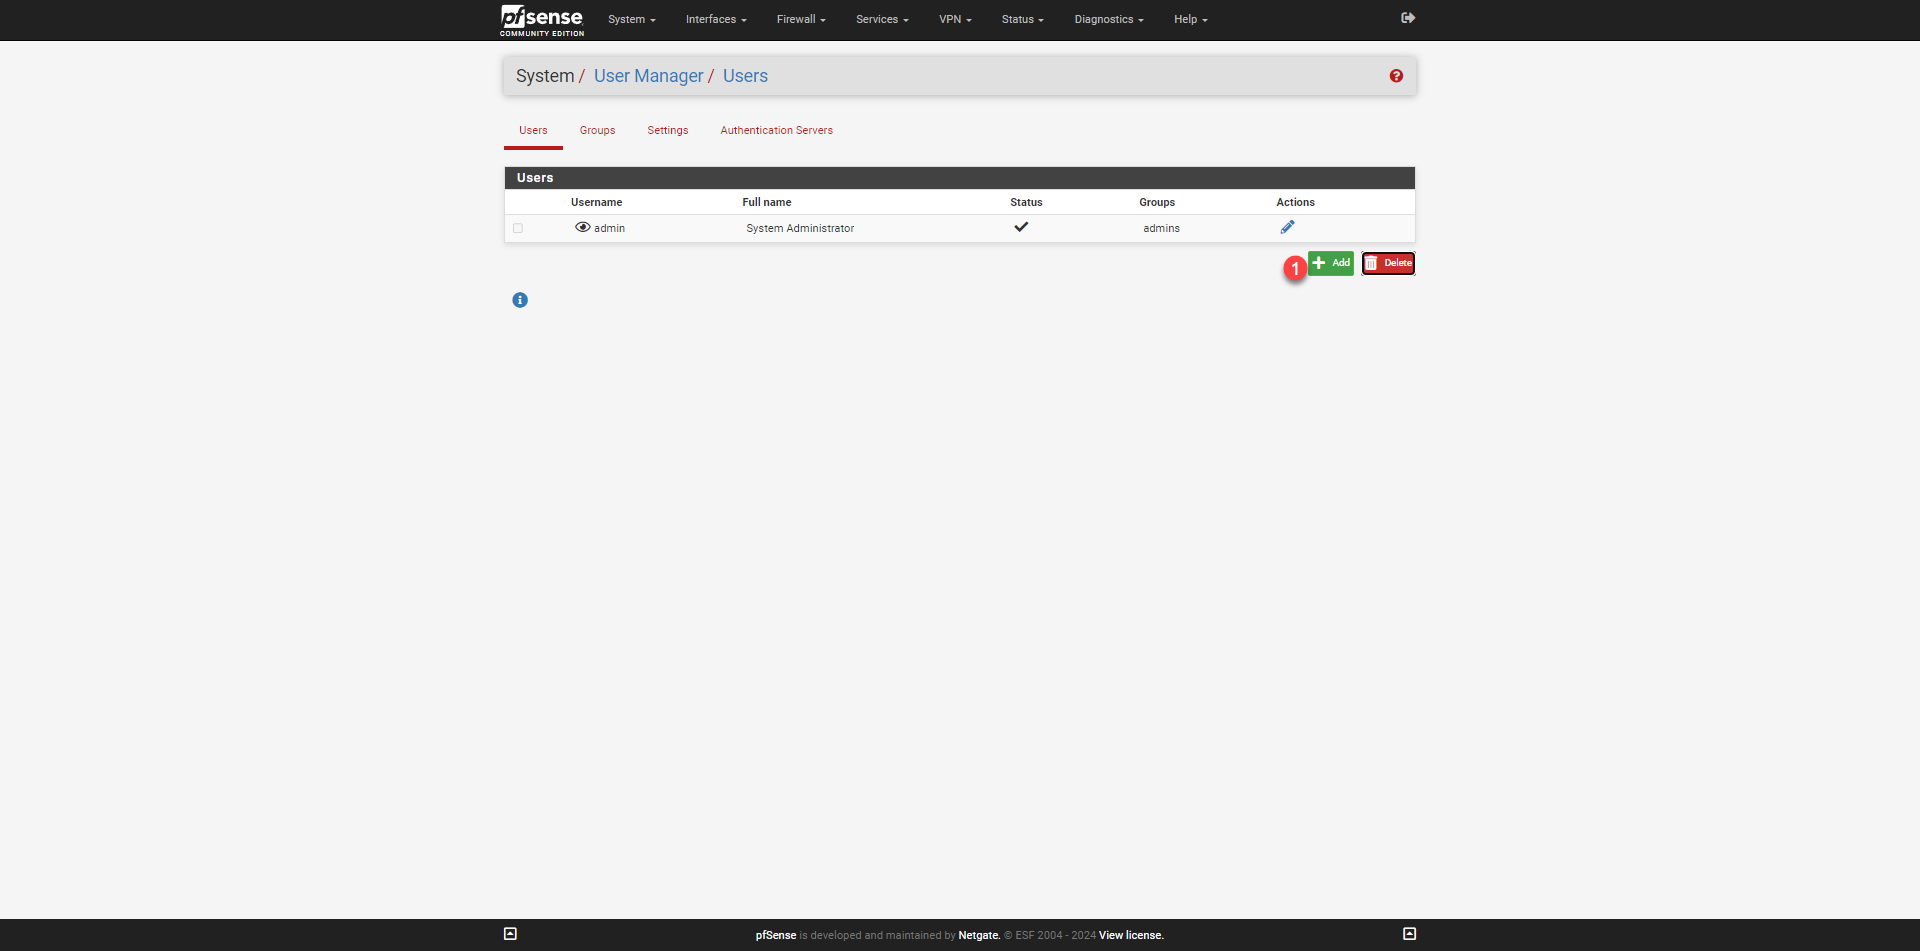
Click the Add 1 button to create a new user.
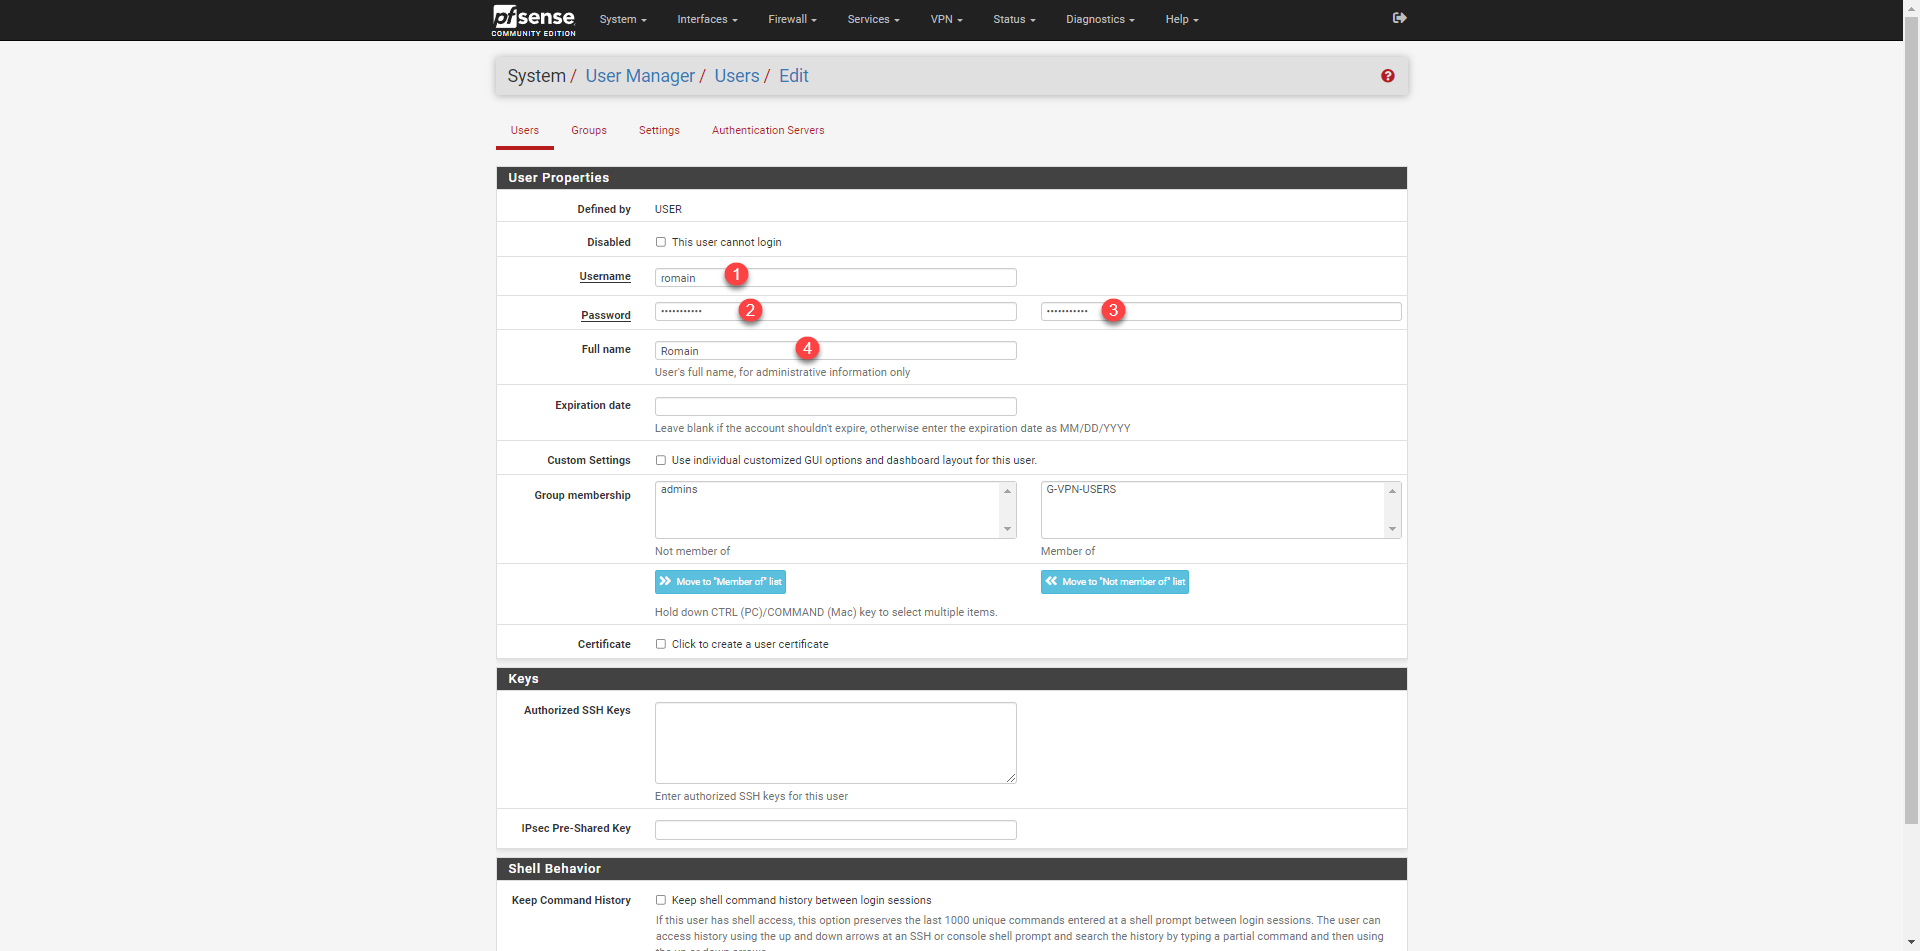
Start by entering the username 1 (identifier) then the password 2 and 3 and enter the name 4 (Fullname).
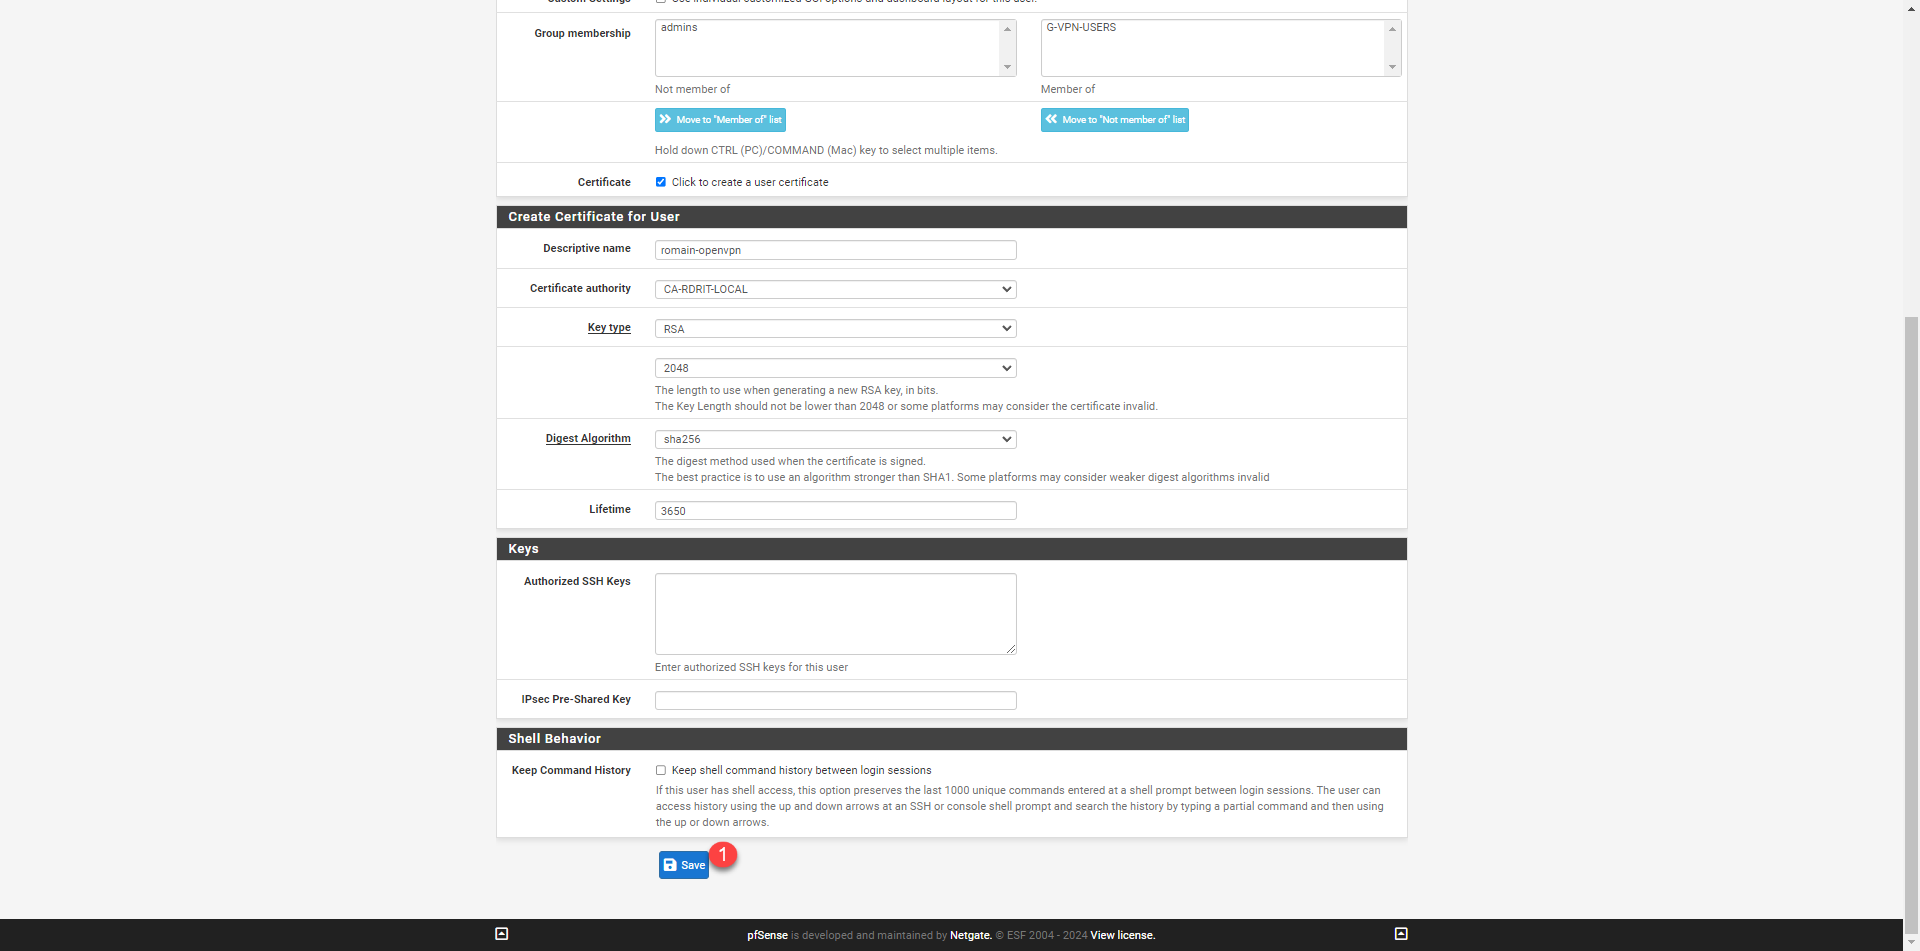
If you want to enable certificate authentication in addition to the password, check the box Click to create a user certificate 1, then enter the name of the certificate 2 and then select the certification authority 3 that will issue the certificate.

Complete user creation by clicking the Save 1 button located at the bottom of the page.
The user is created.
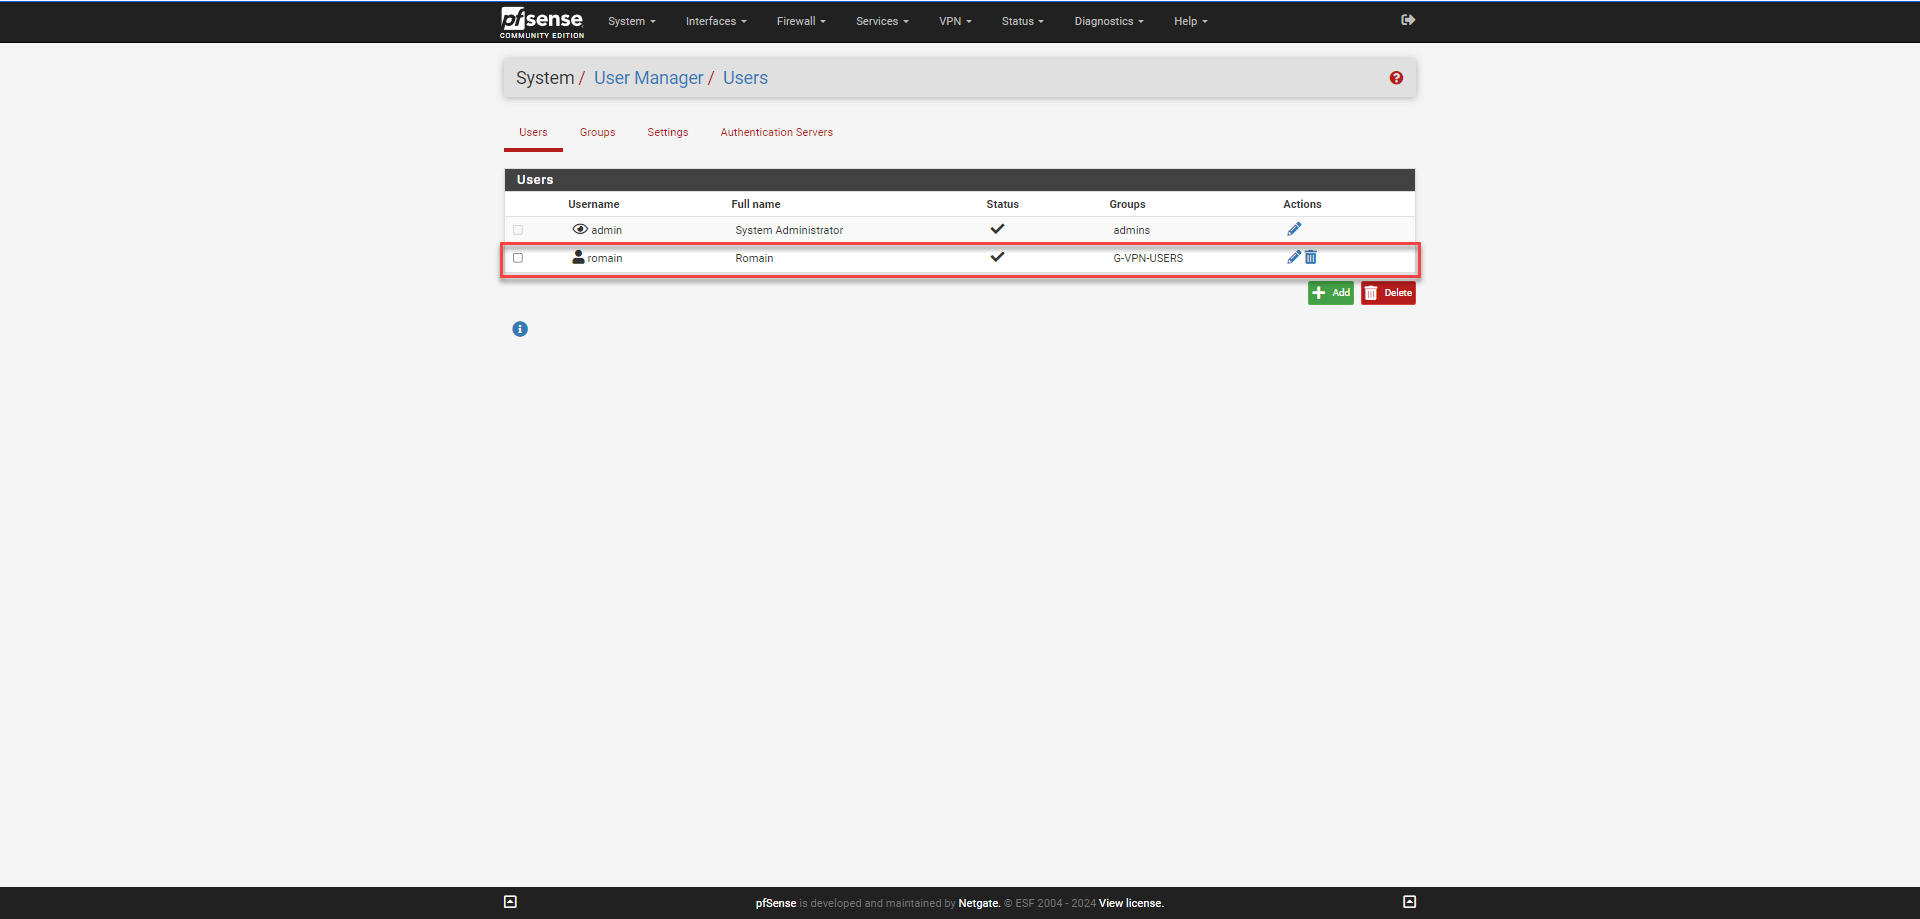
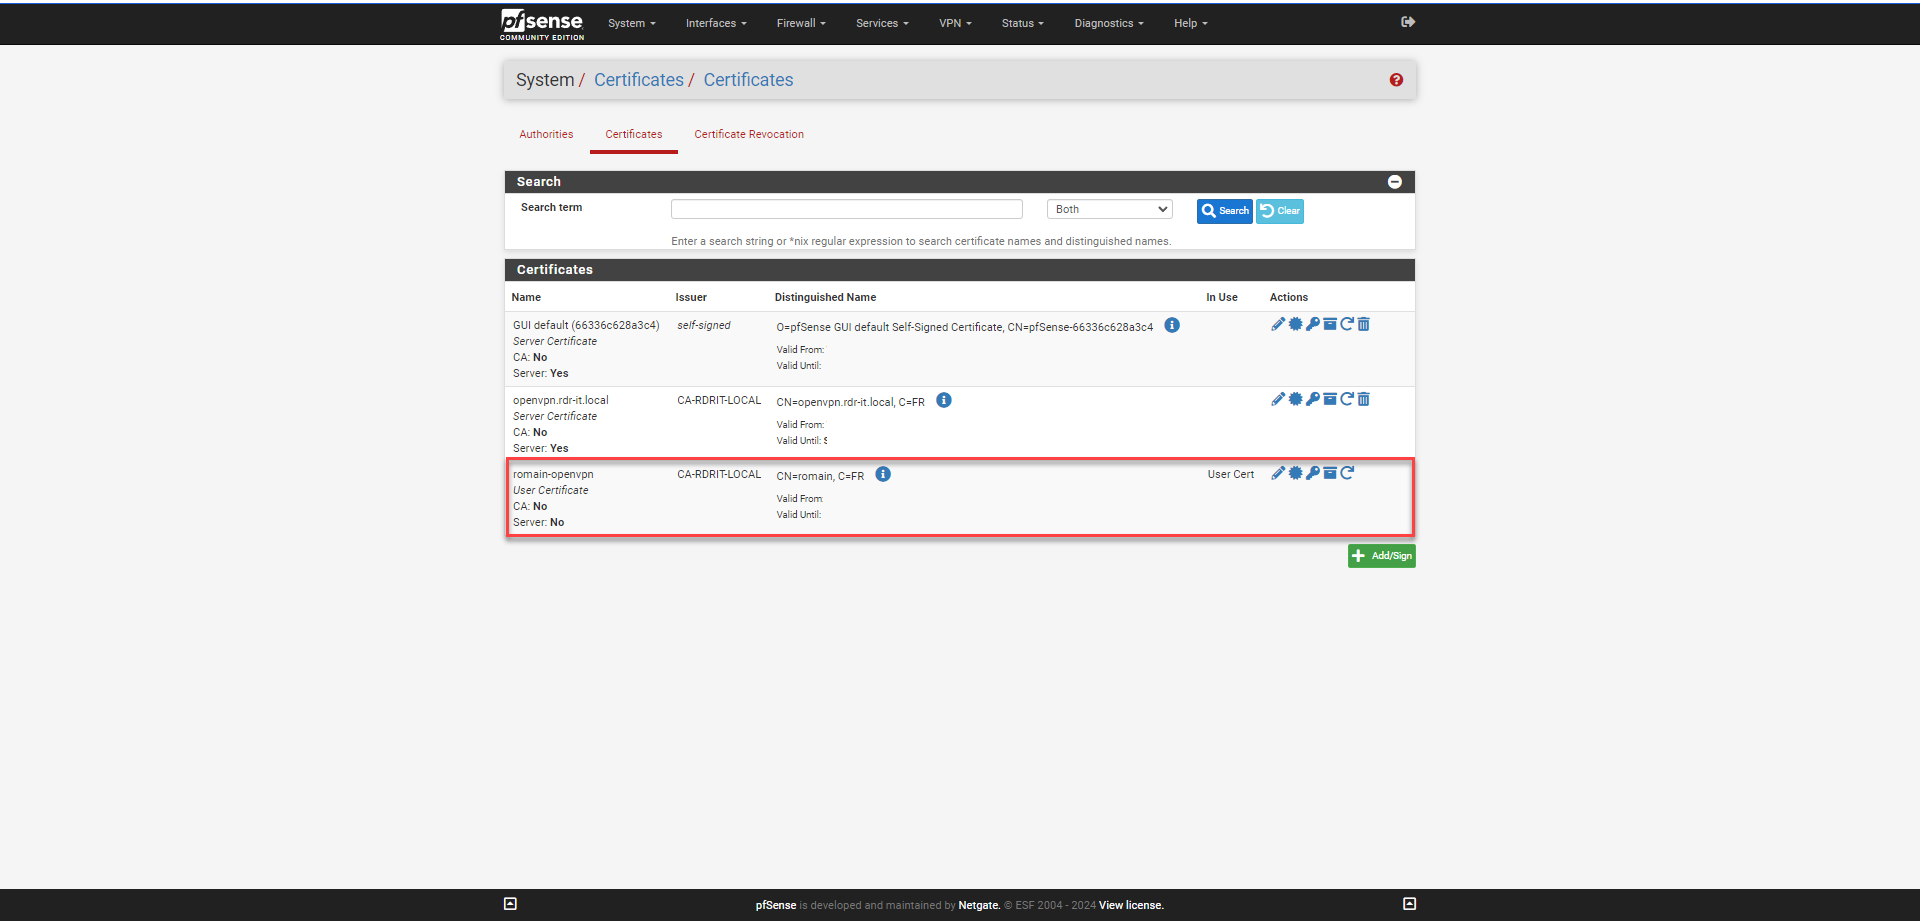
If you have enabled user certificate creation, it can also be found in the pfSense firewall certificates.
OpenSSL VPN configuration
Now that we have met the prerequisite, we will move on to configuring the SSL VPN with OpenVPN.
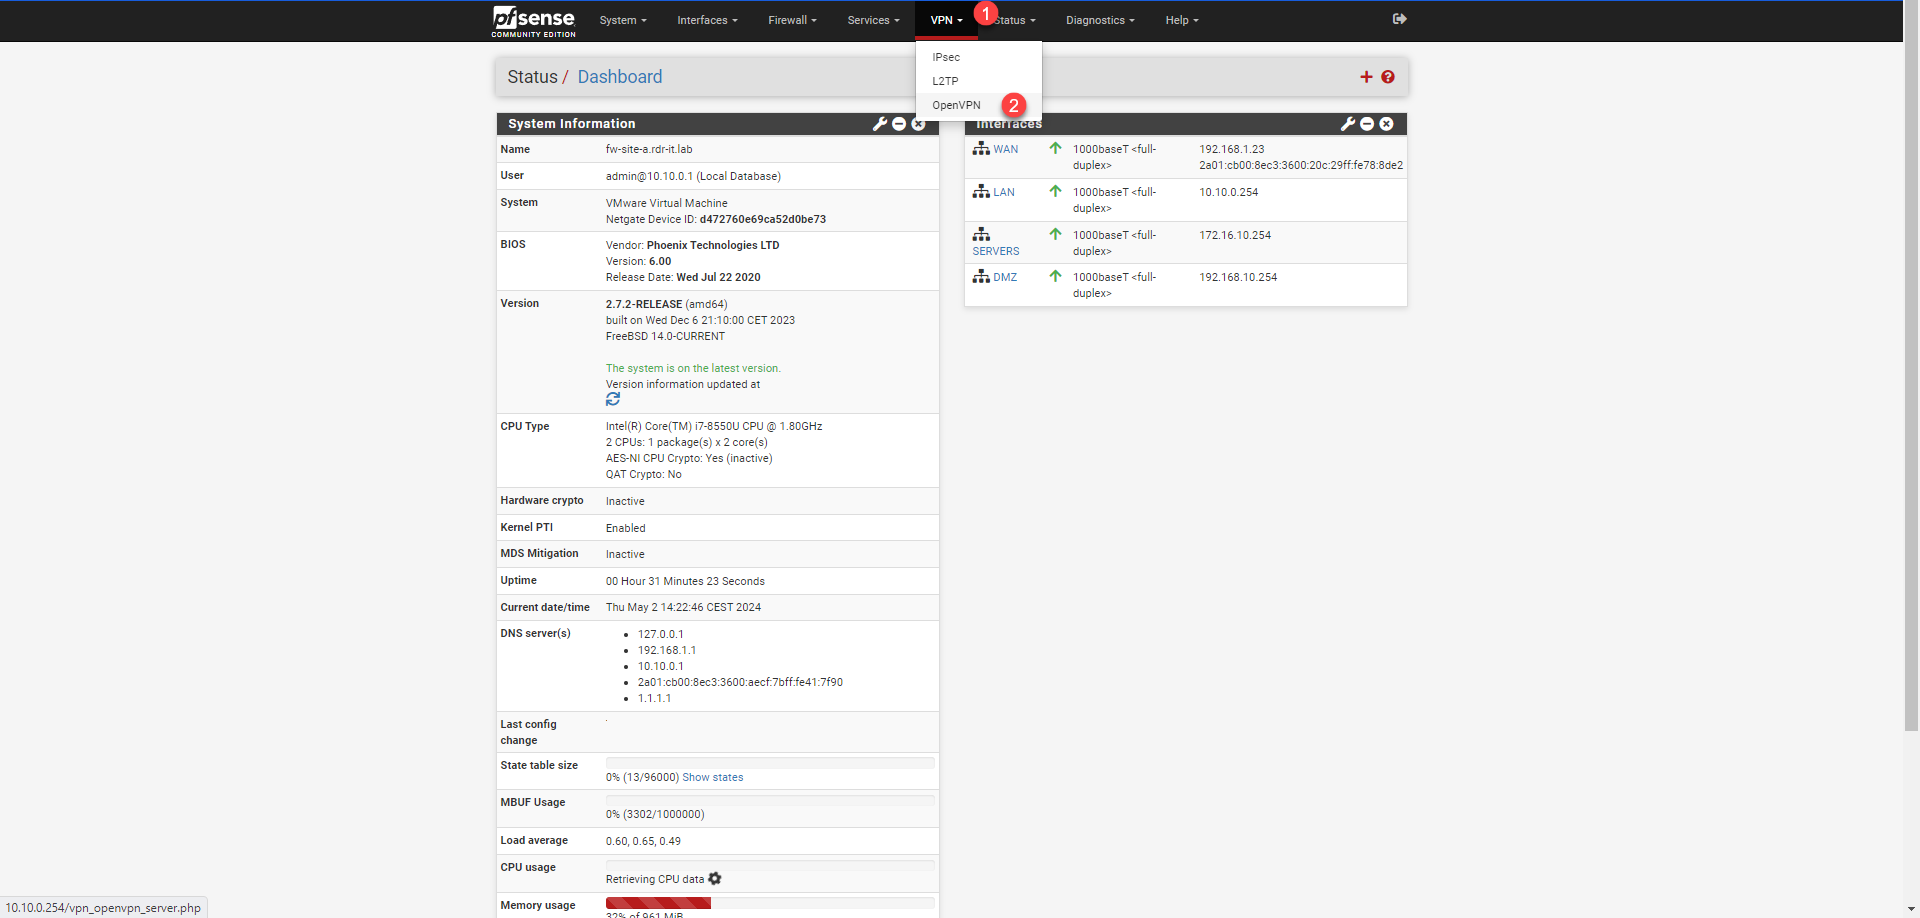
By default, pfSense offers three types of VPN: IPsec, L2TP and OpenVPN.
In this section, I will give you several different configurations, noting that in this lab, I did not use authentication with user certificate because the OpenVPN client on Windows 11 does not configure correctly.
From the menu click on VPN 1 then on OpenVPN 2.
Here, we will configure the Server part, click on the Add 1 button.
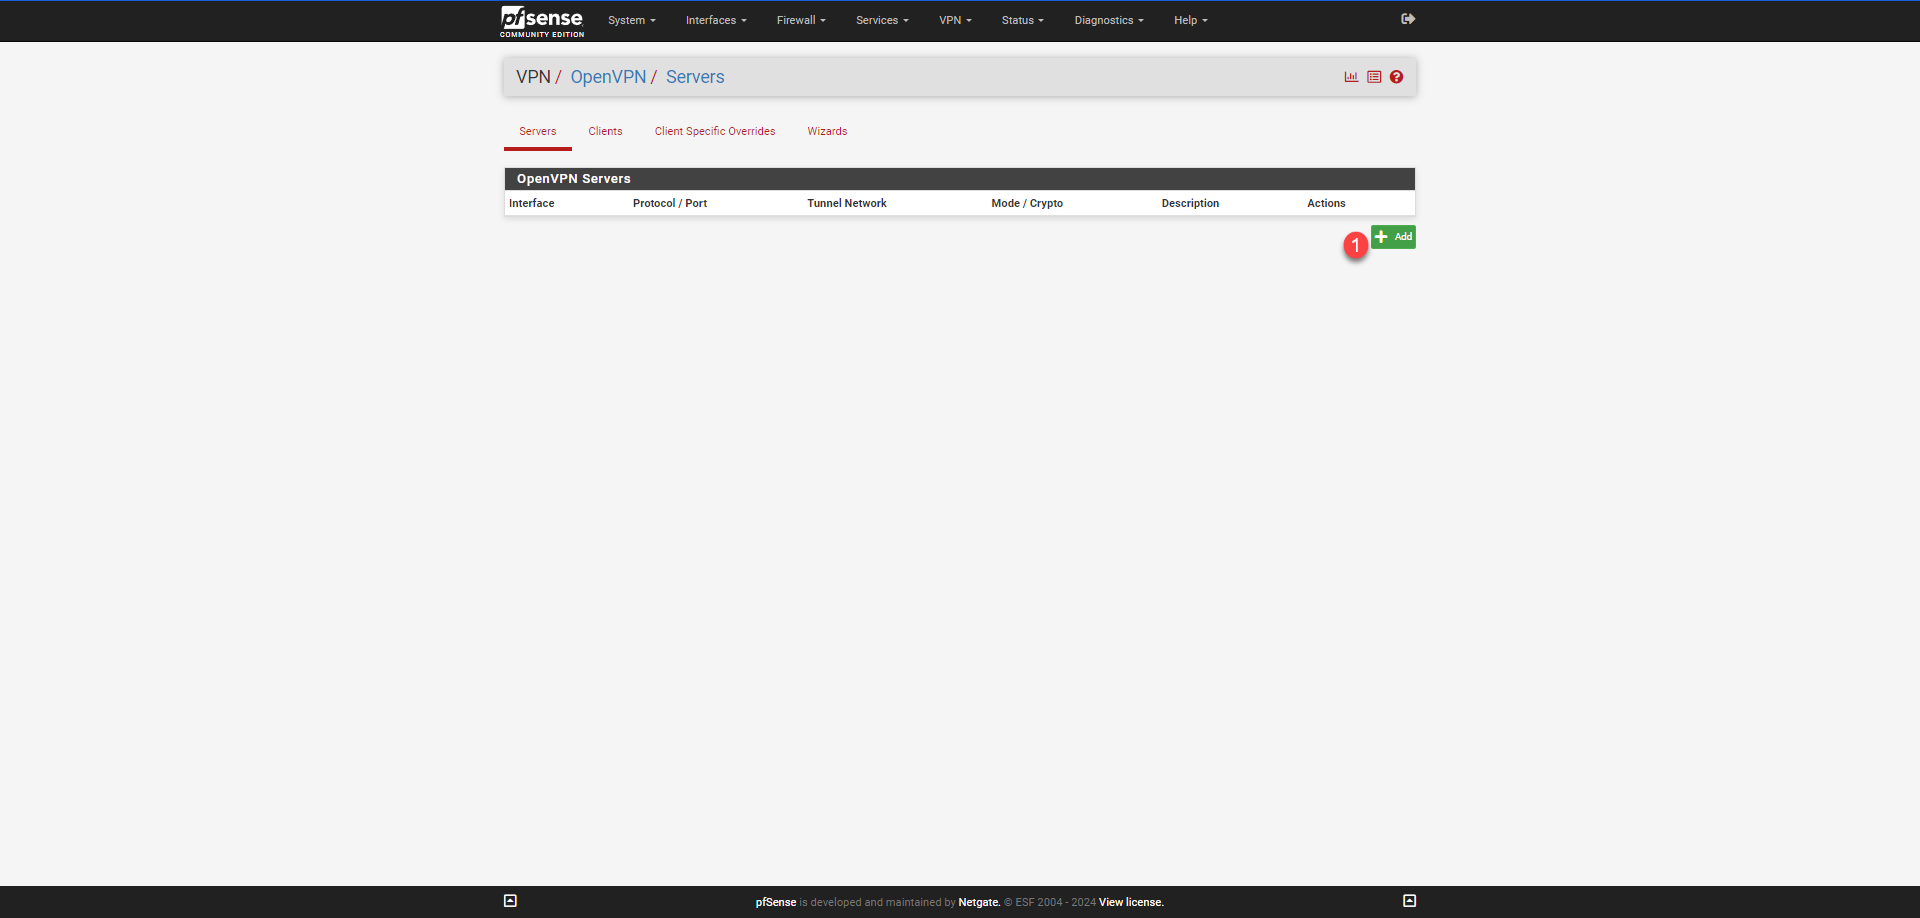
I will proceed with the configuration step by step.
In the General Information section, start by providing a description for VPN 1.

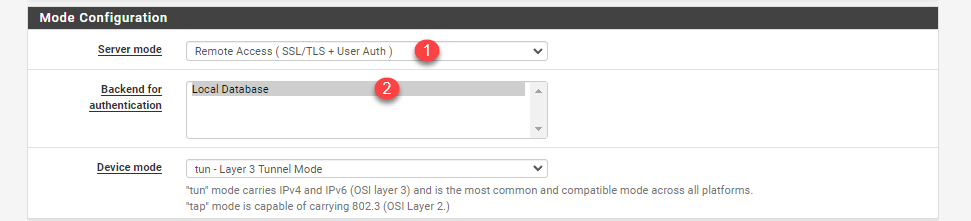
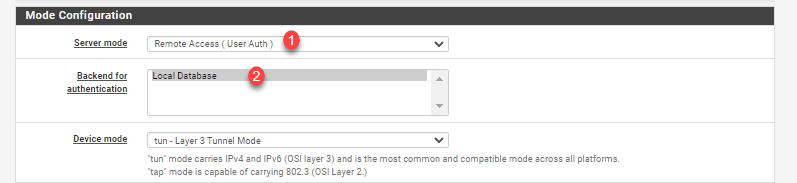
In the Configuration Mode section, we will specify the desired authentication type and user base.
Server mode 1 will allow you to choose the authentication method, if you want user/password/certificate authentication, select Remote Access (SSL/TLS + Auth), for authentication without certificate select Remote Access (User Auth), then select Local Database 2.
The Endpoint Configuration section does not vary, select the protocol for the OpenVPN server 1 (UDP on IPv4 Only), select the WAN interface 2 and configure the port 3 by default 1194.

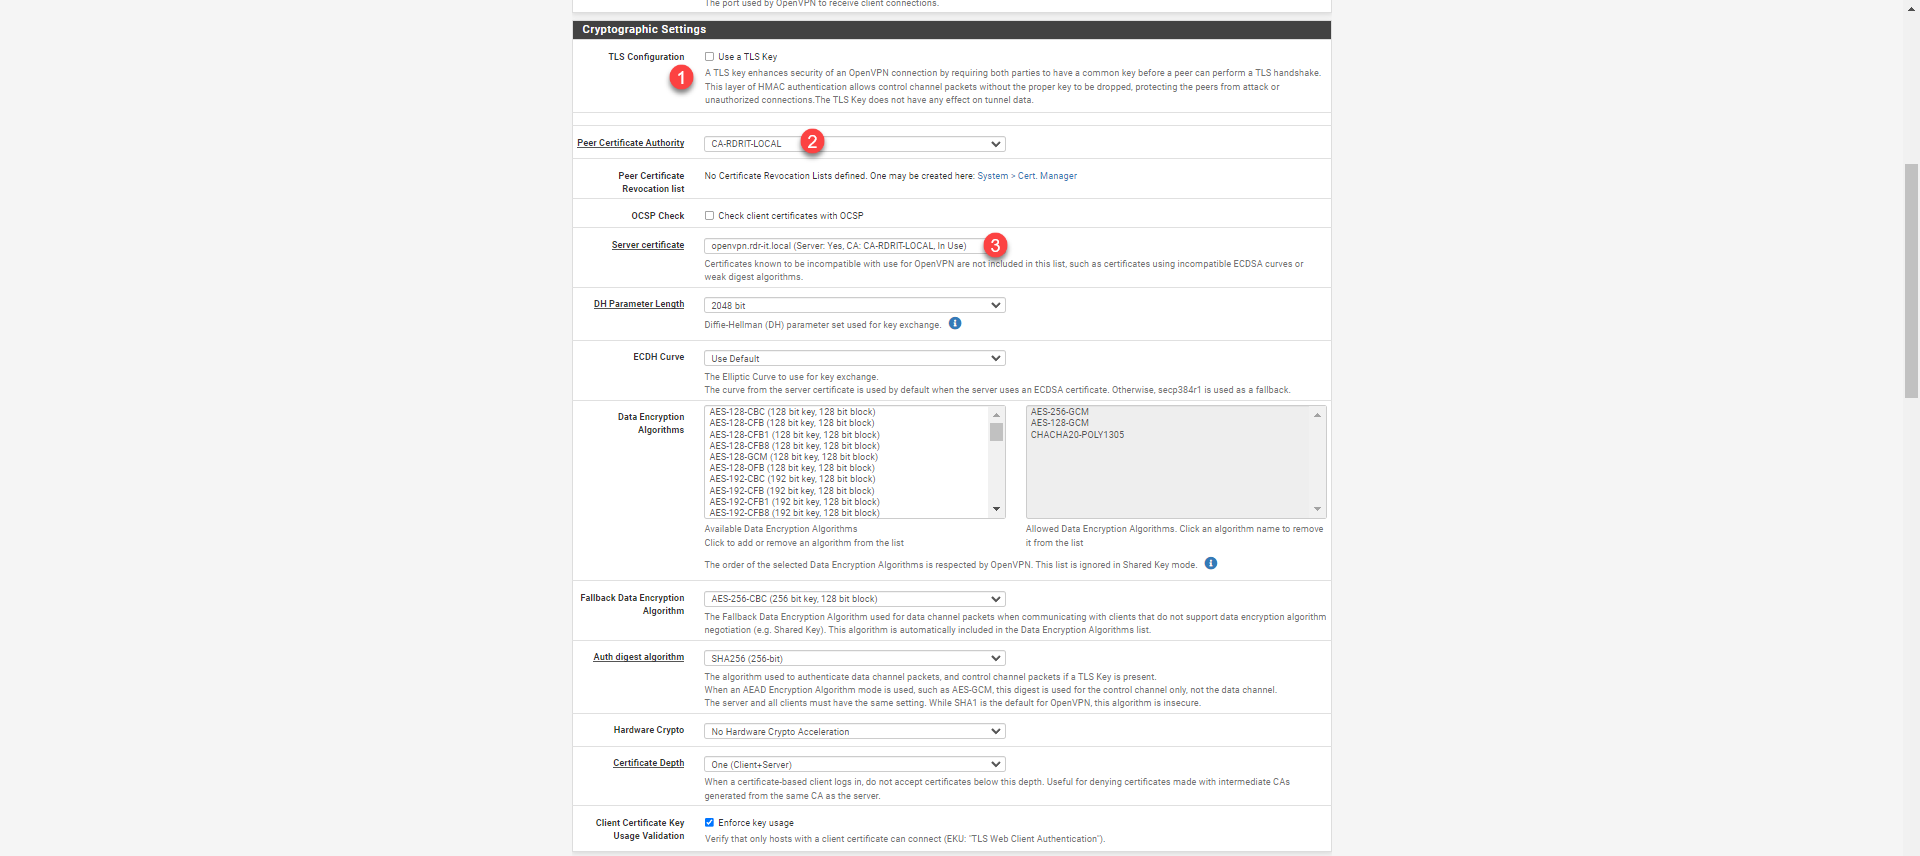
You can choose to activate the TLS configuration 1, select the certification authority 2 then the server certificate 3 that we created.
Configure the tunnel (Tunnel Settings) and client (Client Settings): In the IPv4 Tunnel Network 1 field, specify a CIDR address range for the VPN network. In the IPv4 Local network(s) 2 field, specify the networks that will be used for the VPN; this will allow the routes to be created. Configure the maximum number of connections 3 in the Concurrent connections field. In the Client settings section, select the topology 4 net30 – Isolated /30 network per client.

Topology net30 – Isolated /30 network per client This option allows VPN clients to be isolated, which consumes 4 IP addresses per connection; this option prevents computers connected via VPN from being able to see each other.
In the Advanced Client Settings section, configure the DNS settings for VPN clients.

Finally, click on the Save 1 button.
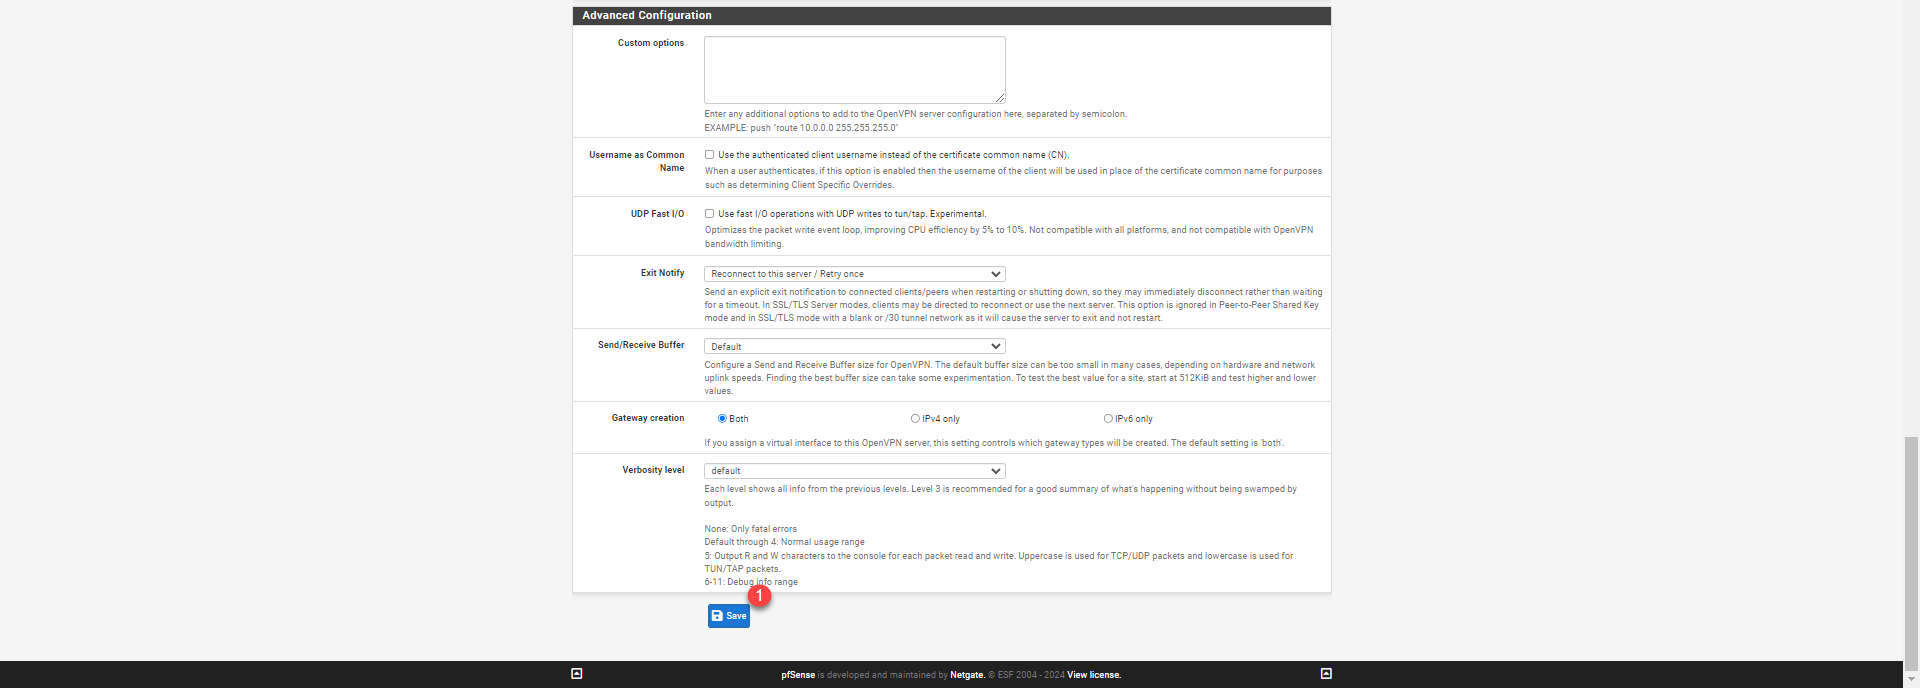
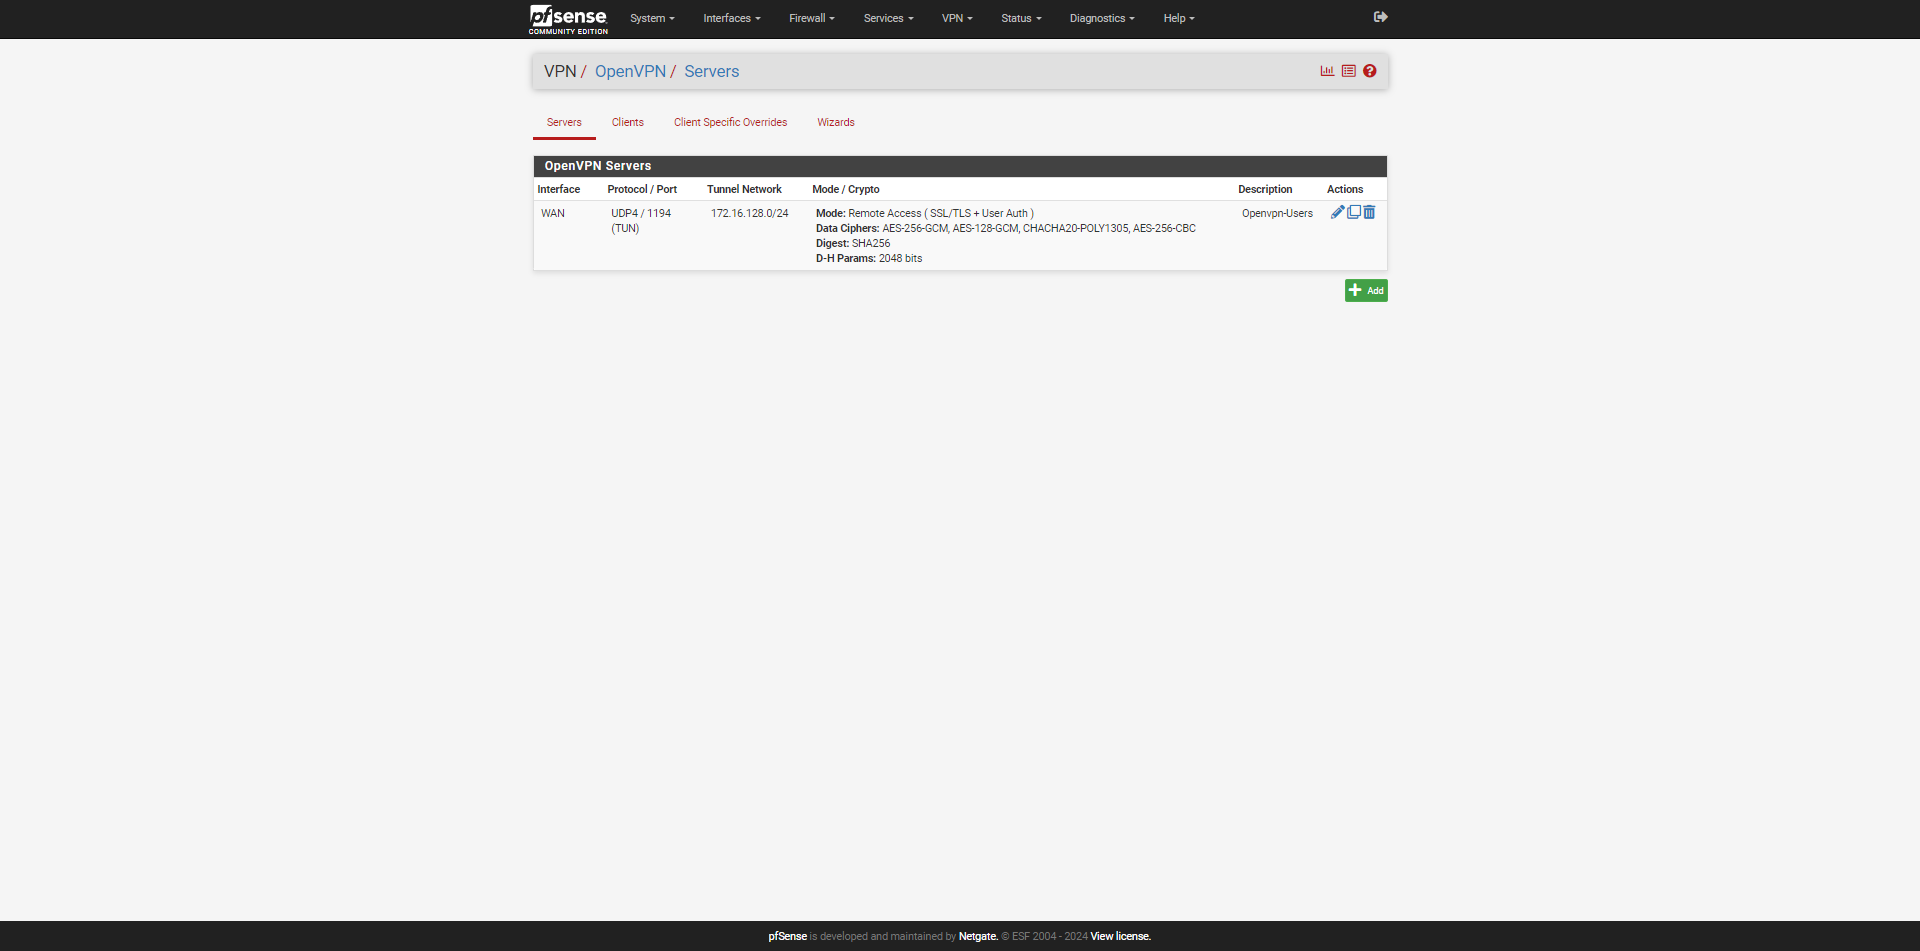
The OpenVPN server is created on pfSense.
Create the firewall rules for the VPN
We now need to create the rules necessary for the VPN to function correctly; we will create two of them:
- Publishing the VPN on the pfSense WAN interface
- Rules for allowing traffic between the VPN network and the internal network(s)
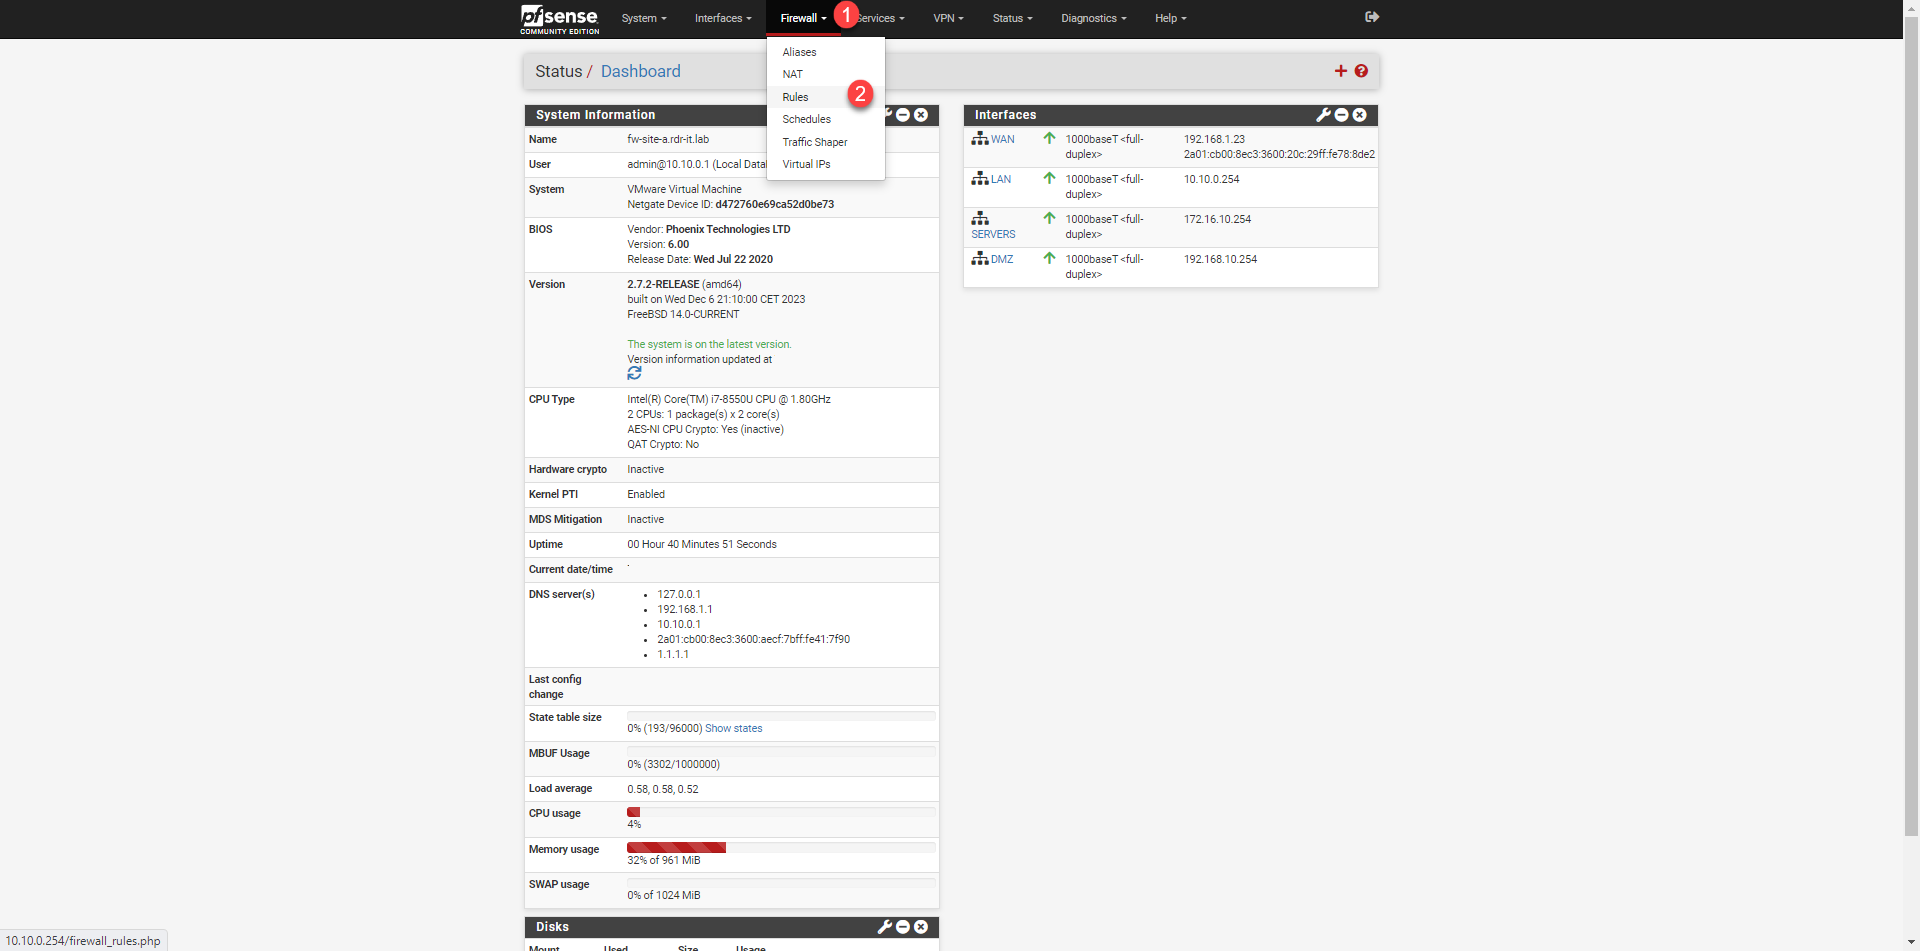
To access the firewall rules, from the menu click on Firewall 1 and then on Rules 2.
VPN publishing on the WAN interface
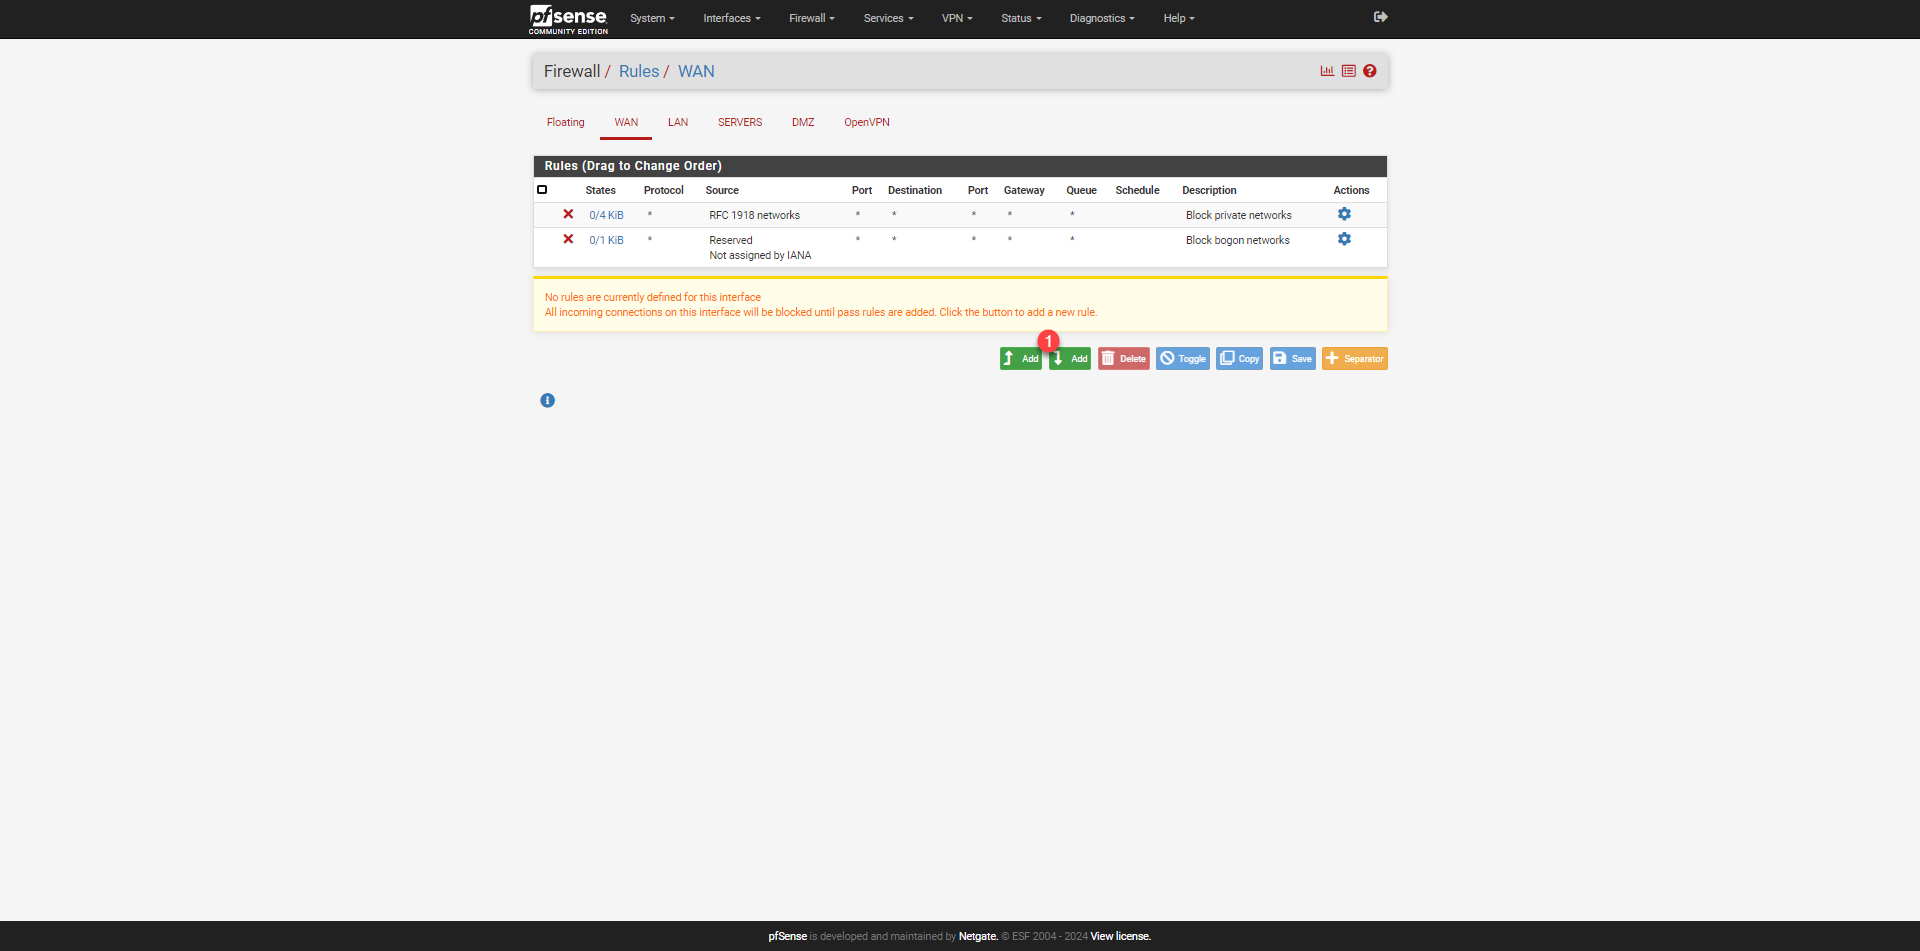
Go to WAN rules and click on the Add 1 button.
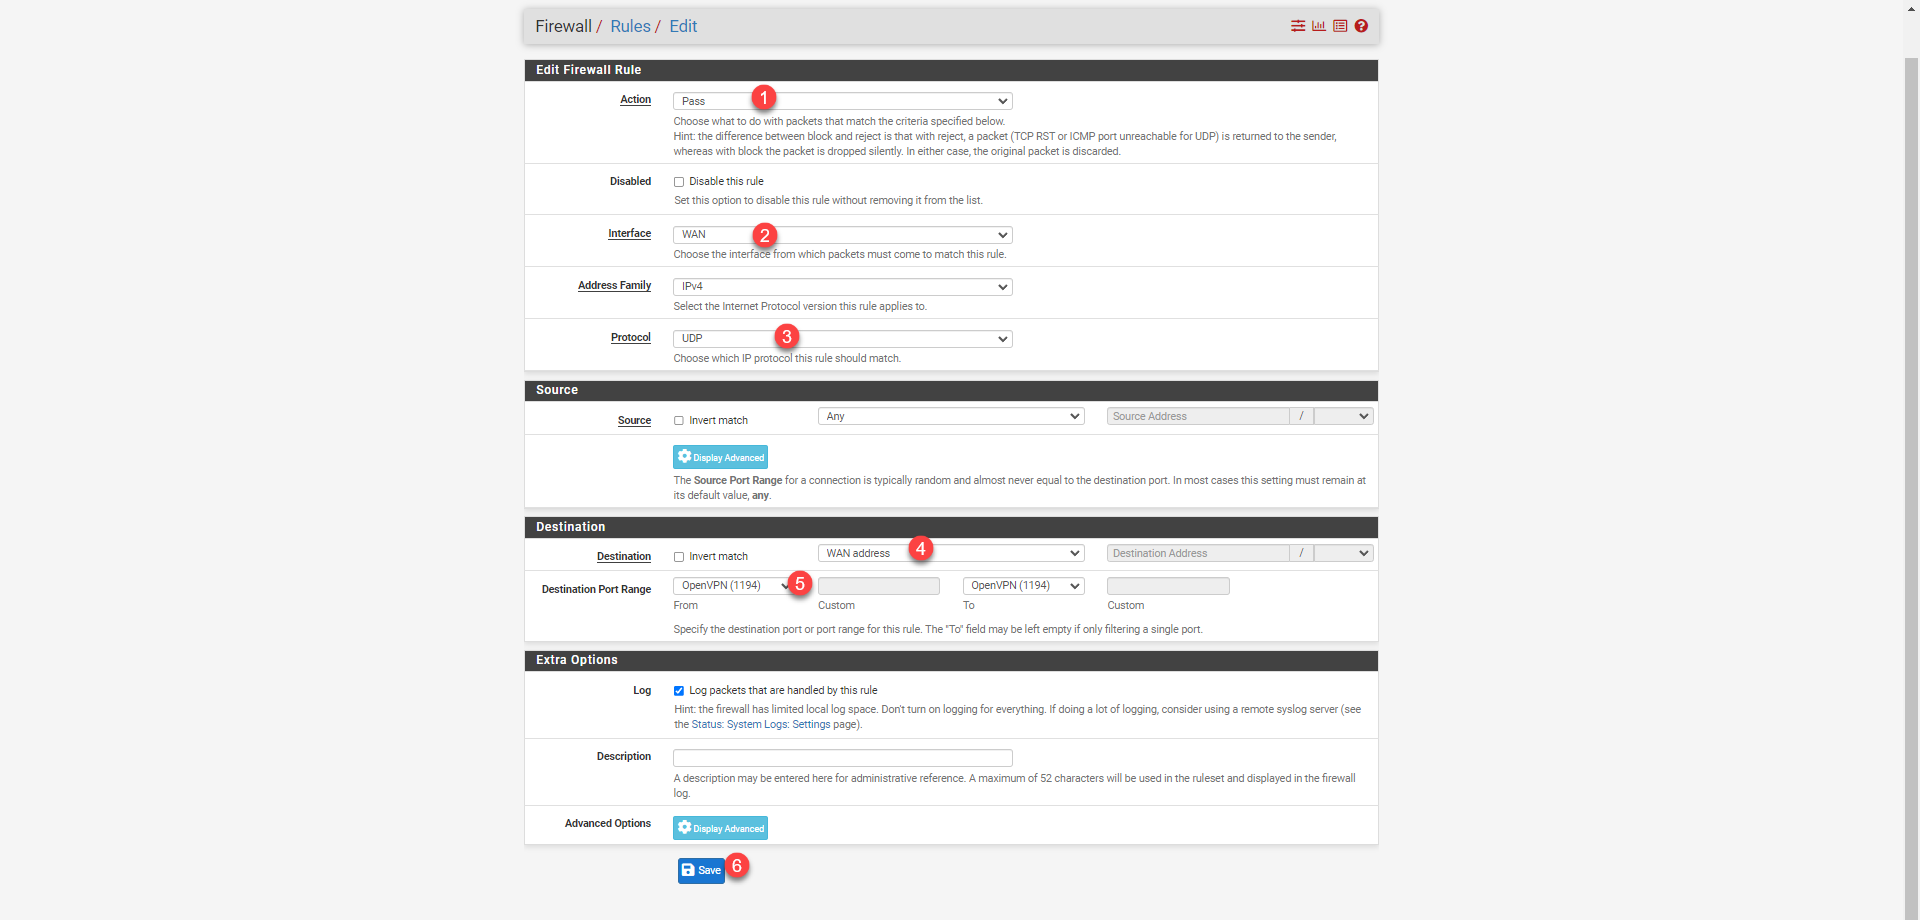
Configure the rule with the information below:
- 1 Action: Pass
- 2 Interface: WAN
- 3 Protocol: UDP
- 4 Destination: WAN address
- 5 Destination Port Range: OpenVPN (1194)
Click on Save 6 to add the rule.
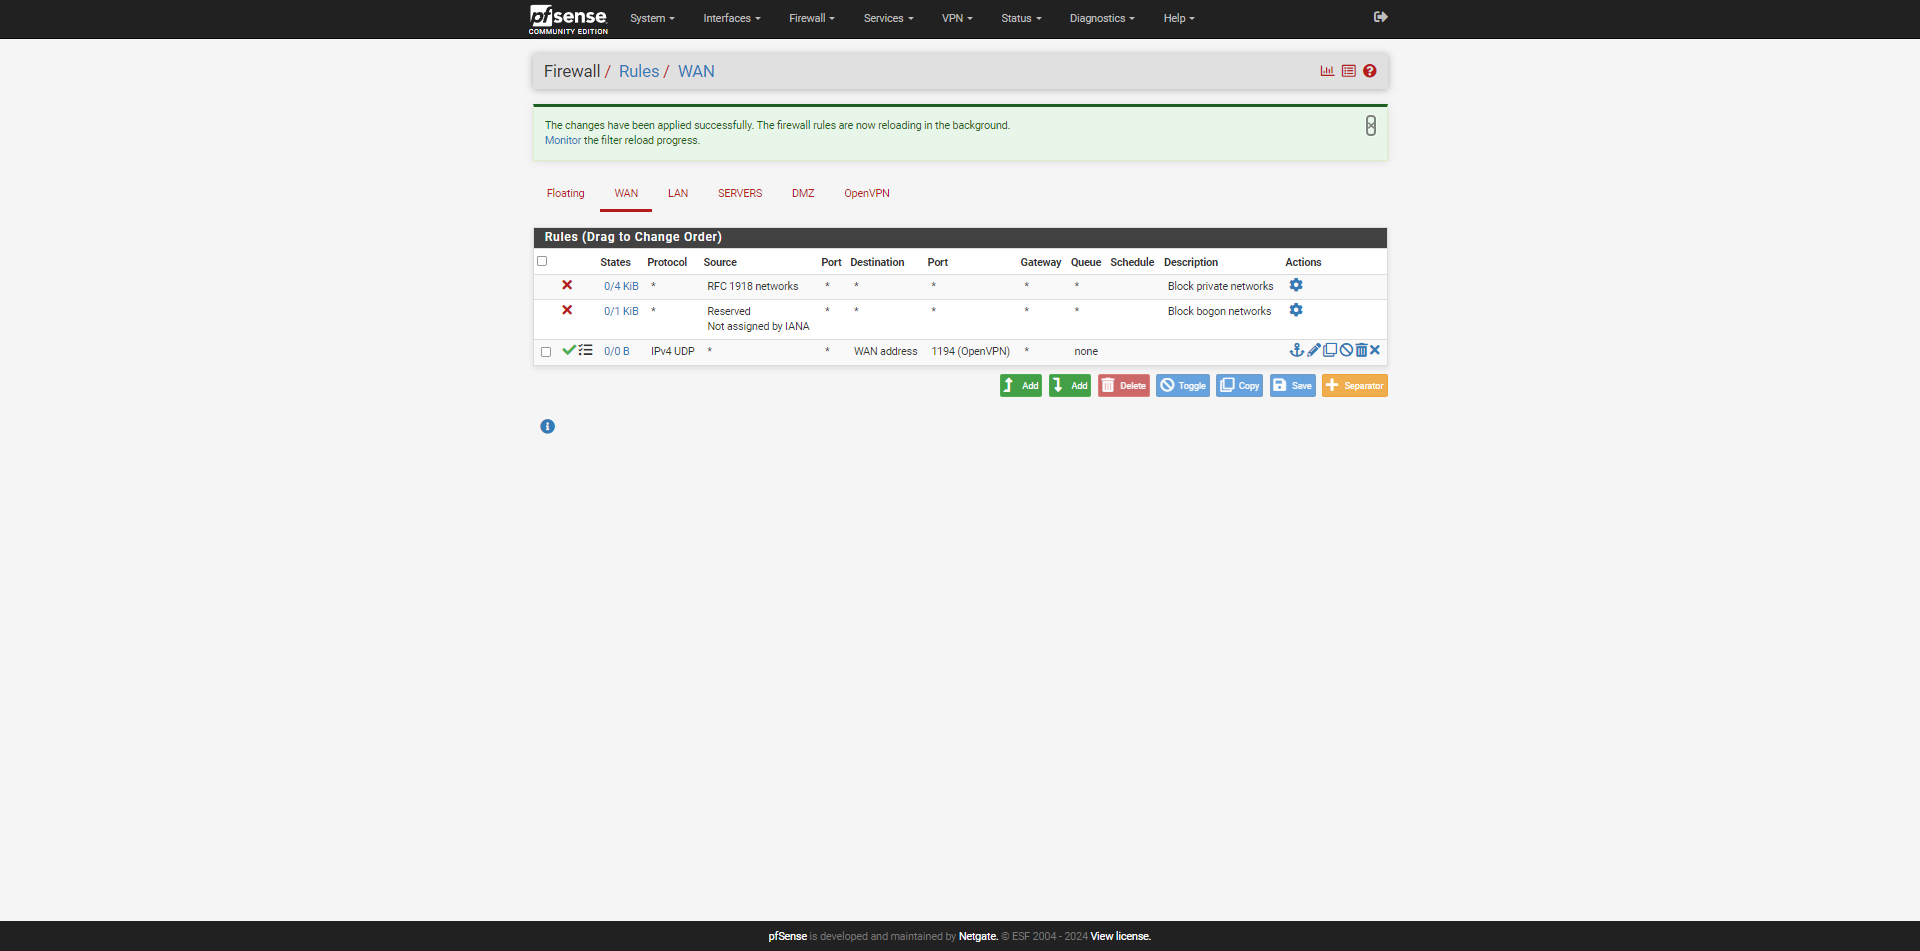
The rule has been added; click on Apply Changes 1 for it to take effect.

The VPN server is published on the Internet.
Firewall rule for VPN to internal connections
We now need to add the rule(s) to allow traffic from the VPN to the internal network.
In this tutorial, I created two simple rules that allow all traffic from the VPN network to the LAN and the SERVERS vlan. In production, I advise you to filter access and ports as much as possible so as not to make the VPN zone too permissive.
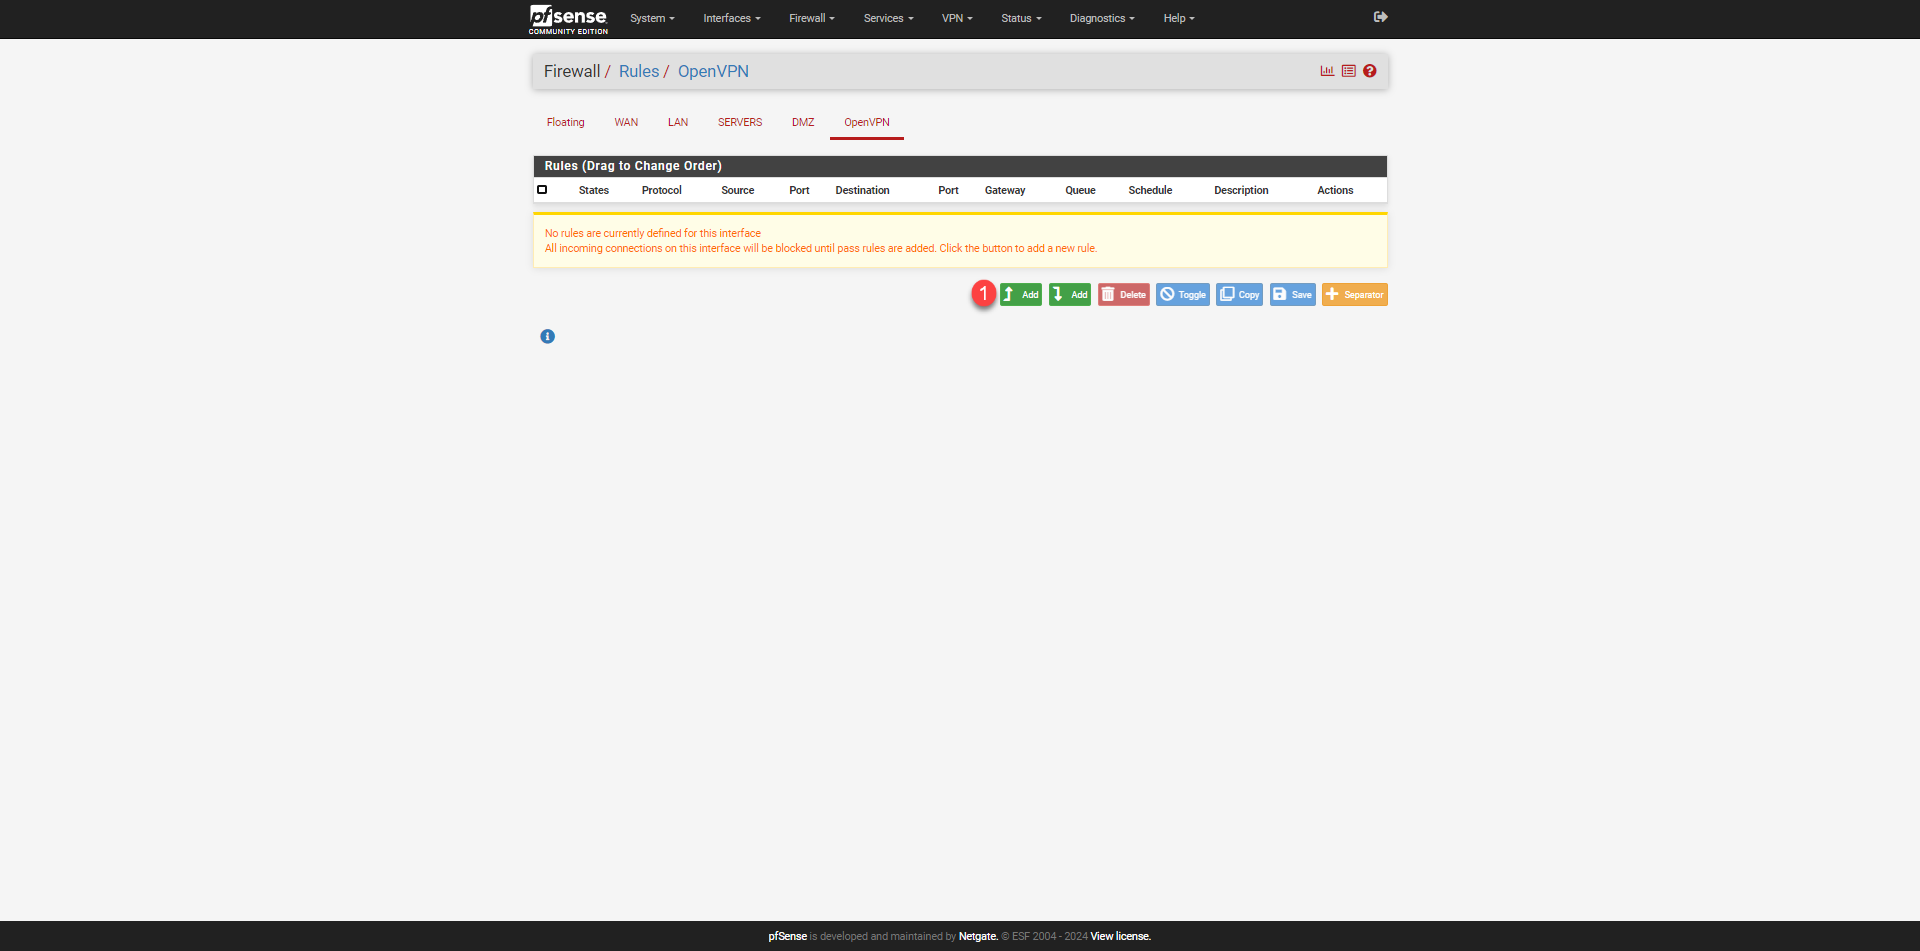
Go to the OpenVPN rules and click on the Add 1 button.
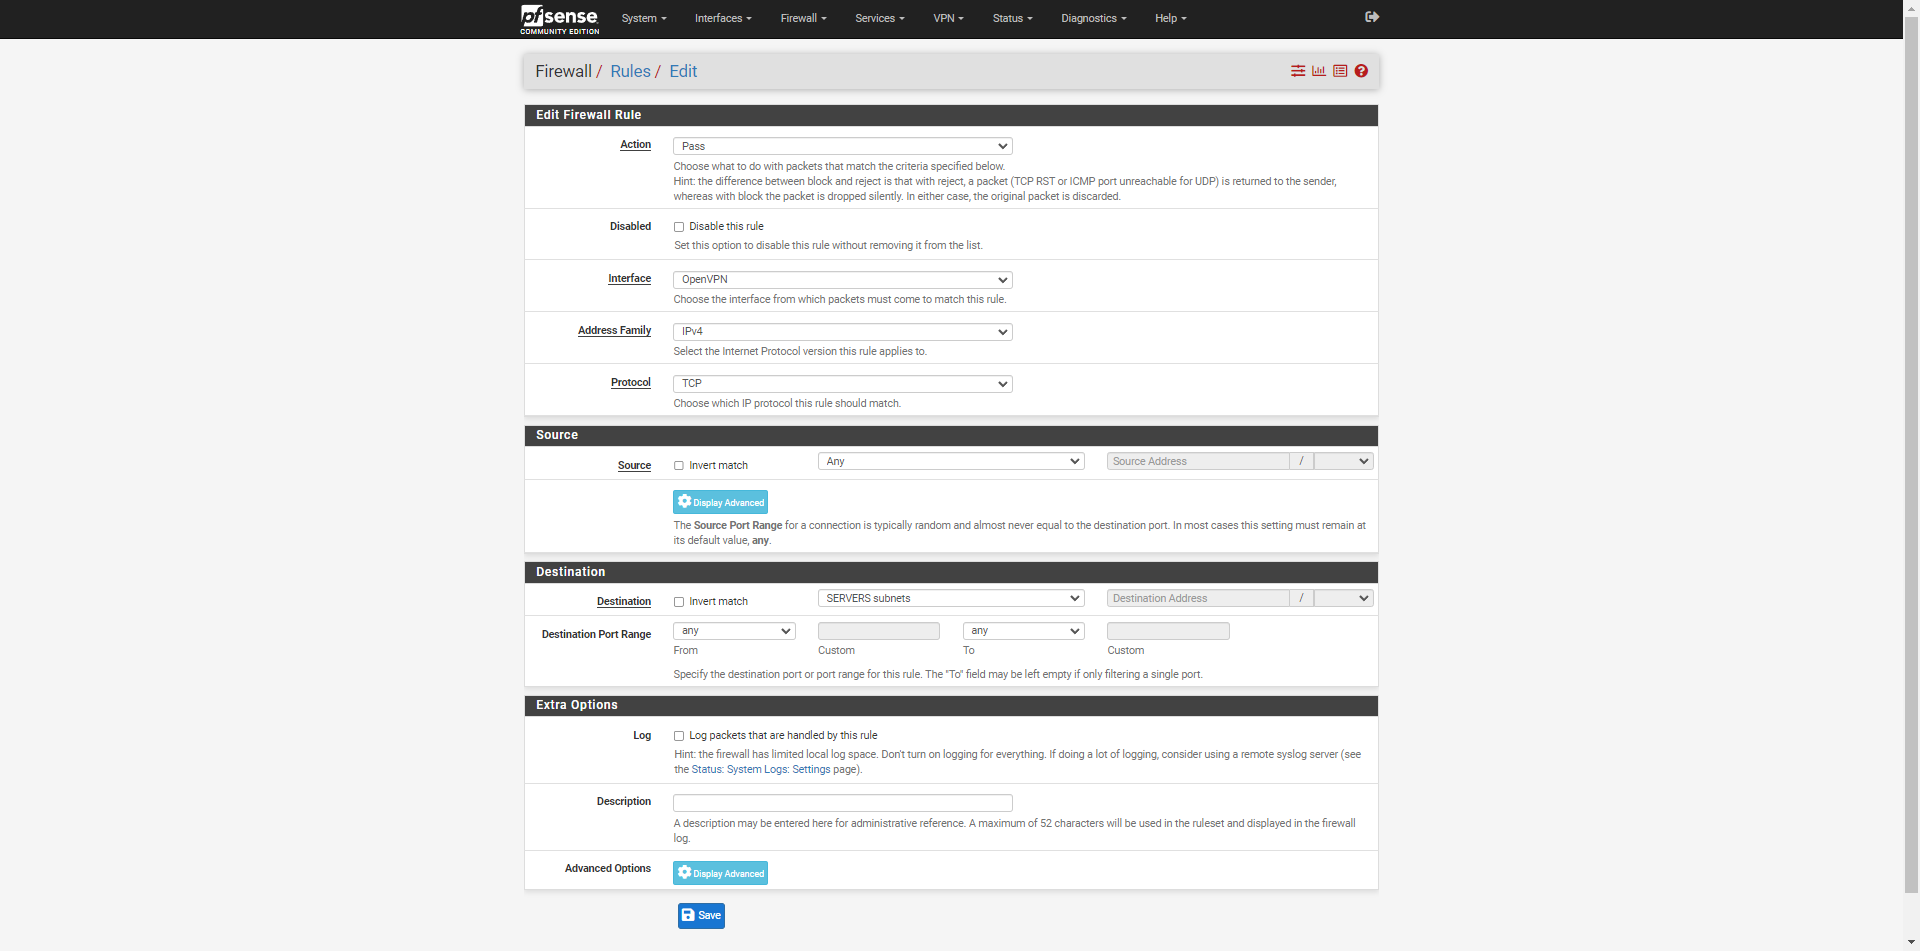
Configure the rule to allow traffic and click Save.
Once the rules have been created, click the Apply Changes 1 button for them to take effect.
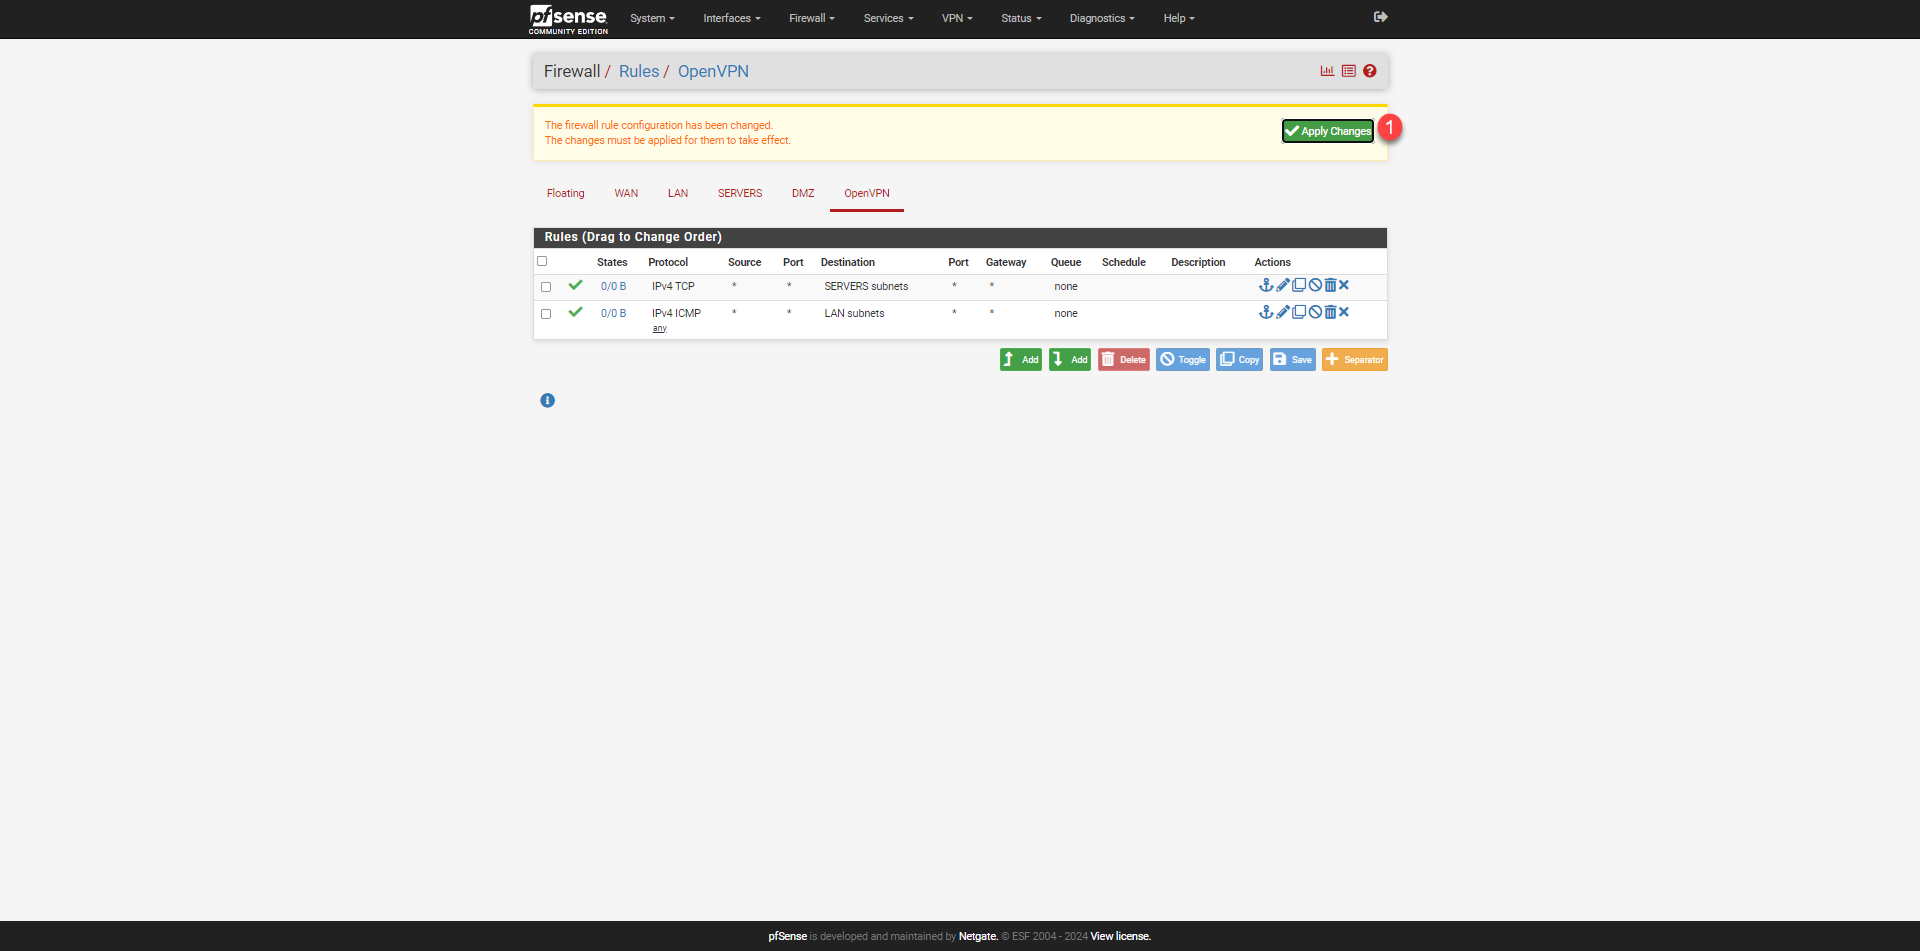
The rules are created.
Retrieve the configuration for the OpenVPN client
Install openvpn-client-export on pfSense
To make it easier for us to configure the OpenVPN client on the computers, we will install a “Package” which will allow us to download the configuration for the OpenVPN client.
This package is particularly useful if you are using certificate authentication, as the configuration is different for each user.
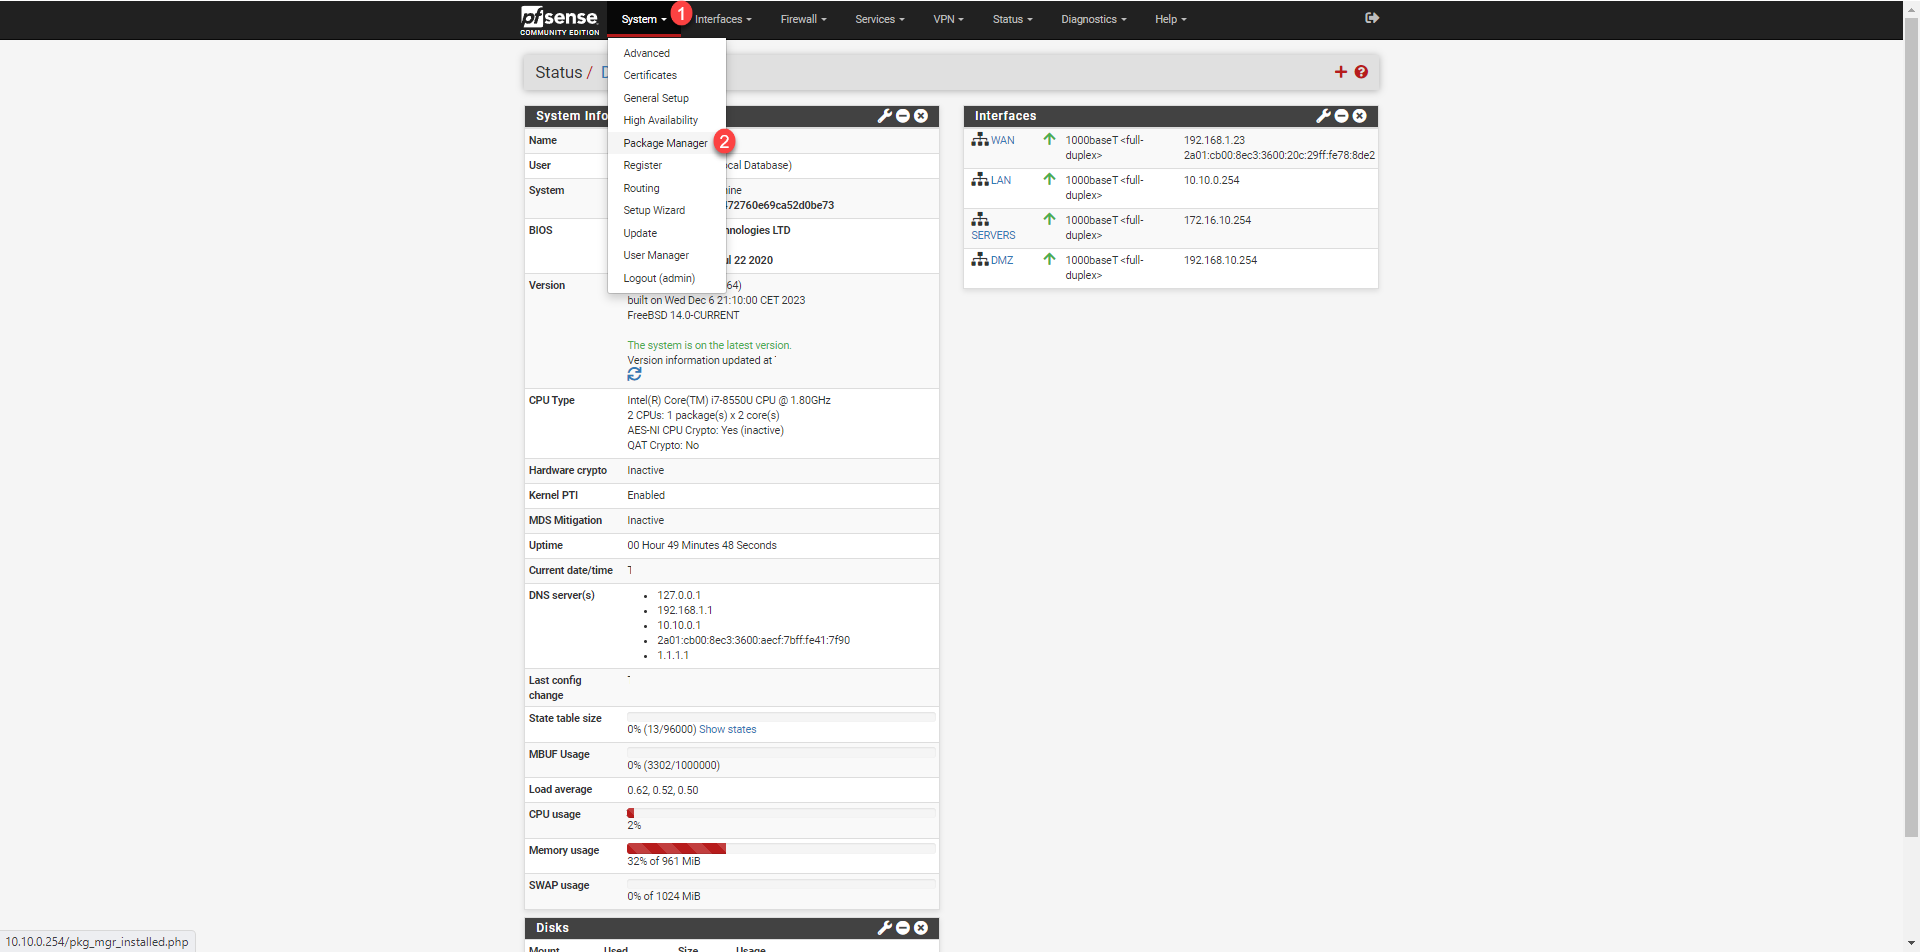
From the menu, click on System 1 to then on Package Manager 2.
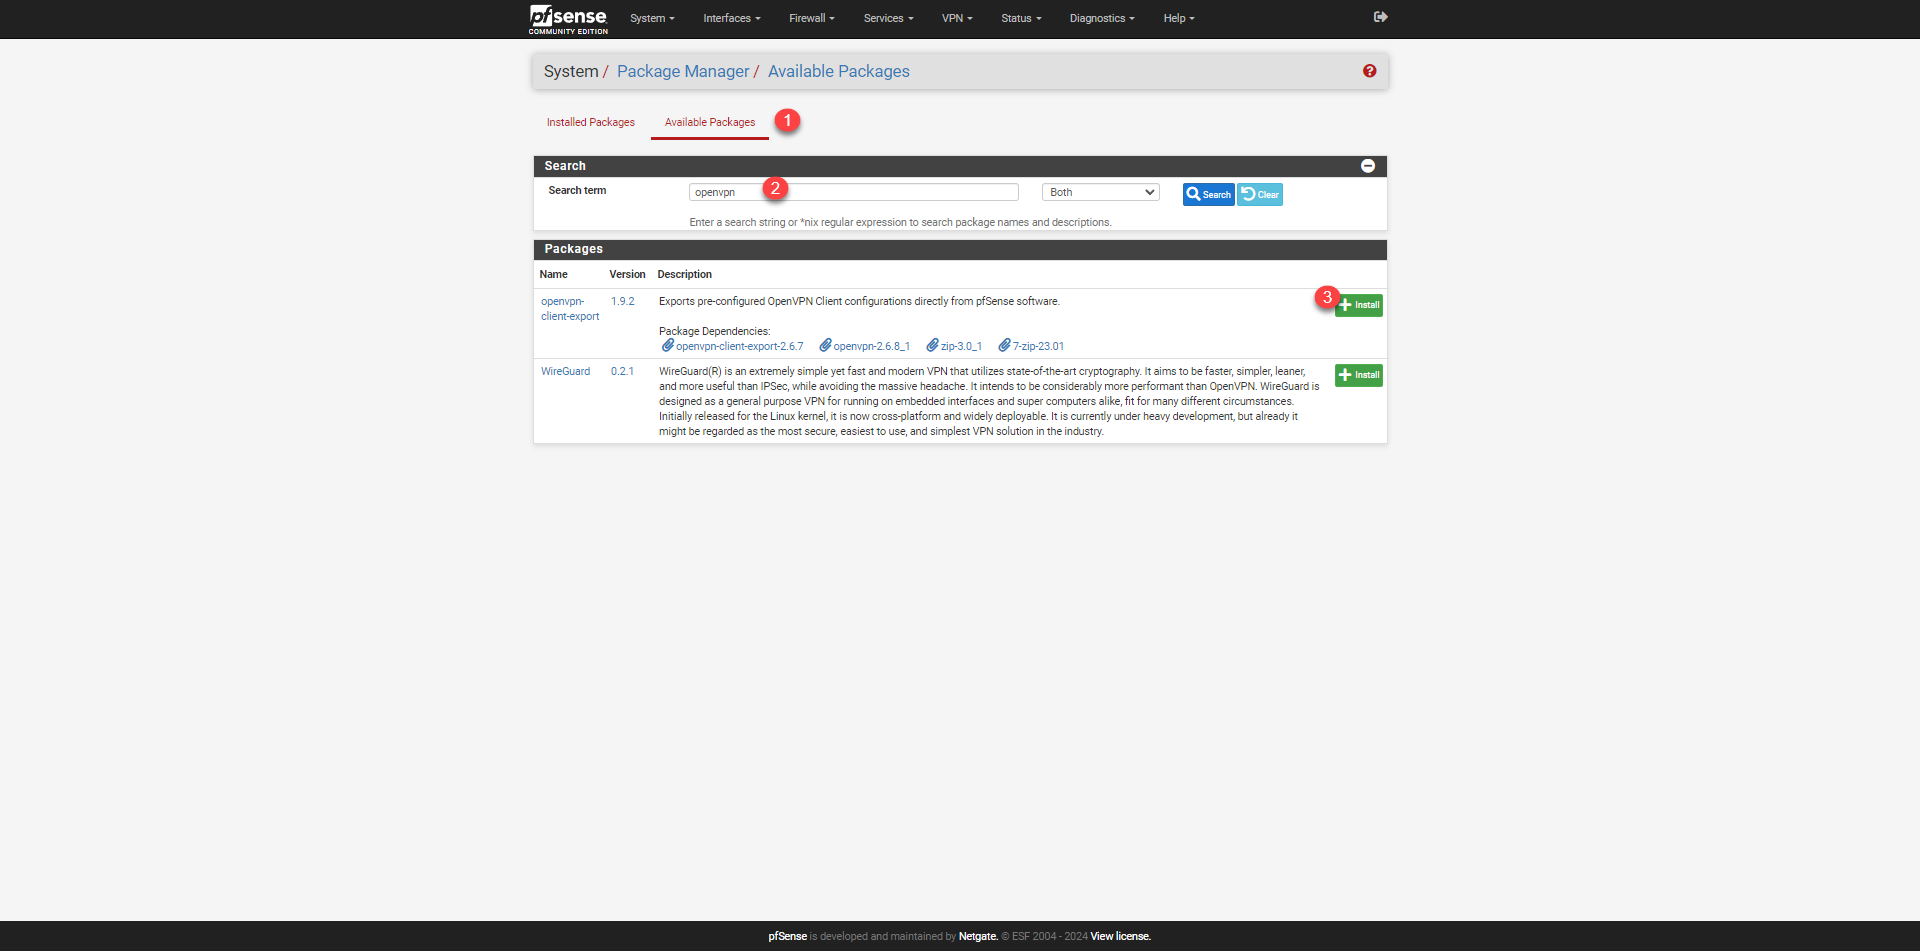
Go to Available Package 1, in the search box 2 enter openvpn, from the results, click on Install 3 on the openvpn-client-export package.
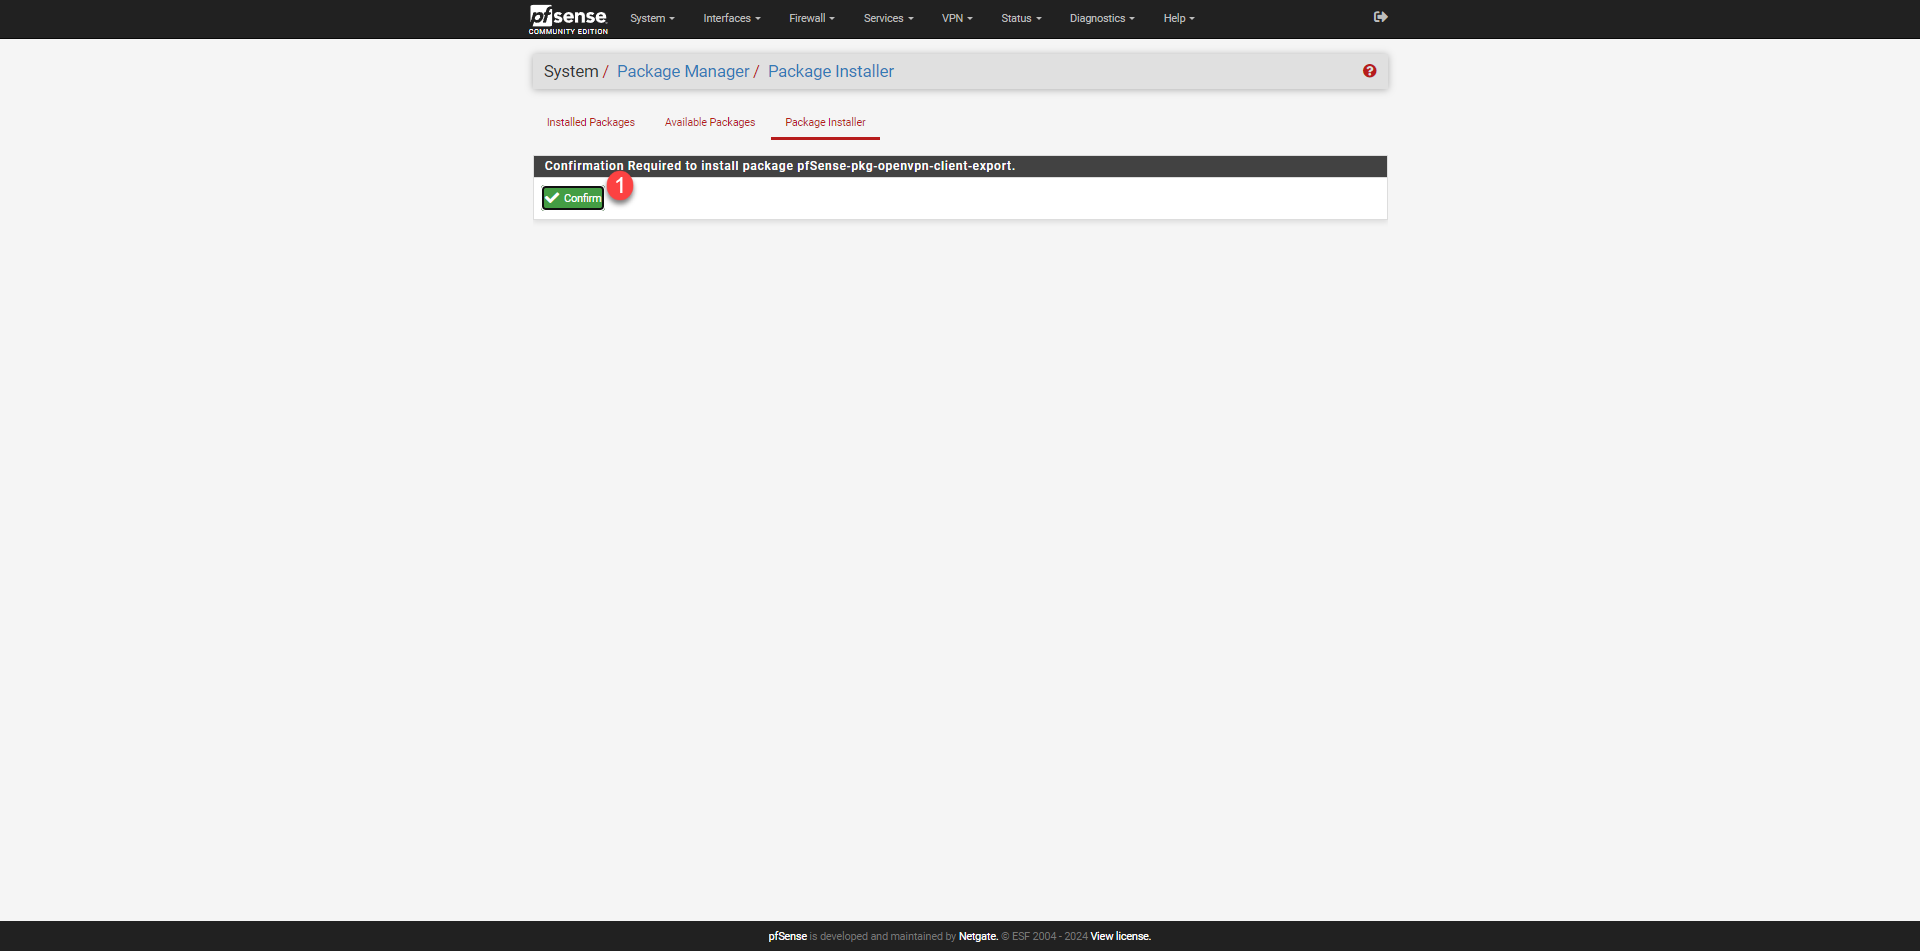
Click on Confirm 1.
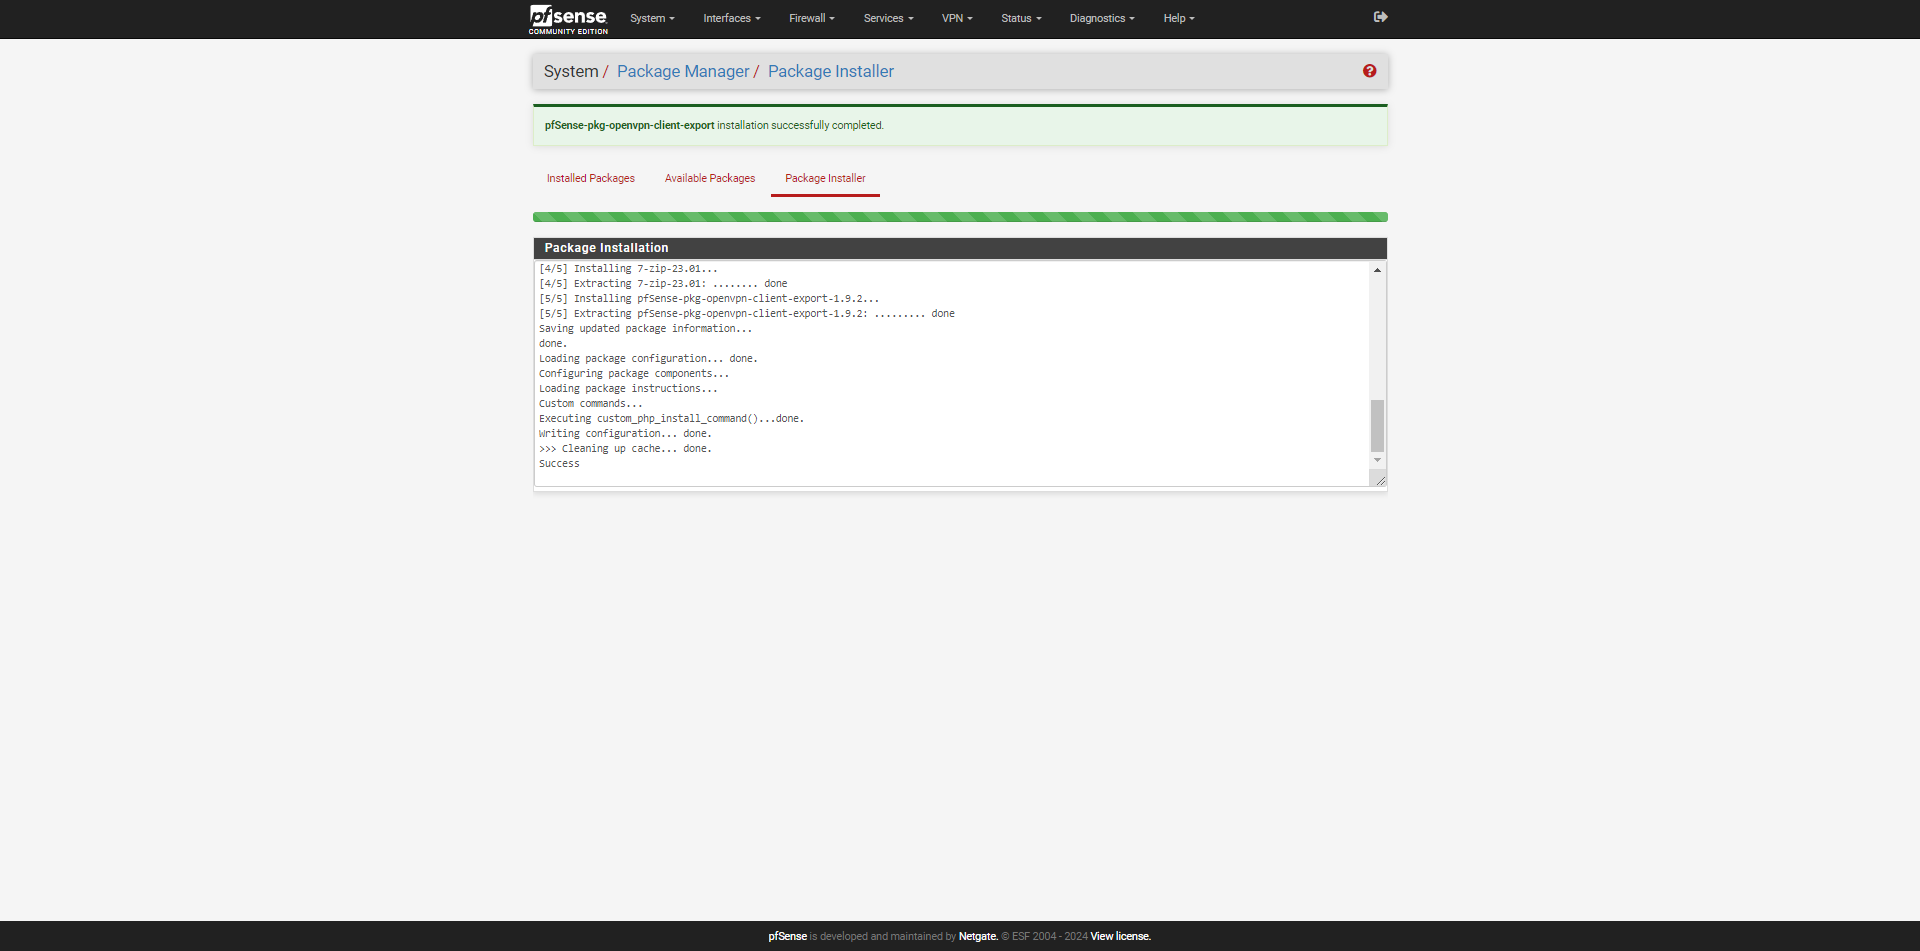
Please wait while openvpn-client-export is being installed on pfSense…
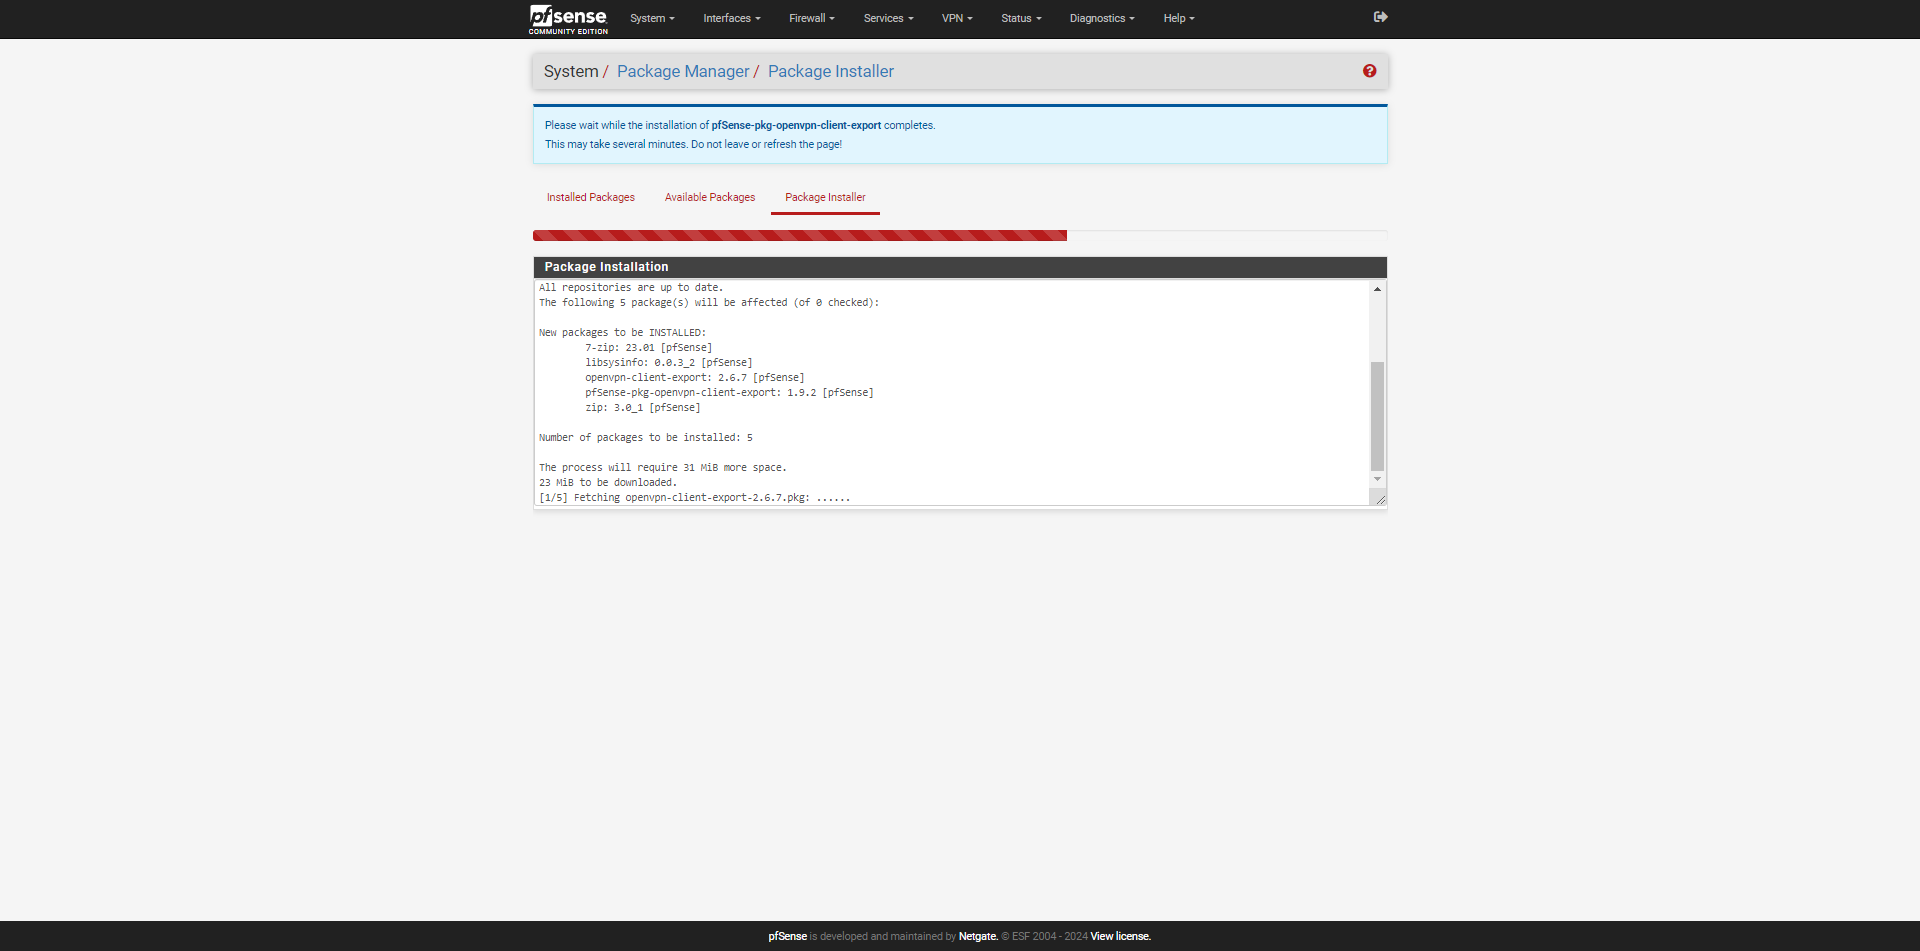
The package is installed.
Download the configuration for the OpenVPN client
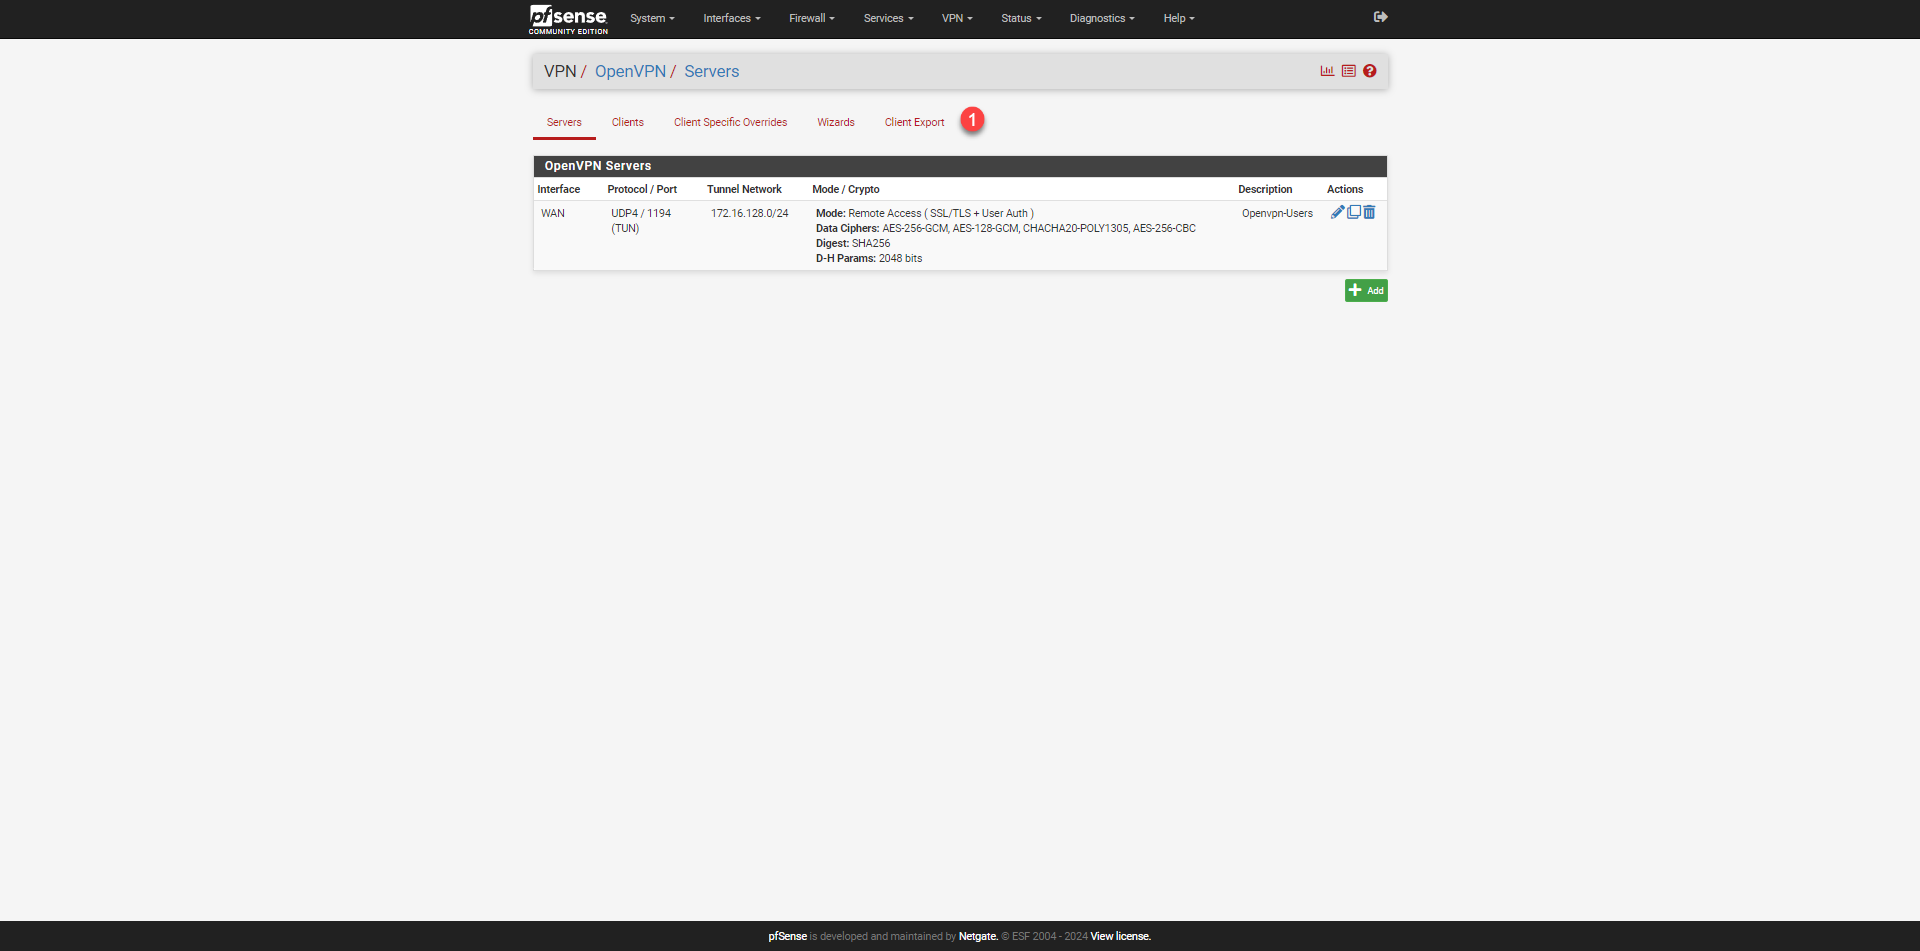
Return to the OpenVPN configuration (Firewall -> OpenVPN), we now have access to Client Export 1.
The first part allows us to configure VPN client configuration information; here I have simply checked the option: Microsoft Certificate Storage. After each modification, click the Save as default button.
Depending on your OpenVPN configuration, download the archive.


The section on pfSense is finished.
Connect to the VPN server
On a computer, download the OpenVPN client: https://openvpn.net/client/client-connect-vpn-for-windows/ then install it.
On the computer, unzip the archive and then click on the .ovpn configuration file; this should normally import the configuration automatically.
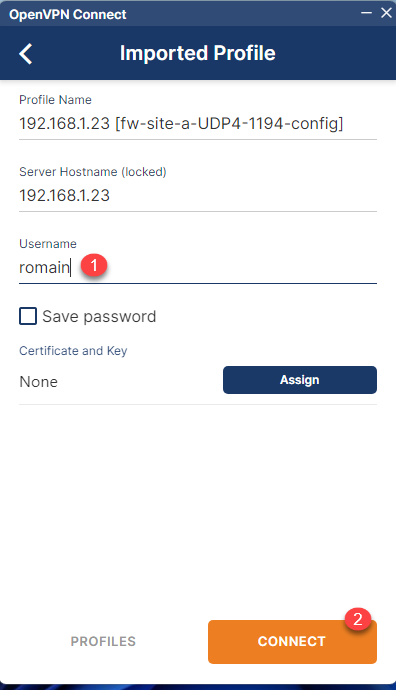
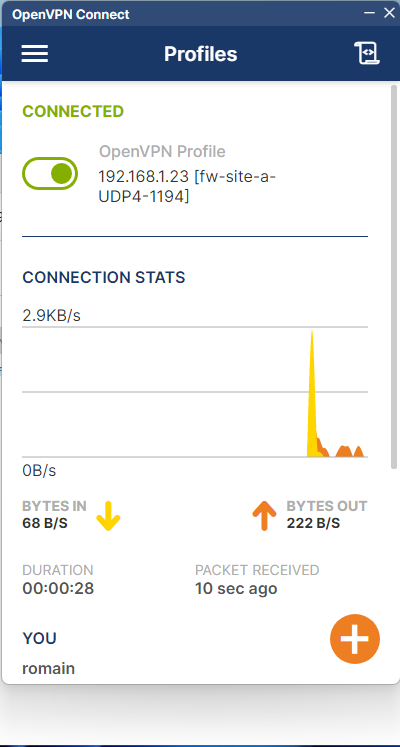
Enter the username 1 and click on CONNECT 2.
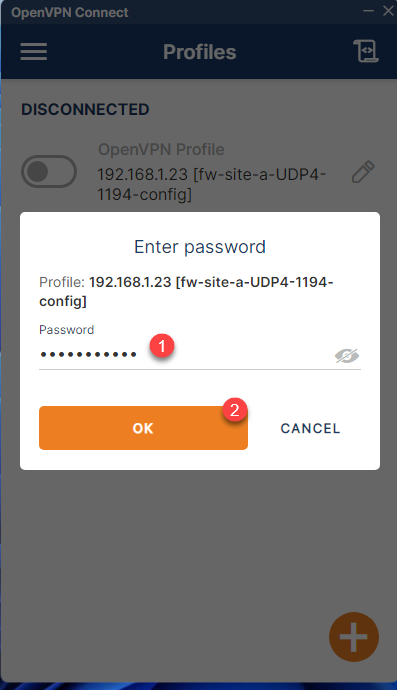
Next, enter the password 1 and click OK 2.
If everything works within a few seconds, you are connected to the VPN.
Once connected, if we display the computer’s routes, we can see that the routes necessary for accessing the company’s networks have been added.

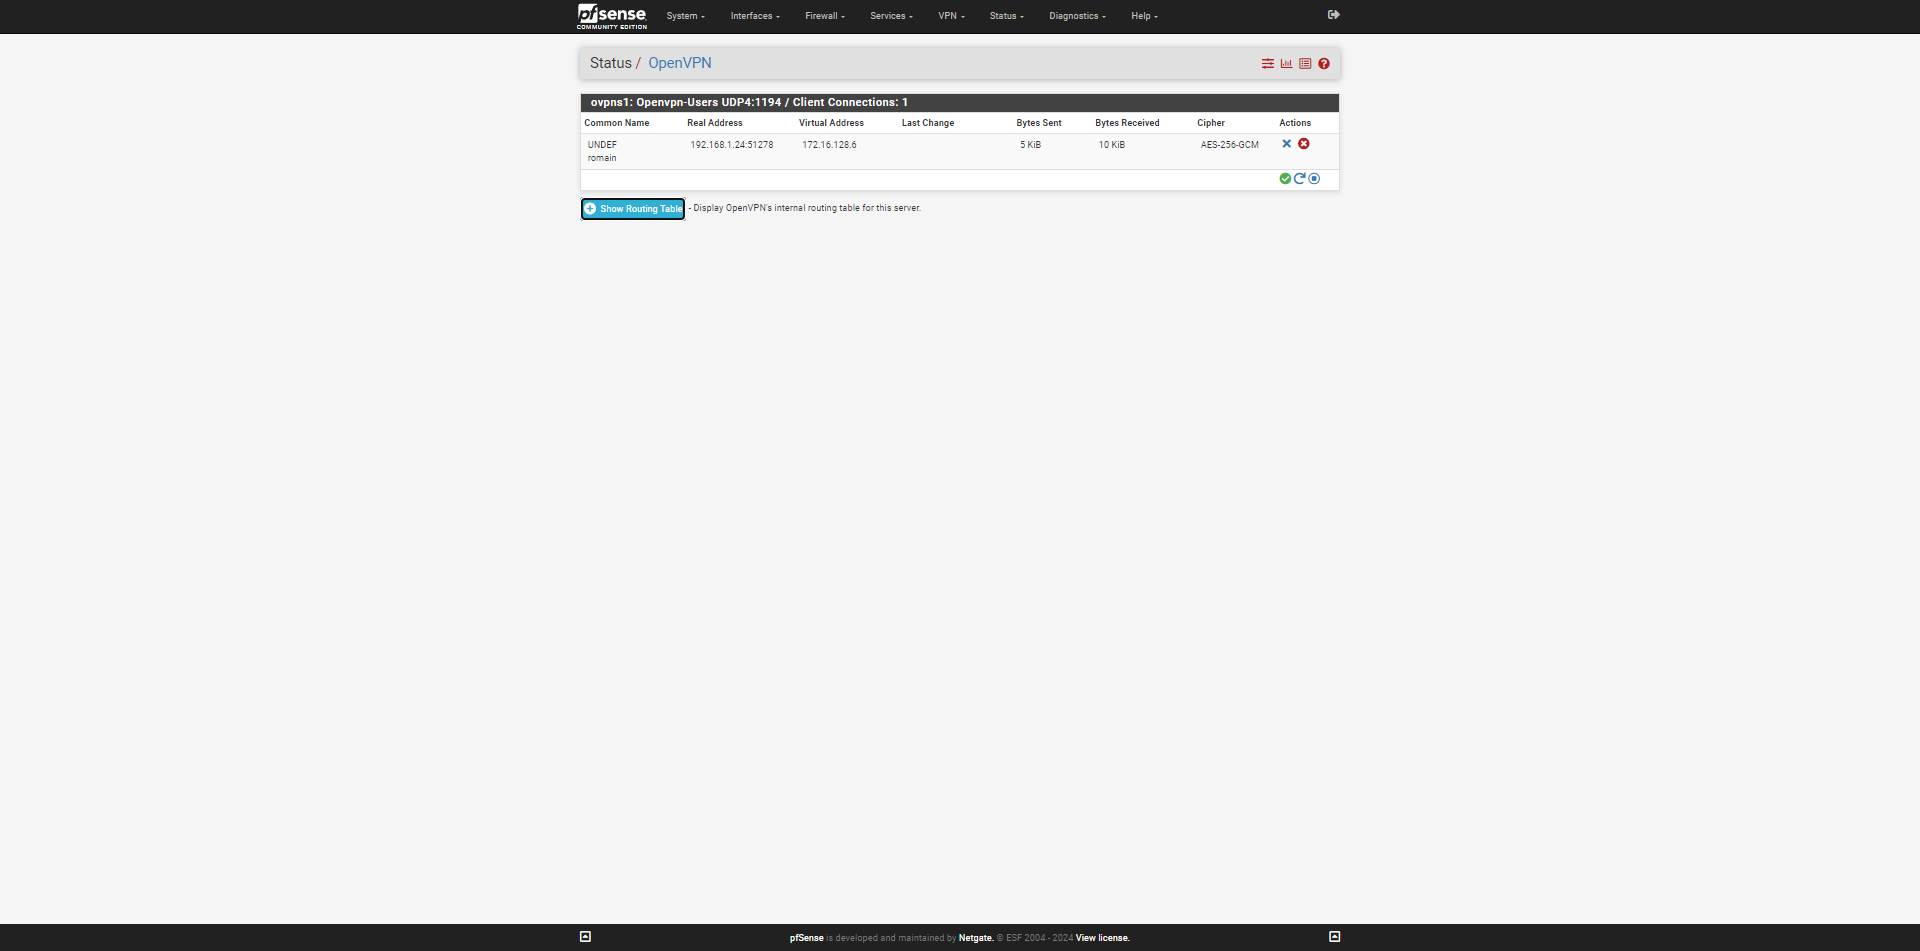
From pfSense, you can also see the active connections.
This tutorial has shown us how to configure a VPN server with OpenVPN on a pfSense firewall.
By default, internet traffic goes through the computer’s internet connection. It is possible to force internet traffic to go through the pfSense firewall by disabling split tunneling. In this case, you need to create a rule in the firewall to allow traffic from the VPN to the WAN.
