
Table of Content
Presentation
In this tutorial, I will explain how to set up OPNsense, which is a distribution that allows you to set up a perimeter firewall.
OPNsense is a fork based on PFsense, which is itself a fork of m0n0wall based on FreeBSD.
OPNsense integrates the standard features of open-source firewalls:
- Incoming/outgoing stream filtering
- Squid-based proxy
- Routing
- VPN Server
- DHCP Server
- DNS Server
- …
OPNsense can be embedded by a Crowdsec plugin, which will allow you to protect all publications on the Internet with the community IP address database.
Prerequisites
To install OPNsense, you need a computer (physical or virtual) with at least two network cards:
- LAN
- WAN
In this tutorial, my WAN interface will be using DHCP.
Regarding CPU/RAM and disk resources, this will depend mainly on the number of devices and features you activate.
For disk space, allow a minimum of 20GB.
Here, I will use a virtual machine under VMware.
Start by downloading the OPNsense ISO: https://opnsense.org/download/
Installing OPNsense
A unique feature of OPNsense is that the installation takes place in two stages:
- Booting into LiveCD
- Facility
Booting into LiveCD mode
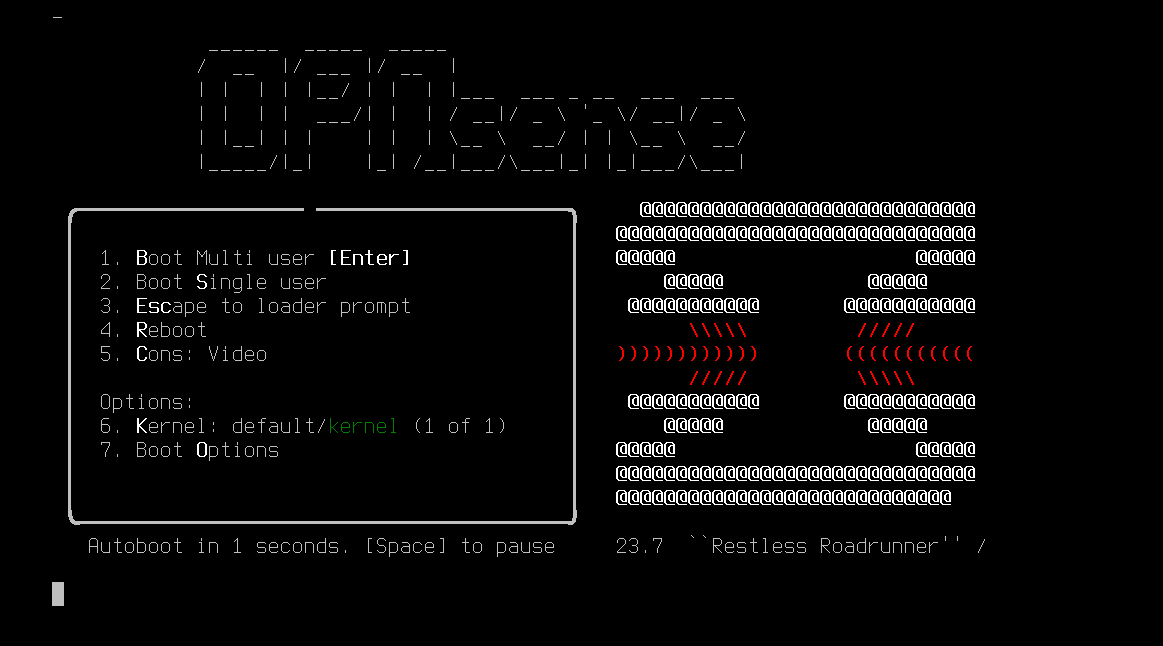
Start by booting from the ISO:
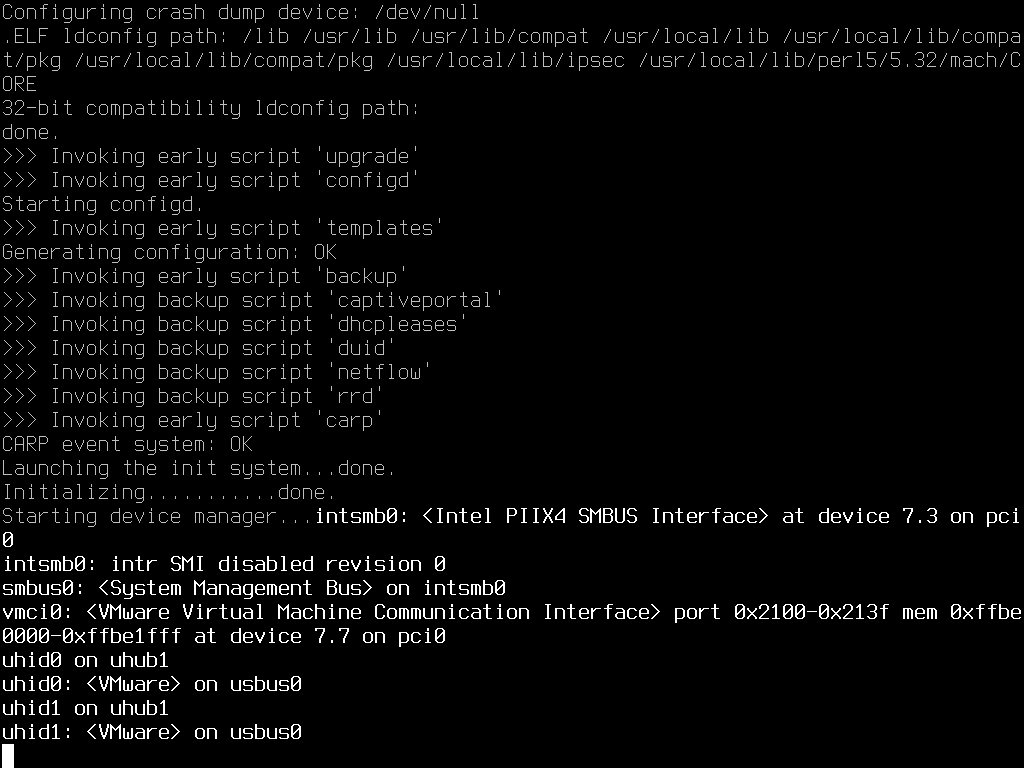
At one point during startup, you will be asked to press a key to configure the network interfaces (LAN and WAN):
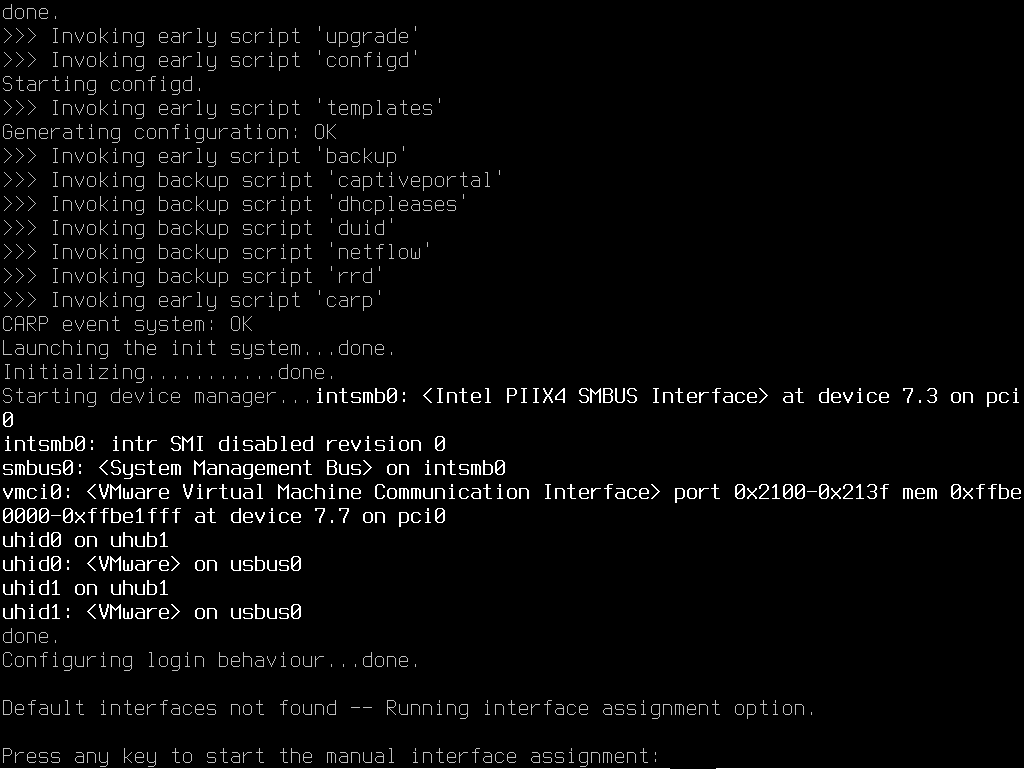
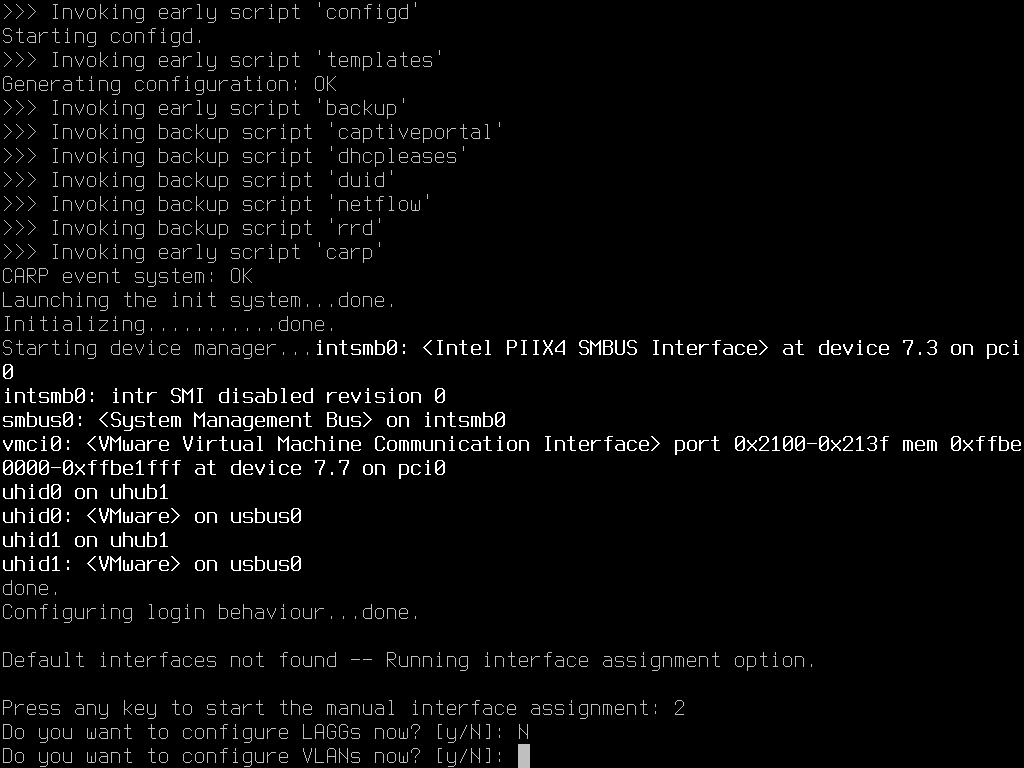
Next, you are asked if you want to configure a LAG and VLANs; in my case, I answer No (N) to both questions:
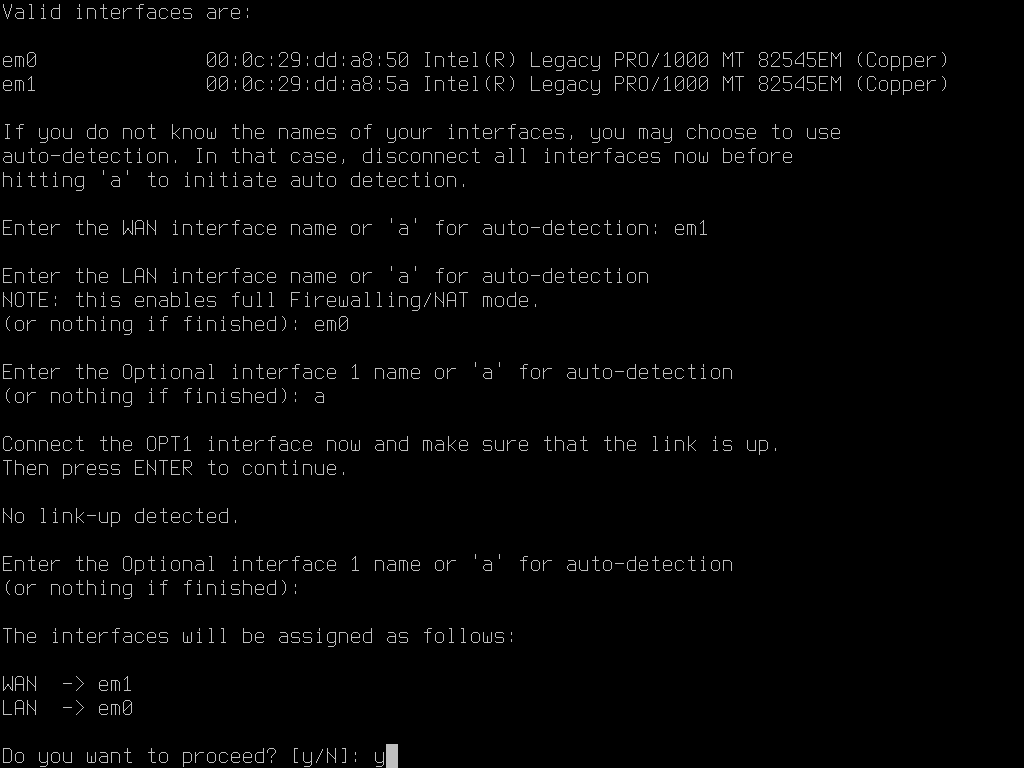
We now come to the configuration of the network interfaces. Start by entering the name of the WAN network card (em1) and the name of the LAN interface (em0) then leave blank for the optional interface.
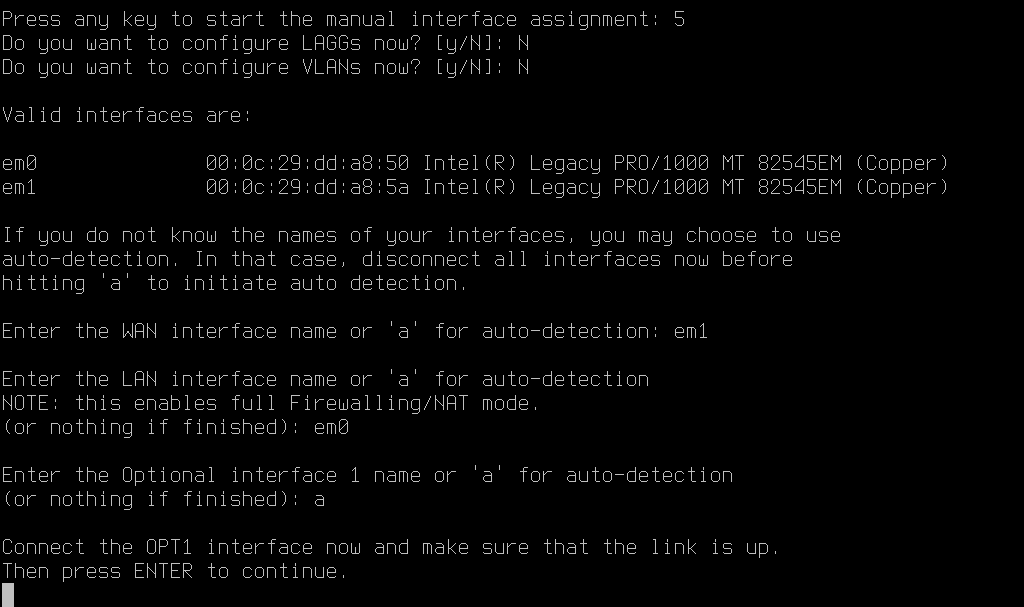
Confirm the application of the interface configuration (Y):
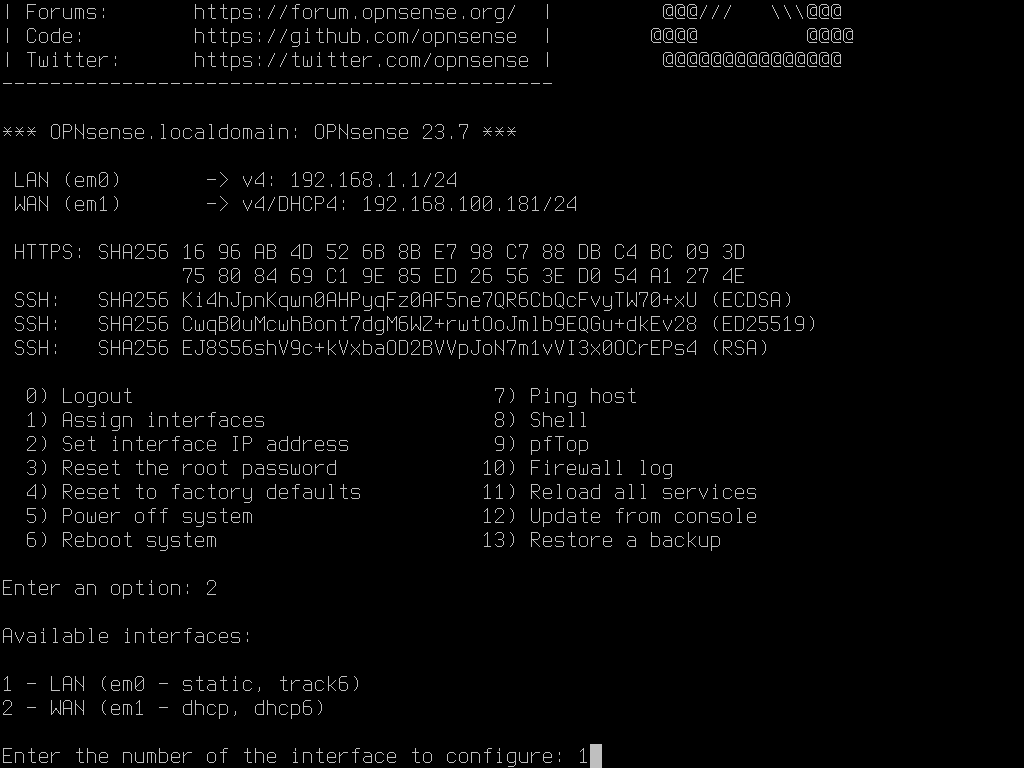
Once the configuration is complete, we retrieve the prompt on login:
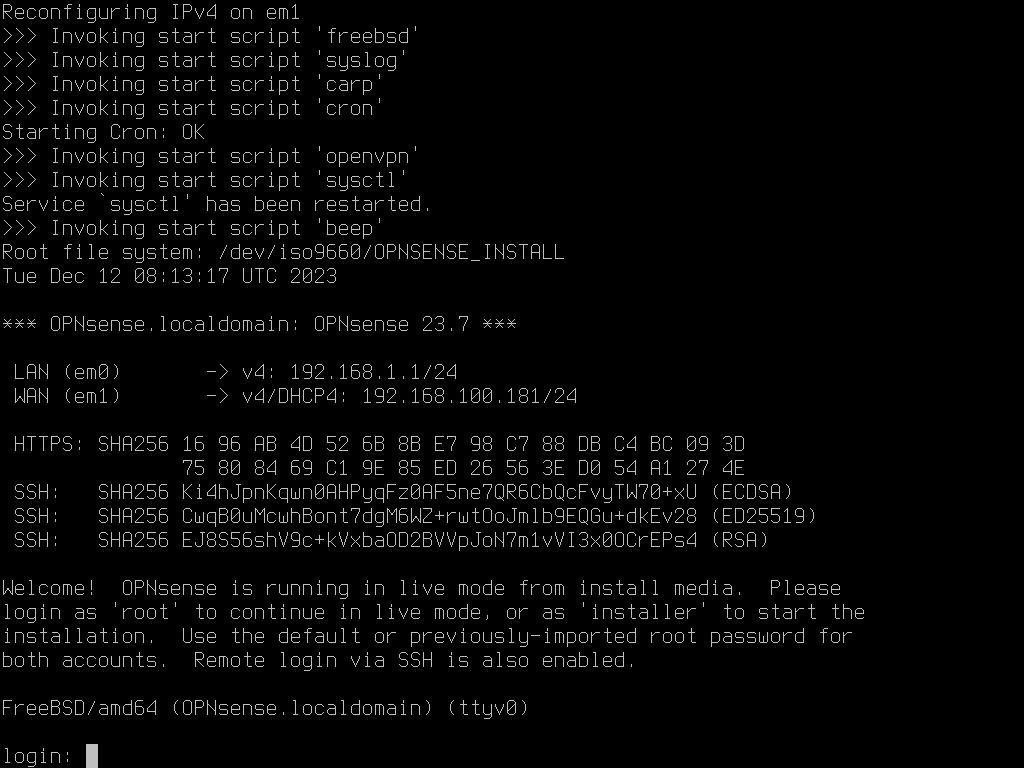
The screenshot shows the IP addresses assigned to the interfaces.
Change the IP address of a network interface
Depending on your environment, the IP addresses may be suitable for you, especially if you have a DHCP service on both interfaces.
In my case, the LAN interface has an IP address of 192.168.1.X/24, which is a problem for me because it is on the same IP range as my router and I therefore cannot access the administration.
So I’m going to show you how to change the IP address.
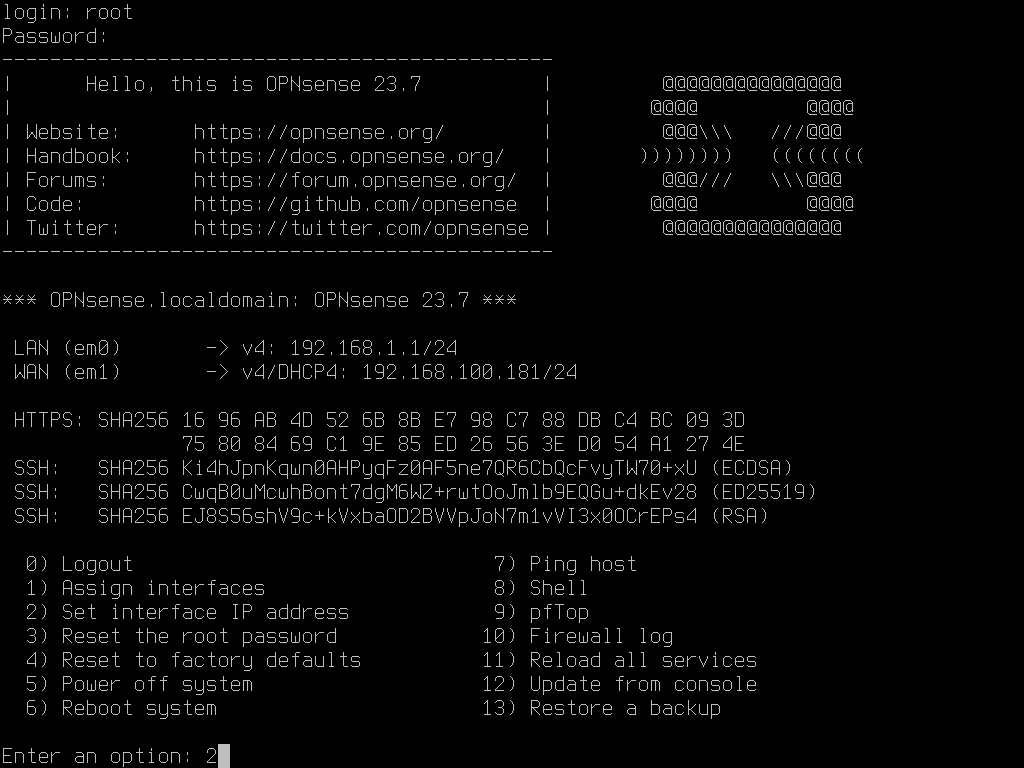
Start by logging in with your account root and the password opnsense.
By default, we arrive at a menu that allows us to perform several operations “easily”.
To change an IP address, enter option 2.
Enter the number of the interface you wish to configure.
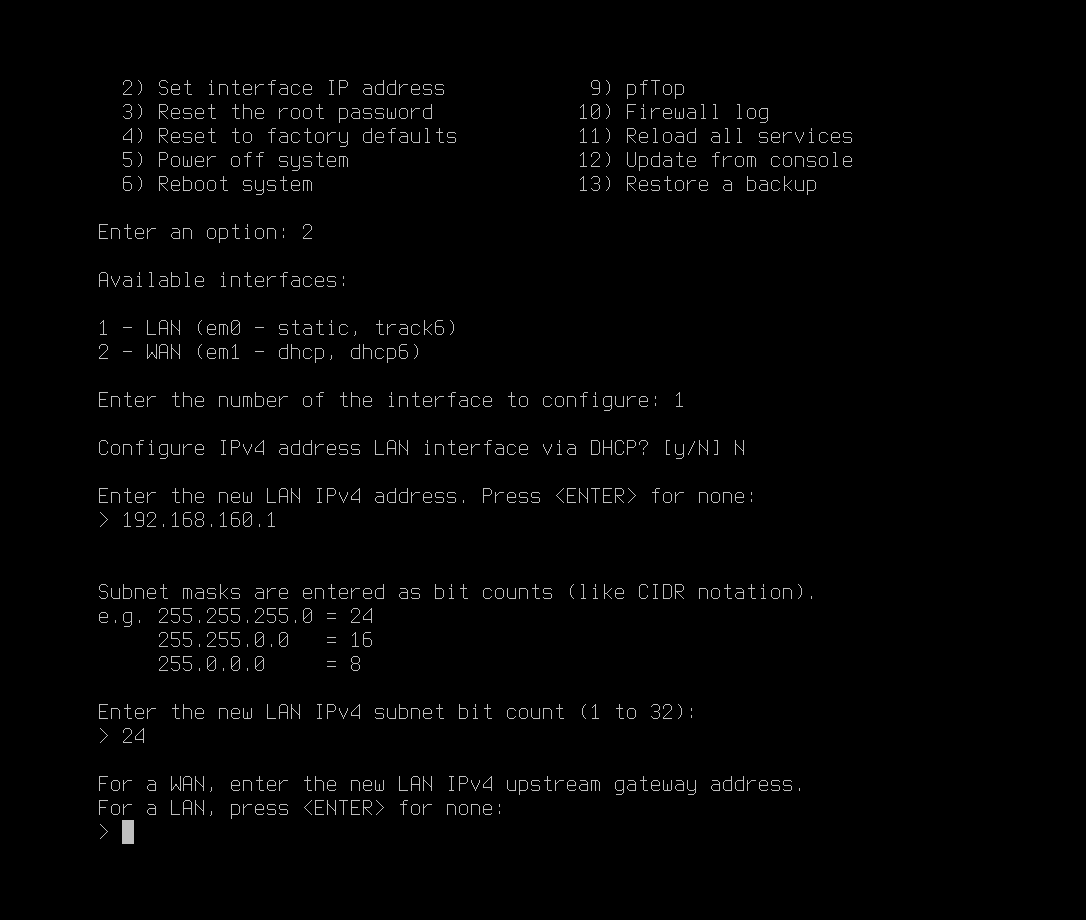
Several “questions” are required to configure the network interface:
- Indicate whether you want to receive an address from DHCP (N)
- Enter the IP address of the network interface (192.168.160.1)
- The subnet mask in CIDR notation (24)
- Press Enter for a LAN interface
Then you can configure IPv6 if necessary.
Please wait while the configuration is being applied; once finished, you will be given the URL of the OPNsense web interface.
Configuring OPNsense after startup
Before making the final installation on the disk, we will follow the configuration wizard on the web interface.
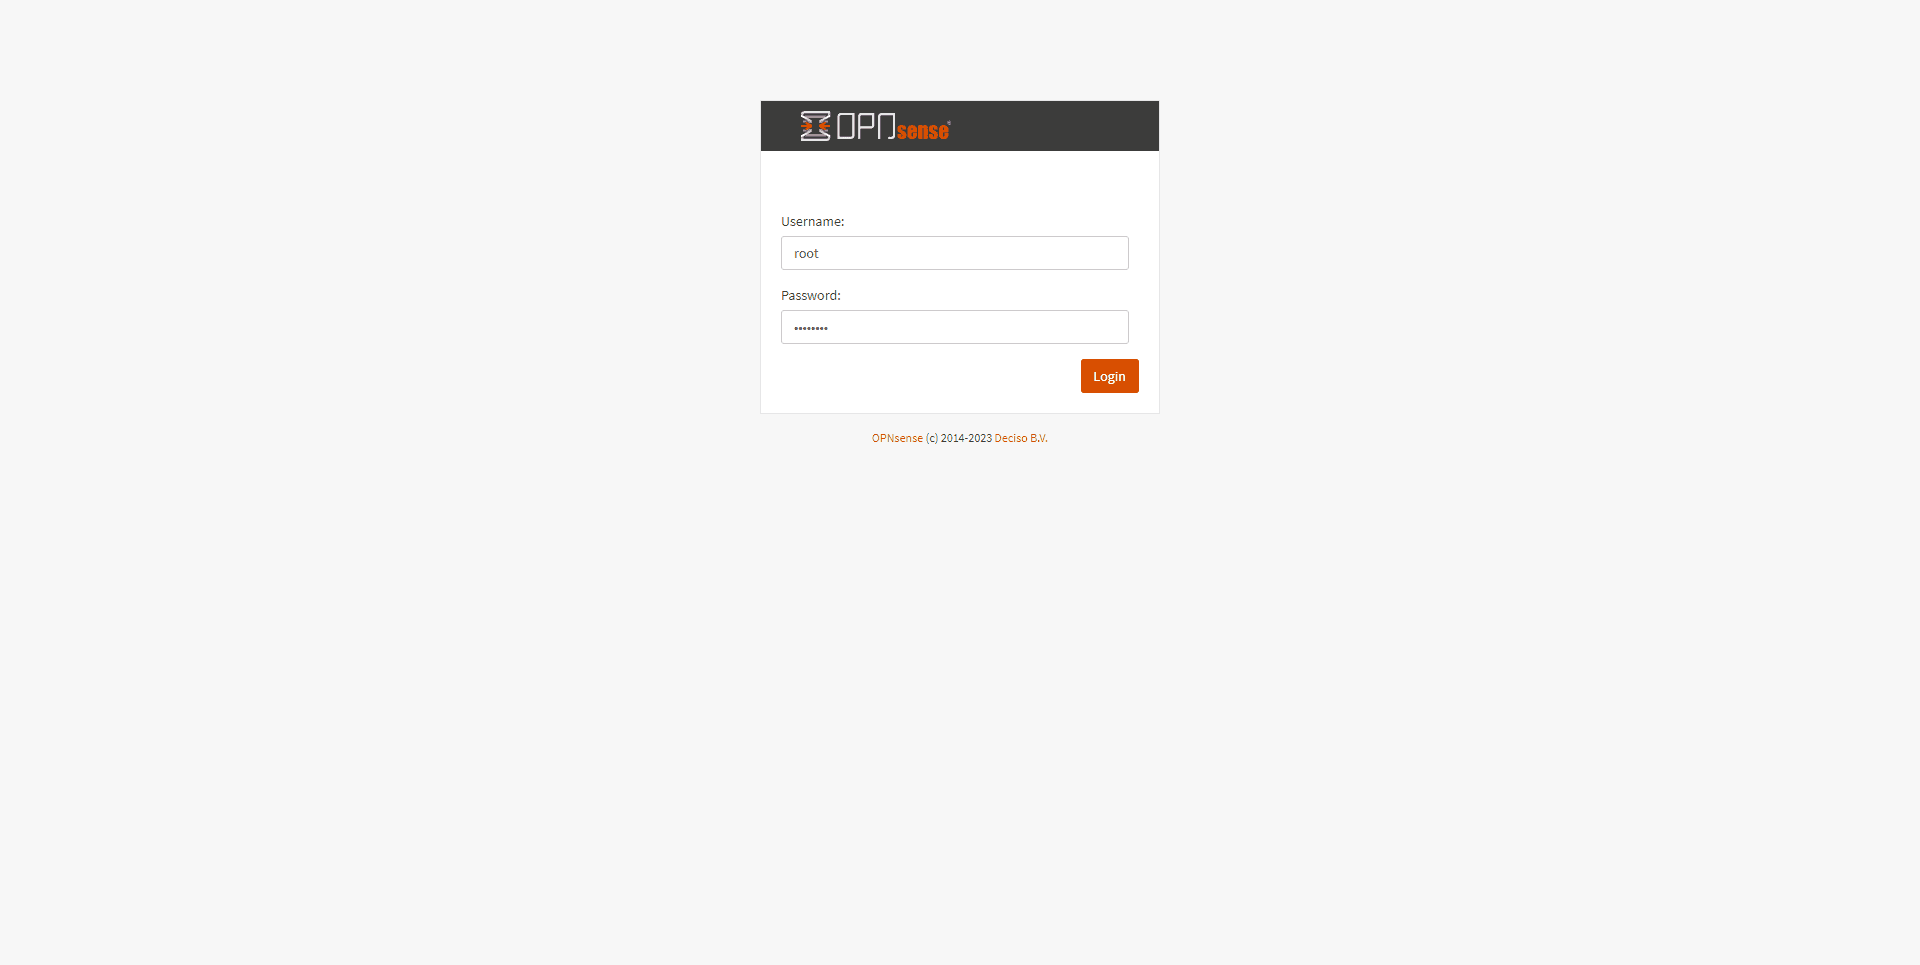
From an internet browser, go to the firewall’s web interface.
Log in with your account root and password opnsense.
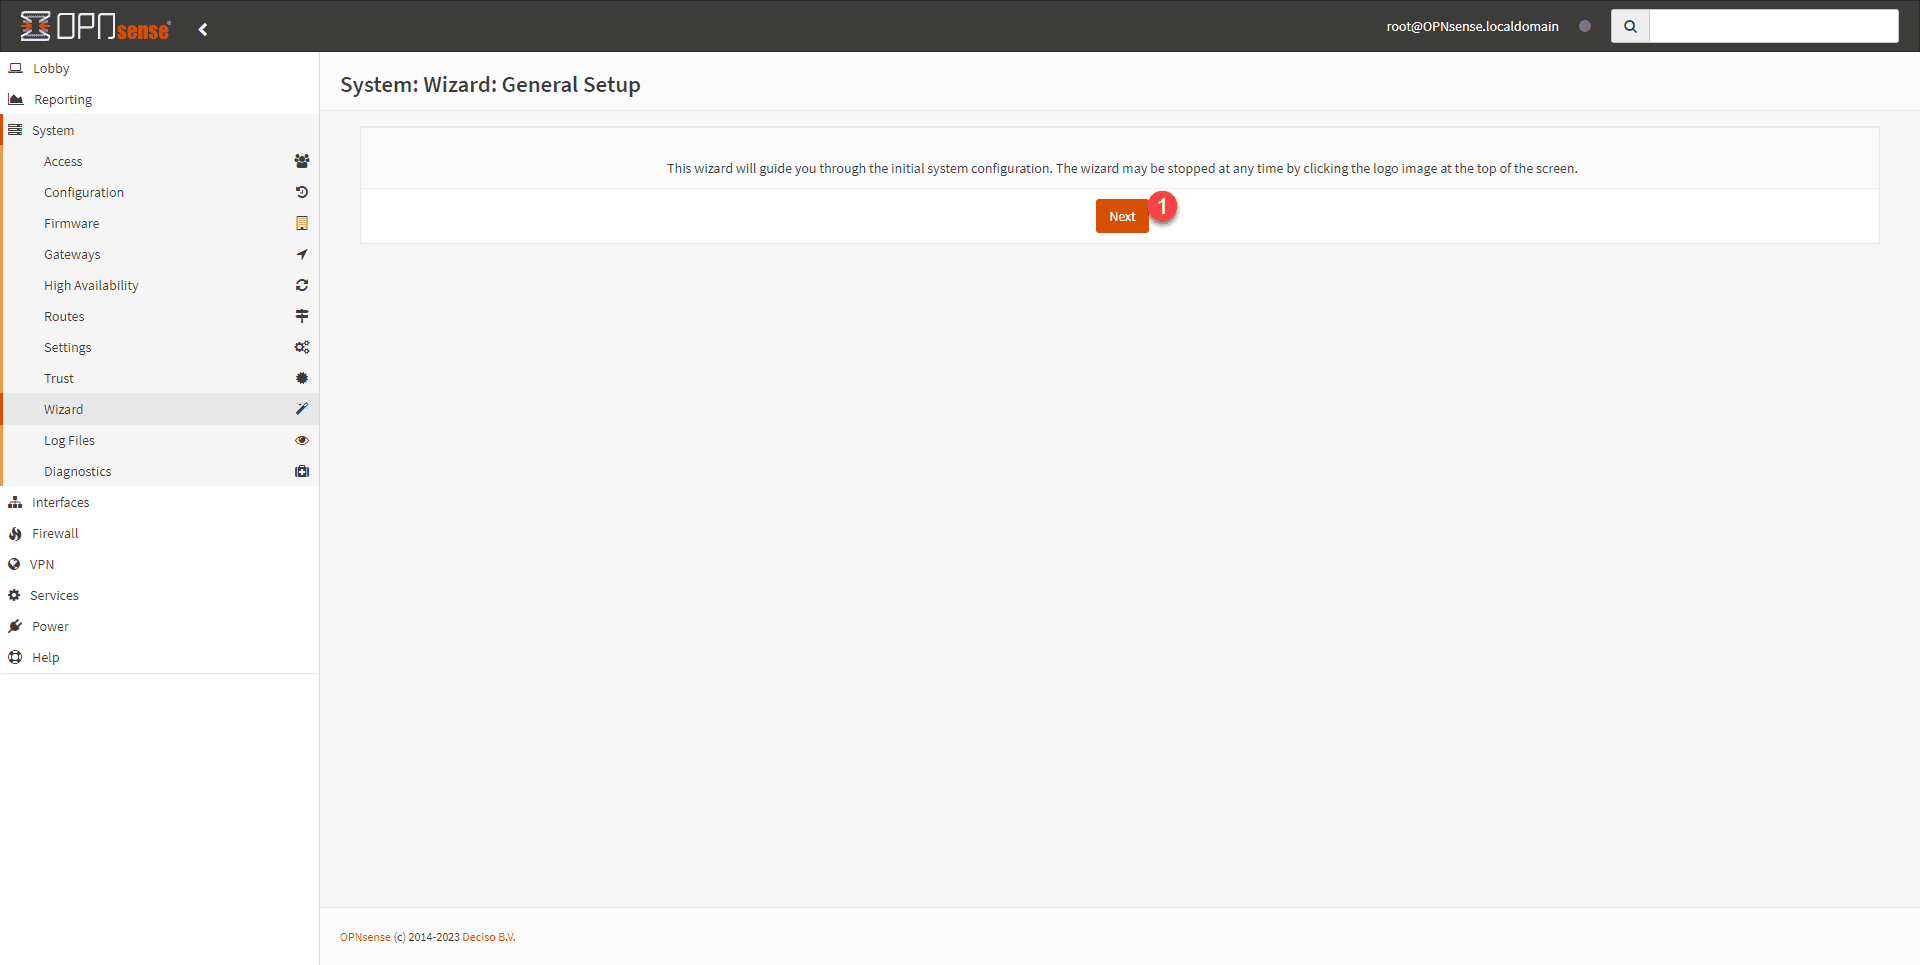
Please wait while the assistant loads…
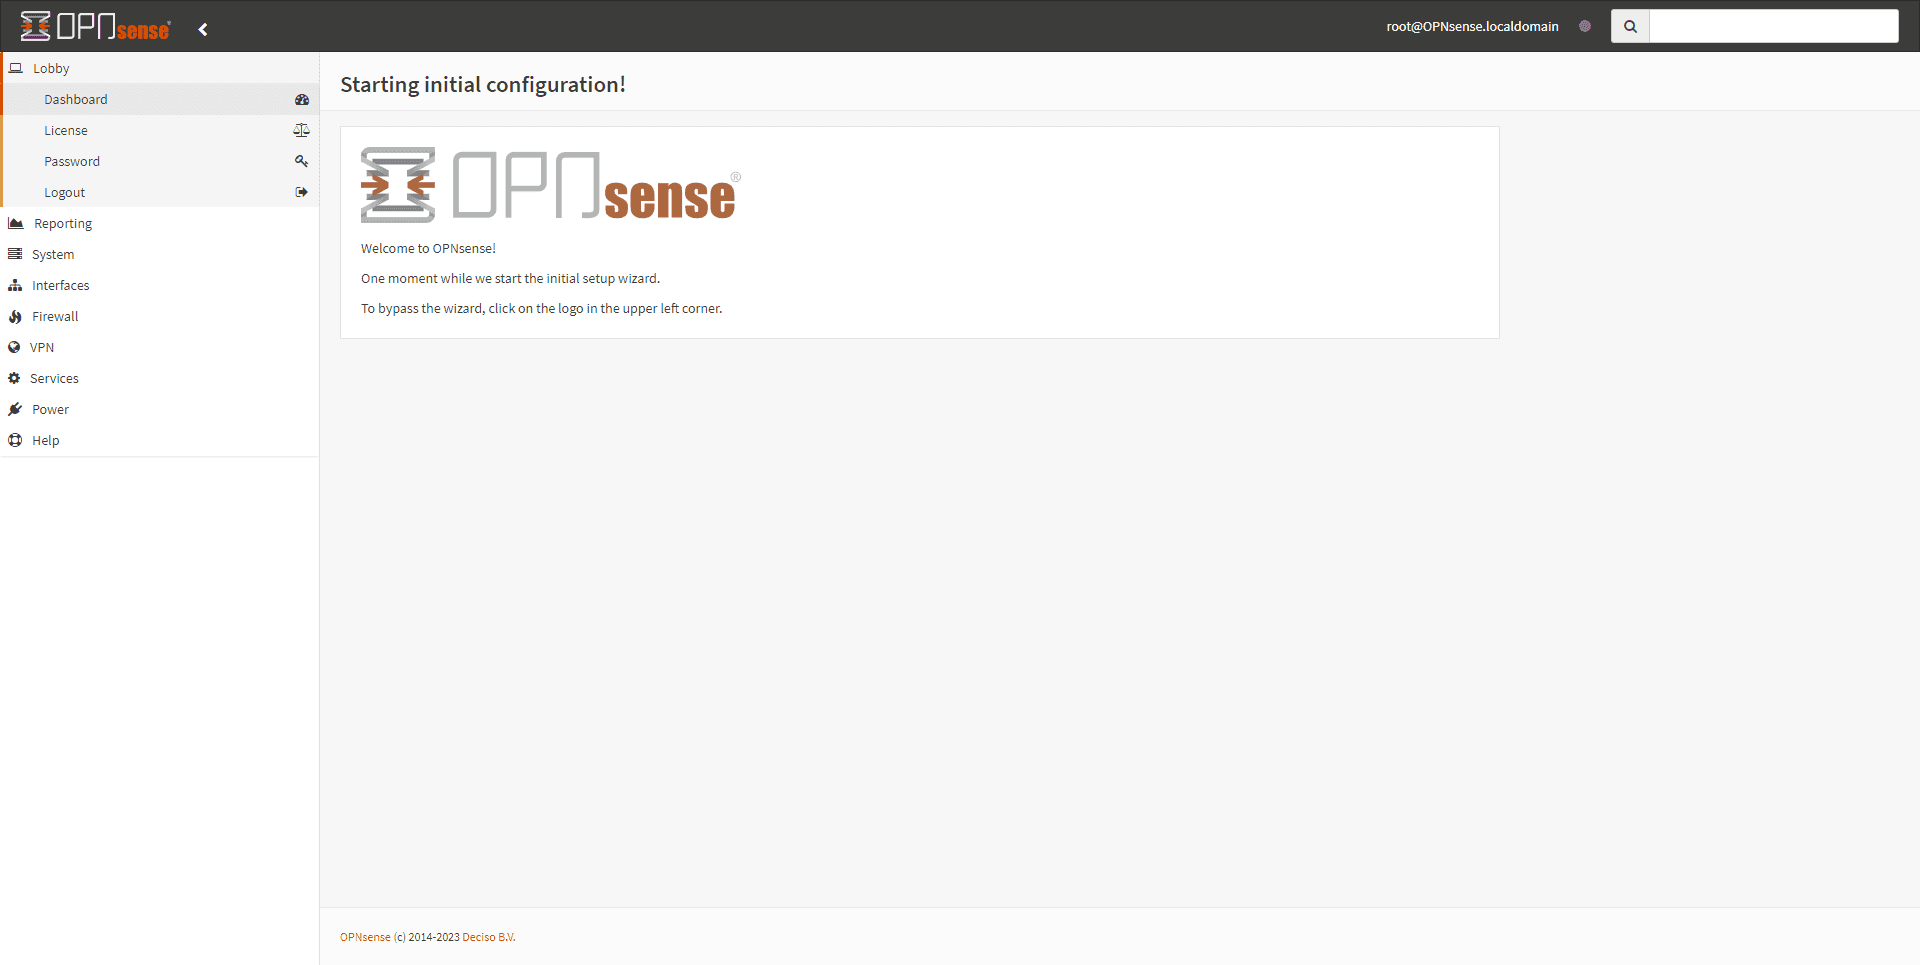
When launching the assistant, click on the Next 1 button.
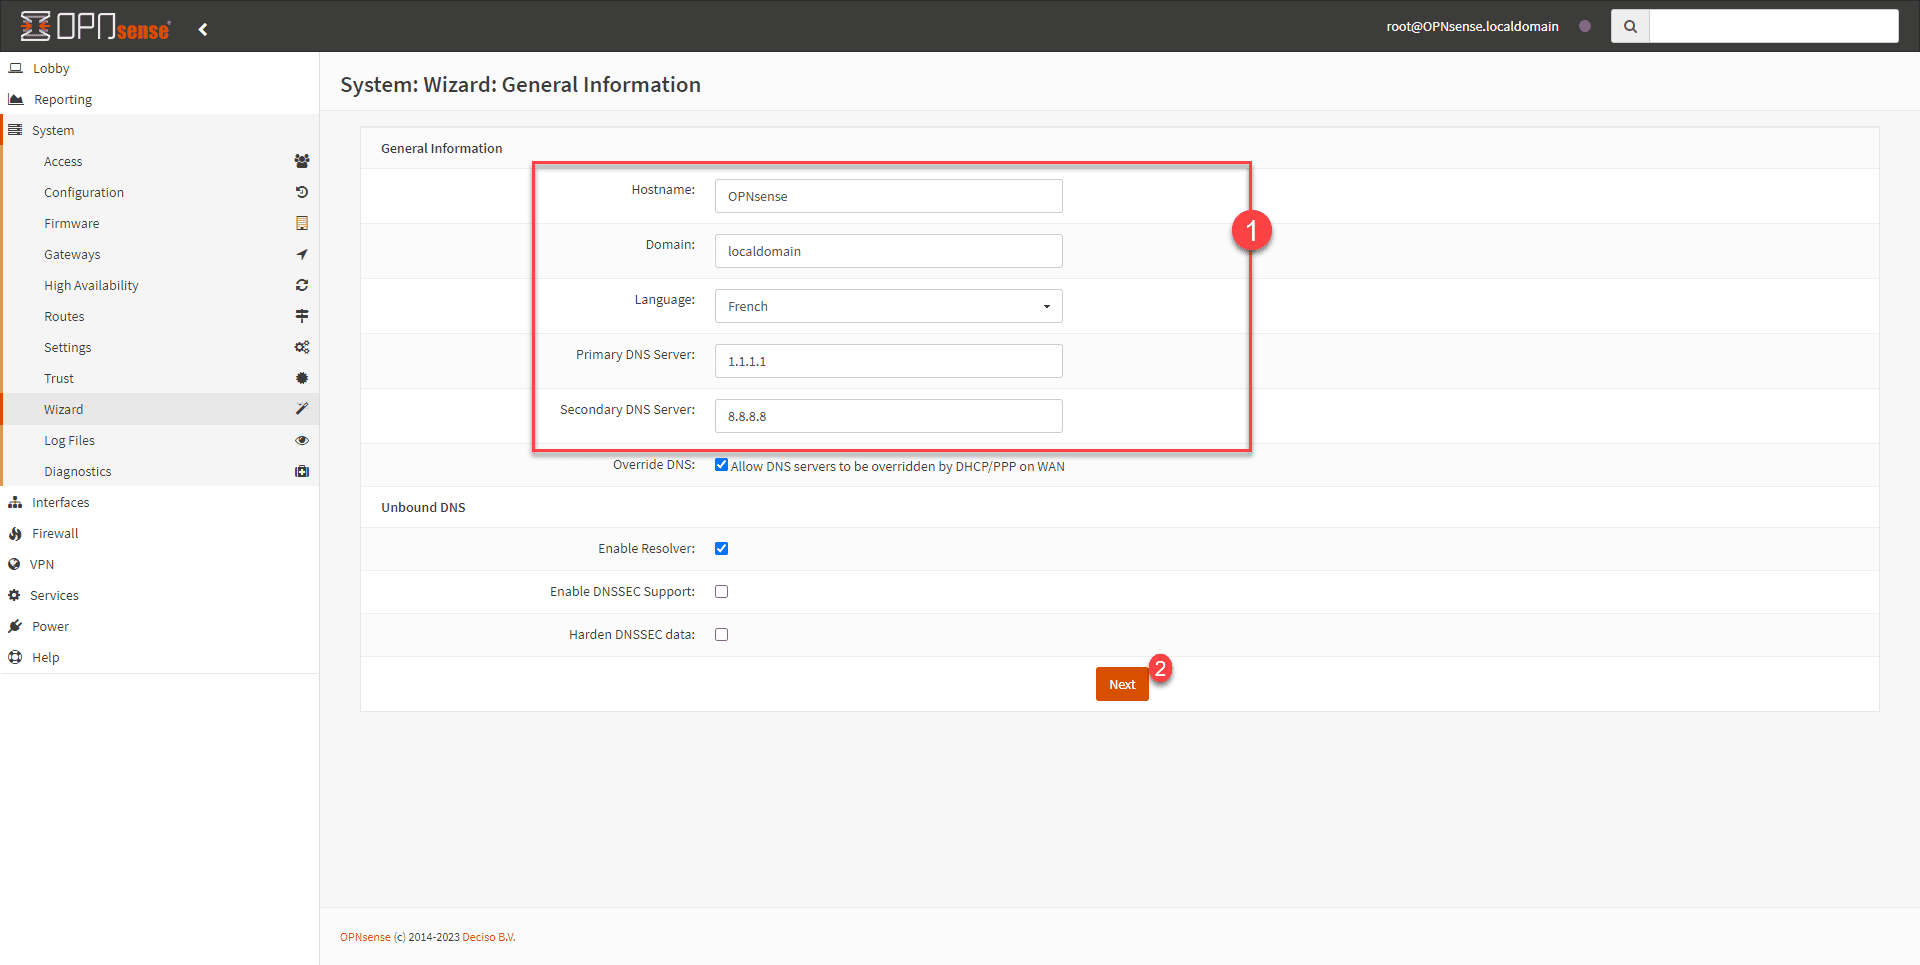
Configure the host information: interface name, domain and language and DNS server 1 then validate by clicking on Next 2.
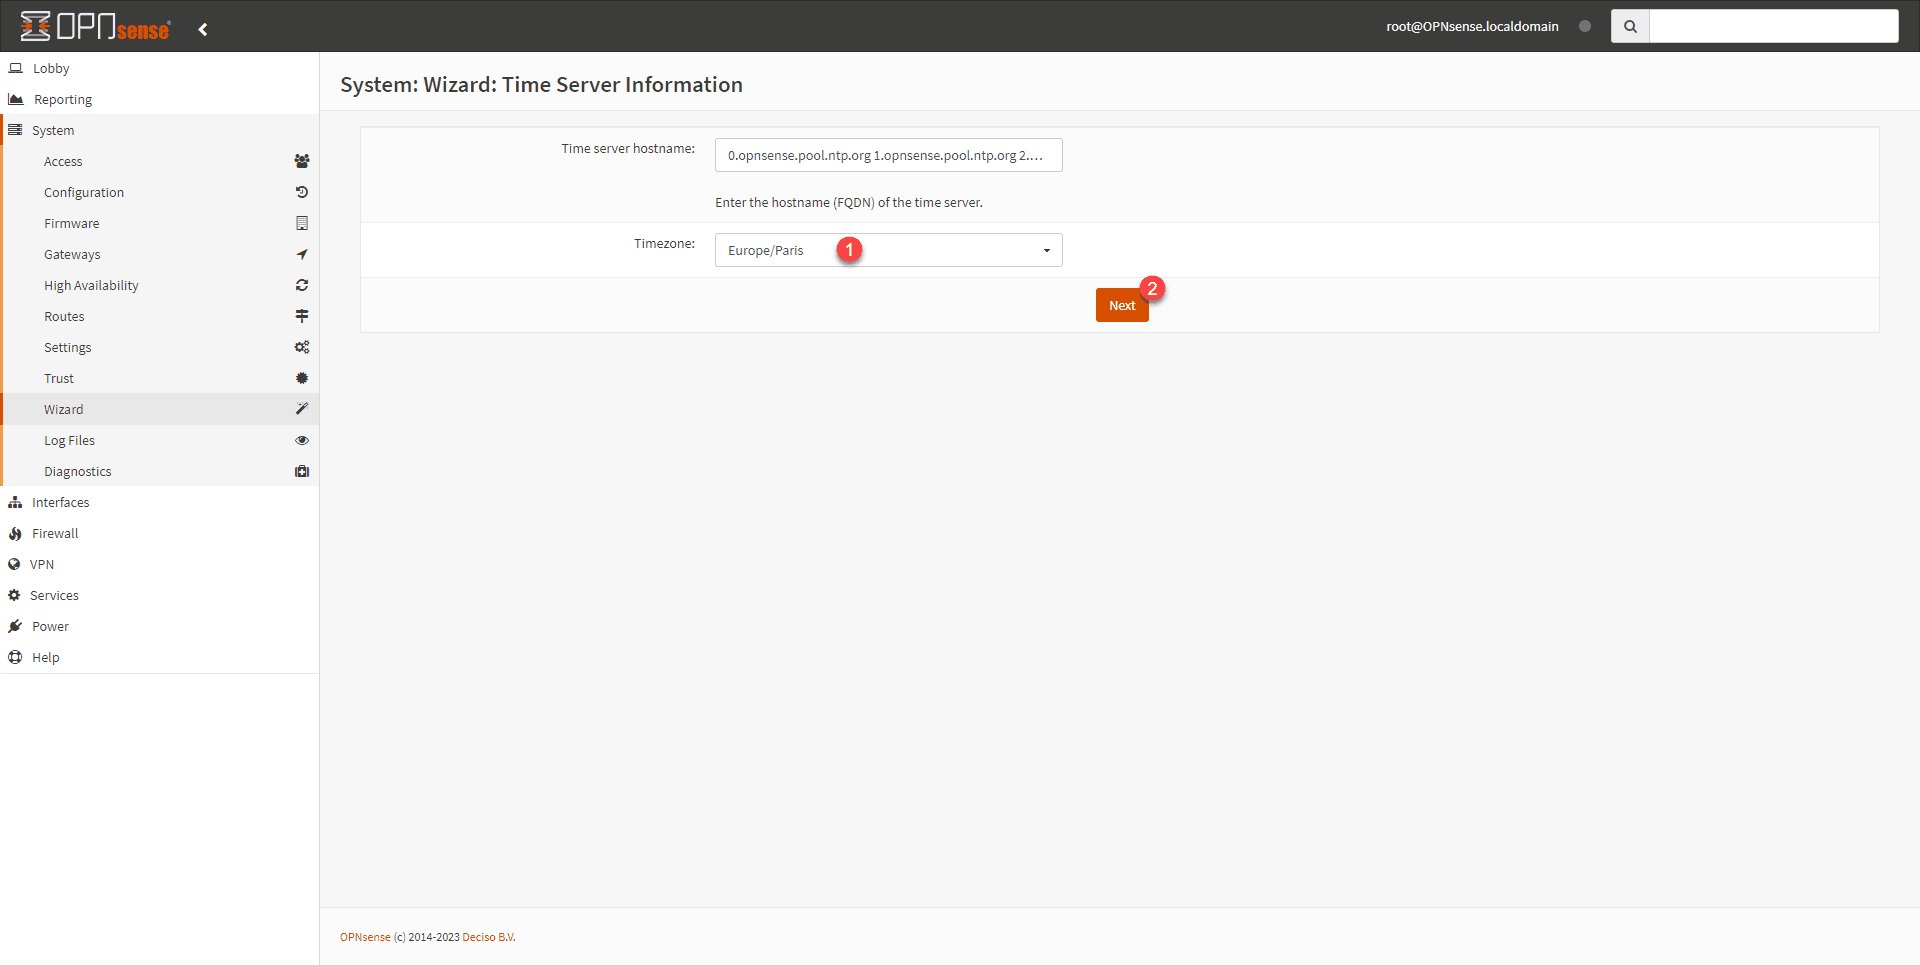
Enter the time zone 1 and click on Next 2.
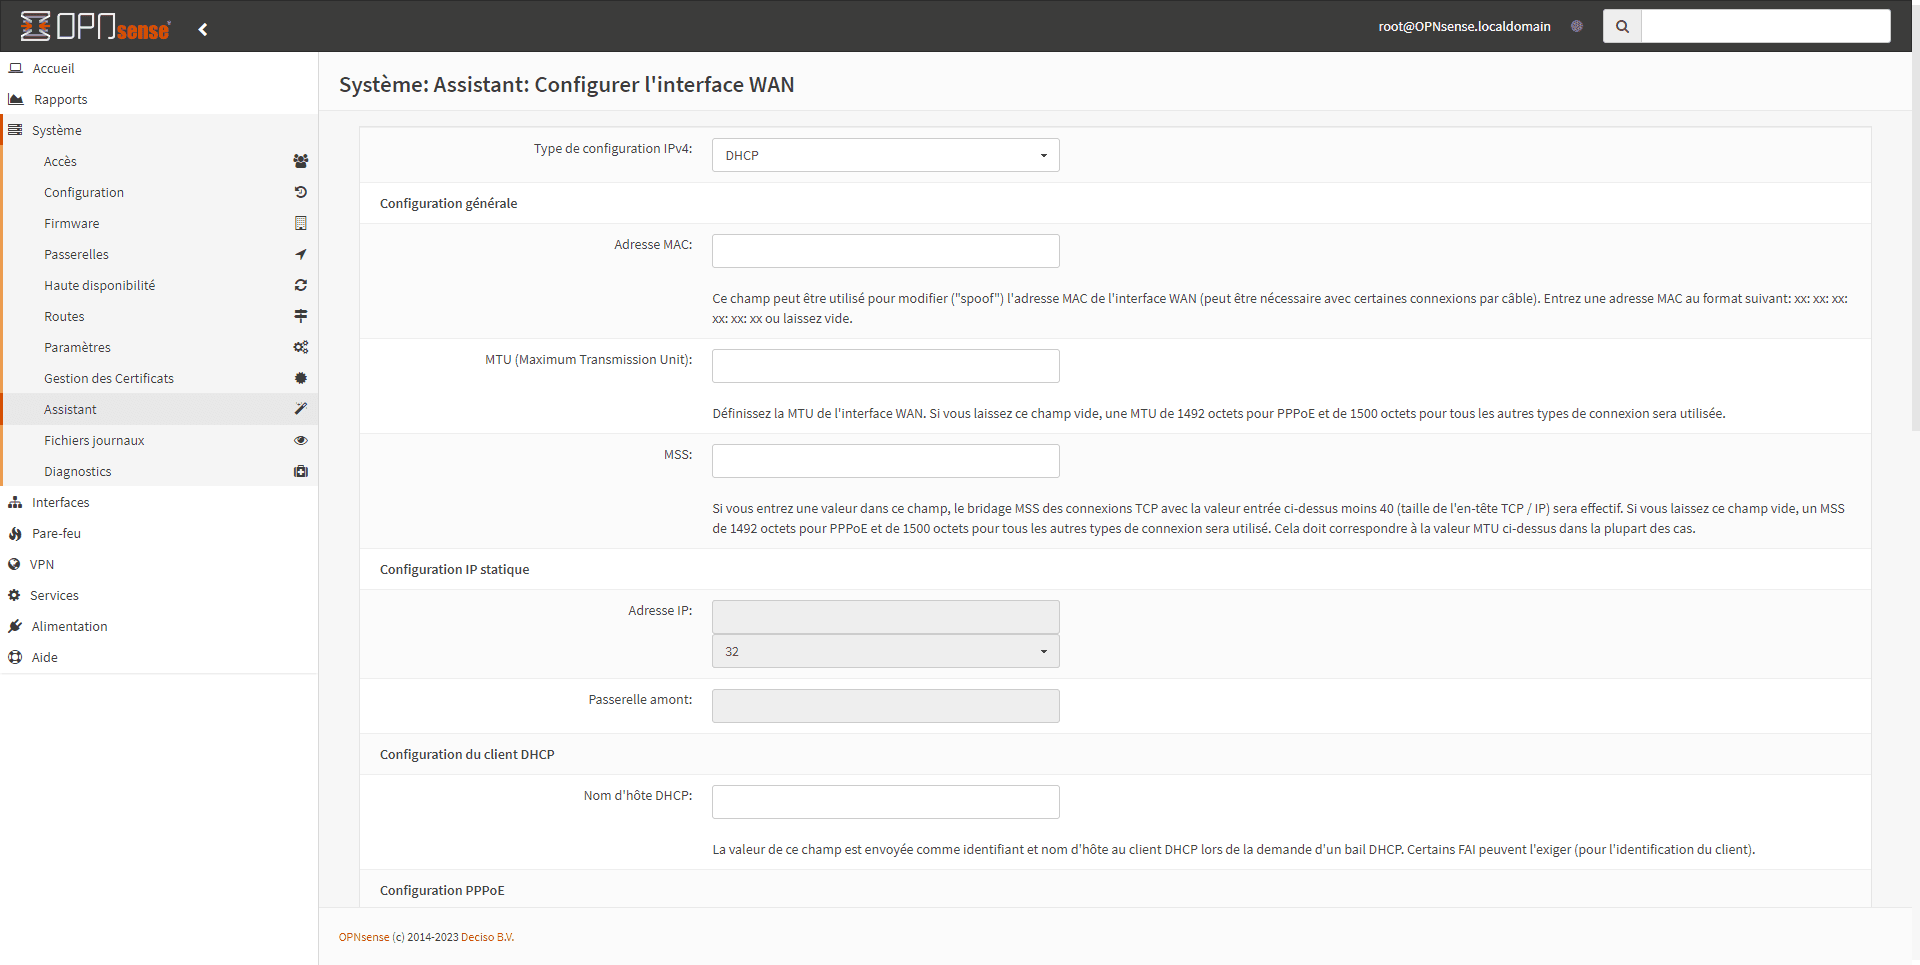
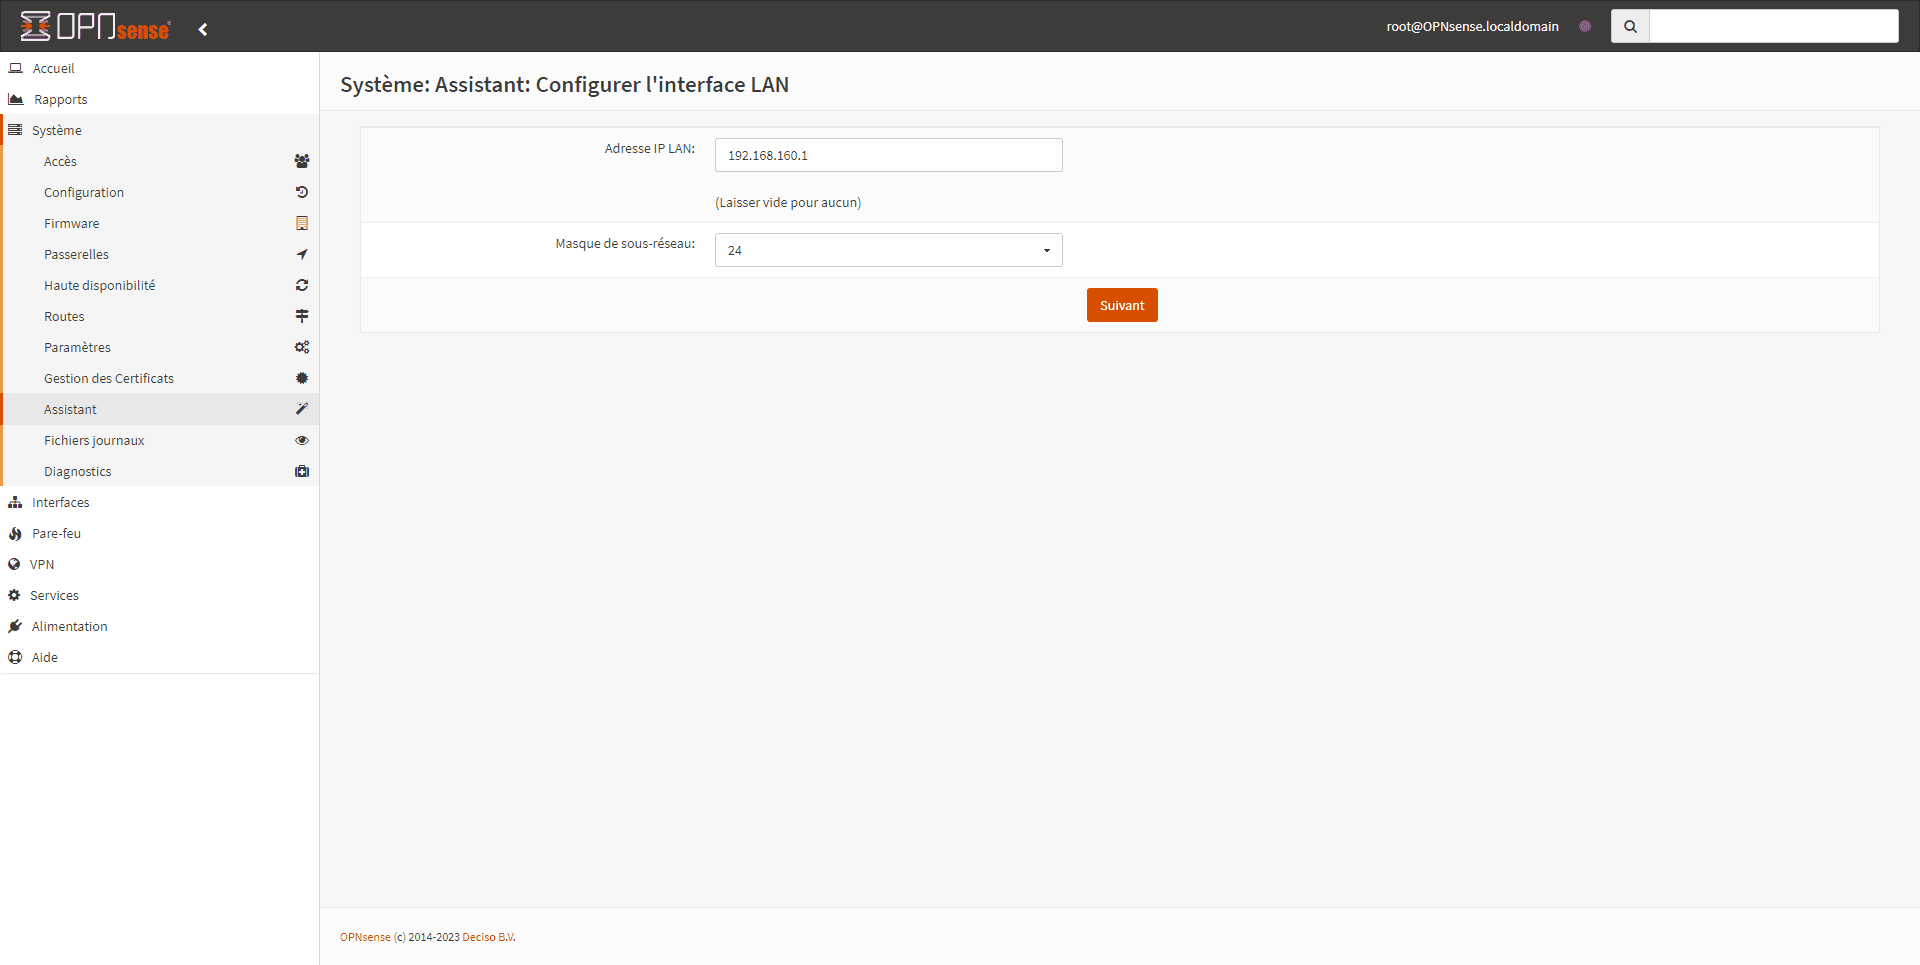
If necessary, modify the WAN interface configuration and click Next.
Do the same for the LAN interface and click Next.
Finally, we change the root account password and click Next.

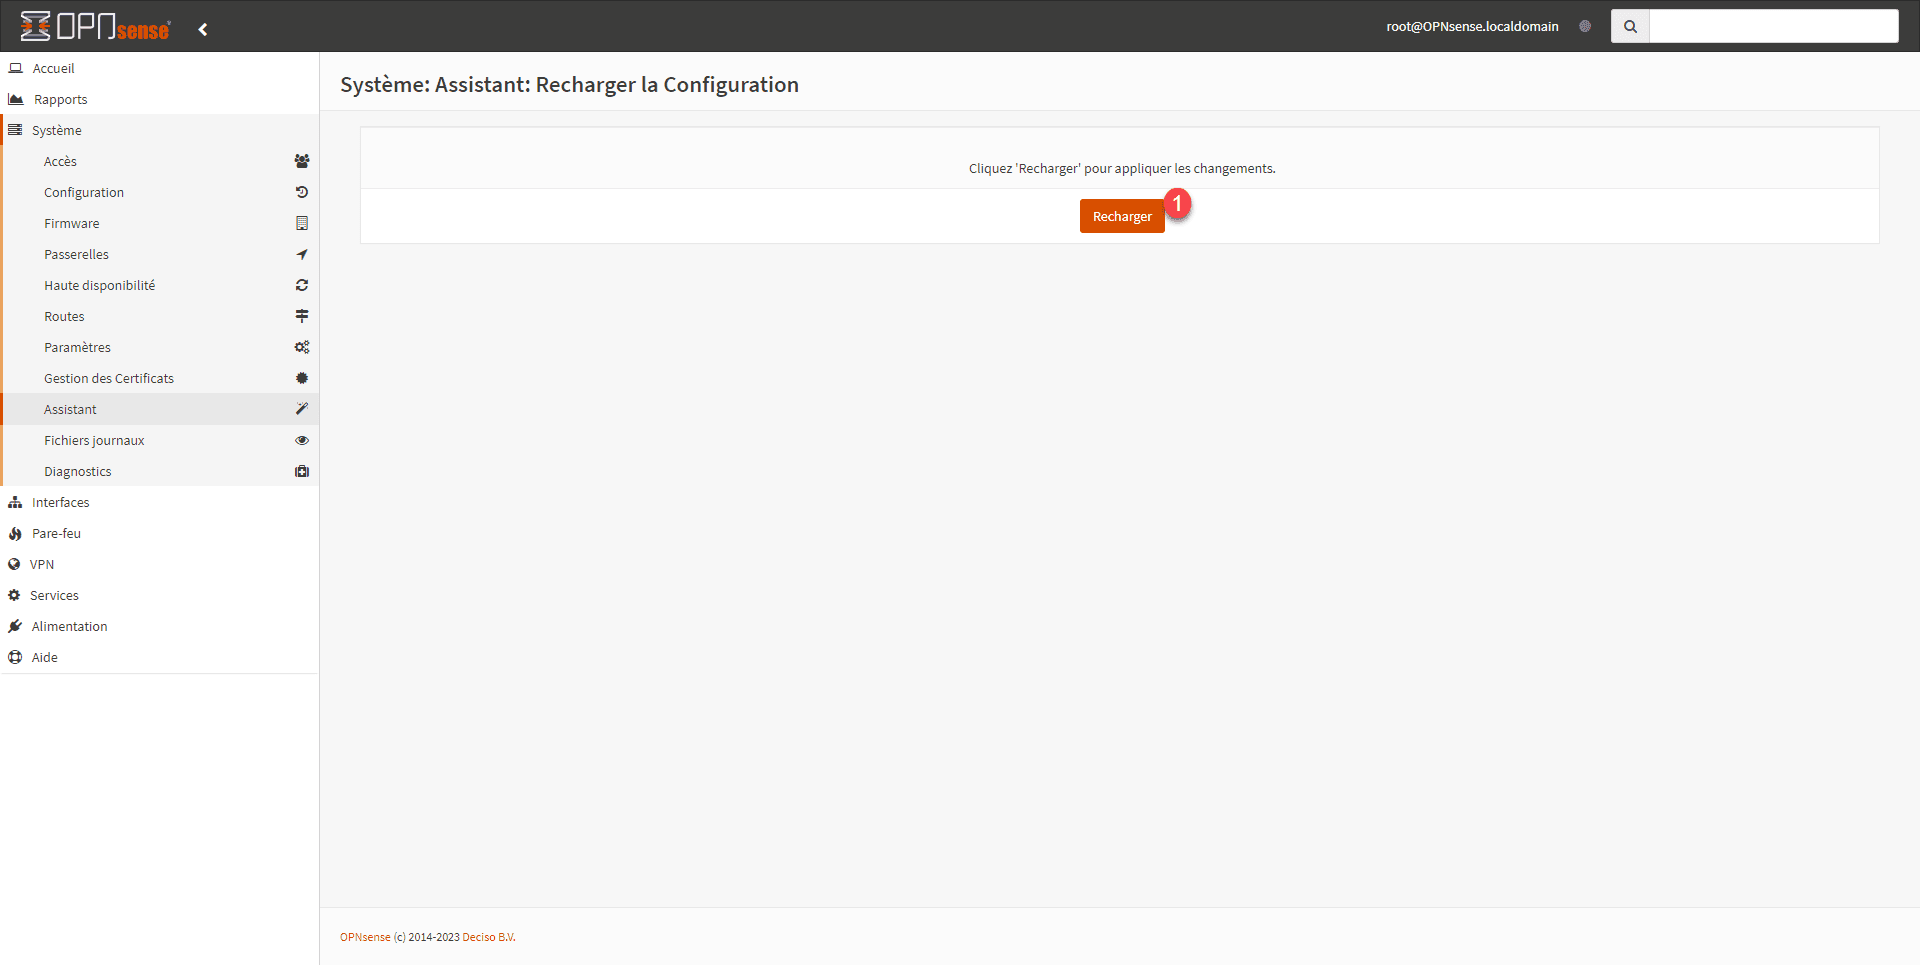
To apply the configuration, click on Reload 1.
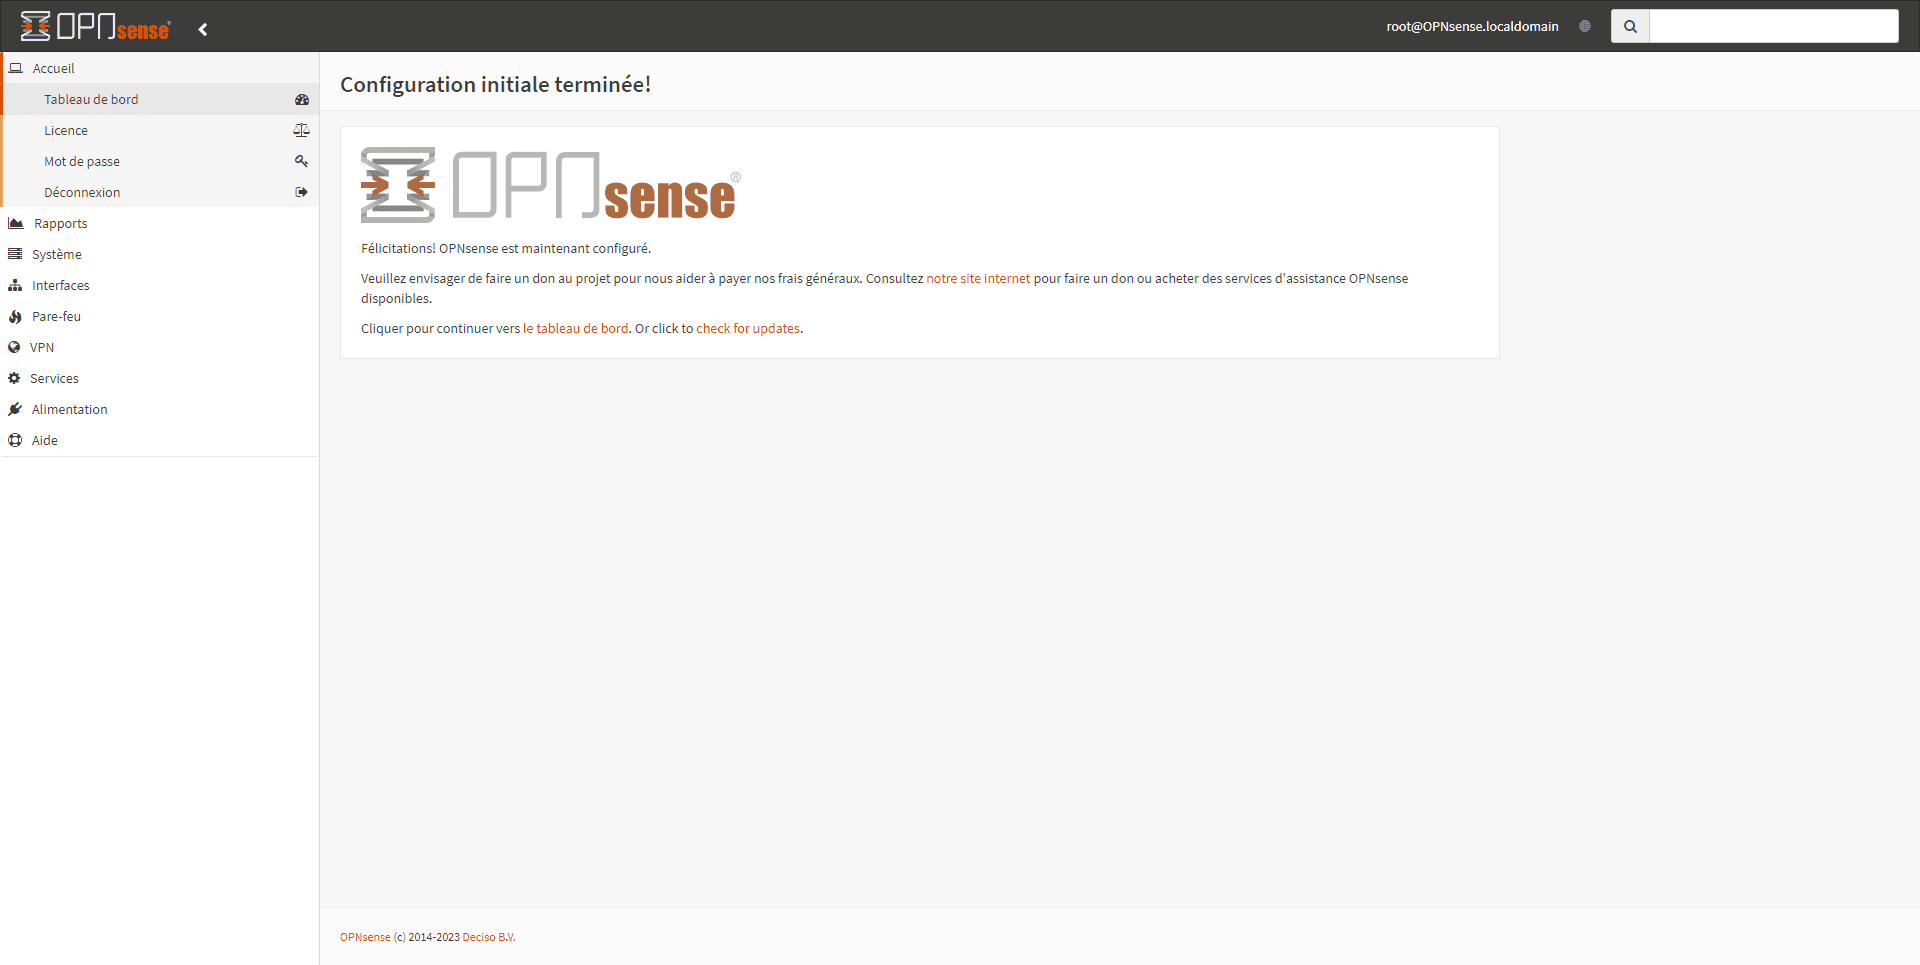
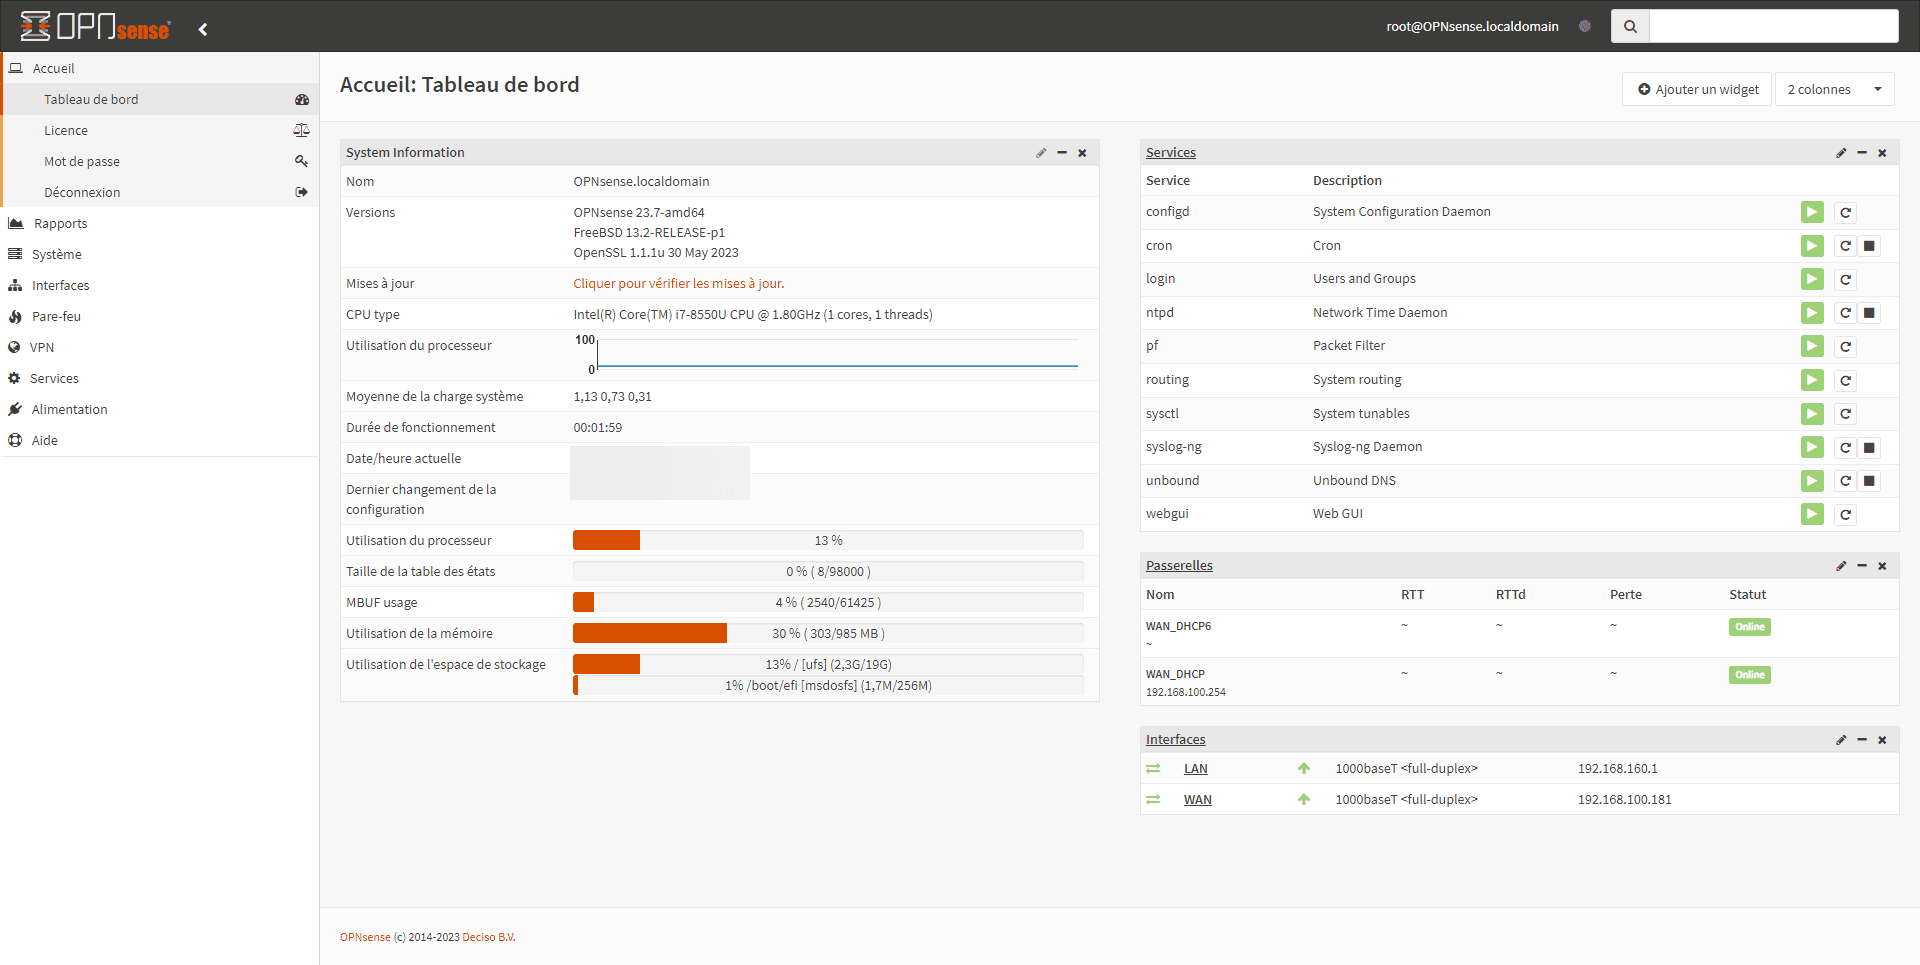
Once the configuration has been reloaded, a page will appear indicating that OPNsense is configured.
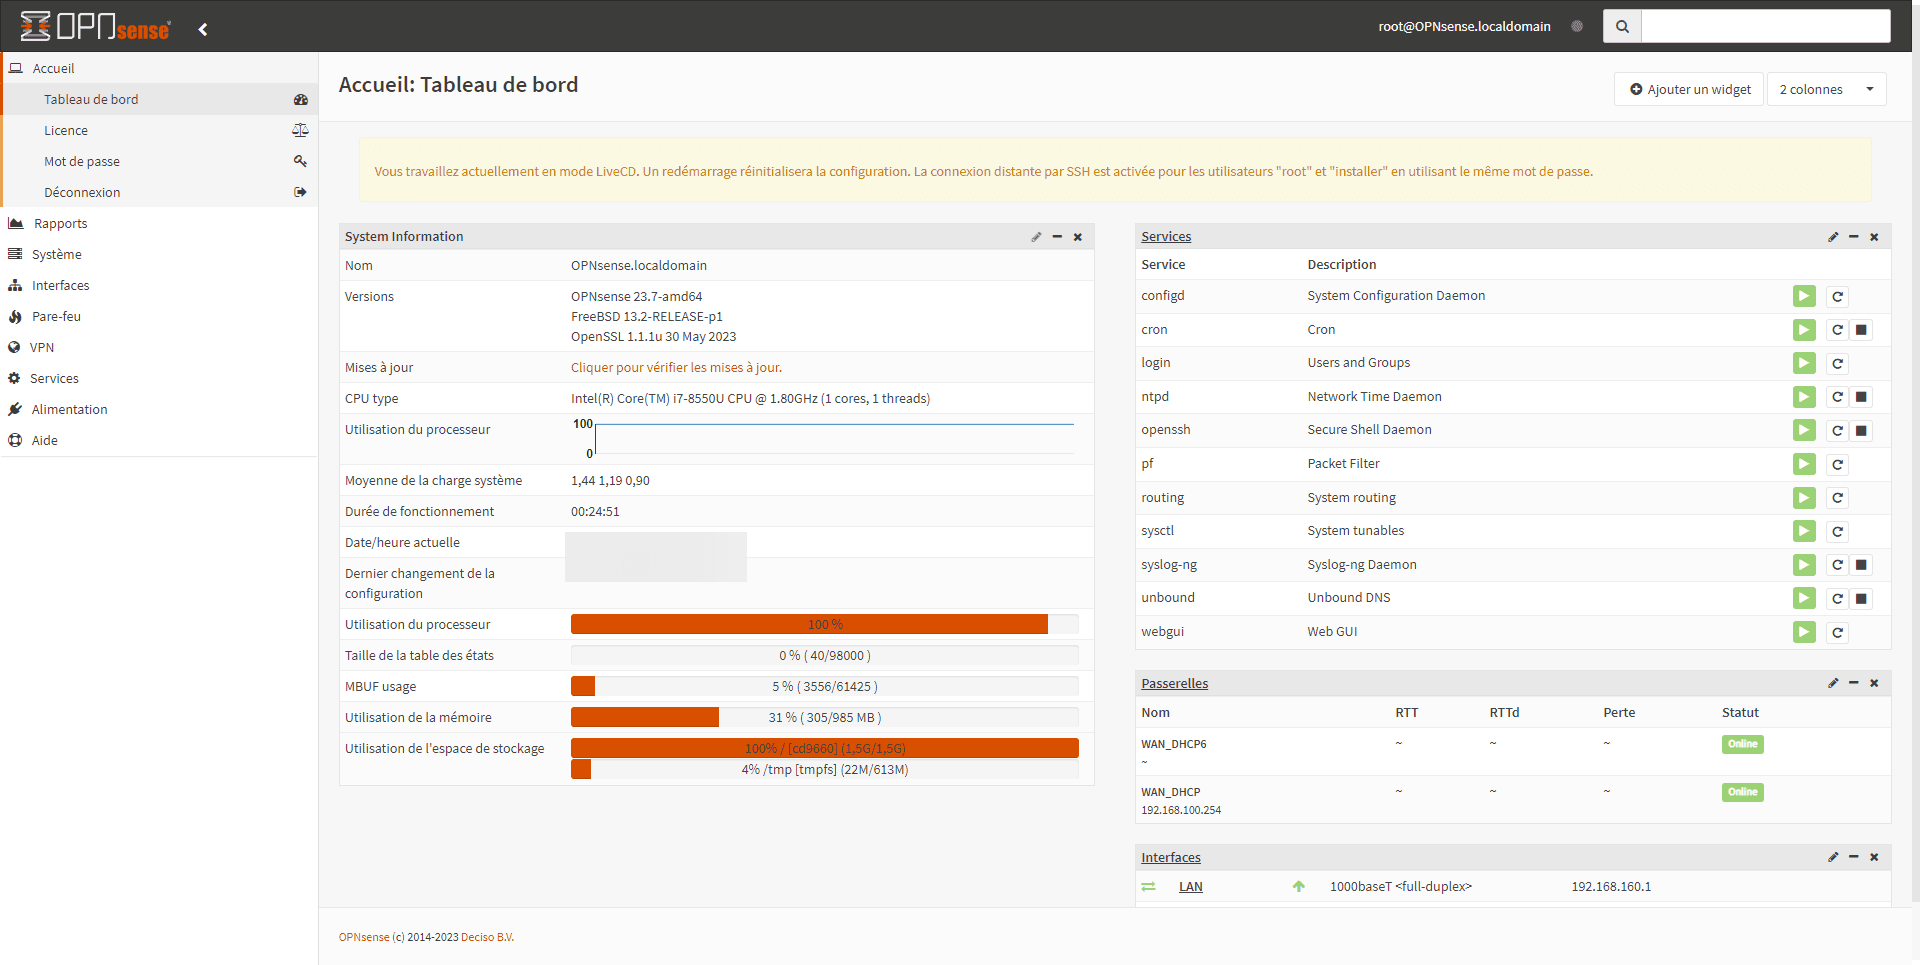
On the firewall dashboard, an alert message appears indicating that we are in LiveCD mode.
Install OPNsense on the disk
We will now make our firewall persistent.
Return to the console in Shell and this time, log in with the installer account and the same password as root.
Start by configuring the keyboard layout.
Next, select the Install (UFS) task.
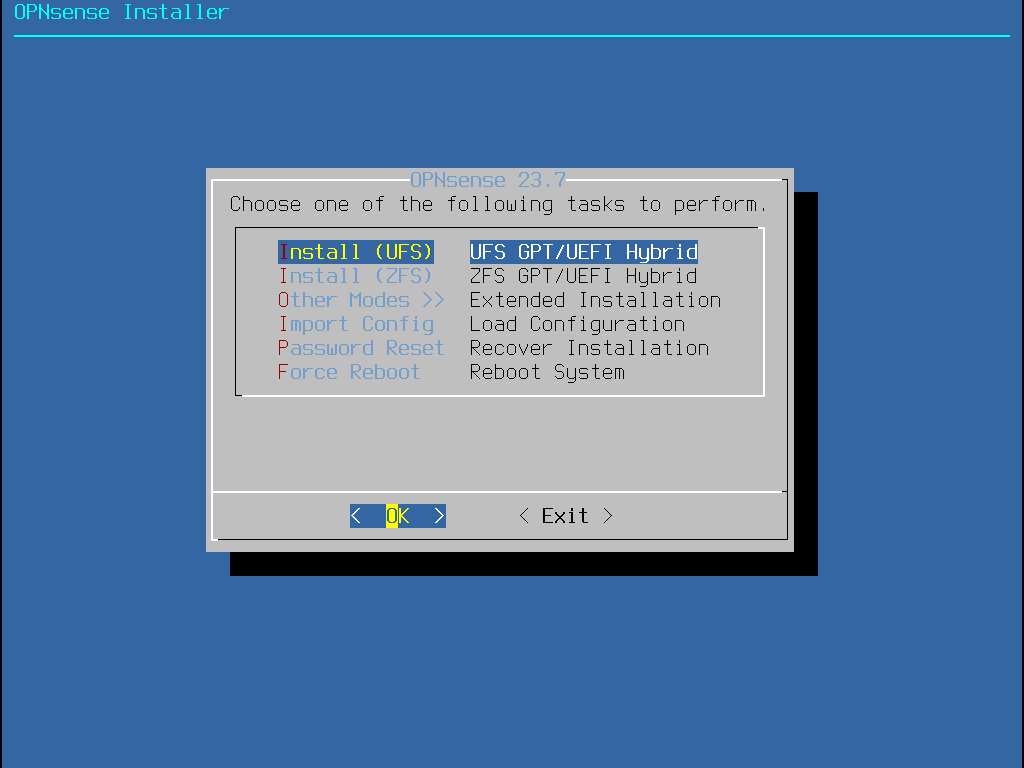
If a message appears indicating that the prerequisites are not met (CPU / RAM), confirm by clicking on Proceed anyway.
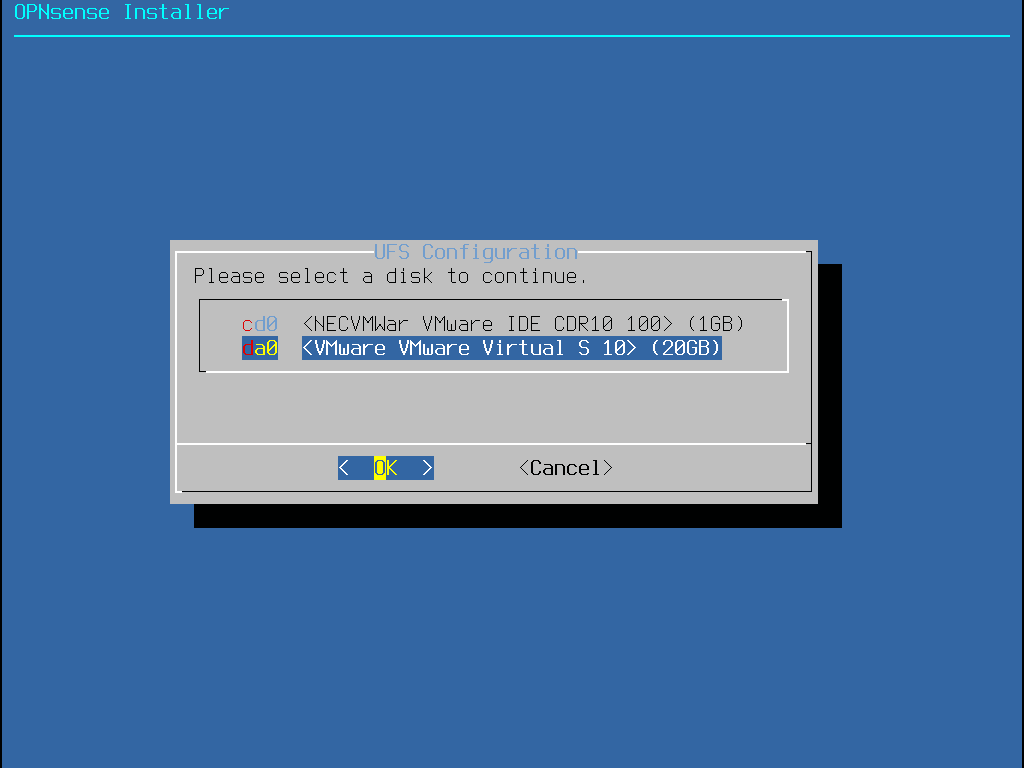
Select the hard drive where OPNsense will be installed.
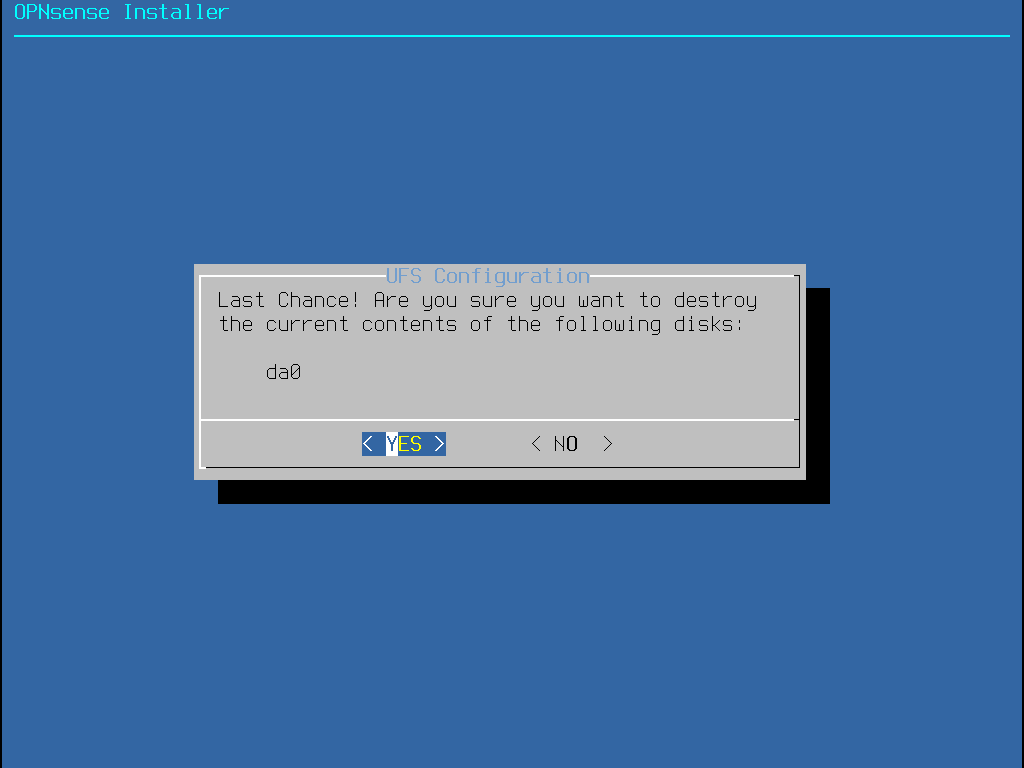
Confirm disk selection.
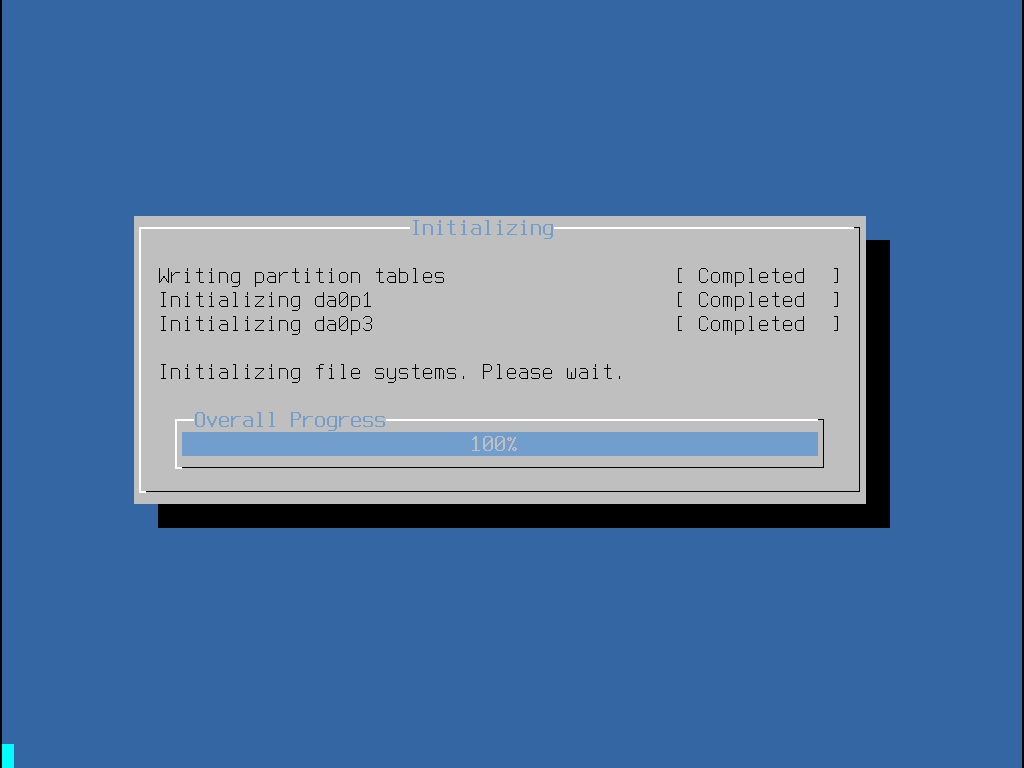
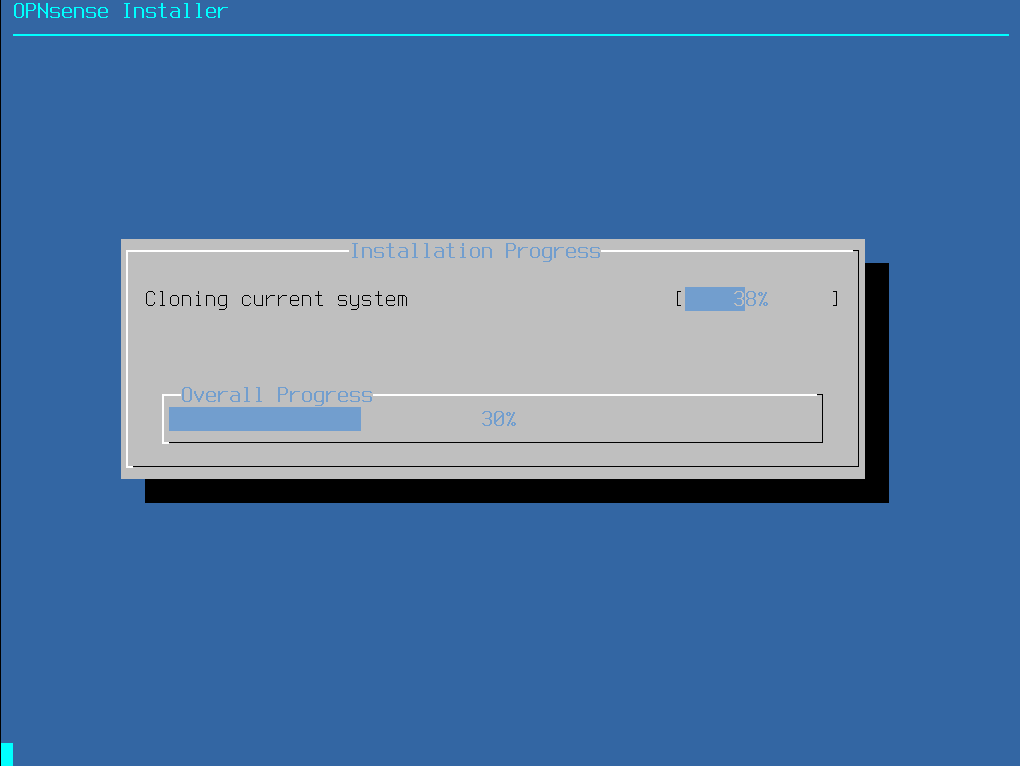
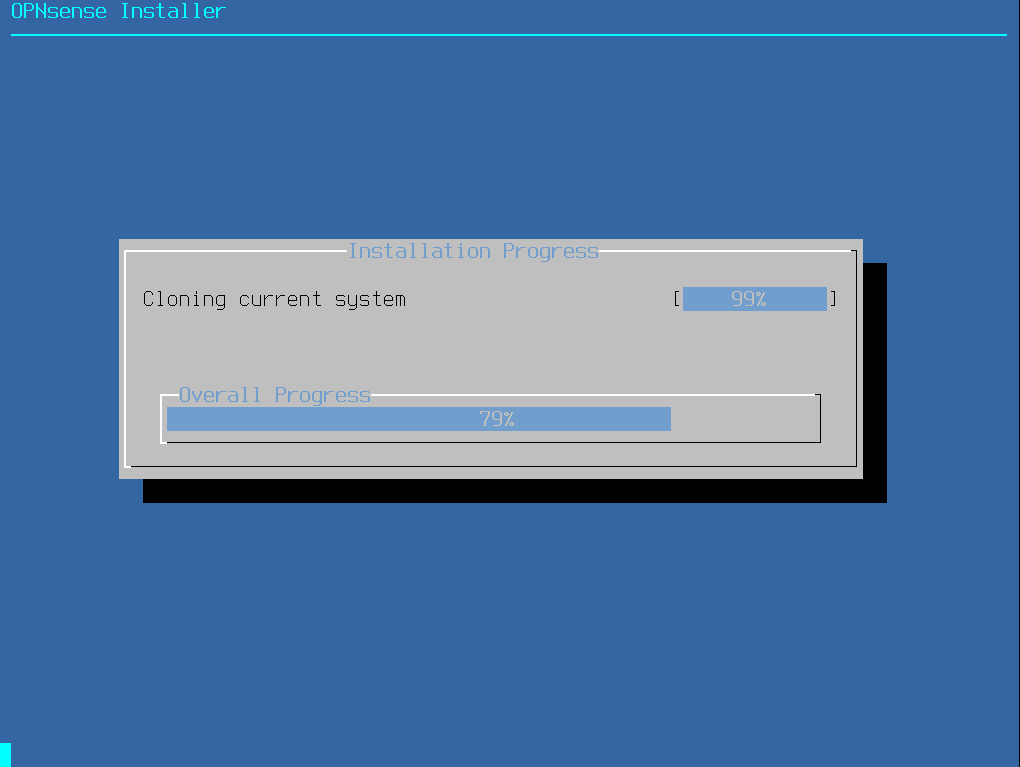
Please wait while the system is cloning from the disk…
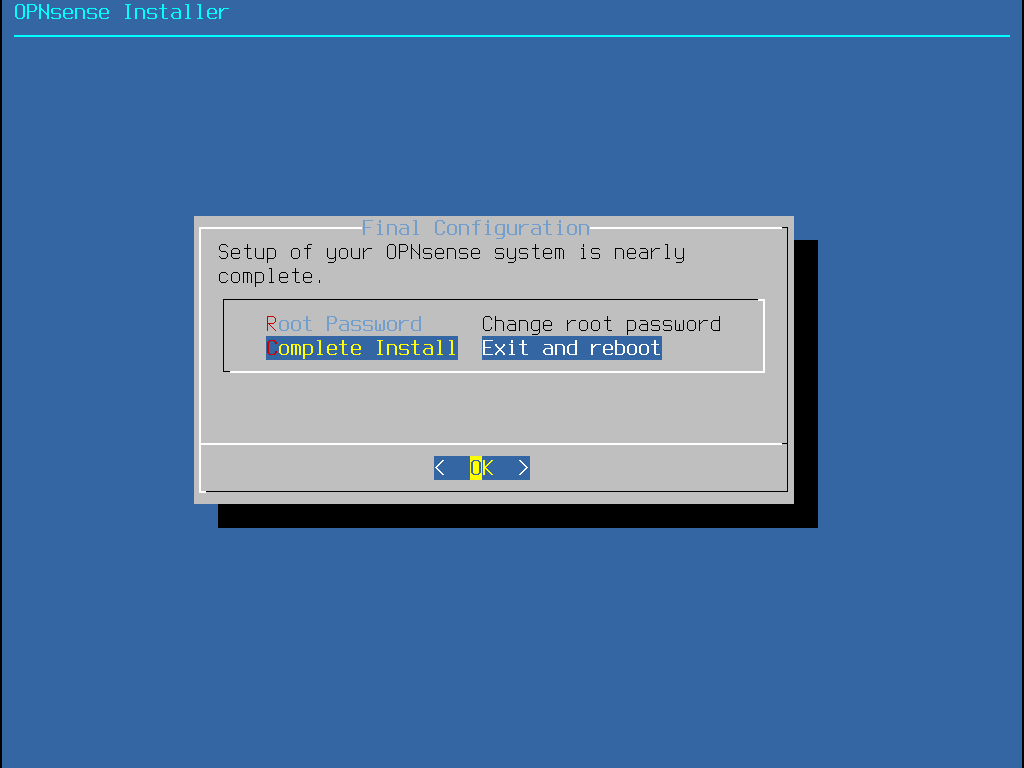
Confirm by selecting Complete Install.
The system reboots…
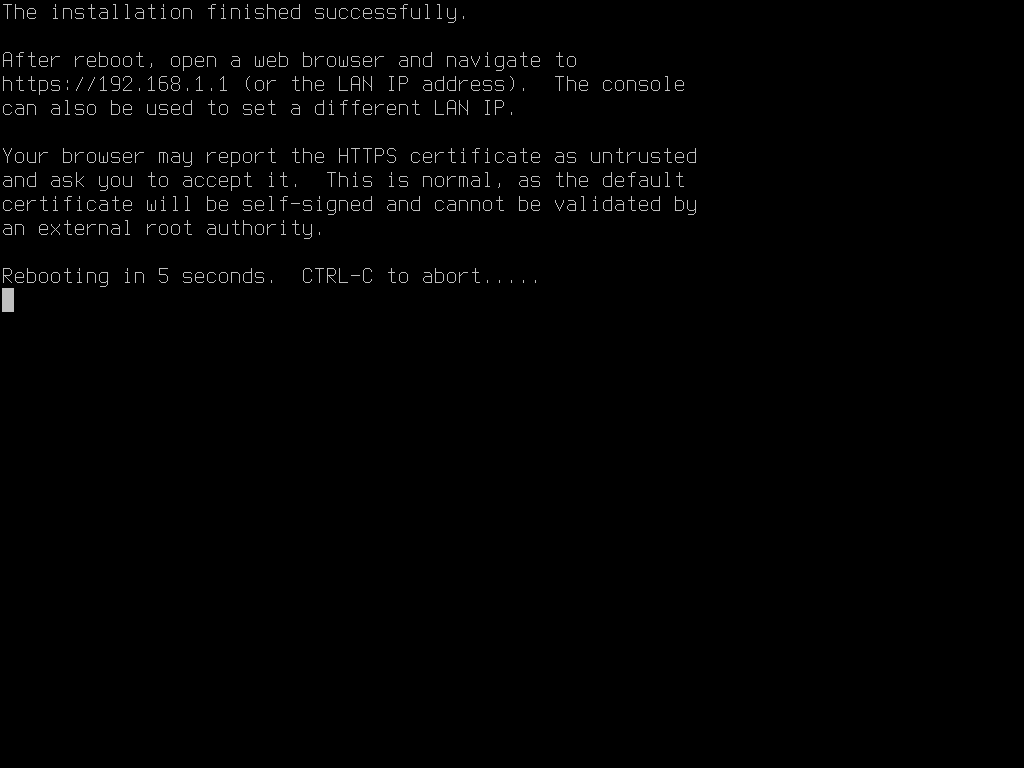
Remember to remove the ISO
Back on the web interface, we can see that the alert message indicating that we are in liveCD mode has disappeared.
Getting Started with OPNsense
In this section, I will not go into the full details of using the OPNsense firewall (we will see that in other tutorials).
Here we’ll take a “quick” tour to make it functional by setting up the DHCP service and implementing a transparent proxy.
Default rules
By default, the firewall is configured as follows:
- LAN to WAN allows all
- WAN to LAN blocks everything.
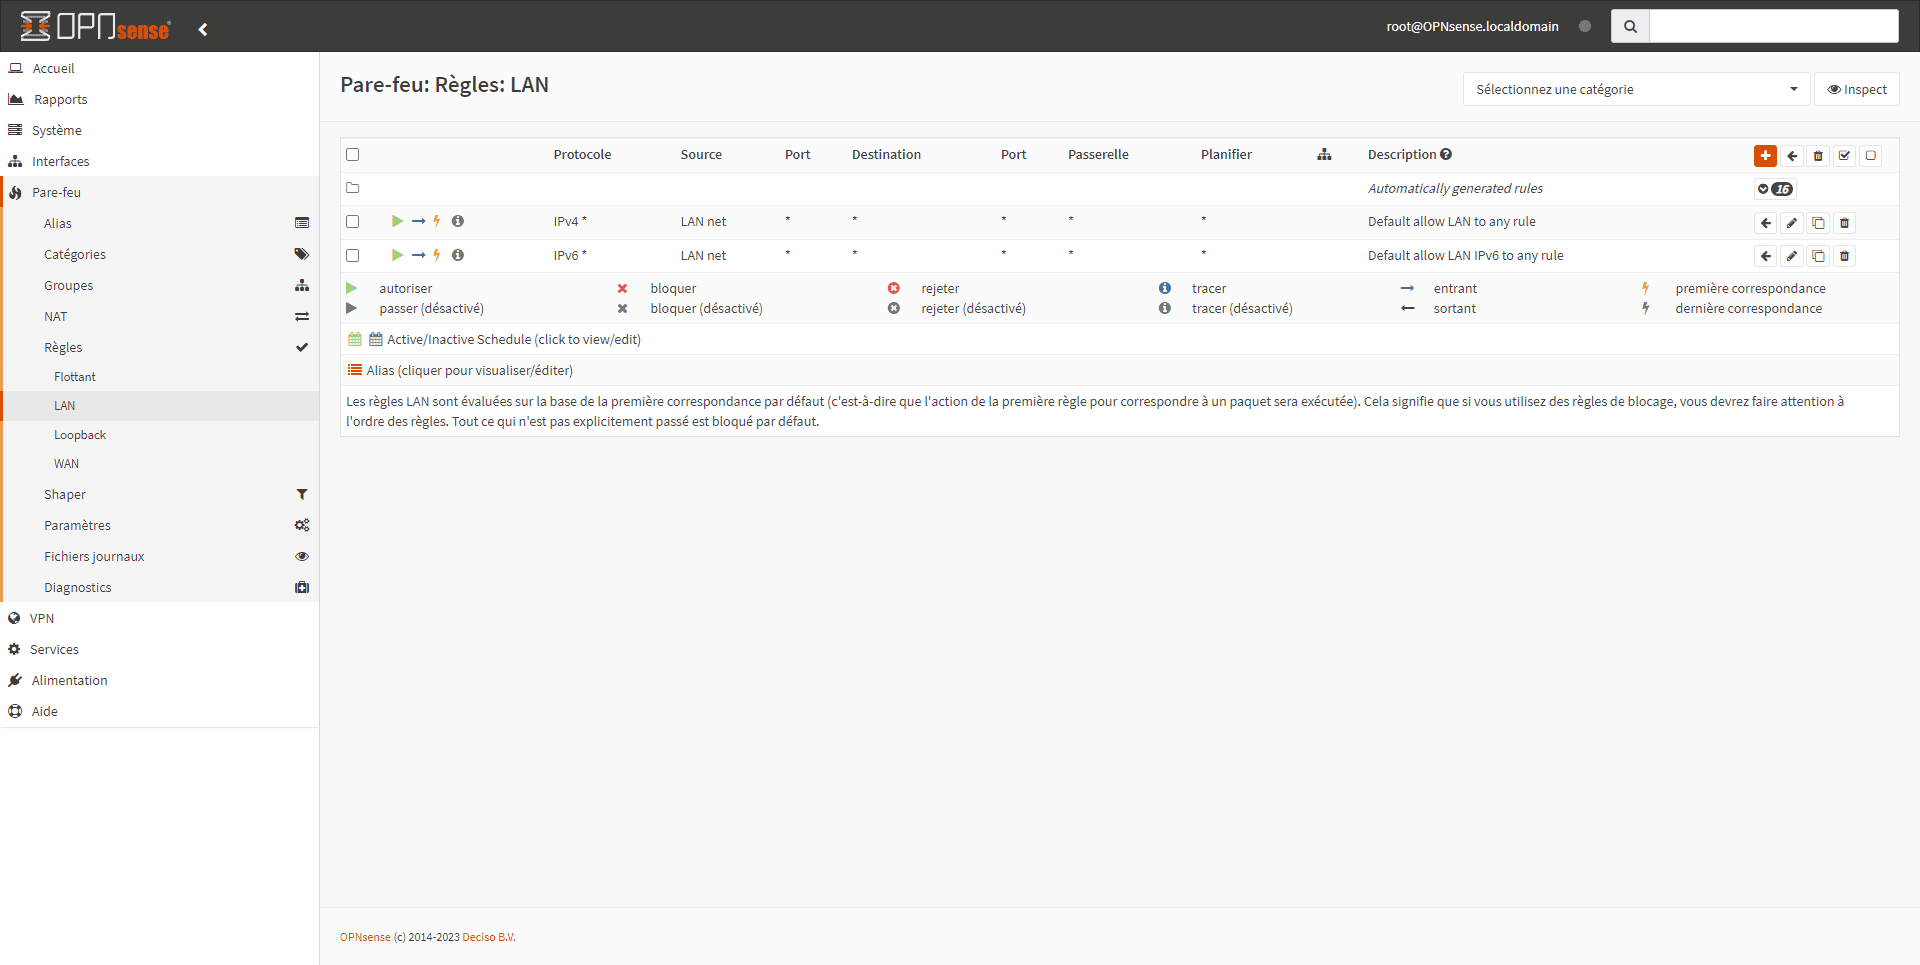
Firewall rules can be accessed in the menu: Firewall -> Rule -> (INTERFACE)
LAN rules:
WAN rules:
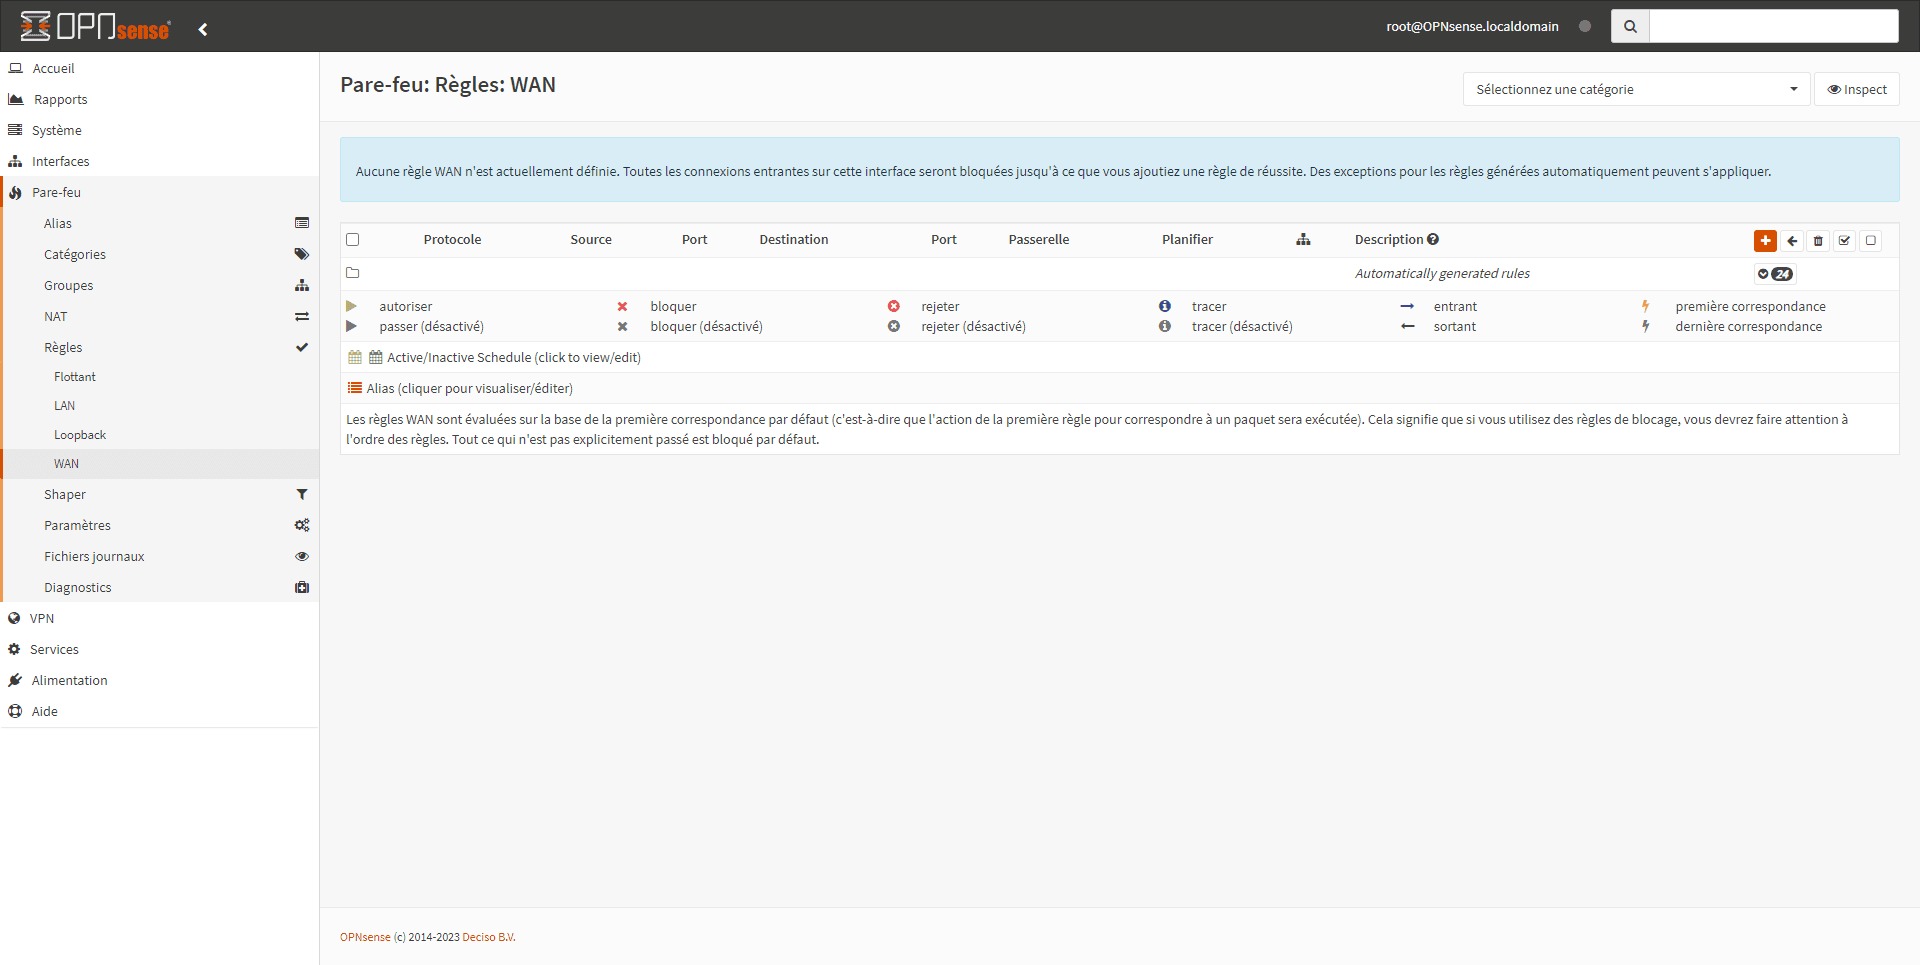
As can be seen, there is no WAN rule, because implicitly, all traffic coming from the internet to the LAN is blocked.
Configuring a DHCP scope
In my LAB environment, I don’t have a DHCP server, so we’re going to configure this service.
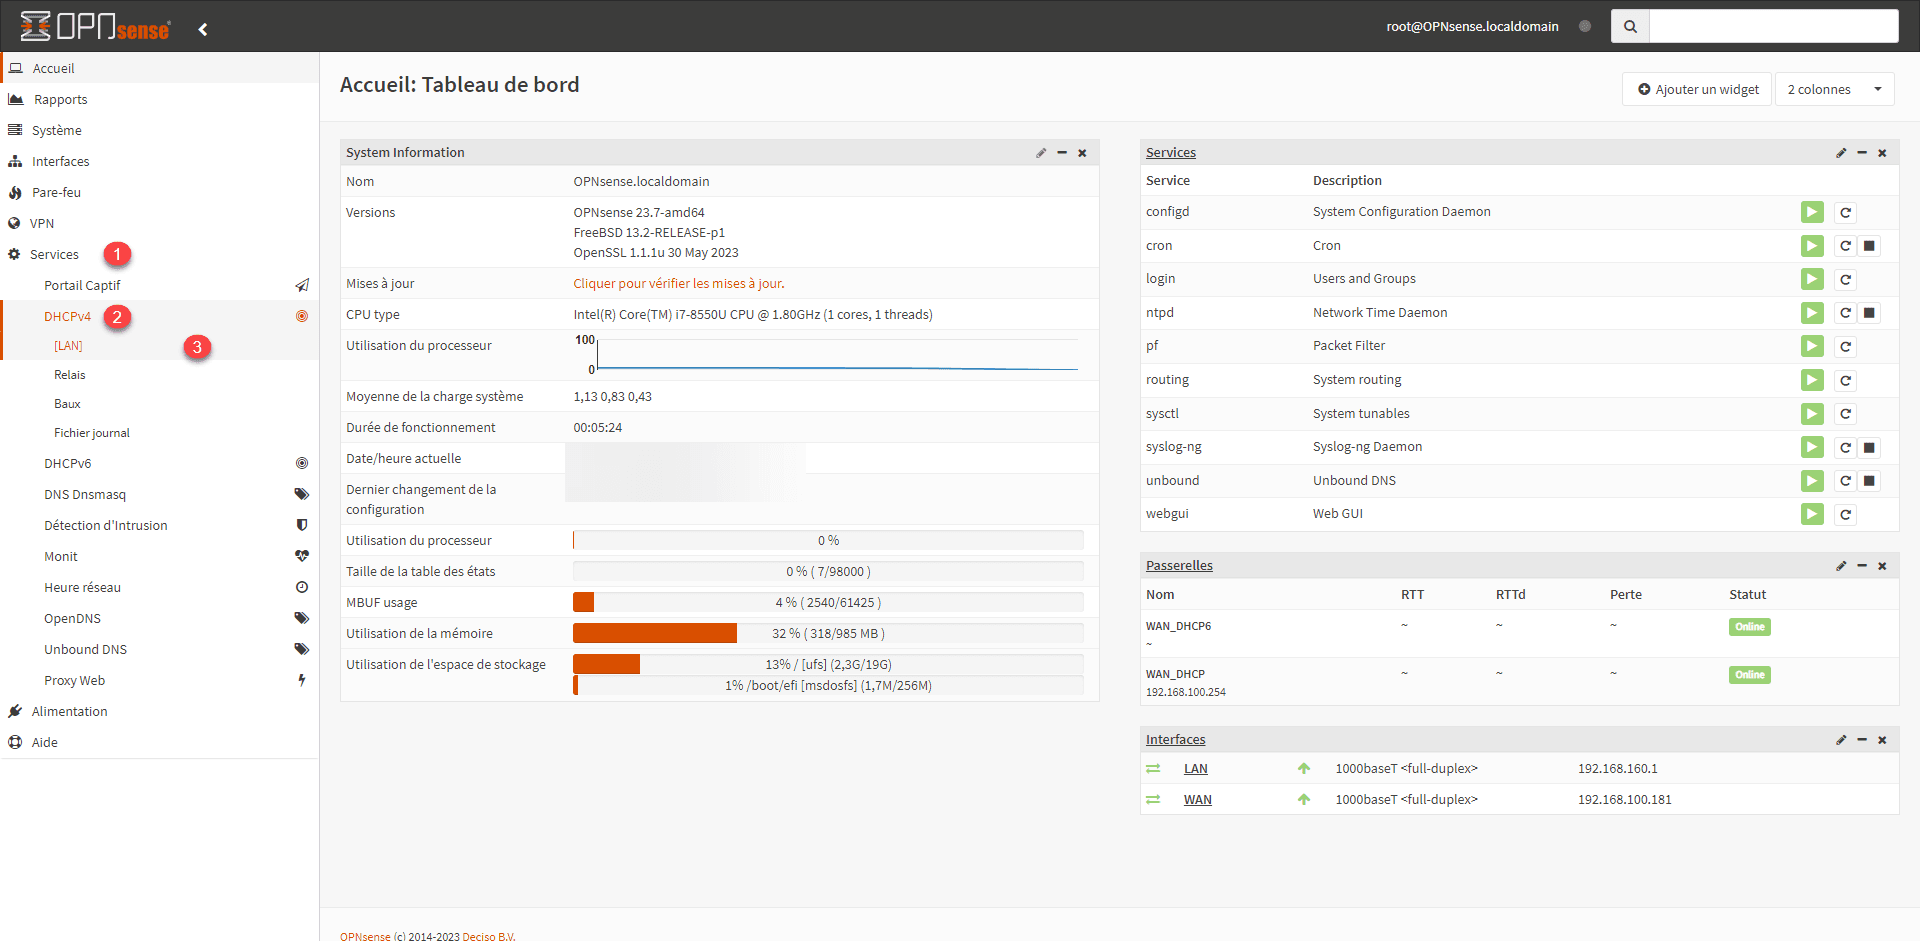
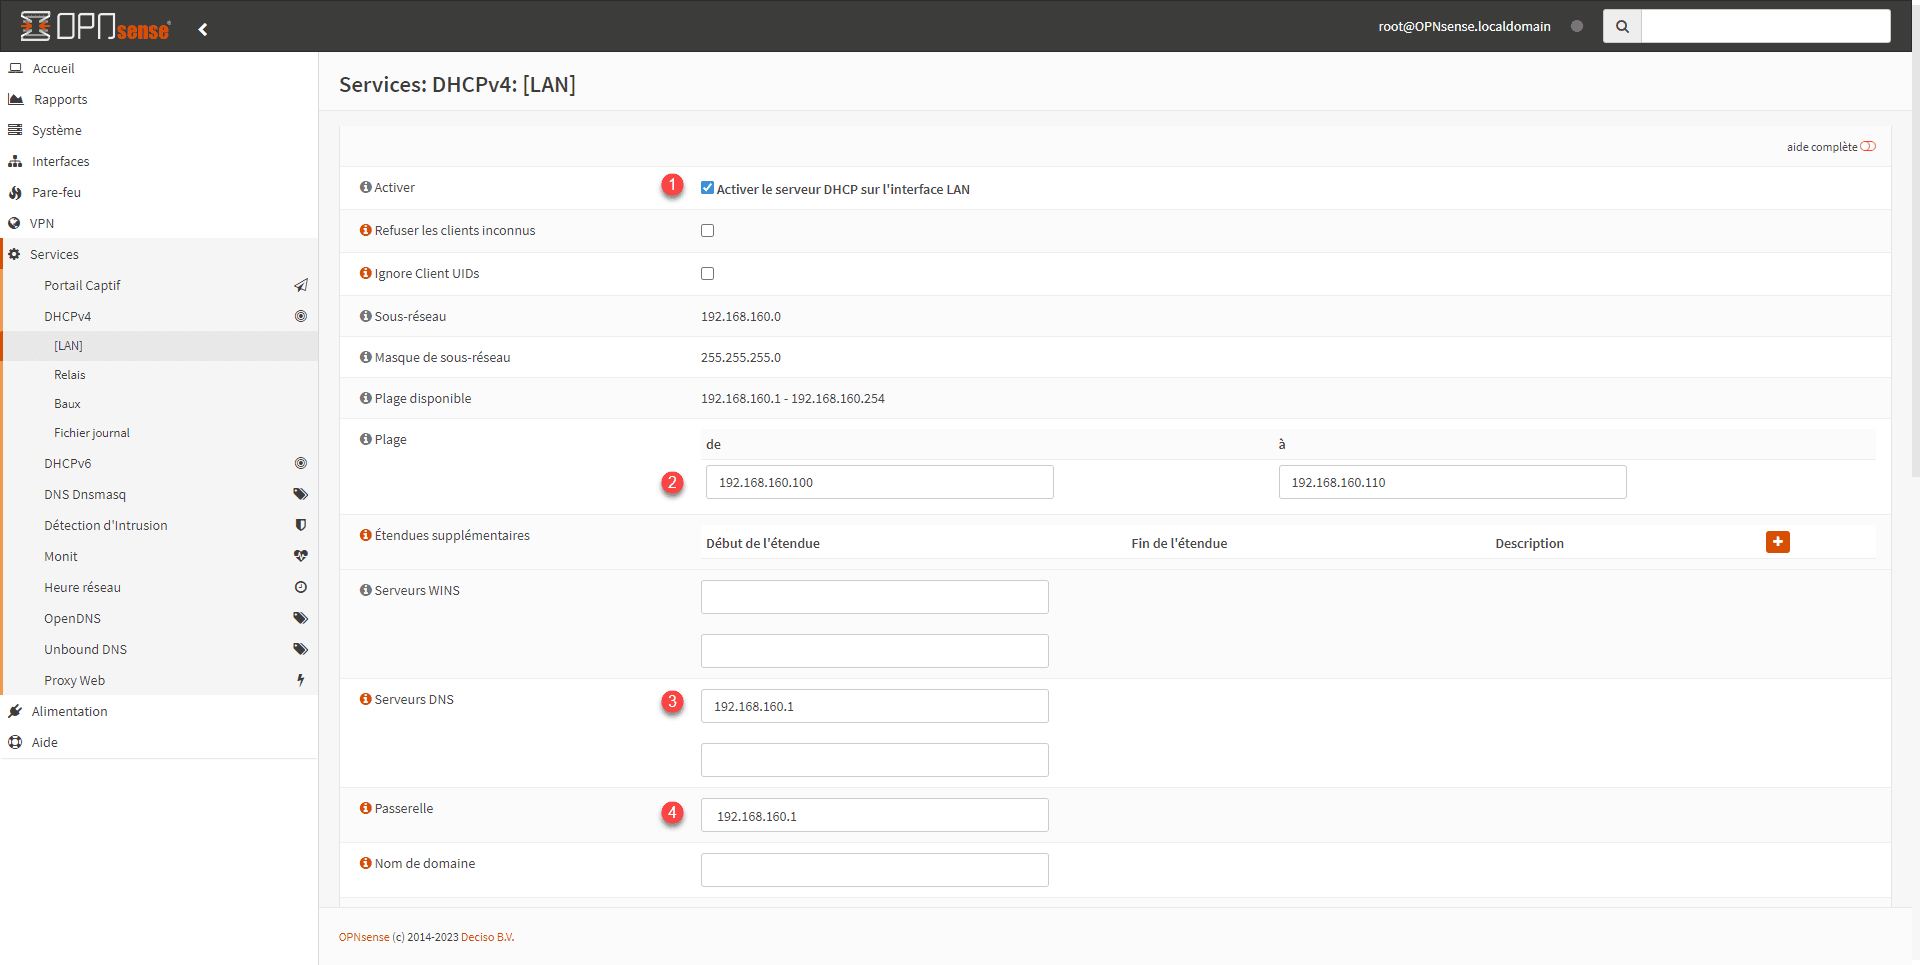
From the navigation menu, go to Services 1 and expand DHCPv4 2 and click on LAN 3.
Check the box Enable DHCP server on LAN interface 1, then configure DHCP range 2 and specify DNS server(s) 3 and Gateway 4.
Go to the bottom of the page and click the Save button 1.
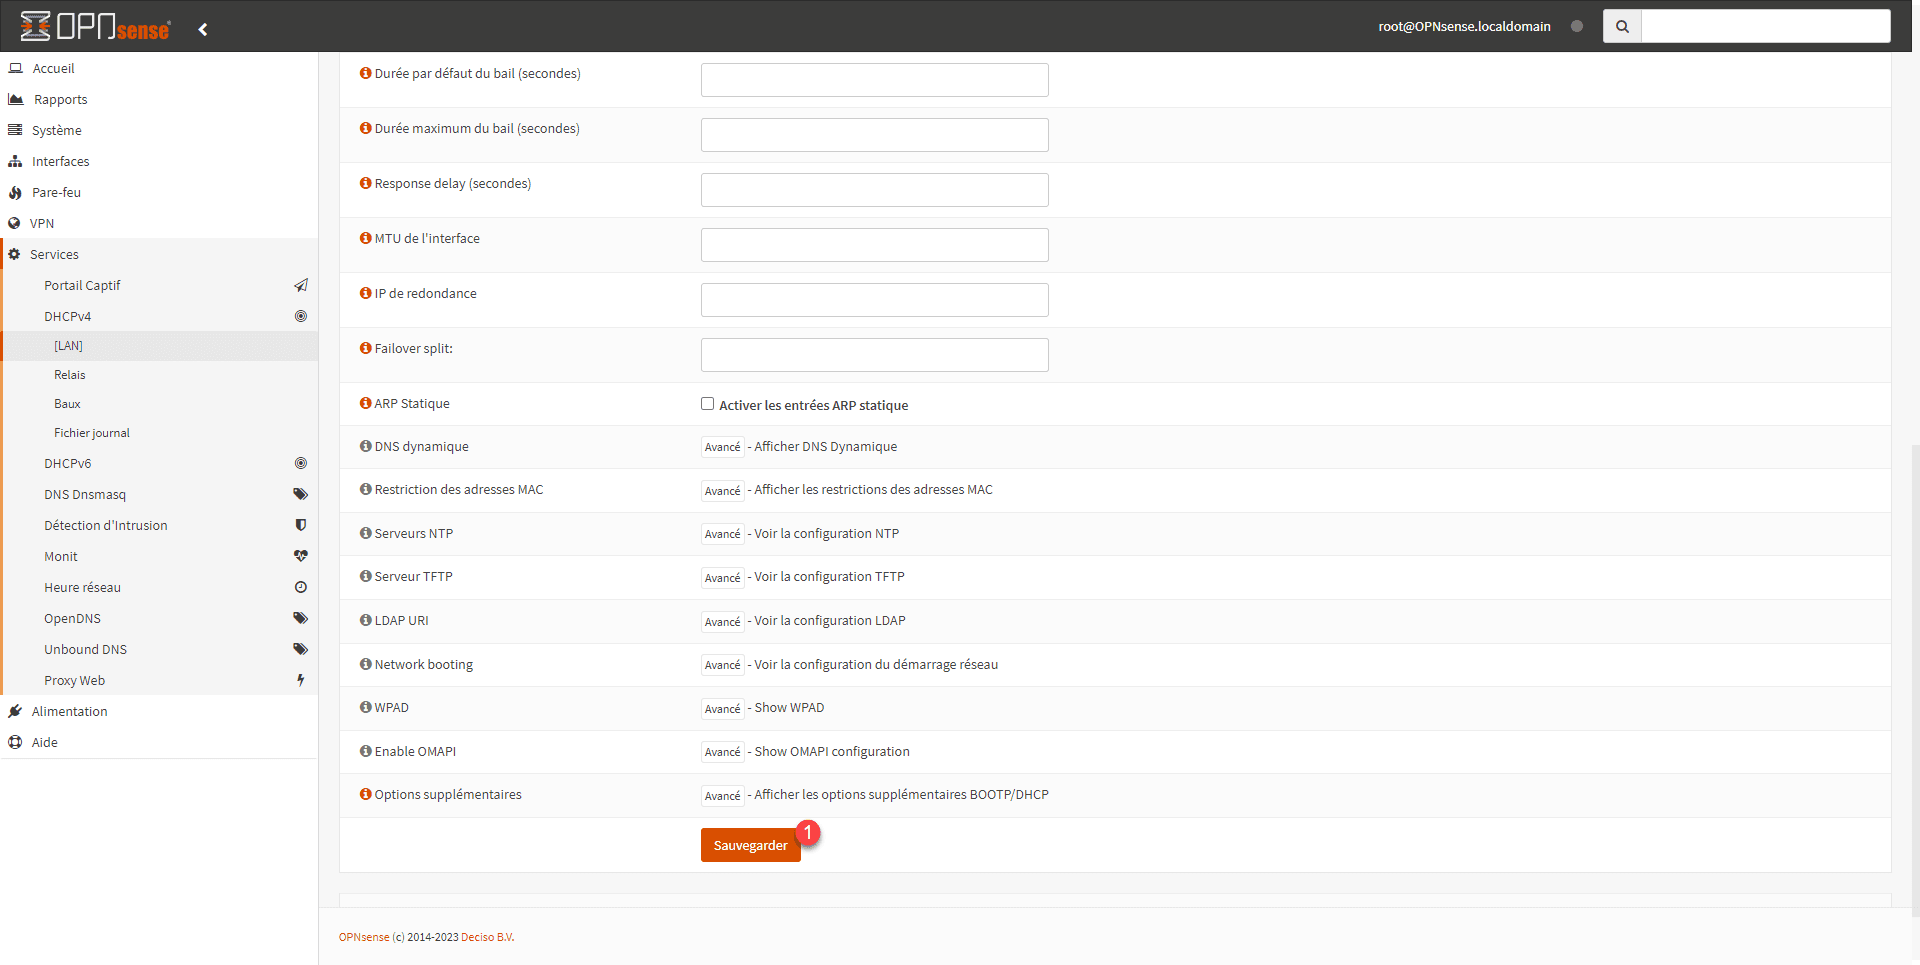
The DHCP server is configured on OPNsense.
Test the firewall
Now we can test the firewall; for this I have added a virtual machine in the LAN section.

I forgot to capture the IP configuration.
To check that DHCP is working, simply go to: Services / DHCPv4 / Leases
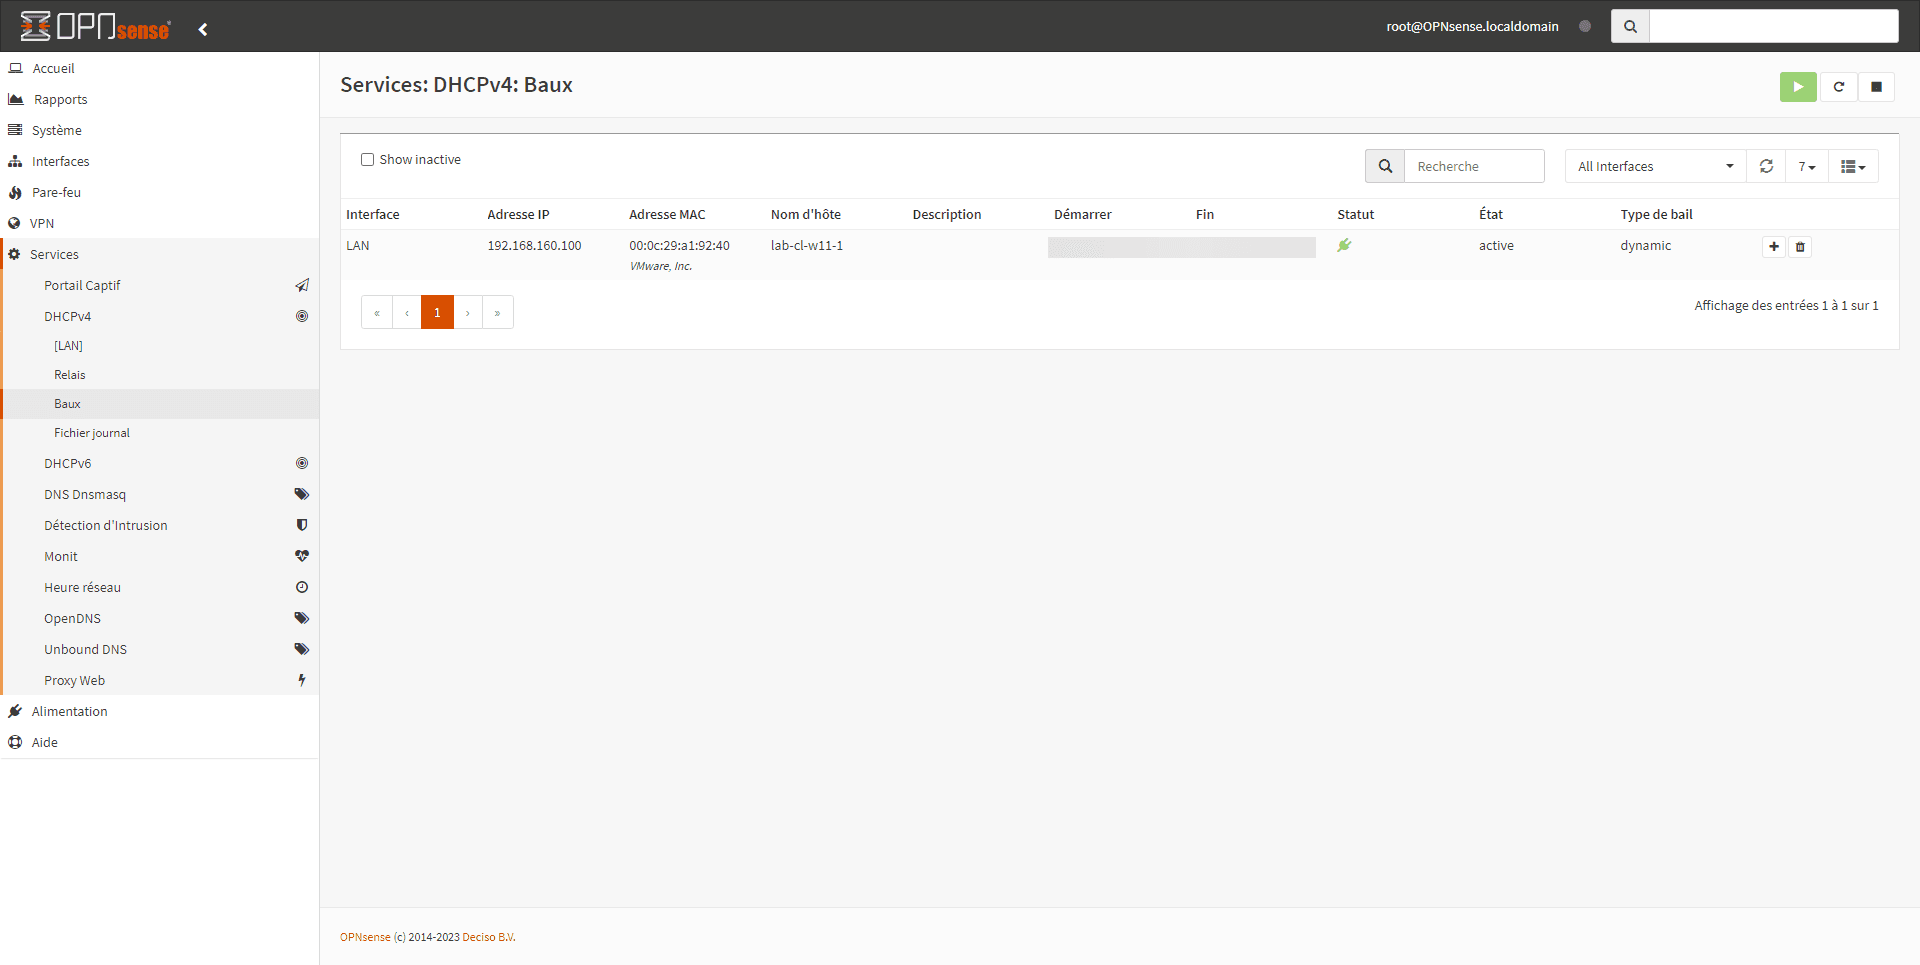
The screenshot shows the address that was assigned to my computer.
You can check the traffic between the LAN and the WAN directly from the firewall; Windows being “talkative”, you can see the traffic from the menu: Reports / Traffic.
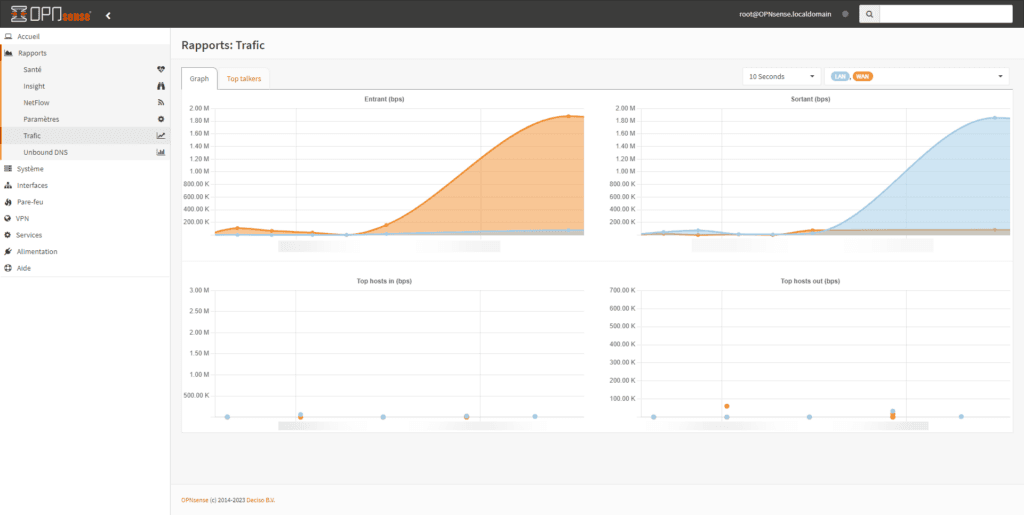
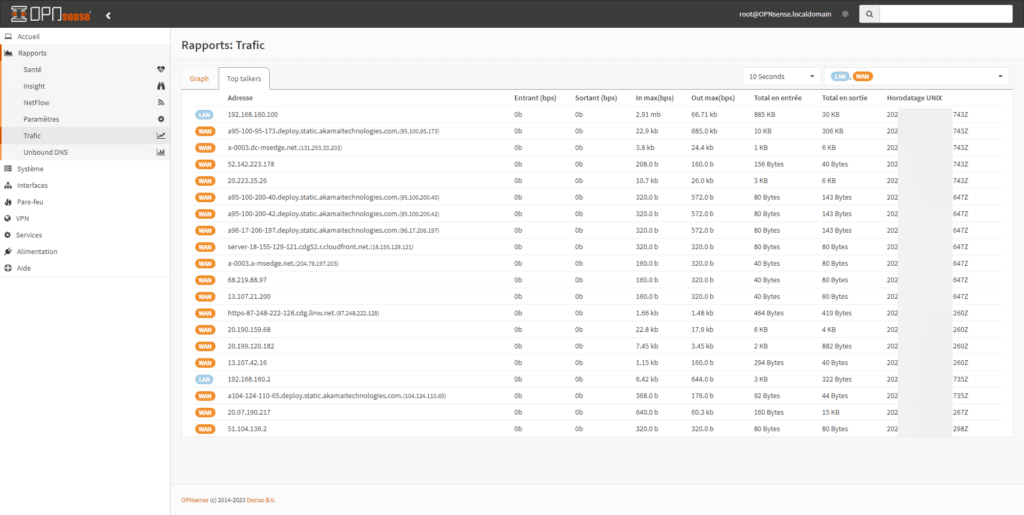
The screenshot shows the outgoing traffic.
Configure the HTTP(S) proxy in transparent mode
In this section, I will explain how to configure the Proxy in HTTP and HTTPS transparent mode.
Unlike implicit mode, transparent mode does not require specifying proxy settings to the client computer.
The firewall will intercept the HTTP/HTTPS request and then send it to the Proxy service (SQUID).
Transparent mode requires the deployment of an SSL certificate for HTTPS traffic, because when passing through the proxy, the traffic is encrypted with the firewall certificate.
Creation of the certificate authority for HTTPS traffic
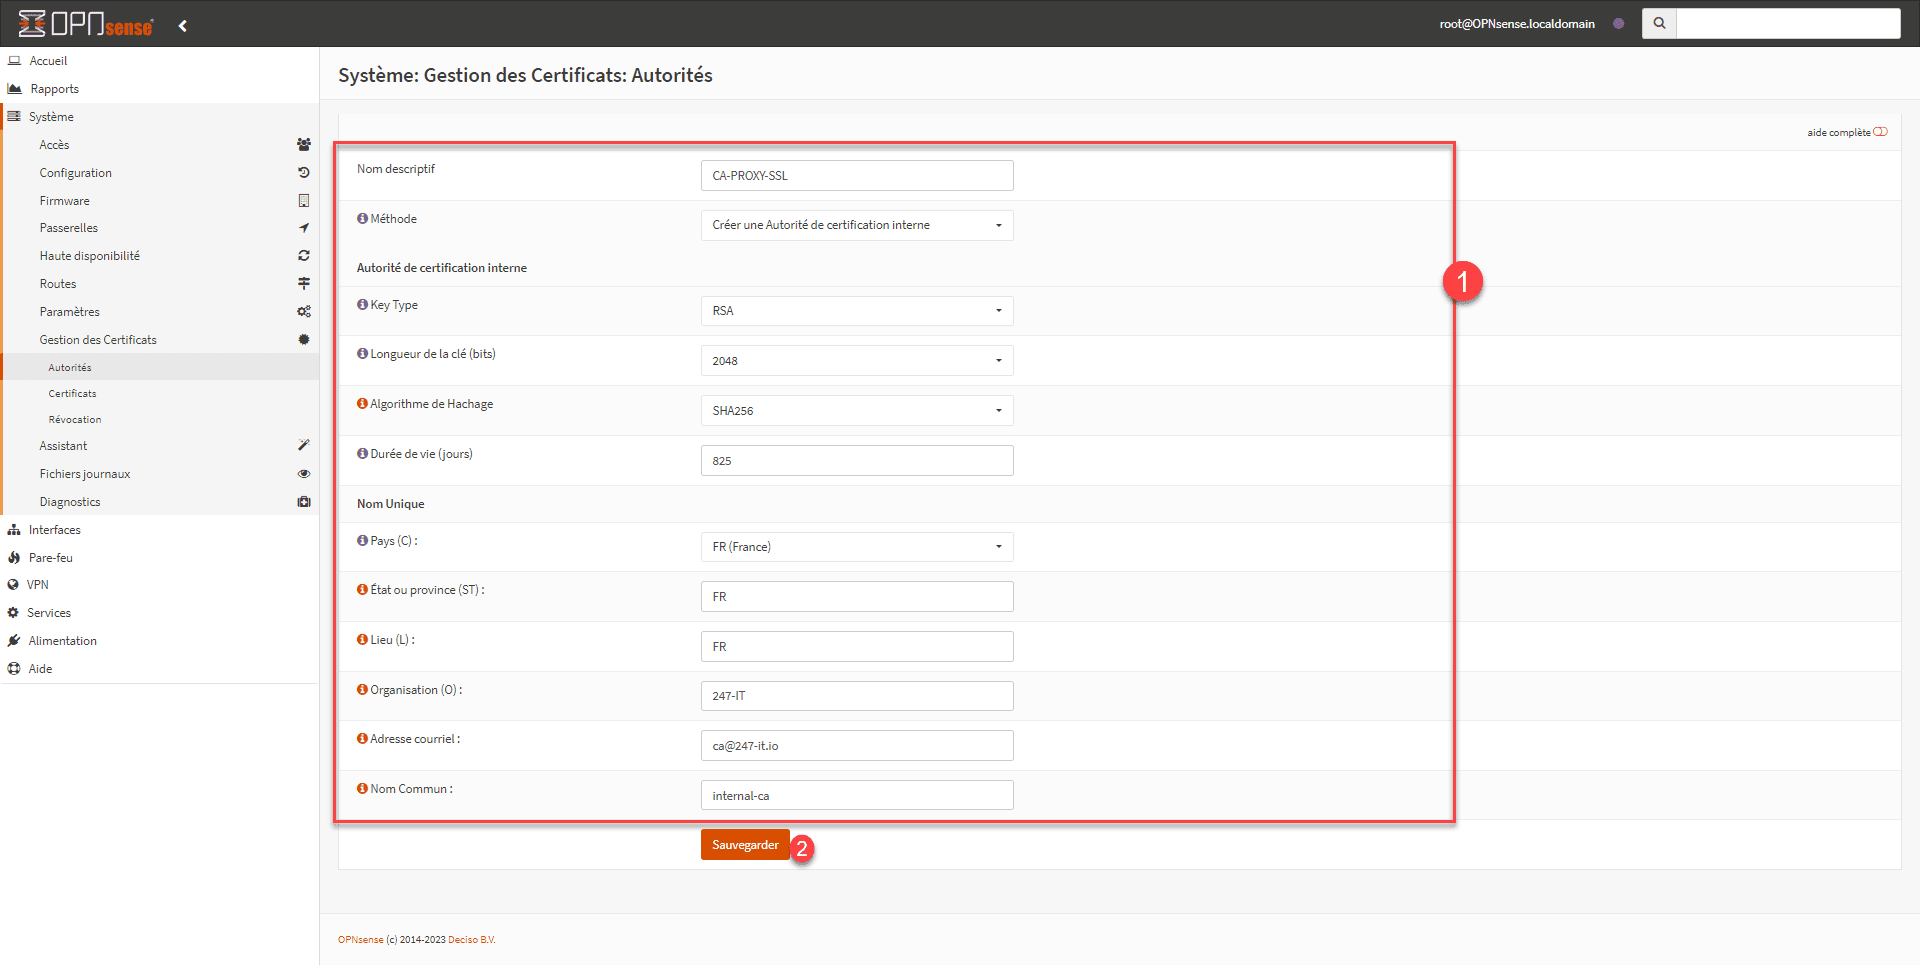
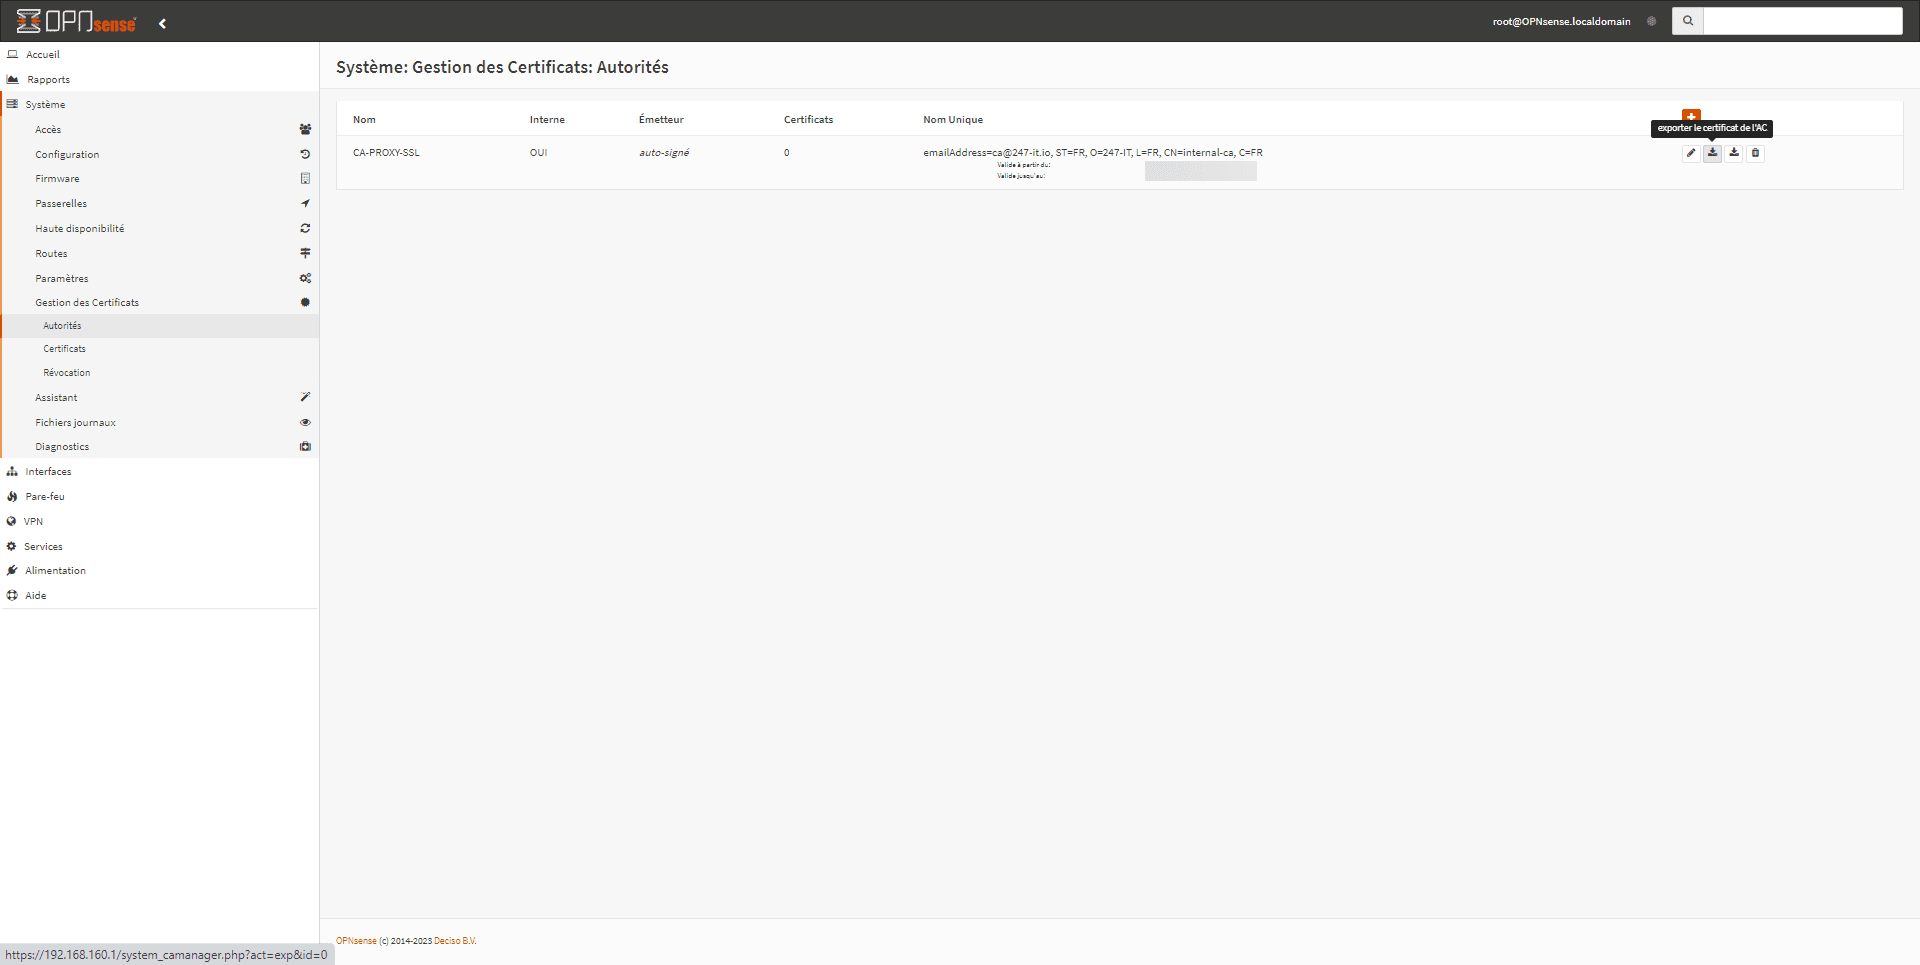
From the menu, go to: System / Certificate Management / Authorities, on the CA management page, click on the + 1 button to create a new one.

Fill in all the required fields 1 and click on the Save button 2.
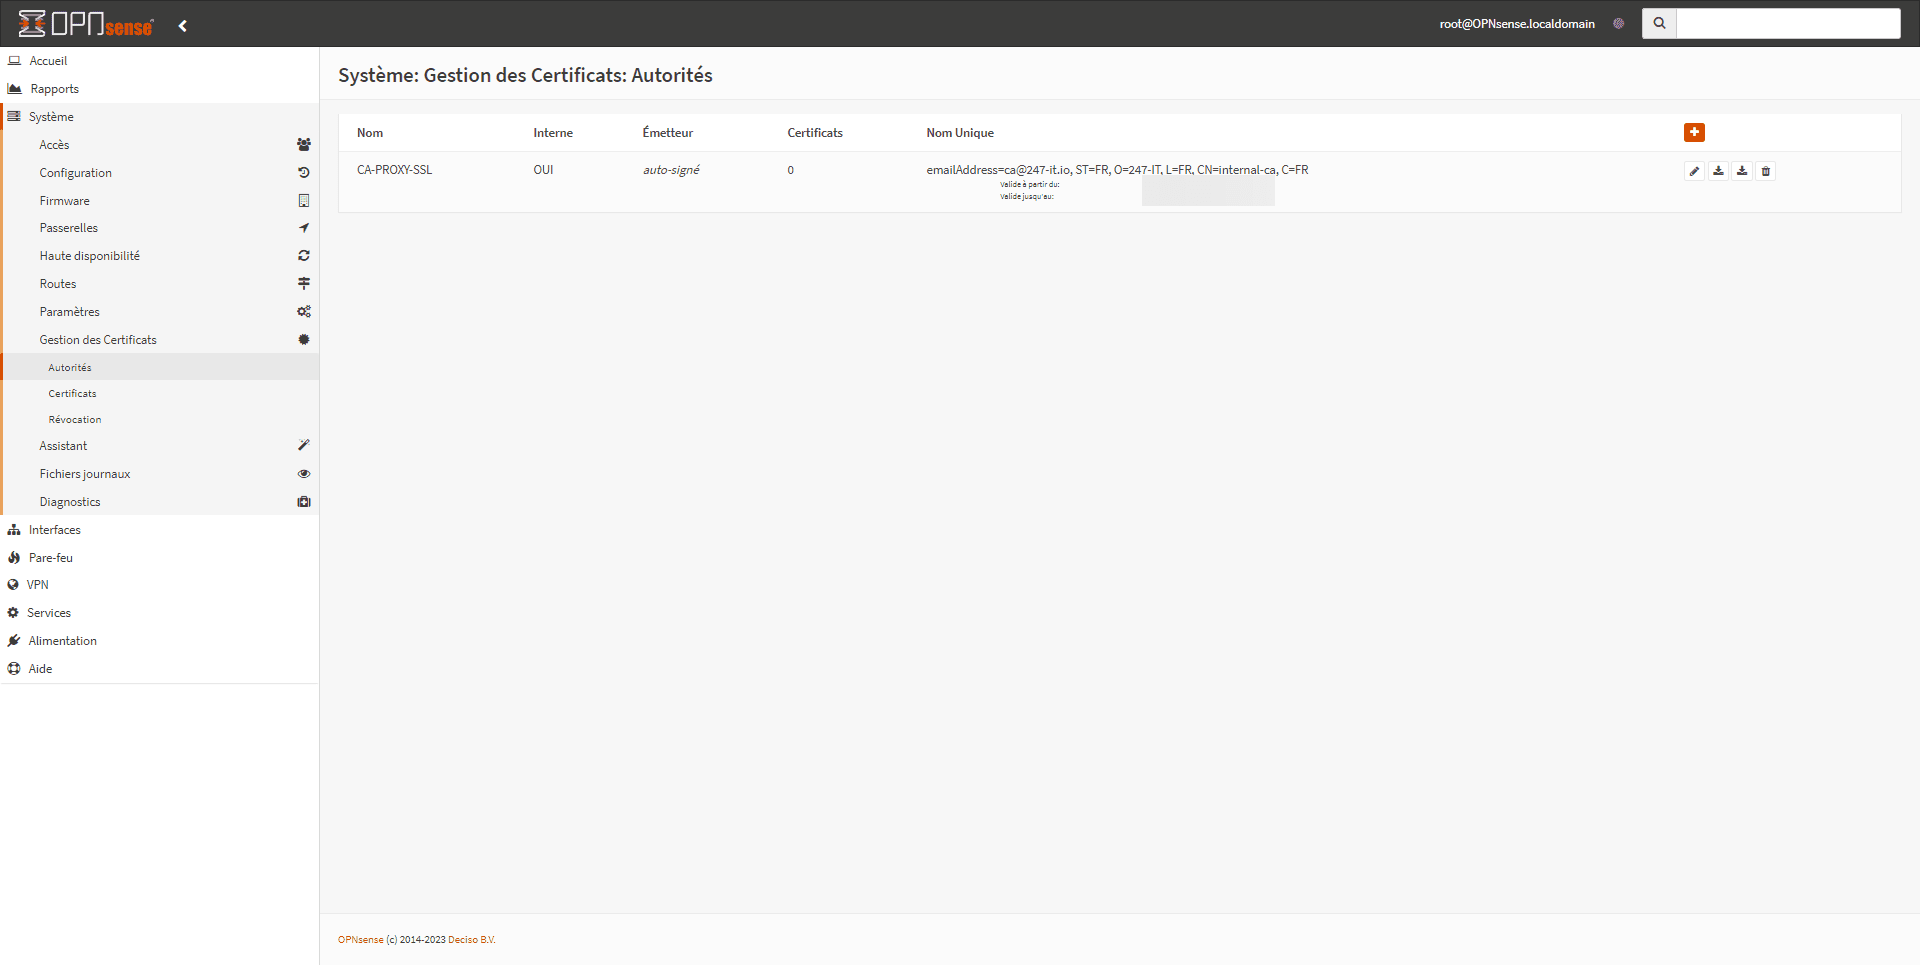
Authority is established.
Web Proxy Configuration
We will now move on to configuring the Proxy.
To be frank, this OPNsense isn’t exactly a walk in the park compared to other solutions…
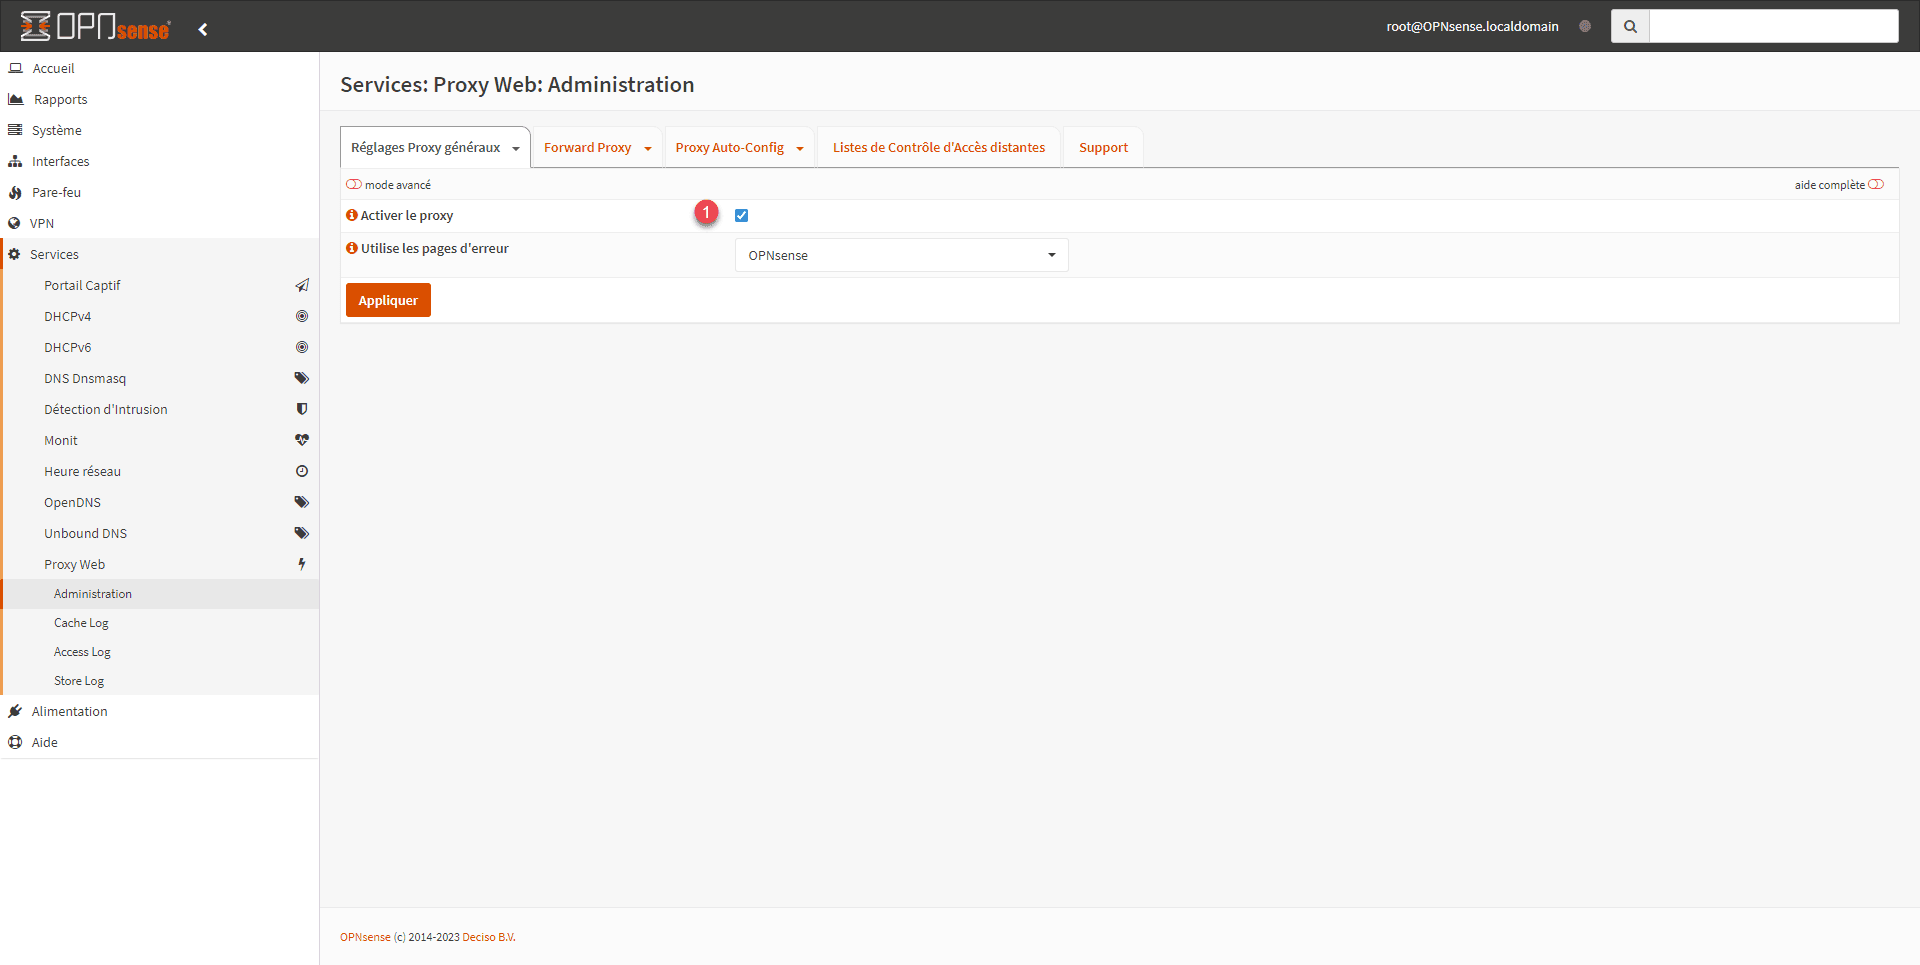
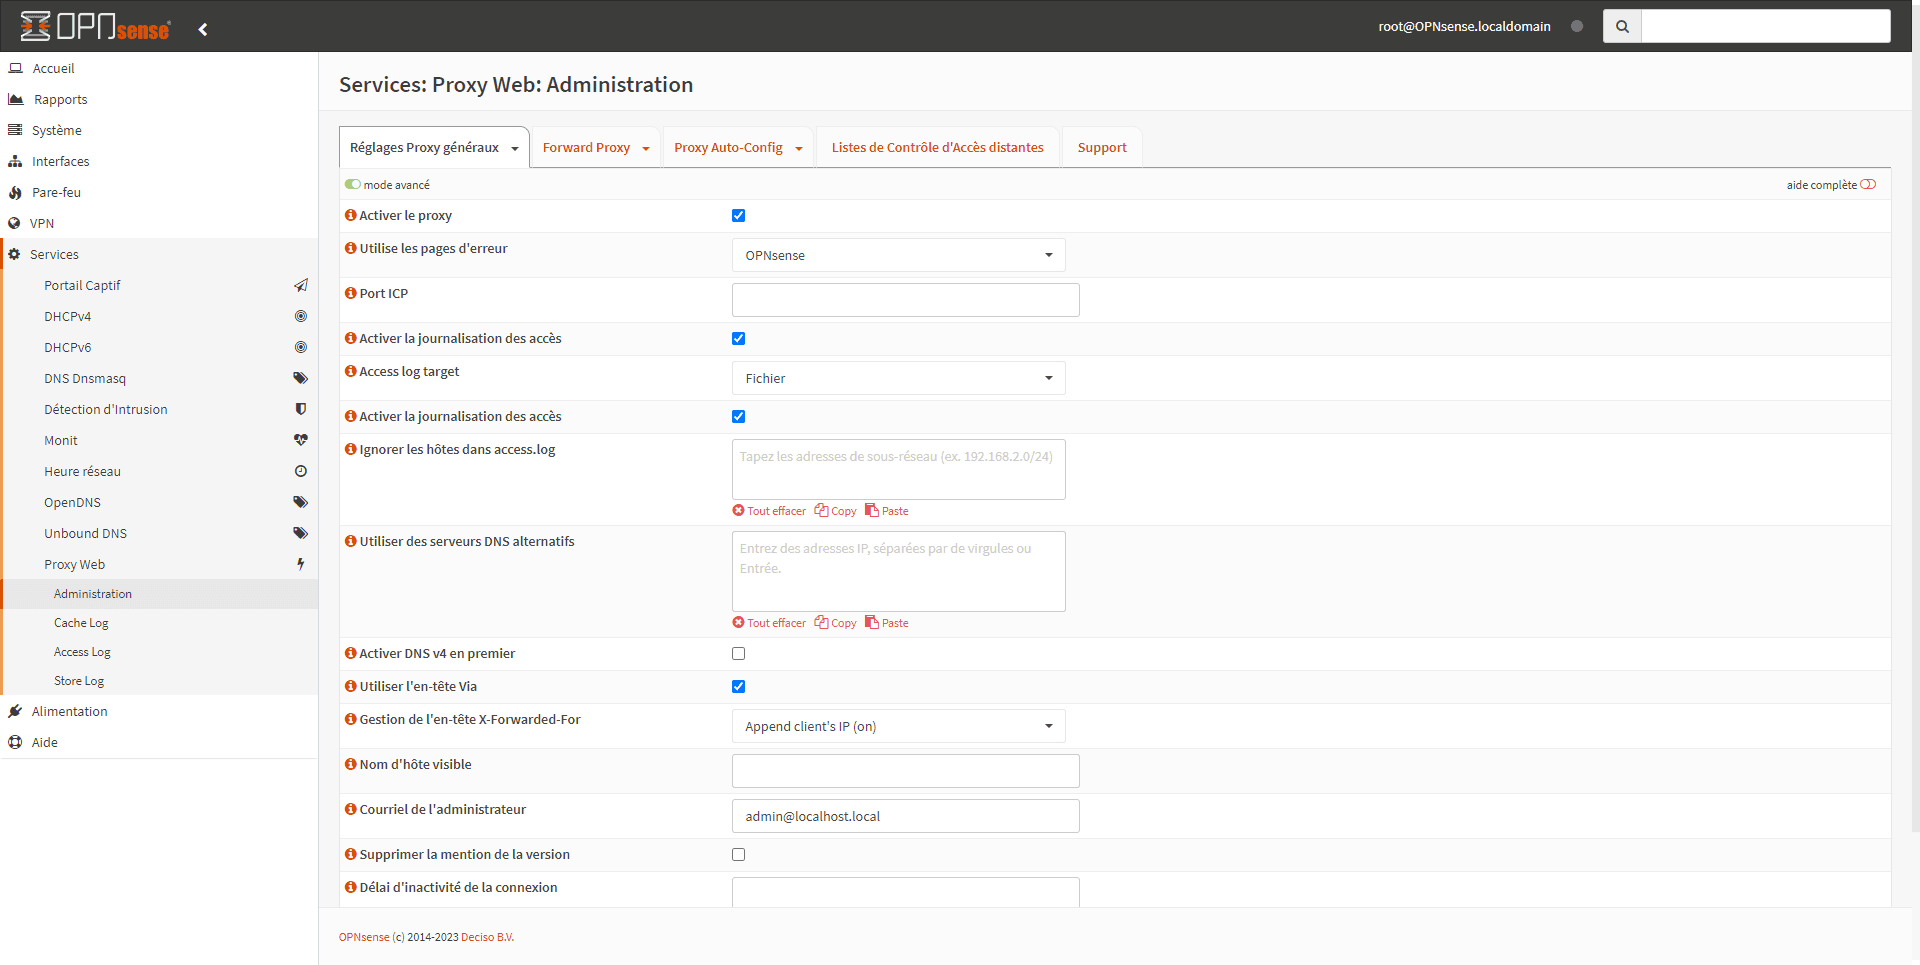
We will start by activating the Web Proxy, from the menu go to Services / Web Proxy / Administration.
On the General Proxy Settings tab, check the Enable proxy 1 box.
To access more options, activate advanced mode 1.
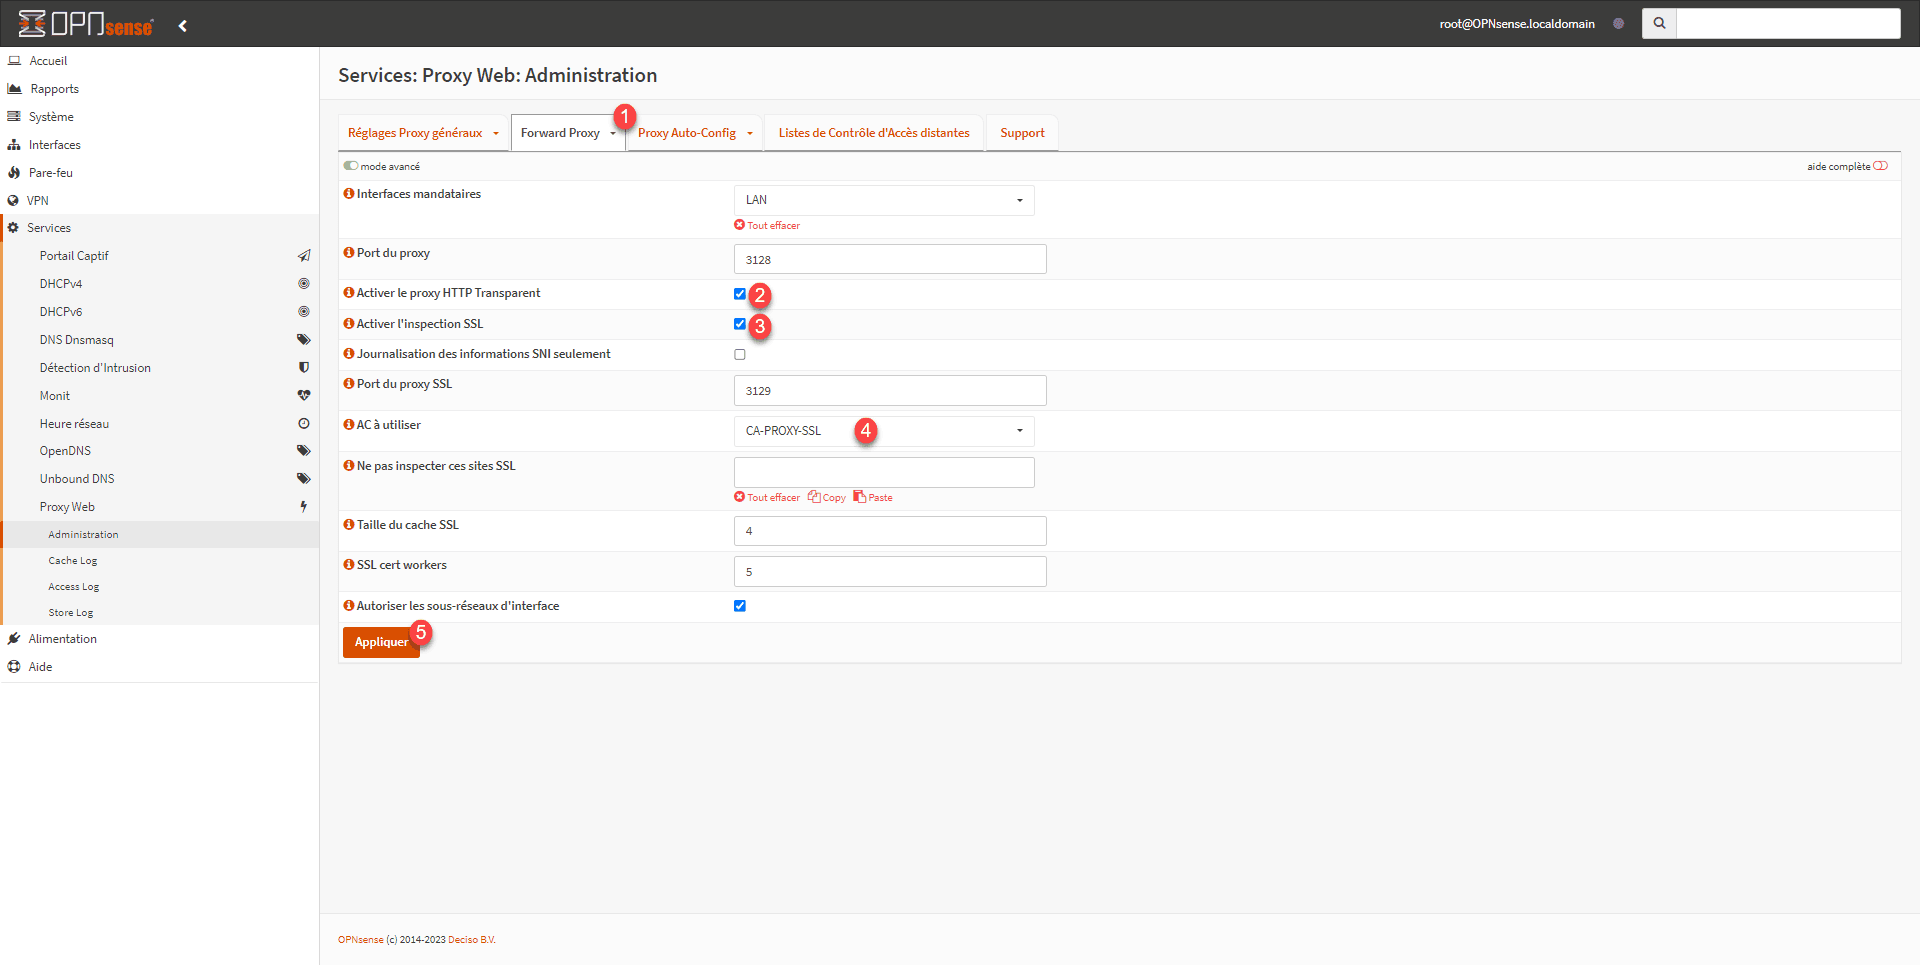
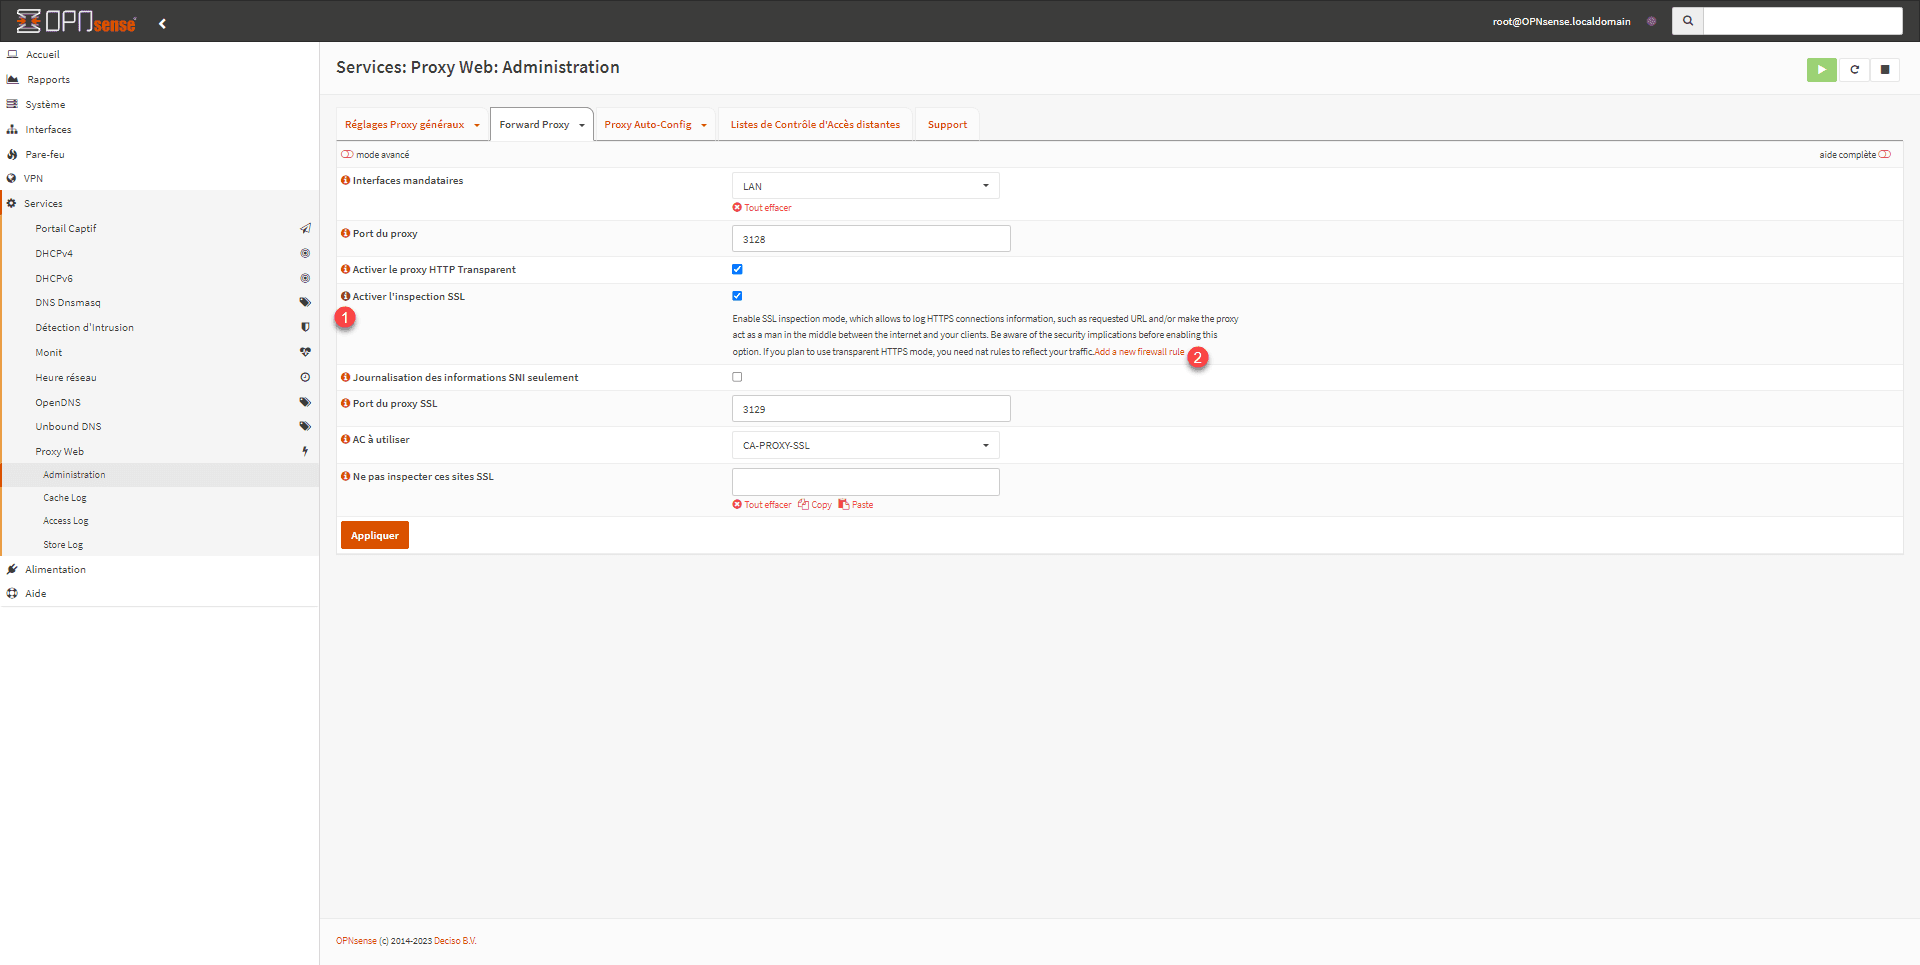
Next, go to the Forward Proxy tab 1, check the following boxes: Enable HTTP Transparent Proxy 2 and Enable SSL Inspection 3. Select the certificate authority 4 that you created previously and then validate the settings by clicking Apply 5.
On other firewalls that I am used to handling, normally the configuration is finished but not on OPNsense, you now have to create two rules to pass the traffic through the proxy.
For the creation of traffic redirection rules, we’re in luck, it will be done “automatically”.
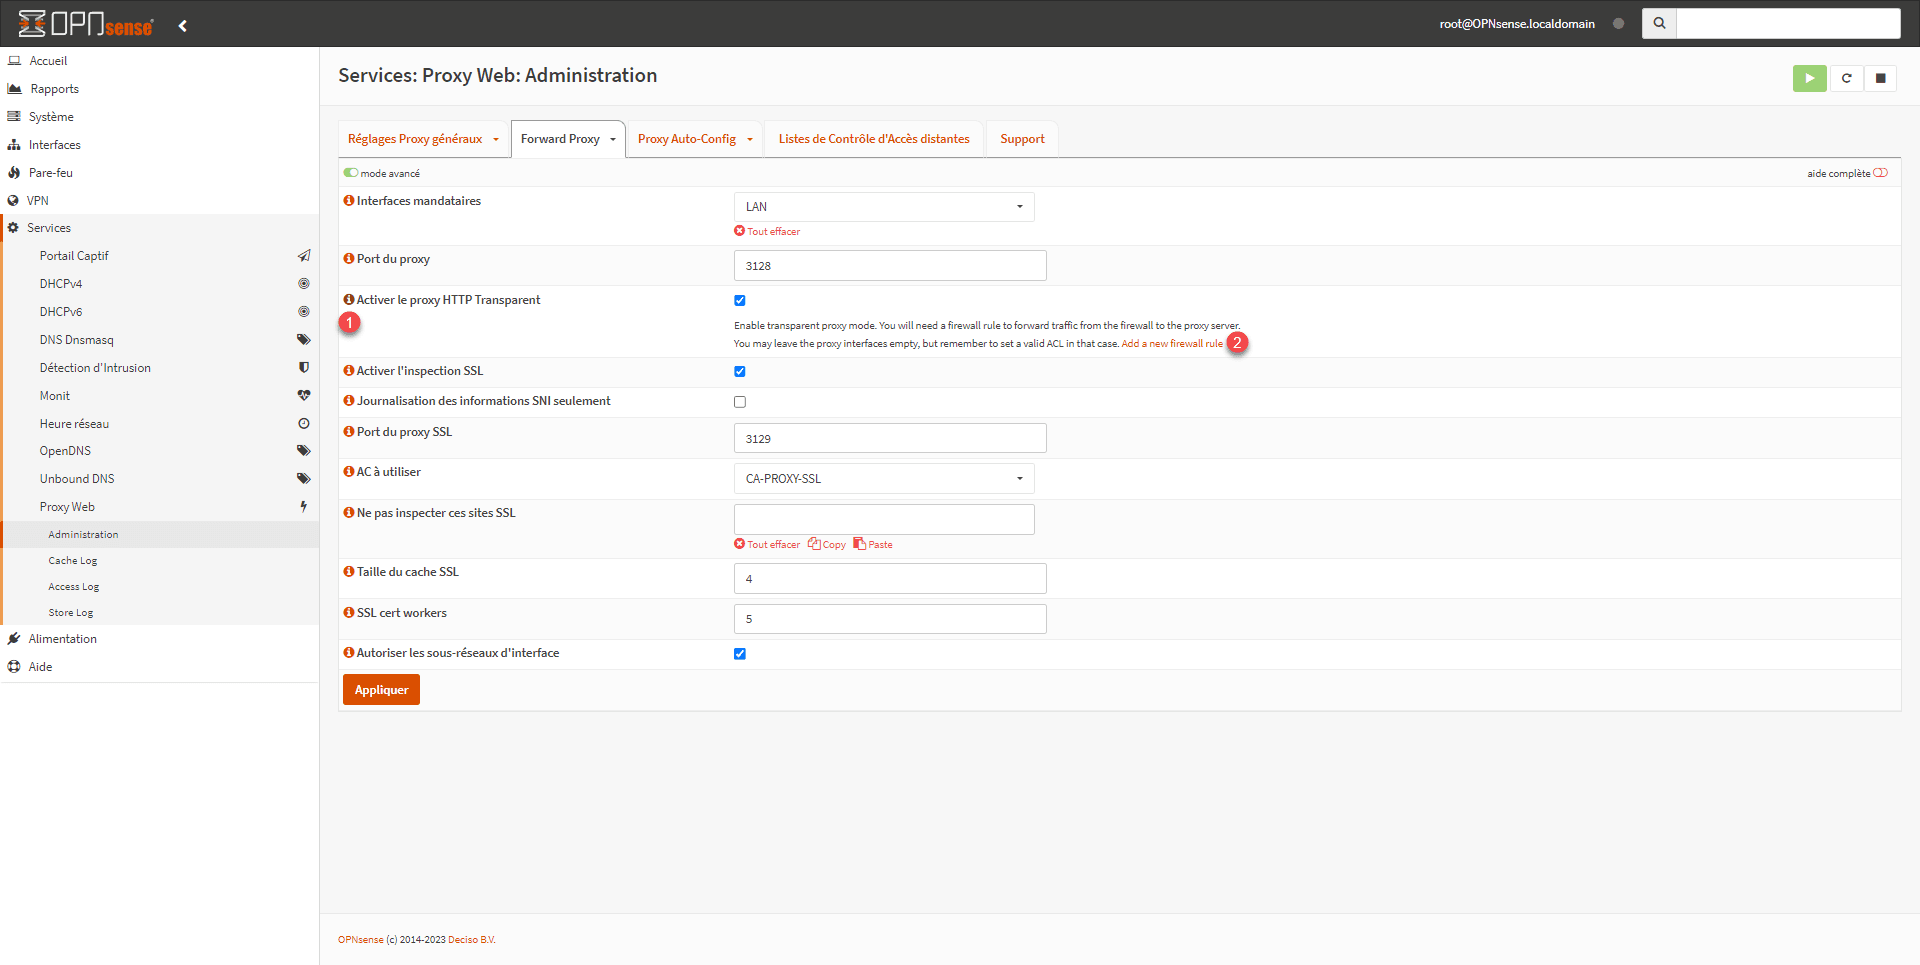
Click on the information icon 1 in the Enable HTTP Transparent proxy field and then on the Add a new firewall rule link 2.
You are redirected to a NAT rule creation page, which is normally already configured, click on the Save 1 button at the bottom of the page.
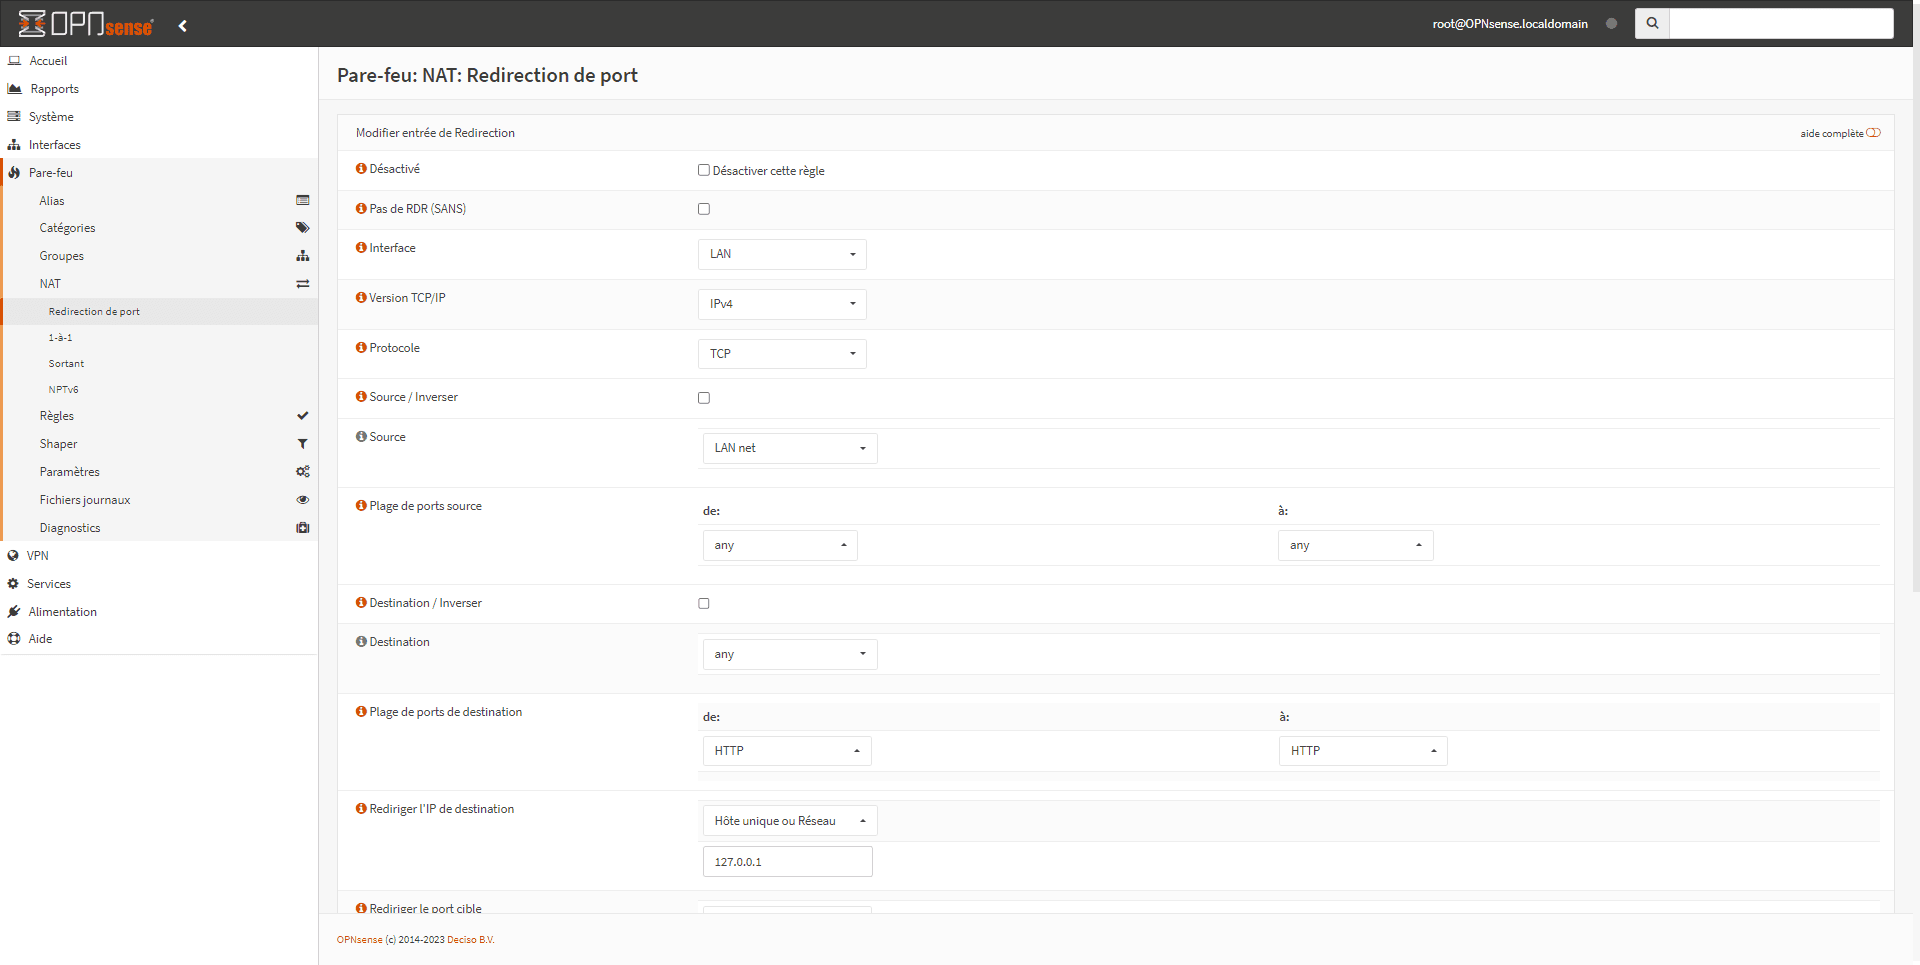
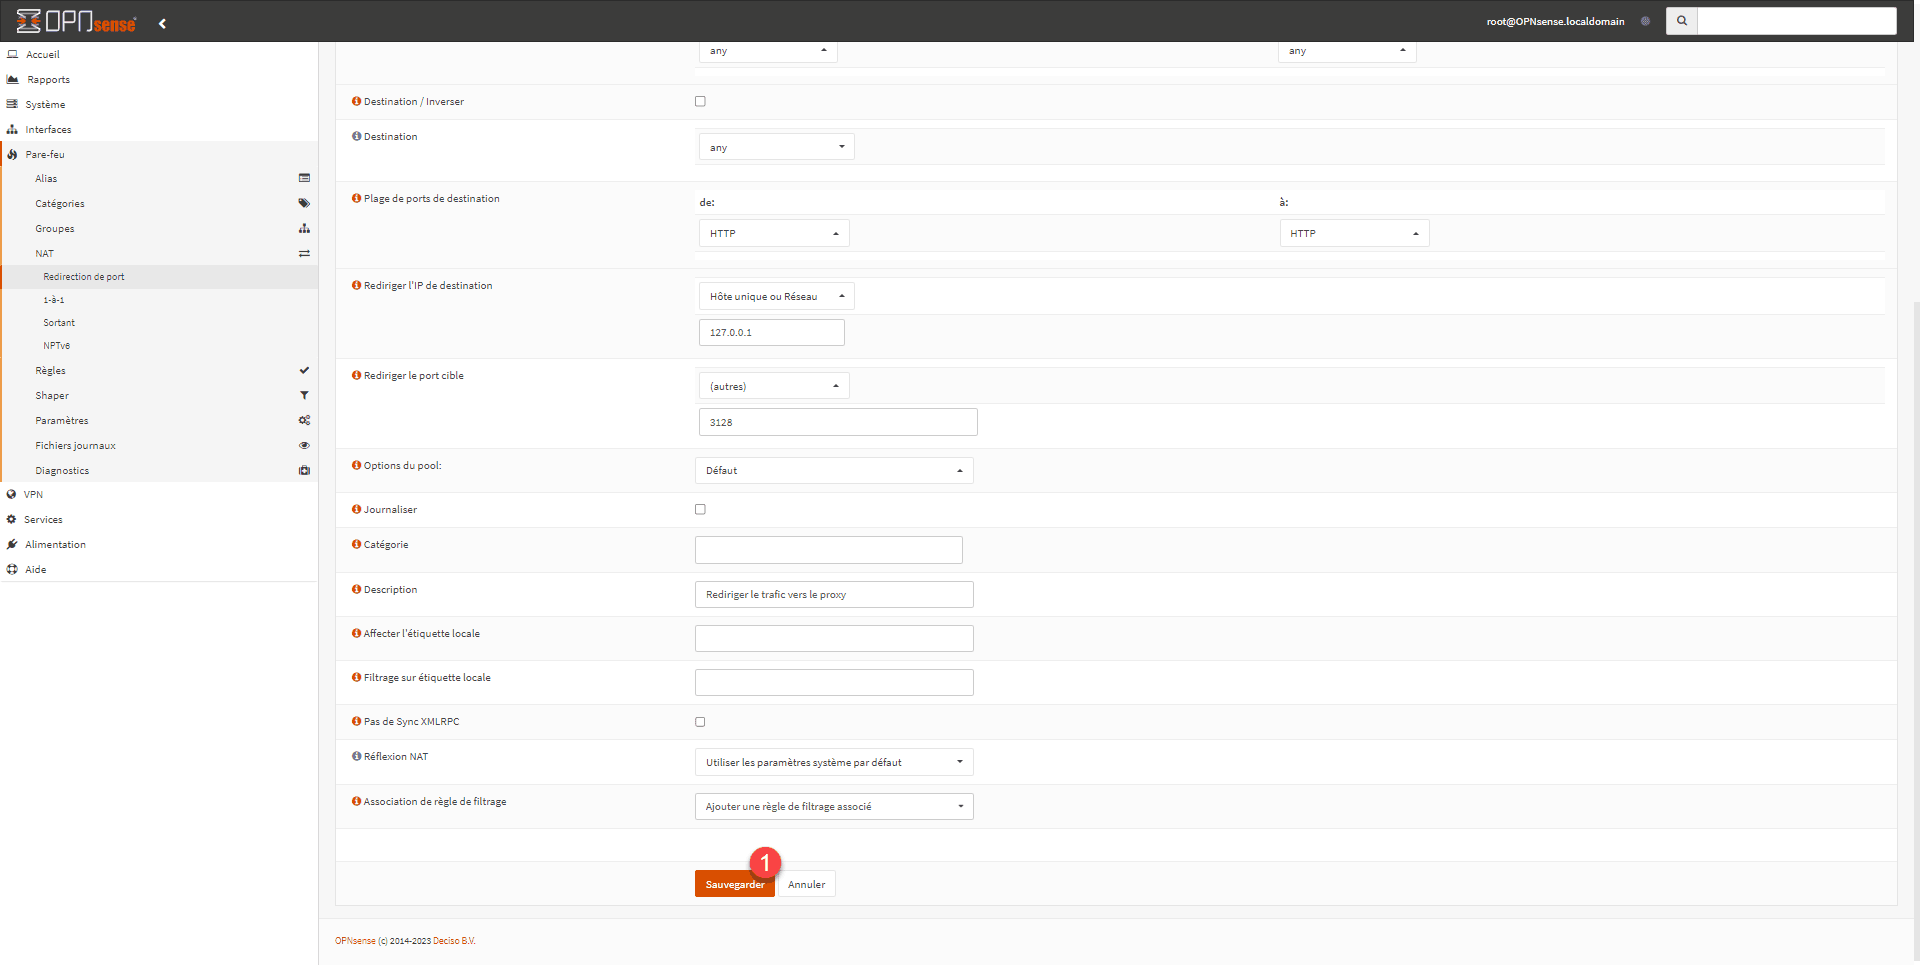
Upon creating the rule, you are redirected to the page displaying the list of rules. Return to the Web Proxy configuration page.
We will repeat the same procedure for SSL inspection, click on the information icon 1 then on the Add new firewall rule link 2.
Confirm the creation of the rule by clicking the Save button at the bottom of the page.
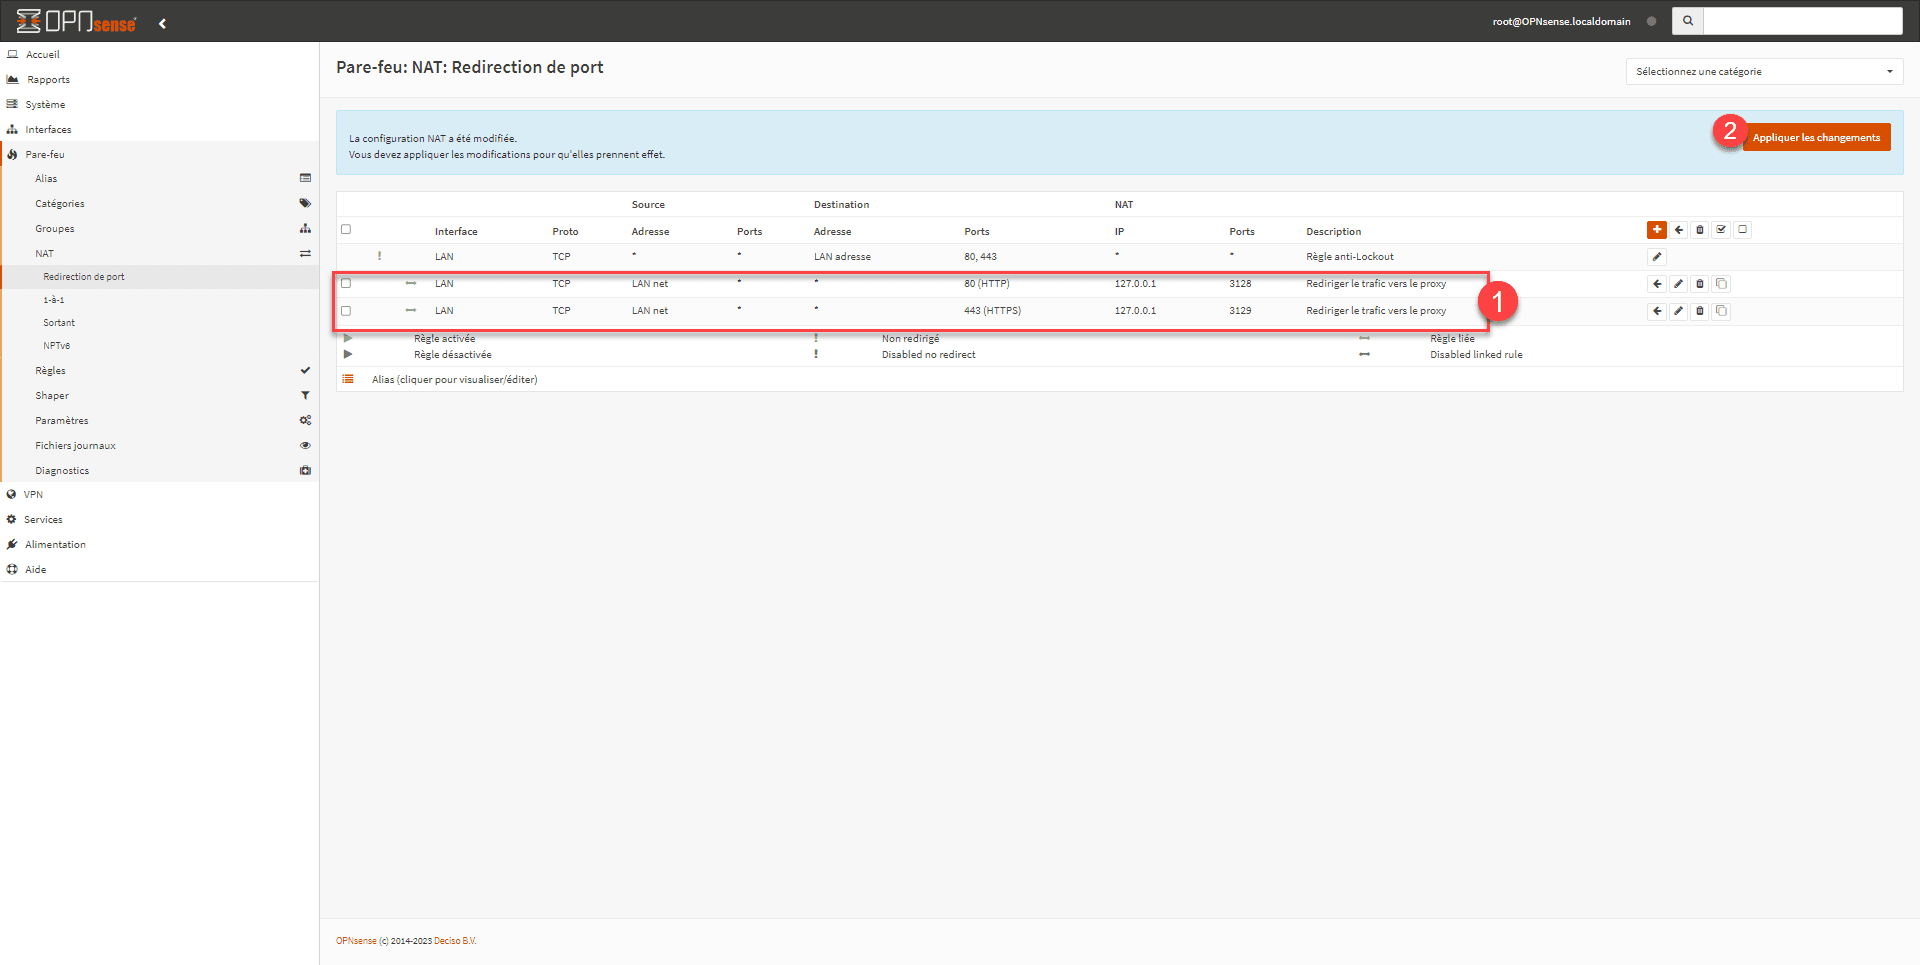
The two rules are created 1. Click on the Apply changes button 2.
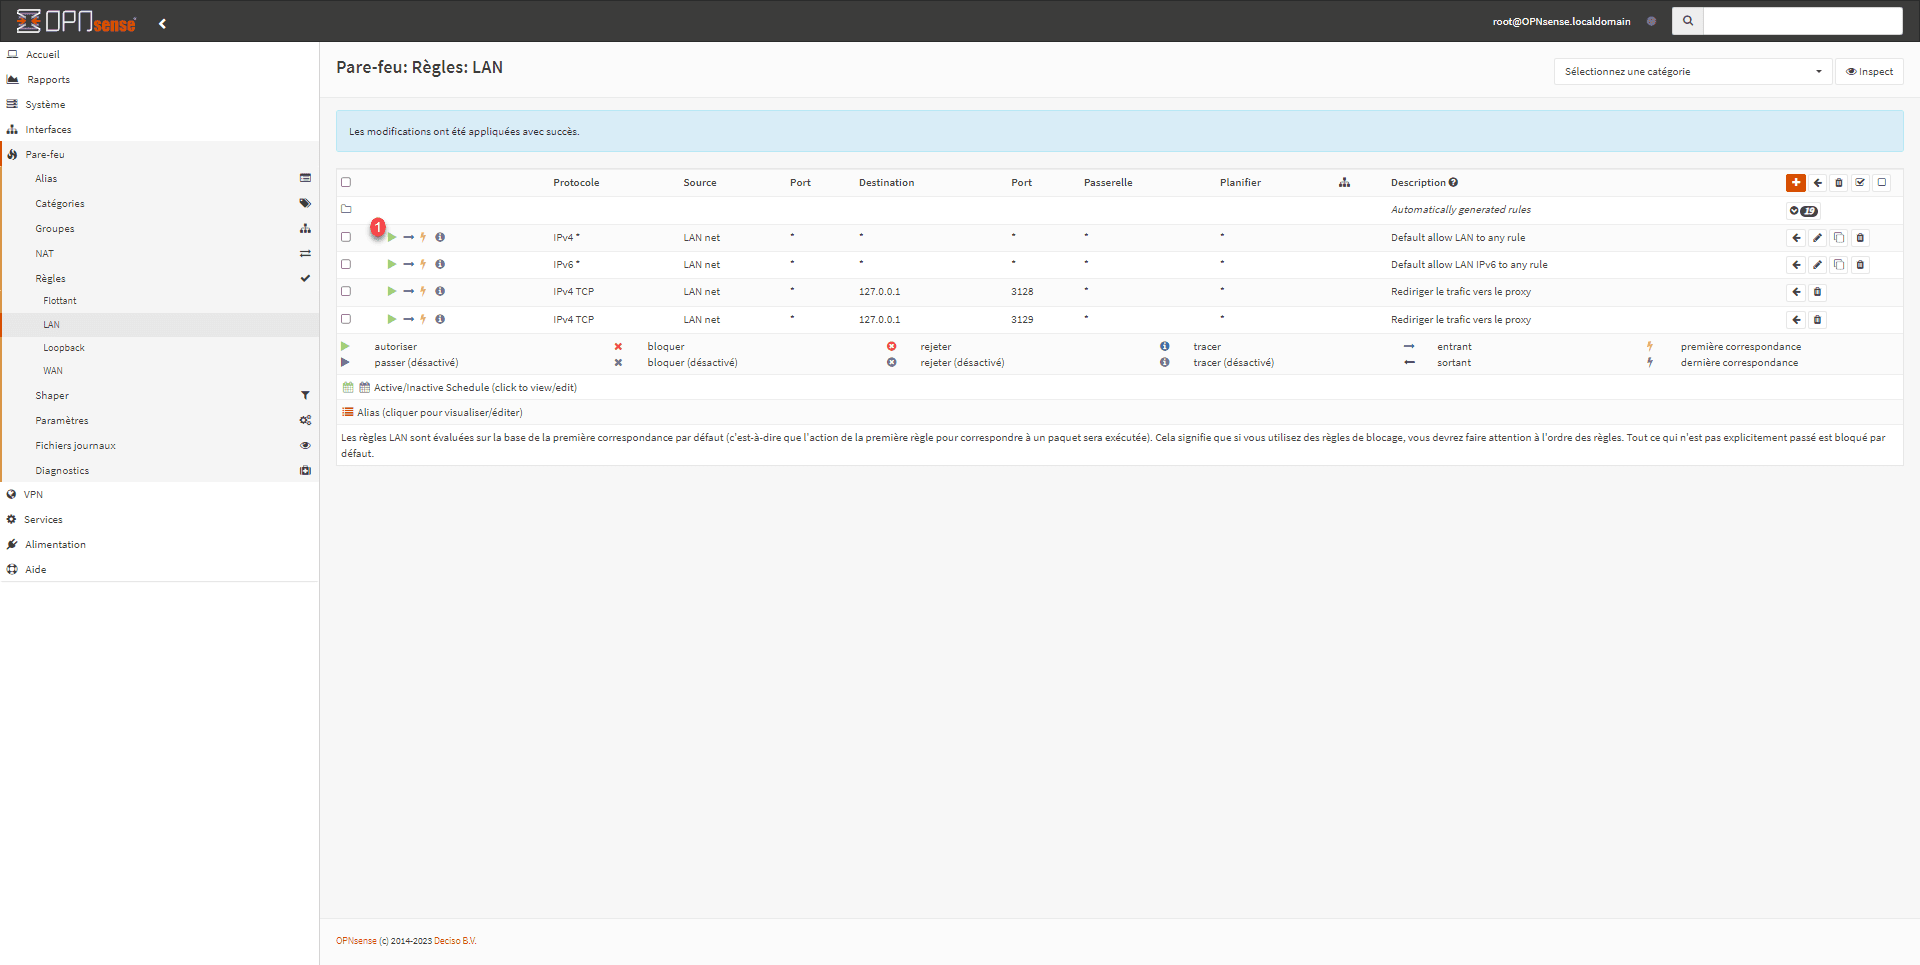
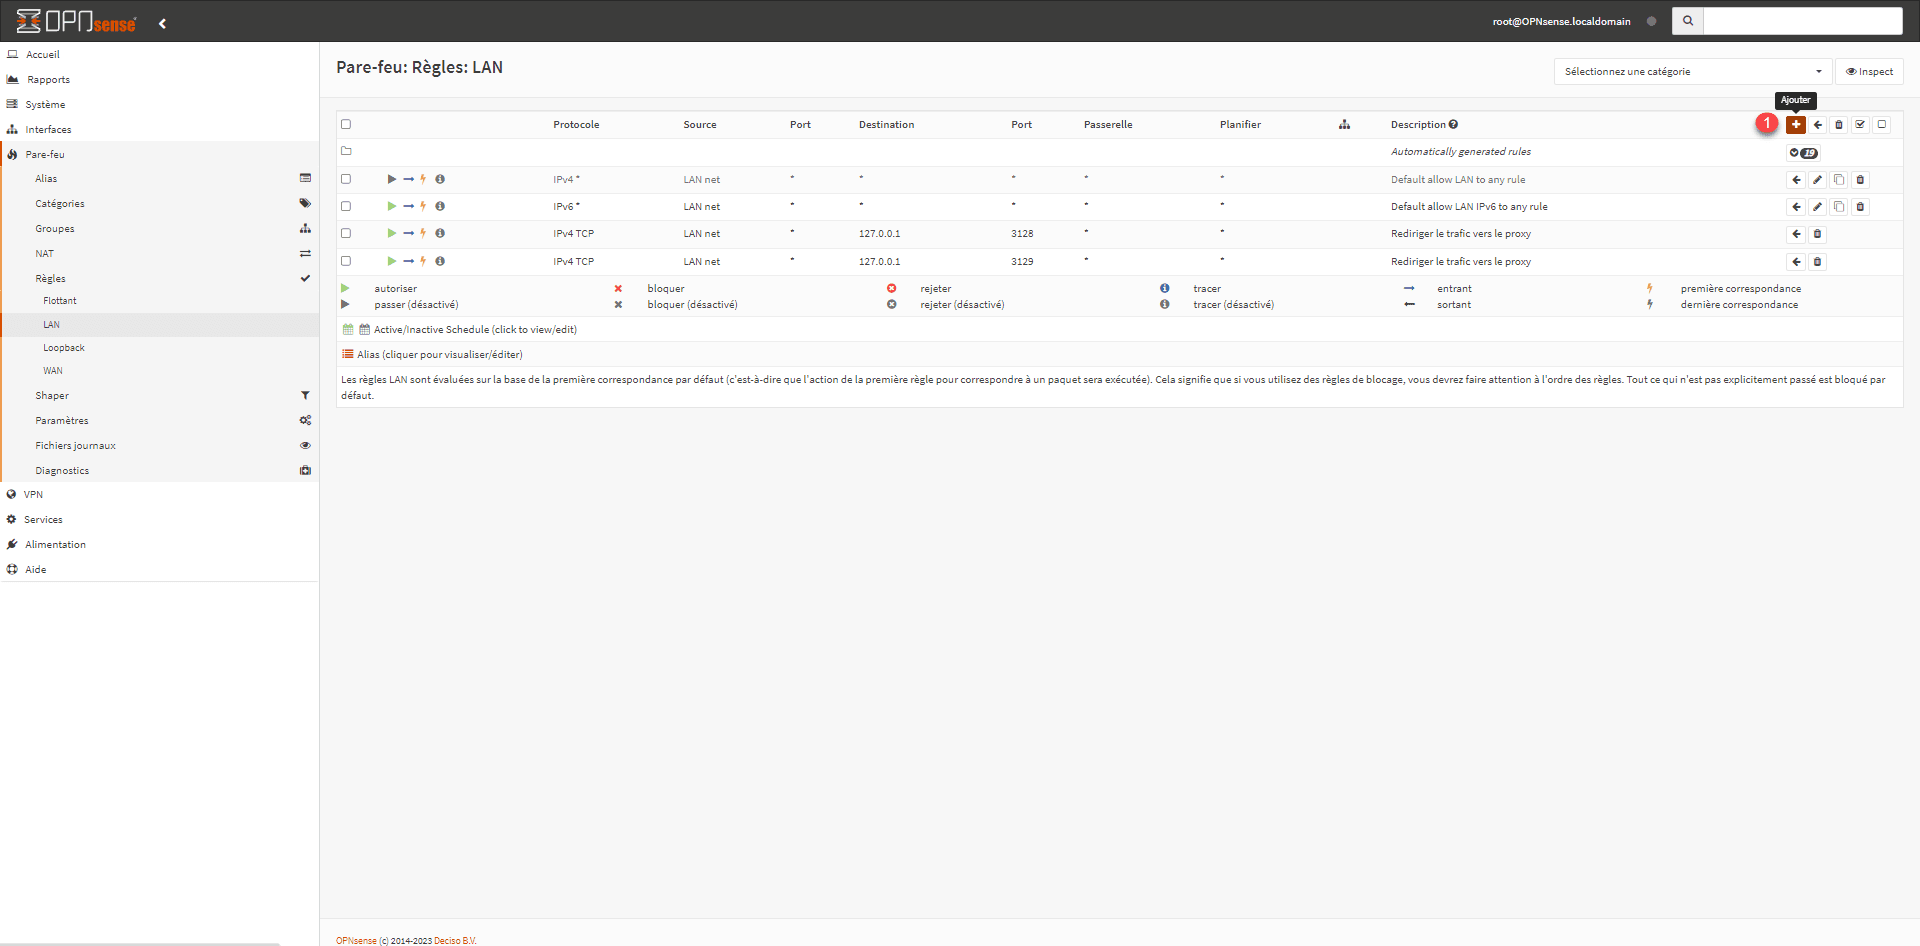
That’s not all; you still need to disable the default rule that allows all internet traffic. Go to Firewall / Rules / LAN and click the green “1” icon to disable it.
We will now create a rule to allow DNS traffic, otherwise there will be no name resolution, click on the Add 1 icon.
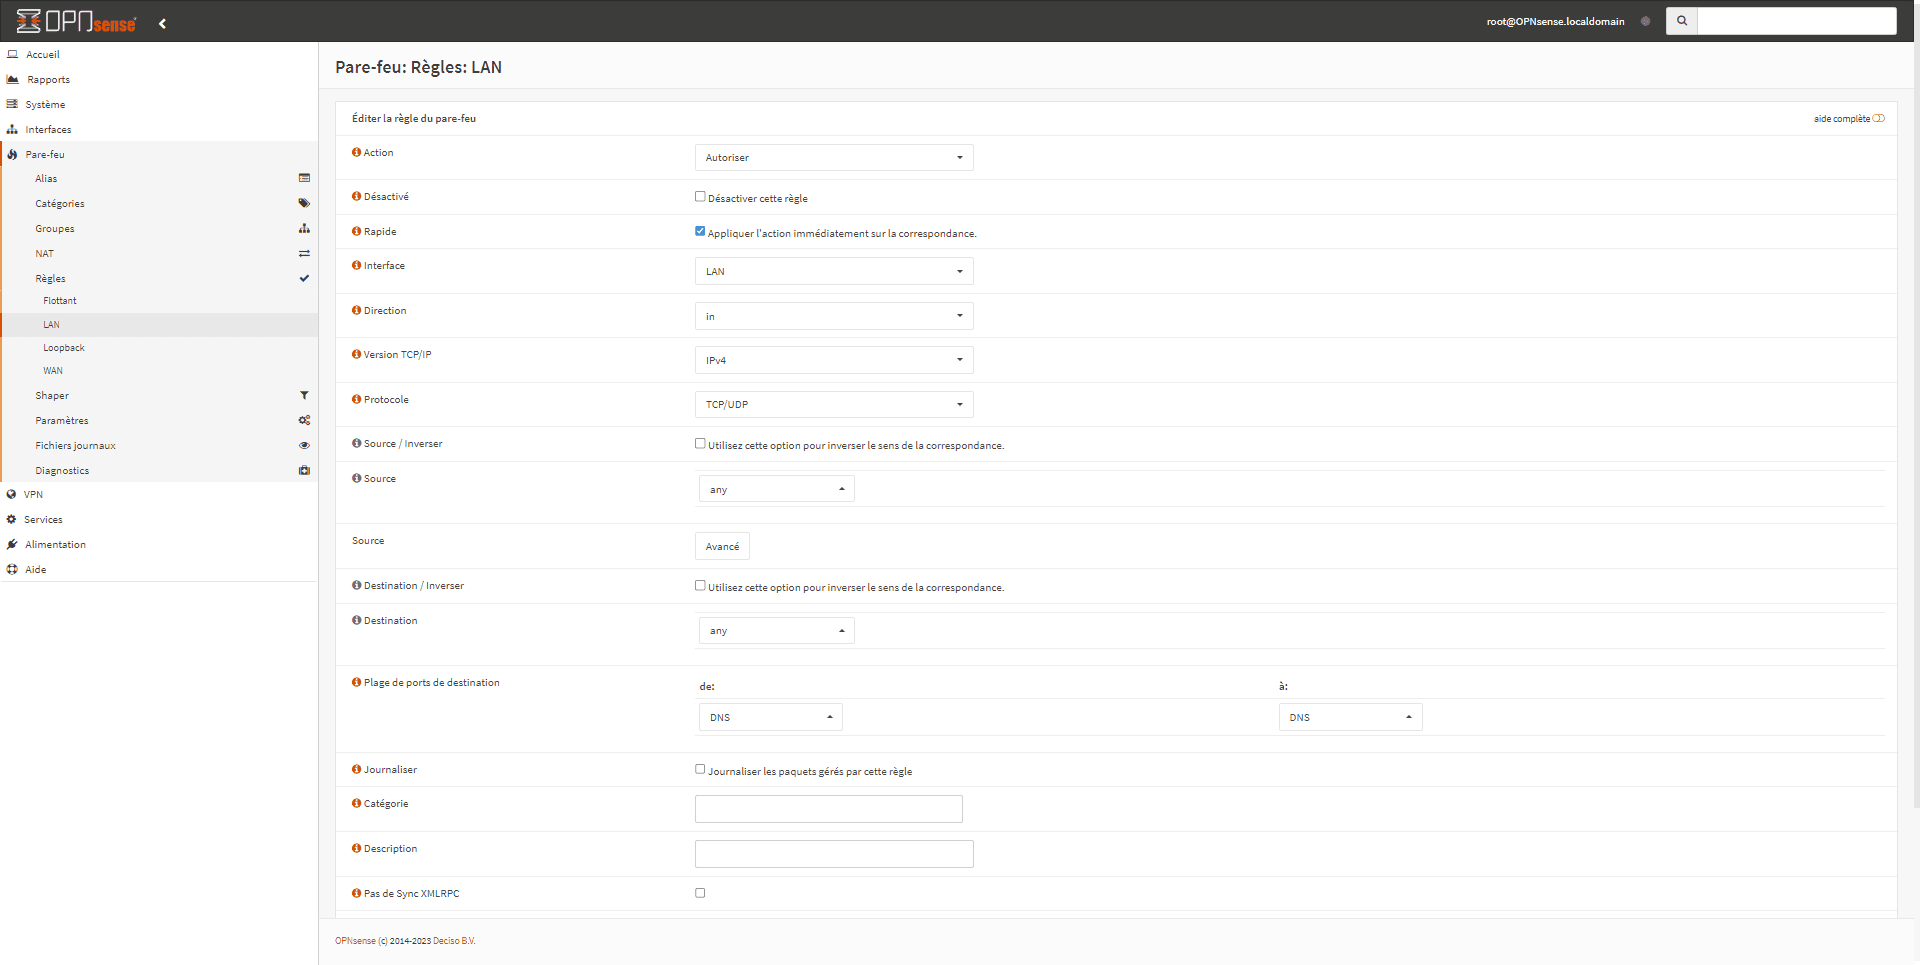
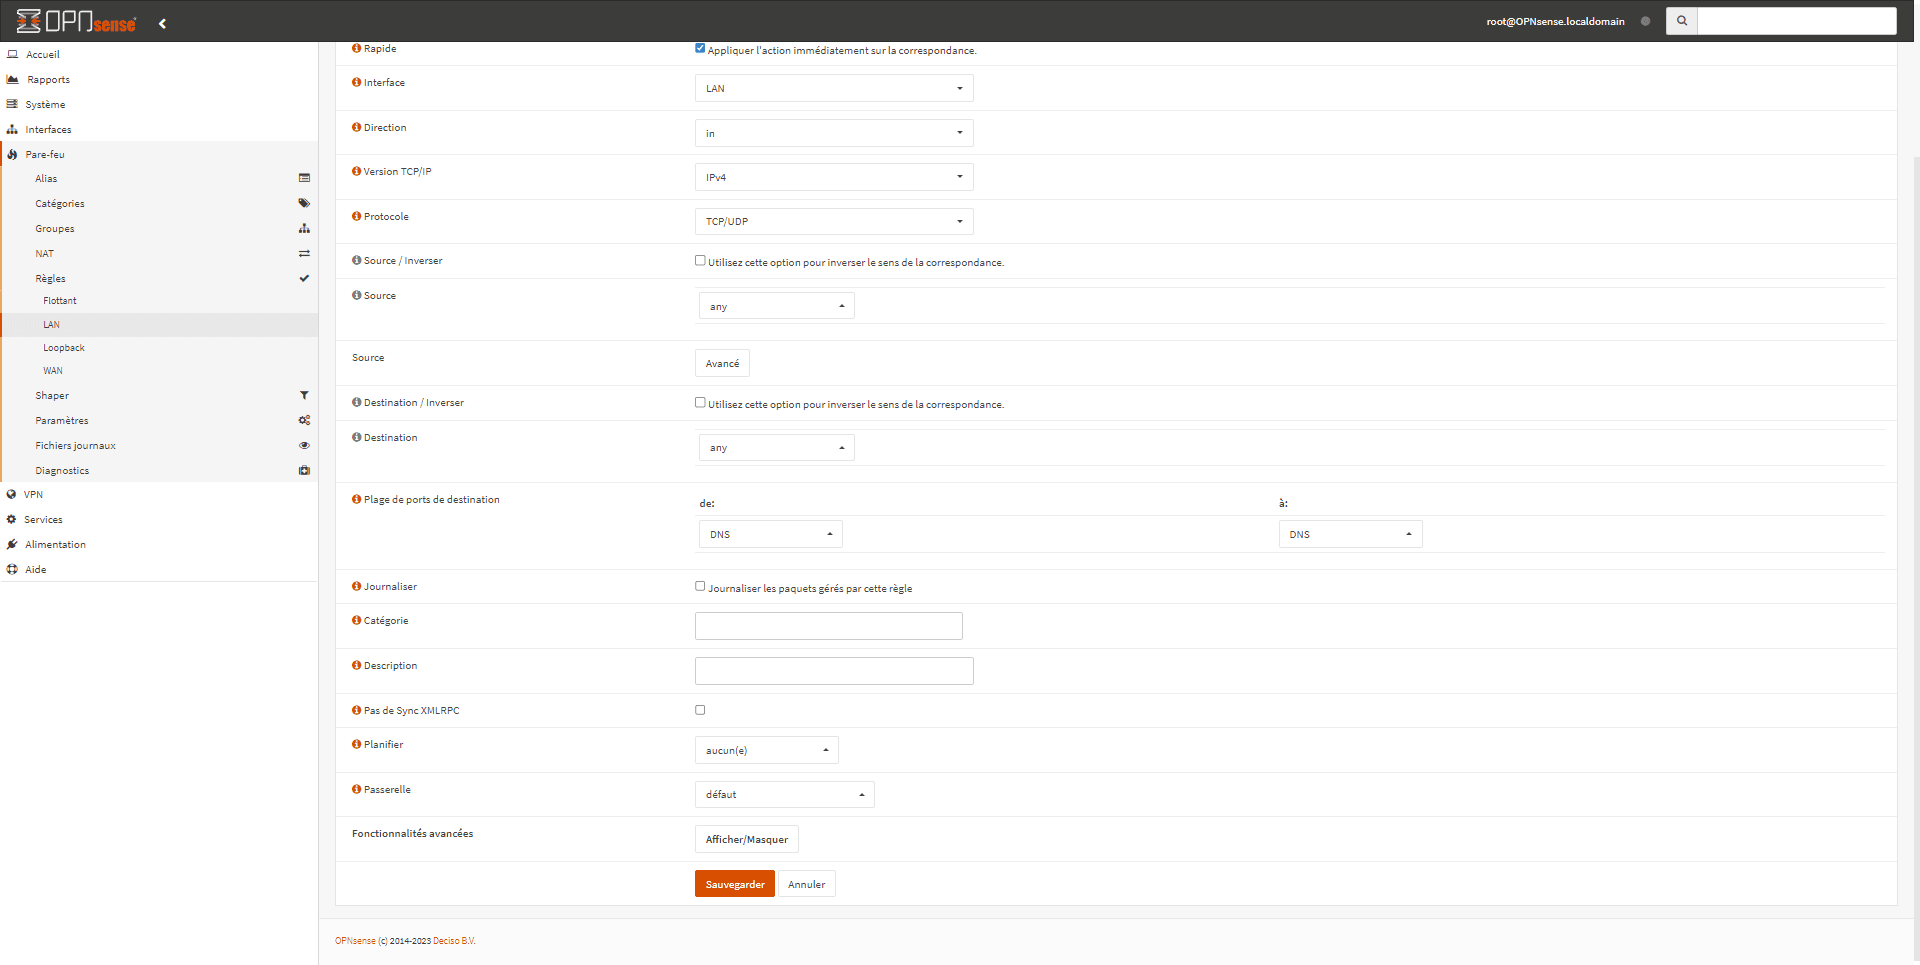
I’m not going to go into the details of creating the rule, but the goal is to allow traffic from the LAN to DNS servers (53/UDP) that are on the Internet.
Here is the rule:
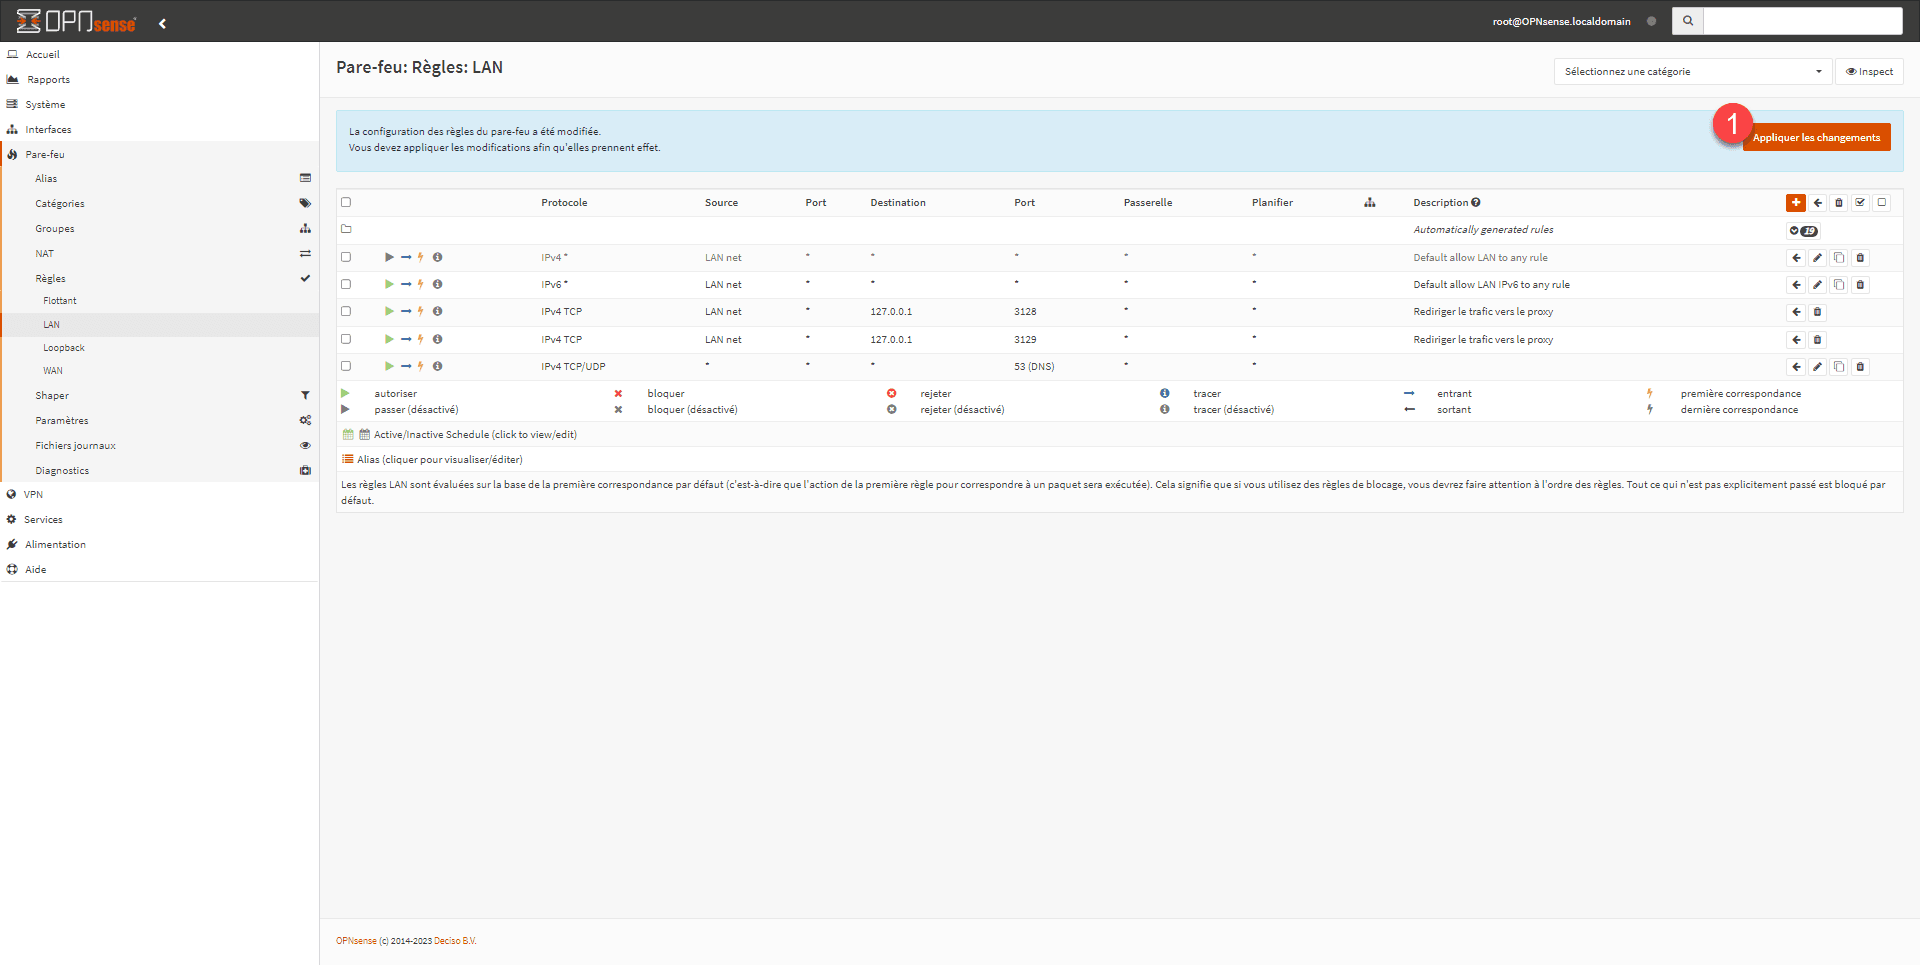
Then click on Apply changes 1.
Testing the web proxy from a computer
Launch an internet browser and try to browse; if everything goes well, you should get a certificate error:
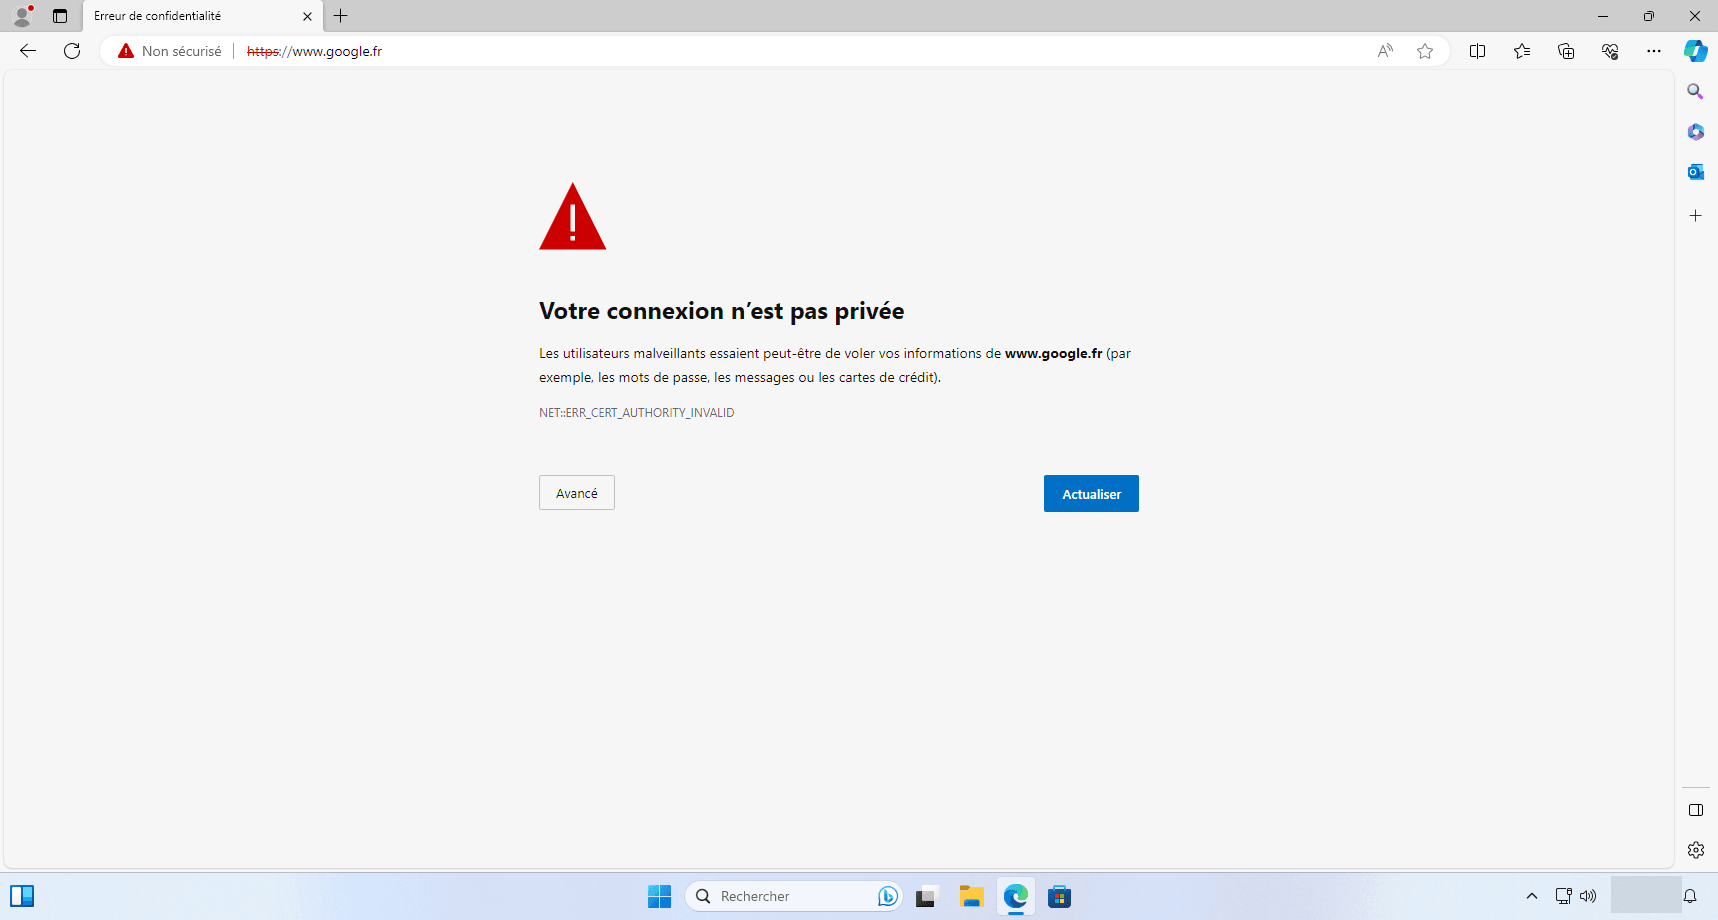
This error is normal because we did not install the certificate we created, as the HTTPS traffic was decrypted by the proxy and re-encrypted with its certificate, but this proves proper functioning.
Export the certificate from the web interface:
On the client computer, install the computer-level certificate in the Trusted Root Certification Authorities store.
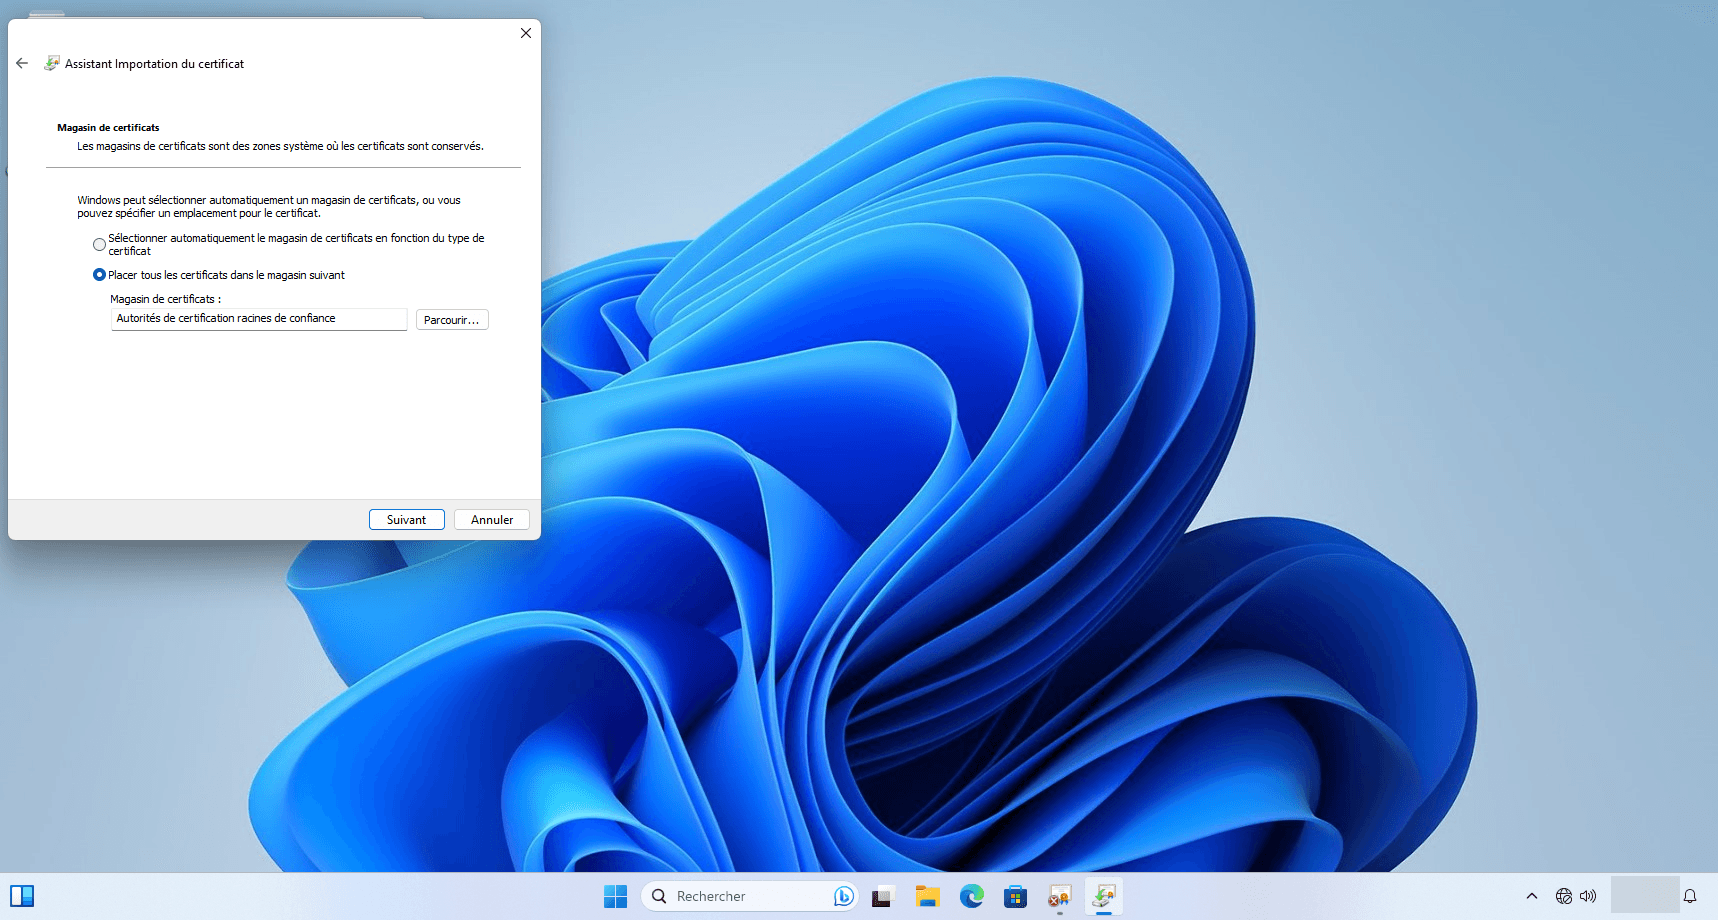
For deployment across an entire IT infrastructure, deployment can be done via GPO: GPO: Deploy a certificate.
Once the certificate is installed, the page should display normally:
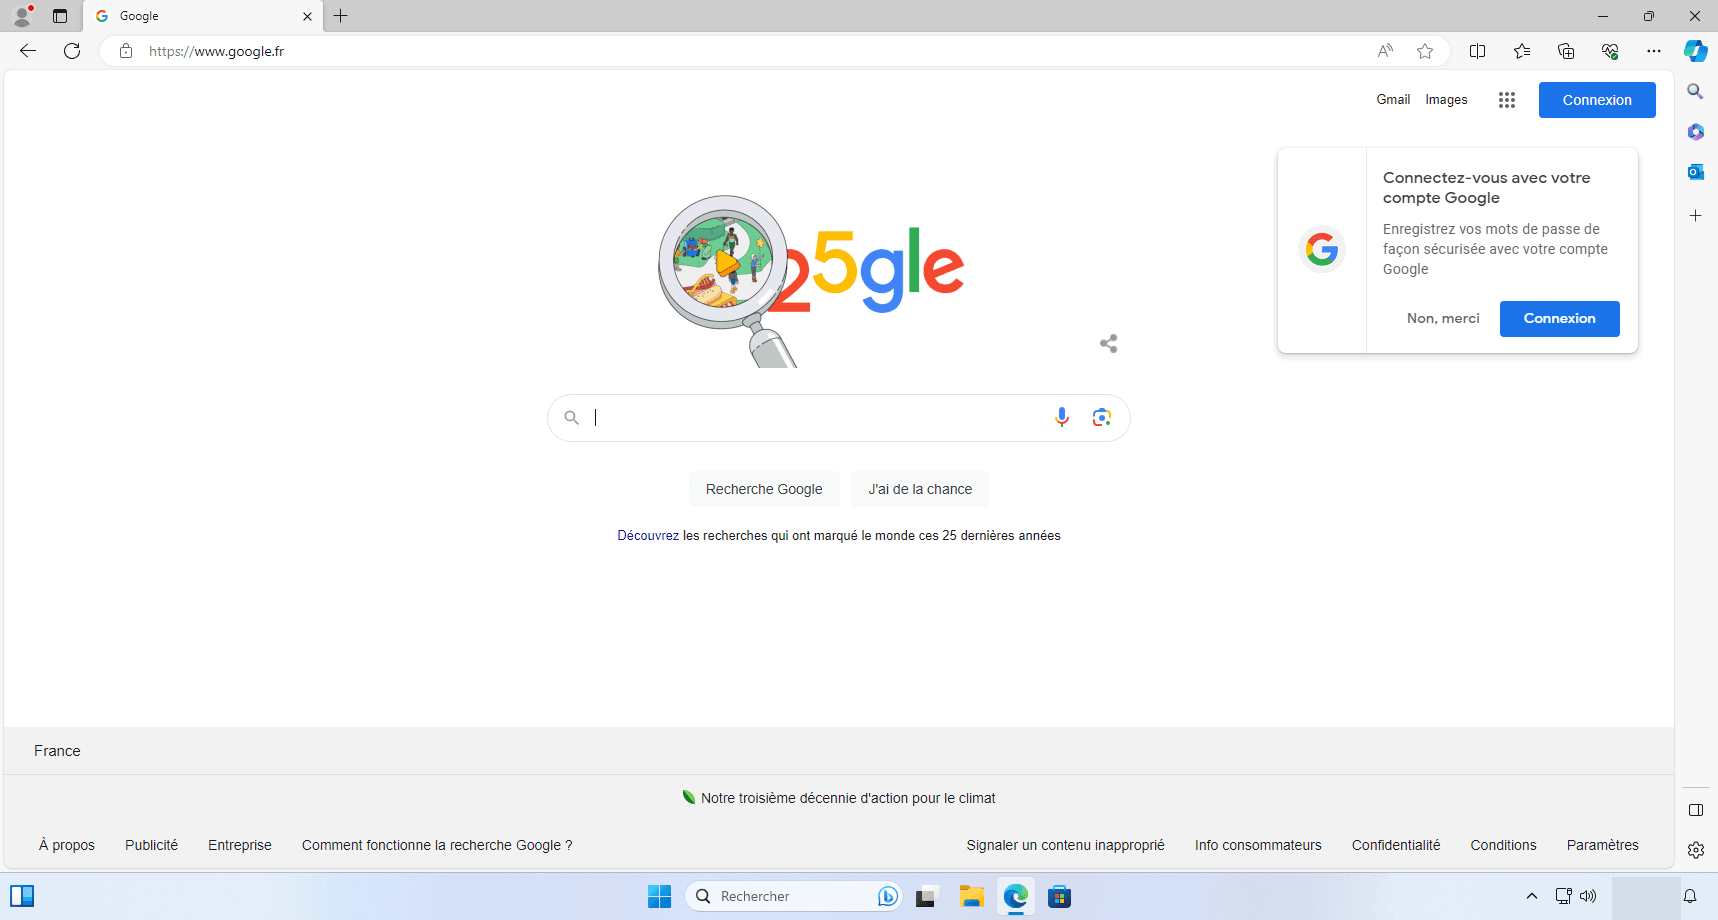
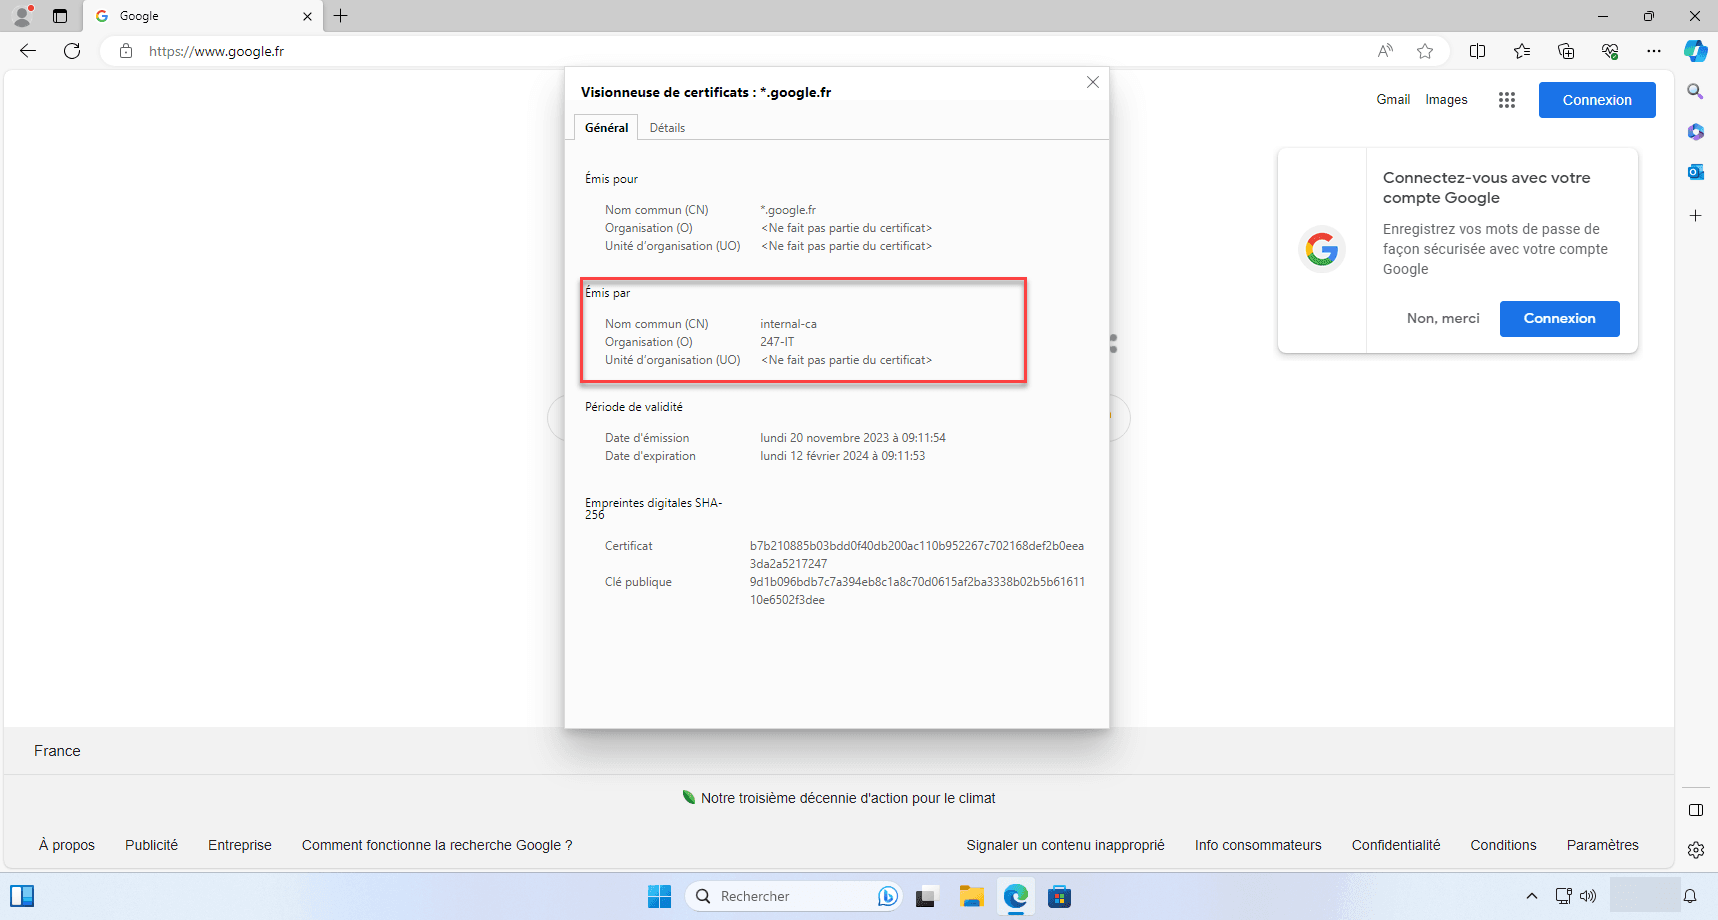
If we display the website’s certificate, we can see that it was issued with the certificate authority that we created in OPNsense and defined for the proxy.
Conclusion
This first tutorial on OPNsense ends here. More should follow soon.
You can now deploy OPNsense to install a free firewall, but it remains very limited compared to “proprietary” solutions.
