In this “how to” tutorial, I will show you how to add a DNS zone on a Windows DNS server.
Open the DNS console
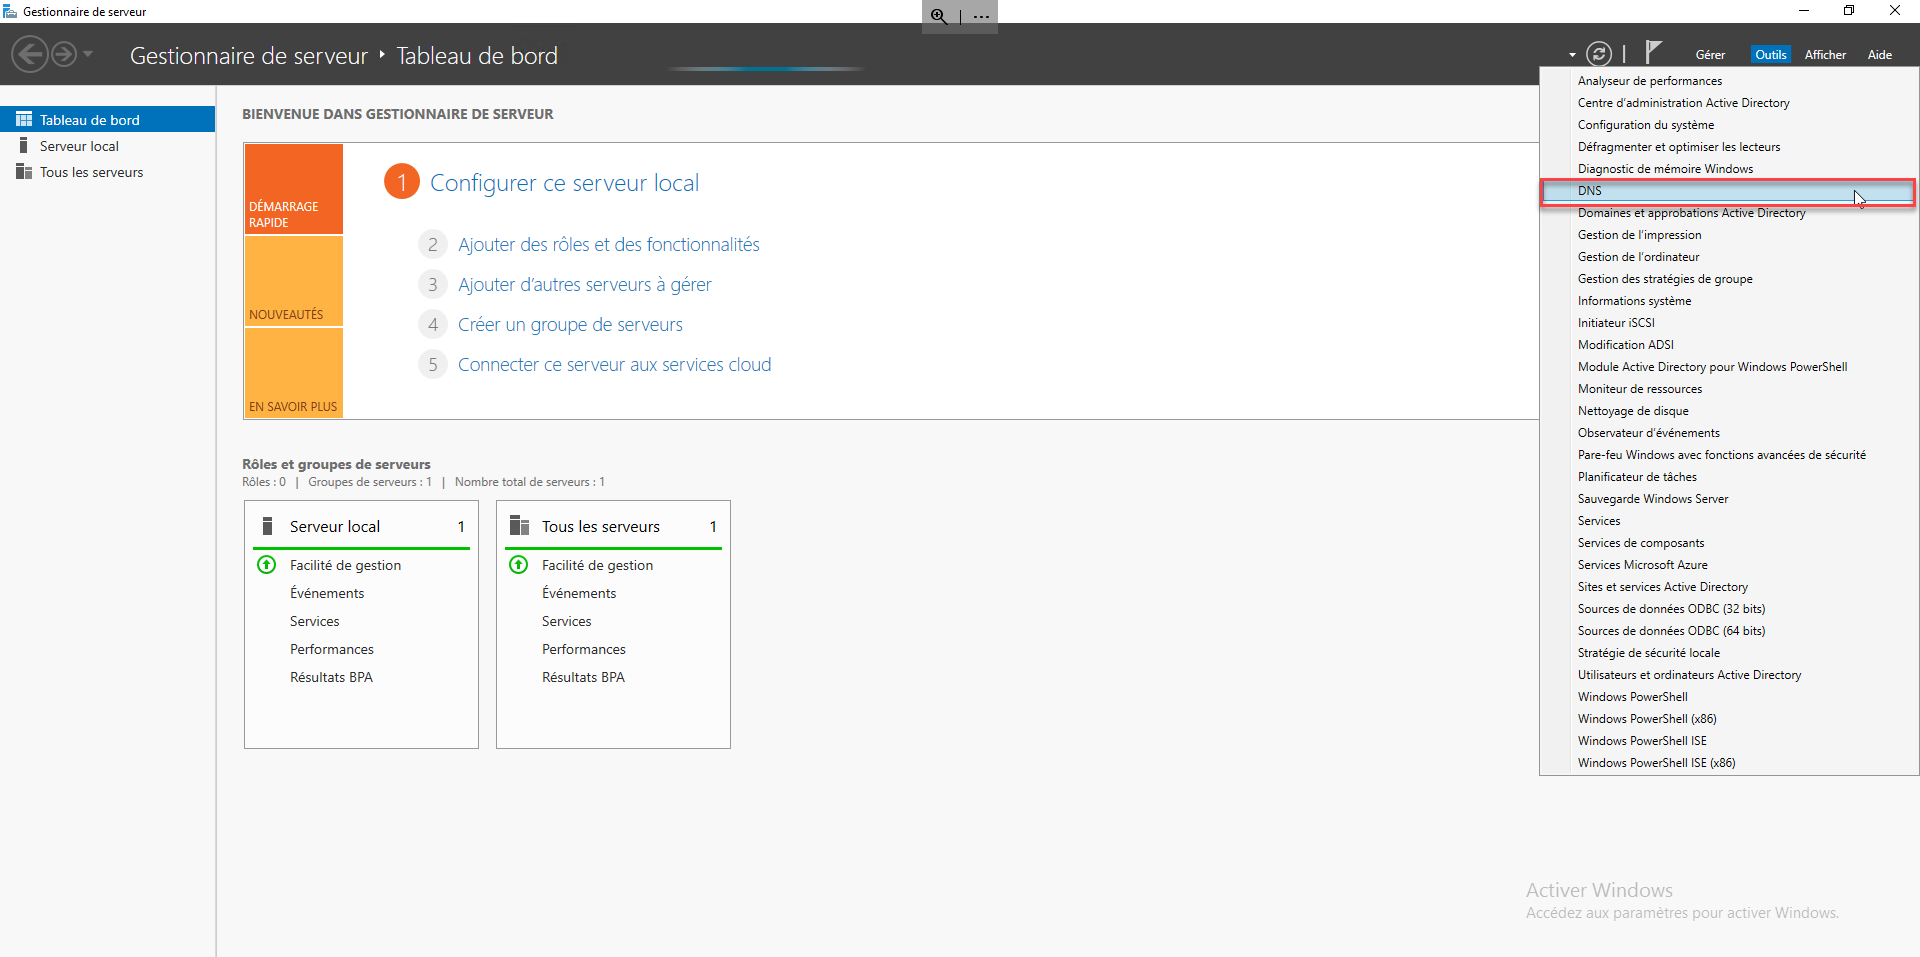
On a server where the DNS role is installed, open the DNS Manager administrative console.
Add a DNS zone in direct lookup zones
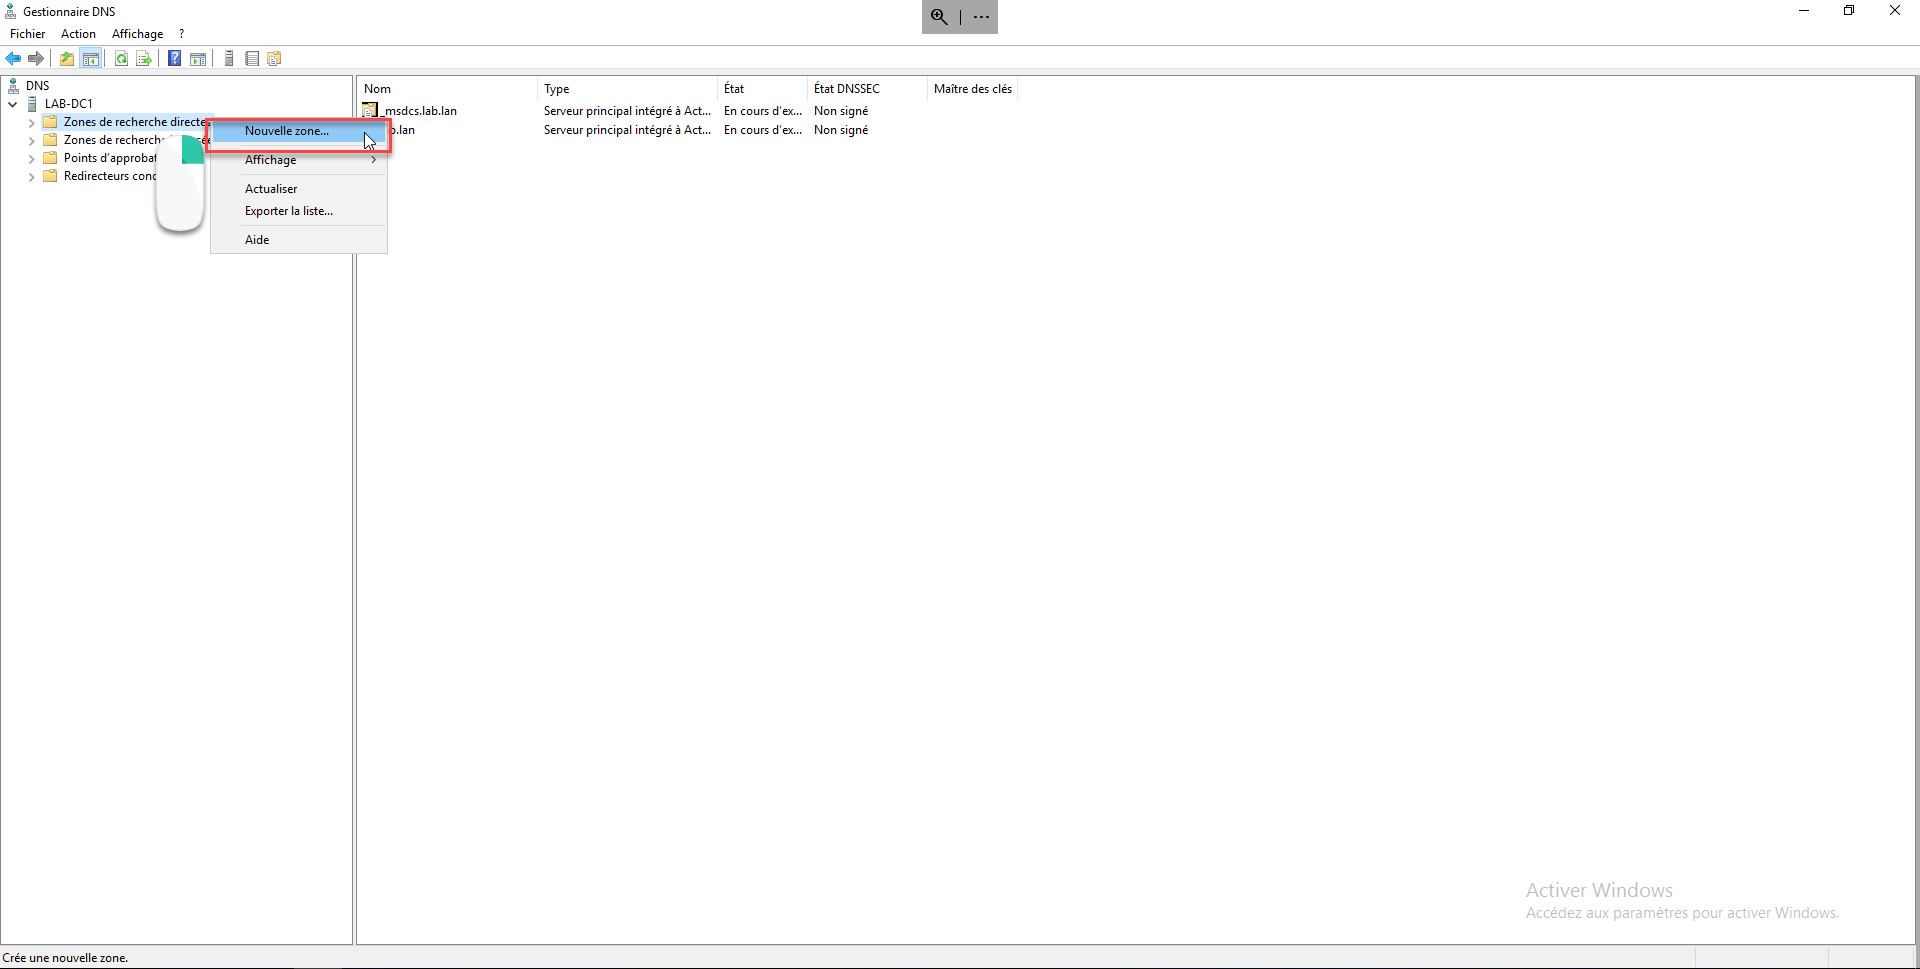
In the left panel, right-click on Direct search zones and click on New zone.
Opening the wizard for creating a DNS zone
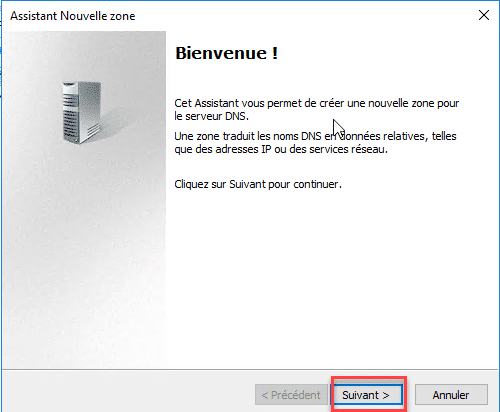
In the first step of the wizard, click on Next.
Choose the type of zone
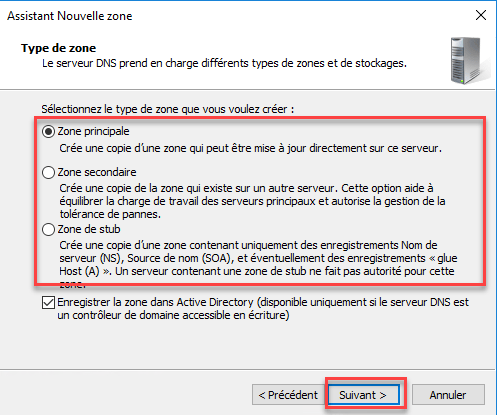
Select the type of zone you want to create (usually a main zone) and click on Next.
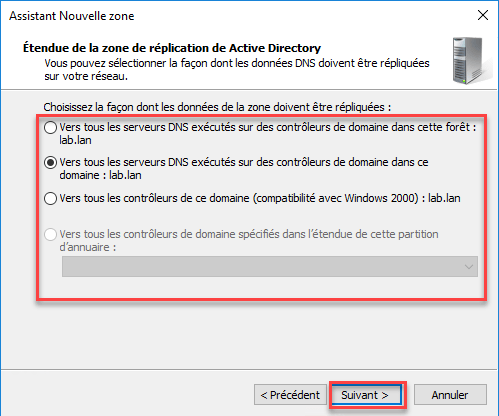
Configure replication in an Active Directory environment in the zone
If you are in an Active Directory environment and the zone is created on a domain control, configure how the zone will be replicated in the environment and click on the Next button.
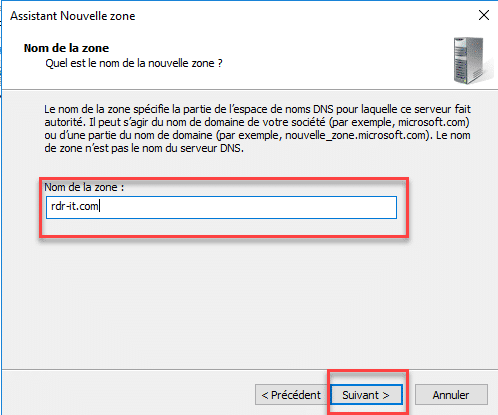
Indicate the name of the DNS zone
Now indicate the name of the zone, which generally corresponds to a DNS name and click on Next.
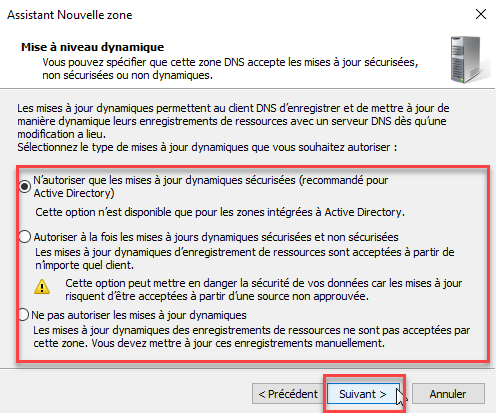
Configure dynamic update
Configure the dynamic update of the zone, in the case of a DNS zone which allows access to services (Internet sites), it is not necessary to activate the dynamic update. Once configured, click on Next.
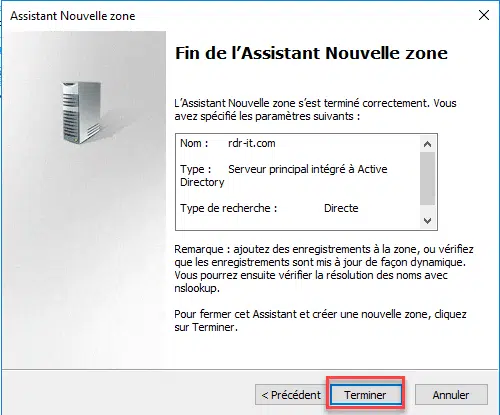
Confirm the creation of the DNS zone
A preview of the DNS zone that will be created is displayed, click on the Finish button to confirm the addition of the DNS zone on the server.
DNS zone created
The zone is now created and available in the DNS Manager console.
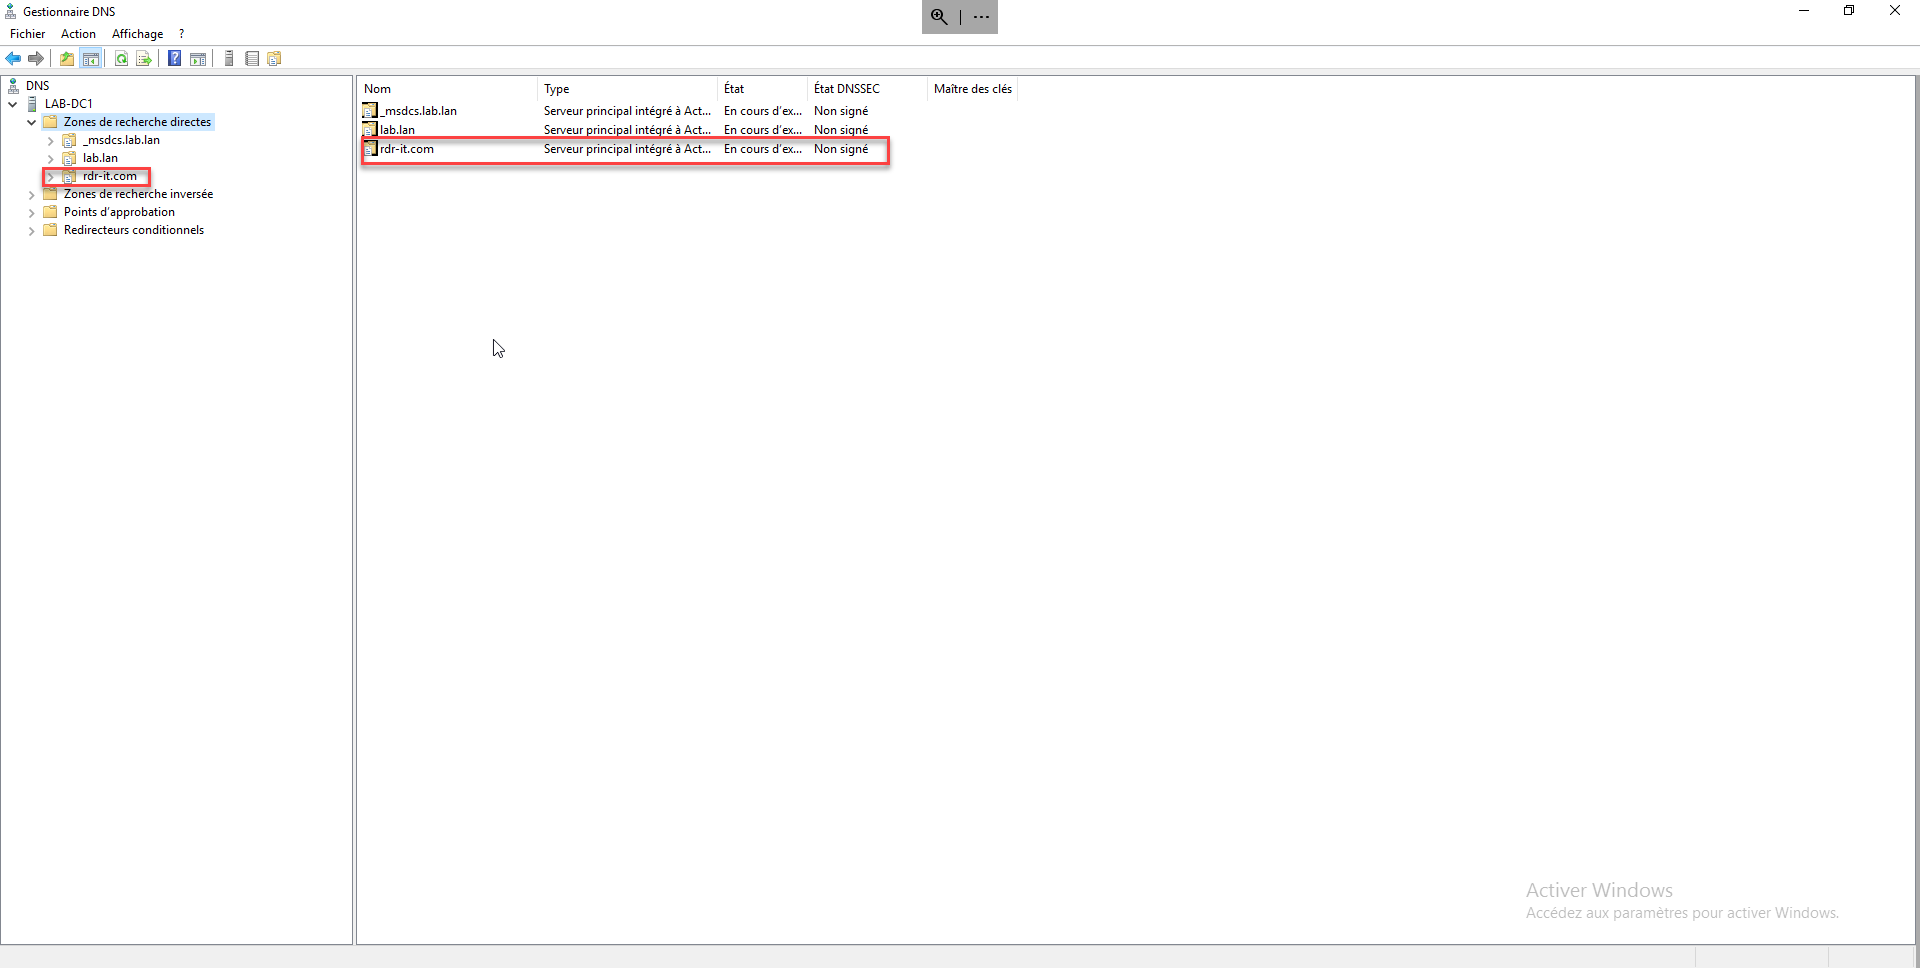
Now you need to add DNS records.
