In a previous tutorial, we saw how to deploy and configure BunkerWeb to secure your web servers using this modern and open source WAF.
In this article, we’ll get straight to the point: setting it up quickly BunkerWeb with Docker Compose.
To make things easier for you, I have prepared a Git repository containing the necessary files (docker-compose.yml and environment files).
The goal is simple: to allow you to launch BunkerWeb in just a few commands, without having to start from scratch with the configuration.
As you will see, the BunkerWeb interface has been redesigned since version 1.6.0
Table of Content
Prerequisites for deploying BunkerWeb with Docker Compose
To begin, you will need a Linux Server with Docker and Docker Compose of installed, ideally this server should only serve as a Reserve Proxy.
Also, set up a DNS record (bunkerweb.domain.tld) for the BunkerWeb administration interface.
Deploy BunkerWeb with Docker Compose
As explained at the beginning of this tutorial, I have prepared the files necessary for deploying BunkerWeb on a Git repository, which can be found here: https://git.rdr-it.com/root/bunkerwer-compose/
On the server, create the folder that will contain the configuration files and data:
sudo mkdir -p /containers/bunkerwebIt’s up to you to adapt the location according to your policy.
Go to the folder and clone the Git repository:
sudo git clone https://git.rdr-it.com/root/bunkerwer-compose.git.Once the repository is cloned, configure the password for the MariaDB database by editing the following files:
- env/bw-db.env
- env/global.env
The string to modify is:
changeme_mysql
Download the container images:
sudo docker compose pull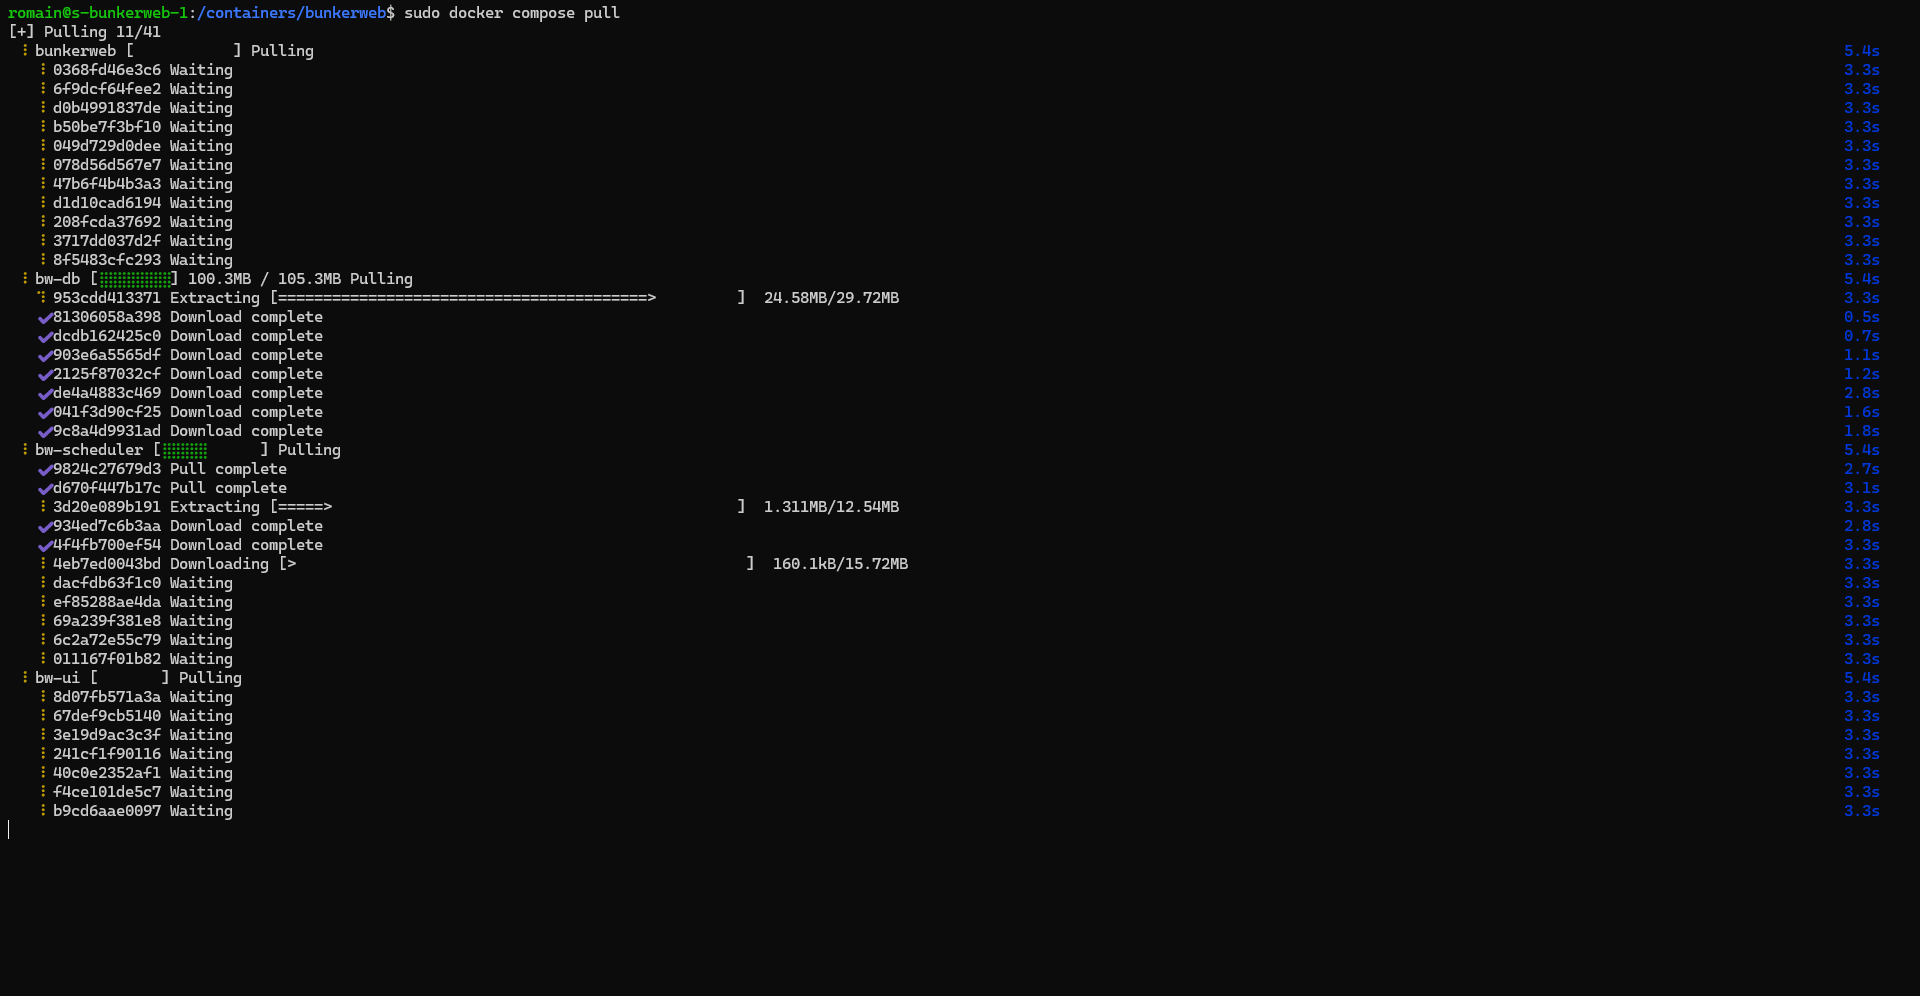
Start the containers:
sudo docker compose up -d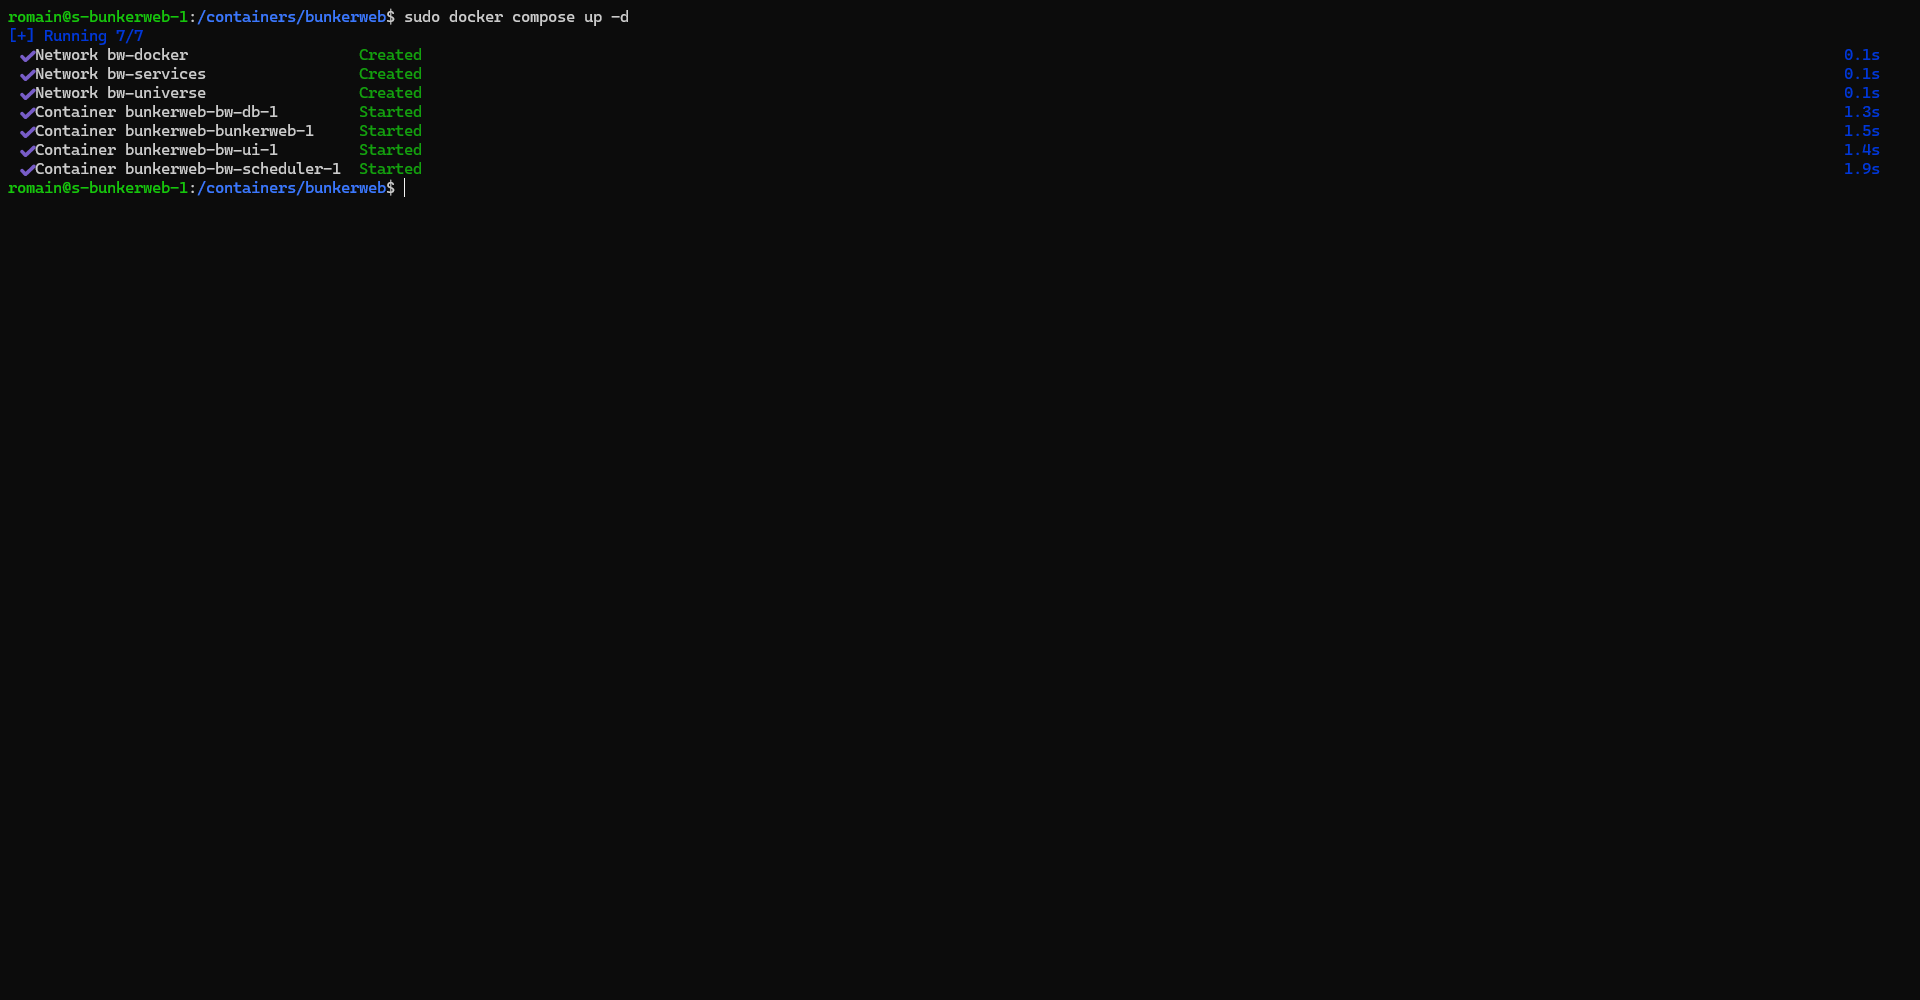
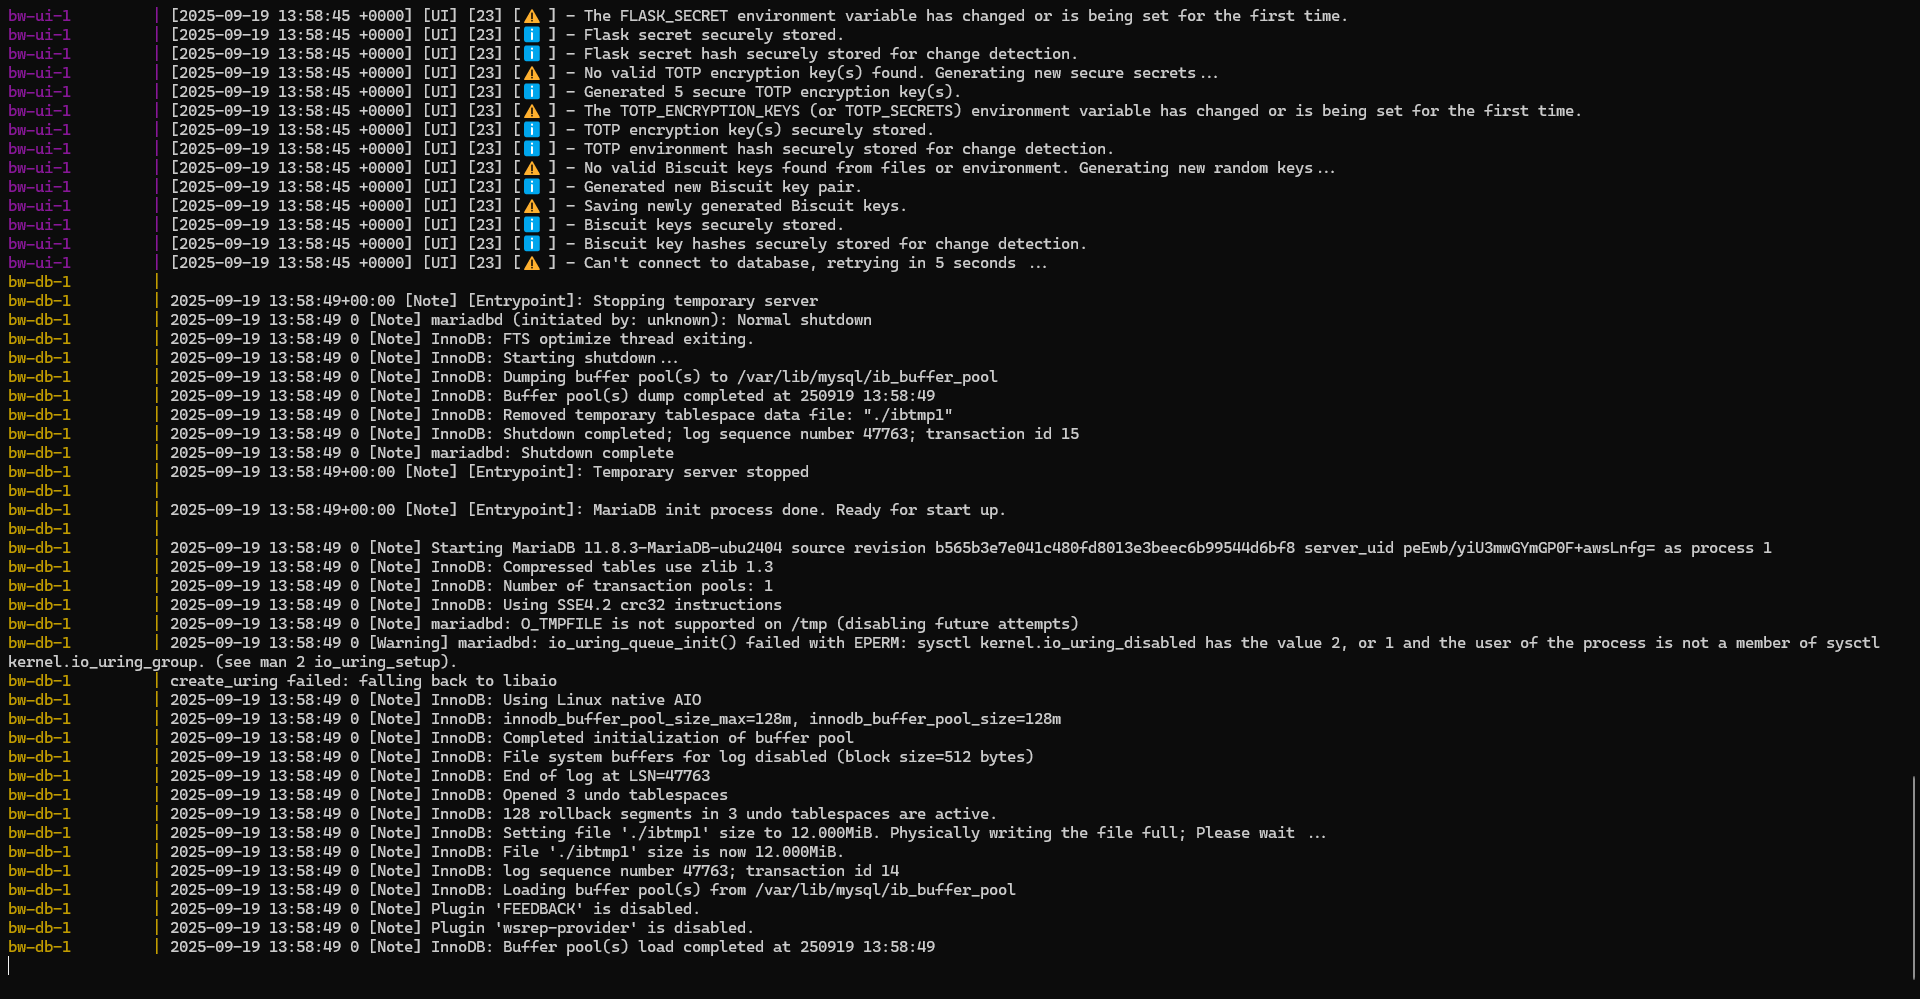
Use the command docker compose logs -f to check that everything is going well…
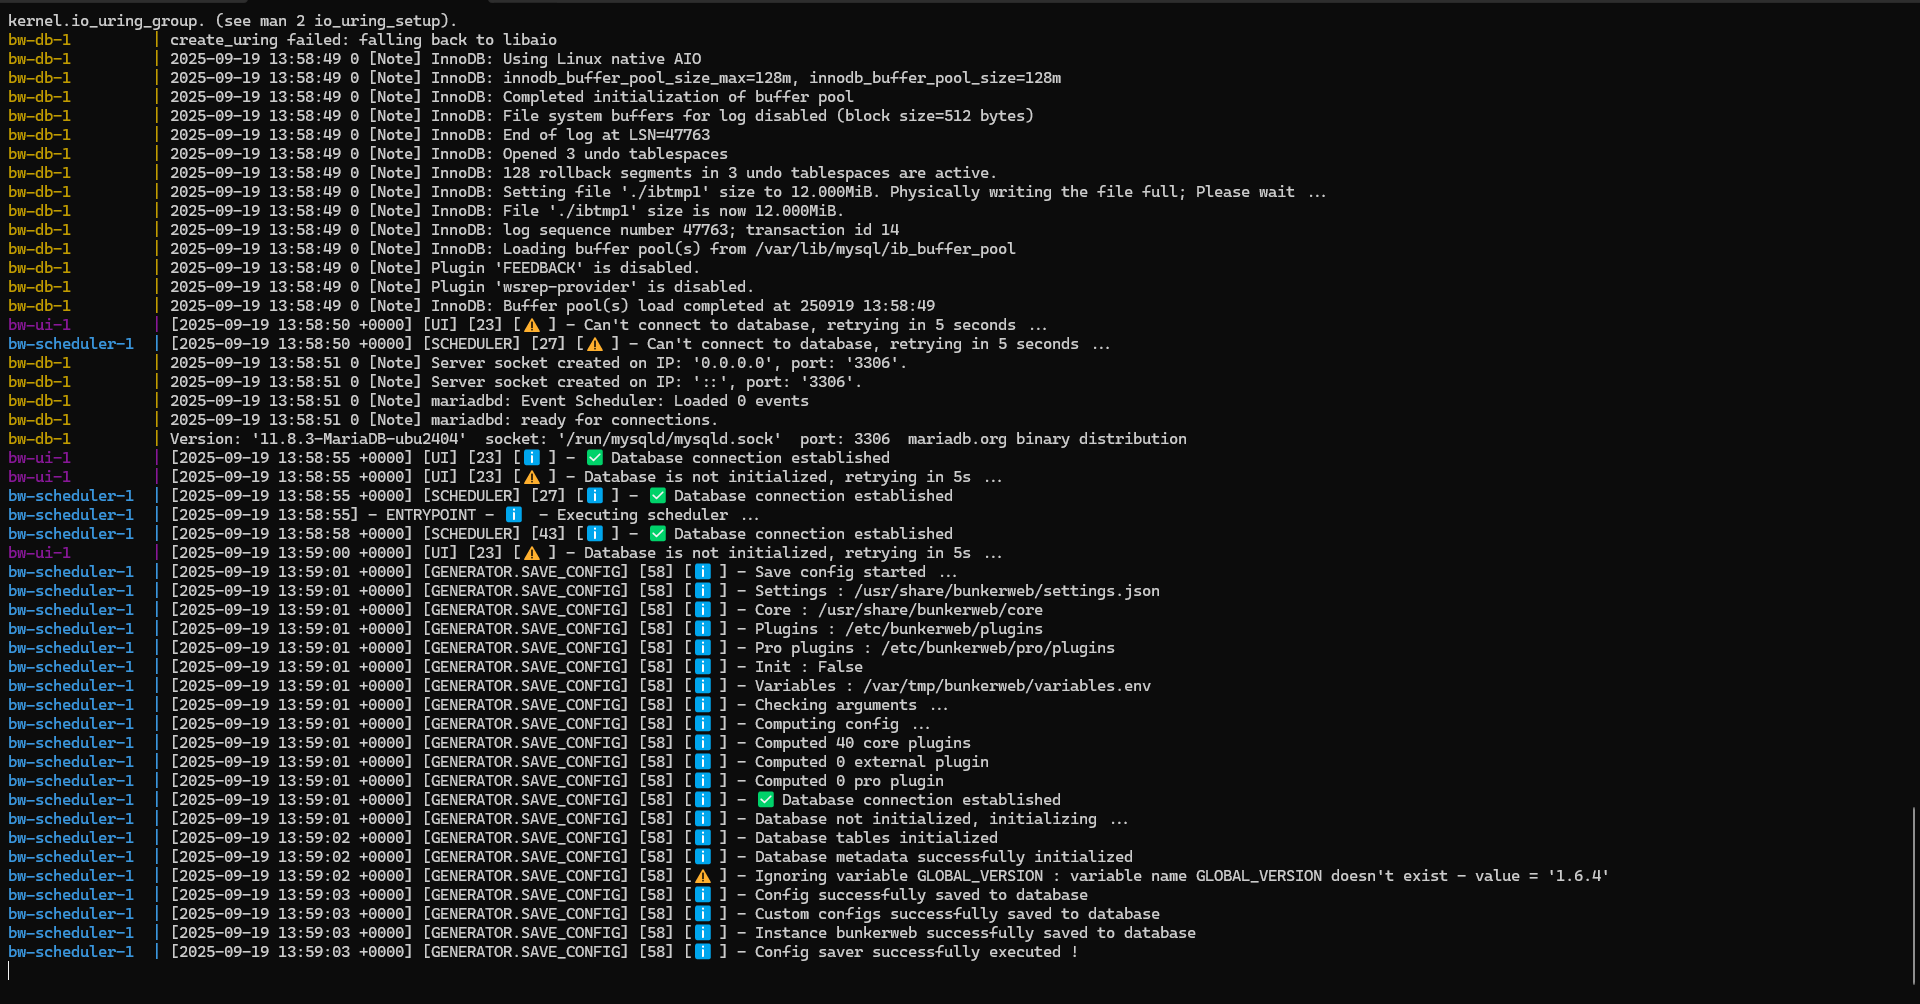
If everything is OK, we will proceed to the basic configuration of BunkerWeb.
Basic configuration of BunkerWeb
If you followed the first tutorial on BunkerWeb, we configured the administration interface URI and the admin account; here we will do it using the wizard.
From an internet browser, enter the DNS name chosen for the BunkerWeb administration interface, and you will arrive at the installation wizard.
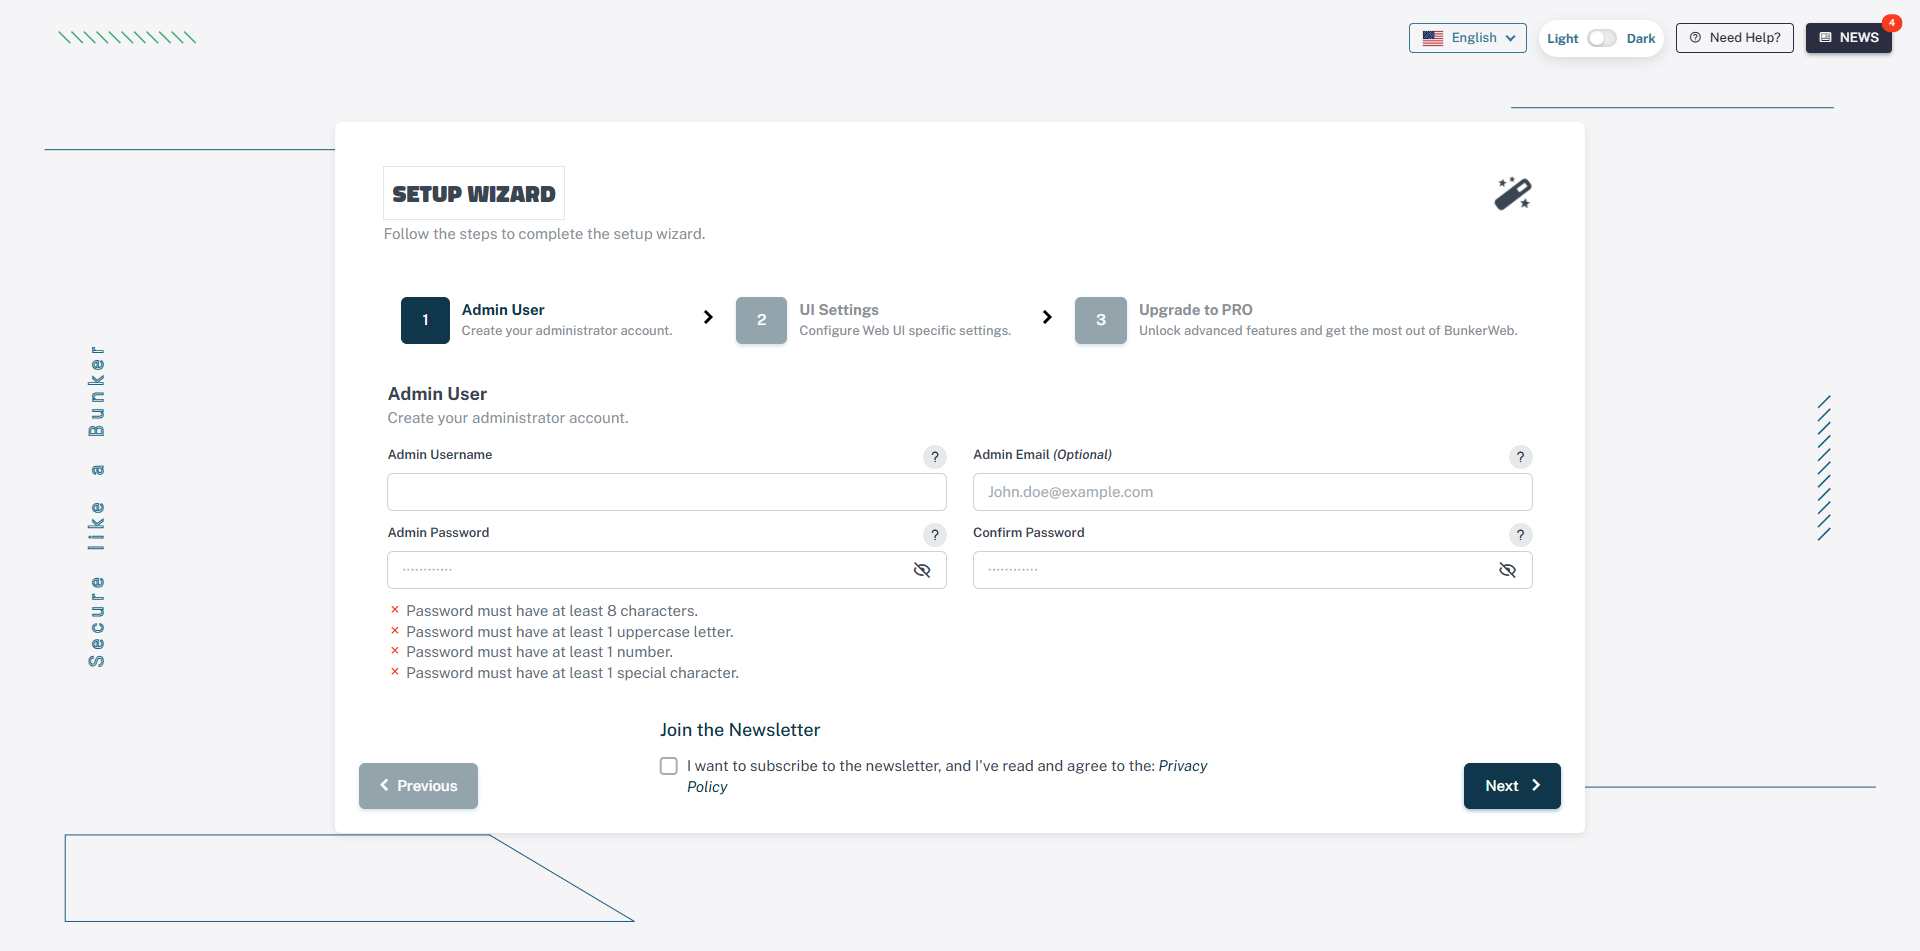
If you wish, change the interface language
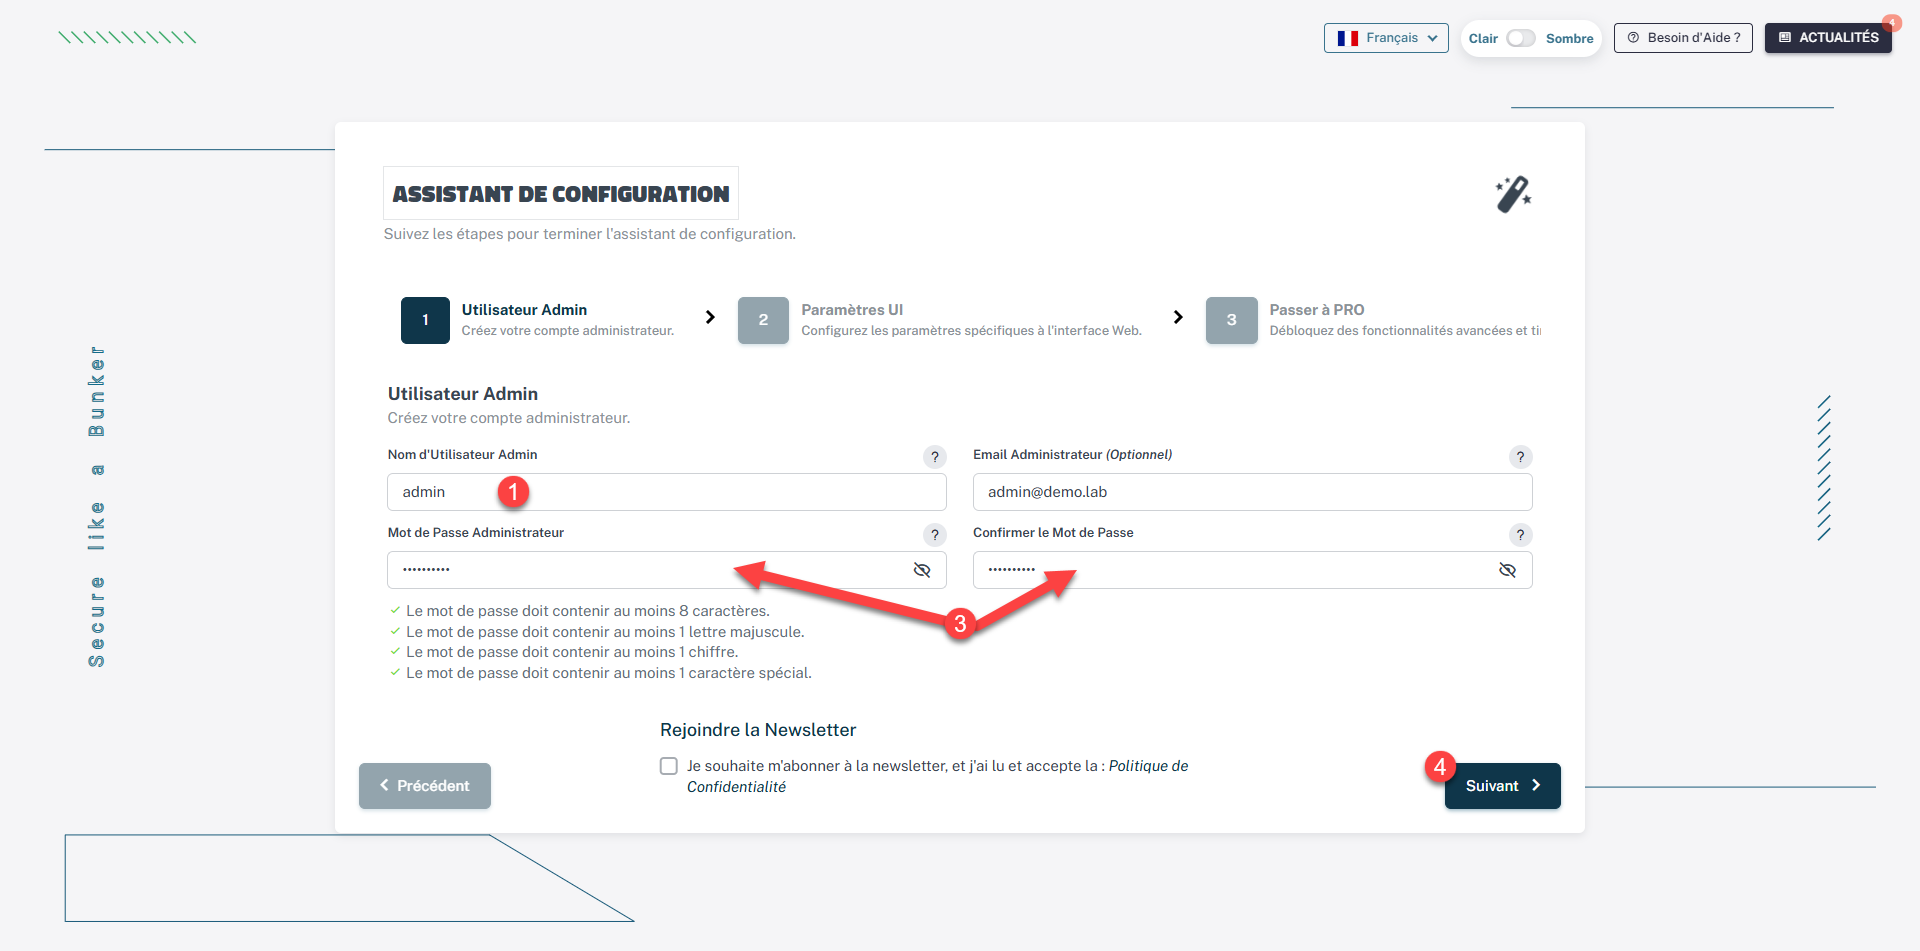
Enter the account ID 1, email address 2 then the password 3 and click on the Next button 4.
If necessary, adapt the admin UI configuration, click Next 1.
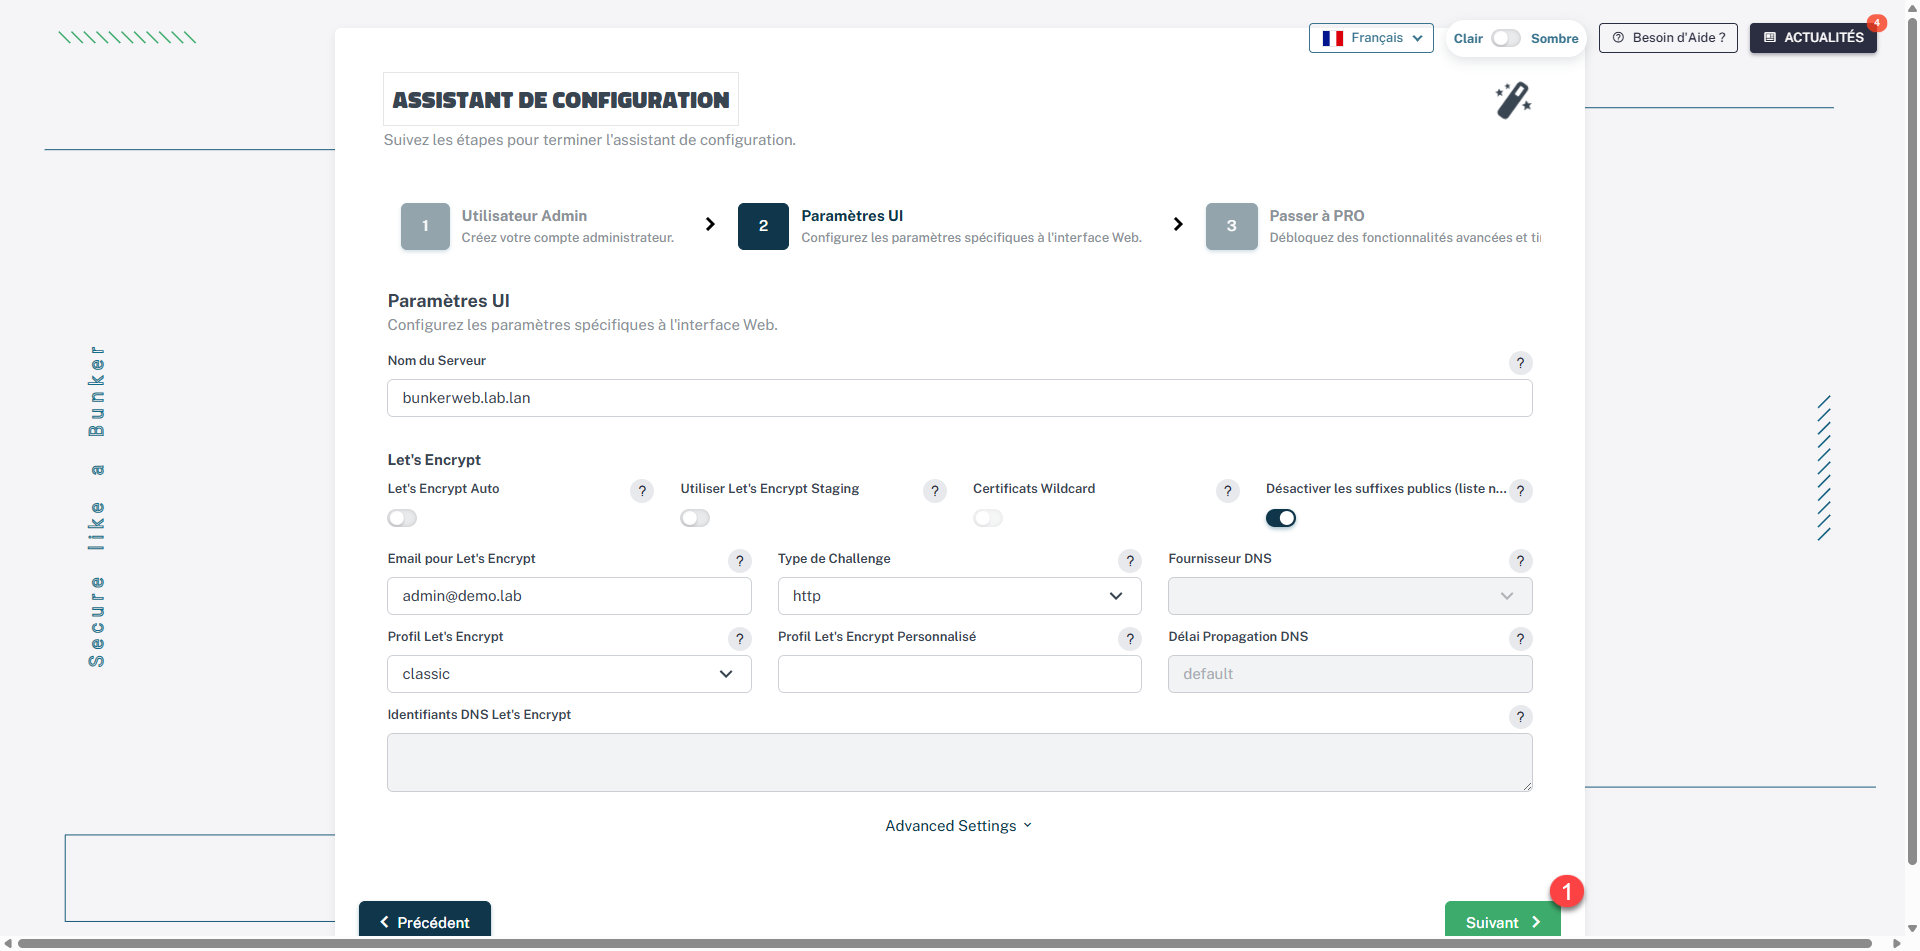
At a minimum, check the Server Name field, which must match the URL.
If you have a PRO license, enter the key, click Next 1.
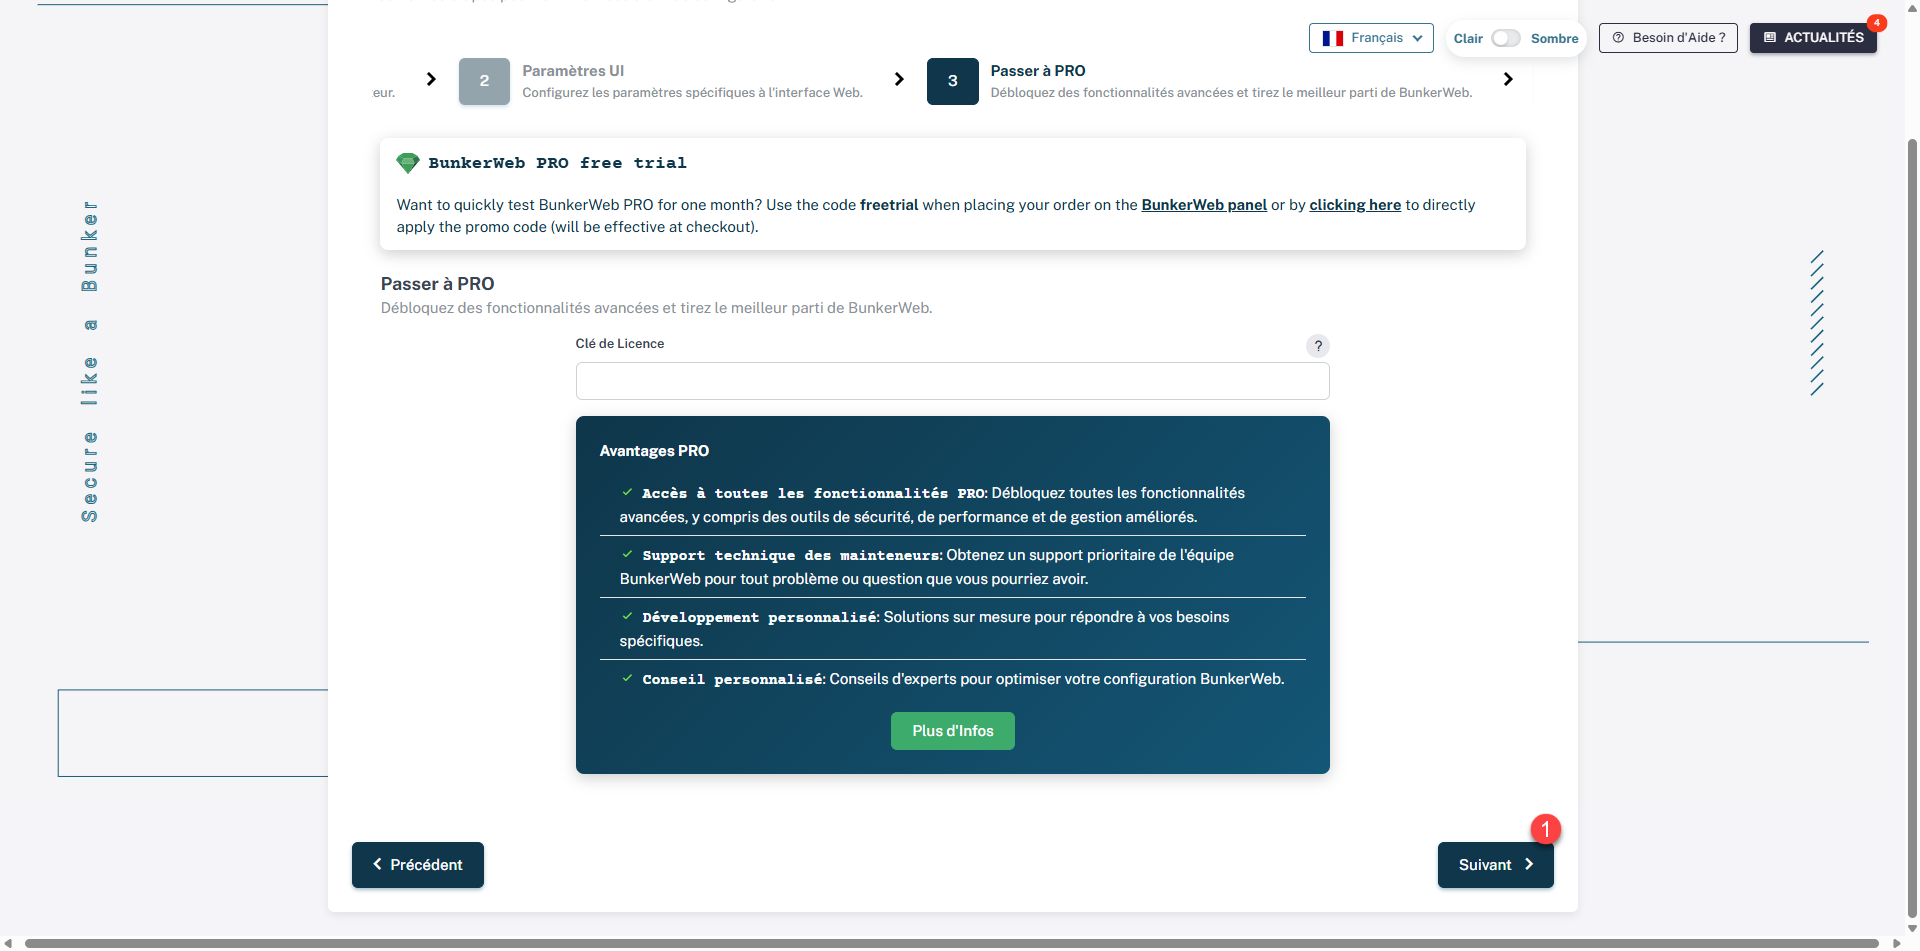
Check the configuration elements and then click on the Configuration 1 button.
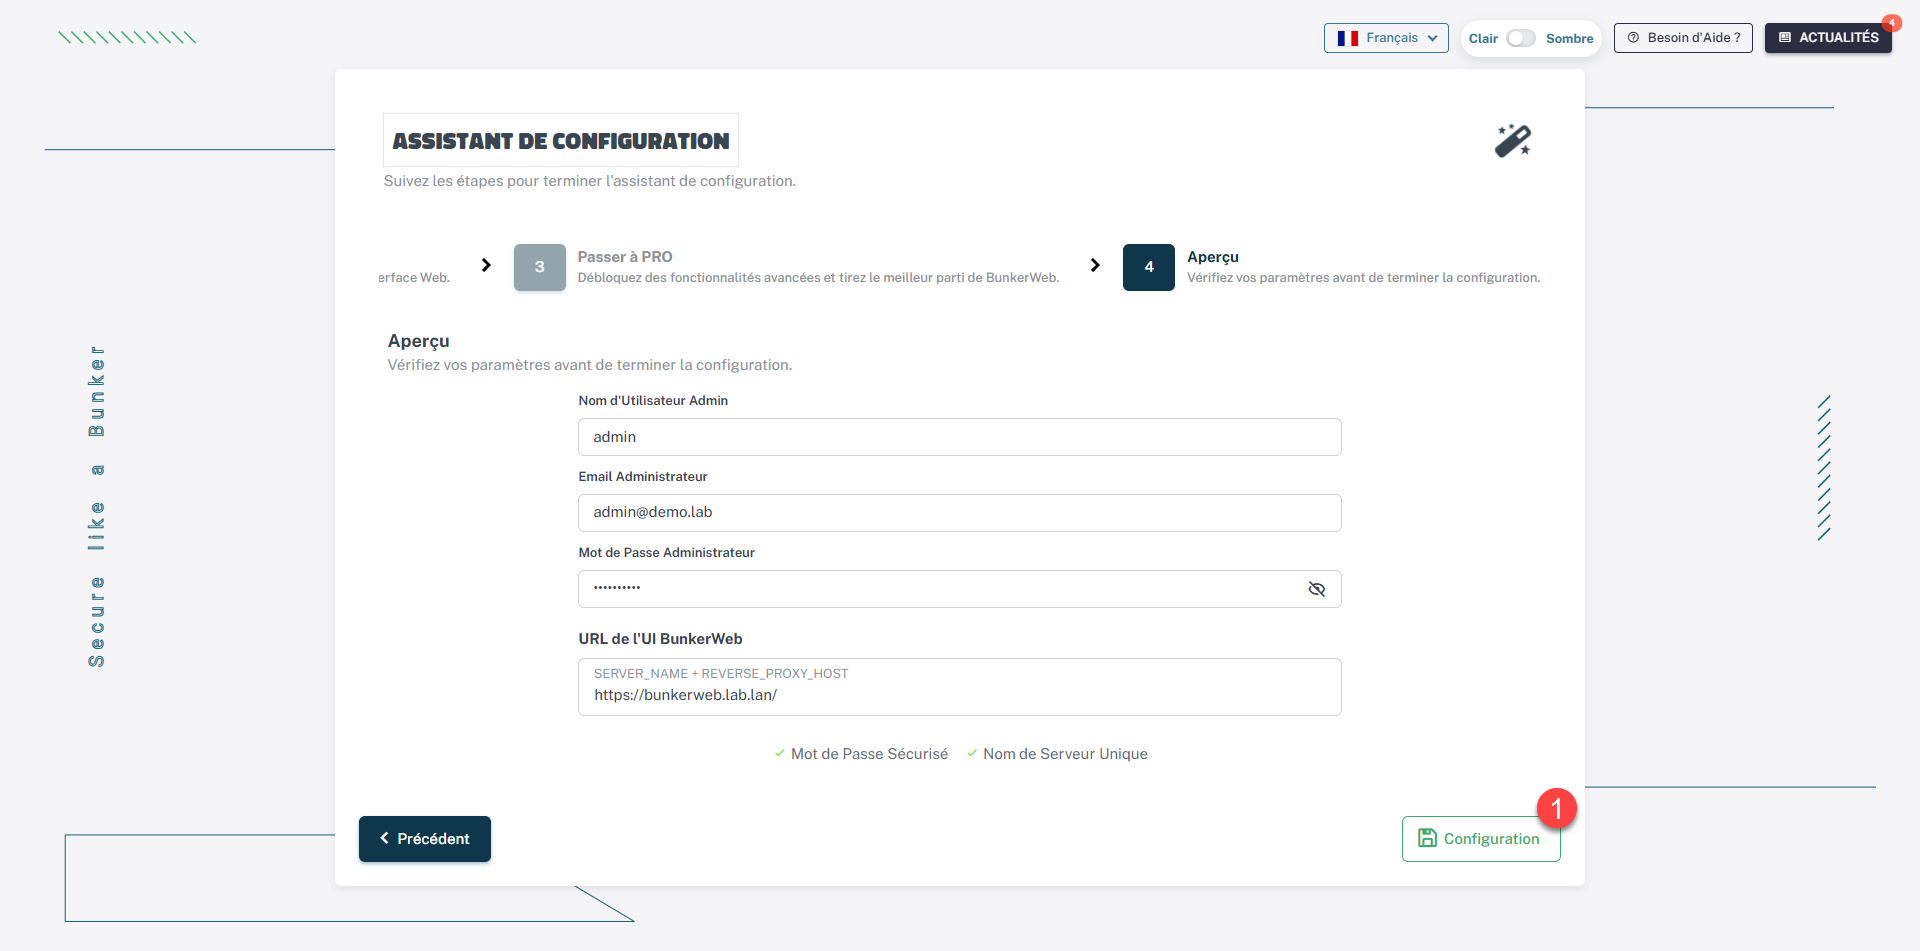
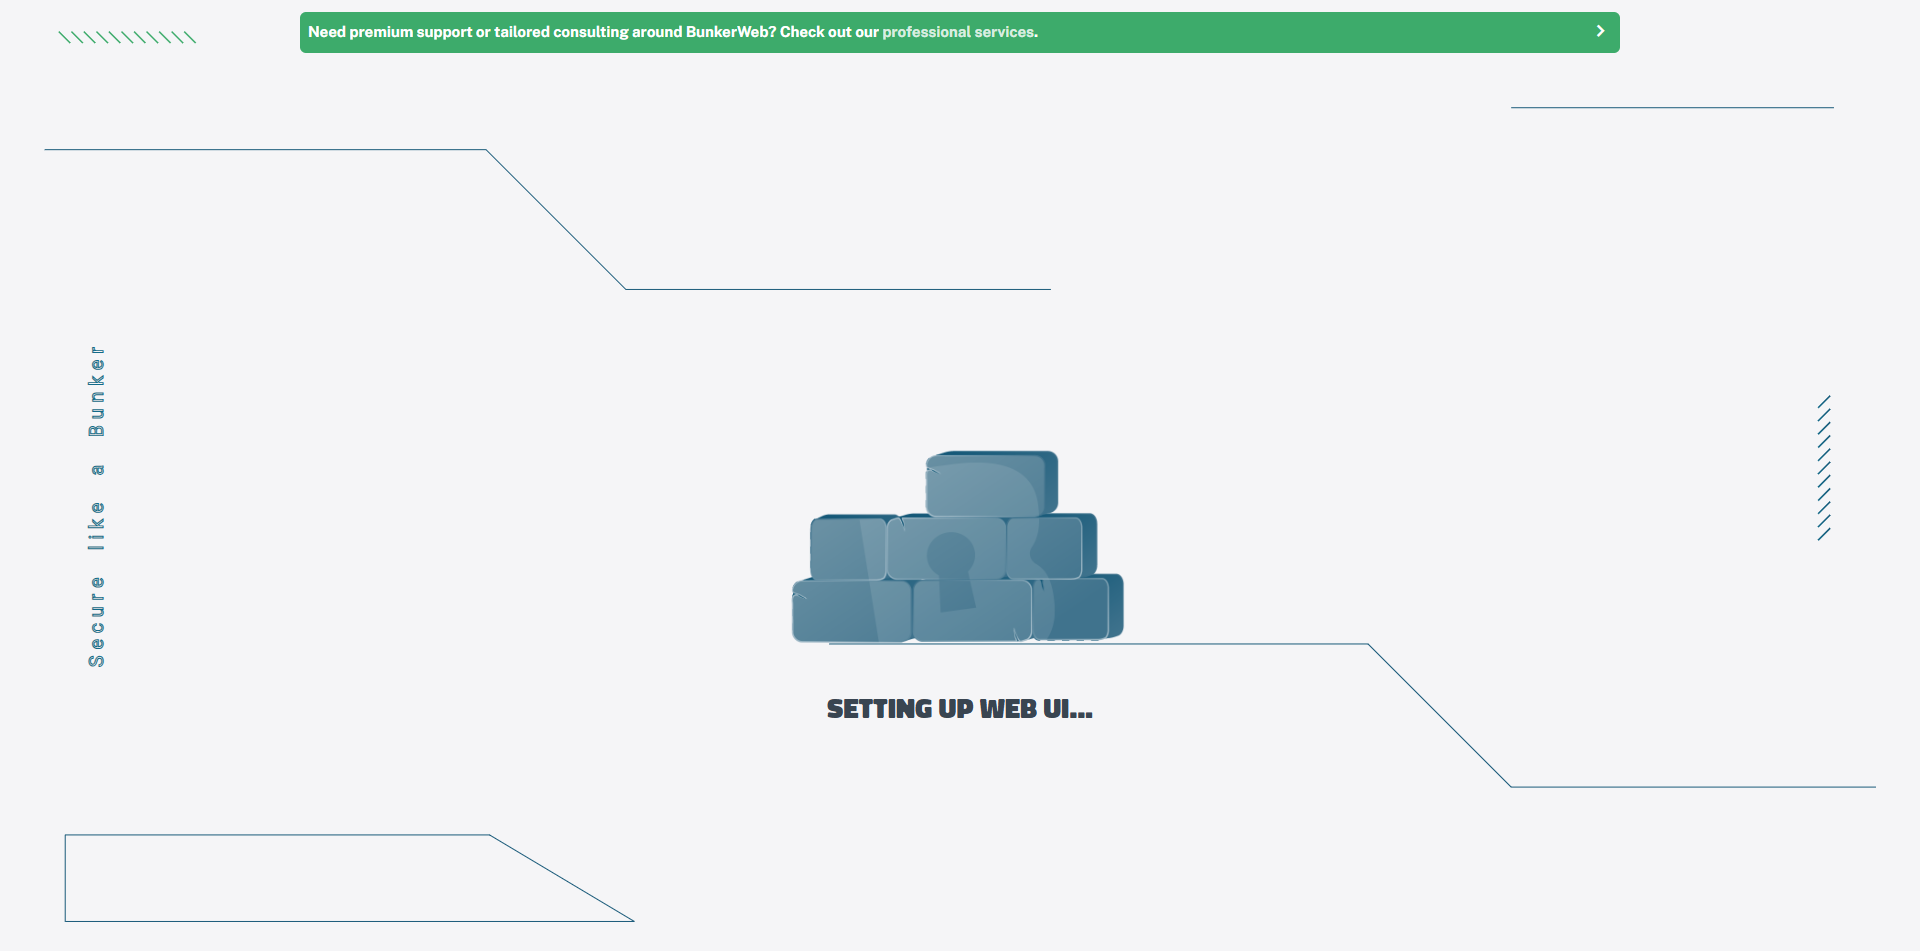
Please wait while configuration is in progress…
Once the configuration is complete, you are redirected to the login page.
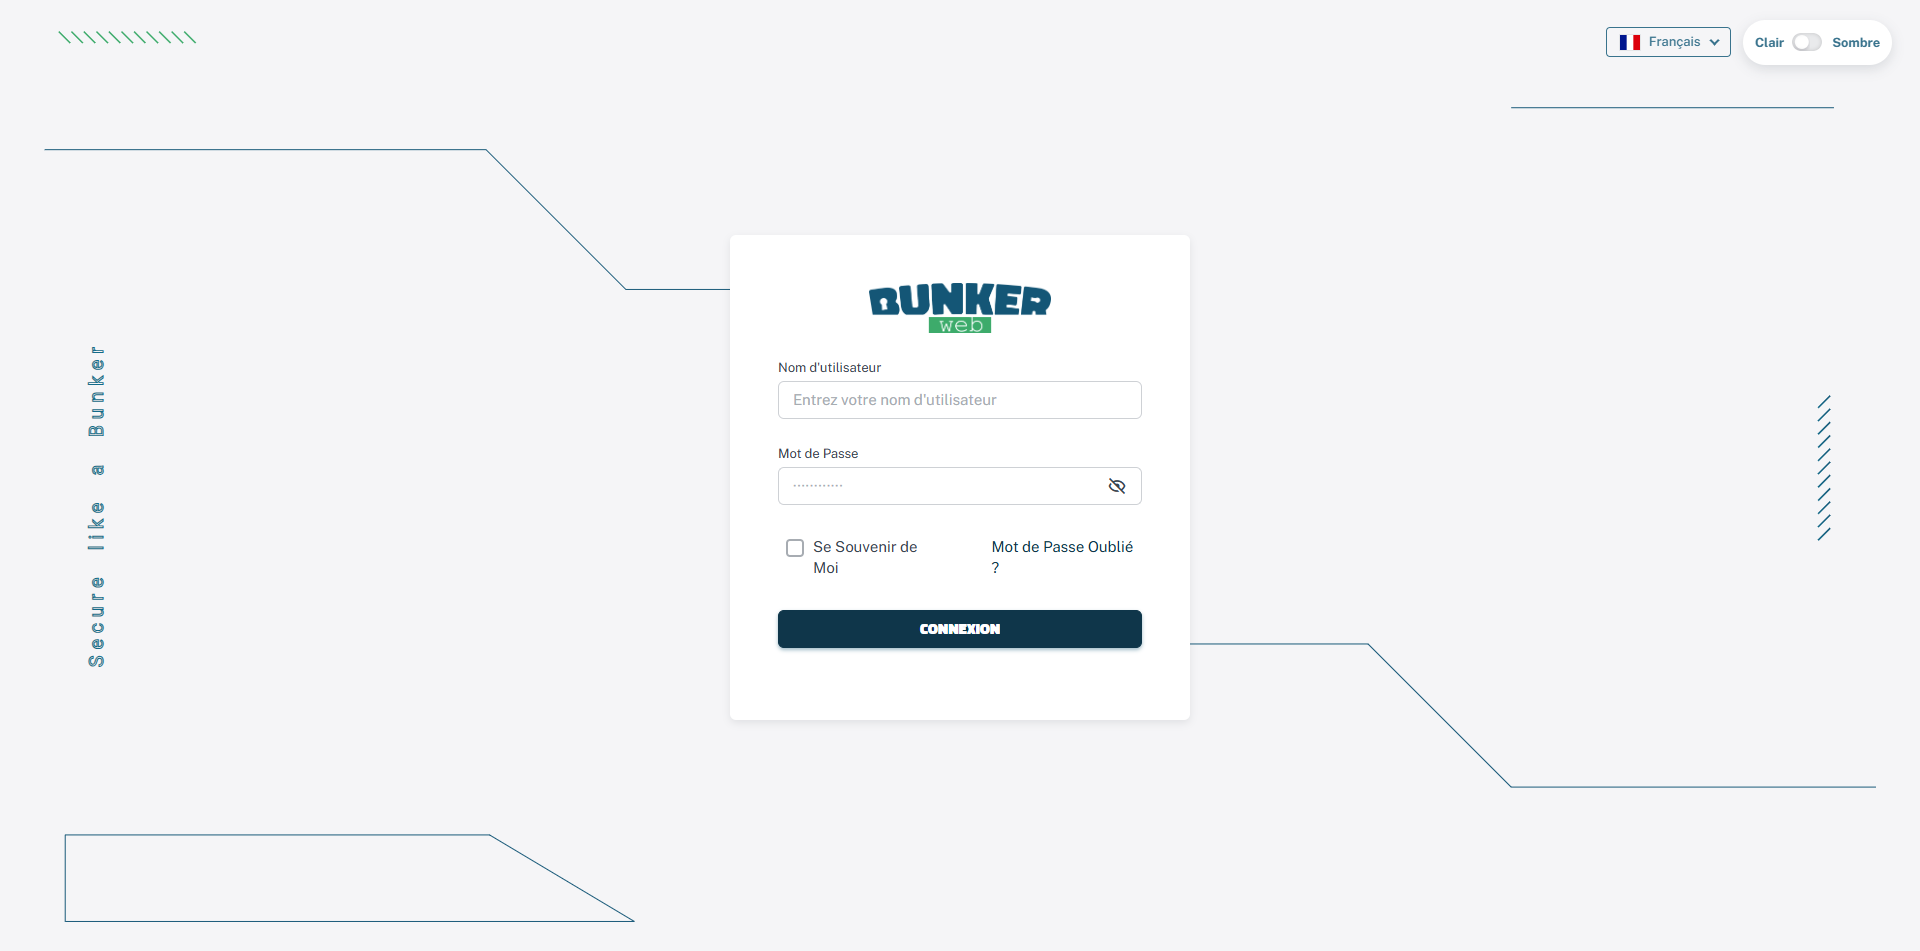
Logging into the BunkerWeb administration interface
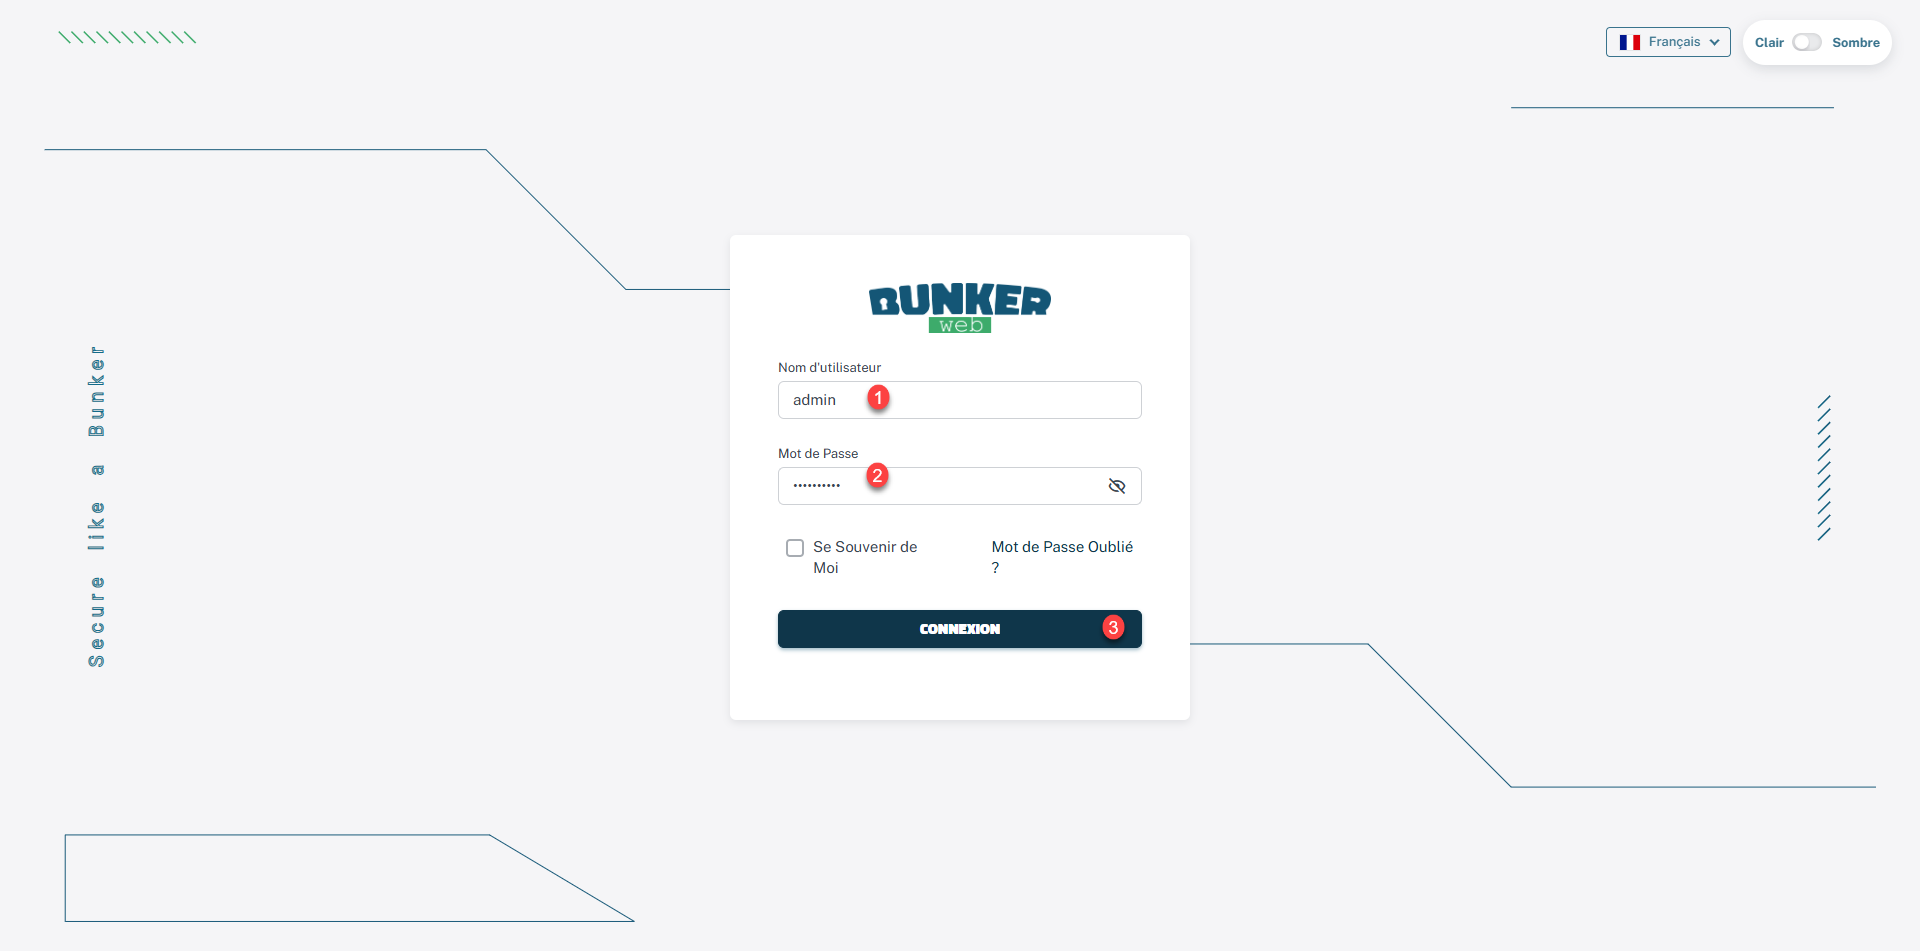
Enter the account information 1 and password 2 configured in the wizard and click on Login 3.
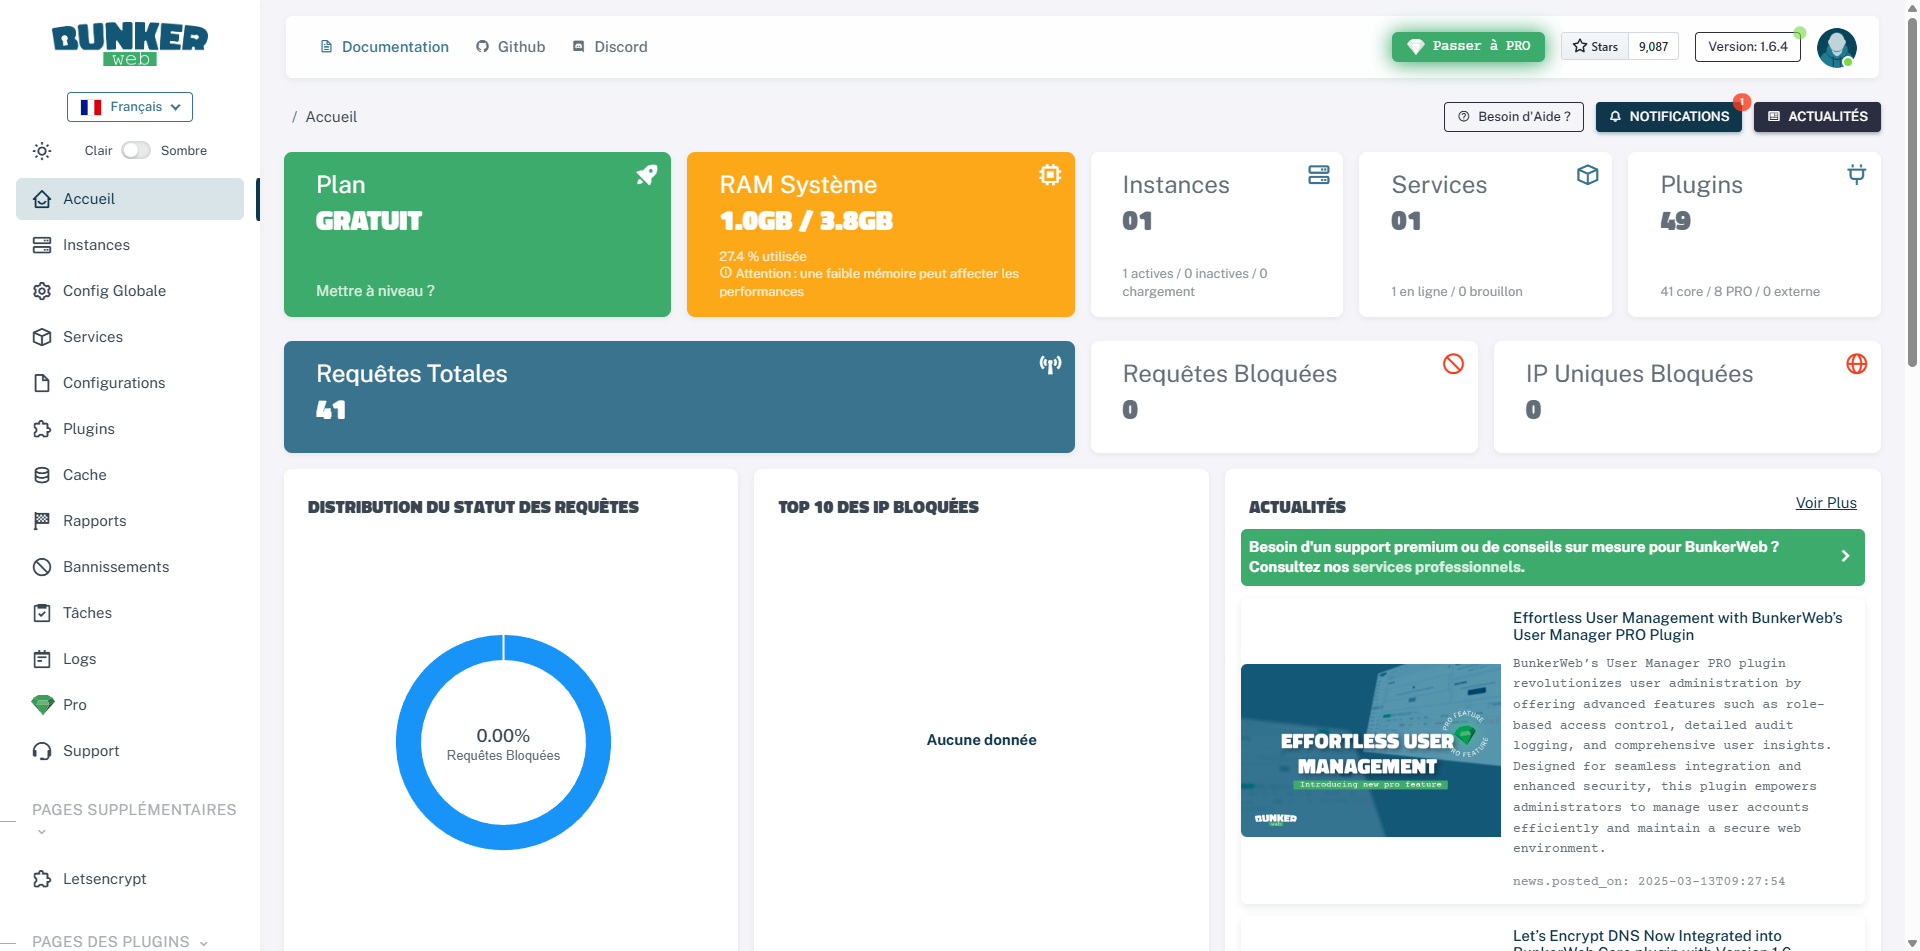
We are then redirected to Dashboard.
For the configuration, I’ll let you read my first tutorial on BunkerWeb and keep an eye on the site for the next ones that will be coming.
Conclusion
With this deployment based on Docker ComposeYou now have a simple and reproducible solution for implementation BunkerWeb quickly. Thanks to the provided Git repository, you can launch your environment in minutes, without going through complex configuration.
This gives you a solid foundation for securing your web servers with BunkerWeb, which you can then adapt and enhance according to your needs.
